During a trip to Habitat ReStore, I found a wooden tool caddy that was as cute as could be. I thought it was SO special and perfect for a little industrial makeover. Funnily enough, though, when I turned the corner, I saw an entire row of wooden tool caddies!
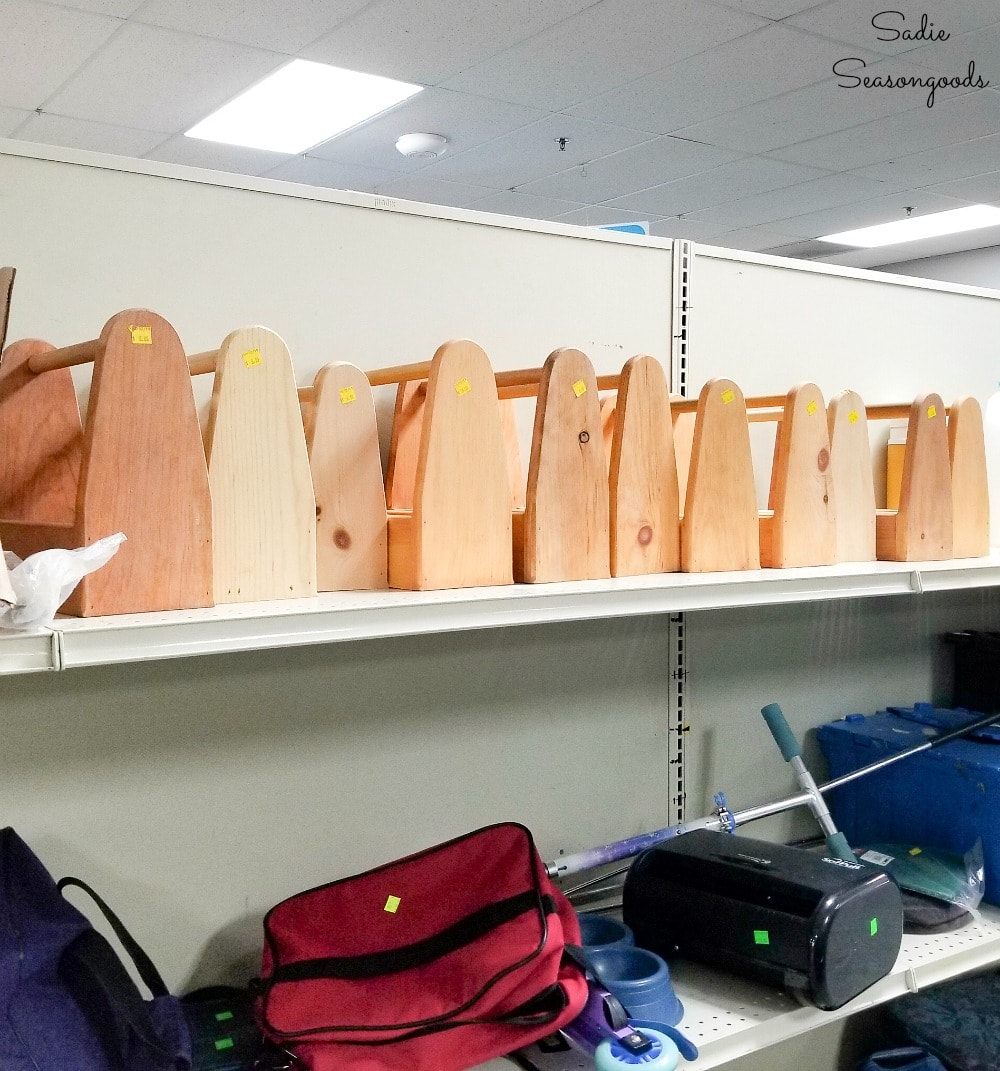
Apparently the one I’d seen first had gotten separated from the group! Or discarded by a previous thrift shopper.
Either way, I couldn’t leave without a couple. So, I selected two and brought them home. In the light of day, however, they were even orange-ier than I originally thought.
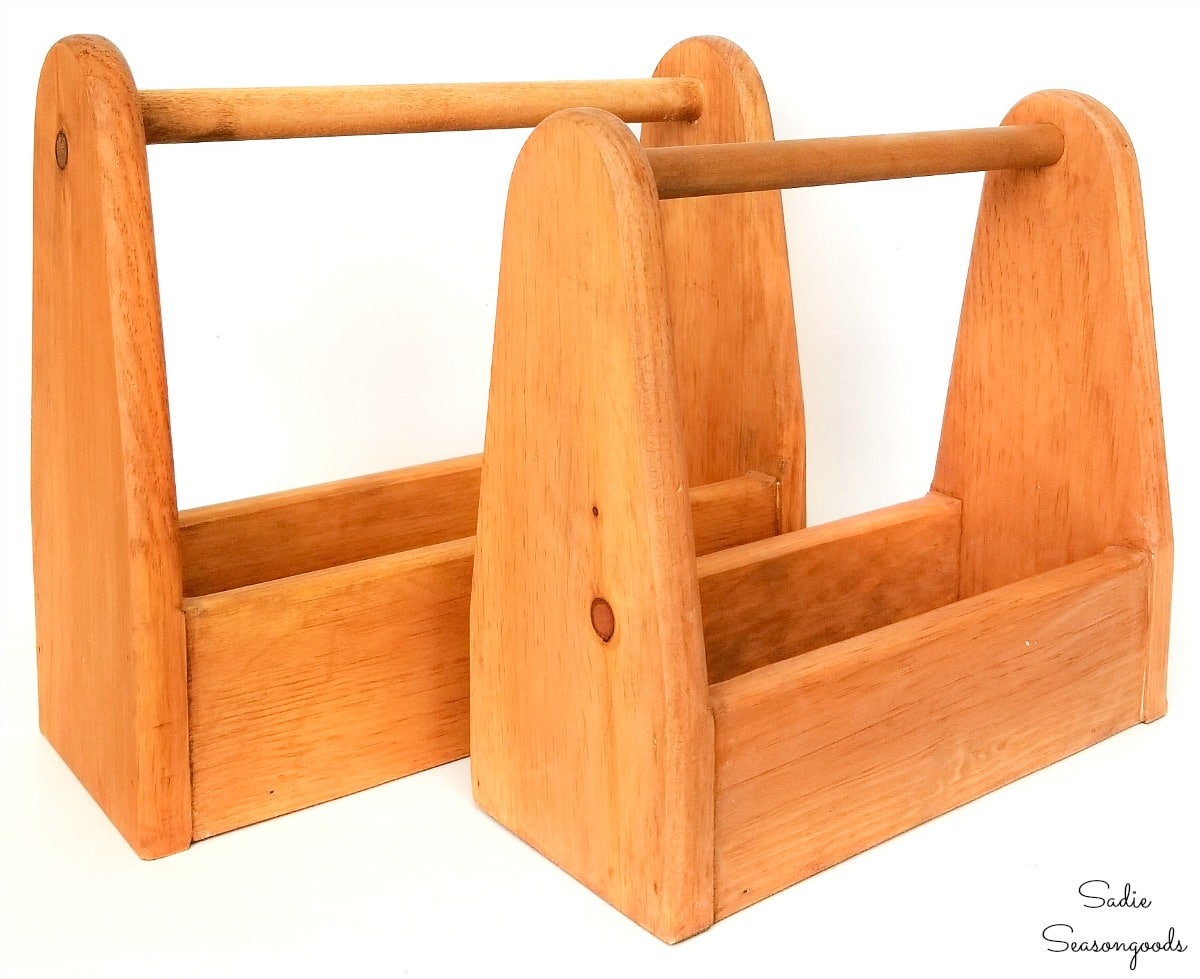
Yikes.
But I’m not one to shy away from a good challenge, including toning down the orange harshness!
This post contains affiliate links for your crafting convenience. As an Amazon Affiliate, I earn from qualifying purchases. All blue, bold, and underlined text is a clickable link, either to a product or to a related post.
All stencils used in this tutorial have been provided to me free of charge by Funky Junk’s Old Sign Stencils; however, all opinions are my own.
“Industrializing” a Wooden Tool Caddy
First things first, I needed to deal with the orange elephant in the room. So, I gathered a selection of wood stains to play around with in order to tone down the color of the caddies.
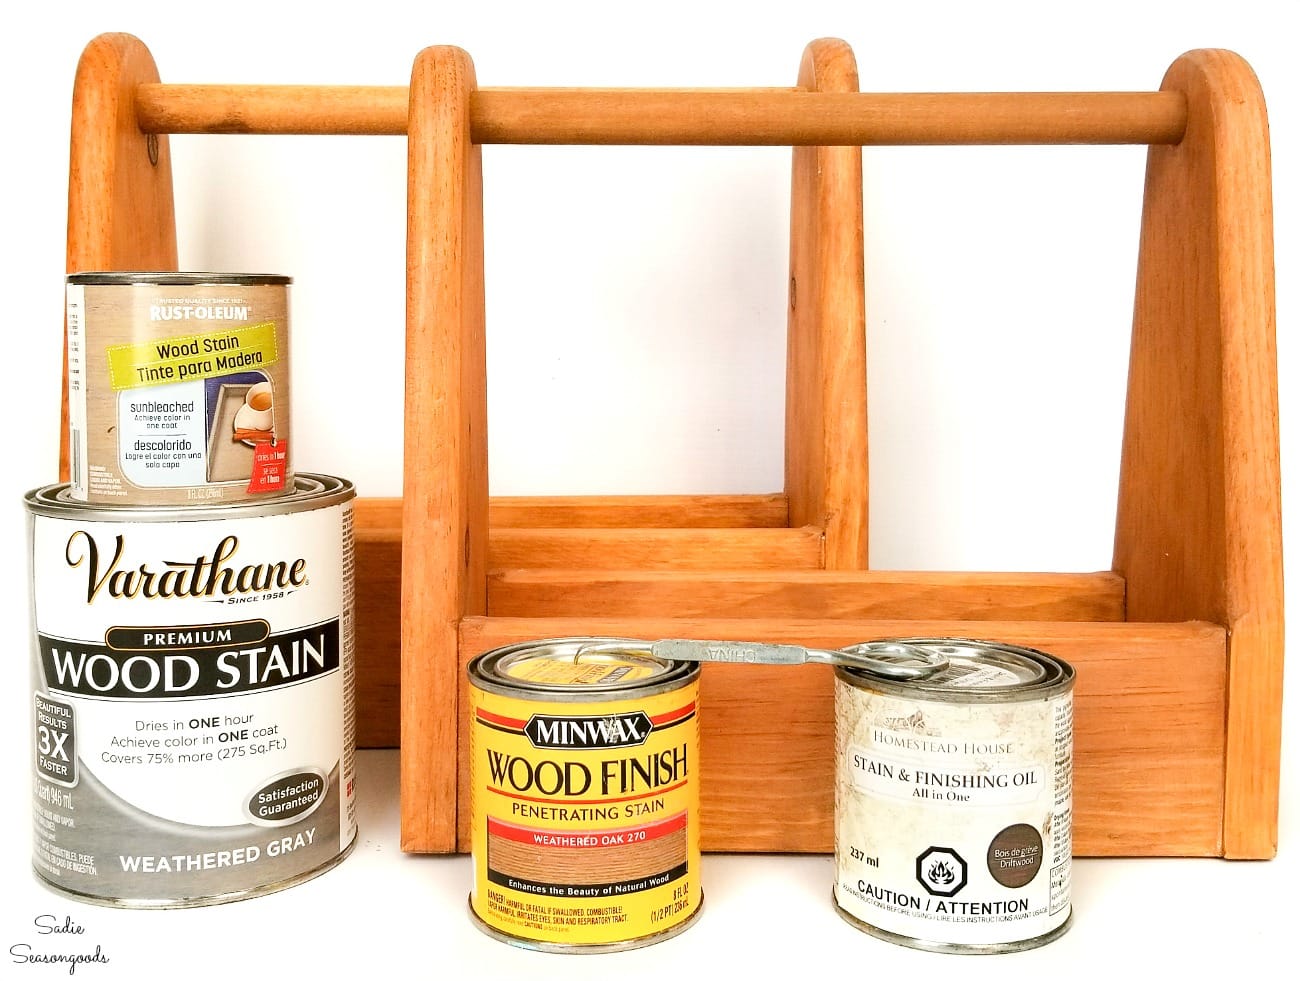
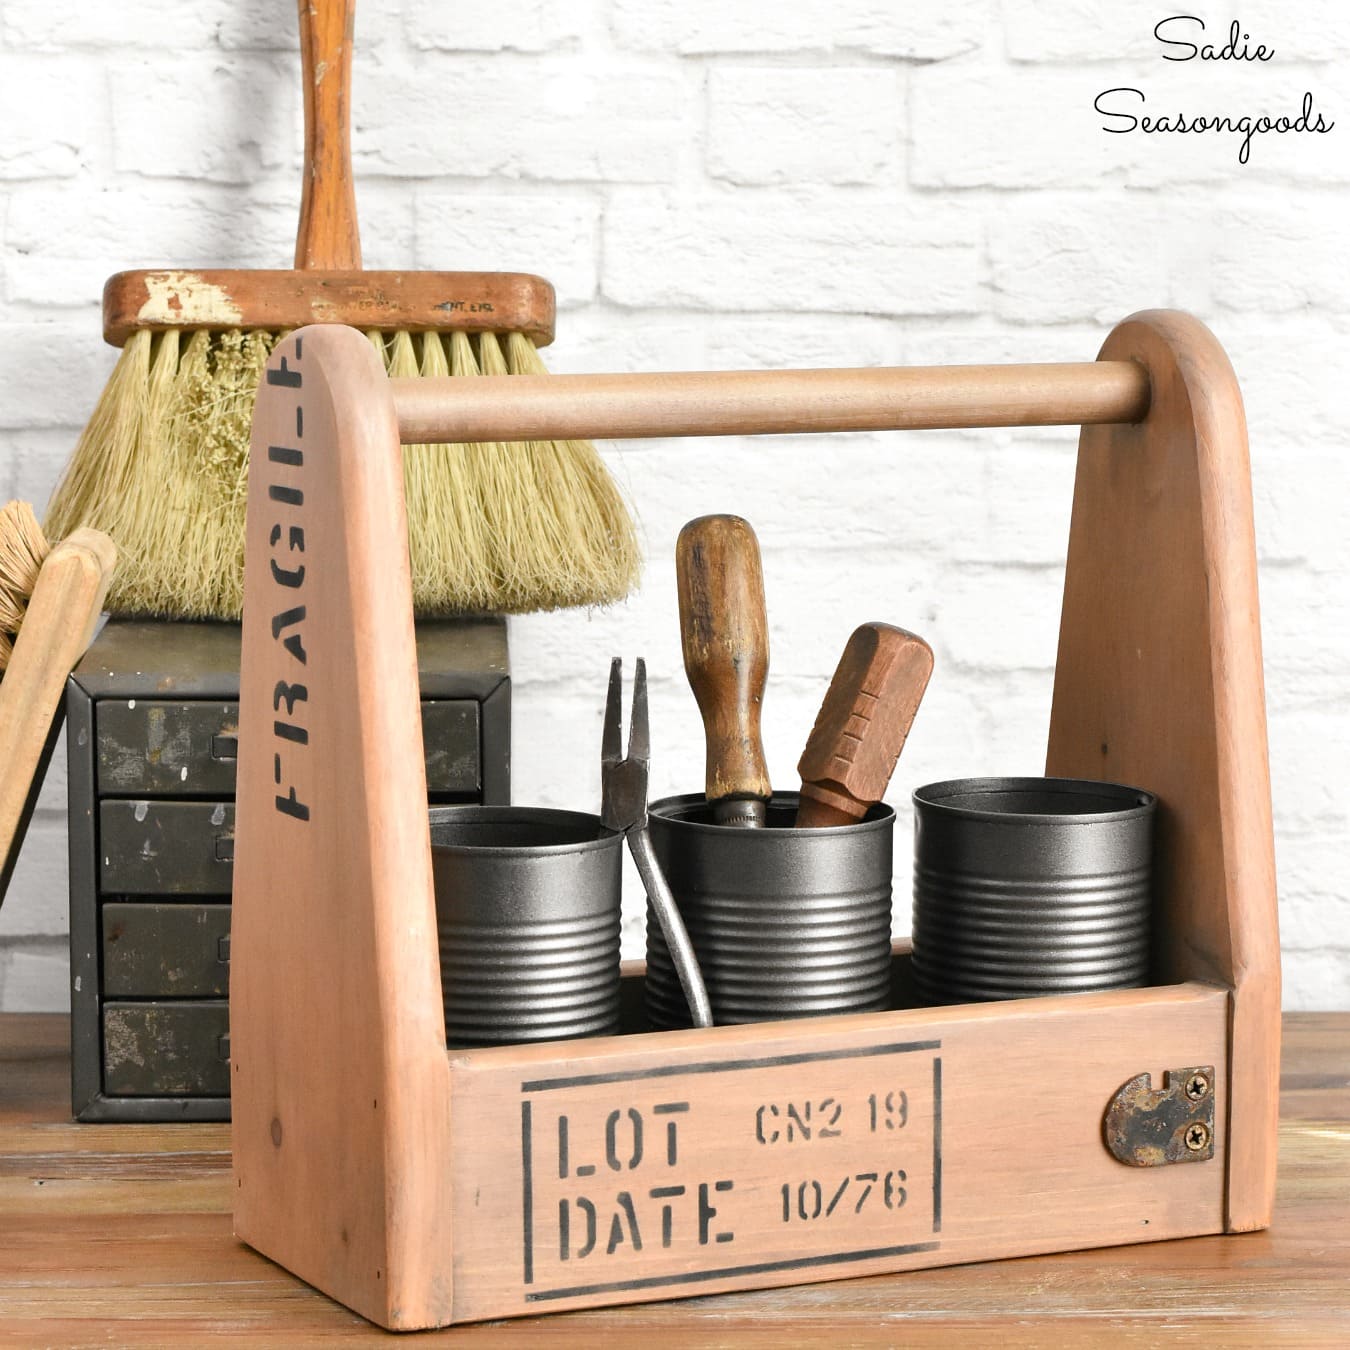
I carefully dabbed different wood stains to the bottom of each wooden tool caddy, sometimes layering them. In the end, though, I used a combination of Sunbleached and Briarsmoke to get a more weathered appearance.
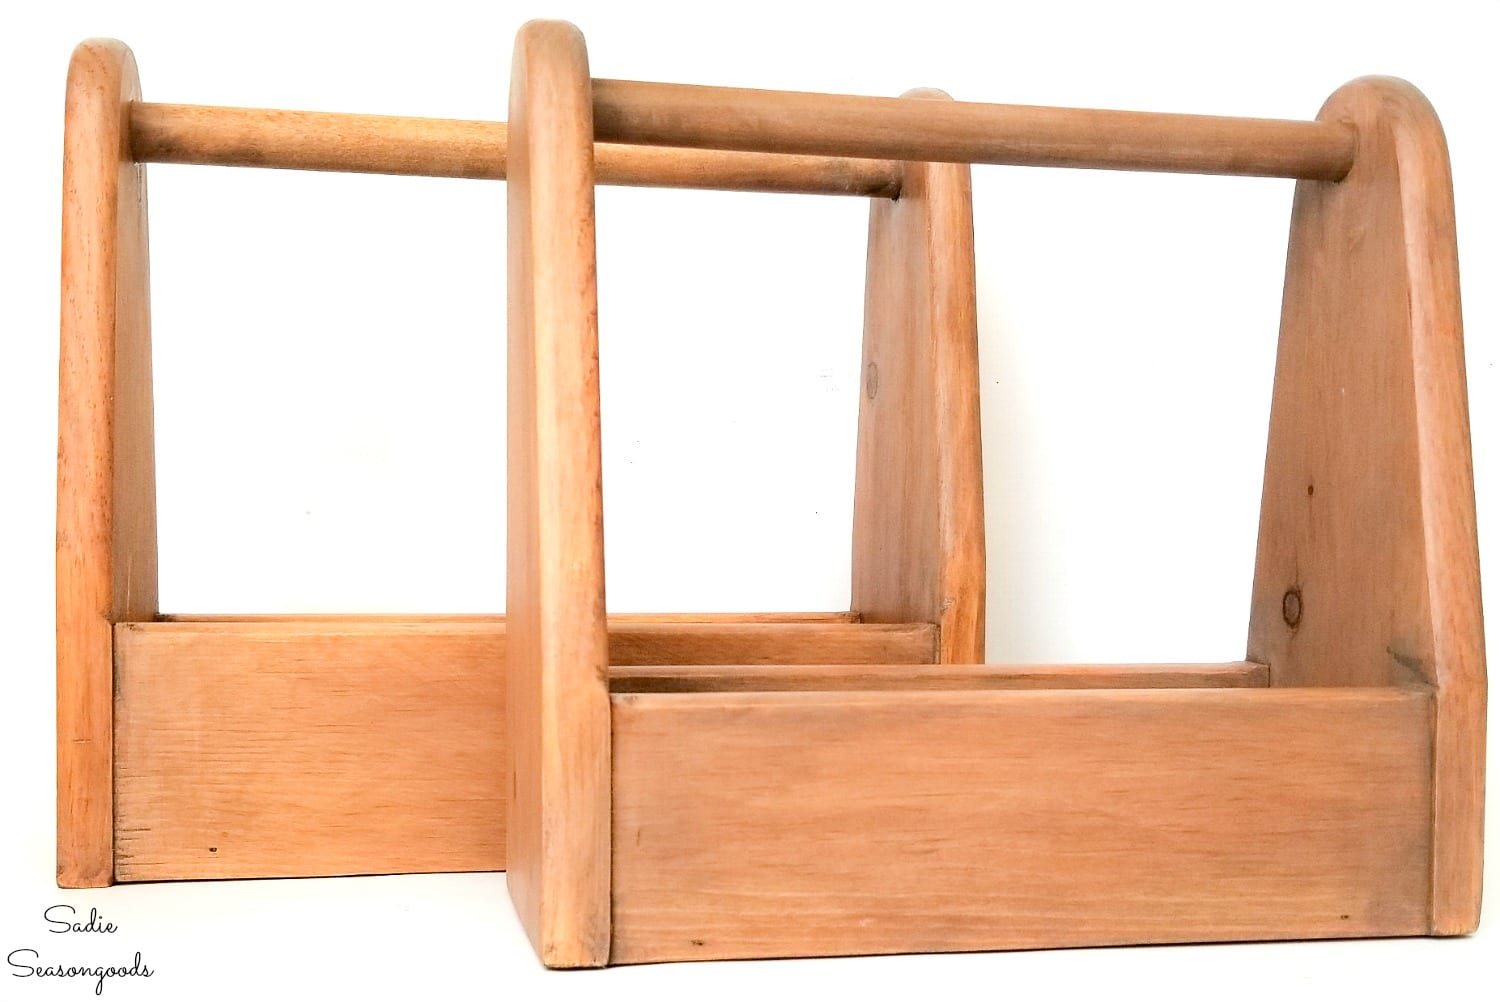
Not as deliciously weathered as I would have liked, but then again, only time can do that.
Once the stain had cured overnight, it was time to break out my crate stencil from Old Sign Stencils!
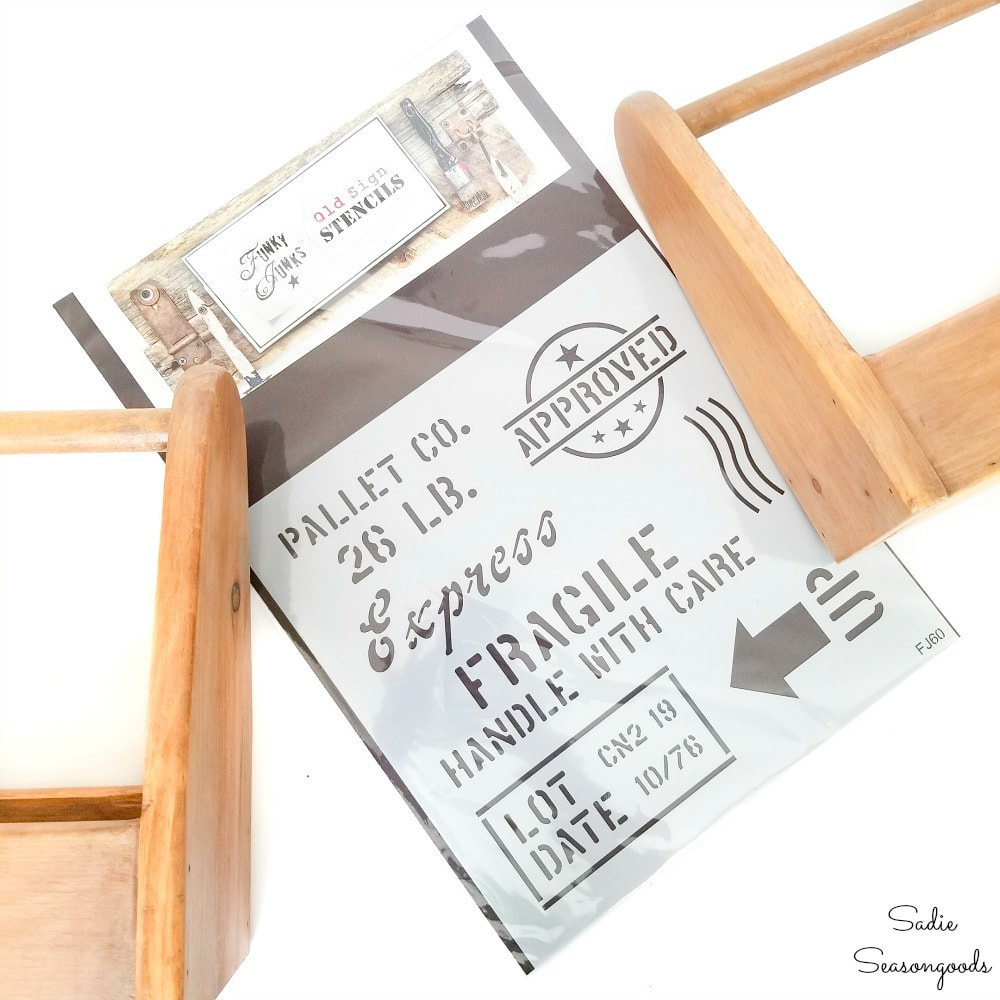
This was my first time using this particular stencil, though I’m a longtime fan of the brand.
So, I gathered up my stenciling supplies, including a stencil brush; some black craft paint; a rag; painter’s tape; and a paper plate. Then, I simply placed the stencil where I wanted it and swirled on a touch of black paint.
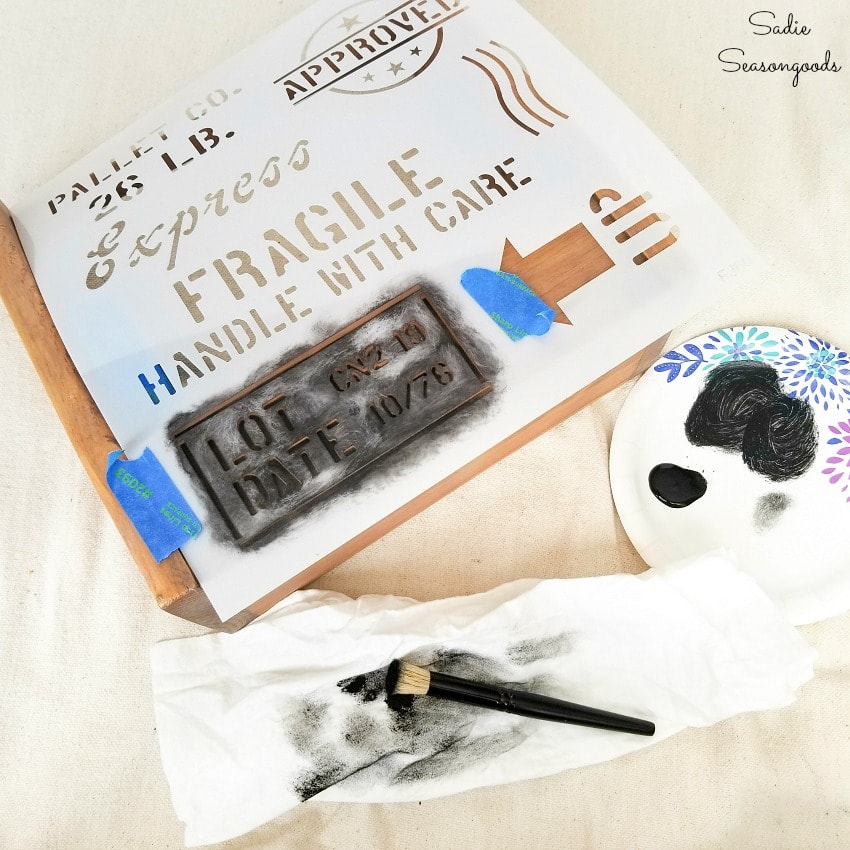
Yes, I swirled instead of stippled (which is how I normally stencil). I don’t swirl with cheaper stencils; but Old Sign stencils are thicker and respond well to swirling.
I moved the stencil around, letting some of the wording go off my wooden tool caddy for a less “perfect” look.
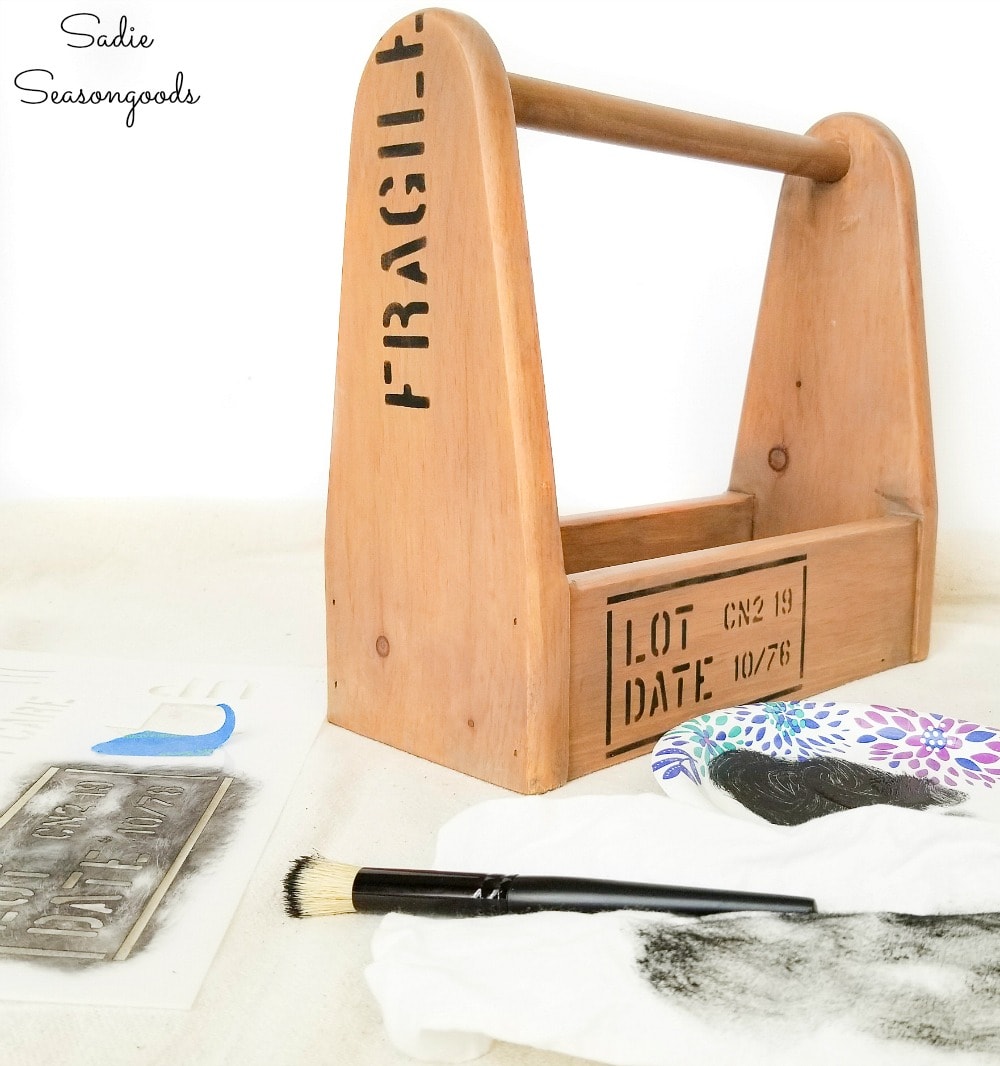
I loved how they were turning out (and BOY is swirling faster than stippling!). But my tool caddies needed a little something extra…
Salvaged Hardware for Industrial Decor
Hardware! I had a bag of random salvaged hardware bits that I collected over the years. After finding some pieces that fit my wooden tool caddies, I got my drill out.
But drats! All I had were brand new screws. Oh, that bright silver looked atrocious with the old hardware bits…
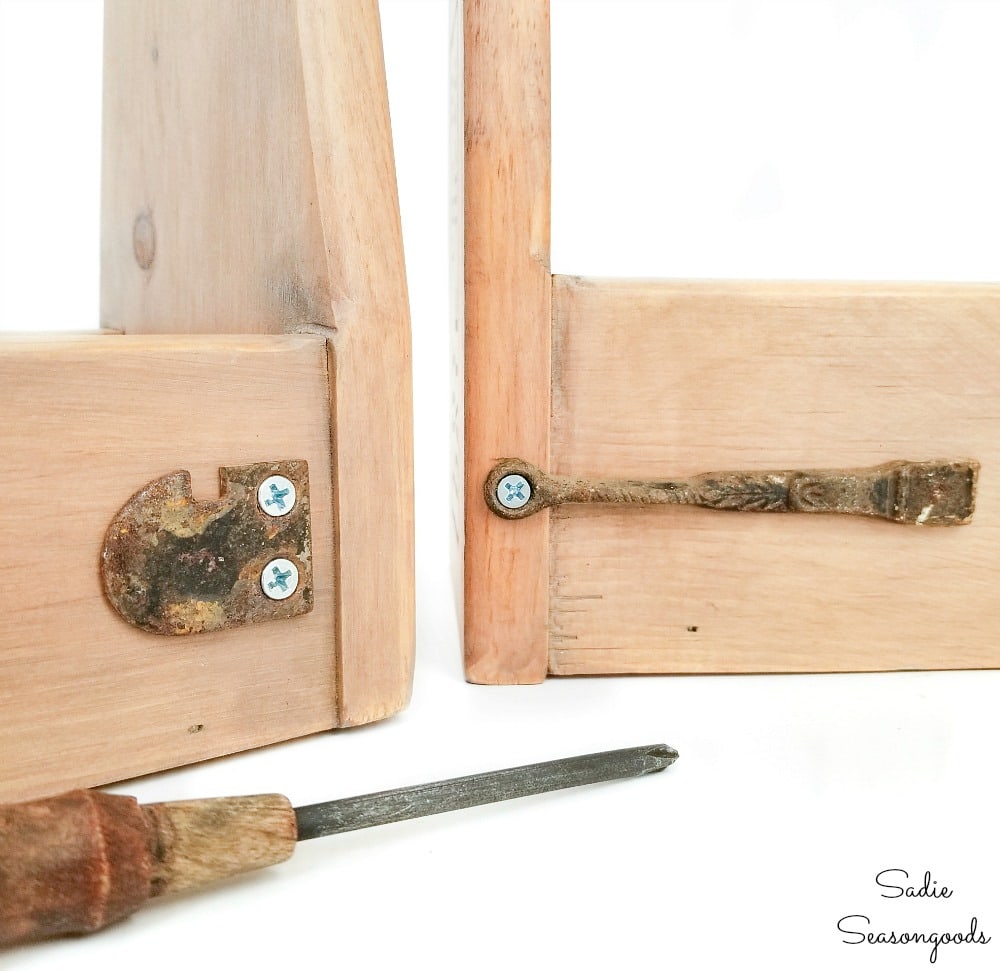
Next time I see one of those jars of old screws at Habitat ReStore, I need to snap one up! Because this was bloody awful looking.
But, I had already faked the “weathering” of each wooden tool caddy. And then I faked the look of old crates with the stencils. So, I simply faked the look of rusty screws with craft paint!
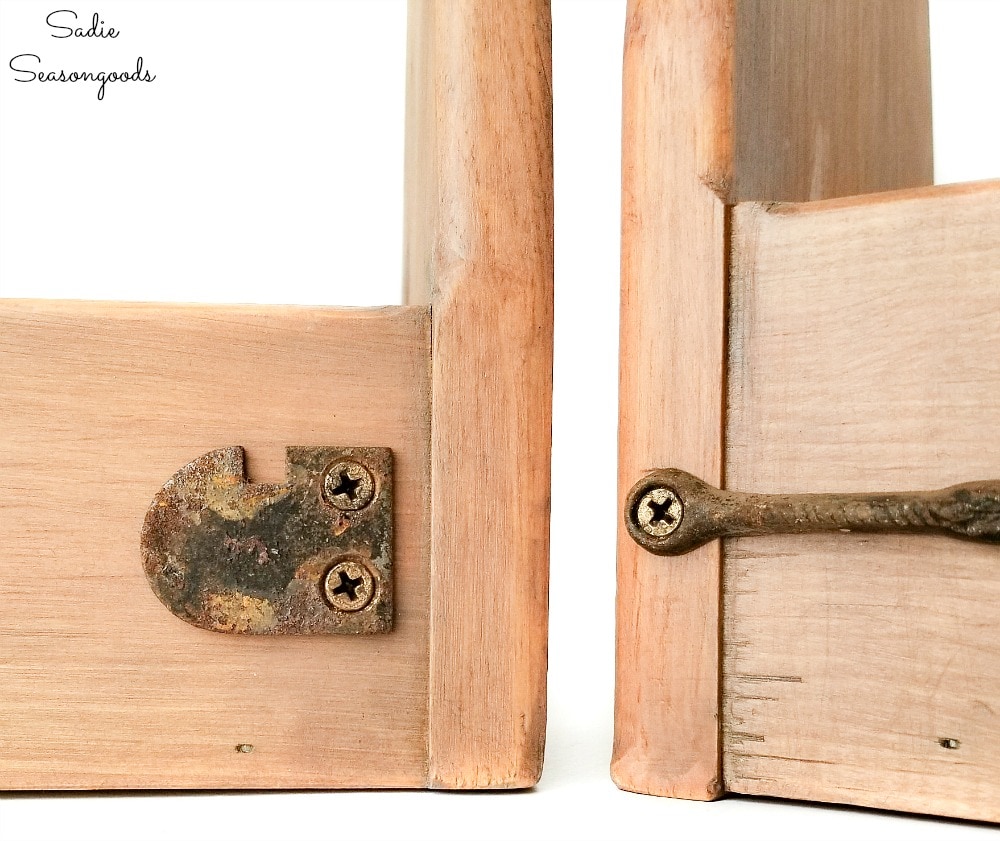
Not too shabby, eh? I used some bronze craft paint, and some dark brown and black, as well. I just dabbed on paint with a dainty brush until I was happy with the look!
And while I could just toss things like tools or paint brushes into my wooden tool caddies, I decided to add one more thing. I saved a few tin cans from my kitchen and gave them a little makeover, as well.
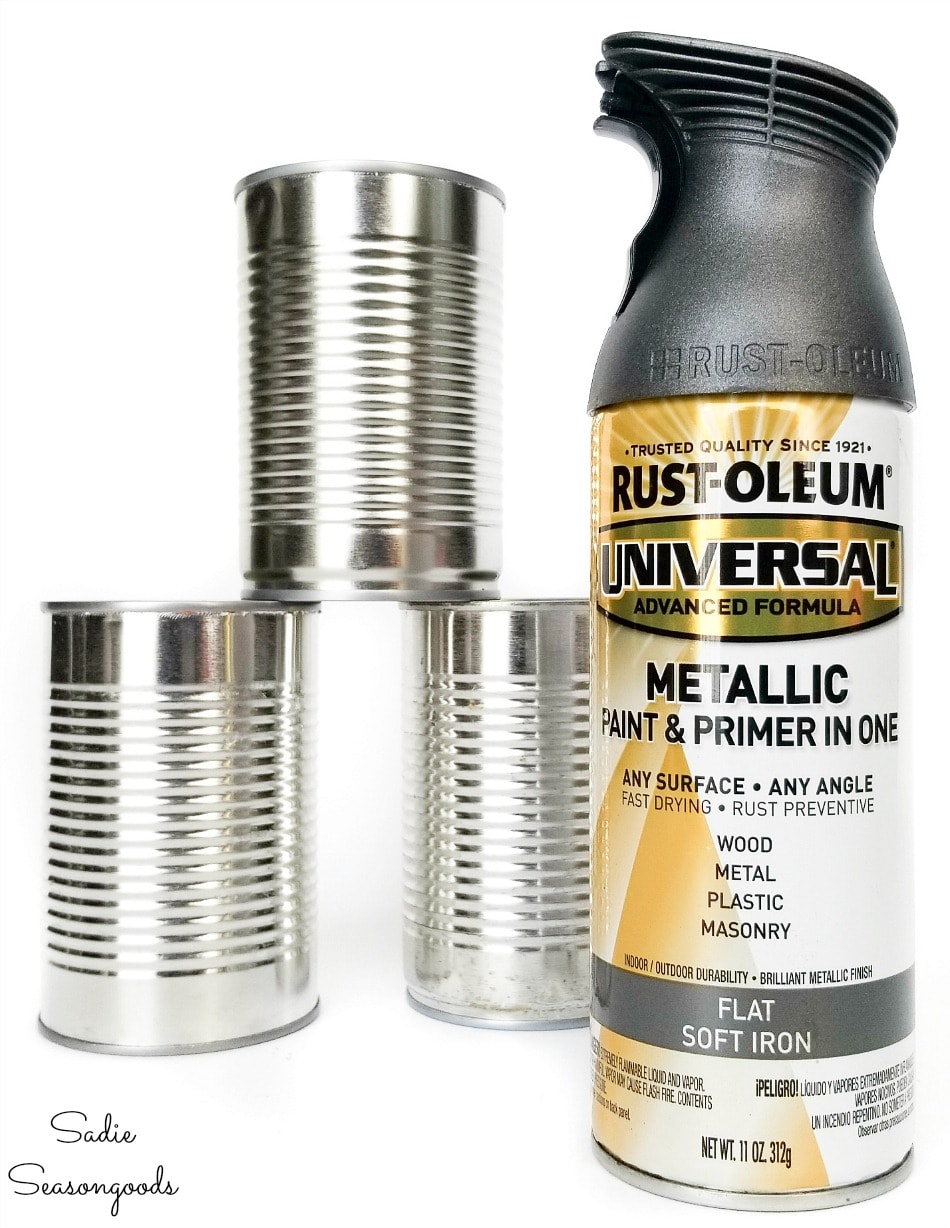
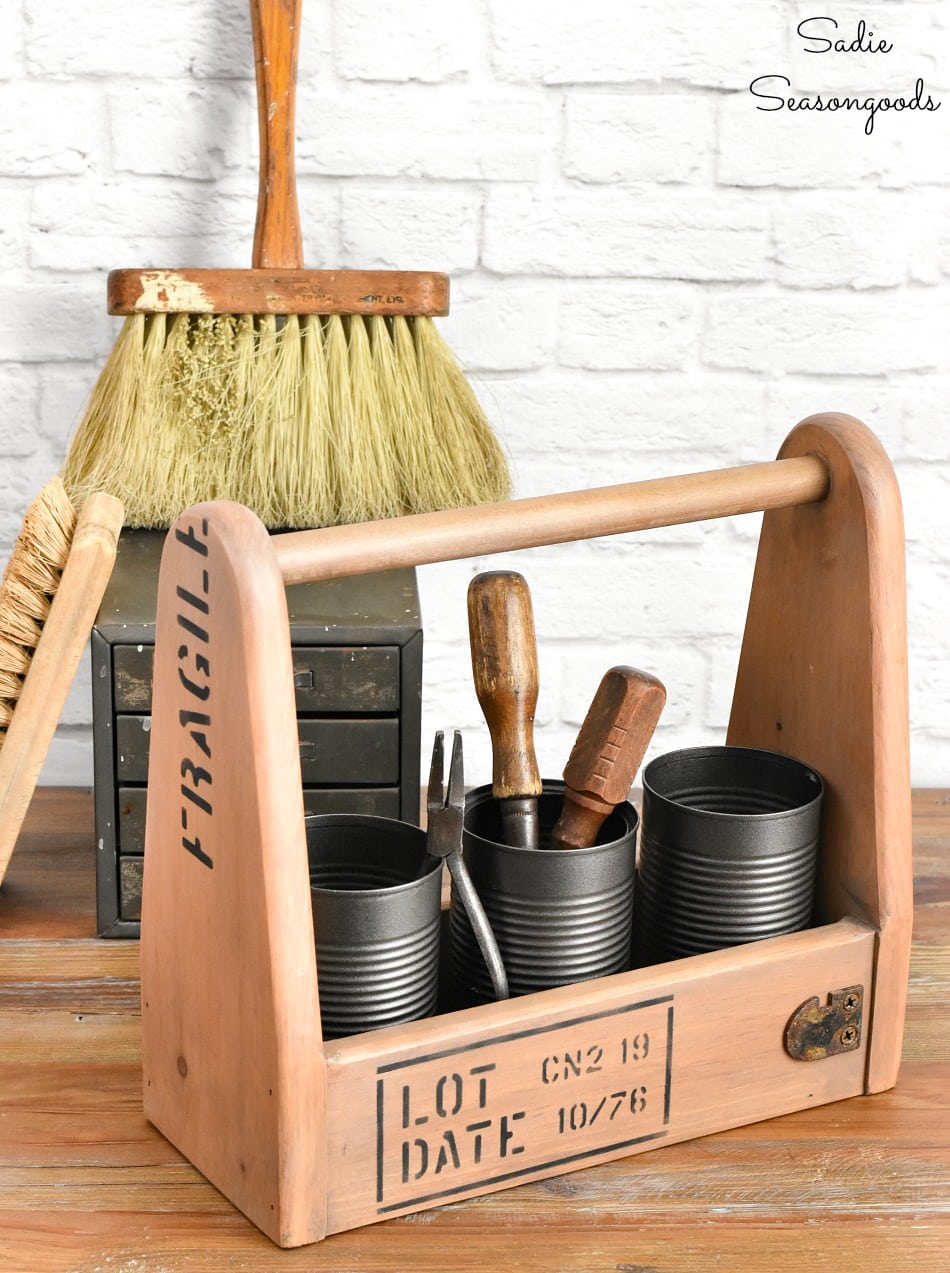
When the paint on the cans had dried, I popped them into a wooden tool caddy. How cute is that??
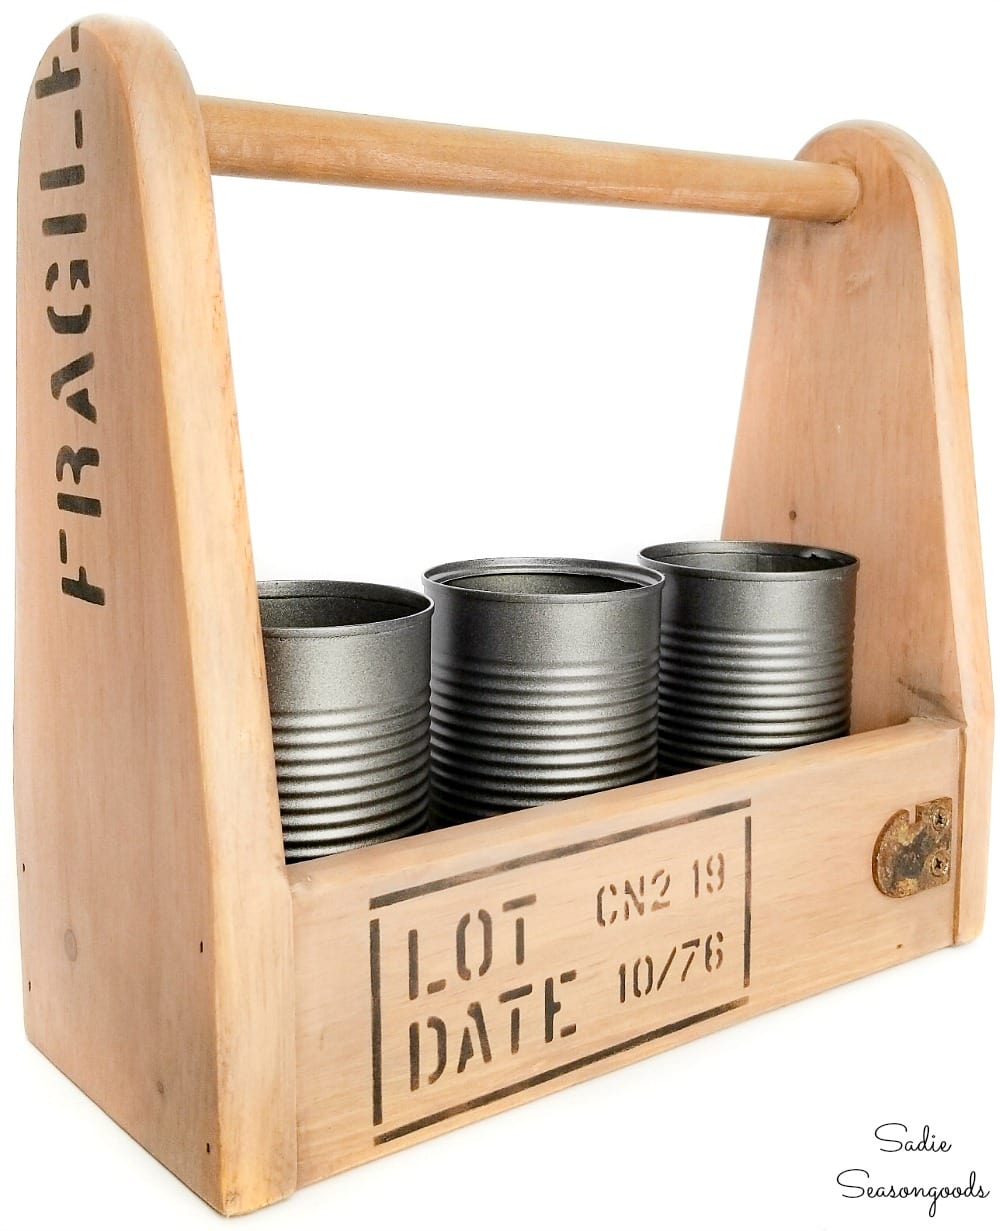
Industrial Style Decor with a Wooden Tool Caddy
Such a simple makeover, but quite effective! I love how it turned out AND it’ll be useful- either as decor or as storage.
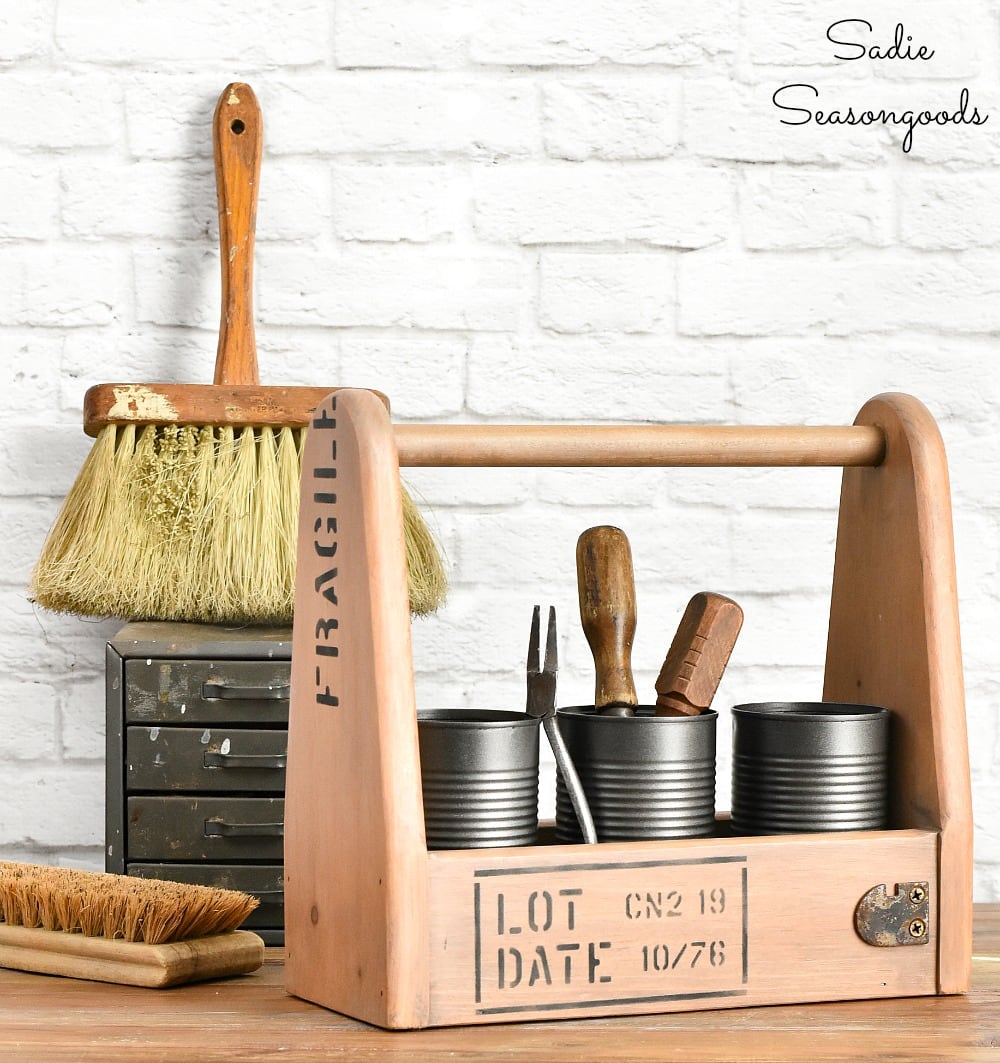
I think I may save up a few more cans for different looks, too. Maybe even give some a rusty makeover like I did on this Halloween project?
*****
AND, BONUS- it’s the 2nd Wednesday of the month which means it’s Thrift Store Decor Team day! Check out what my friends have been working on.
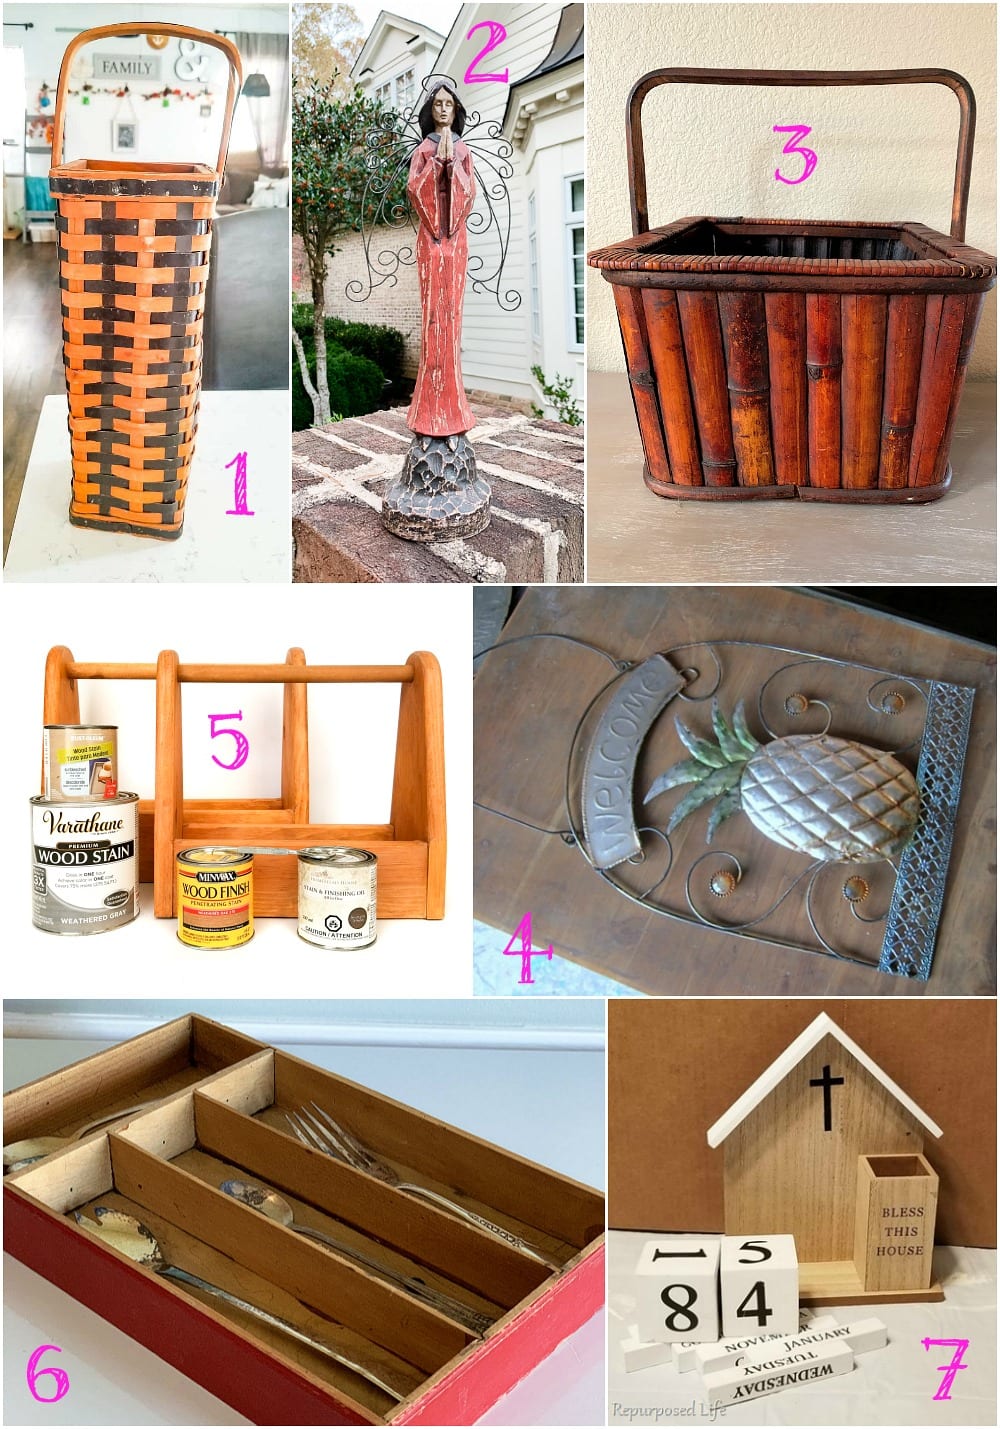
1. Farmhouse Front Door Christmas Basket – Domestically Speaking
2. Santos Angel Makeover – Our Southern Home
3. DIY Farmhouse Christmas Tree Basket – My Uncommon Slice of Suburbia
4. Pineapple Welcome Sign – Petticoat Junktion
5. Industrial Makeover on a Wooden Tool Caddy – Sadie Seasongoods
6. Silverware Tray Repurpose – House of Hawthornes
7. Countdown to Christmas Perpetual Calendar Makeover – My Repurposed Life
*****
I seriously LOVE these crate stencils and can’t wait to use them on another project. Guess it’s time to prowl the thrift store again in search of a new “canvas” to decorate…
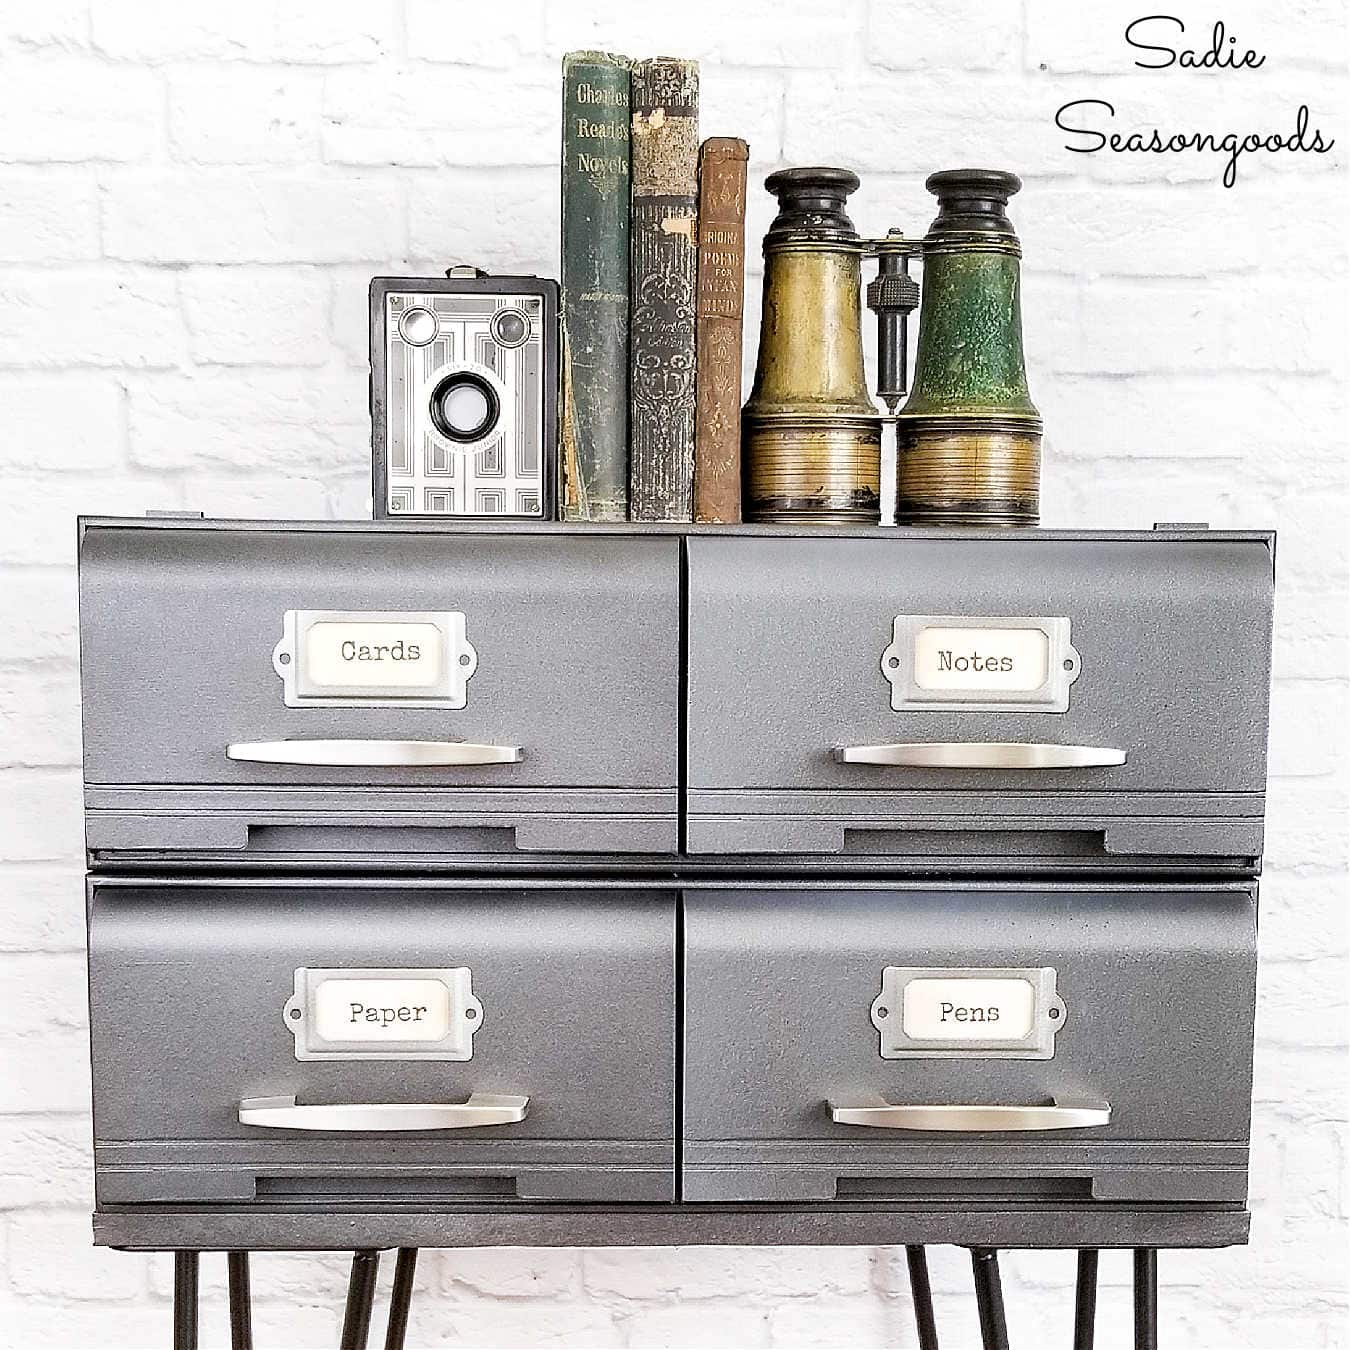
If you enjoyed this upcycling idea for industrial style decor, then you may also be interested in how I created this faux metal card catalog table, too!
Craft on!
S
Want to be notified when I publish my next upcycling project tutorial?
Join me on Social Media:
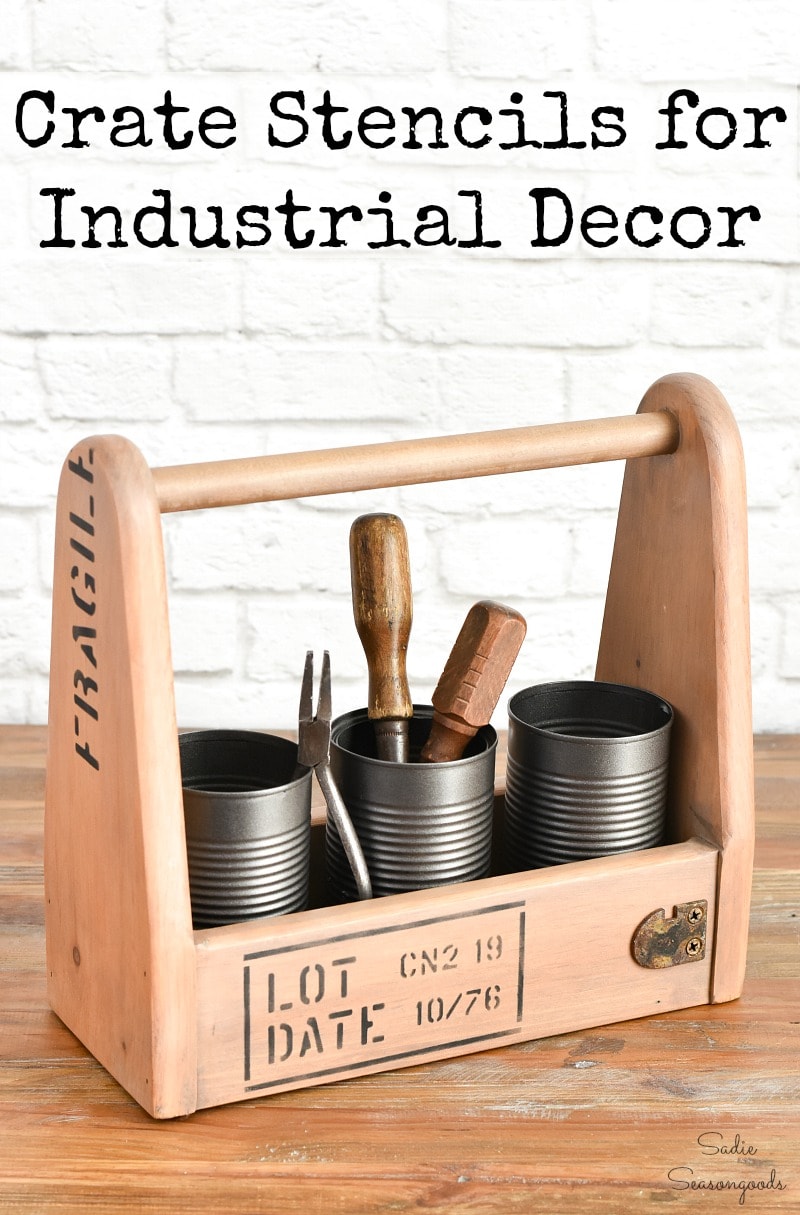
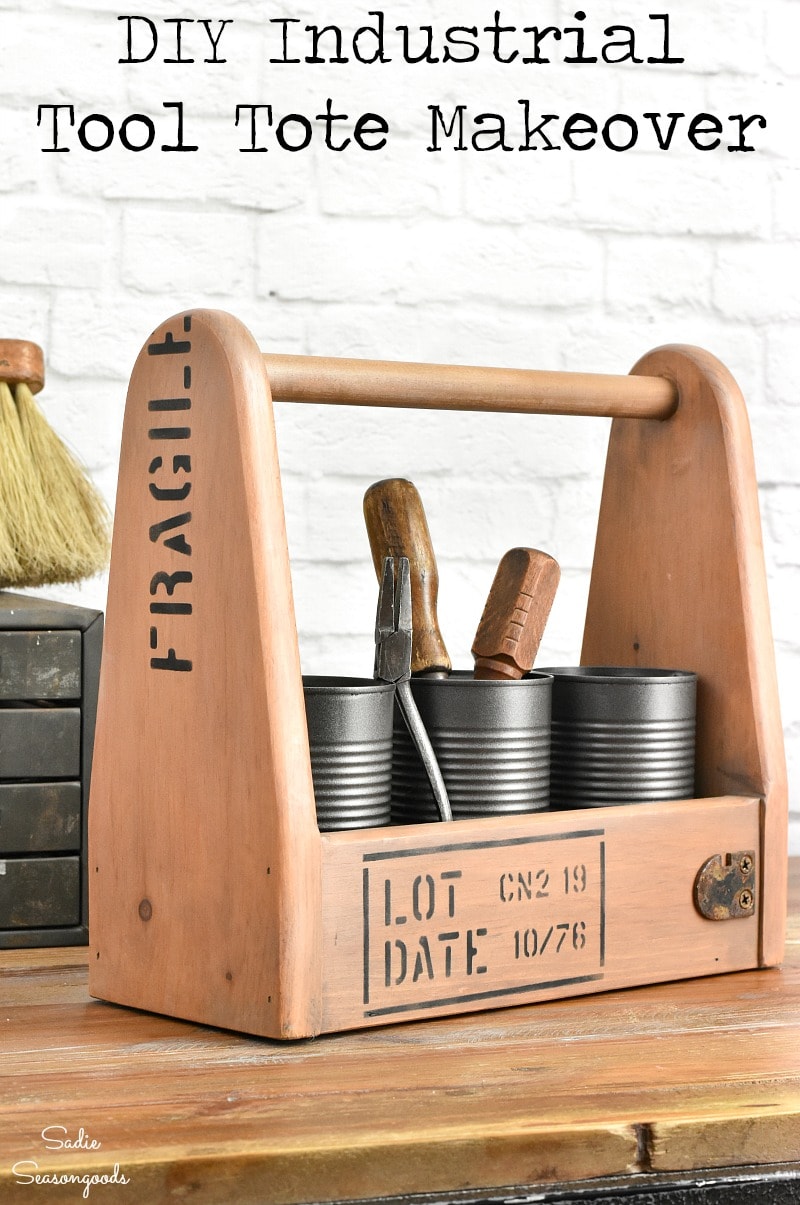
PIN ME!
Sarah Ramberg is the owner of Sadie Seasongoods, a website that celebrates all things secondhand. From upcycling ideas and thrifted decor to vintage-centric travel itineraries, Sadie Seasongoods is a one-stop shop for anyone who loves thrifting and approachable repurposing ideas. Sarah is also the author of “Crafting with Flannel” and has been featured in numerous media outlets and magazines.






What? Those are crazy cute! And I love her stencils, I’ll have to grab some for my Christmas crafting.
Yesssss, you definitely need these!
You did an awesome job on that tool caddy!! Just love it!
Carmen
Thanks, Carmen!
I just ADORE this project for so many reasons! First… who finds a ROW of toolboxes?! But your added touches give it such a cool vibe… I need some tin cans in my life, they look so cool! And thanks for the screw painting tip! That one I haven’t tried yet!
Thank you so very much! I think you’re right, I’ll be using this stencil again and again. ENDLESS possibilities!
This is perfect and the stain is gorgeous! I can’t believe how many they had, lucky you!
Right??? Thank you, Kristin!
As usual, I loved it. I would have bought a LOT of these. Filled with Mason jars filled with Christmas candy, candles, etc. As a planter with clay pots. A double row of CDs? Styrofoam, Spanish moss and Christmas greenery. Oh, I could have fun with them!
Sarah,
I truly love everything about this caddy! I can’t believe there were so many caddies available at the ReStore!
Those tin cans are sooo cute painted.
Pinned!
gail
I know, it was wild (and an upcycler’s dream) to see that lineup for sure!
So cute! Great find at the Restore!
Thanks, Maryann!
Hi Sadie. I love the flat iron paint. The whole project is really perfect. It could see this being a design that would easily be reproduced in quantity. Pinned. Please consider posting this at Funtastic Friday
What a great score! Love your creation1
Thank you so much, Fran!