For as long as I can remember, I have coveted a miniature Skotch Kooler. Originally from the “My Merry” line of vintage toys, it is as cute as it gets. And since I continued to come up empty-handed, I decided to see if I could recreate a plaid cooler from a wooden spool.
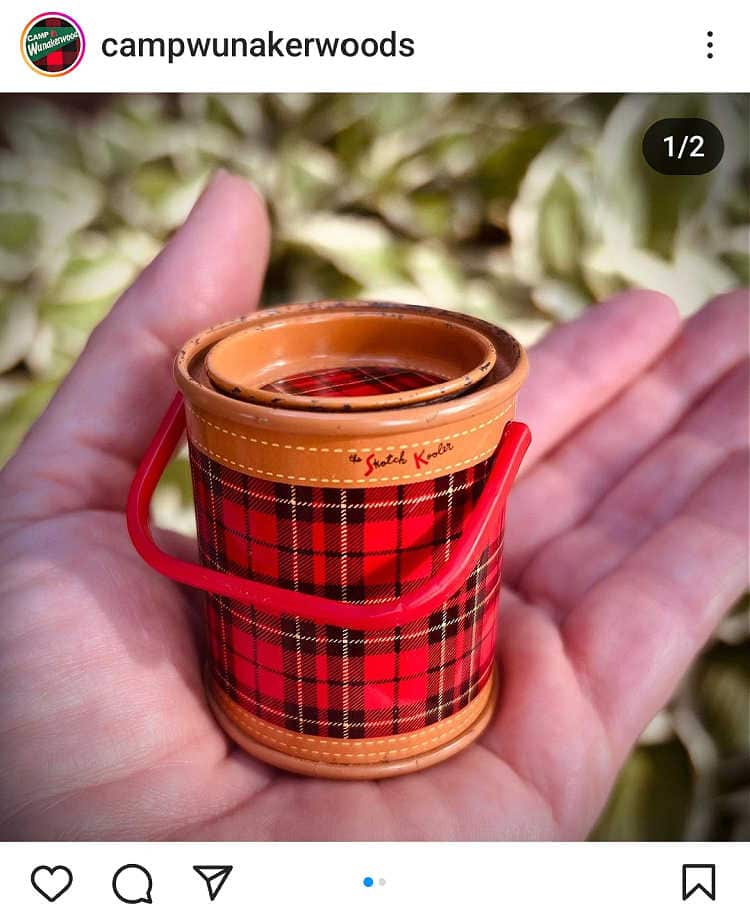
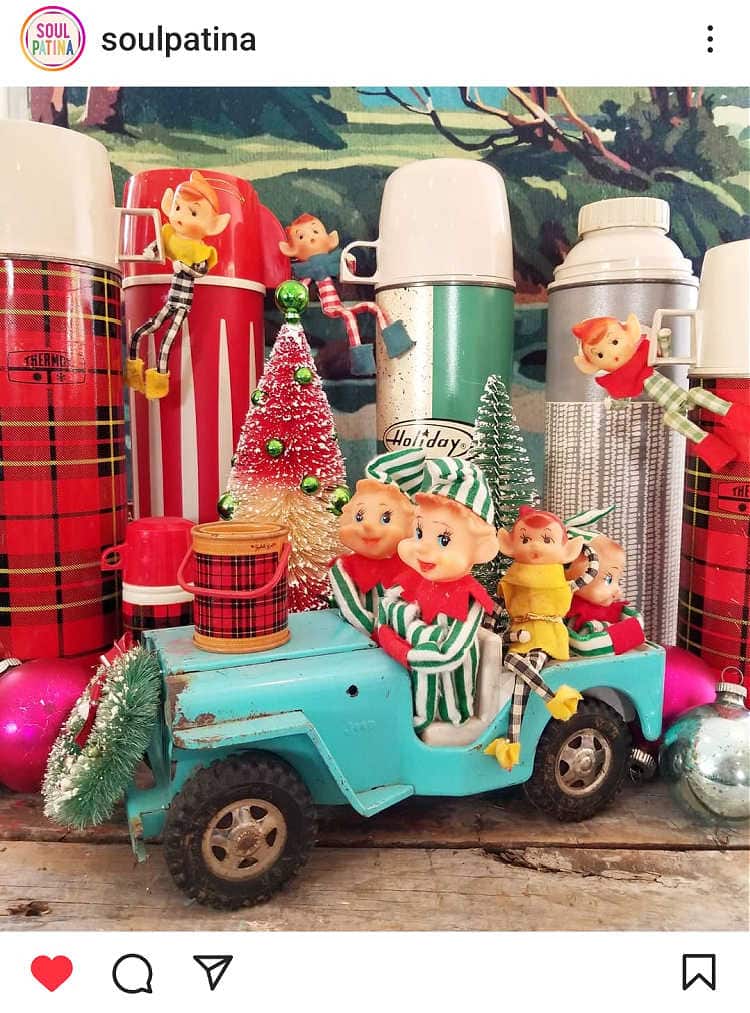
Now, if you aren’t familiar with the darlingness of the mini plaid cooler, allow me to show you some photos from Instagram, shared with the permission of the account owners.
First, this one from Camp Wunakerwoods, which is a perfect example of the petite size…
And this one from Soul Patina shows how darling it is with Christmas decor.
The truth is, I could buy one on Etsy or eBay, but I’d be paying upwards of at least $50-$60 for it. Y’all KNOW how thrifty I am, and as much as I’d love the real McCoy, paying that much for one isn’t something I’m willing to do.
So, Helloooooooo, Upcycling! Would a wooden spool from my stash work in its stead? Well, let’s find out…
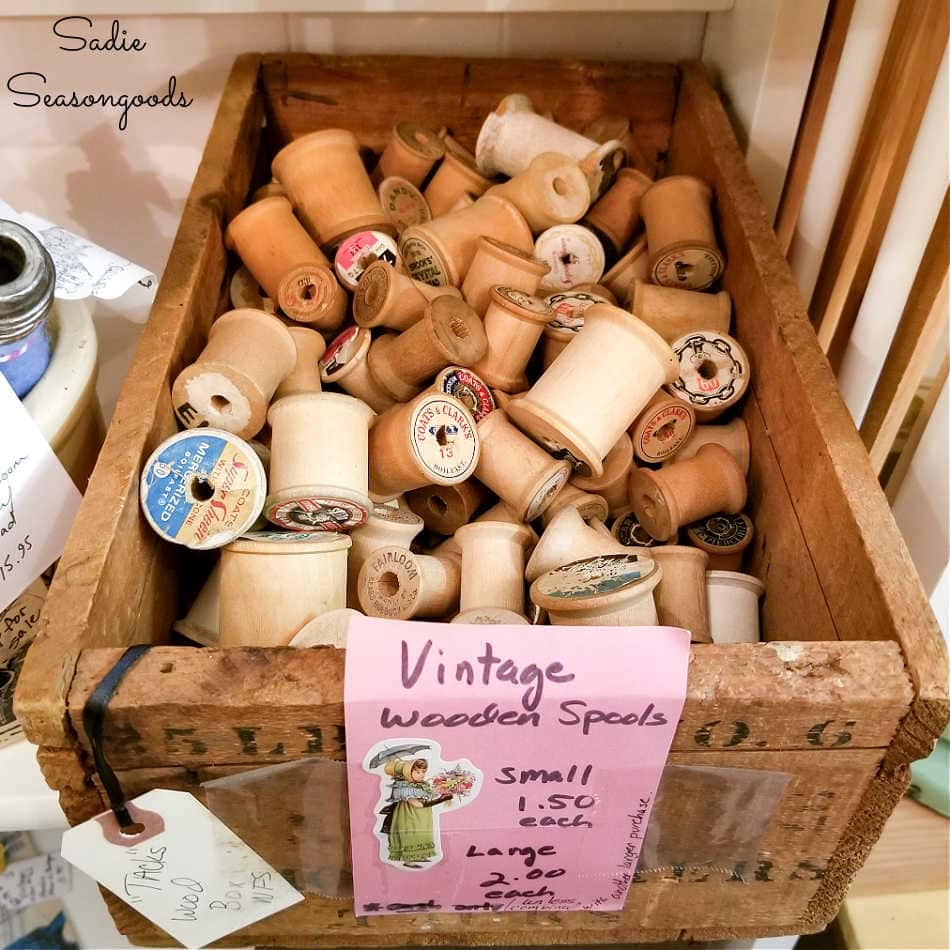
Image credit: Sadie Seasongoods.
This post contains affiliate links for your crafting convenience. As an Amazon Associate, I earn from qualifying purchases. All blue, bold, and underlined text is a clickable link, either to a product or to a related post.
Wooden Spool Craft Project
As far as wooden spools were concerned, I wanted to use the larger-sized ones- those that were at least 2” tall. And while I had some that worked, I also supplemented from this Etsy shop, as well.
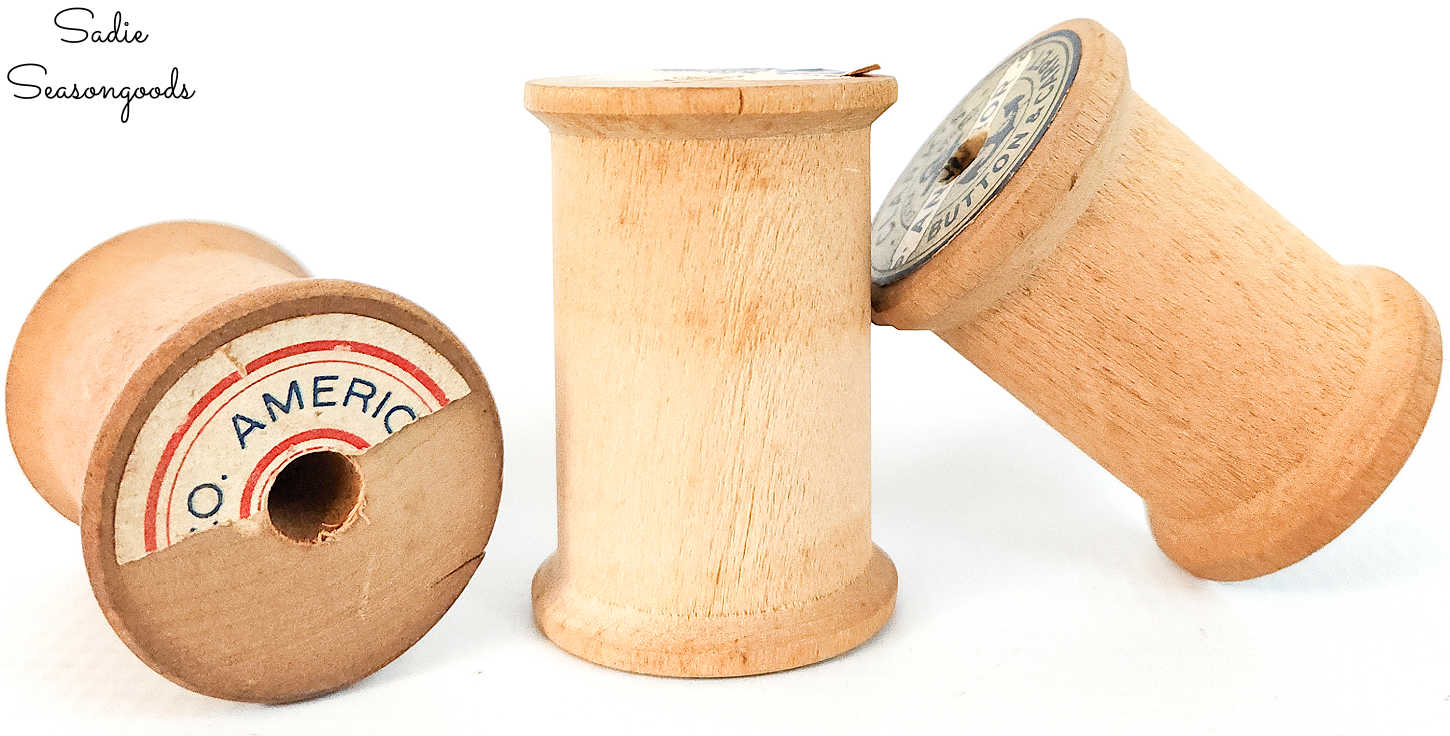
Image credit: Sadie Seasongoods.
Next, I gathered several other craft supplies: some dark mustard-y yellow craft paint, red twine, wooden buttons, but most notably, red plaid fabric. I found this dollhouse plaid fabric on Etsy, as well.
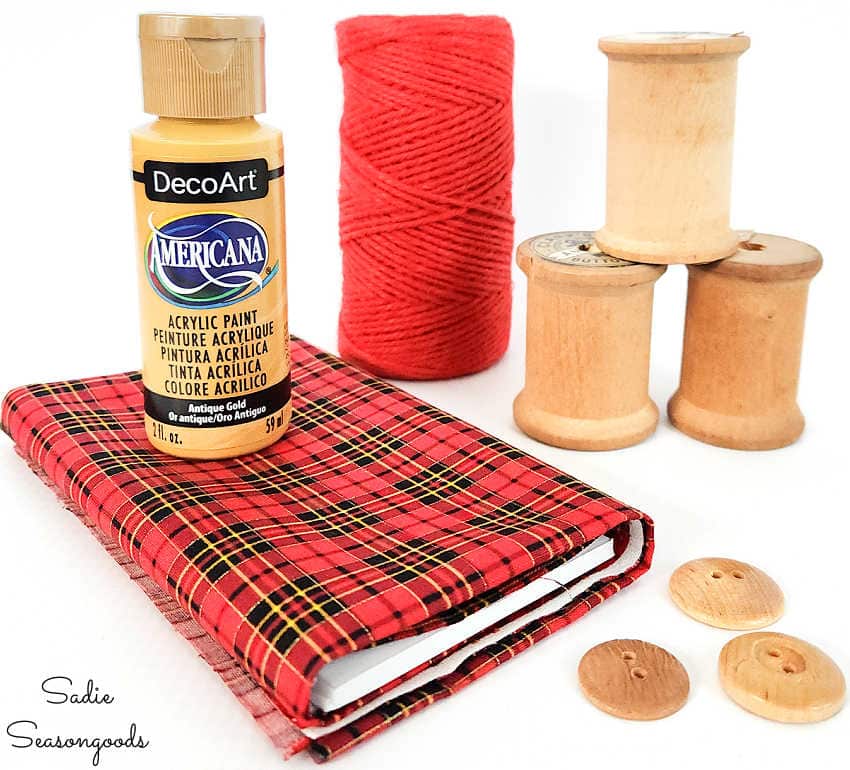
Image credit: Sadie Seasongoods.
The fabric is key to this project. Because you’ve got to find a red/black/yellow plaid pattern that is dainty enough to be thoroughly displayed on less than 2″ of spool space. Dollhouse fabric was perfect!
Then, it was time to paint the ends of the wooden spools. Now, in hindsight, a more caramel-colored craft paint might have been a closer match. But I was determined to use what I had on hand- I also figured that a dark non-metallic gold was better for Christmas, too.
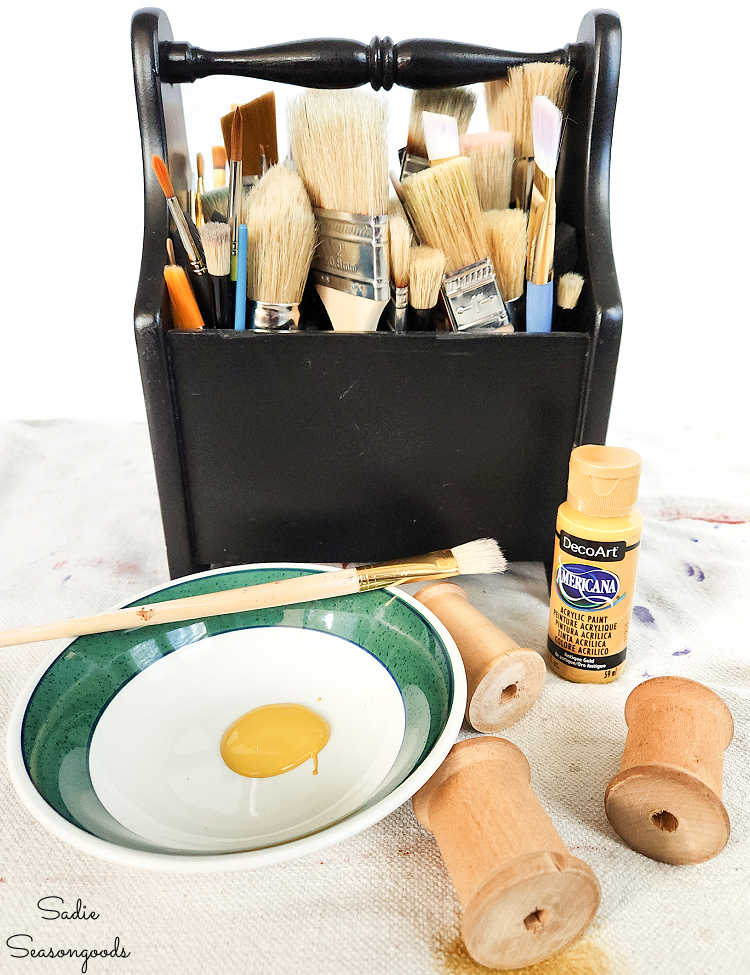
Image credit: Sadie Seasongoods.
I promise you I’d squirted some of the yellow paint into a bowl, even though it looks like a sunny-side-up egg!
Next, I painted the edges and one end (whichever side was missing a label or the label was torn/damaged) of each wooden spool. Two quick coats of mustard-gold paint each.
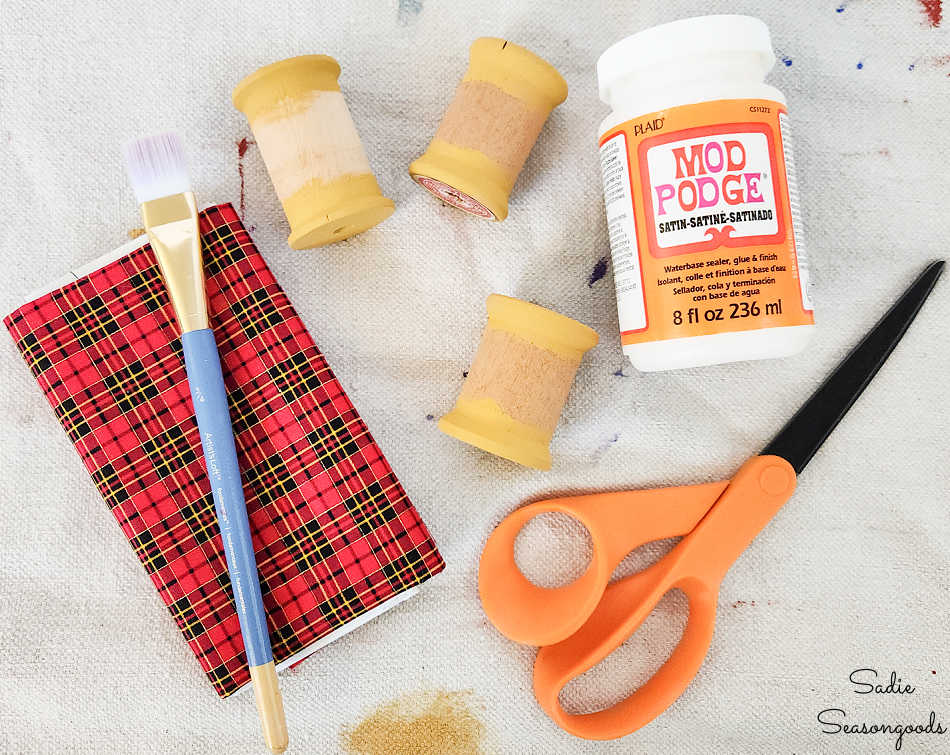
Image credit: Sadie Seasongoods.
After that, I made paper templates/patterns for the center of each spool. From there, I used the paper patterns to carefully cut out rectangles of fabric to wrap around each plaid cooler ornament.
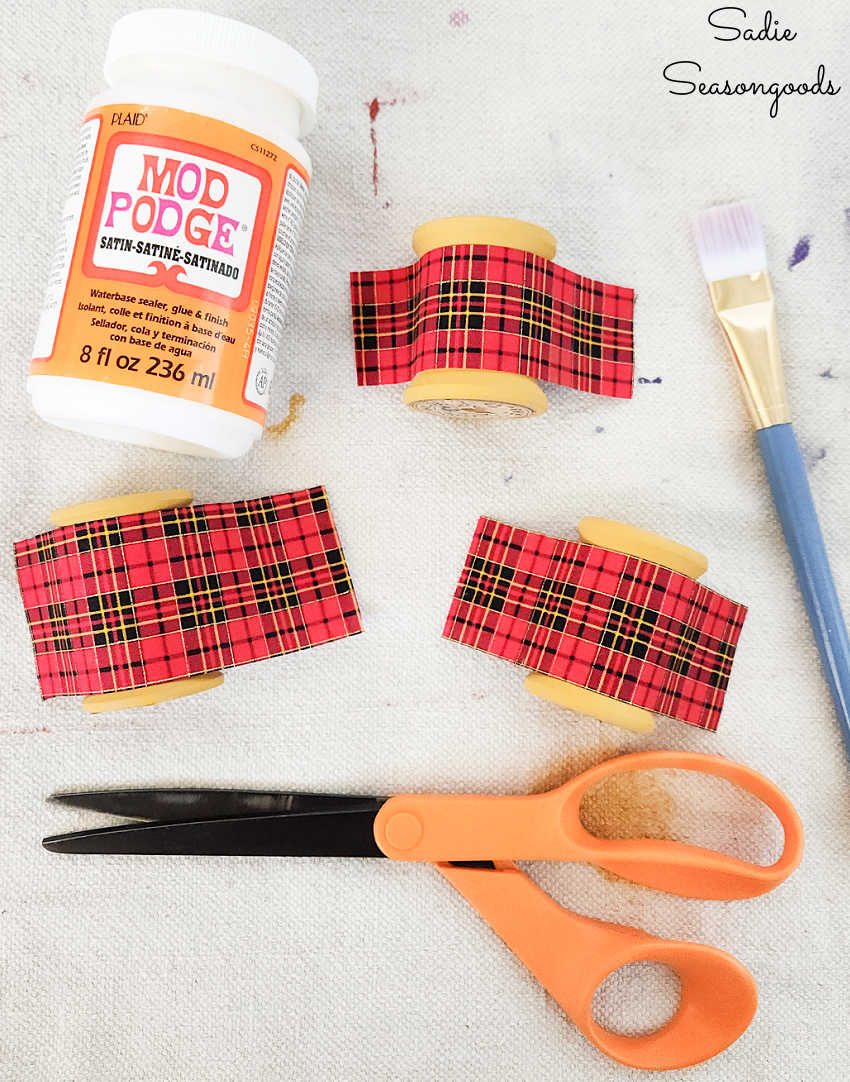
Image credit: Sadie Seasongoods.
This way, I didn’t waste any of the precious dollhouse fabric. Because if this experiment works out, I may make a dozen more!
Mini Plaid Cooler Ornaments
Then, I decoupaged the fabric rectangles around each wooden spool. First a layer of Mod Podge around the center; then I wrapped the fabric over the glue; and finally, I brushed another layer of Mod Podge on over the fabric.
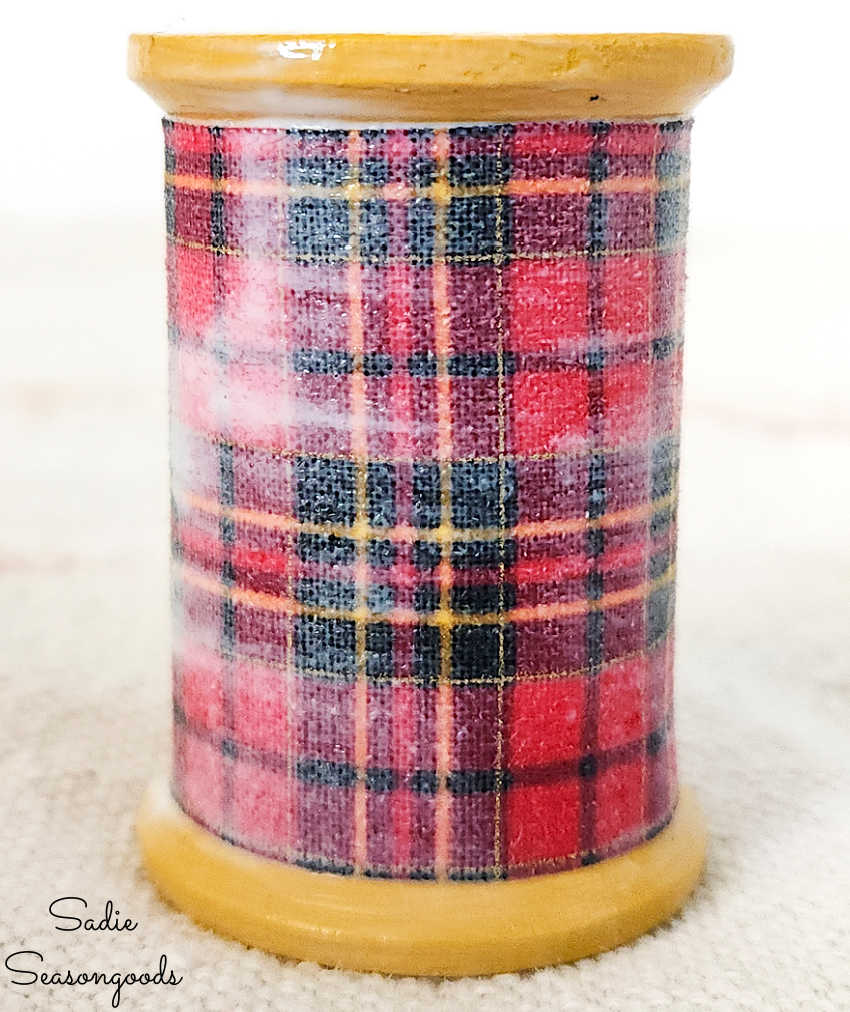
Image credit: Sadie Seasongoods.
I also brushed some Mod Podge over the painted ends of the spool so that the entire thing had the same satin finish.
When my spools had dried, this is how they looked. OH EM GEE, YOU GUYS…THEY KINDA SORTA LOOK LIKE MINI SKOTCH KOOLERS!
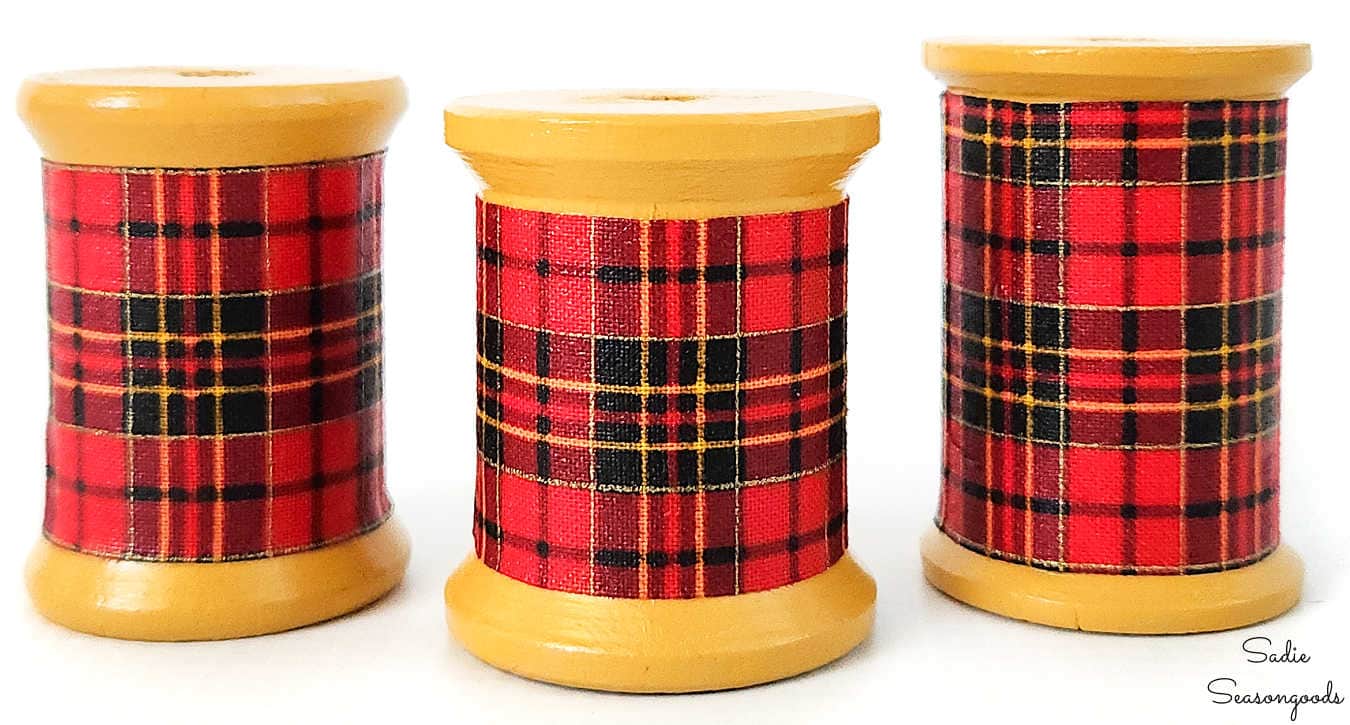
Image credit: Sadie Seasongoods.
Ok, calming down now- I still gotta put the finishing touches on them!
Next, I decided to cover up the spindle hole on top of the spools by making a makeshift ornament cap. This is where the wooden buttons come in handy- also something you can find on Etsy if you don’t have a stash on hand.
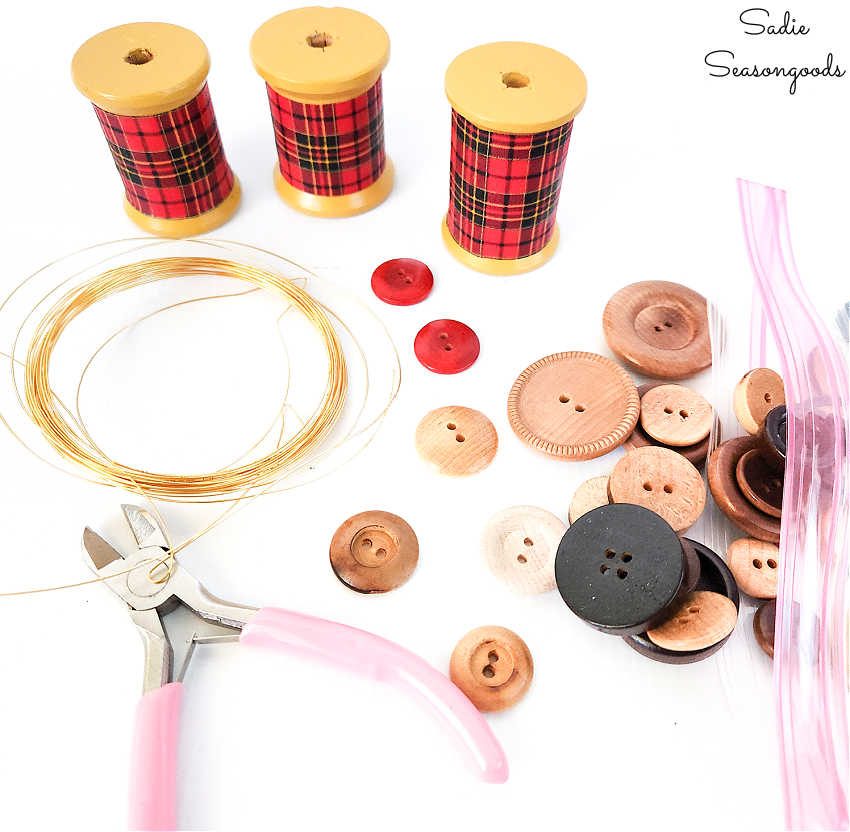
Image credit: Sadie Seasongoods.
And honestly, plastic buttons would probably work fine, as well. I just happened to find my wooden buttons first.
Additionally, I grabbed some thin gold jewelry wire and mini wire cutters. I cut off about 5 inches of wire; made a loop; twisted the wire twice; threaded the wire through the holes; twisted twice again; and snipped off the excess.
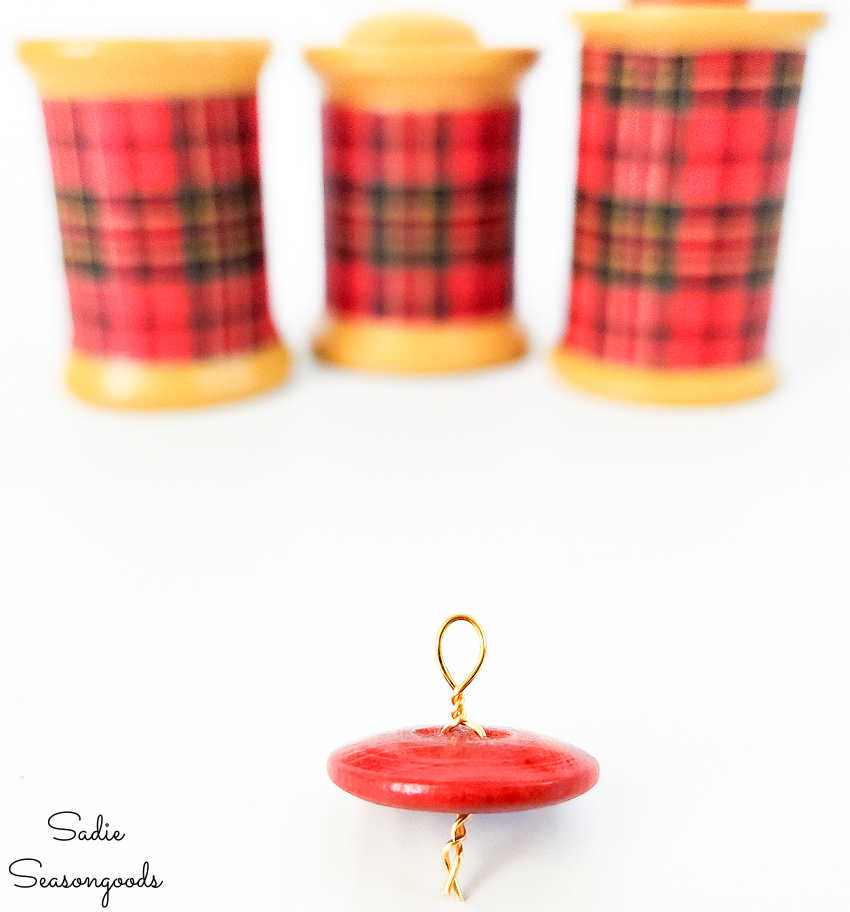
Image credit: Sadie Seasongoods.
After making a trio of “ornament caps” like this, I glued them to the tops of each mini plaid cooler.
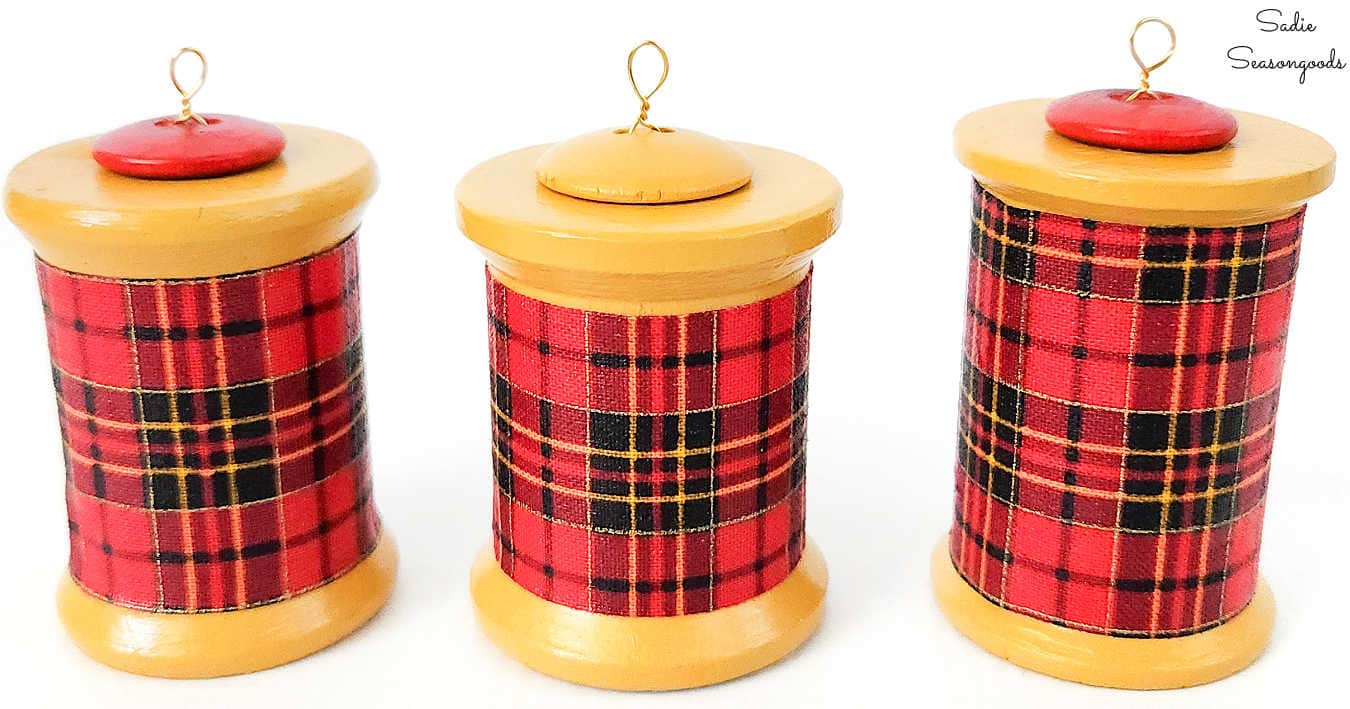
Image credit: Sadie Seasongoods.
I had two red buttons in my stash already. For the third, I simply painted a plain wooden button with the mustard-gold paint to match.
Lastly, I used the red twine to make handles for each Skotch Kooler ornament! I simply snipped off a few inches; tied a knot at one end; looped it over the spool to determine final length; and tied another knot. Then a dab of super glue on each knot to hold it in place.
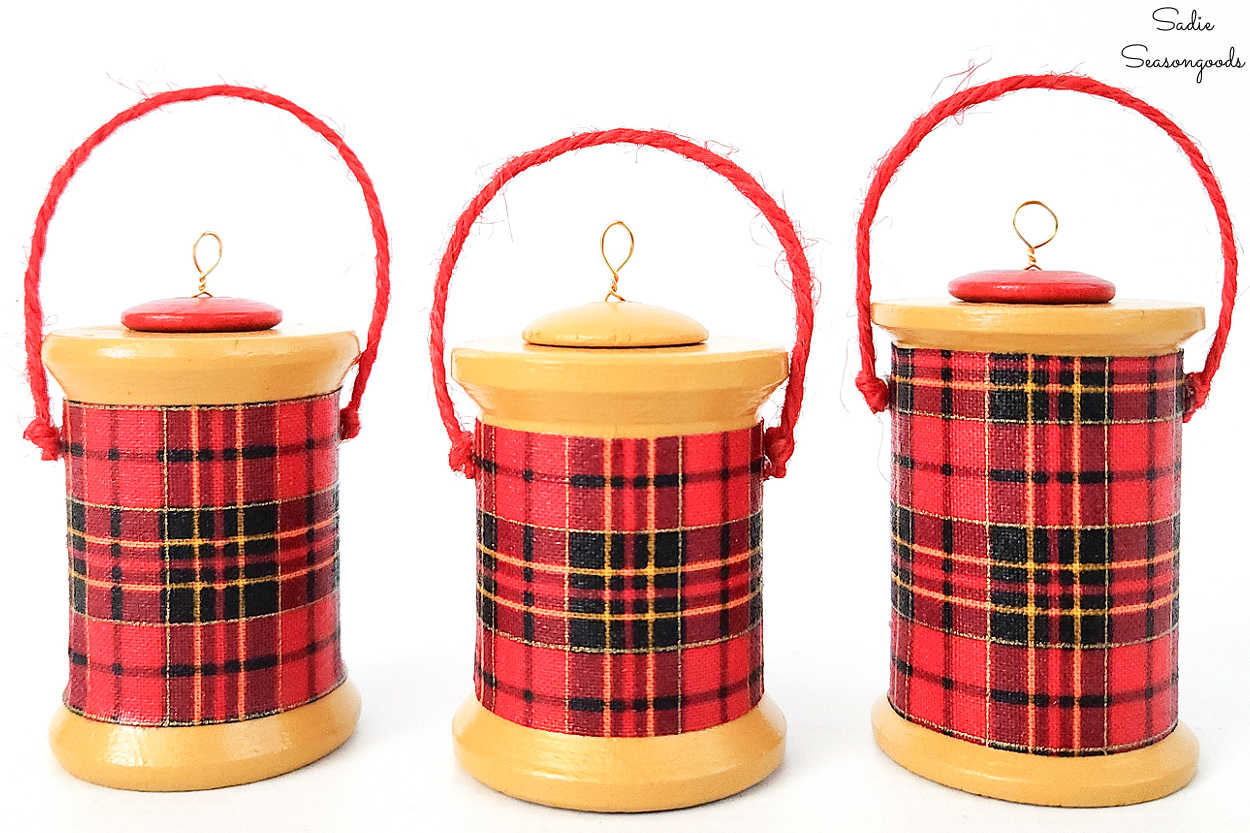
Image credit: Sadie Seasongoods.
Plaid Cooler Ornament from a Wooden Spool
Now, to hang them on the tree! Aren’t they absolutely adorable? I mean, not as cute as the real thing- even I know that! But they scratch that itch quite nicely…
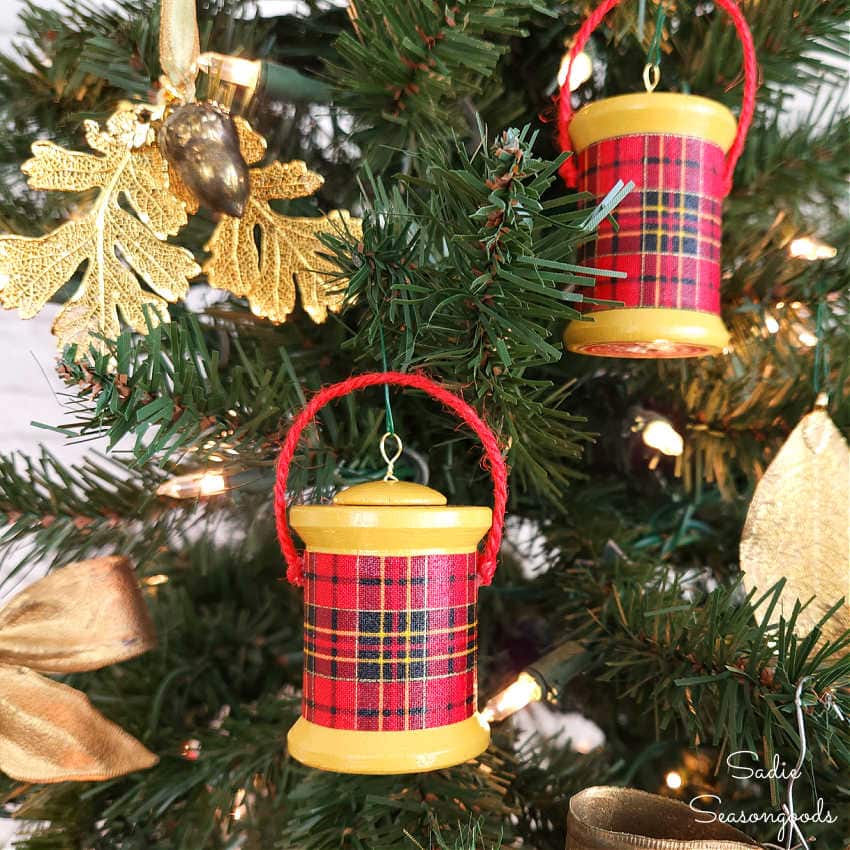
Image credit: Sadie Seasongoods.
Some of you may be wondering why I made the ornament cap when I could have used the red twine handle for hanging. Two reasons:
- I didn’t want the handle to get distorted because the wooden spool is heavy compared to the twine; and
- I didn’t trust the dabs of glue under the twine knots to hold the weight of the ornament.
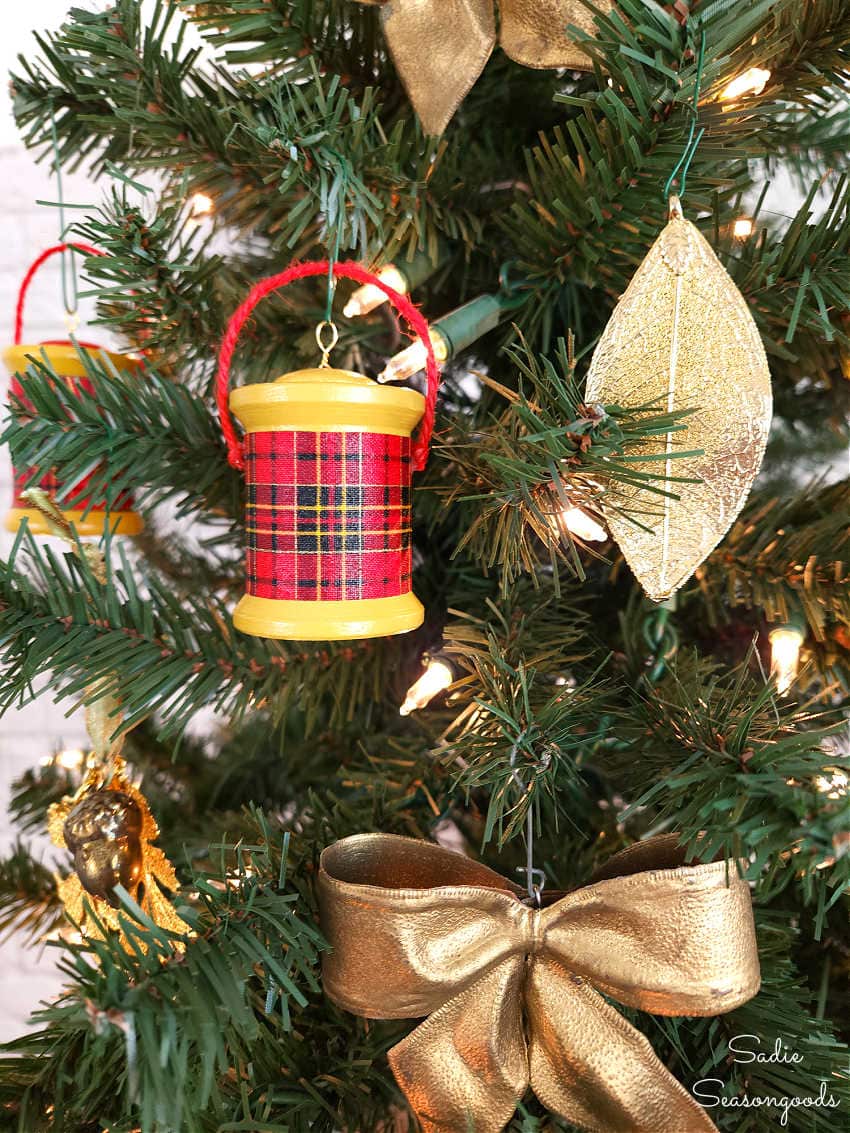
Image credit: Sadie Seasongoods.
Maybe, just maybe, I’ll stumble across a mini Skotch Kooler while thrifting one day, but I’m not holding my breath. And until then, my upcycled plaid cooler ornaments will do just fine!
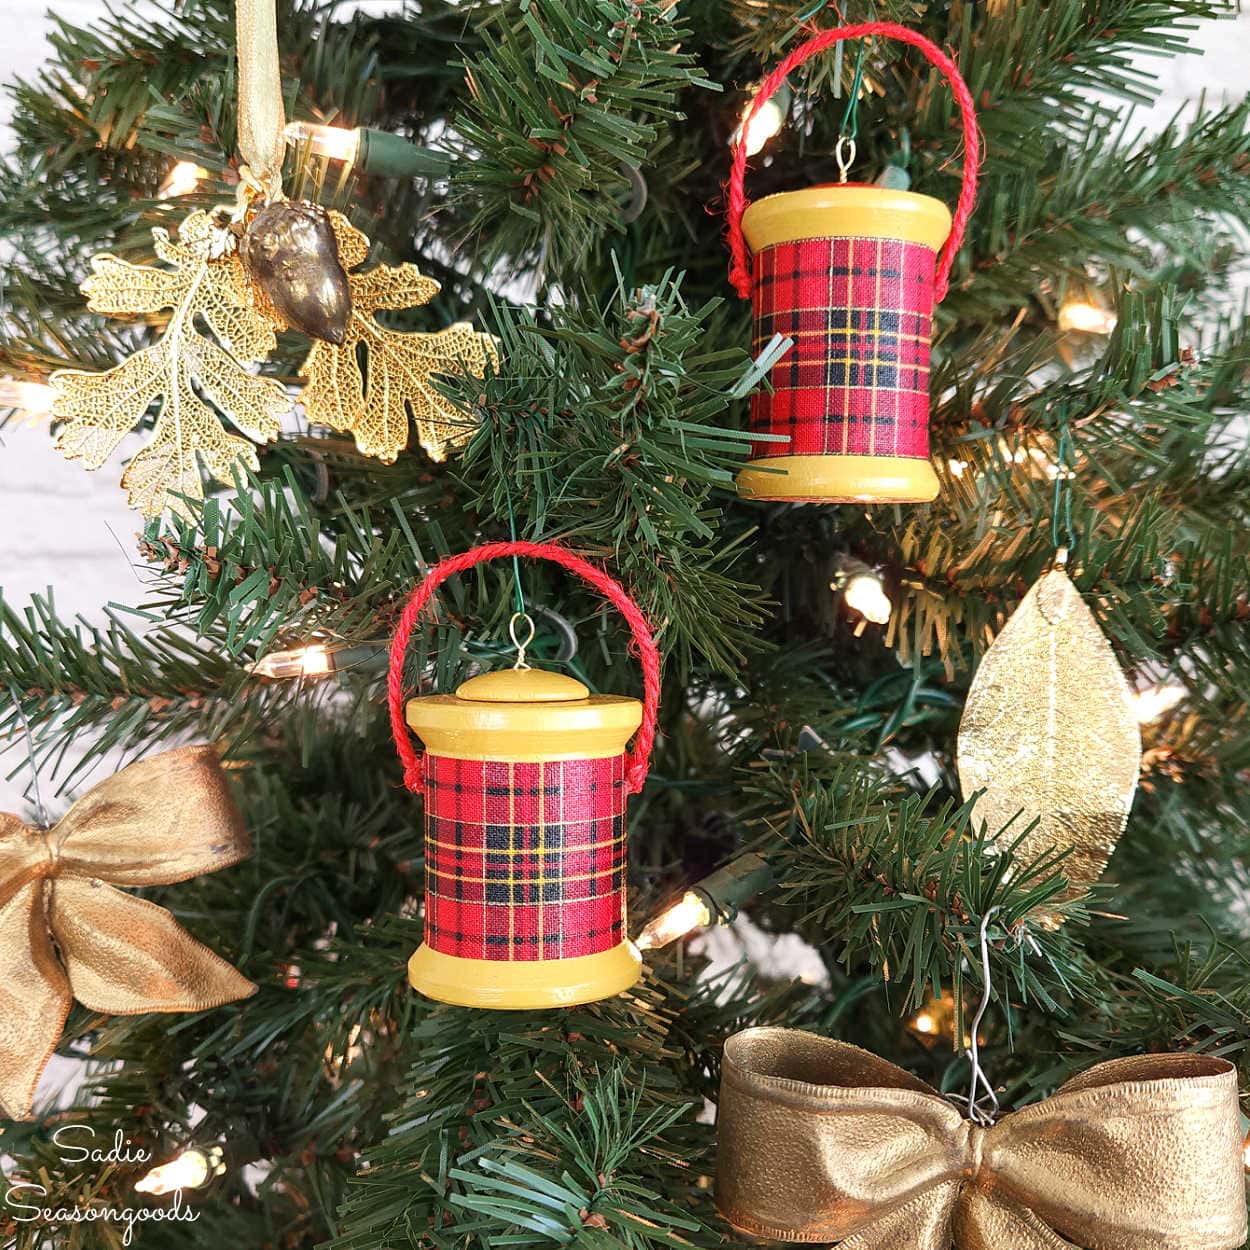
Image credit: Sadie Seasongoods.
Besides, I can make many more from the swatch of fabric I bought! So I could make an entire set if I wanted to- and for a lot less than the cost of a single authentic one.
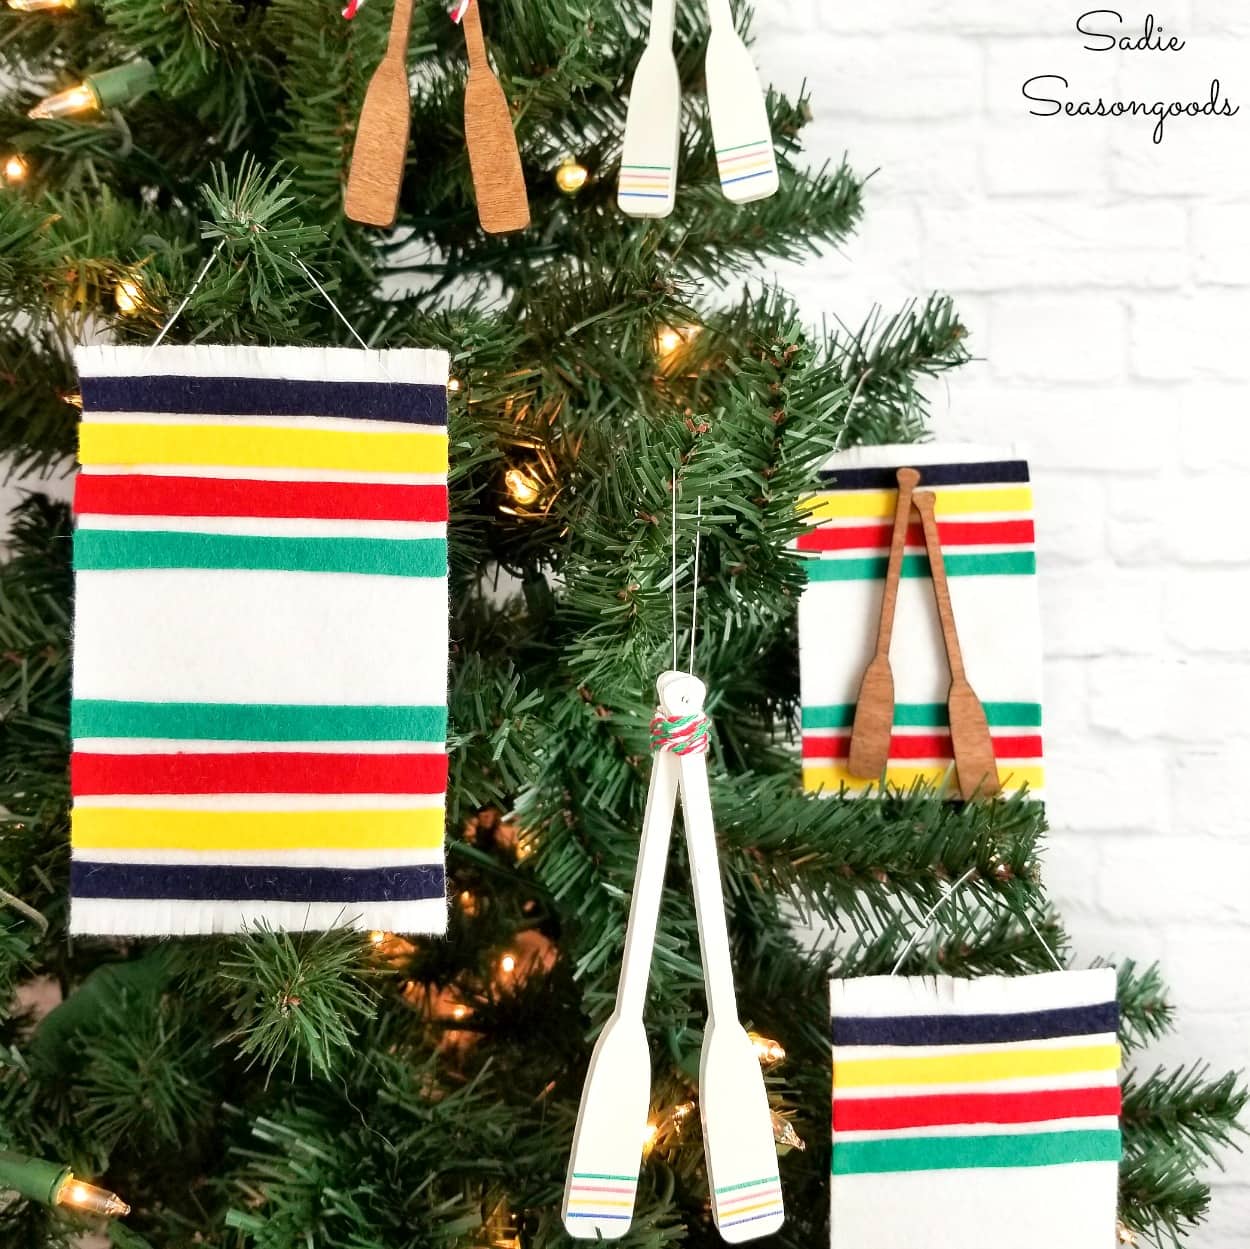
My mini cooler ornaments would pair nicely with my mini Hudson’s Bay Point Blanket ornaments on a vintage camp-inspired tree, wouldn’t they?
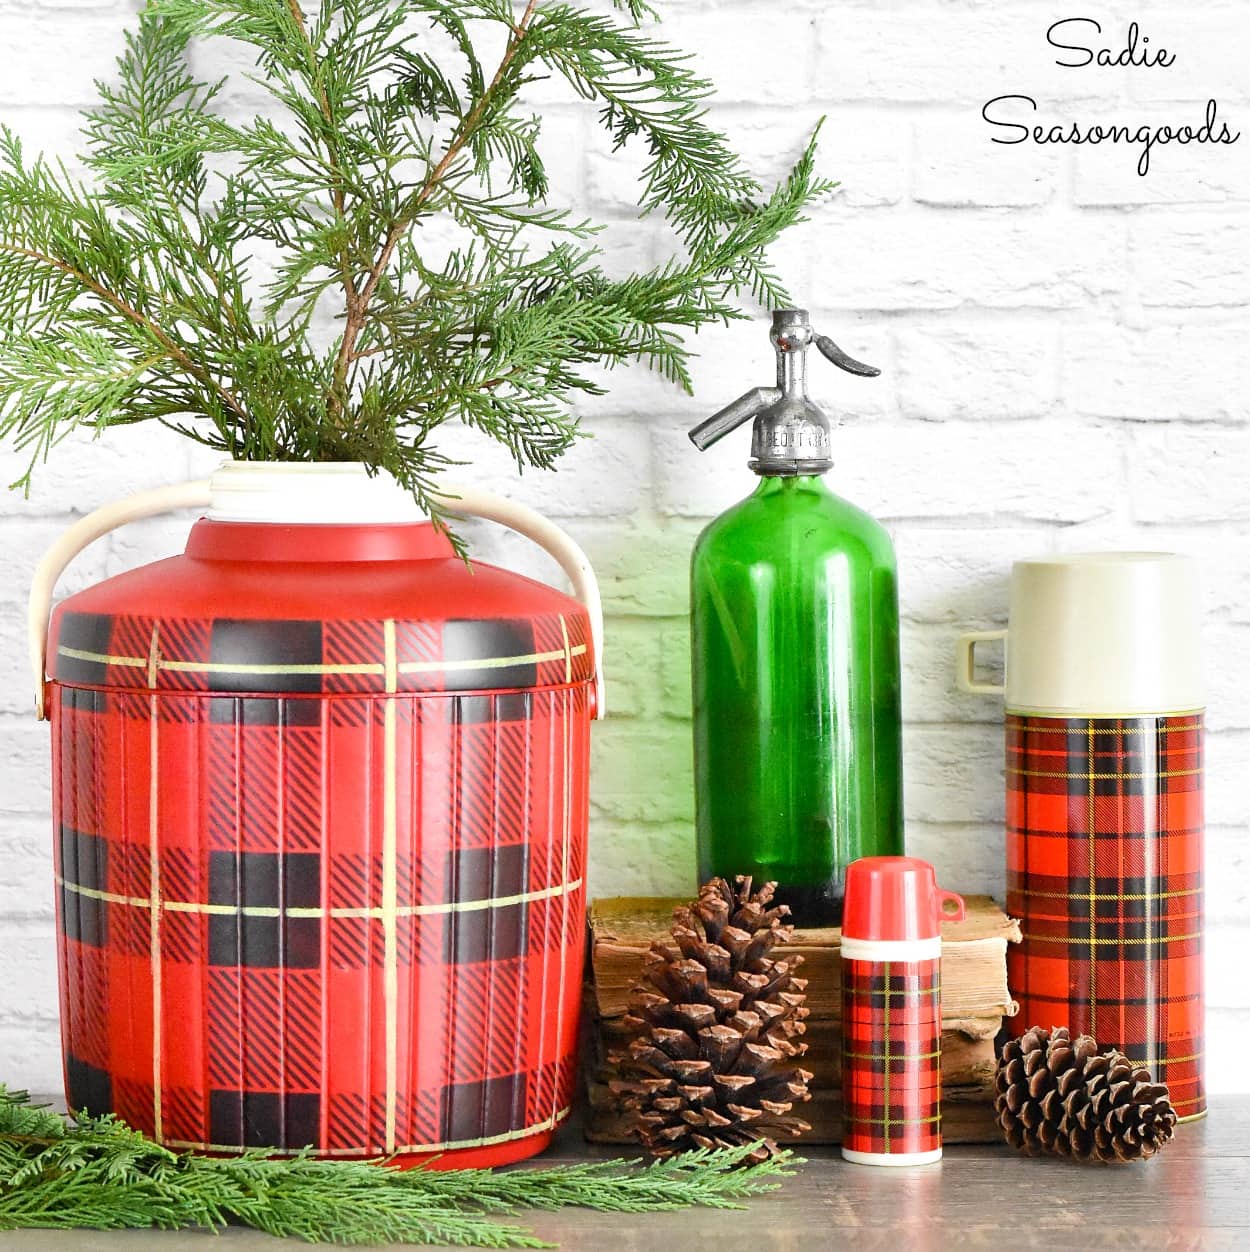
And if you’re a Skotch Kooler fan in general like I am, then you may also appreciate my larger faux version I made a few years ago, as well!
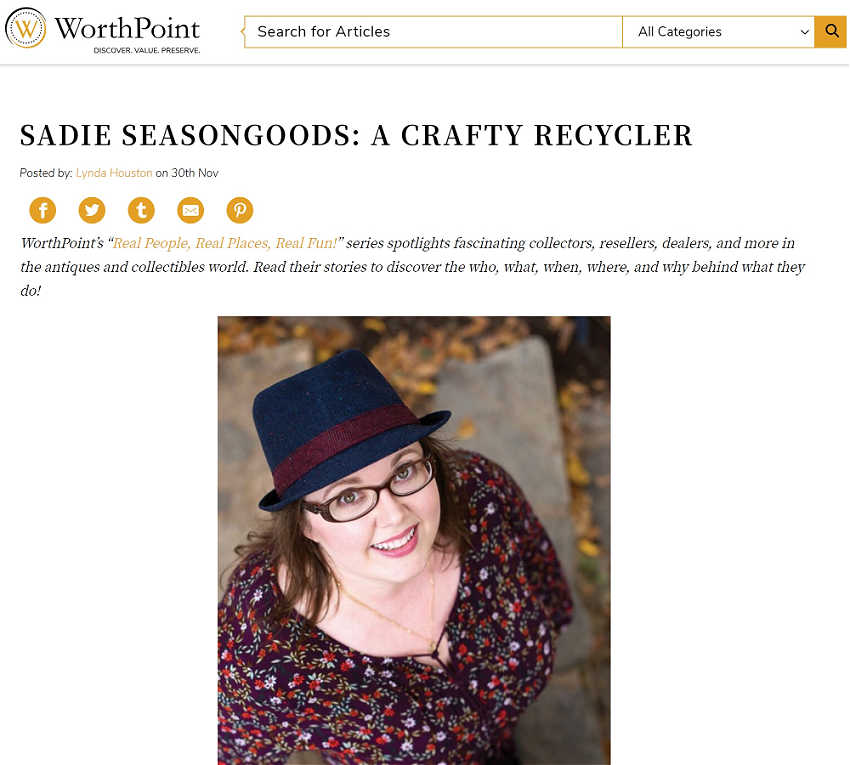
Oh, and here is something fun to read! I was recently interviewed by WorthPoint, a website that many of you antique dealers/sellers have likely used over the years. I hope you enjoy reading it!
Craft on!
S
Want to be notified when I publish my next upcycling project tutorial?
Join me on Social Media:
PIN ME!
Image credit: Sadie Seasongoods.
Sarah Ramberg is the owner of Sadie Seasongoods, a website that celebrates all things secondhand. From upcycling ideas and thrifted decor to vintage-centric travel itineraries, Sadie Seasongoods is a one-stop shop for anyone who loves thrifting and approachable repurposing ideas. Sarah is also the author of “Crafting with Flannel” and has been featured in numerous media outlets and magazines.


Totally works!
Thank you so very much!
Adorable!!!!
Thanks, Stacey!
Adorable. You could make a Skotch Cooler garland for your tree or mantel. Merry Christmas.
Totally! Oh gosh, wouldn’t that be the cutest thing ever?
Your upcycles are always BRILLIANT, Sarah! These coolers are spot on to the originals!
Don’t forget to join us over at the Creatively Crafty Linky Party every Wednesday through Sunday
https://creativelybeth.com/creative-crafts-linky-party/
Followed and Pinned!
Creatively, Beth
Thank you so very much, Beth!
I haven’t made an ornament in sooo long, this has truly inspired me…sooo cute, Sarah–Thanks for sharing♡
Thank you so much, Evelyn!
Those koolers are adorable! Pinned.
Thank you so much!