This, my friends, is a non-thrift store craft project, which I rarely ever do. But I have a very good reason for it. You see, I’ve partnered up with Upcycle Arts, the Creative Reuse Center here in Charlotte, NC. They happened to have a huge stockpile of donated clothespins and asked me to create a project with them. And with Christmas looming ahead, I decided to make some wooden snowflake ornaments with them.
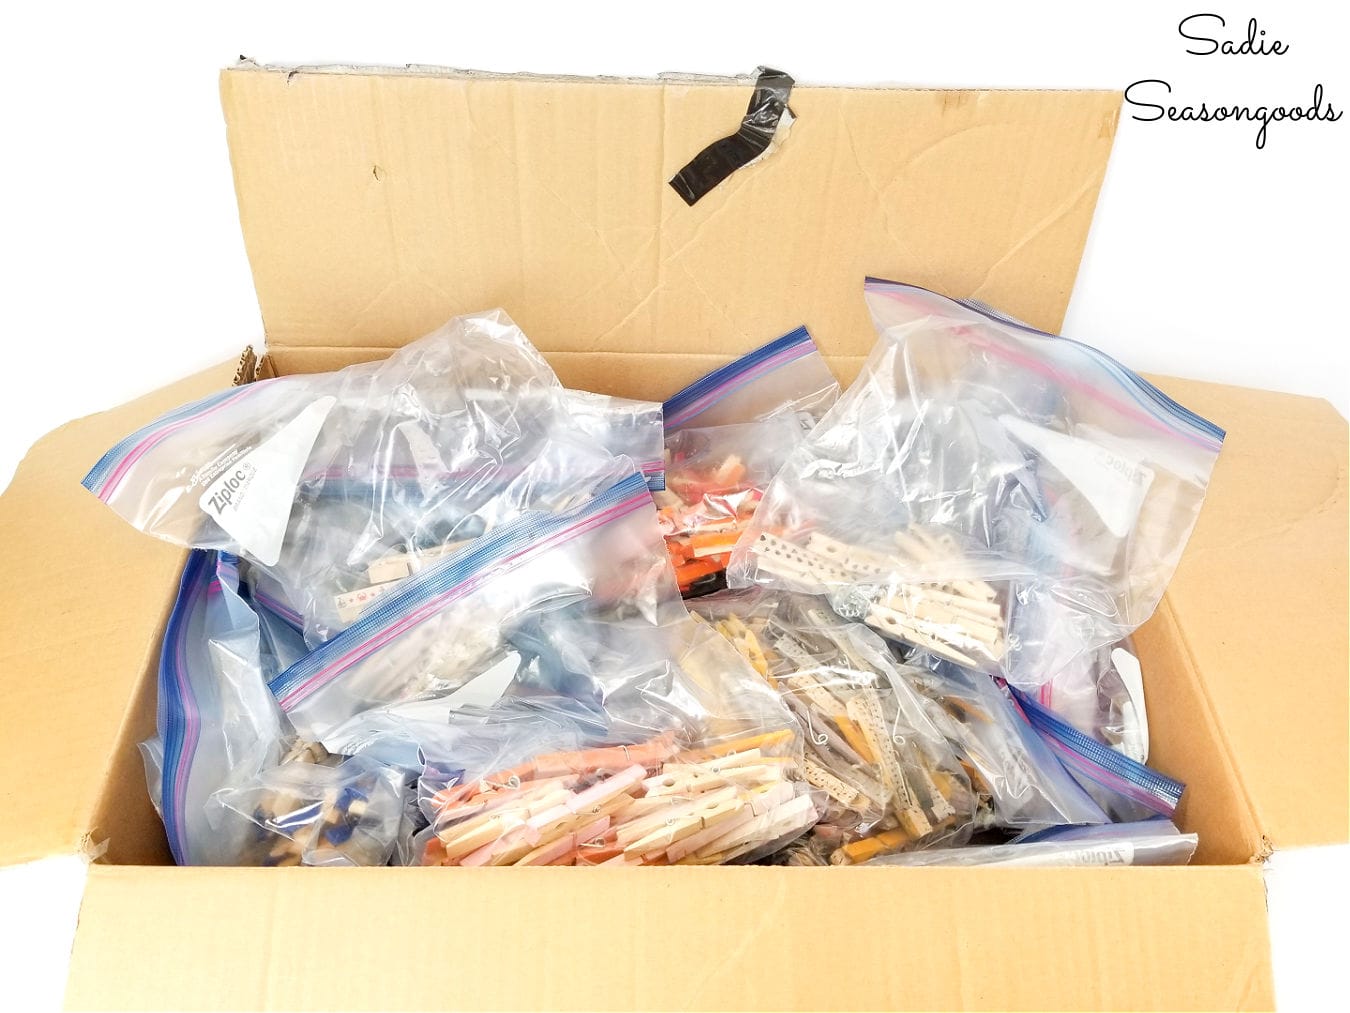
Image credit: Sadie Seasongoods.
Not familiar with Creative Reuse? Well, think of a craft store that is comprised solely of donated materials, some of which may be…unorthodox for crafting. And many of those materials are available in bulk, having been donated by a local manufacturer, brand, store, or similar. Perhaps it’s excess bottle caps from a brewery. Or a boatload of plastic buckets from a paint shop. Check out this comprehensive list of Creative Reuse Centers in the US to find one near you.
And in this case, a huge box of clothespins that came from an artisan who was changing her creative focus.
Anyway, I’ll be adding “Upcycle Arts Brand Ambassador” to my resume moving forward. And while that’ll mean a multitude of different things in the future, for now, it’s just creating an easy-to-replicate craft project with some of their donated materials: wooden clothespins.
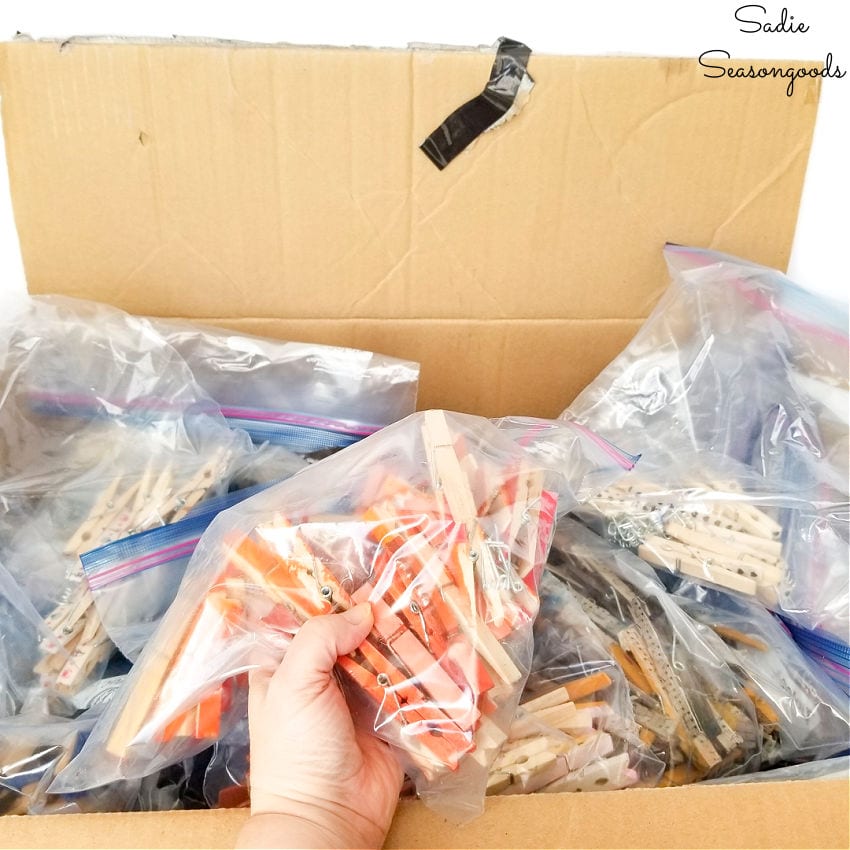
Image credit: Sadie Seasongoods.
This post contains affiliate links for your crafting convenience. As an Amazon Affiliate, I earn from qualifying purchases. All blue, bold, and underlined text is a clickable link, either to a product or to a related post. This post is also sponsored by Upcycle Arts.
Crafting with Wooden Clothespins
So, as I mentioned, I was given dozens and dozens of wooden clothespins that had been donated to Upcycle Arts. And it was my job to come up with a creative reuse for them.
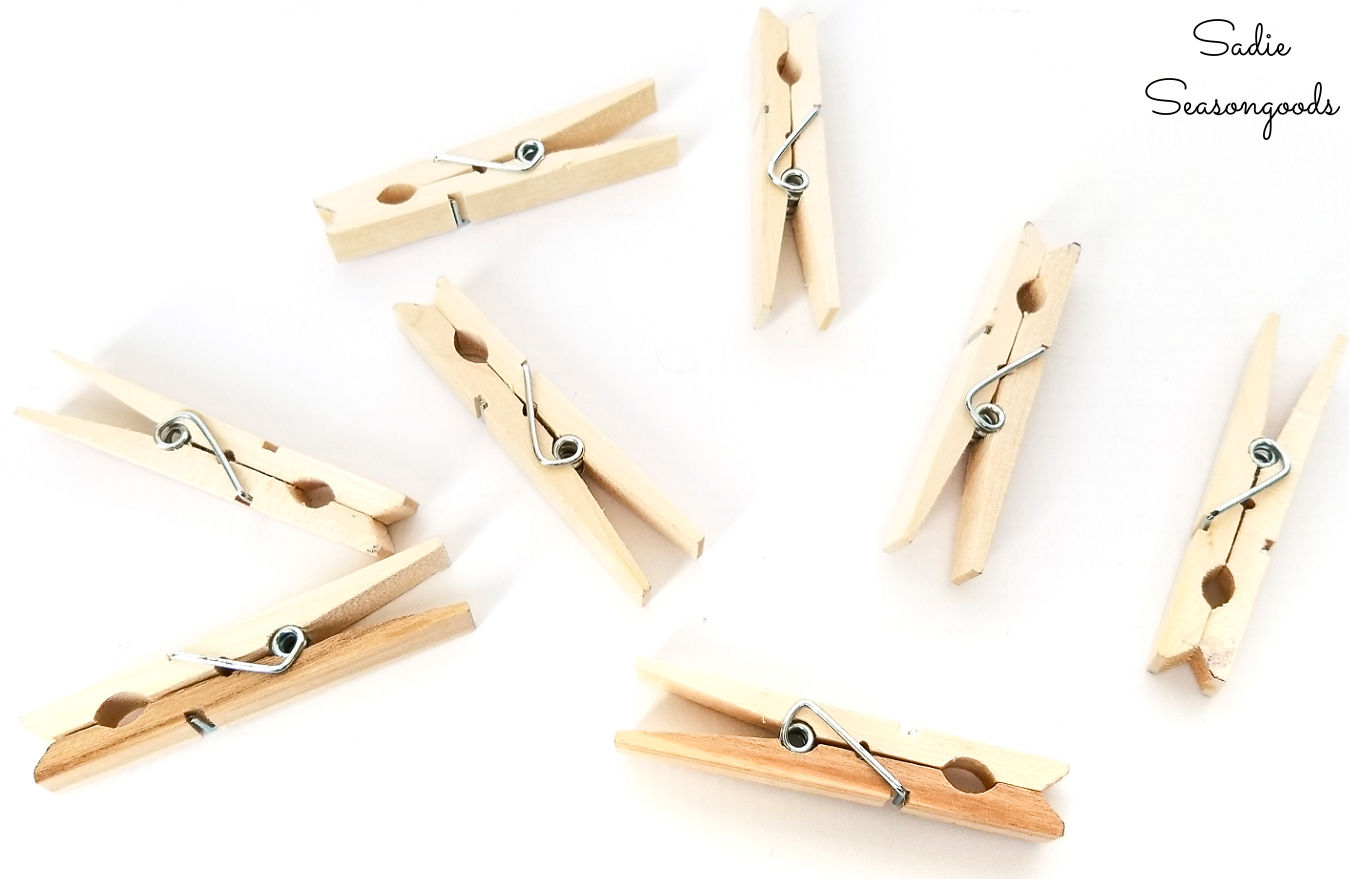
Image credit: Sadie Seasongoods.
Since I planned on making a wooden snowflake ornament with them (or, more likely, SEVERAL ornaments), I needed to take them apart first.
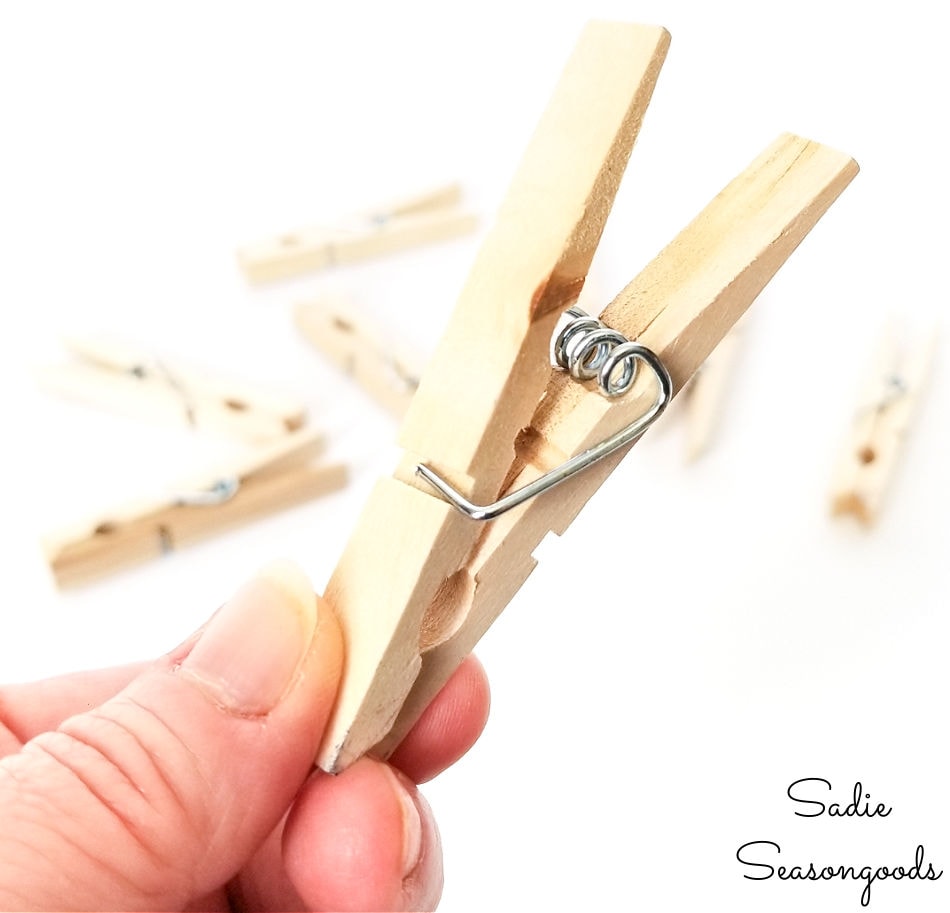
Image credit: Sadie Seasongoods.
First, I very carefully removed the spring from the clothespins by twisting them ever so gently. This allowed me to effectively slide one wooden half out from the spring. Which then allowed me to slide the spring off the other half.
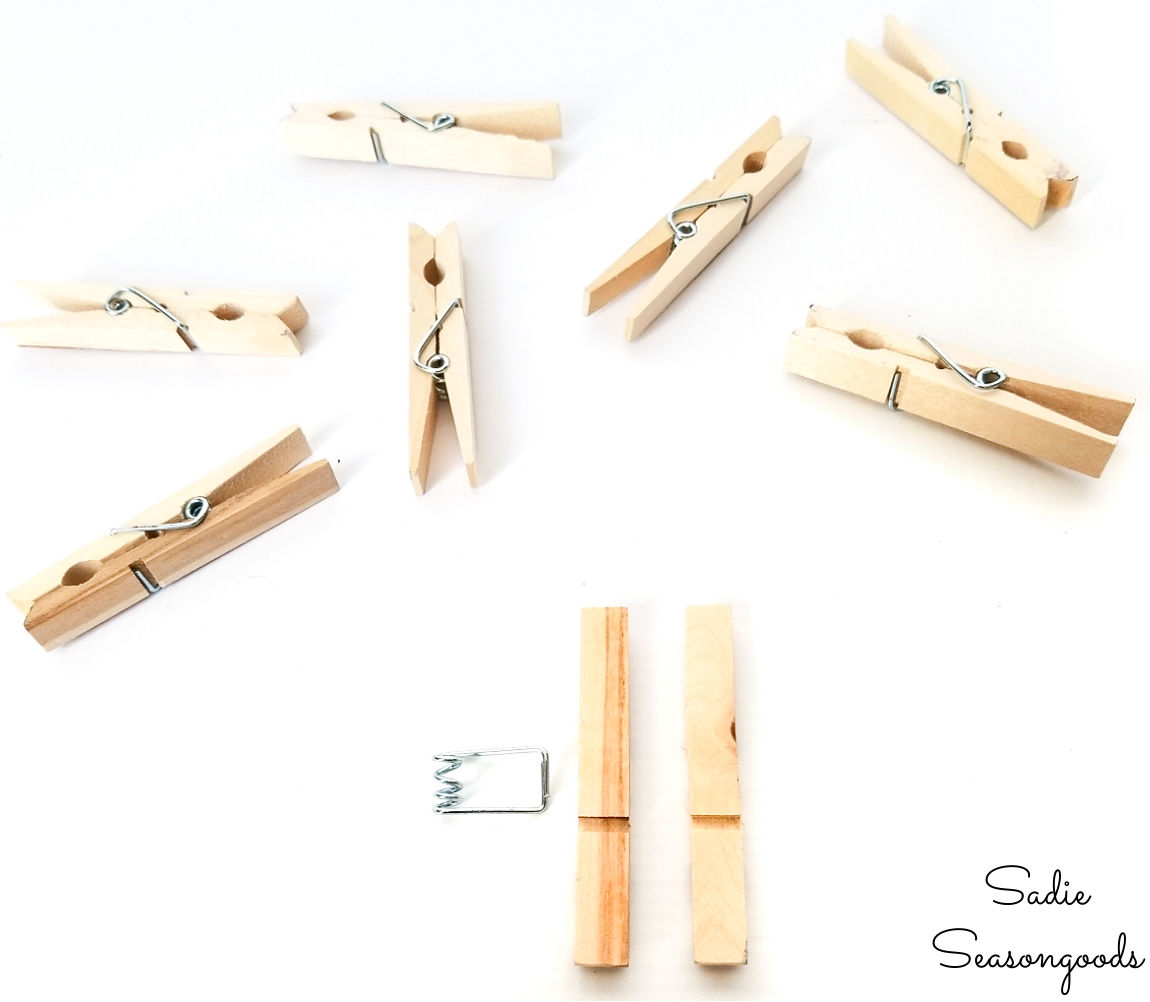
Image credit: Sadie Seasongoods.
Ultimately, I did this to eight individual clothespins. Which is the number I needed to make a wooden snowflake ornament.
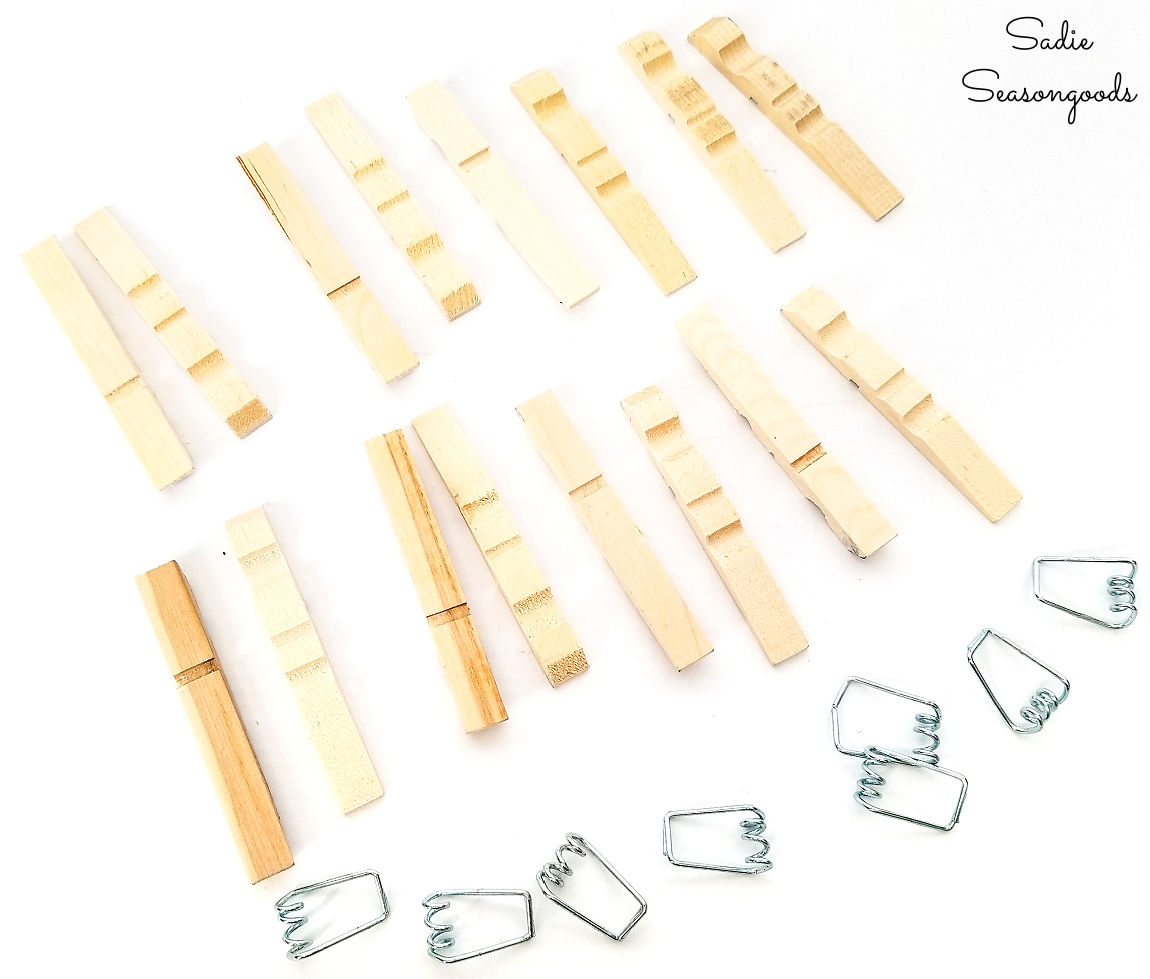
Image credit: Sadie Seasongoods.
Now that I had all the individual pieces that I needed, it was time to start forming them into large wooden snowflakes!
Building the Wooden Snowflake Ornaments
Next, I took two halves of a wooden clothespin and glued their long flat sides together. Basically like an inside-out clothespin with the spring removed.
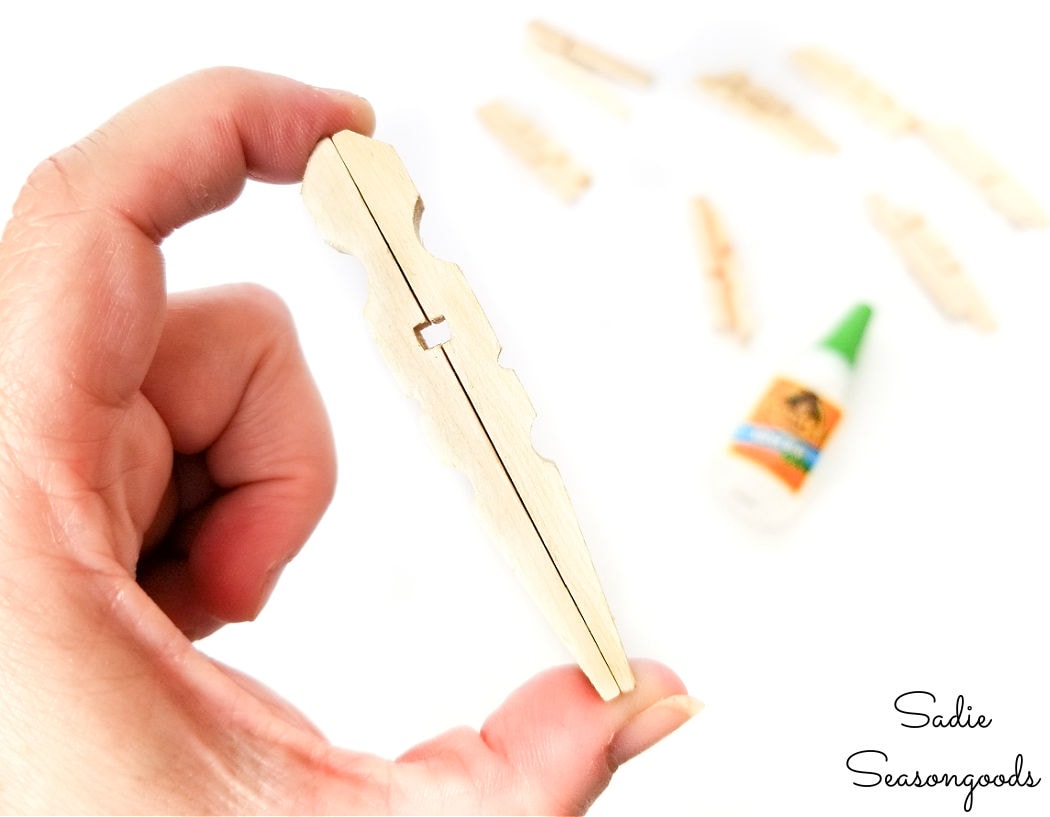
Image credit: Sadie Seasongoods.
I used super glue for this project instead of hot glue for a couple of very specific reasons. One, I didn’t want thick glue that create a space between the clothespin halves. And two, I didn’t want thick glue to be pushed out the sides, either.
I then continued to glue the snowflake “arms” together until I had eight of them.
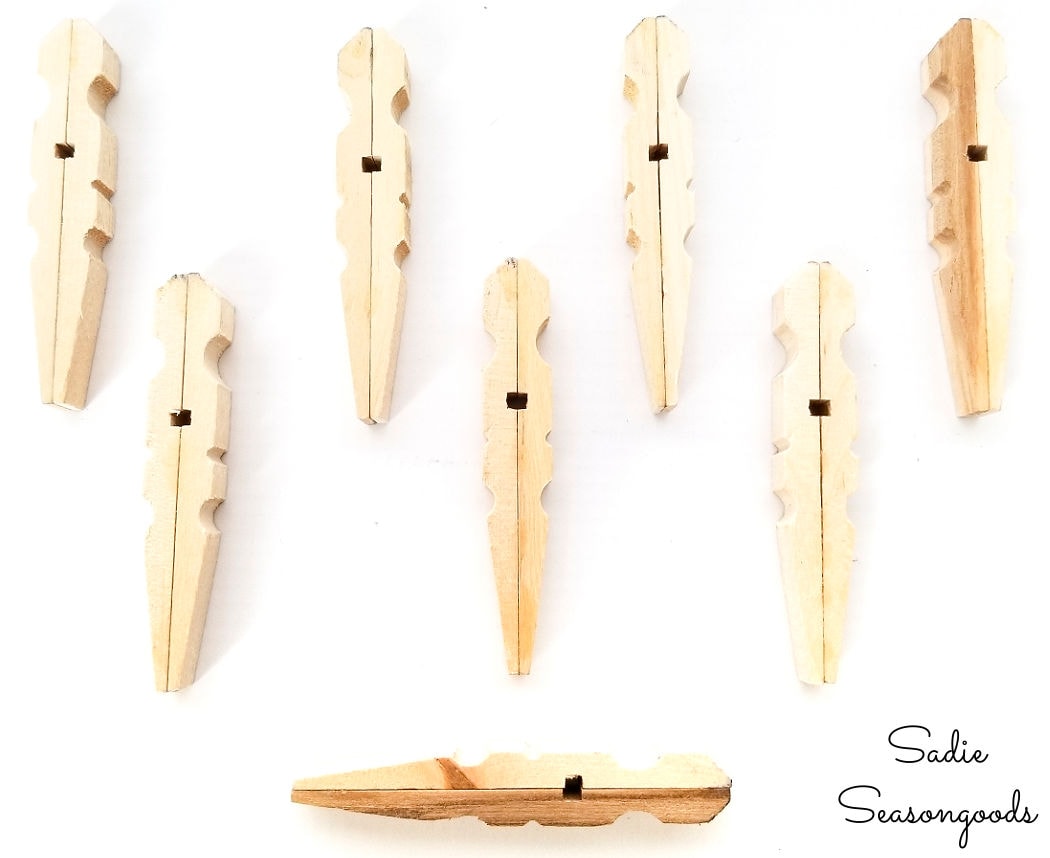
Image credit: Sadie Seasongoods.
After that, I selected four arms and glued them together in a cross shape (glued together at the angled sections of each arm). This is a delicate process that uses very little glue because of the tiny surface areas.
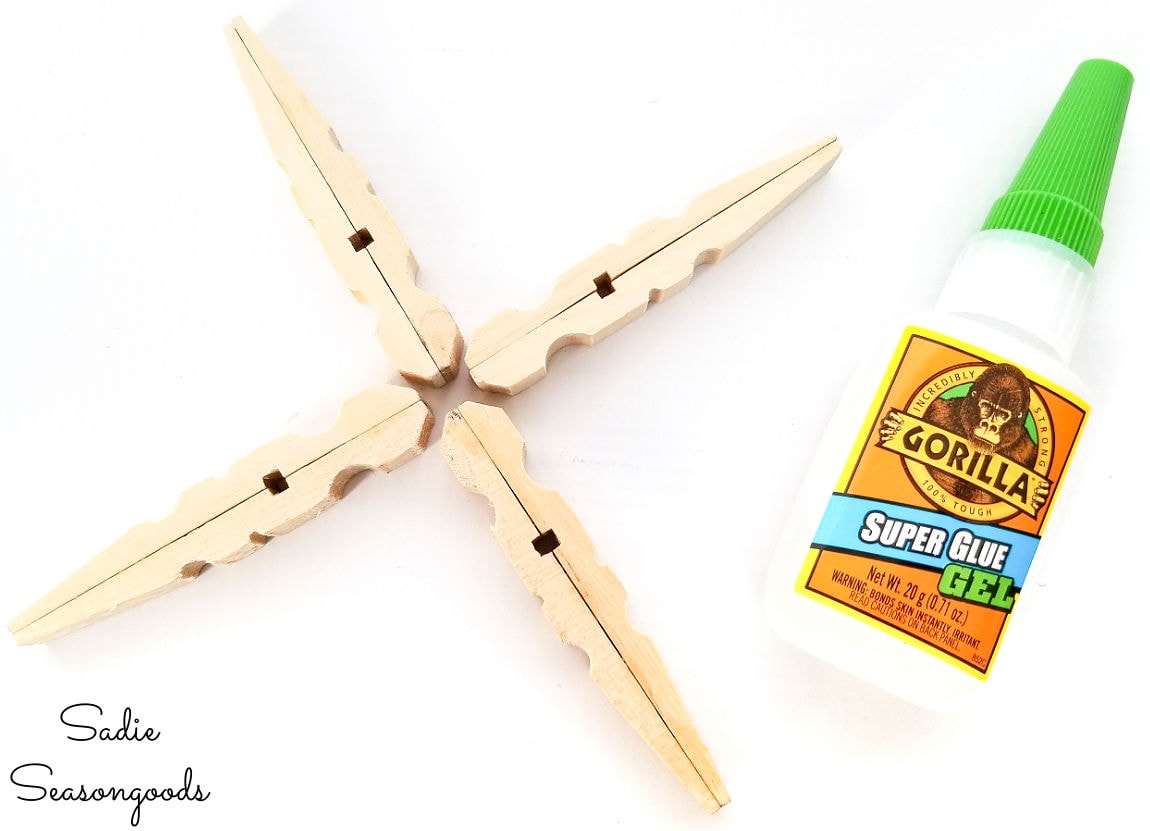
Image credit: Sadie Seasongoods.
And yes, I did the same thing with the remaining four arms so that I had a pair of “X” shaped crosses.
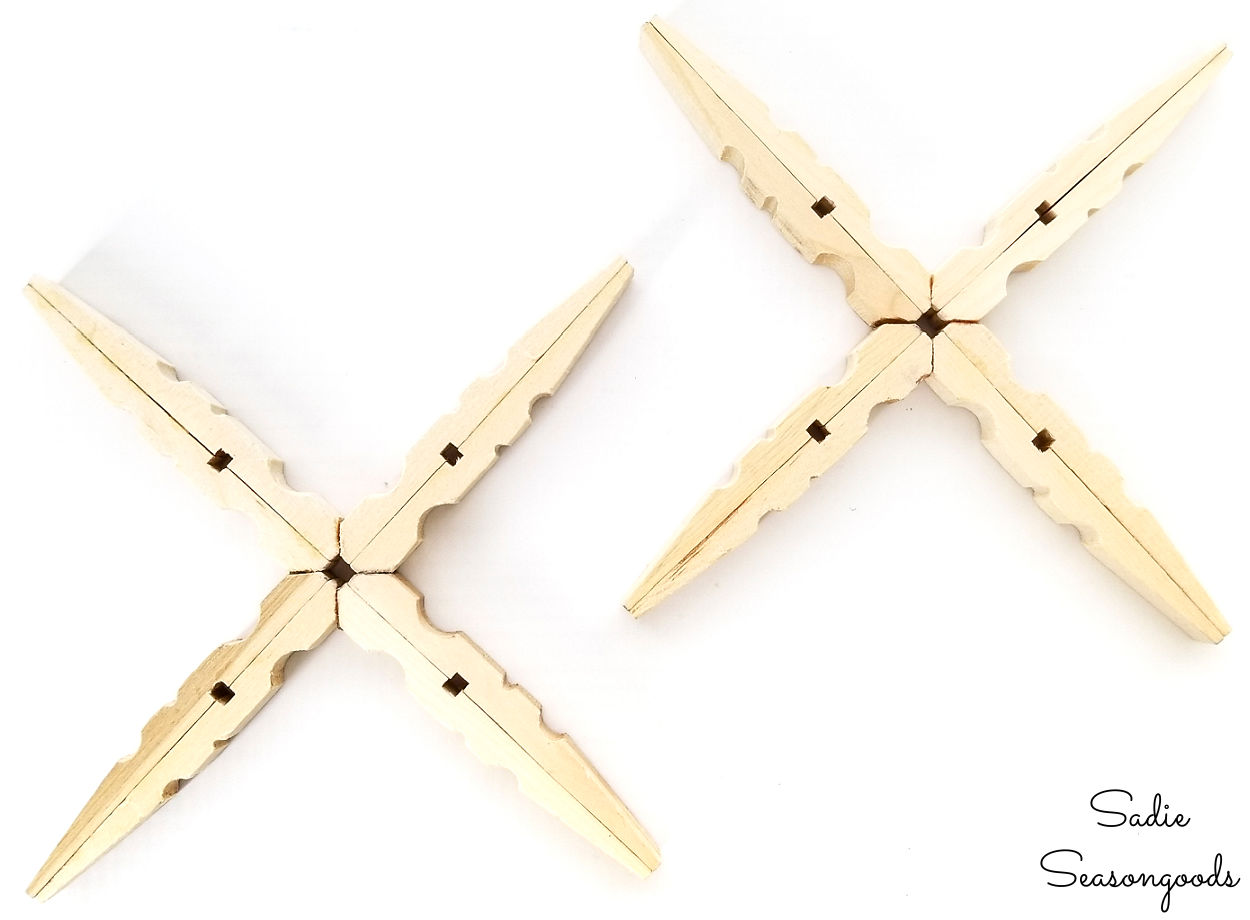
Image credit: Sadie Seasongoods.
Finally, I glued the two crosses together. I simply laid them on top of one another, differing by 45°!
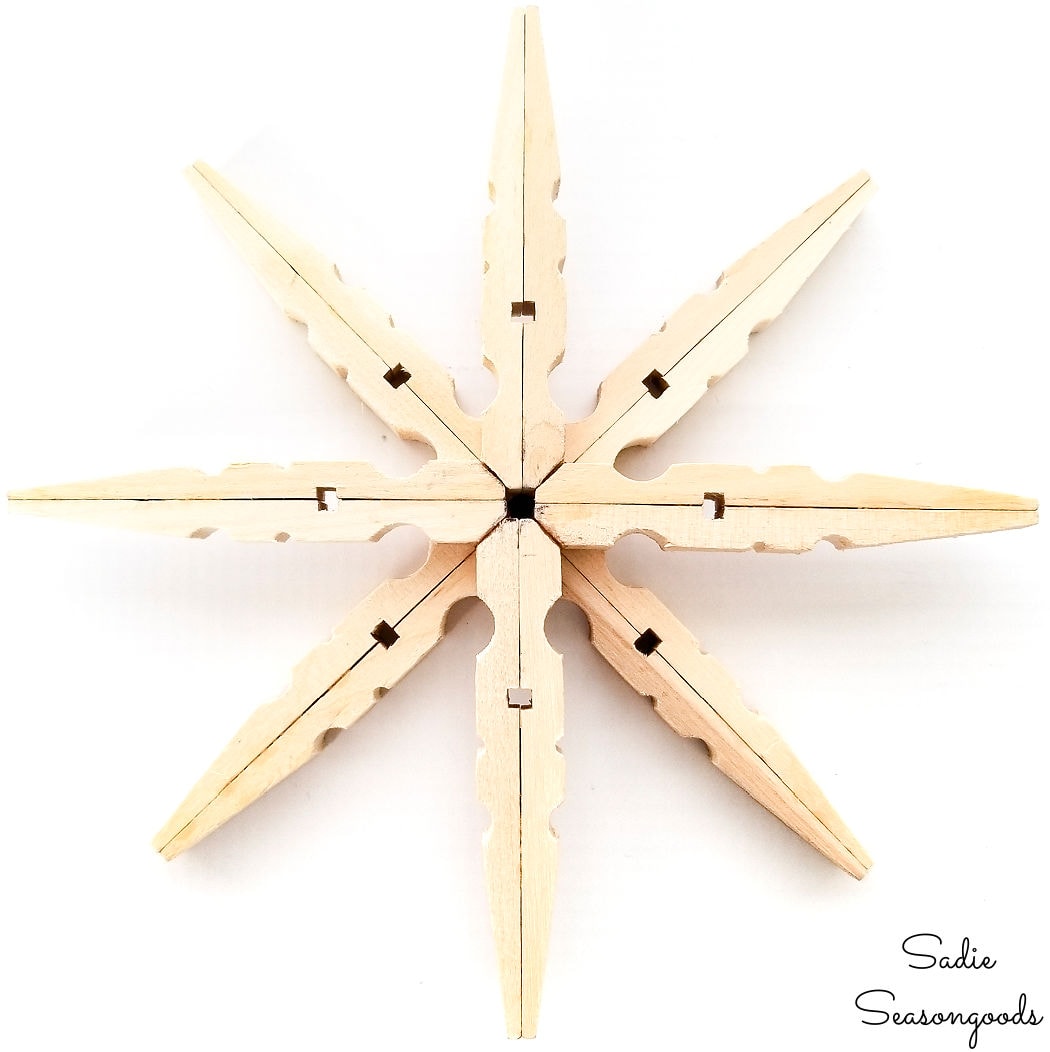
Image credit: Sadie Seasongoods.
Finishing the Wooden Snowflake Ornaments
Since I had SO MANY clothespins to craft with, I ended up making four clothespin snowflakes. But, as much as I loved how the wooden snowflake ornaments looked just as they were, I decided they needed a little more pizazz.
Paint and vintage rhinestone brooches.
First, I painted three of them; one in white, one in sliver, and one in blue. I left one as bare wood, as well.
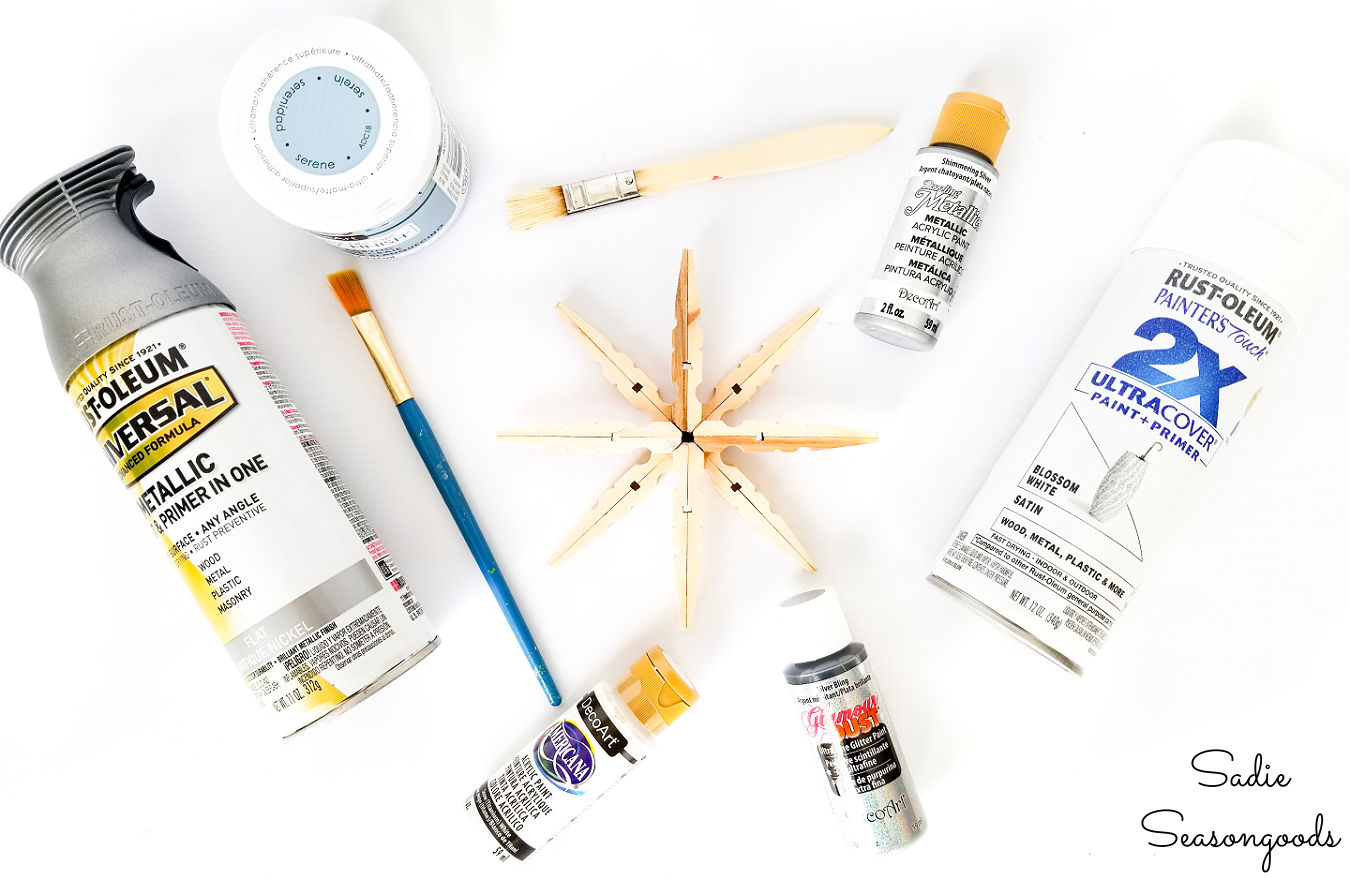
Image credit: Sadie Seasongoods.
As you can see, I used both spray paint and craft paint, depending on the colors I had in each version.
I then procured a few from my friend Lucy who owns the jewelry shop, Bel Monili. Specifically, I procured slightly damaged or flawed pins; ones with broken bits or discolored stones that she couldn’t use in her gorgeous jewelry.
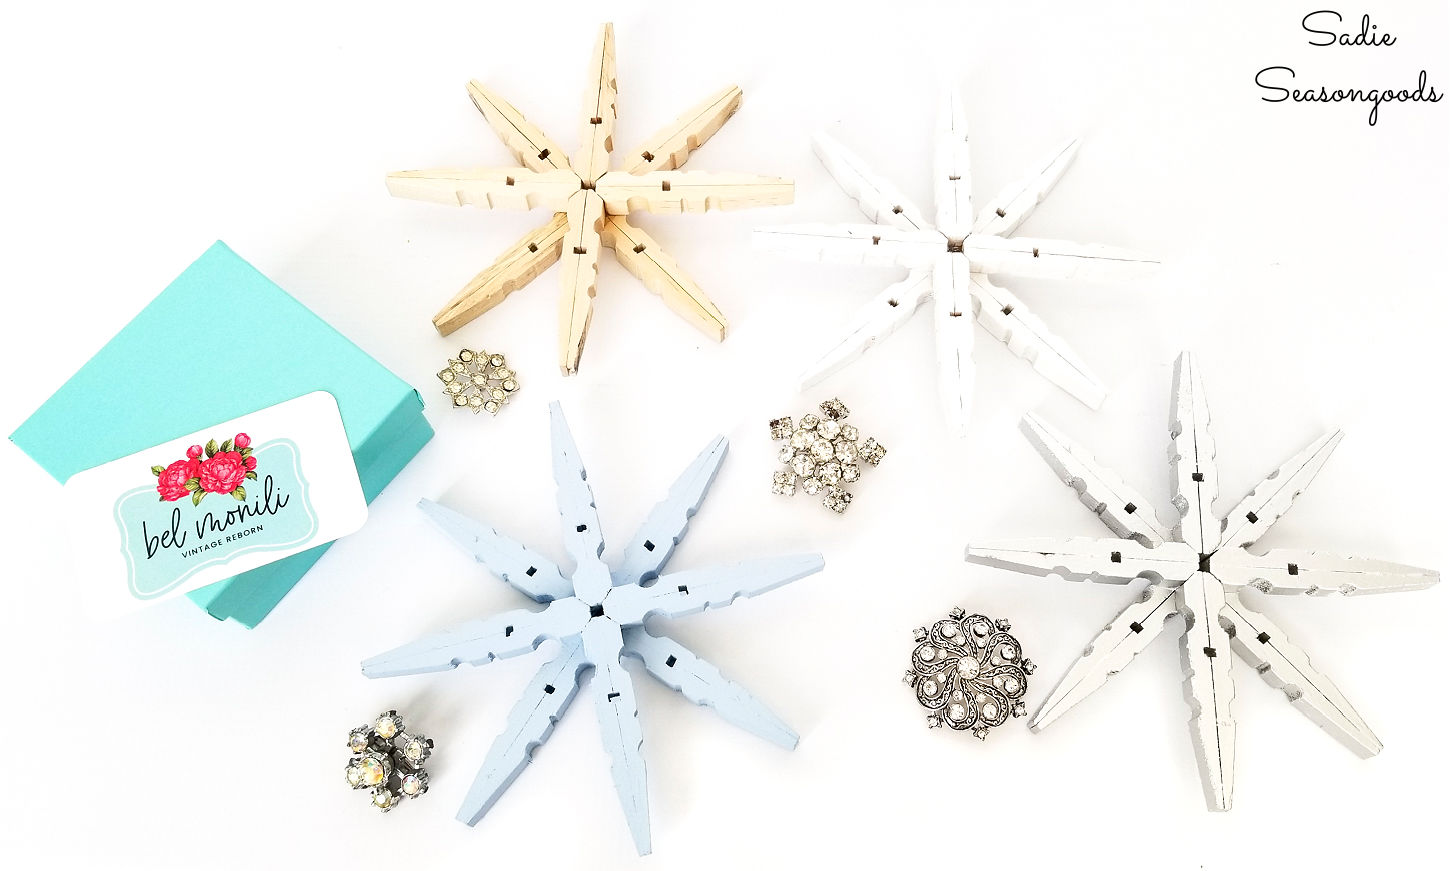
Image credit: Sadie Seasongoods.
After clipping off the actual pinbacks with wire cutters, I attached them to the centers of the wooden snowflake ornaments with super glue.
Lastly, I attached a small jewelry bail to the back of each ornament.
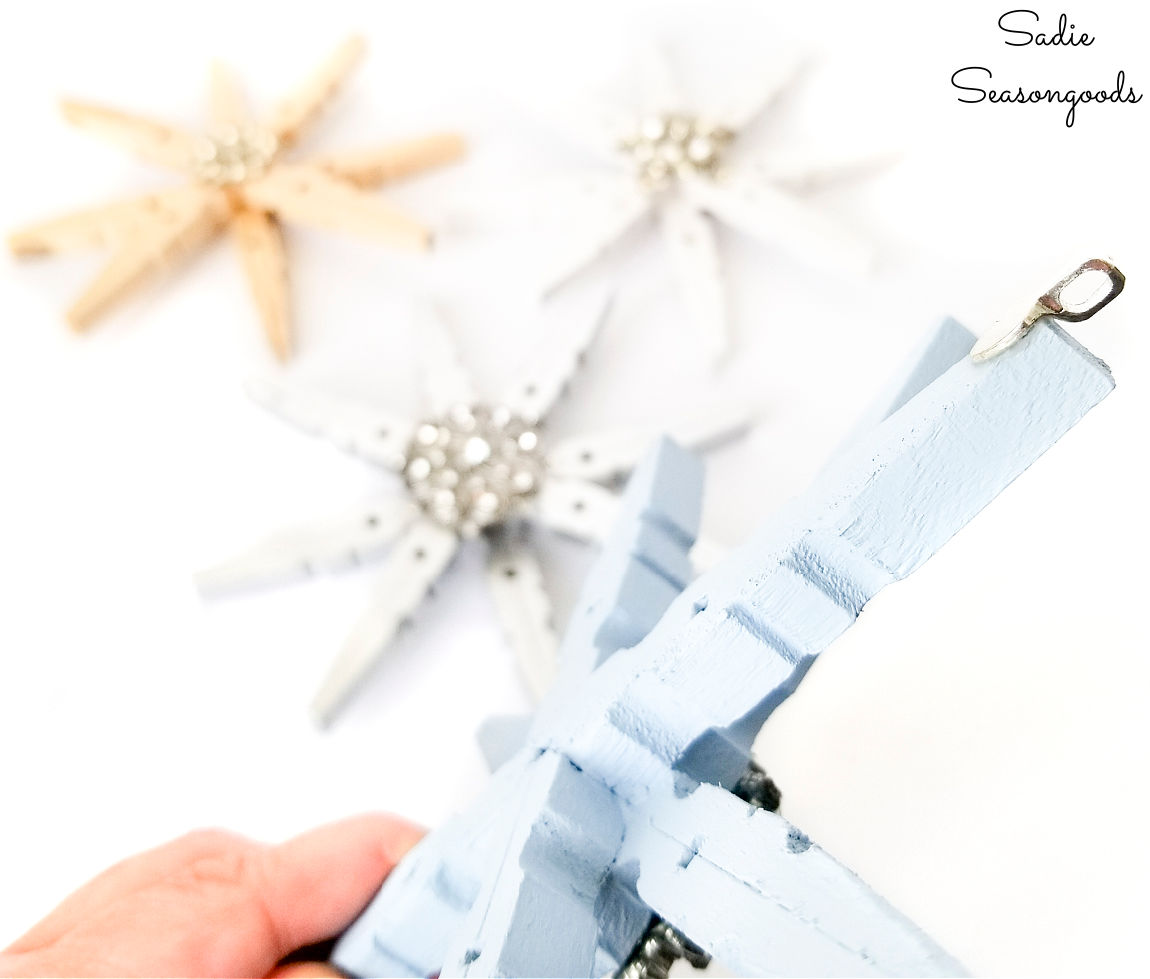
Image credit: Sadie Seasongoods.
This way, I had a nice clean loop for an ornament hanger or thread/string.
And with that, my set of wooden snowflake ornaments was done and ready to be hung on the tree!
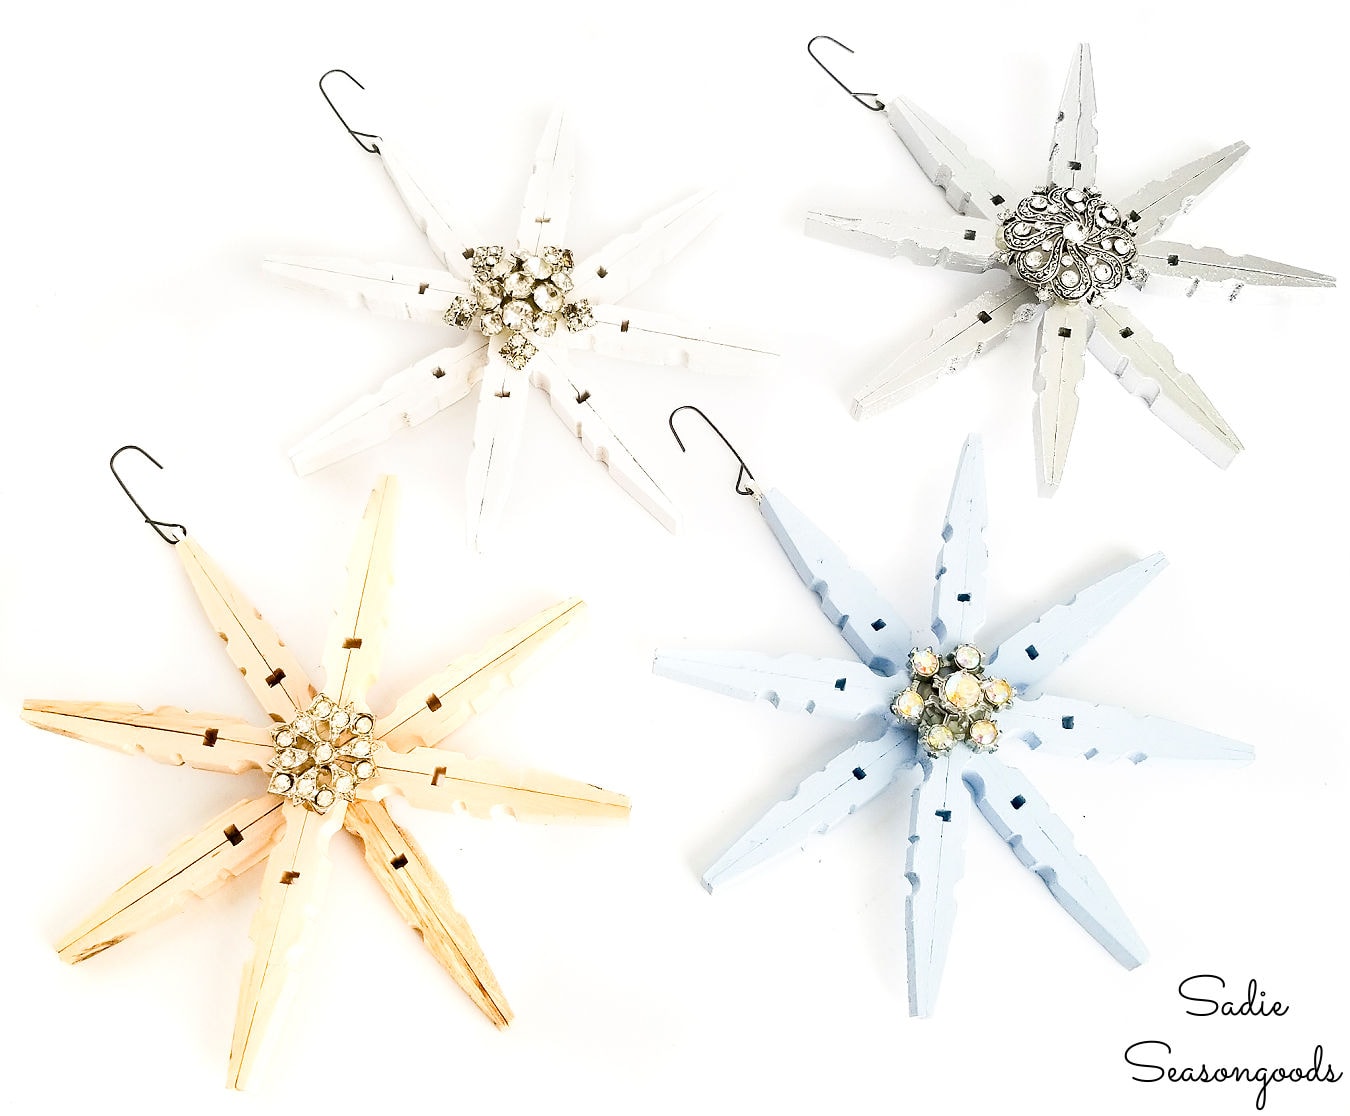
Image credit: Sadie Seasongoods.
Wooden Snowflake Ornaments from Clothespins
Isn’t that a great way to upcycle excess clothespins? And if you aren’t in Charlotte but have a creative reuse center in your neck of the woods, they may also have lots of them available.
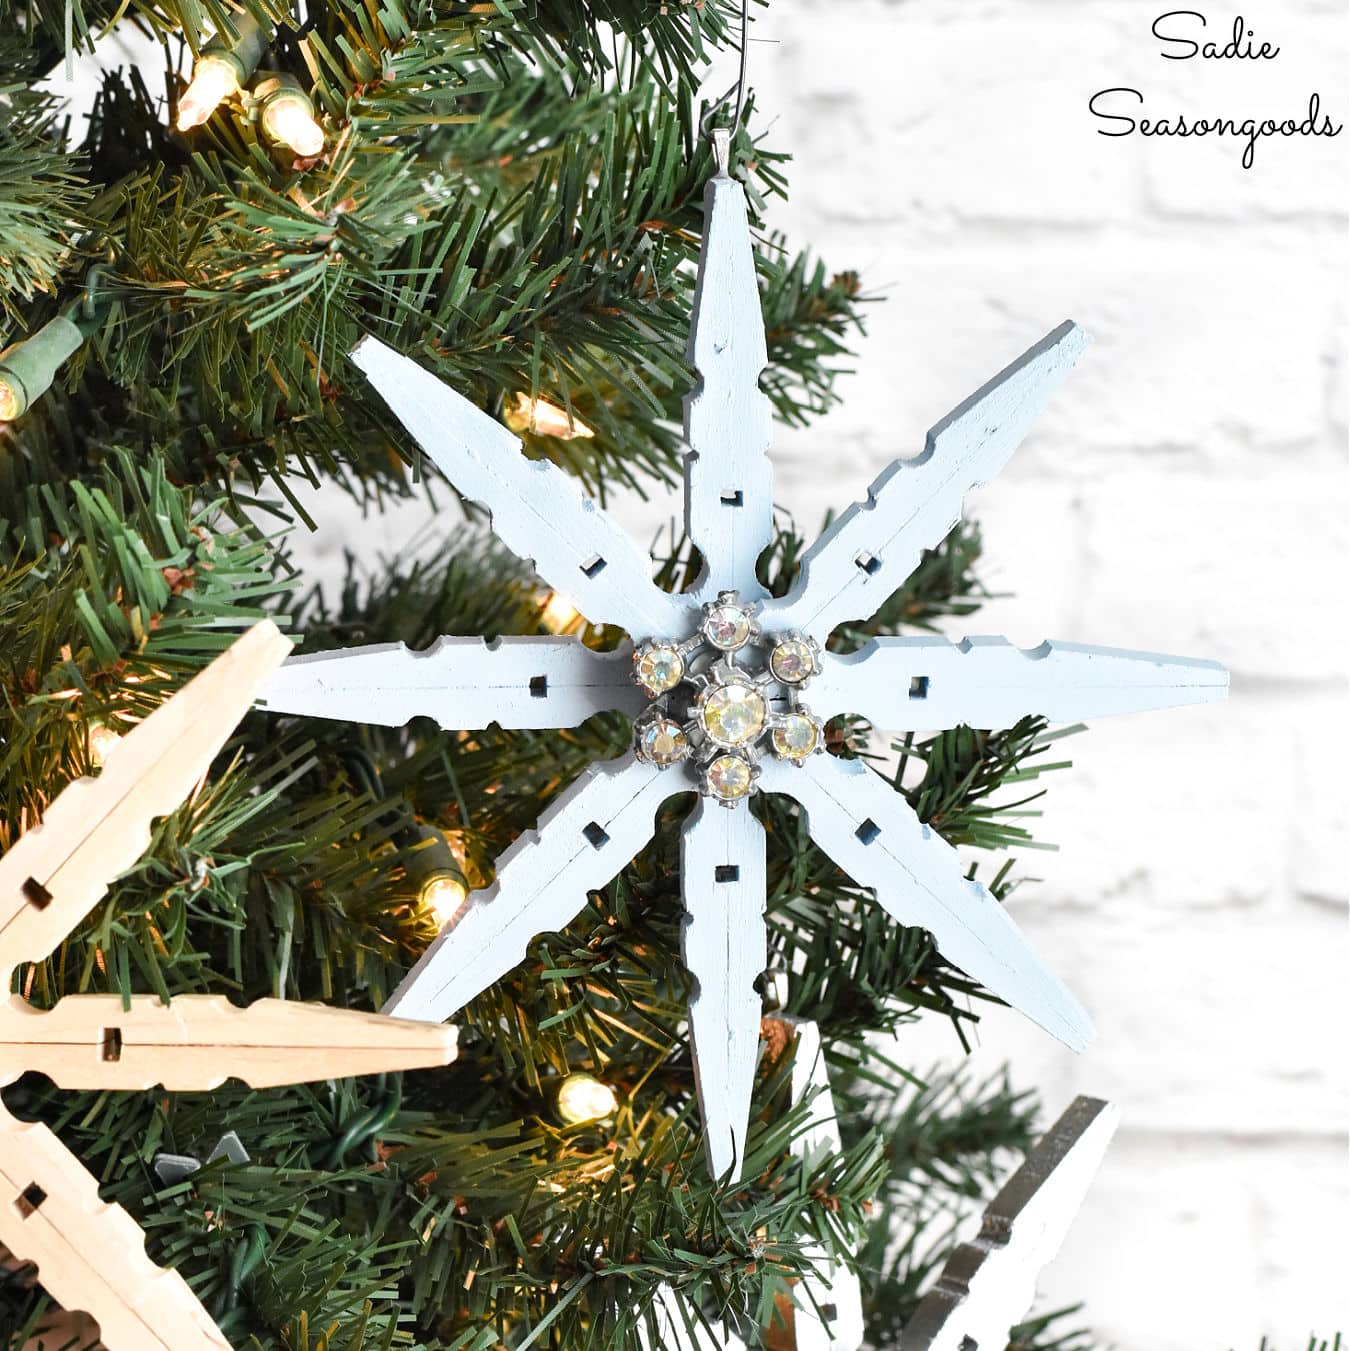
Image credit: Sadie Seasongoods.
Or thrift stores are worth checking, too!
And so fun to embellish them with broken or flawed vintage jewelry, too! You could definitely use anything you have on hand- single earrings, flatter beads, or even sequins, as well.
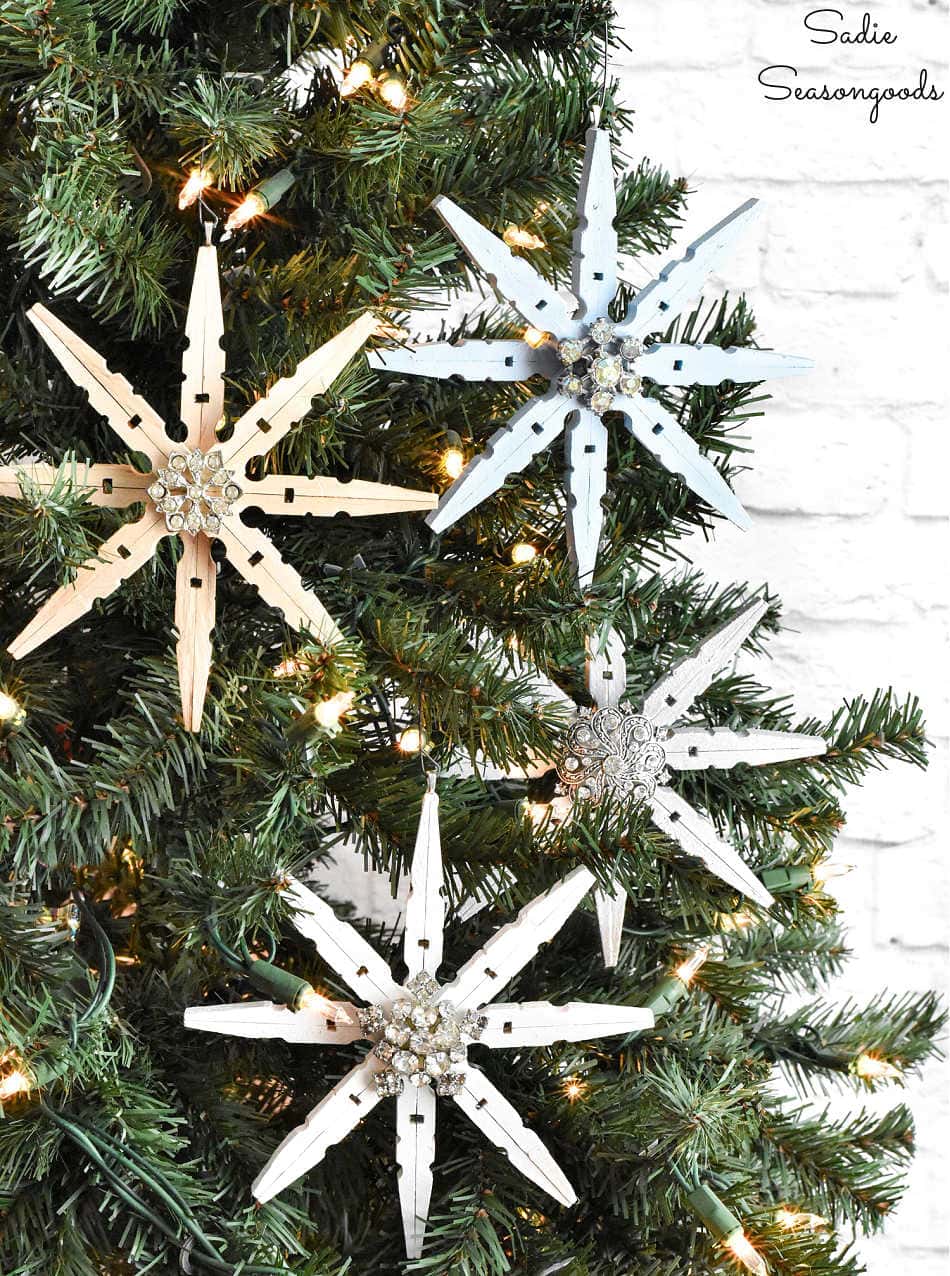
Image credit: Sadie Seasongoods.
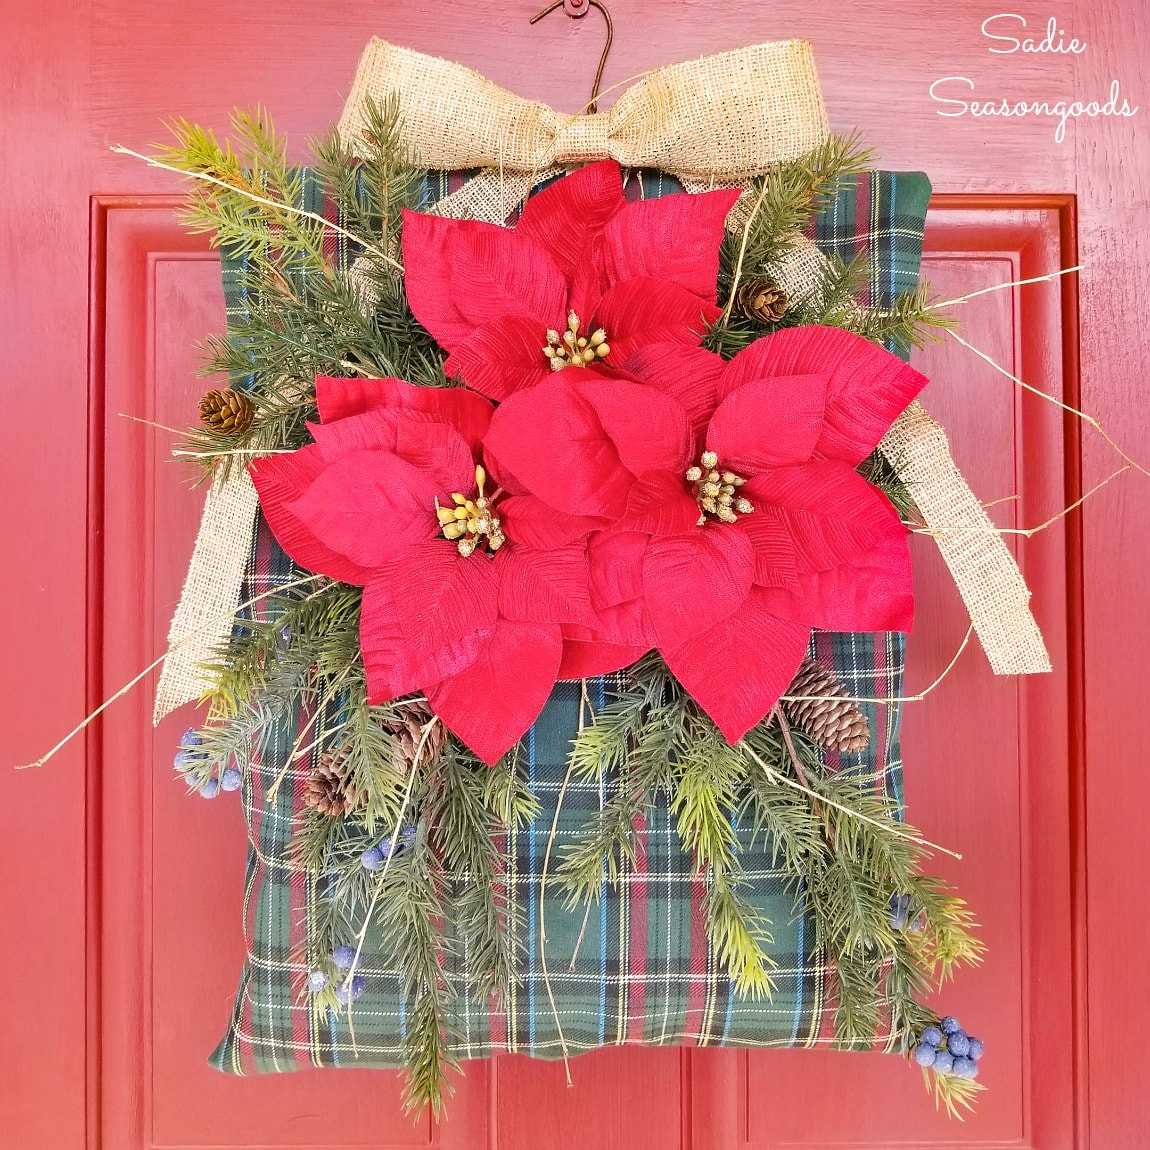
And if you enjoyed this craft idea for wooden snowflake ornaments, then you may also be interested in this “wreath” that I made from a vintage clothespin bag, as well!
Craft on!
S
Want to be notified when I publish my next upcycling project tutorial?
Join me on Social Media:
PIN ME!
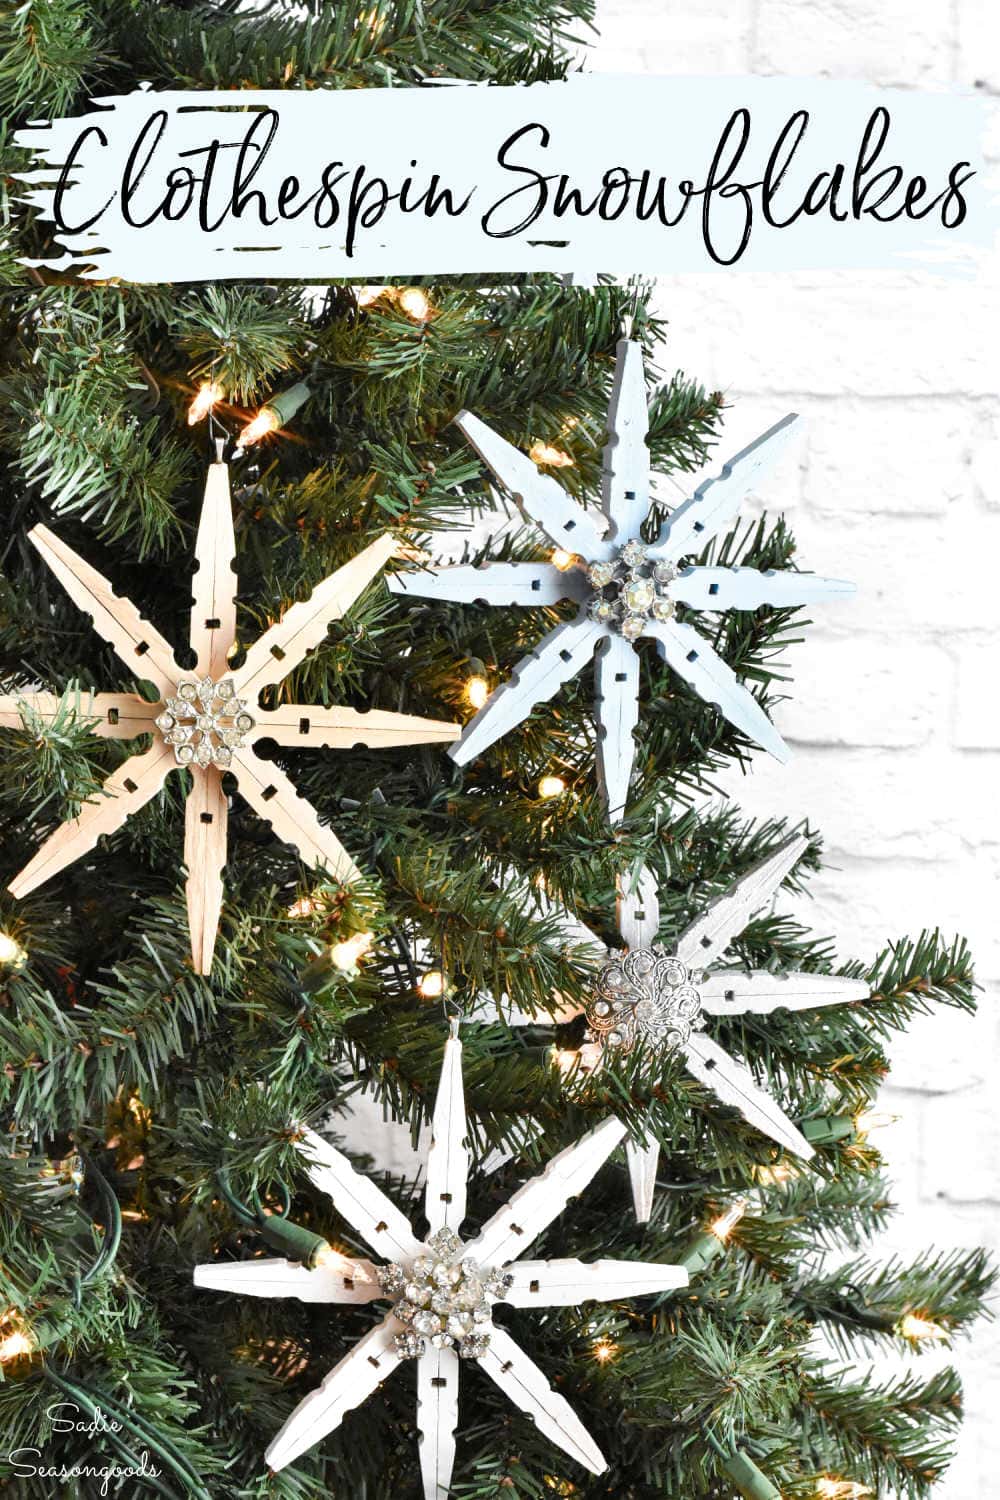
Image credit: Sadie Seasongoods.
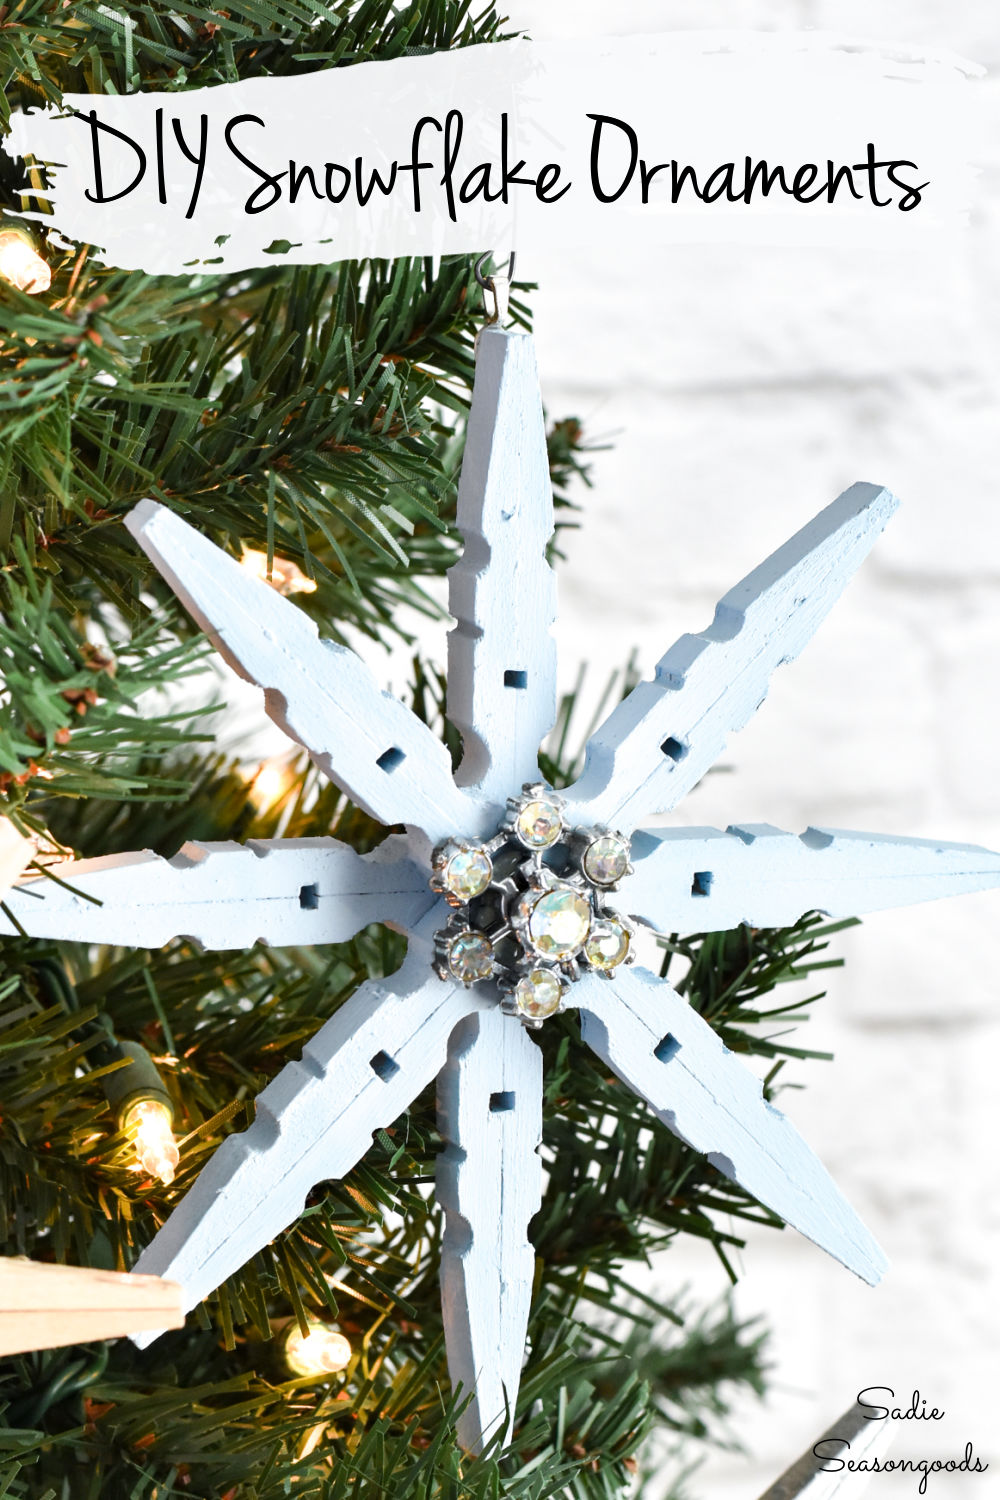
Image credit: Sadie Seasongoods.
Sarah Ramberg is the owner of Sadie Seasongoods, a website that celebrates all things secondhand. From upcycling ideas and thrifted decor to vintage-centric travel itineraries, Sadie Seasongoods is a one-stop shop for anyone who loves thrifting and approachable repurposing ideas. Sarah is also the author of “Crafting with Flannel” and has been featured in numerous media outlets and magazines.










I love the snowflakes, especially with the extra bling. Yet another wonderful easy project from you. You never disappoint. Always a joy to see your projects.
Thank you so very much, Amanda! Merry Christmas and Happy Holidays!
Pretty!
Thank you! Hope you and Katie are having a lovely holiday season!
I love them and I would like to buy the kit but I wanted to find out if you get enough clothes pins to build four of them? Or how many can you build from the clothespins that are included in the kit?
Great question, Dorothy- I’m sorry I didn’t initially include that info in my post, but I’ll be correcting that. Each kit contains enough clothespins for four snowflakes, plus silver and white acrylic paints; a foam brush; super glue; and twine!
Thank you so much, Donna!
Thank you for this lovely idea, and good luck in your new partnership venture. I so enjoy your ingenious ideas. Merry Christmas!!!
Thank you, Cynthia- I hope yours was lovely!
Long story short: I made some of thee using your photos as my inspiration. I figured I was never going to use my wooden one, have plenty of plastic ones for other uses, and was just plain bored. They are well worn because they weren’t new. Thank you for a sweet idea!
You are so very welcome, Gina!!