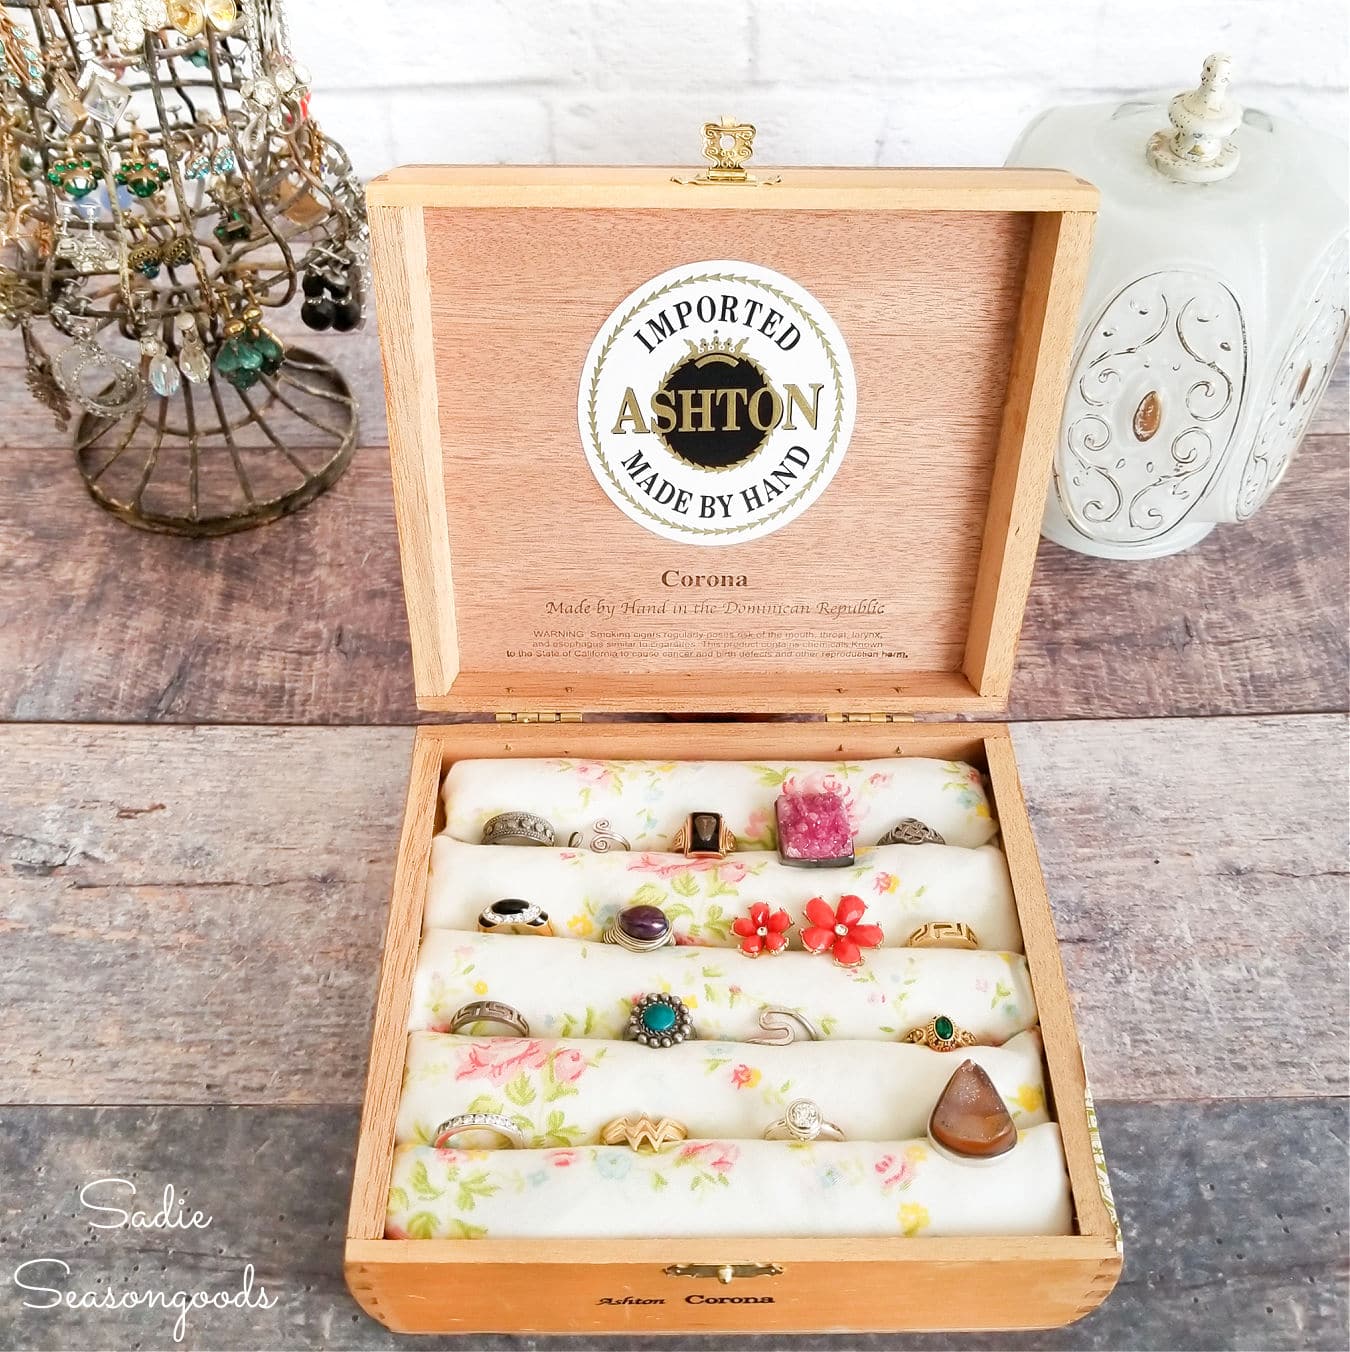
Once upon a time on my blog, I upcycled a cigar box into a ring holder for my dresser. But I didn’t touch the exterior; rather, I just worked inside the box. So, when I recently found a pair of wooden cigar boxes while thrifting, I decided to do the opposite. And give them a mid century makeover on the outside!
Here’s the ring holder I alluded to above:
And the two wooden cigar boxes I found at Habitat ReStore. Extra long and in terrific shape!
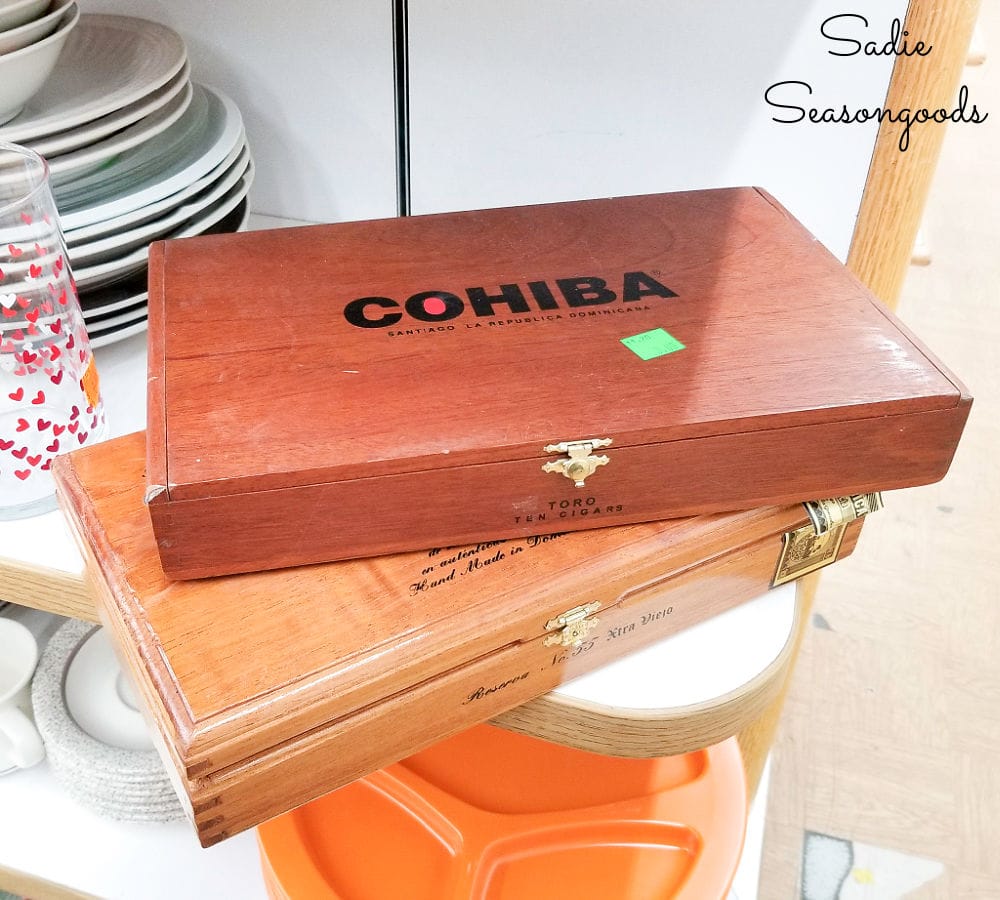
Image credit: Sadie Seasongoods.
I decided that their extra long size would make them ideal candidates for storage of some kind. All I needed to do was improve upon the exterior so that I could use them as decor if I wanted to!
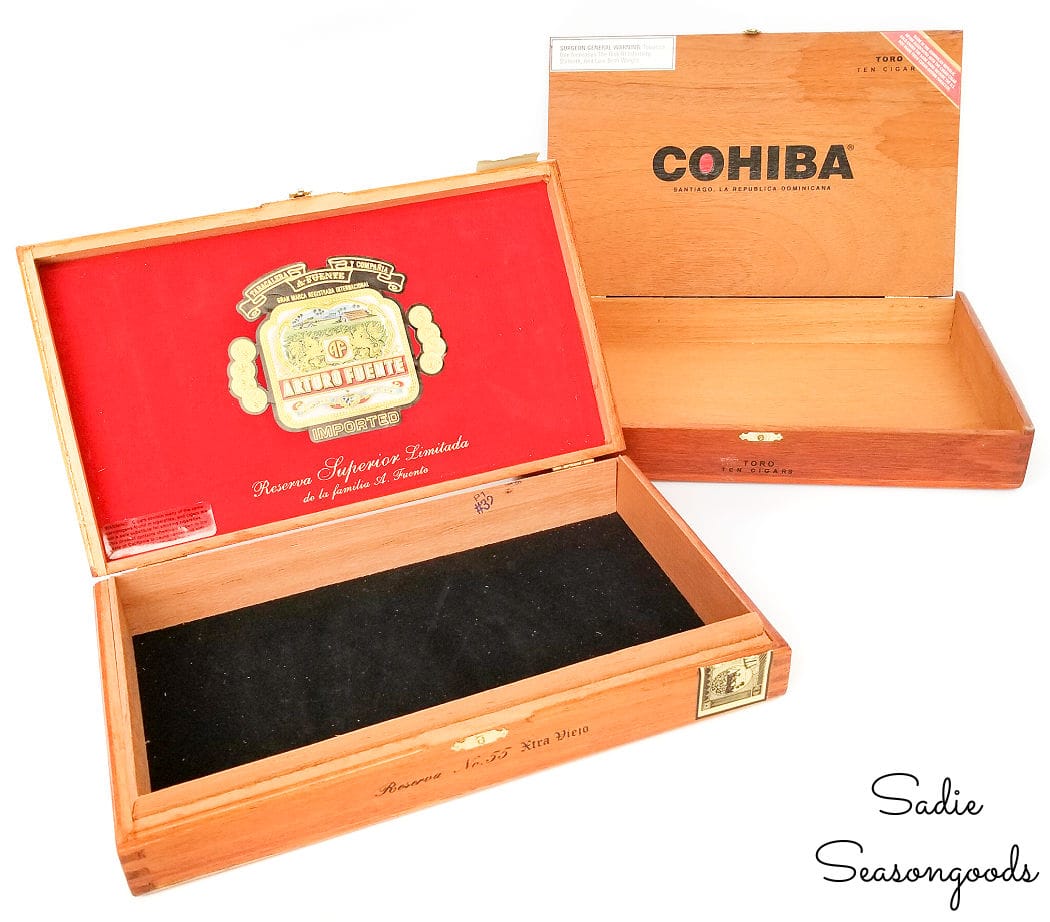
Image credit: Sadie Seasongoods.
This post contains affiliate links for your crafting convenience. As an Amazon Affiliate, I earn from qualifying purchases. All blue, bold, and underlined text is a clickable link, either to a product or to a related post.
Prepping the Cigar Boxes for a Mid Century Makeover
First things first, I wiped down the exteriors before doing anything else. That gave me a chance to really “feel” the print on the exteriors to see if it was raised or something similar.
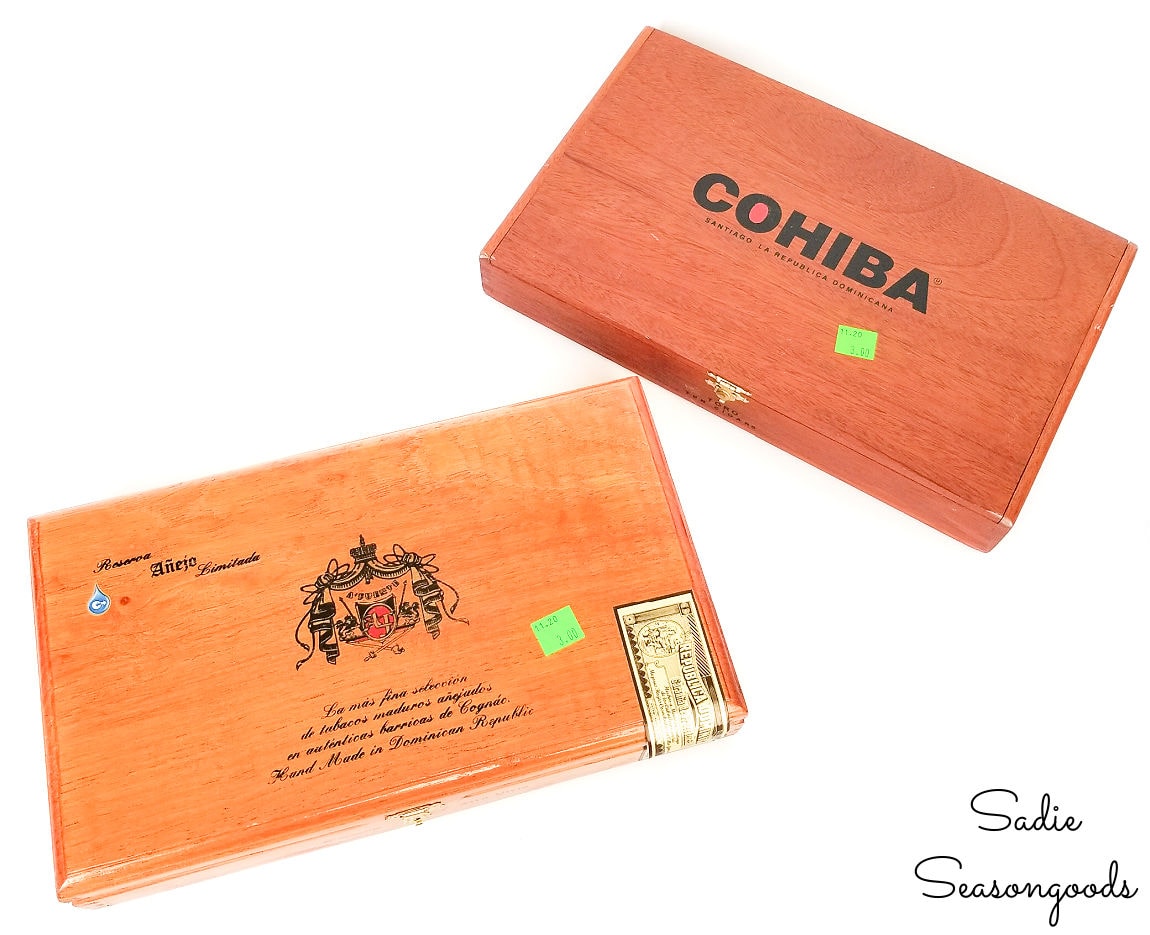
Image credit: Sadie Seasongoods.
I didn’t want to see hints of the words through my paint.
Sanding would be easy enough, just to remove traces of the words and ensure they couldn’t be seen through the paint. So, I grabbed our orbital sander and got to work.
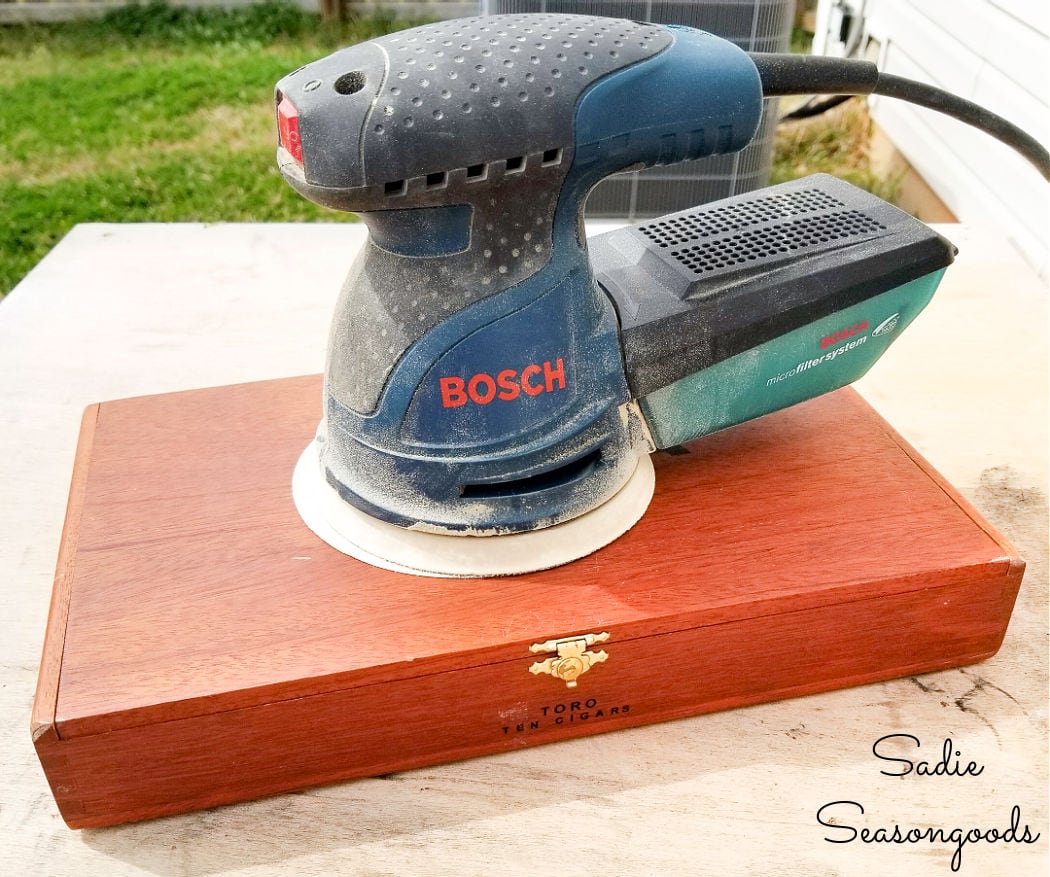
Image credit: Sadie Seasongoods.
Once again, I wiped down the cigar boxes to remove the sanding dust before moving onto the next steps.
Next, I needed to protect the hardware from the brush-on paint I planned to used. But taping them off wasn’t feasible, given how dainty the latches and hinges were.
So, I brushed on some Vaseline from my crafting-dedicated travel-size mini tub. Just on the hardware to keep paint from adhering to the metal.
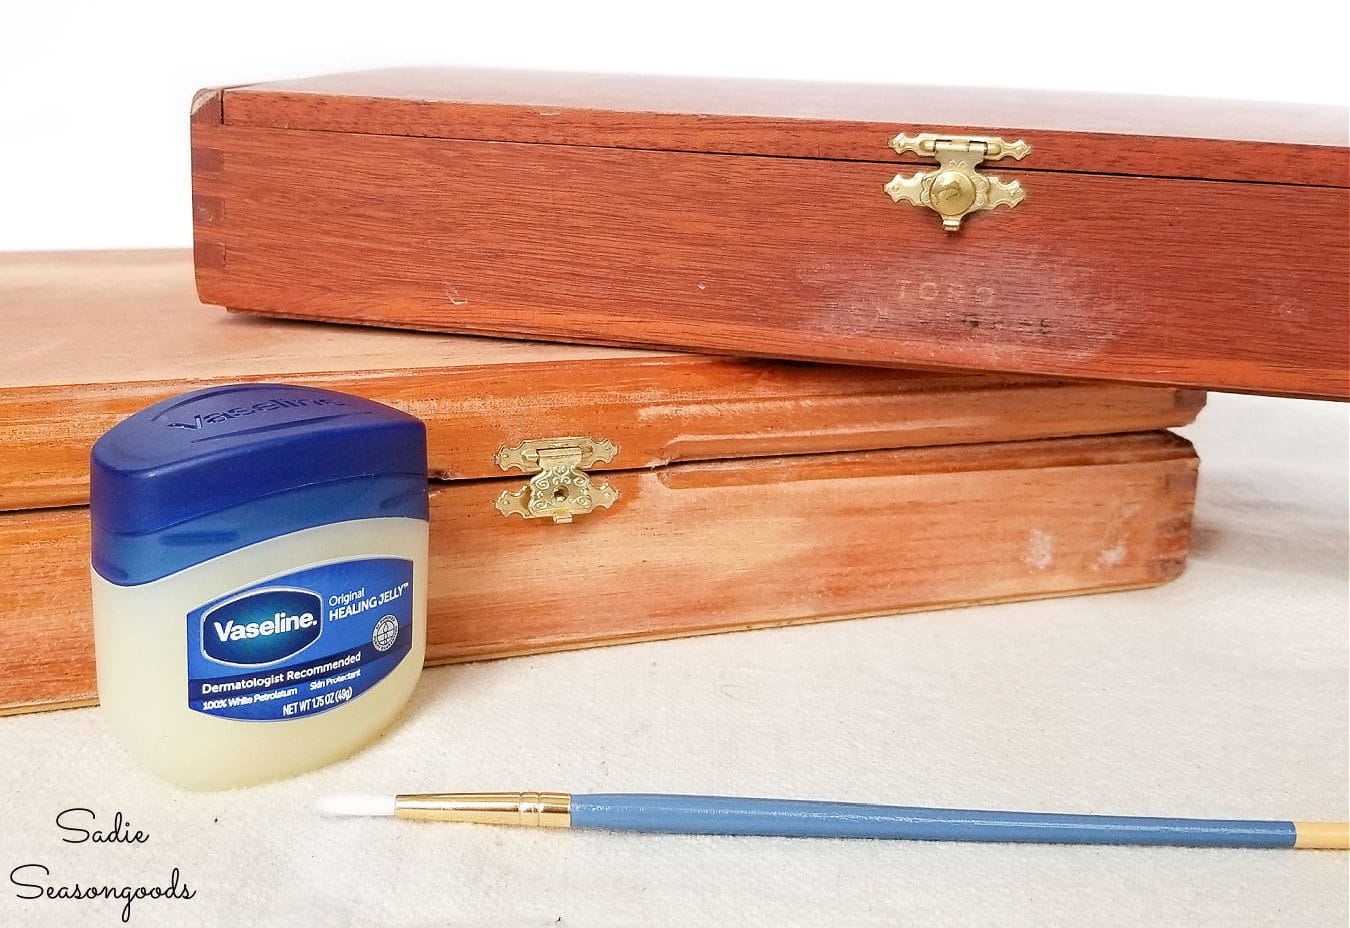
Image credit: Sadie Seasongoods.
NOW I could finally start painting them. I selected bold and bright color samples of Behr paint for the wooden cigar boxes.
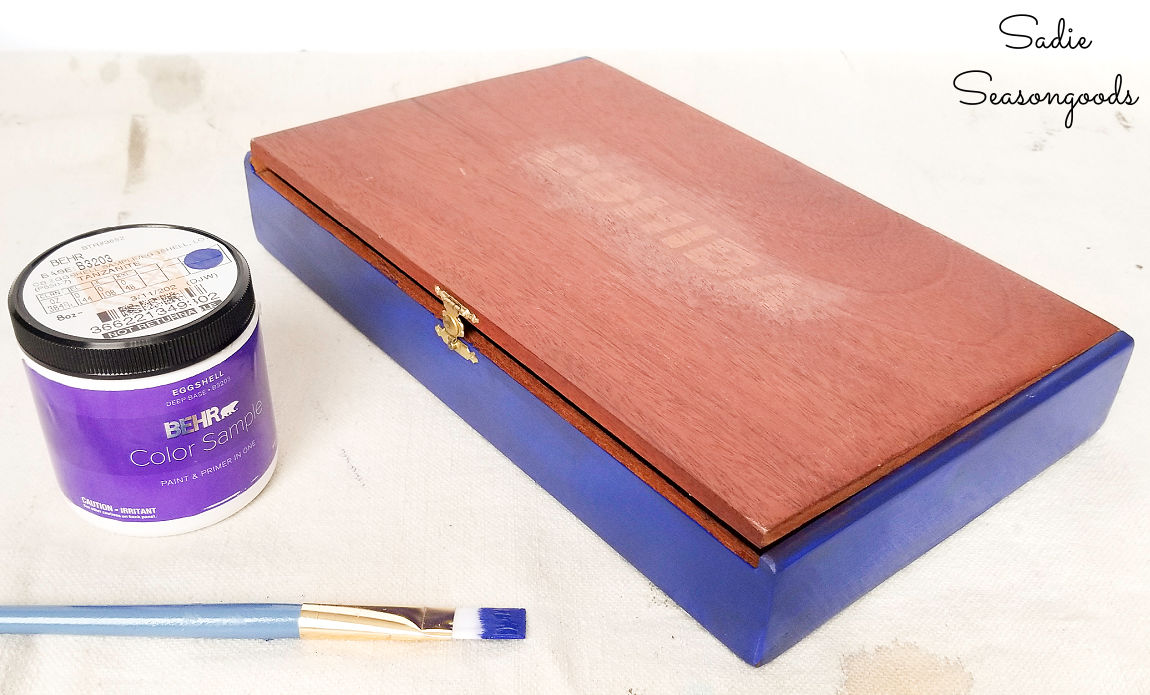
Image credit: Sadie Seasongoods.
Painting and Stenciling the Wooden Cigar Boxes
I painted both boxes with regular old craft paint brushes. And while I tried to avoid the Vaseline-covered hardware (in general), I didn’t panic if I accidentally swiped paint over them.
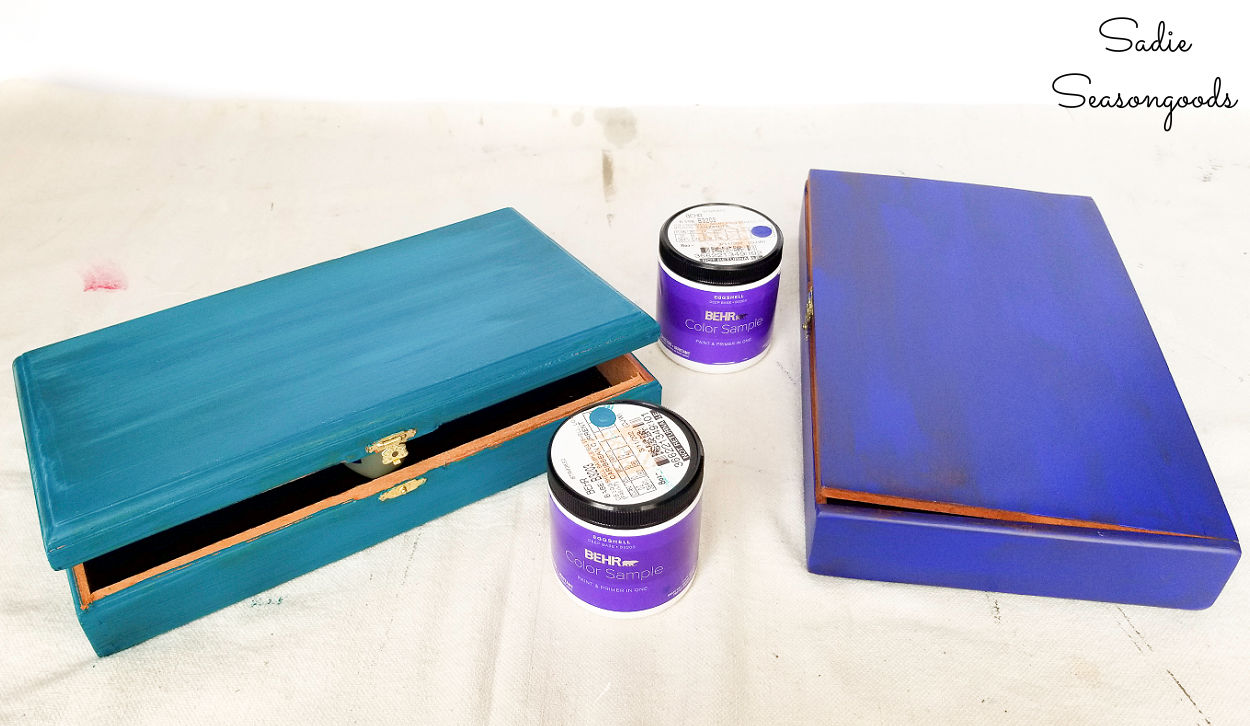
Image credit: Sadie Seasongoods.
In the end, this is what they looked like after I was done painting. Once the paint was dry, I used a soft, clean cloth to wipe the Vaseline off the hardware.
Aren’t those colors divine?
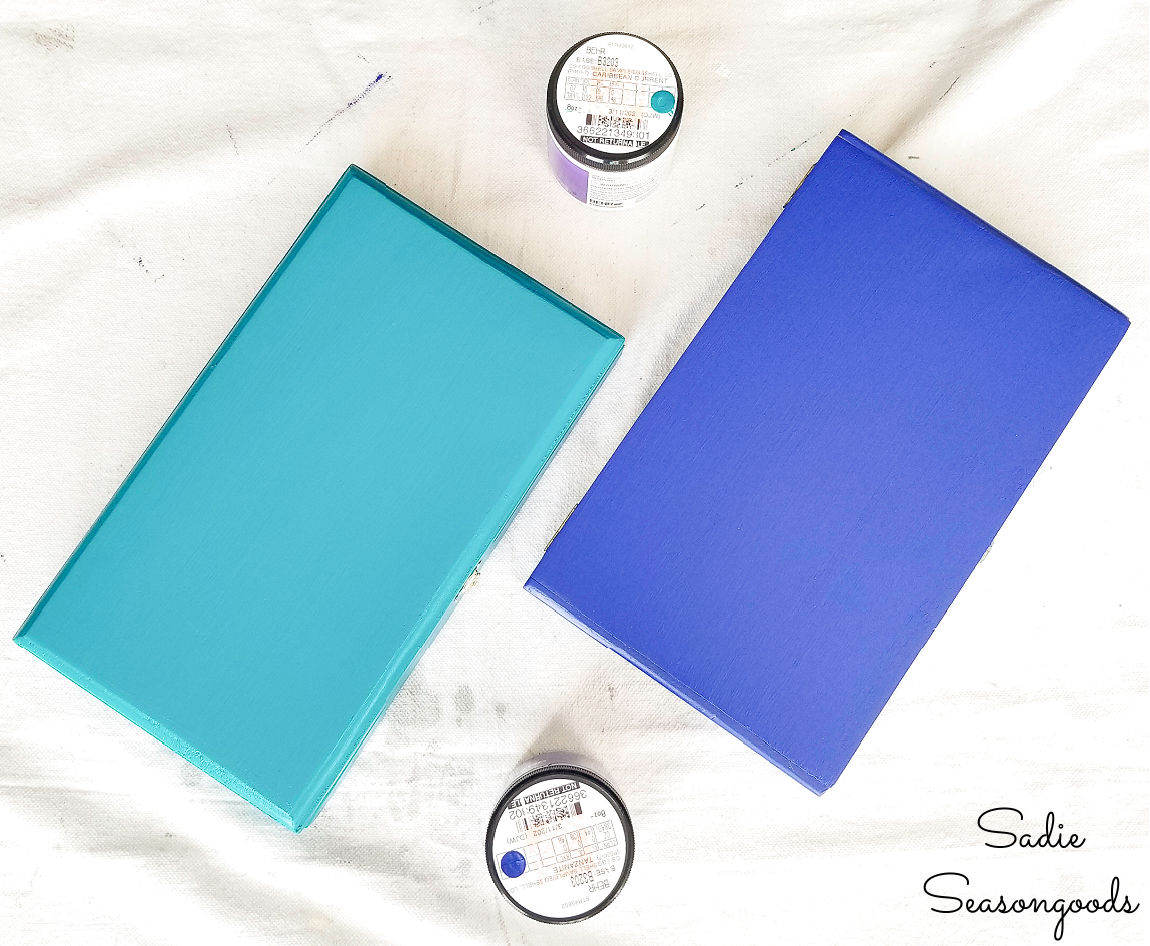
Image credit: Sadie Seasongoods.
Now, for the mid century makeover portion of the project- the stencils! I selected a couple of mid century modern stencils for the makeover. Unfortunately, the artist who made these stencils discontinued them; however, Etsy may carry similar versions!
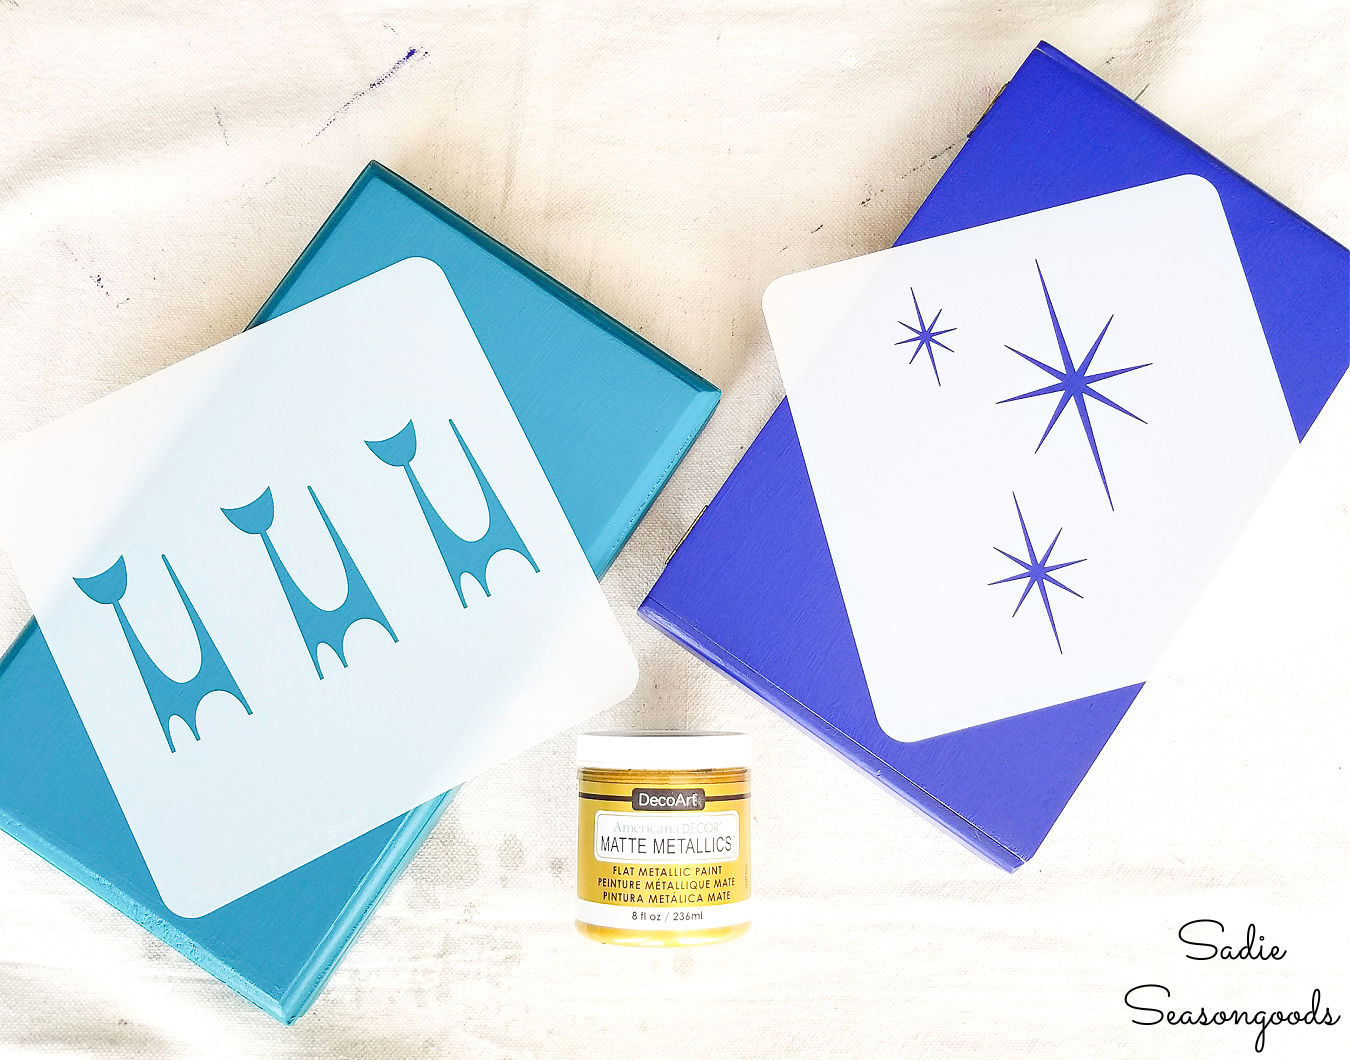
Image credit: Sadie Seasongoods.
I also wanted to try out this matte metallic paint for stenciling, as well. I’ve stenciled with regular metallic paint before, but thought the matte version might result in cleaner lines.
So, I centered my stencil, and stippled away with the matte gold paint. I had to go over the stencil more than normal because of the deeper color of the box. But I had a good feeling about the result…
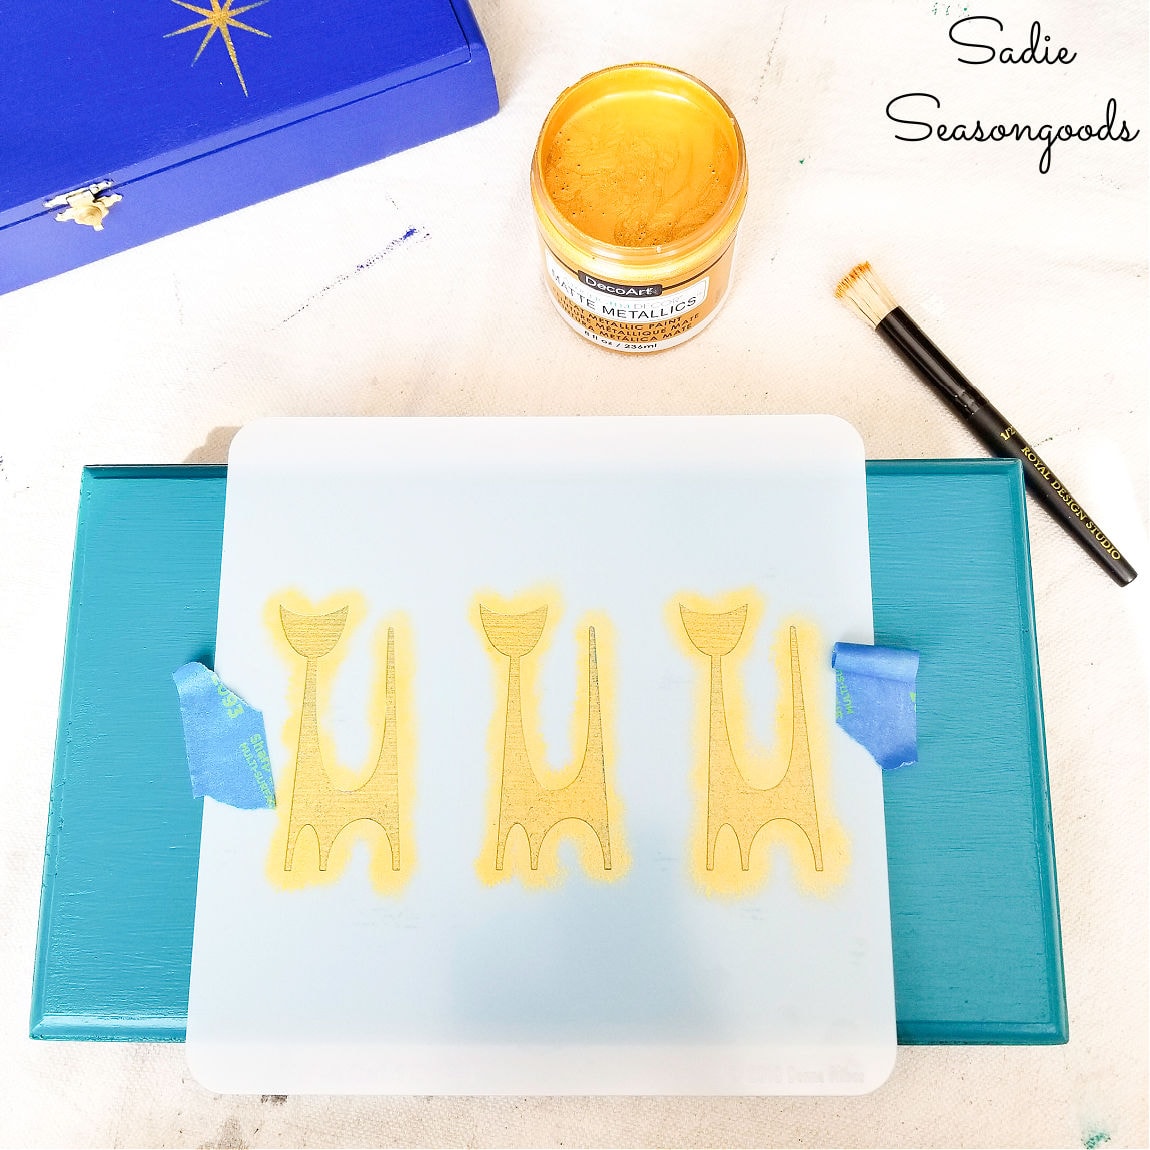
Image credit: Sadie Seasongoods.
Mid Century Makeover on Wooden Cigar Boxes
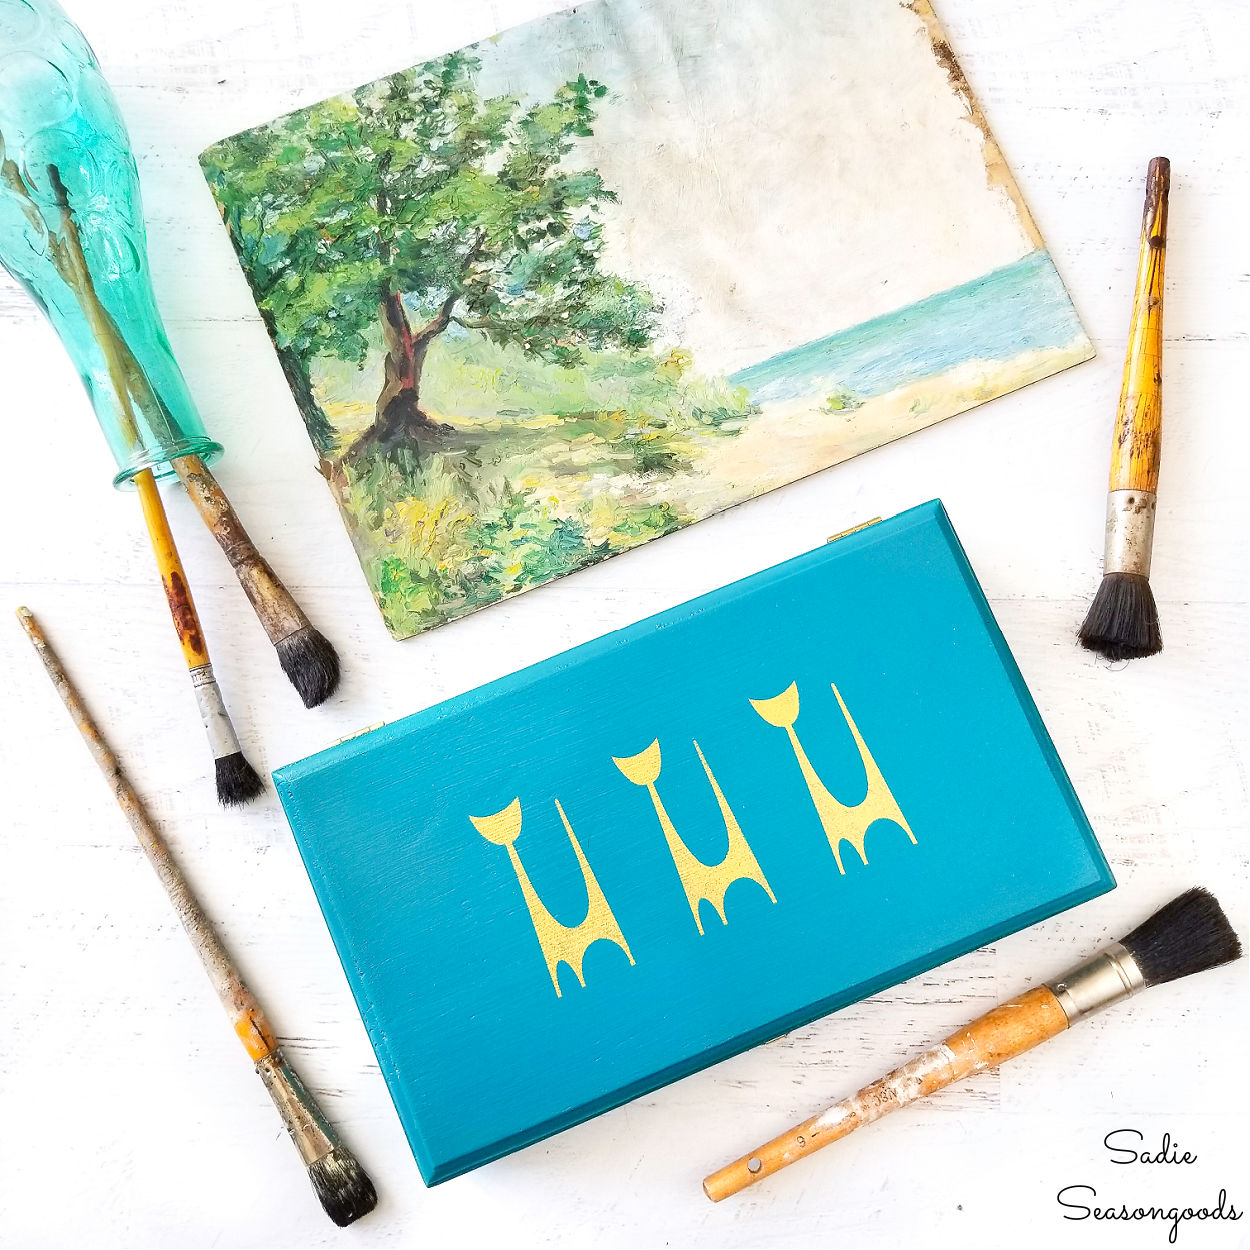
And I was right! The matte metallic paint worked brilliantly for stenciling- very clean lines with almost a holographic shimmer.
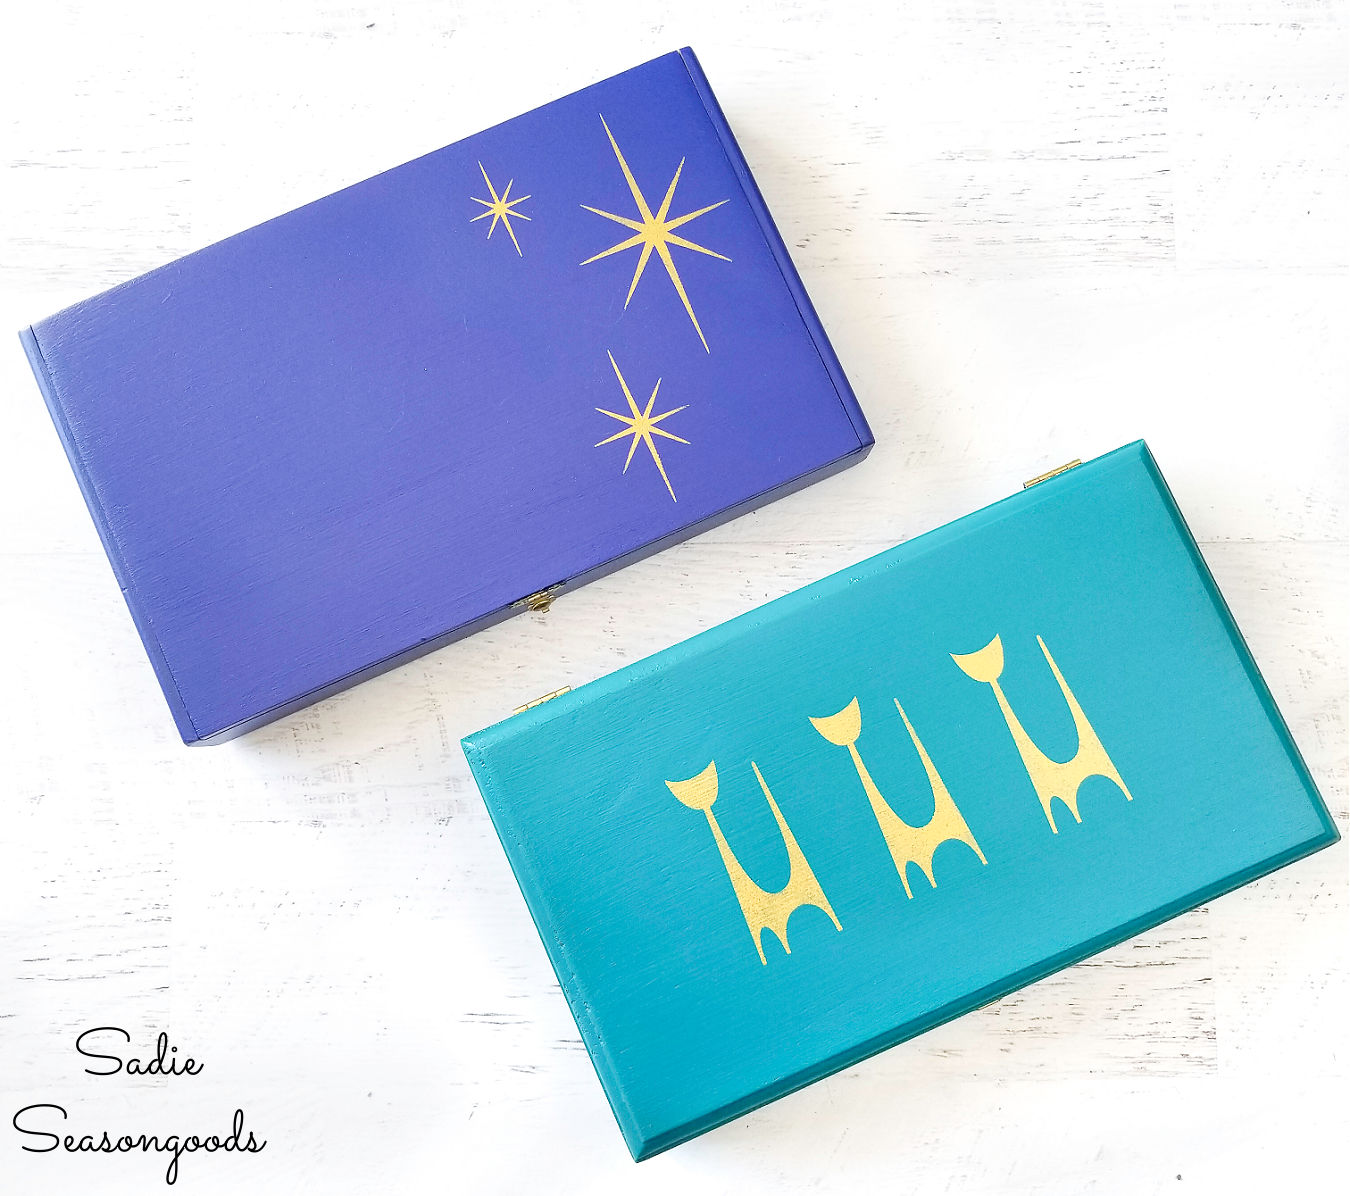
Image credit: Sadie Seasongoods.
The colors are gorgeous and you might not even know these were cigar boxes to begin with! They are definitely pretty enough to place on a coffee table or elsewhere around the house.
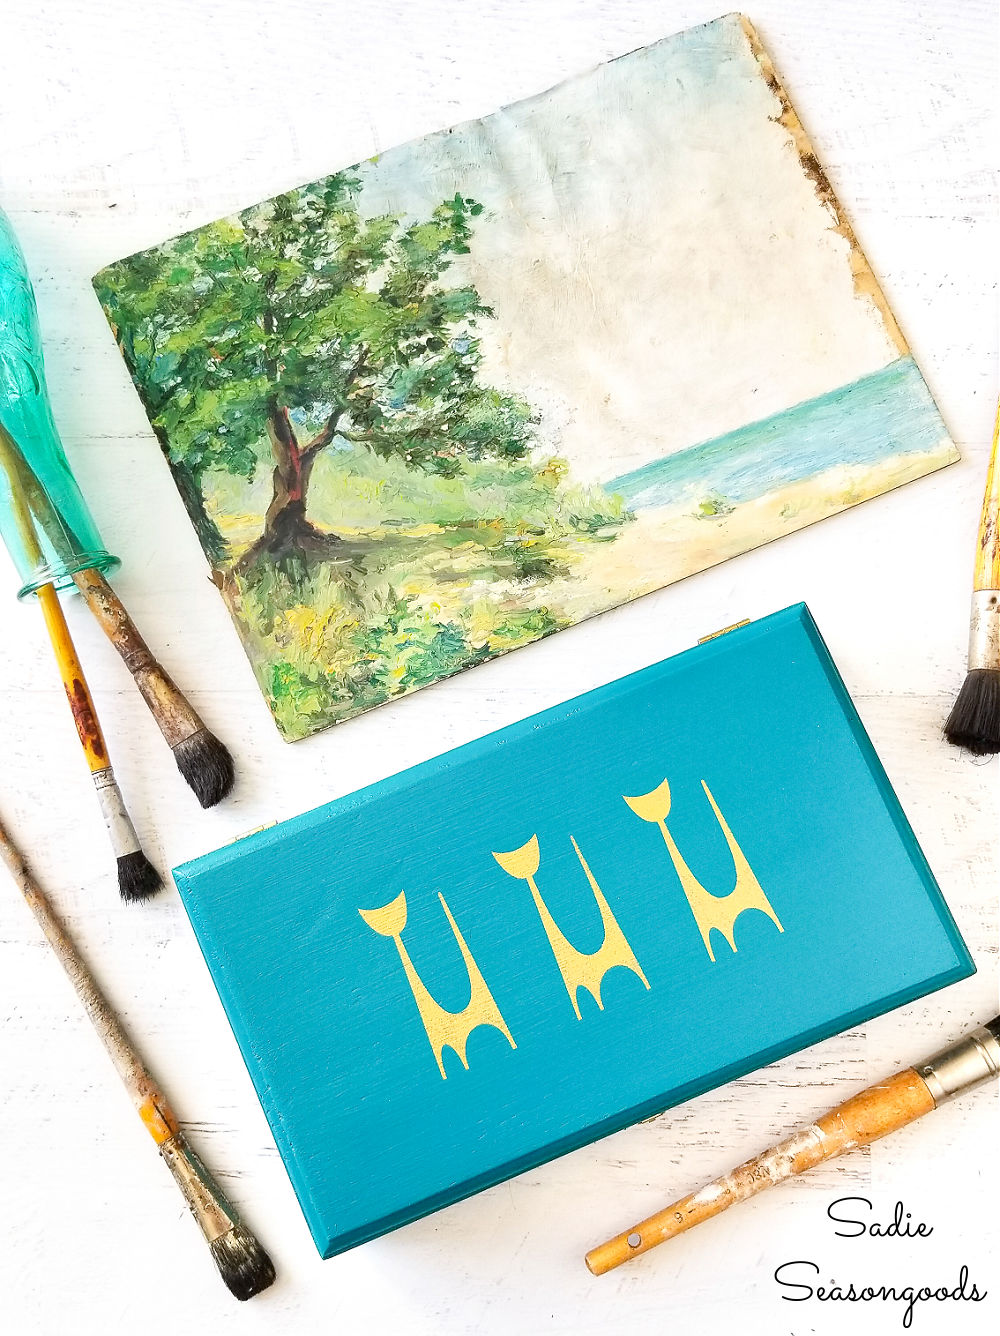
Image credit: Sadie Seasongoods.
*****
Also, today is the second Wednesday of the month, which makes it Thrift Store Decor Team Day! Check out what my friends have been upcycling below.
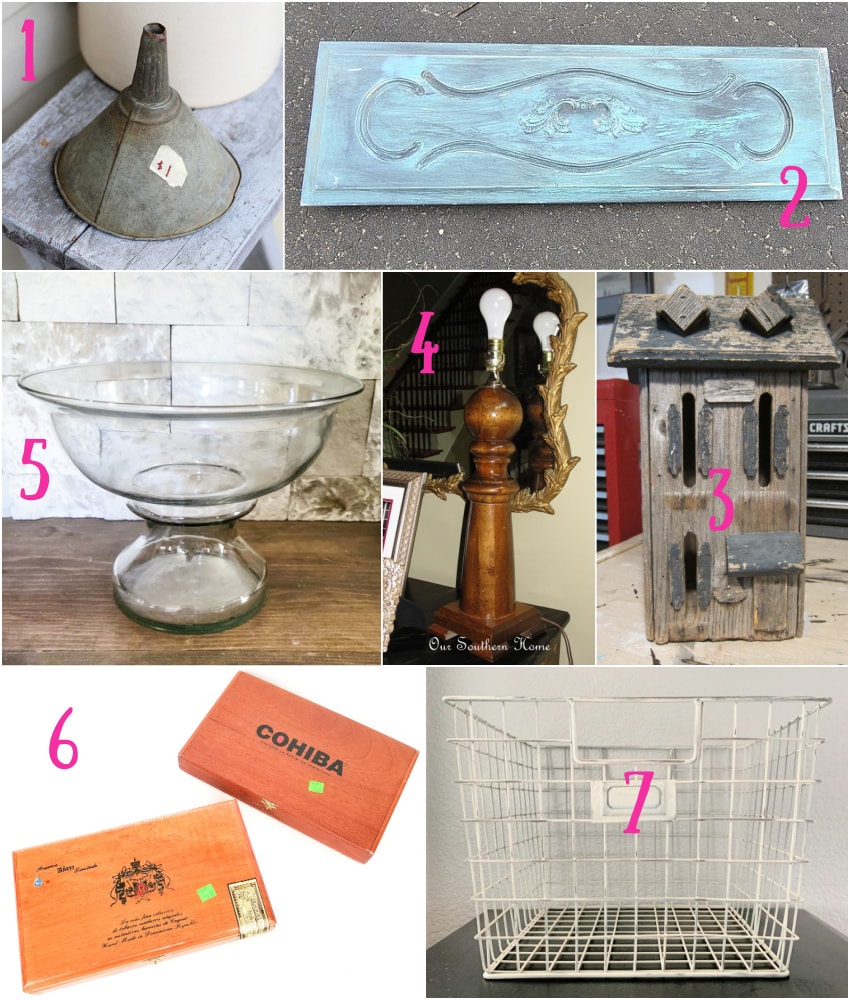
1. Repurposed Galvanized Funnel – House of Hawthornes
2. Hanging Necklace Organizer – My Repurposed Life
3. Painted Butterfly House – Petticoat Junktion
4. Balustrade Lamp Makeover – Our Southern Home
5. DIY Stoneware Bowl – Domestically Speaking
6. Mid Century Makeover on Wooden Cigar Boxes – Sadie Seasongoods
7. Repurposed Wire Basket into Planter – My Uncommon Slice of Suburbia
*****
I recently bought a collection of vintage artist’s paint brushes from this favorite Etsy shop of mine. And they fit PERFECTLY in one of the wooden cigar boxes. Bonus!
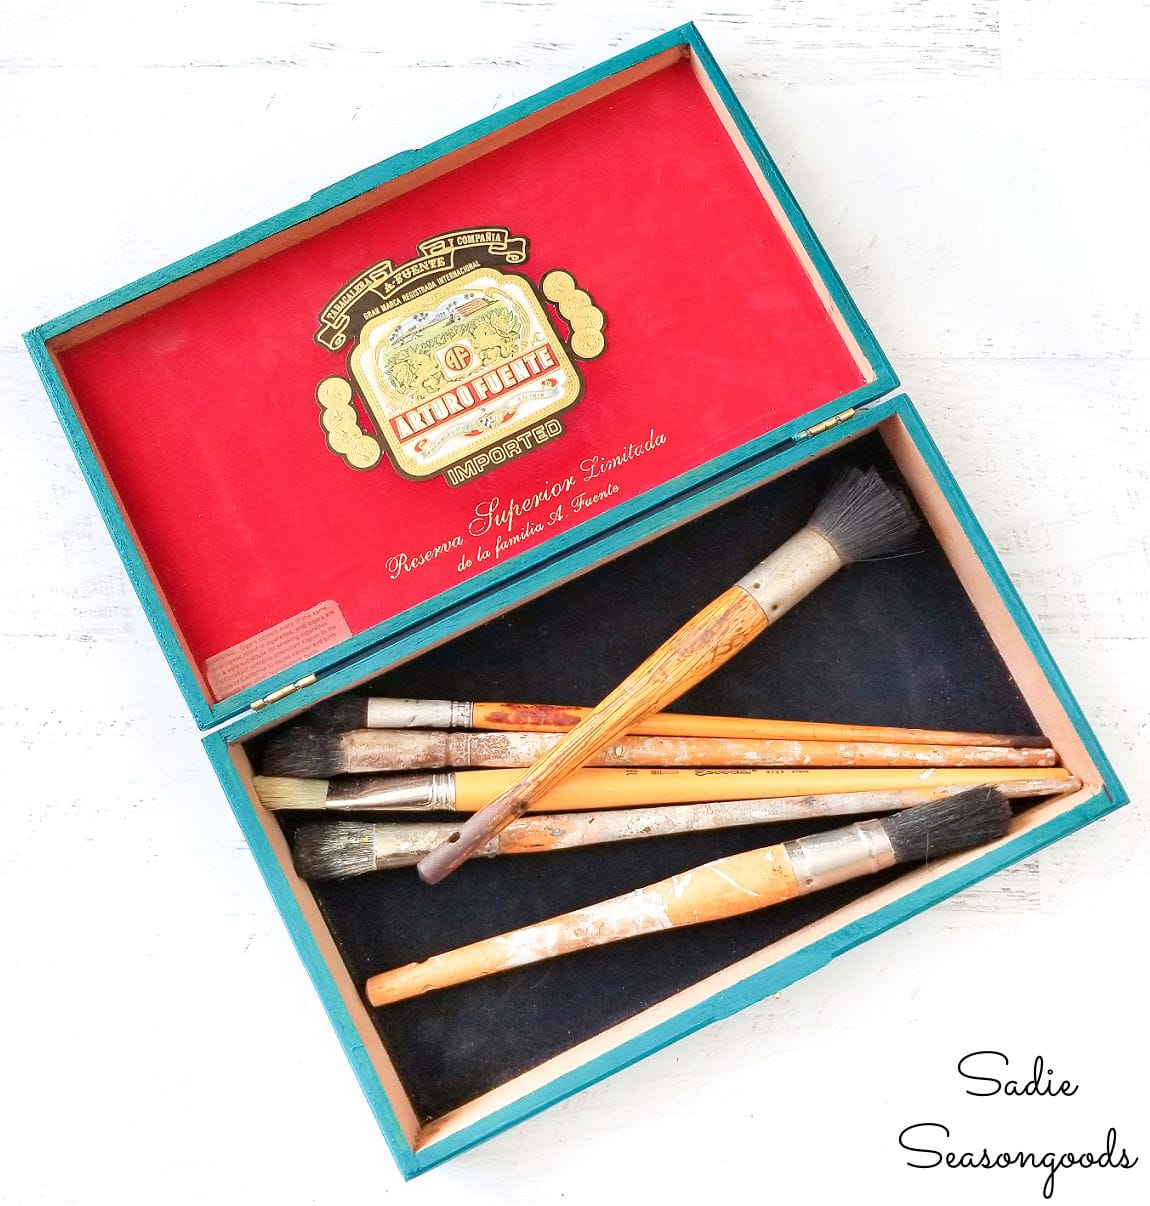
Image credit: Sadie Seasongoods.
Every now and again, a simple makeover project is just what the (creativity) doctor ordered. And I absolutely LOVE how both of my wooden cigar boxes turned out.
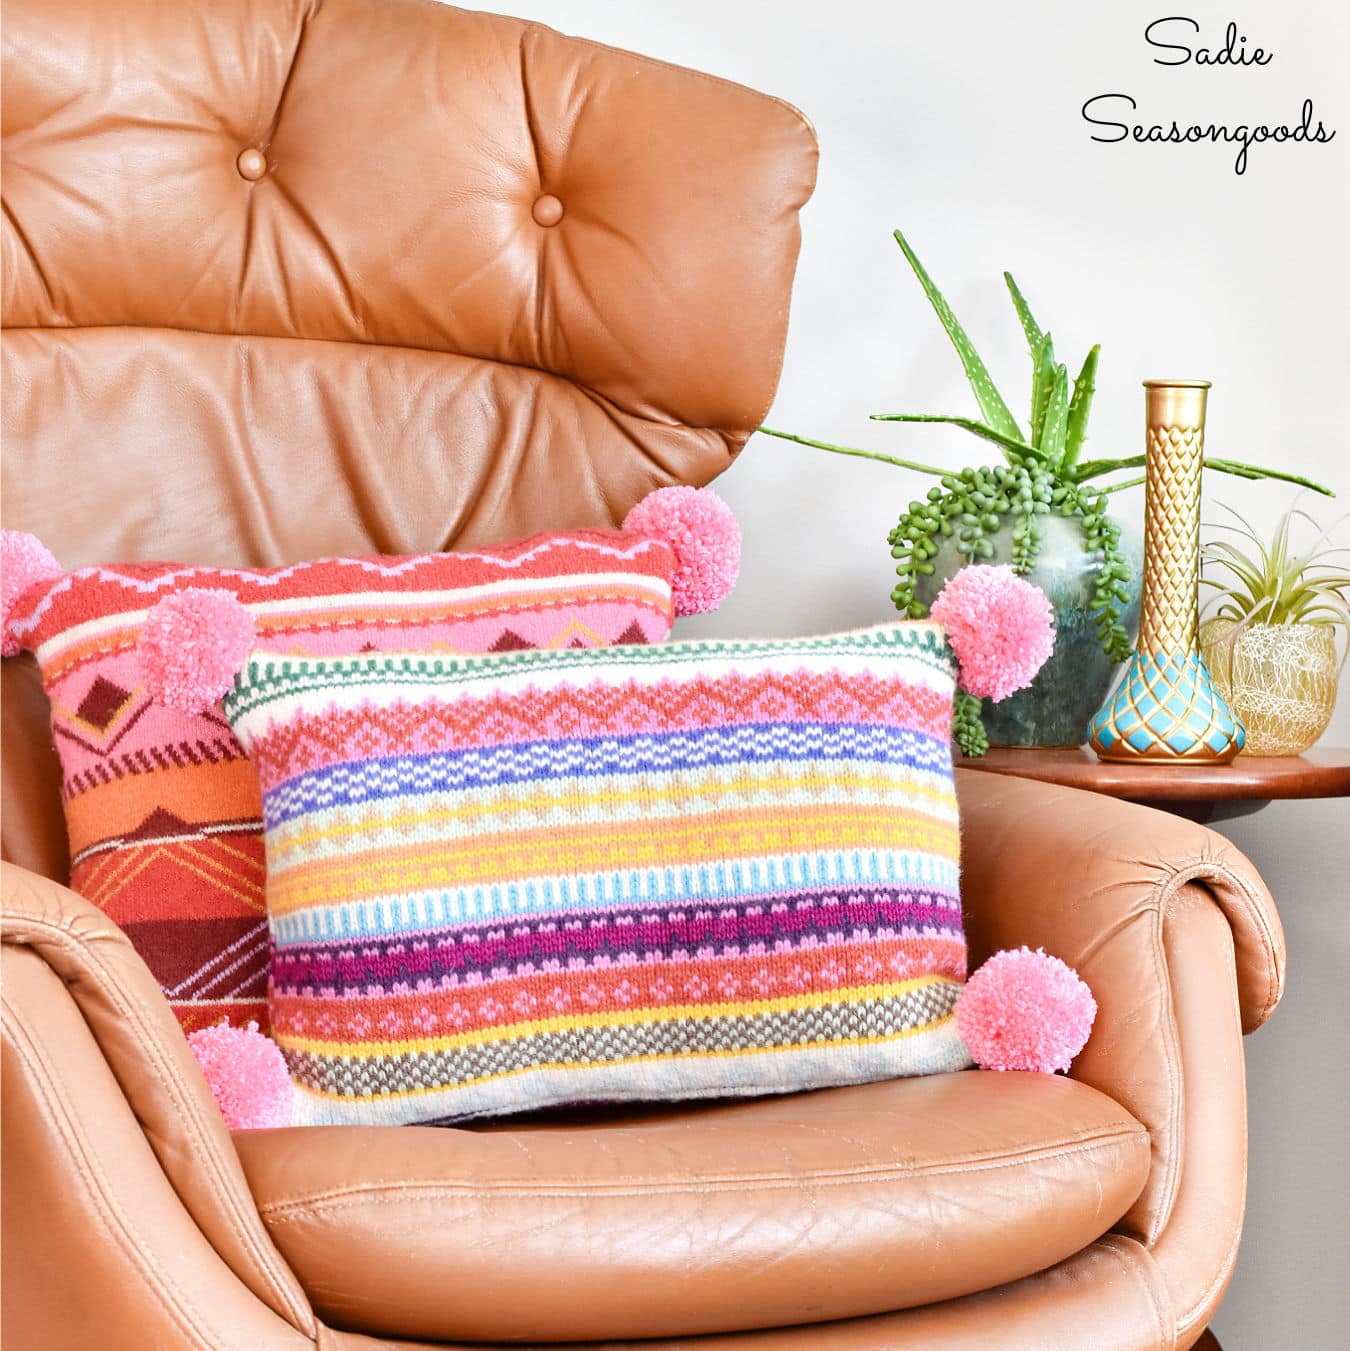
If you enjoyed this upcycling idea from a thrift store find, then you may also be interested in these boho pillow covers that I made!
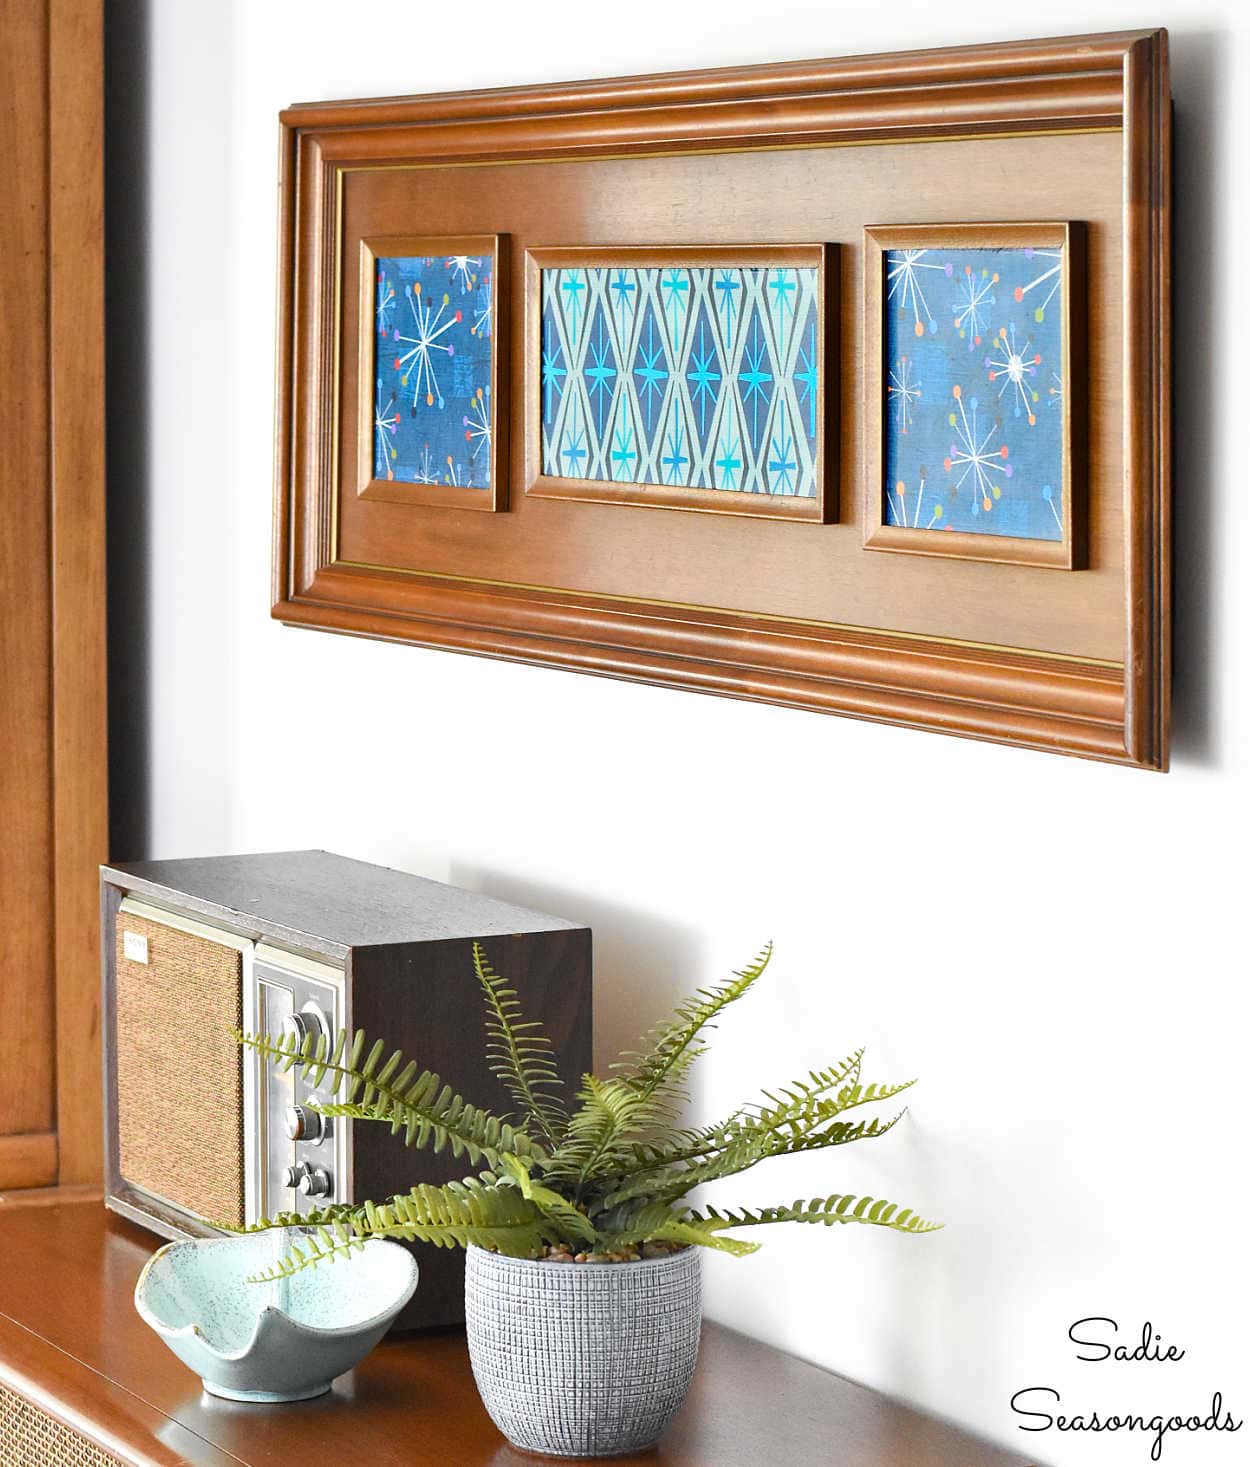
And for another MCM-inspired upcycling idea, check out this wall decor I made from a thrifted frame, too!
Craft on!
S
Want to be notified when I publish my next upcycling project tutorial?
Join me on Social Media:
PIN ME!
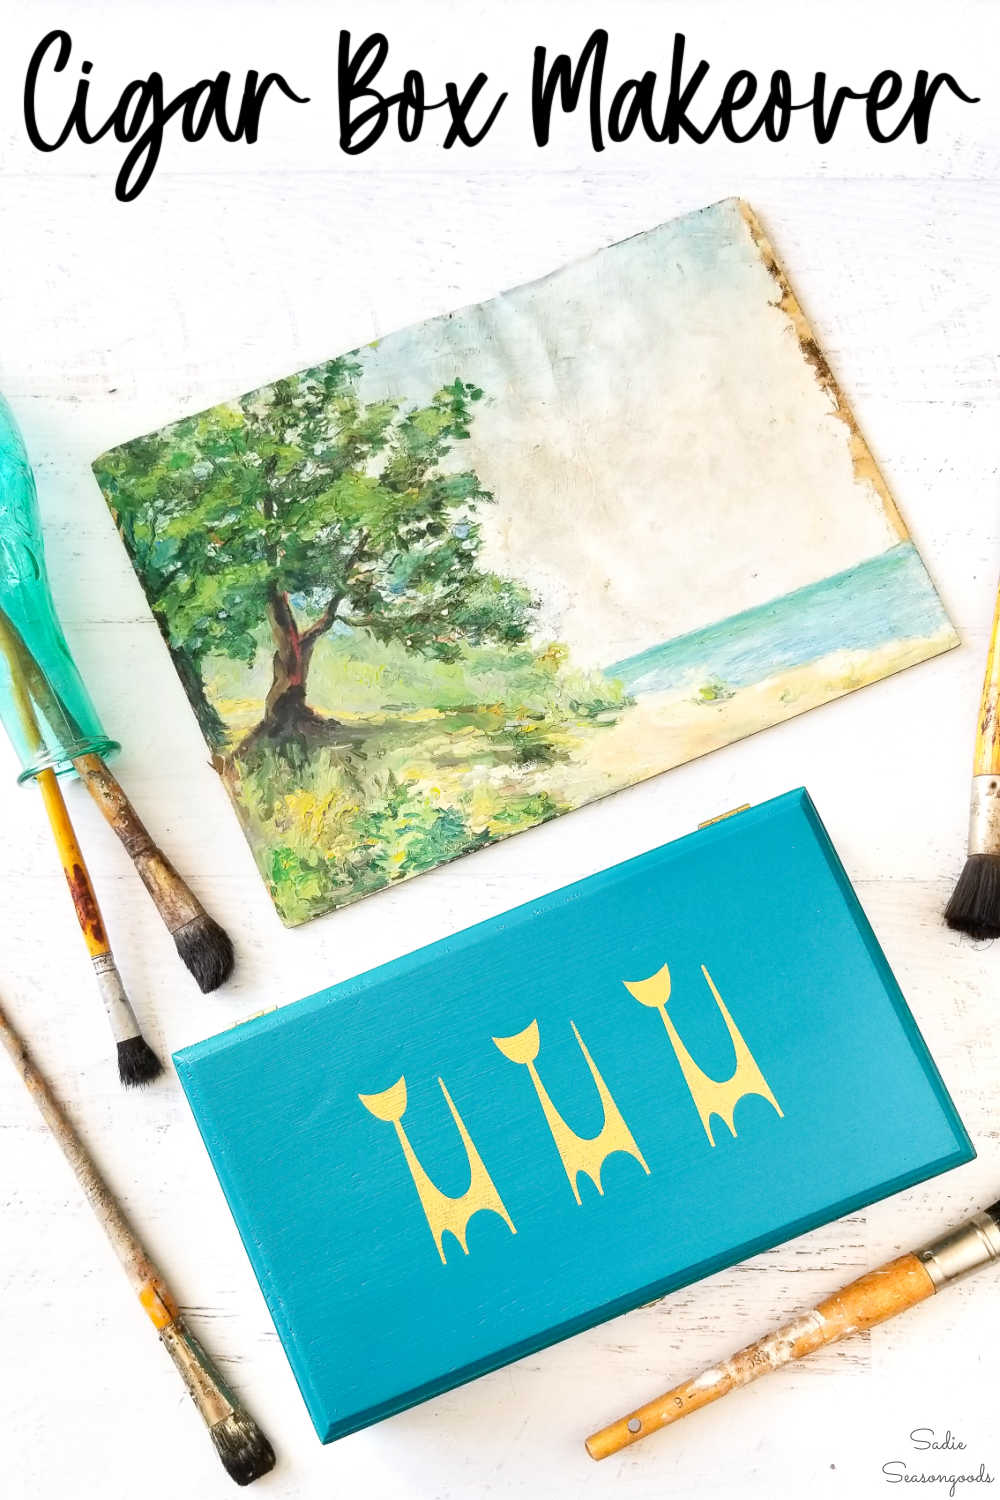
Image credit: Sadie Seasongoods.
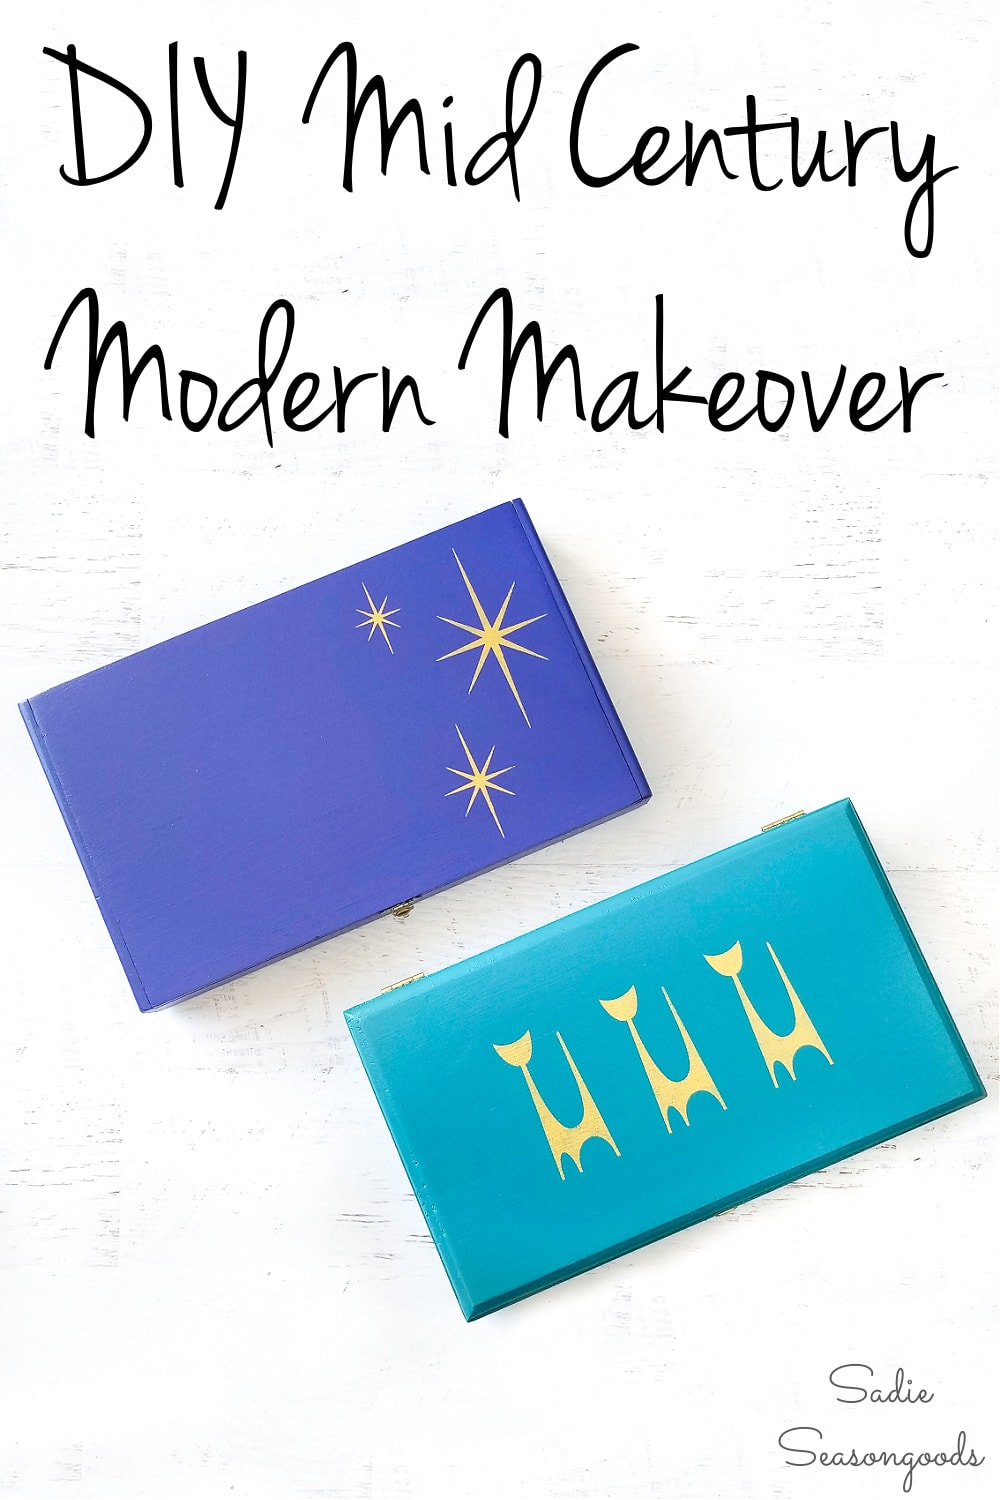
Image credit: Sadie Seasongoods.
Sarah Ramberg is the owner of Sadie Seasongoods, a website that celebrates all things secondhand. From upcycling ideas and thrifted decor to vintage-centric travel itineraries, Sadie Seasongoods is a one-stop shop for anyone who loves thrifting and approachable repurposing ideas. Sarah is also the author of “Crafting with Flannel” and has been featured in numerous media outlets and magazines.







I love how the cigar boxes turned out! They would be the perfect place to keep small craft projects handy at night while watching tv with the hubs!..Pets cant get to anything and I don’t have to go back and forth from my craft room! Thank you for sharing!!!
They’d be perfect for holding all sorts of bits you’re working on or tinkering with!!
How cool are those! I need to get me some funky mcm stencils!
Yes you do!! All the cool cats use them.
You are amazing!! I Love all you do!
Thank you, Esther!
Great job as usual. Thank you for sharing.
Thanks, Rebecca!
what i see is a very talented girl,I am past the age to be creative,but i sure enjoy seeing what you young girls are doing.way to go girls donnao
You are far too kind, Donna, but I’m so glad you enjoy our projects!
I love how this makeover Turned out and they perfectly fit your vintage artist brushes!
Thanks, Kristin!
They turned out so cool!
Thanks!
I love these! I have purchased some very nice cigar boxes and would like to make ring boxes! How did you make the cloth interior part to hold the rings? Thanks!
I just found the link with the instructions on the ring box! Thanks anyway! Love your blog!
Ok, good! Happy crafting, Tammy!