Once I felt nicely settled in our new home here in Charlotte, NC, I treated myself to a quick, safe trip to a longtime favorite antiques mall called Sleepy Poet. I always, ALWAYS, find a project or treasure when I’m there and this visit was no exception when I came across this wooden cheese box.
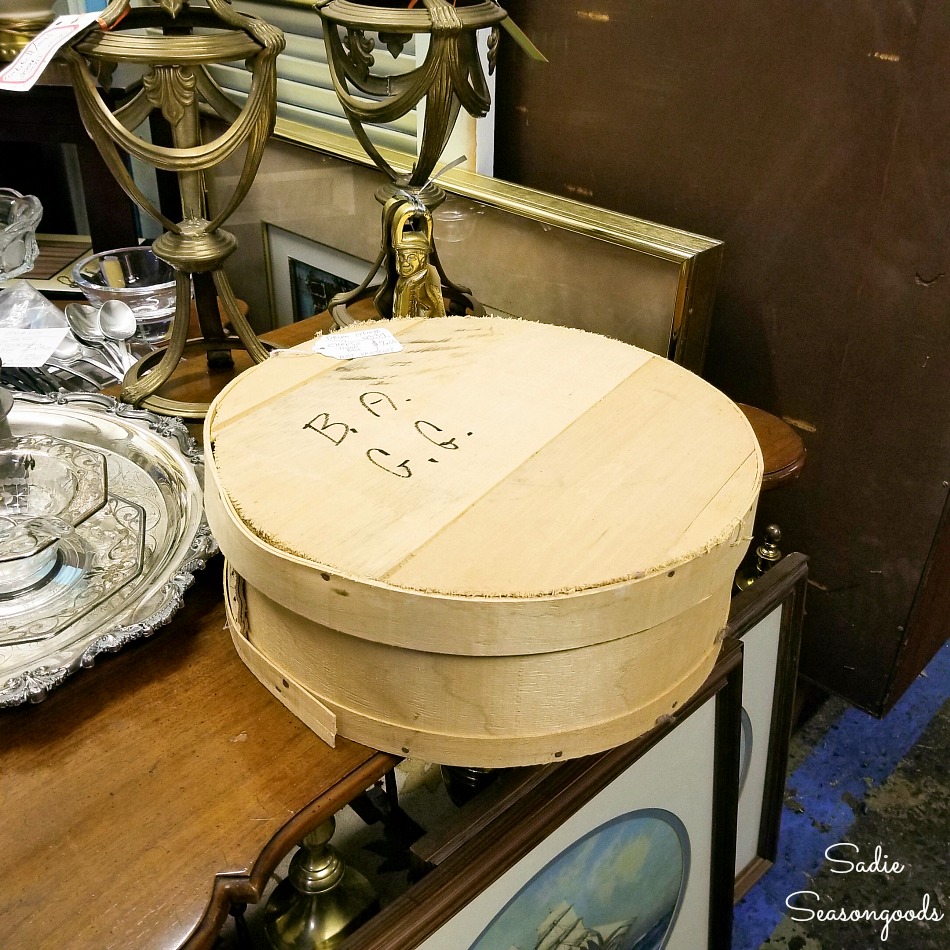
It had some markings on the lid and quite a few markings on the main box, but none of those deterred me. It just seemed like it was destined for an upcycling project (or two!?).
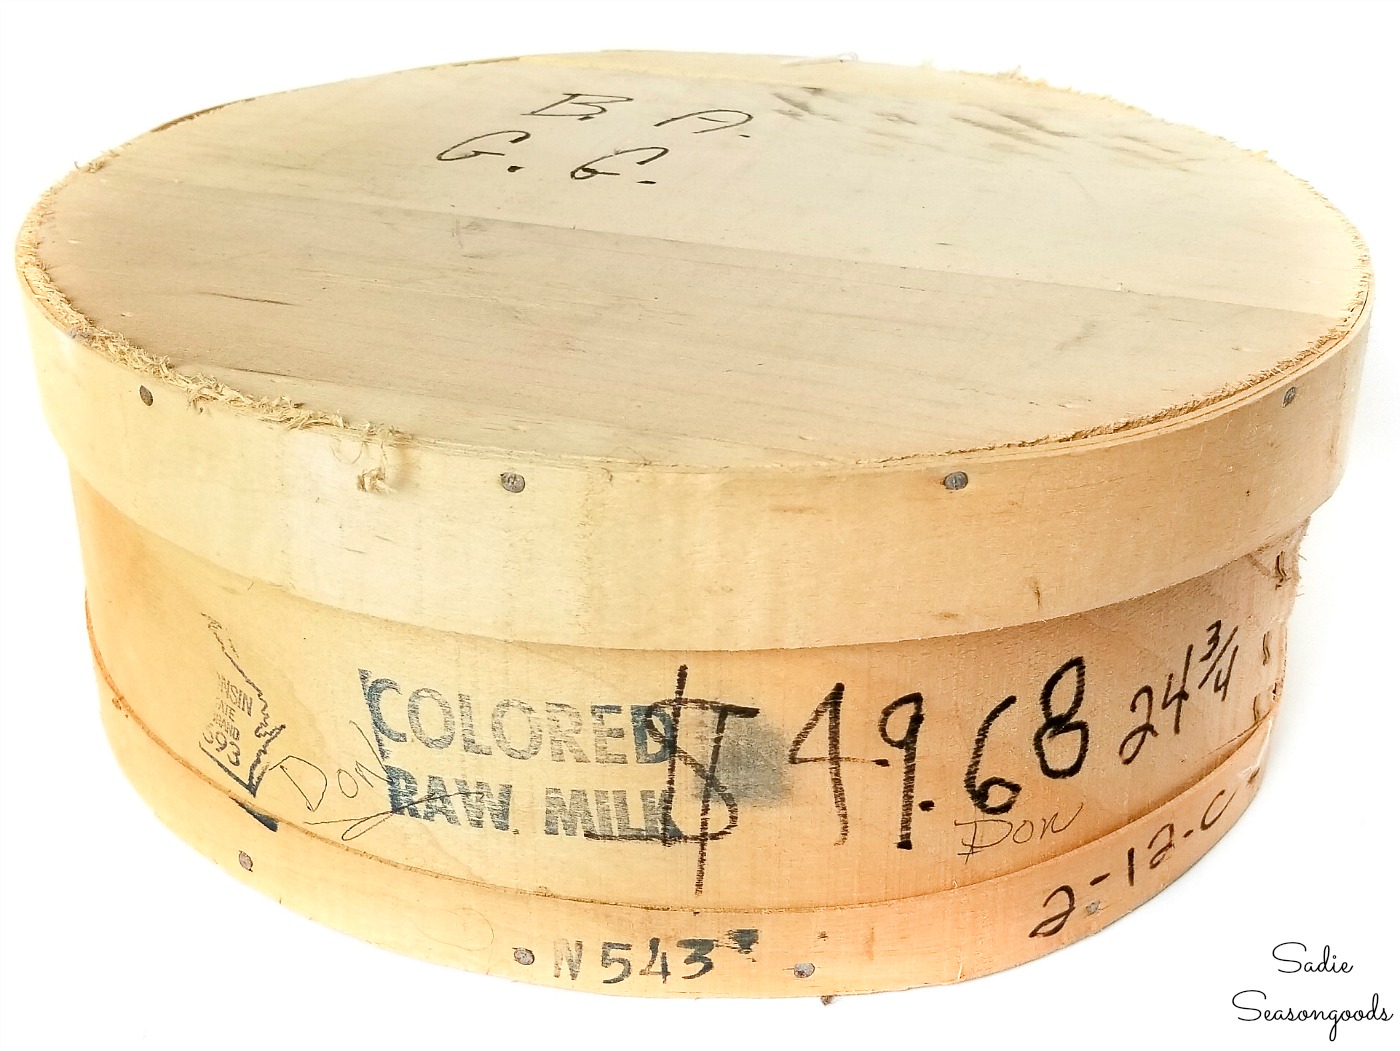
Heck, even the original price tag had “Art Project?” written on it. Which was basically like issuing me a challenge right there in the store.
So, I popped it in my cart, mulled over a few ideas, and settled on repurposing the lid as a fall door wreath.
After all, I’m no stranger to making fall wreaths, but needed a new one for our rental house!
This post contains affiliate links for your crafting convenience. As an Amazon Affiliate, I earn from qualifying purchases. All blue, bold, and underlined text is a clickable link, either to a product or to a related post.
Resurfacing the Lid of a Wooden Cheese Box
First things first, I needed to smooth out the lid of the cheese box before anything else. Between the marker writing and the “splinters-waiting-to-happen” along the round edge, it definitely needed some attention.
So, I broke out my orbital sander to do the job. I started out with an 80-grit disk to do the heavy lifting first.
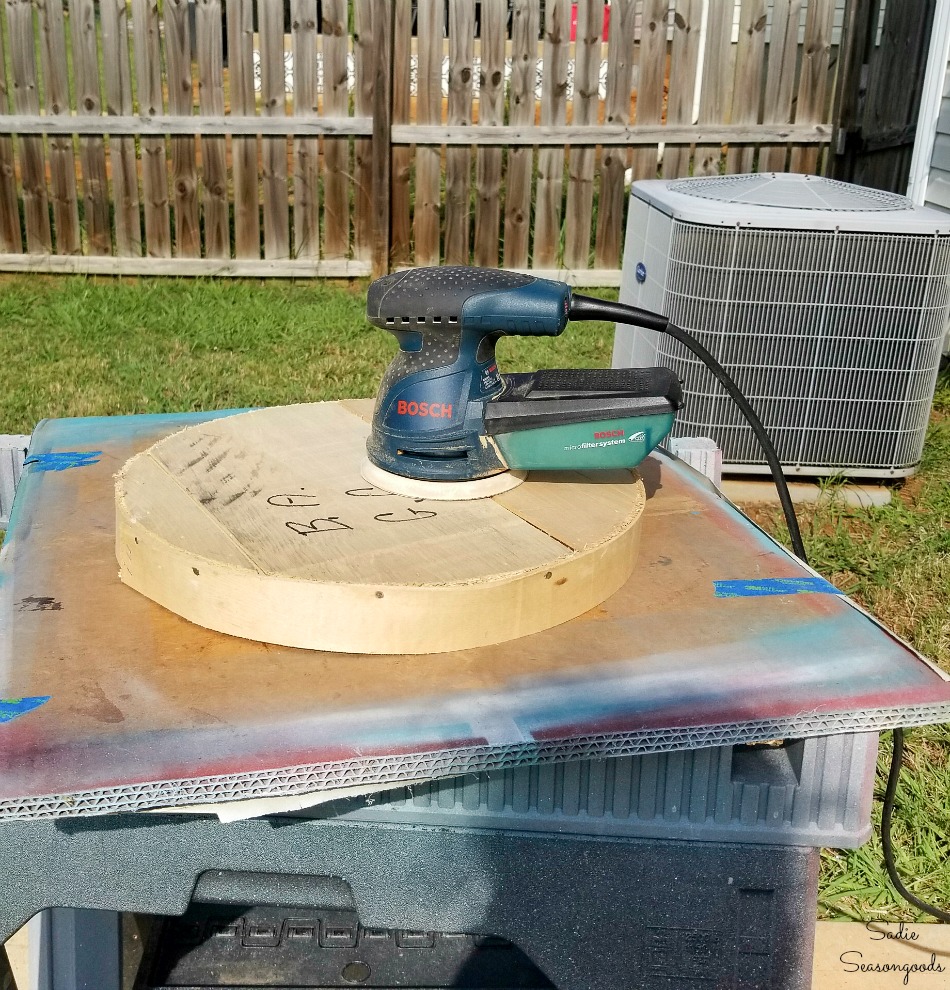
Once the marker and splinters had been sanded off, I finished with a 220-grit disk to make it touch-ably smooth.
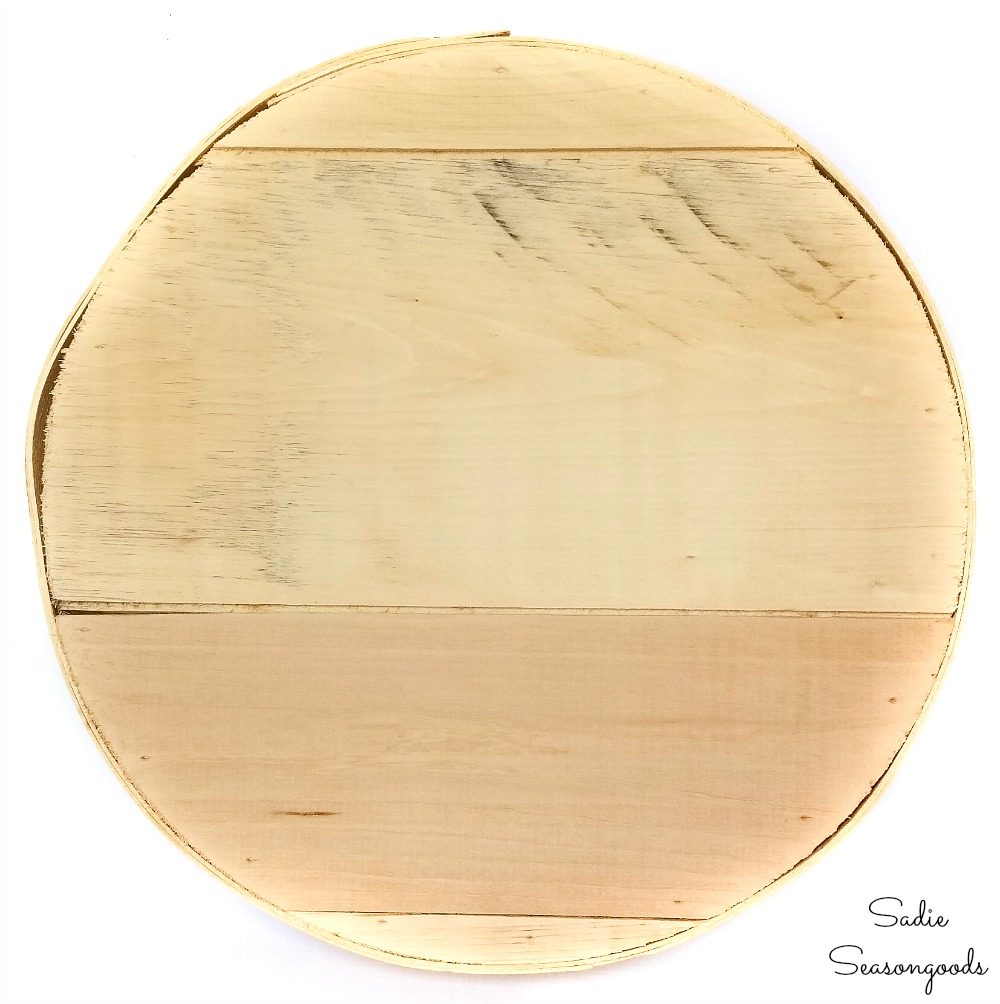
Next, I wanted to deepen the color of the wood while still keeping it fairly pale, if that makes sense. I decided to give “Golden Pecan” a try.
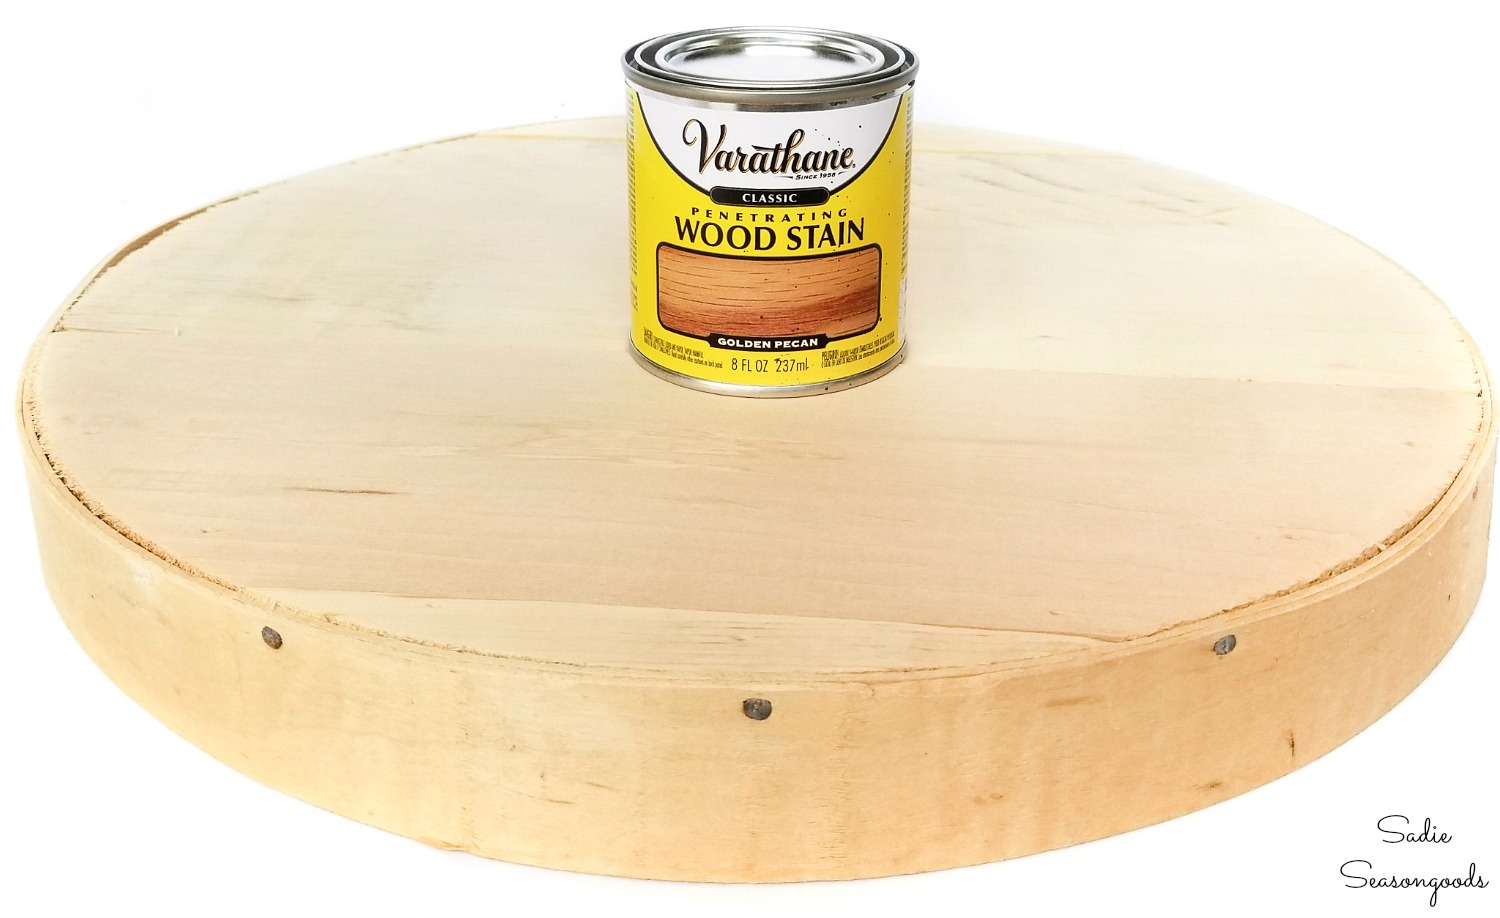
And it was PERFECT! It warmed up the wood cheese box with just a hint of rich color, which was exactly the look I was hoping to achieve.
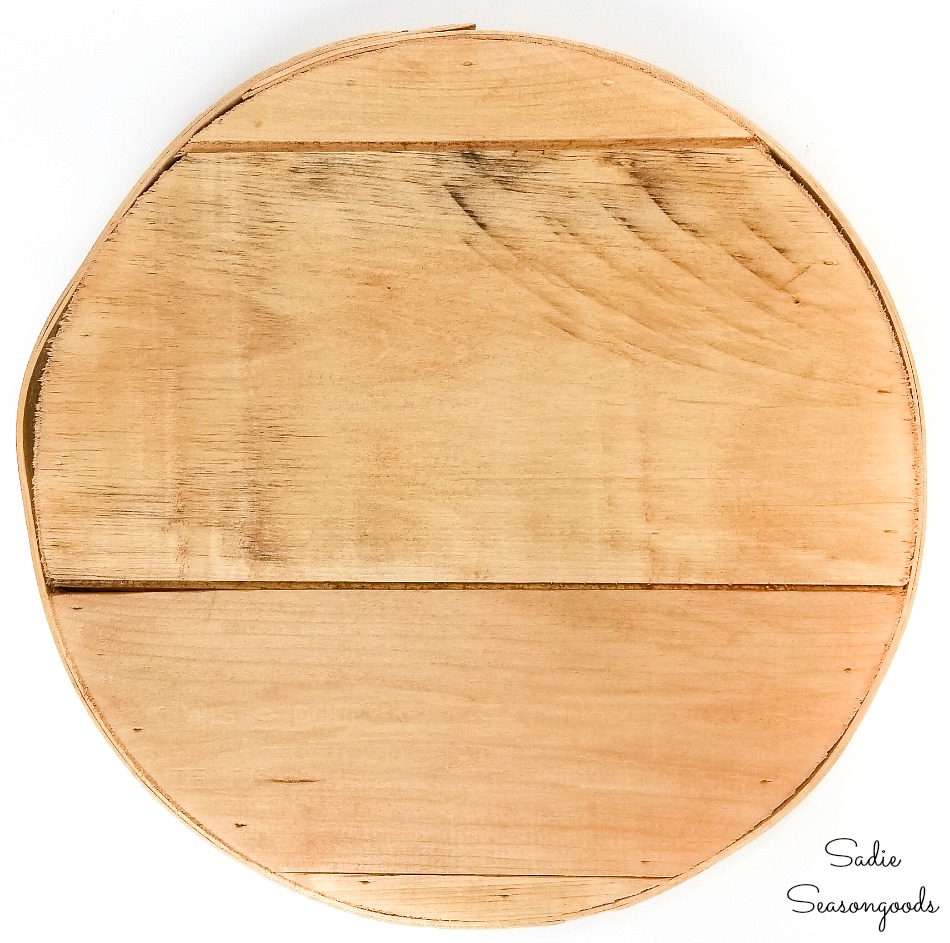
Stenciling to Look Like a Wood Burned Sign
Now that the lid of the wood cheese box had a warmer color, I could turn my attention to stenciling the center.
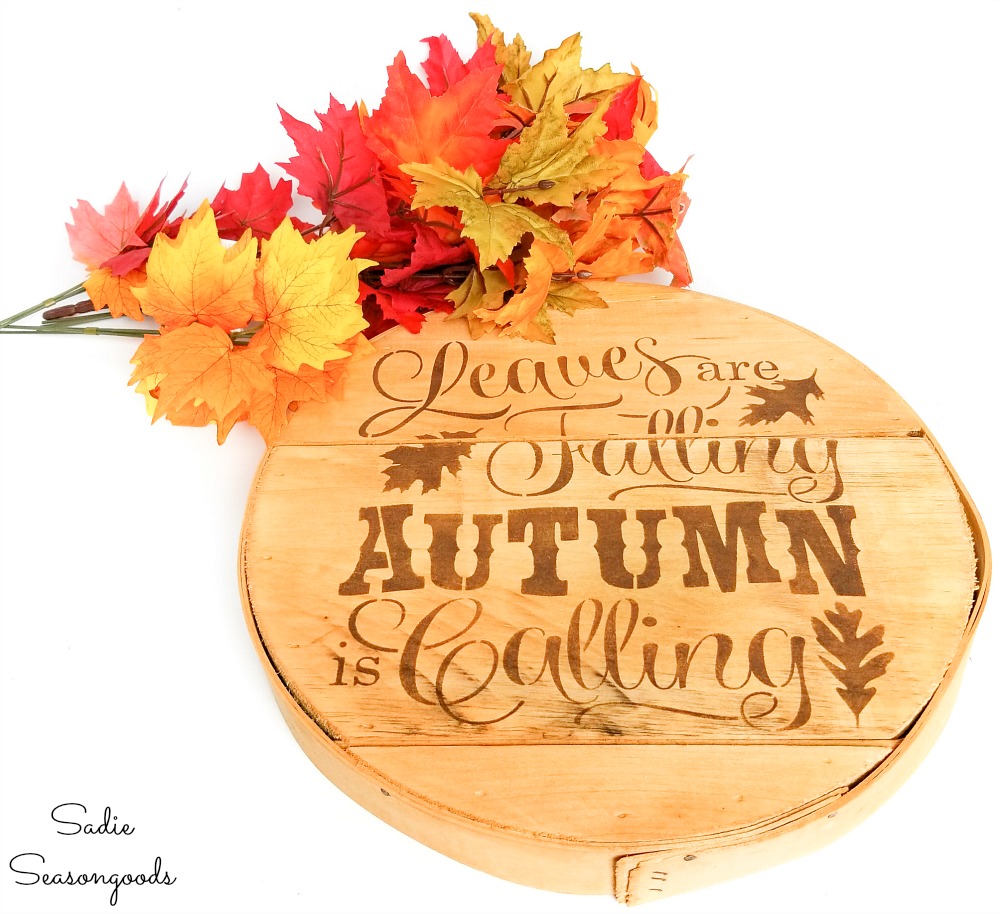
I wanted to recreate the look of a wood burned sign without any pyrography. So, I grabbed a fall stencil and some brown craft paint to give it a go.
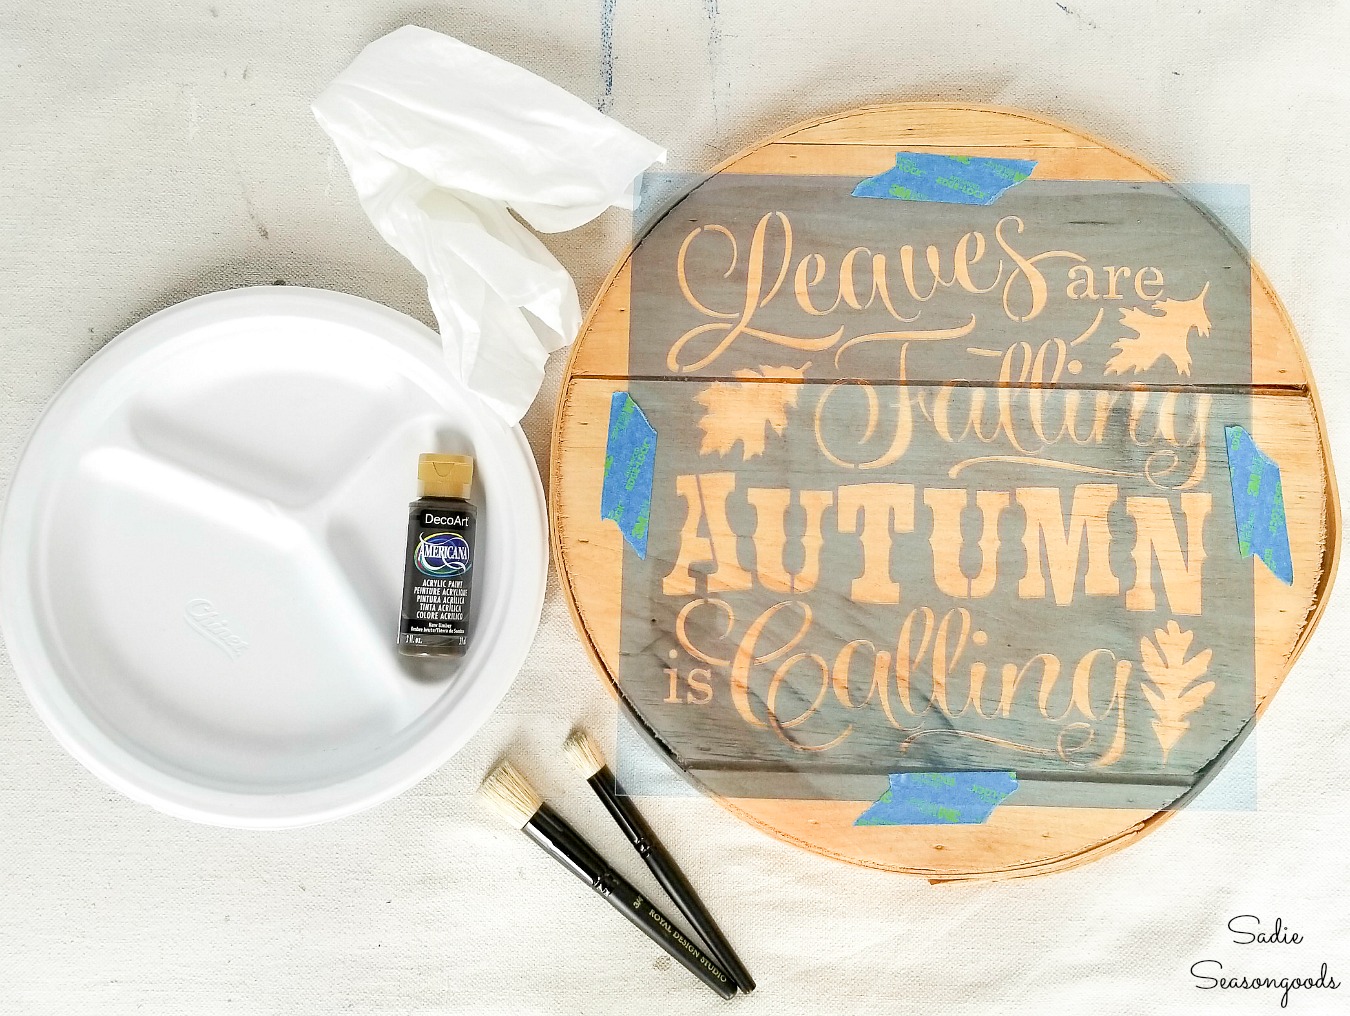
And you know what? It worked out pretty well, if I do say so myself.
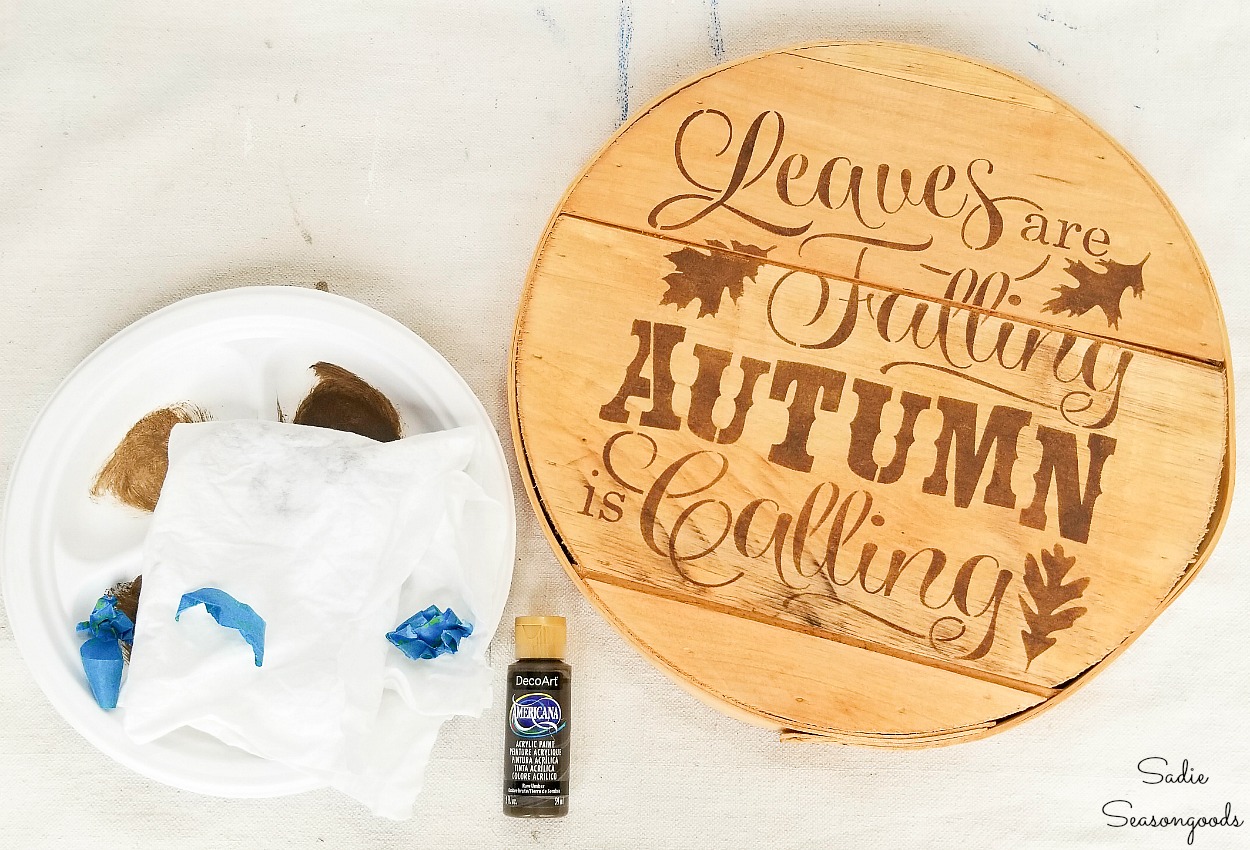
Once the stenciling was done, I could determine the very top of my wreath. I marked it with a pencil and drilled a small hole through the lip of the cheese box lid.
I wanted to do this AFTER the stenciling so that I didn’t have to line up the stencil with the pre-drilled hole!
From there, I pushed a knotted loop of twine through the hole as a wreath hanger.
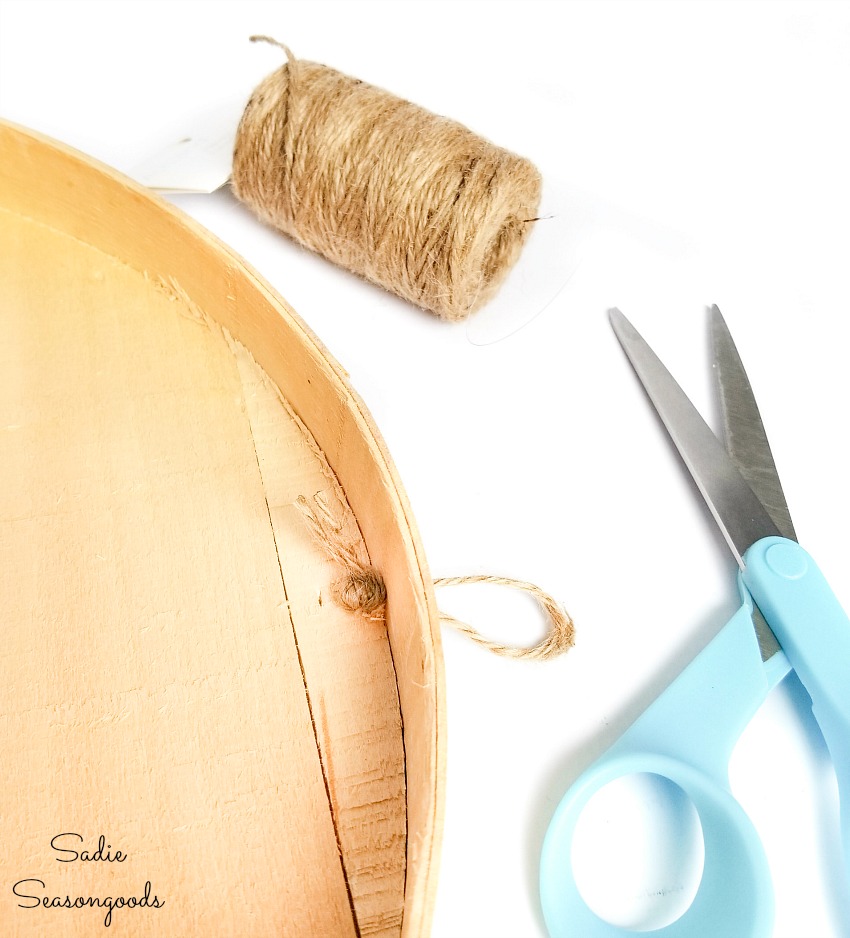
If I had wanted a very rustic, simple wreath, I could have wiped my hands and called it a day.
But I wanted color, namely fall colors on fall leaves. So, I purchased a few stems from Michaels.
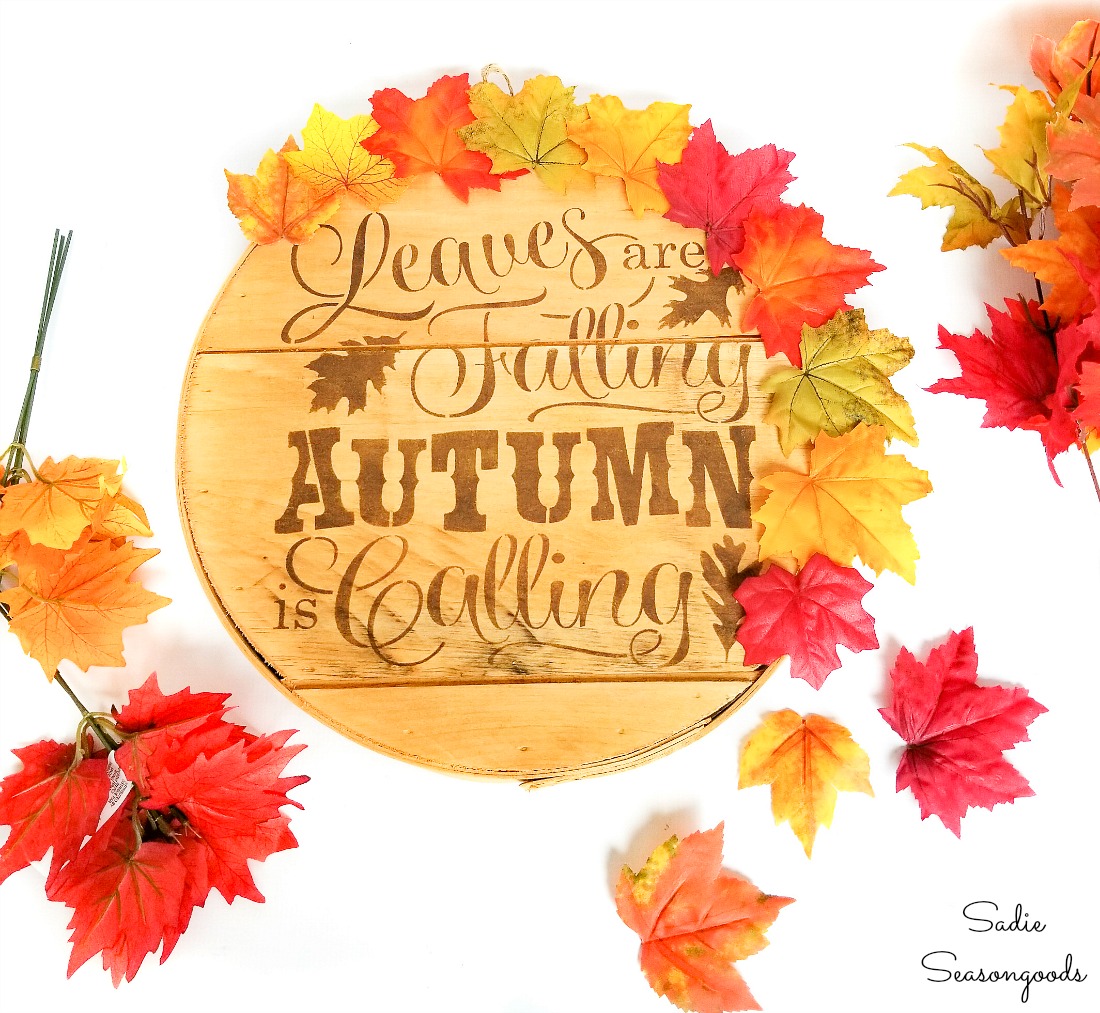
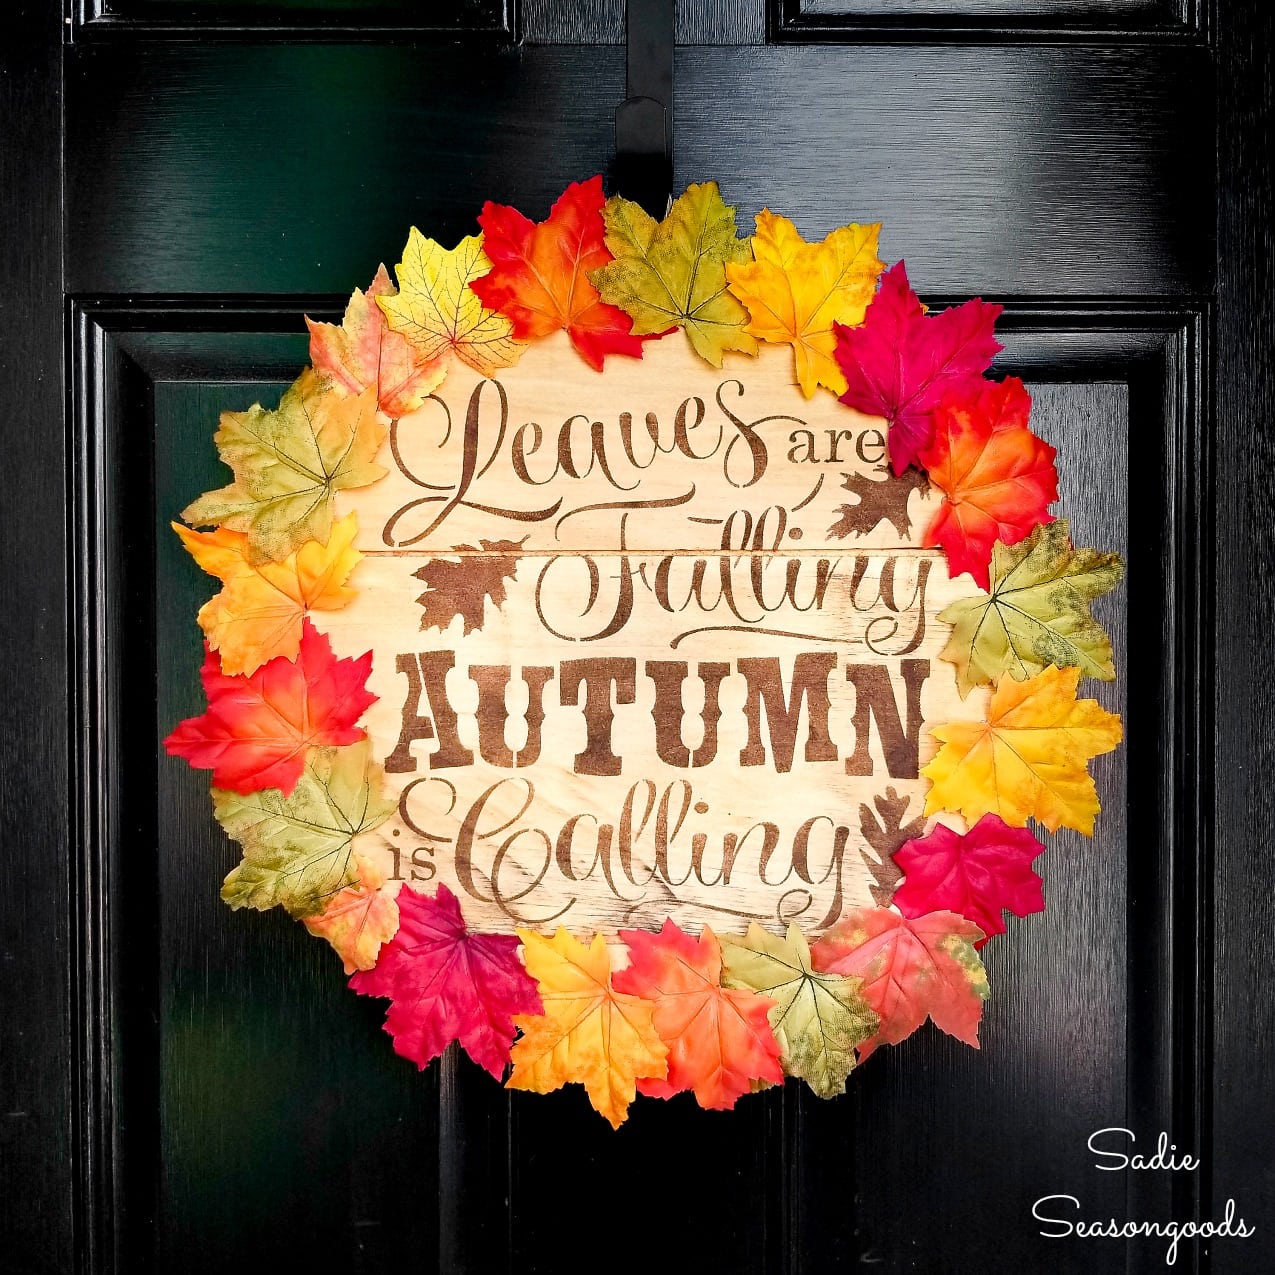
With my hot glue gun in hand, I ringed the lid of the wood cheese box with brightly colored leaves. I hadn’t planned on placing them so closely together, but that was just how it worked out!
Fall Door Wreath from a Wooden Cheese Box
When I made it all the way around the lid, it was finished and ready to be hung outside!
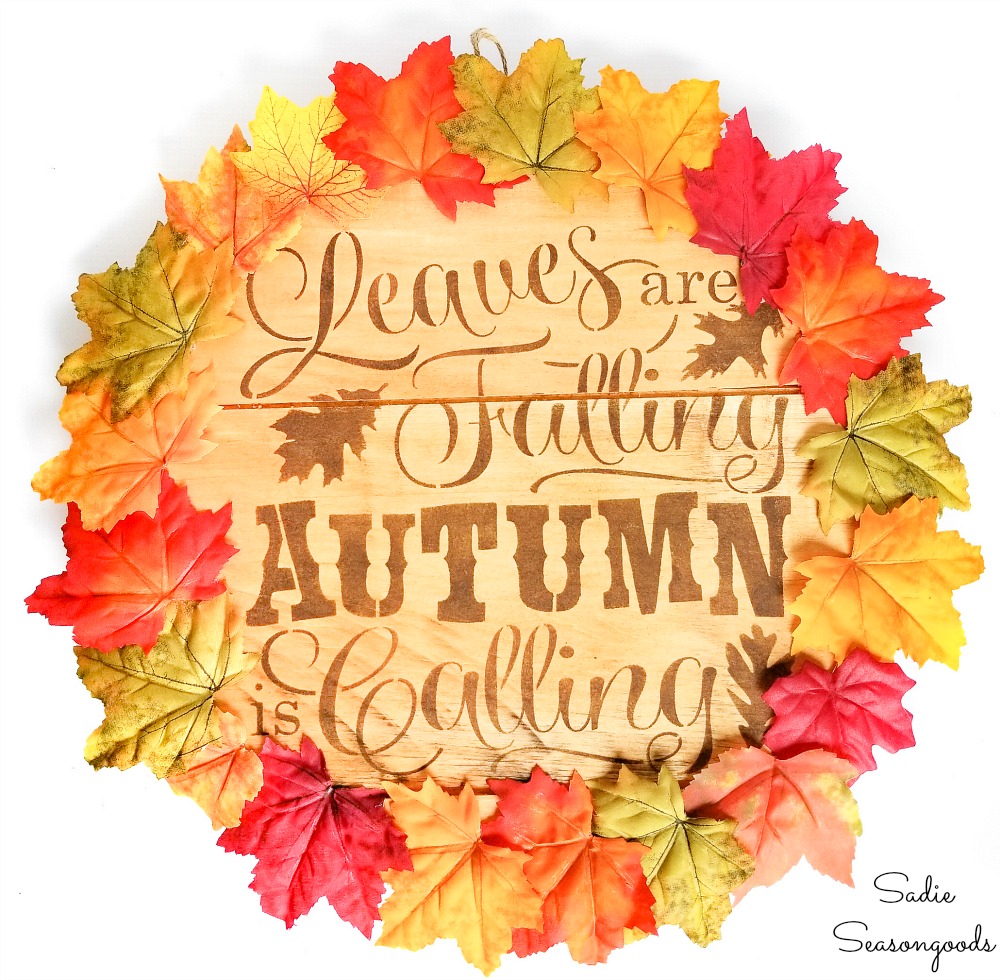
I just LOVE IT! It’s almost like a fall leaf sunflower, in a way.
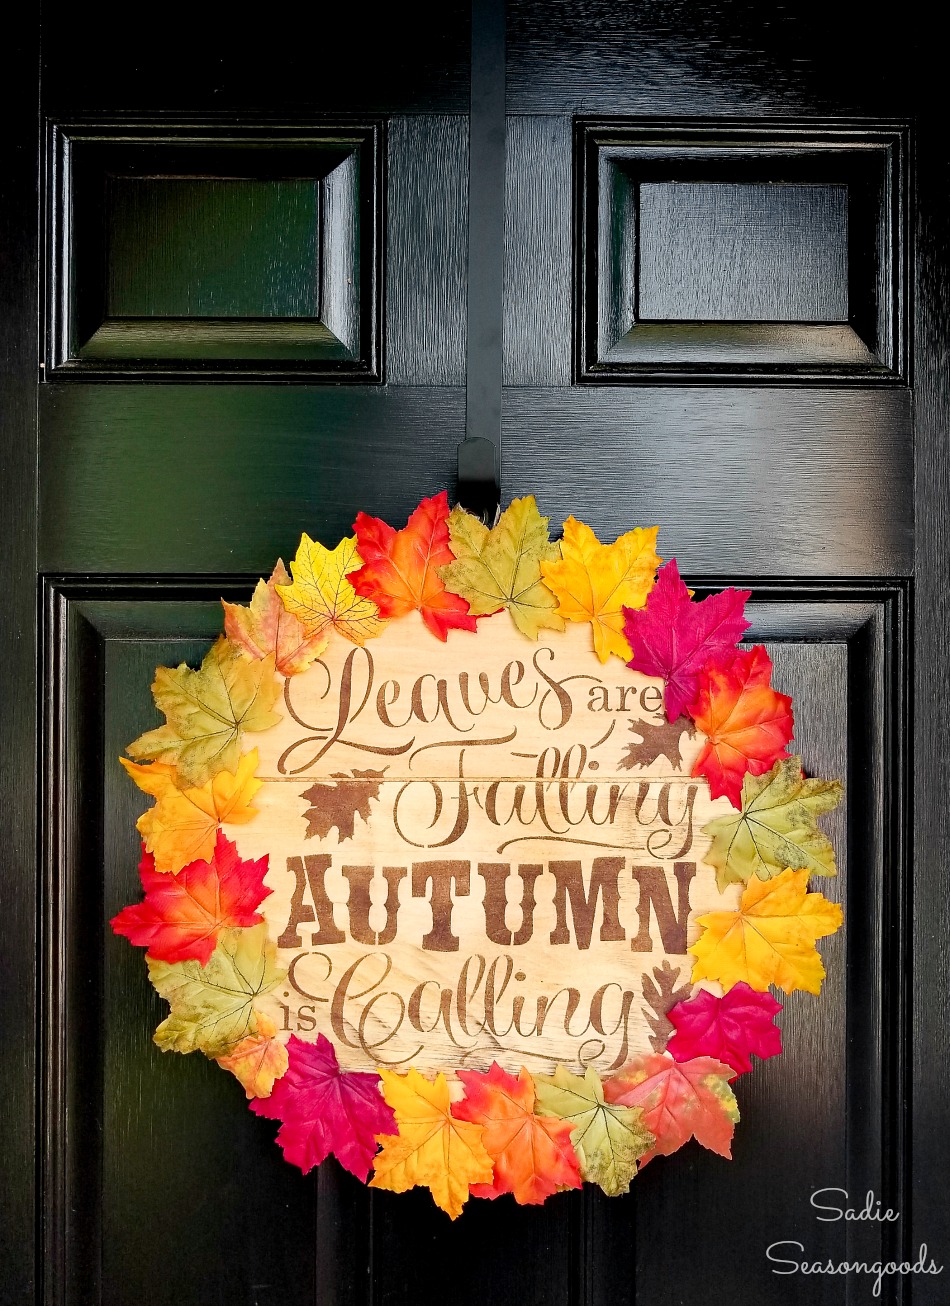
Ok, how weird is it for me to be hanging a wreath on a black door after YEARS AND YEARS of decorating our old red door?
There was no nail in the door so I bought a black over-the-door wreath hanger that worked like a charm. And I can’t speak for you, but I think the lid of a wood cheese box was MEANT to become a fall door wreath!
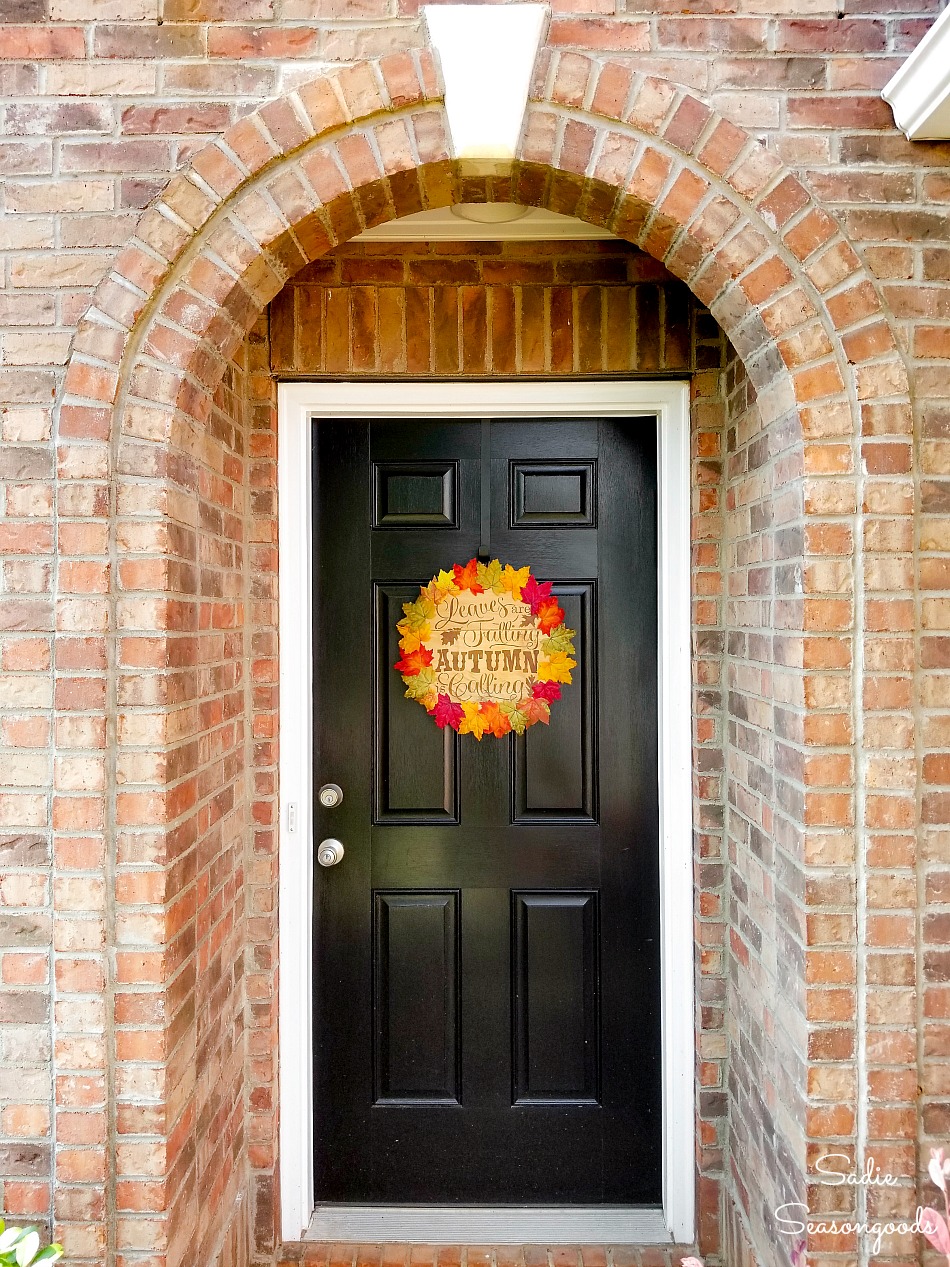
Now…if only the weather outside my door would start feeling like Fall…
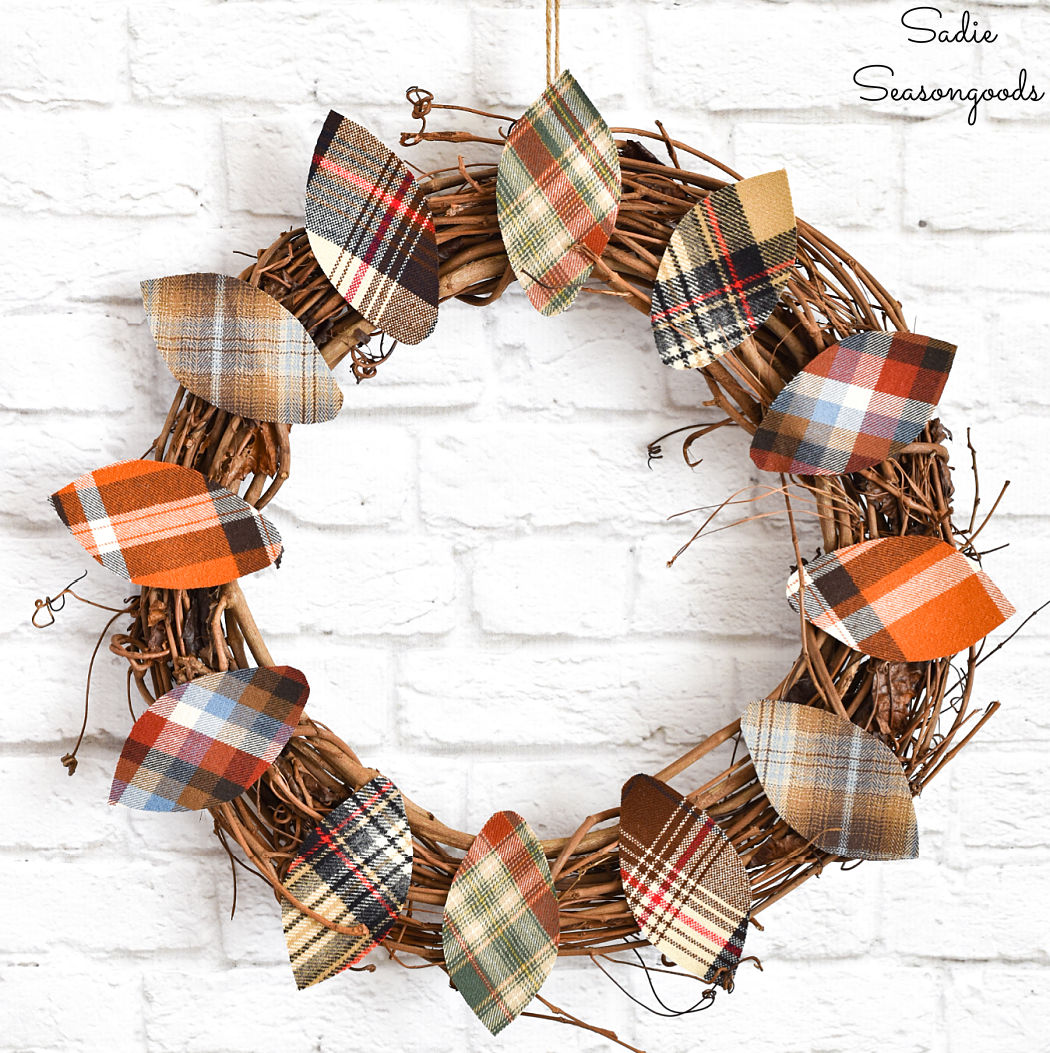
Speaking of fall wreath ideas, did you see the one I made for my book, “Crafting with Flannel”?
So much fun, right? And I have a whole collection of upcycling ideas for fall wreaths here, if you’re looking for more inspiration.
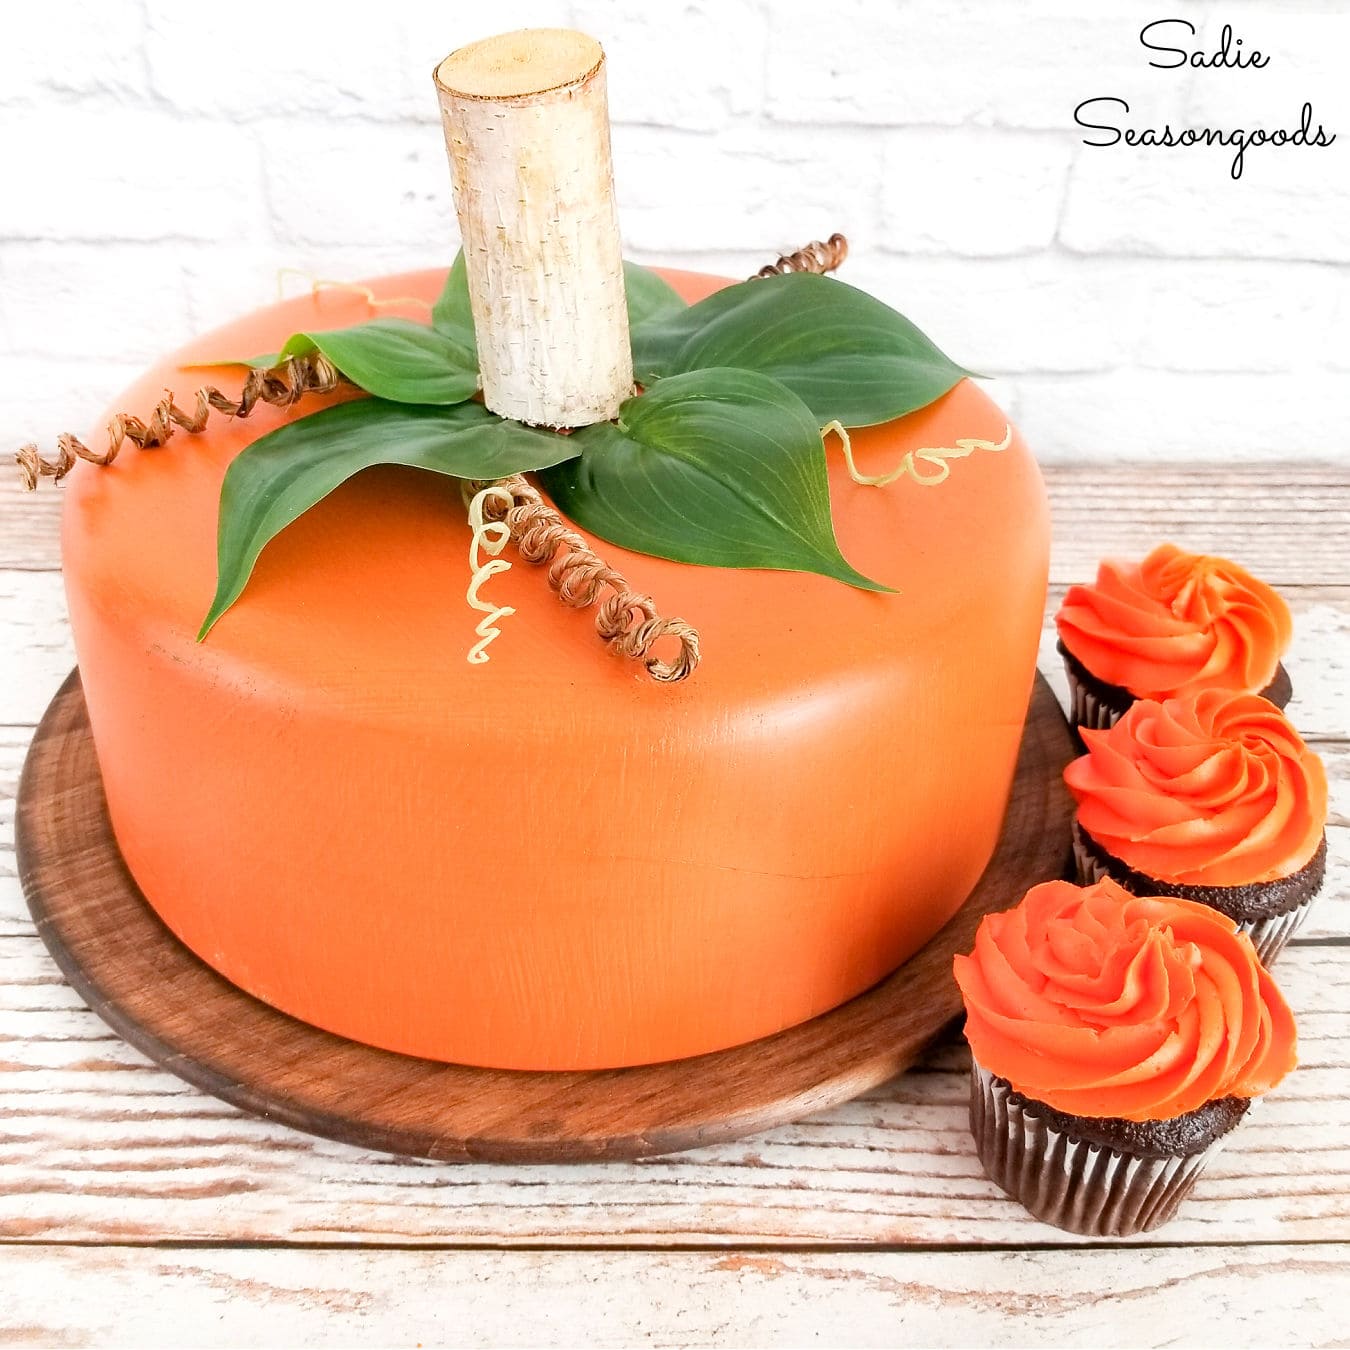
And if you enjoyed this upcycling idea for fall decor, then you may also be interested in this cake dome that looks like a pumpkin, too!
Craft on!
S
Want to be notified when I publish my next upcycling project tutorial?
Join me on Social Media:
PIN ME!
Sarah Ramberg is the owner of Sadie Seasongoods, a website that celebrates all things secondhand. From upcycling ideas and thrifted decor to vintage-centric travel itineraries, Sadie Seasongoods is a one-stop shop for anyone who loves thrifting and approachable repurposing ideas. Sarah is also the author of “Crafting with Flannel” and has been featured in numerous media outlets and magazines.








No access to wooden cheese boxes but looks cute.
So nice! It looks really great against the black door!
Thank you!! It’s taking some getting used to (that black front door), but it’s exciting, too!
I love your wreath idea. I have a couple cheese boxes. When I saw them for sale I really liked their texture and knew I needed a couple of them. One holds yarn in my craft room but, one might just make it into a wreath form. ? Thanks for the great idea!
Happy crafting, Keri- thank you!
wonderful look on your door, I am so on the lookout for a cheese box now. What did you do with the bottom?
I’m mulling over several ideas! And thanks so much. 🙂
Oh, another great project. I have a friend who has been trying to unload (I mean gift me with) several cheese boxes. I have used the bottom of a cheese box with a board to make a floor, and a Christmas wreathe for the “edging” for a lovely dolllhouse “roombox”. You make things into pumpkins, I make things into dollhouse scenes! Love the pumpkin cake storer, too–could use it from early fall through Thanxgiving! My daughter loves Halloween and pumpkins;I think I’d tape a removable Jack-o-lantern face on one for her!
I love your wreath. Great job.
Thank you!