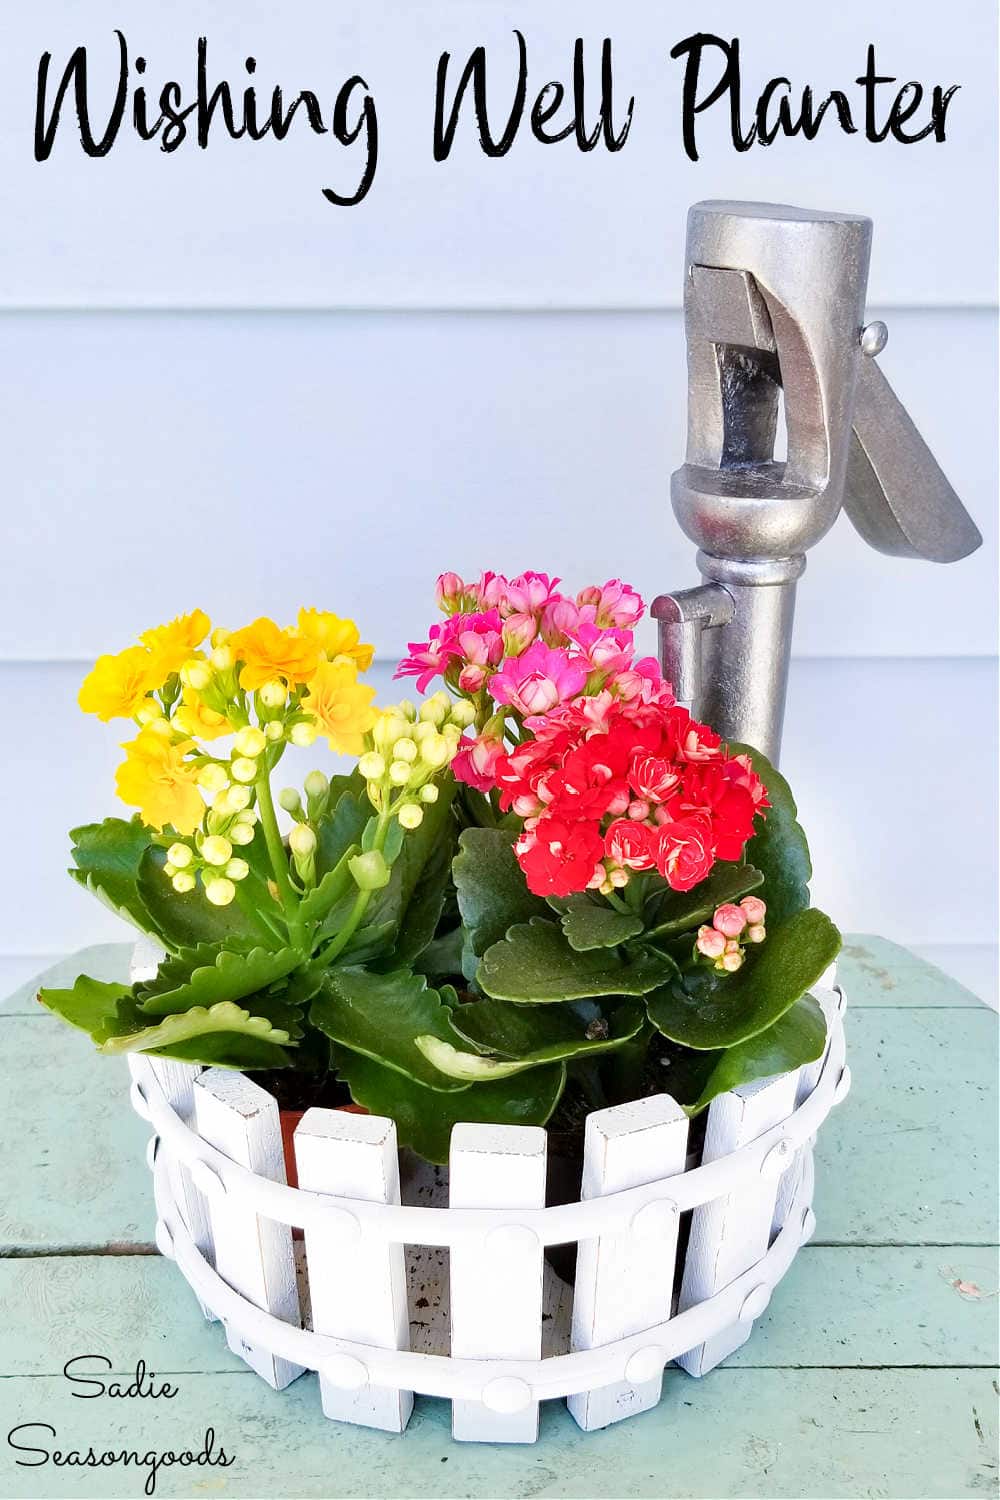
I’ve mentioned it before, but in my early days of blogging, I used to create content for the Goodwill region in Greenville, SC. Since then, Goodwill has deactivated their blog and I’ve been adding those posts to my own website over time. And this wishing well planter that I made from a vintage nutcracker was one of those projects.
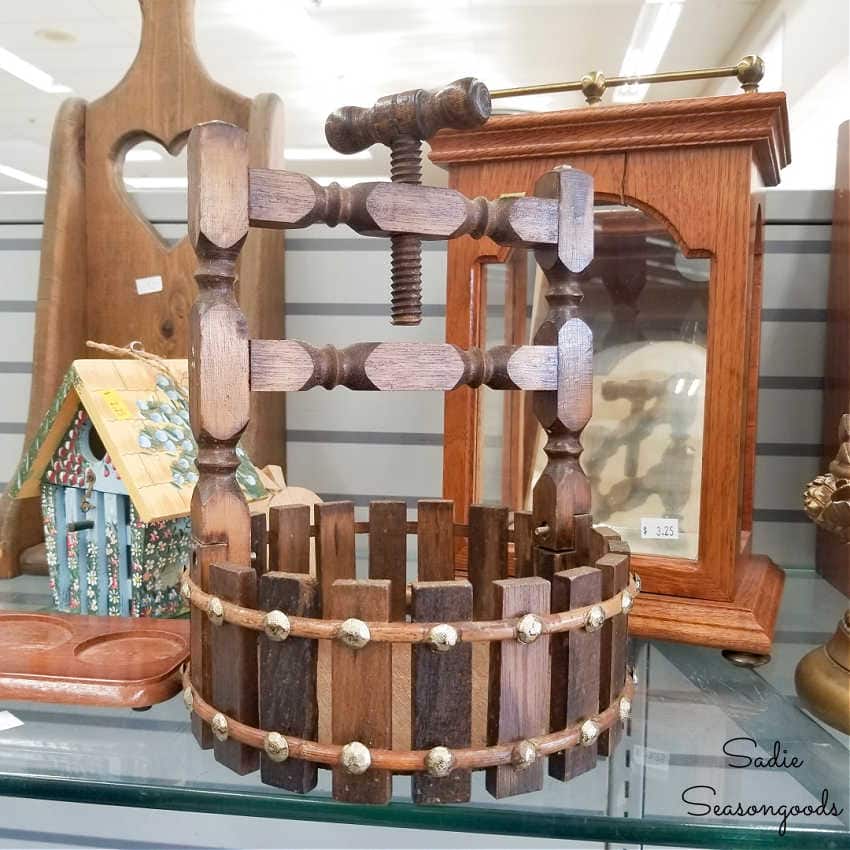
You see, I kept finding these wooden nutcrackers (or nut bowls) at thrift stores. First, I found this one…
And then this one showed up shortly thereafter!
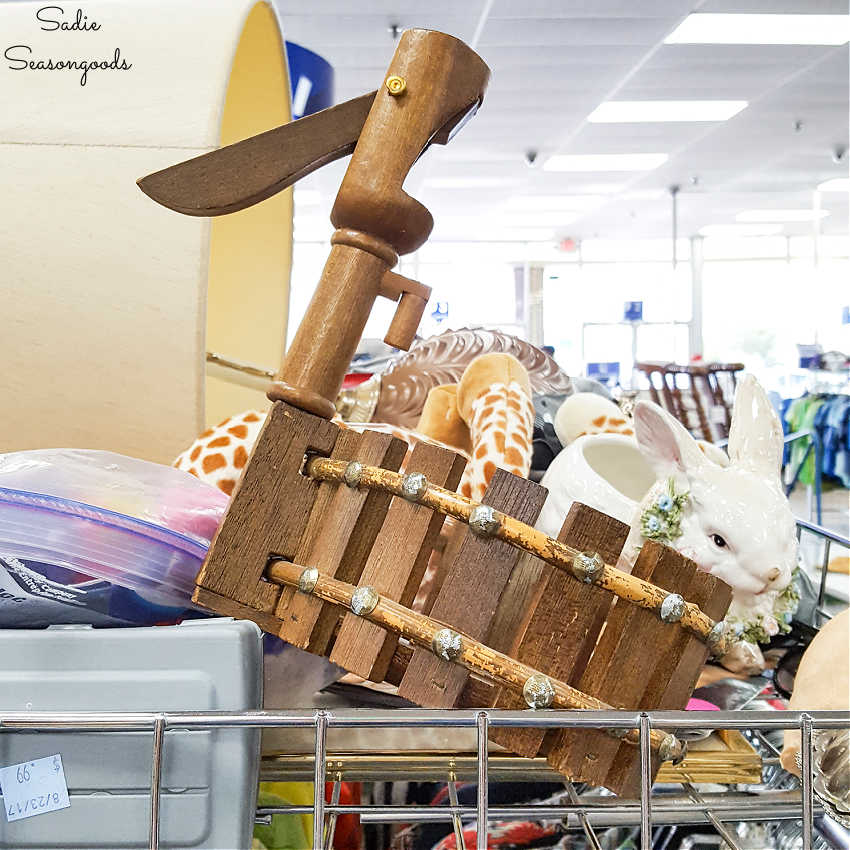
Since I wasn’t interested in doing manual labor for my snacks (aka, cracking nuts), I decided that they’d be super cute as little planters! All they needed was a simple makeover to do it, too.
This post contains affiliate links for your crafting convenience. As an Amazon Affiliate, I earn from qualifying purchases. All blue, bold, and underlined text is a clickable link, either to a product or to a related post.
Making a Wishing Well Planter
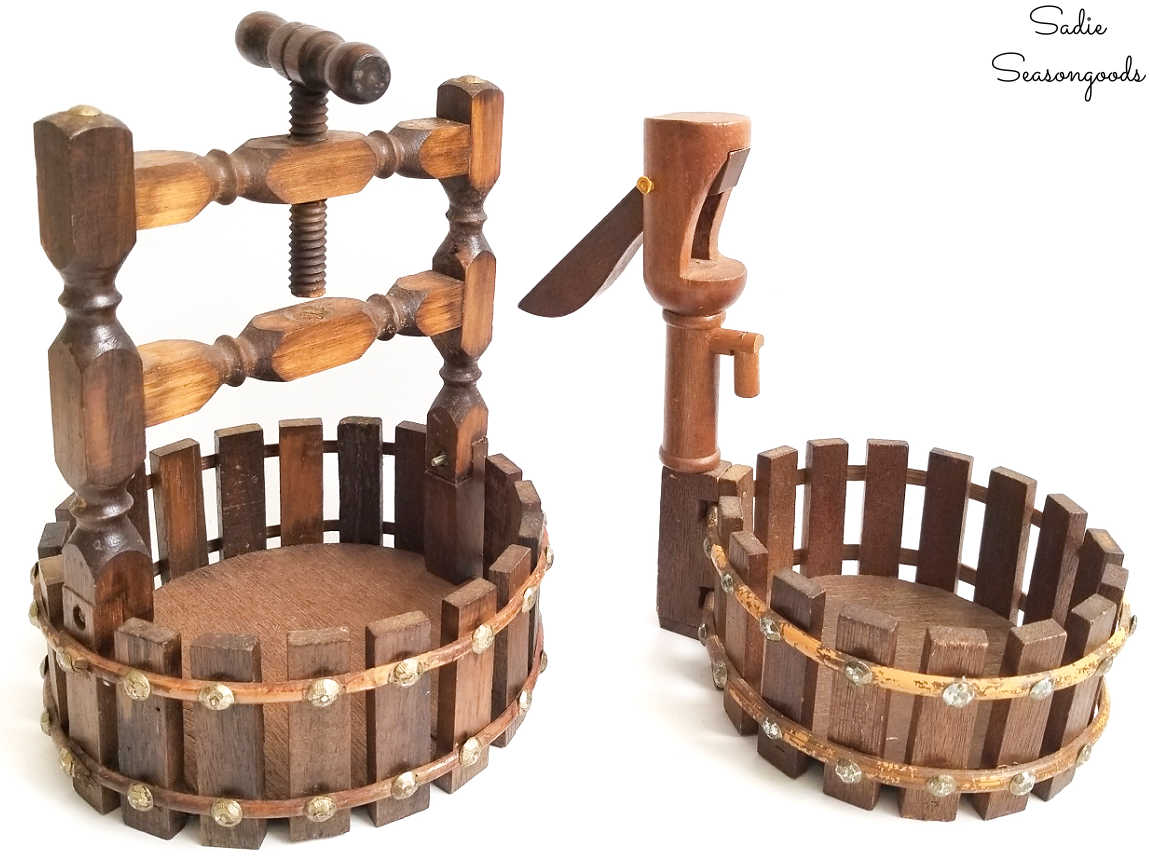
Once I had both of the vintage nutcrackers home, I cleaned them up as best I could. Removing dust and whatnot.
Then, it was time for a simple but effective makeover! As much as I like natural wood, I had a pretty specific “look” in mind for my wishing well planters. And it involved painting them white.
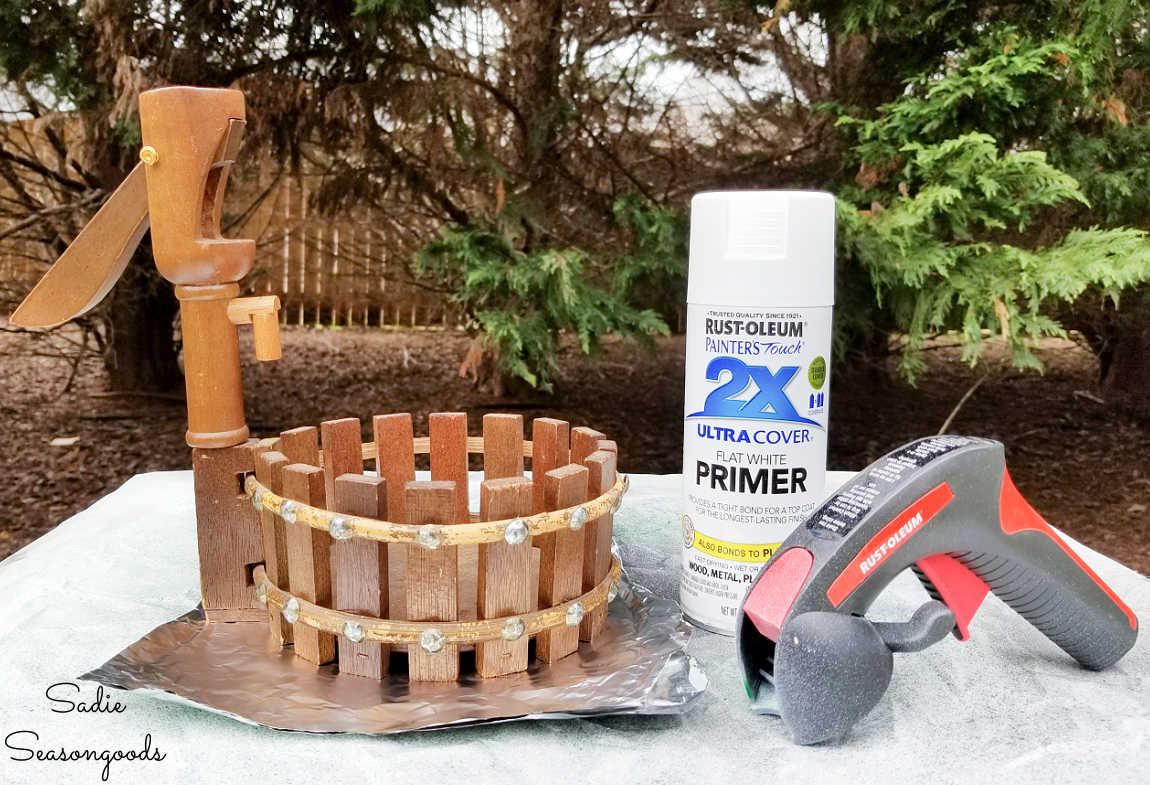
Now, you may have noticed that I used white primer and not white paint. Honestly, it’s because that’s what I had in my garage at the time. And because these were going to be planters out on my front porch, white primer was going to be just fine as a base color.
Next, and once they’d dried overnight, I used some fine (220 grit) sandpaper to distress the edges ever so gently. Just for a little vintage-y look and color contrast.
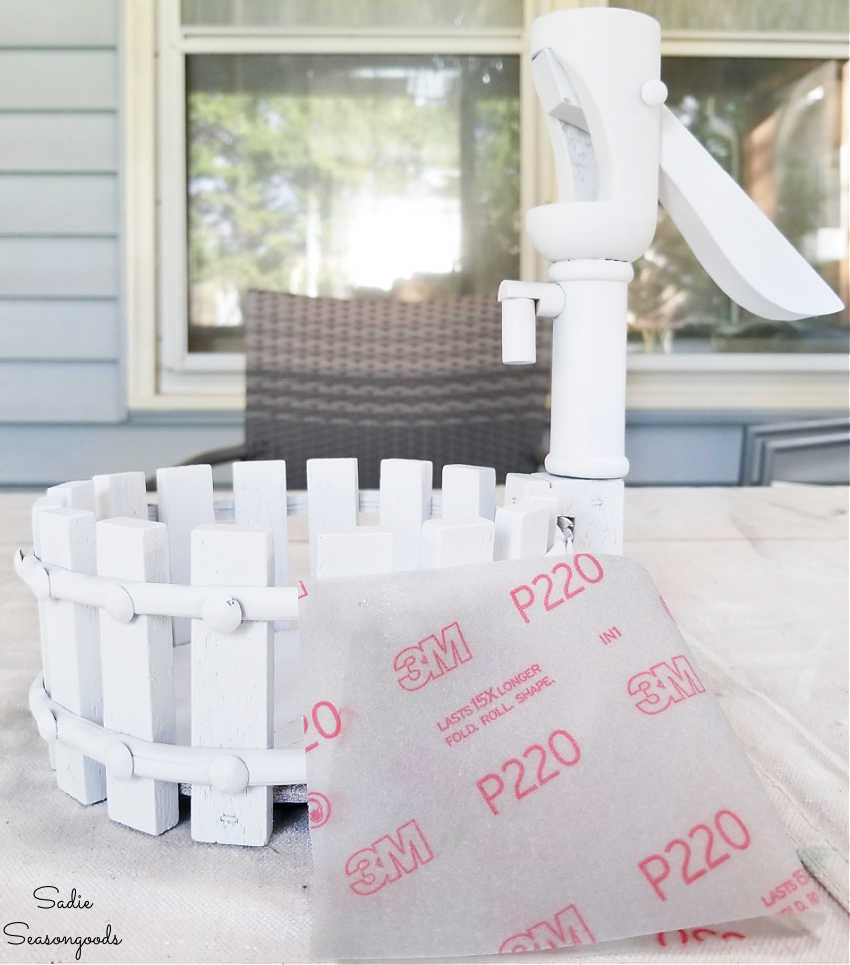
I then wiped them down thoroughly with a barely-damp towel to remove any sanding dust and debris. From there, it was time to paint the “hardware” portions silver!
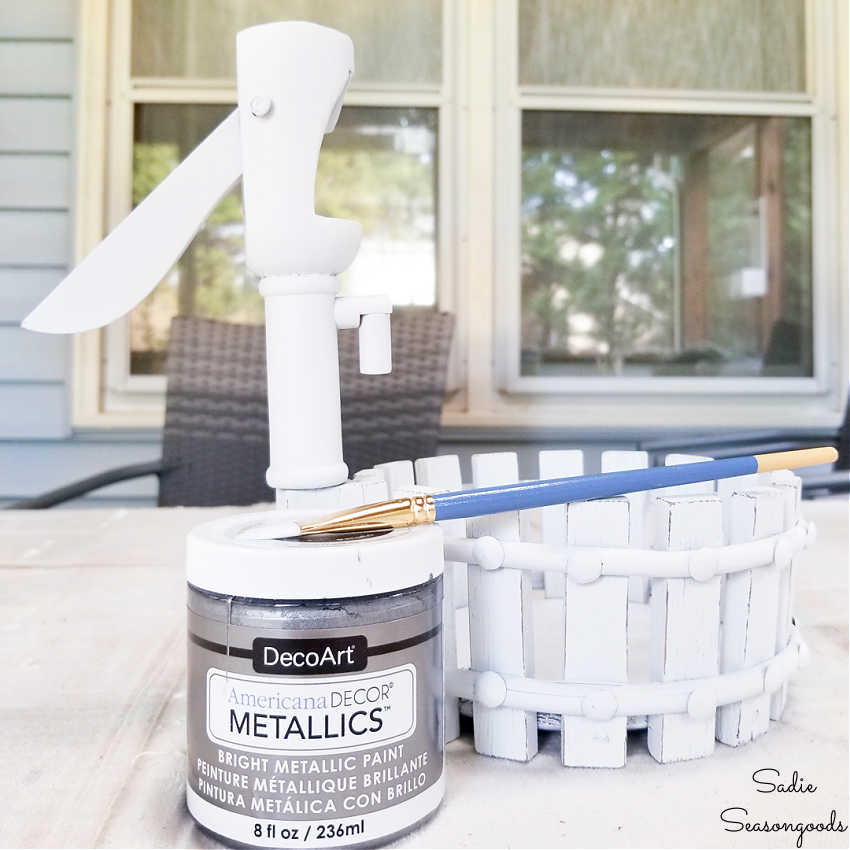
Painting a Vintage Nutcracker
I really wanted my little planters to capitalize on their water pump or wishing well styles with the look of galvanized metal. But I ran into the same issue that I ran into on this magazine rack project here: brushing on the silver paint didn’t look right.
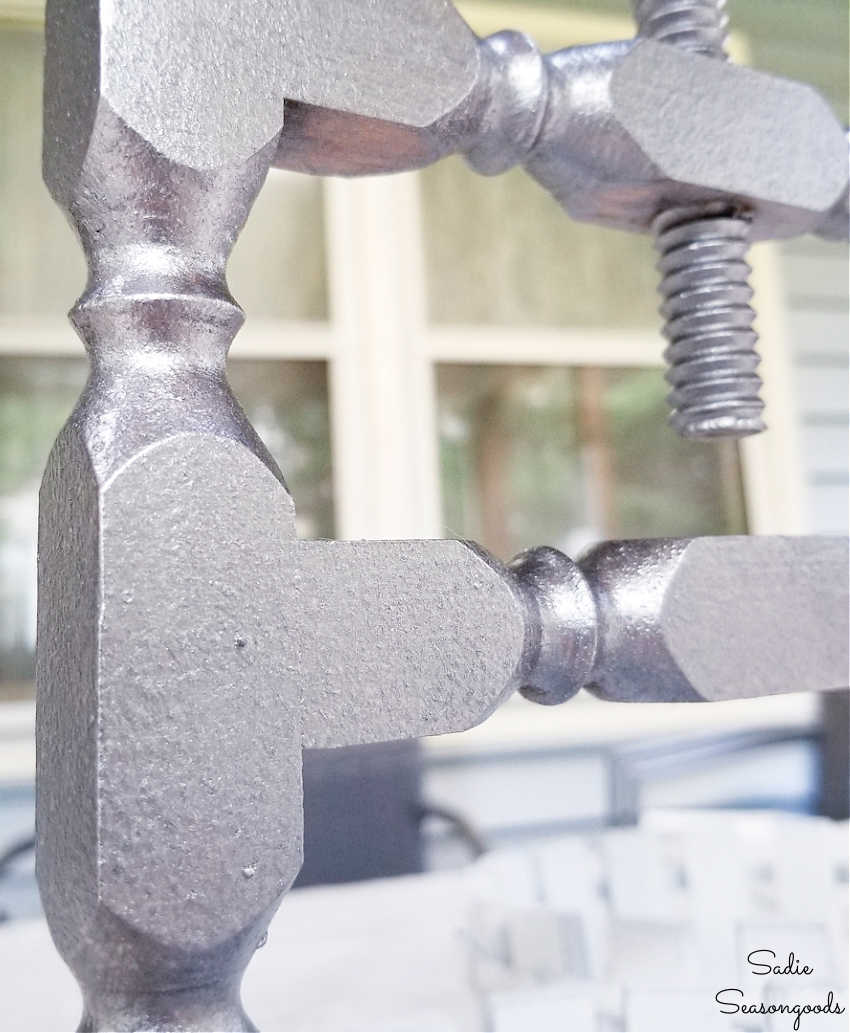
So, I set aside the normal craft paint brush and grabbed a stencil brush instead. Dabbing on the silver paint (as if I were stenciling, but with more paint) gave me a much better finish. Rougher, more like galvanized metal on an old water pump.
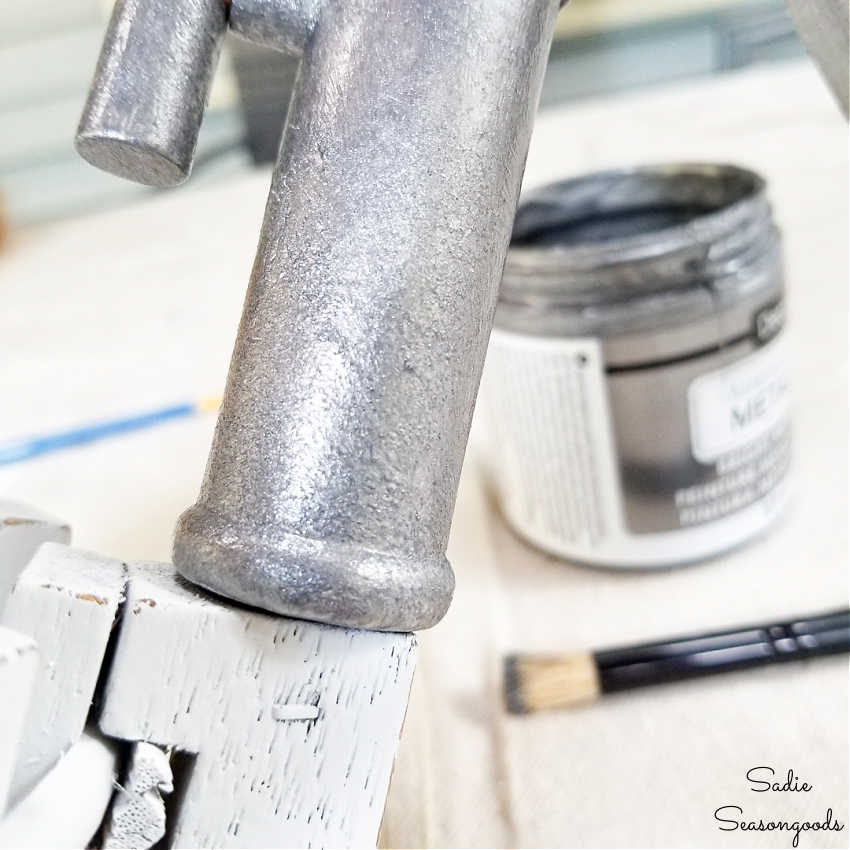
I continued to do that same thing to the remainder of the “pump” apparatus on the vintage nutcracker until I was happy with how it looked.
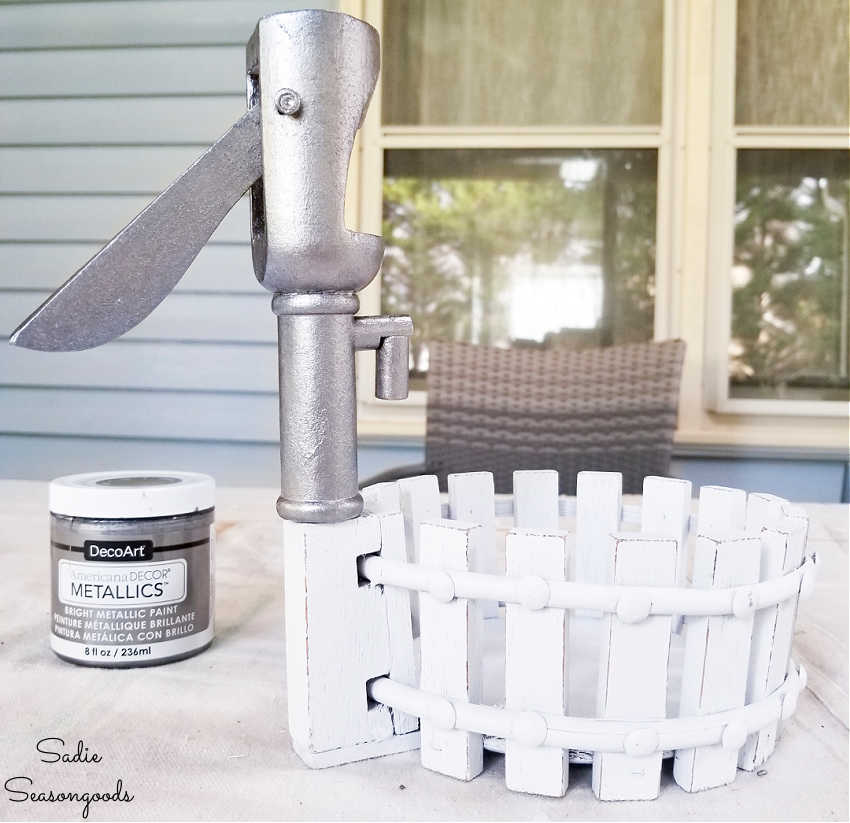
See what I mean? It doesn’t look like silver paint brushed on…the finish and feel is much more weathered and hardware-esque.
When all was said and done, I had two vintage nutcrackers that were now wishing well planters. Or rather planters-to-be!
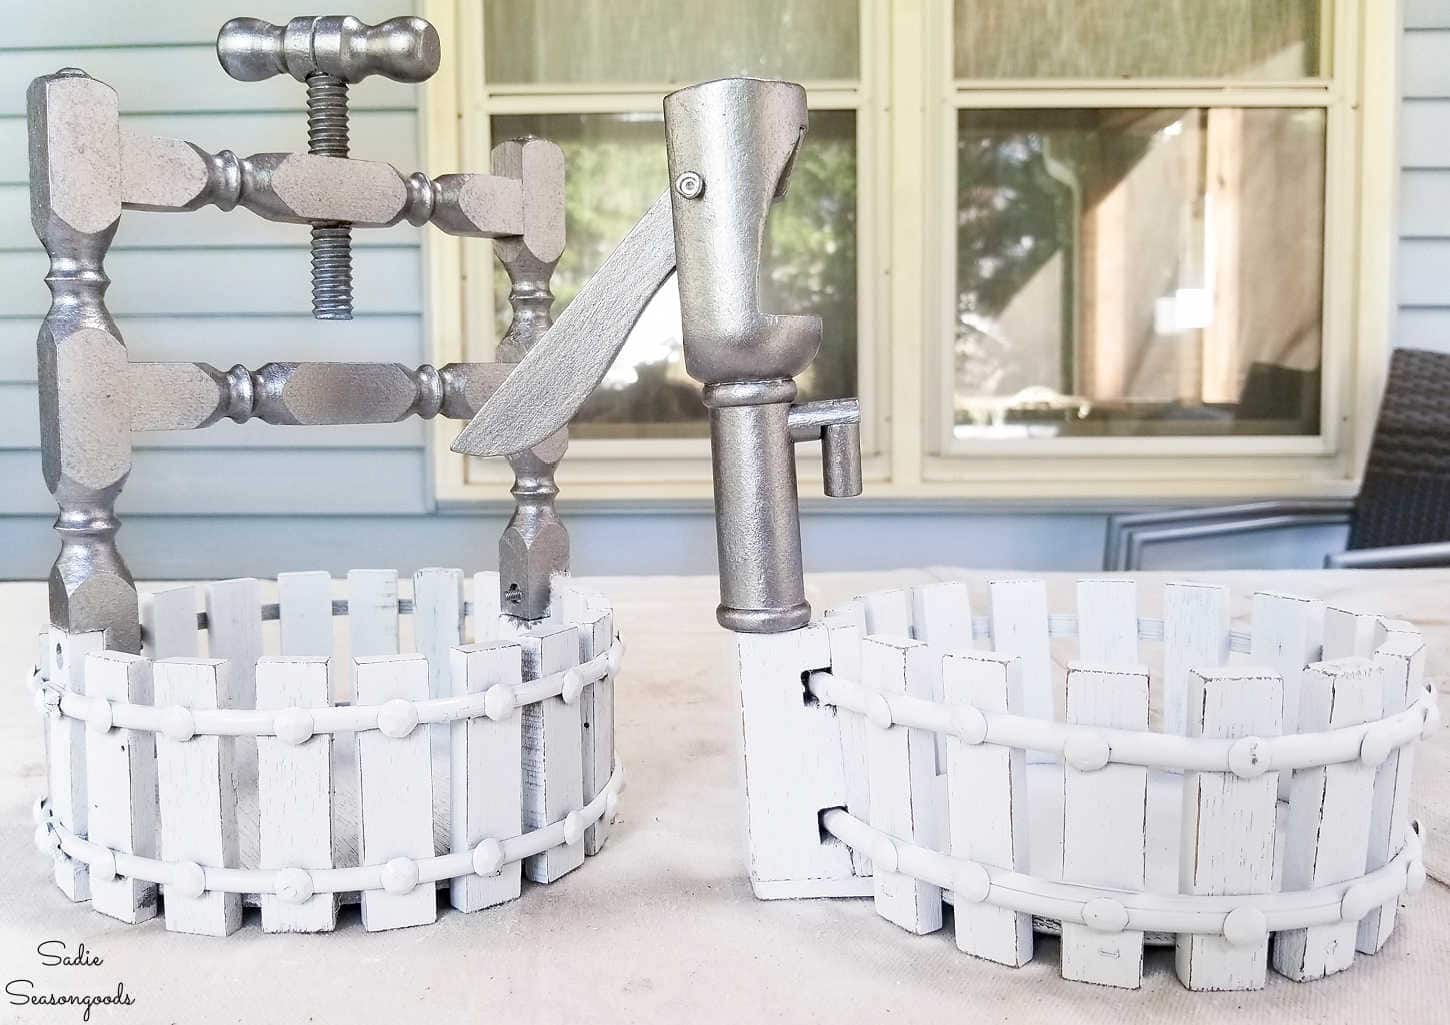
One last step- I sprayed on a couple of layers of clear top coat to project the paint finish and wood. These would be holding plants outside, after all.
Wishing Well Planter from a Vintage Nutcracker
Now all I needed was the right (tiny) plants to plop inside my planter. Which, I suppose, makes it more of a plant holder than a planter.
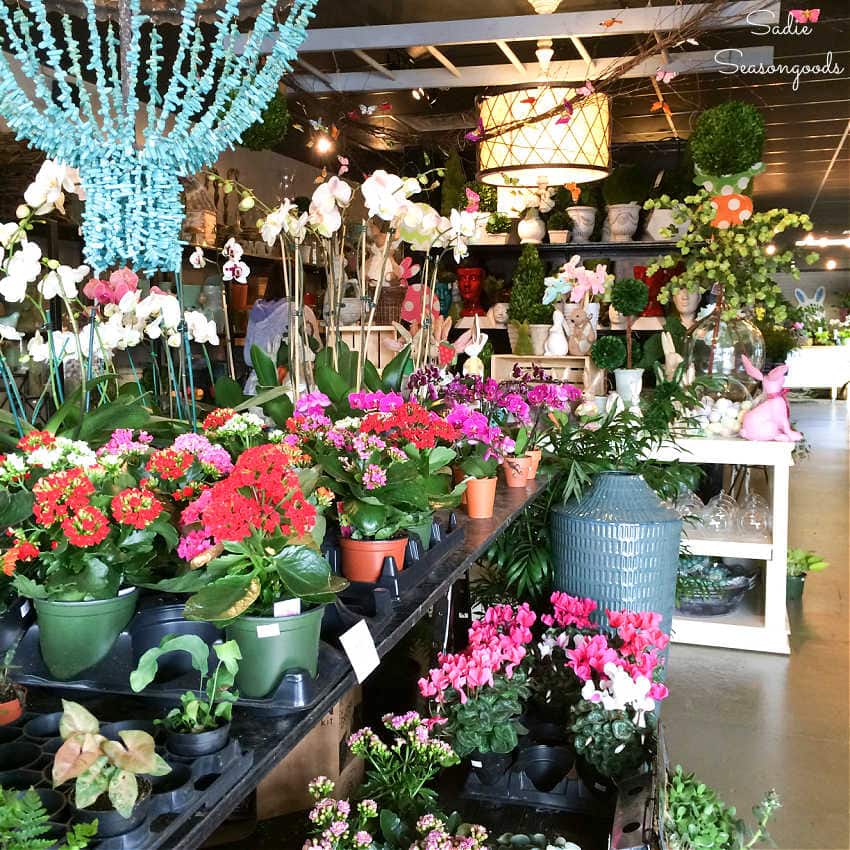
So, I headed to my favorite local gardening shop to find what I needed.
And just like that, I had a little wishing well planter that was perfect for a trio of mini plant pots. Isn’t that darling?
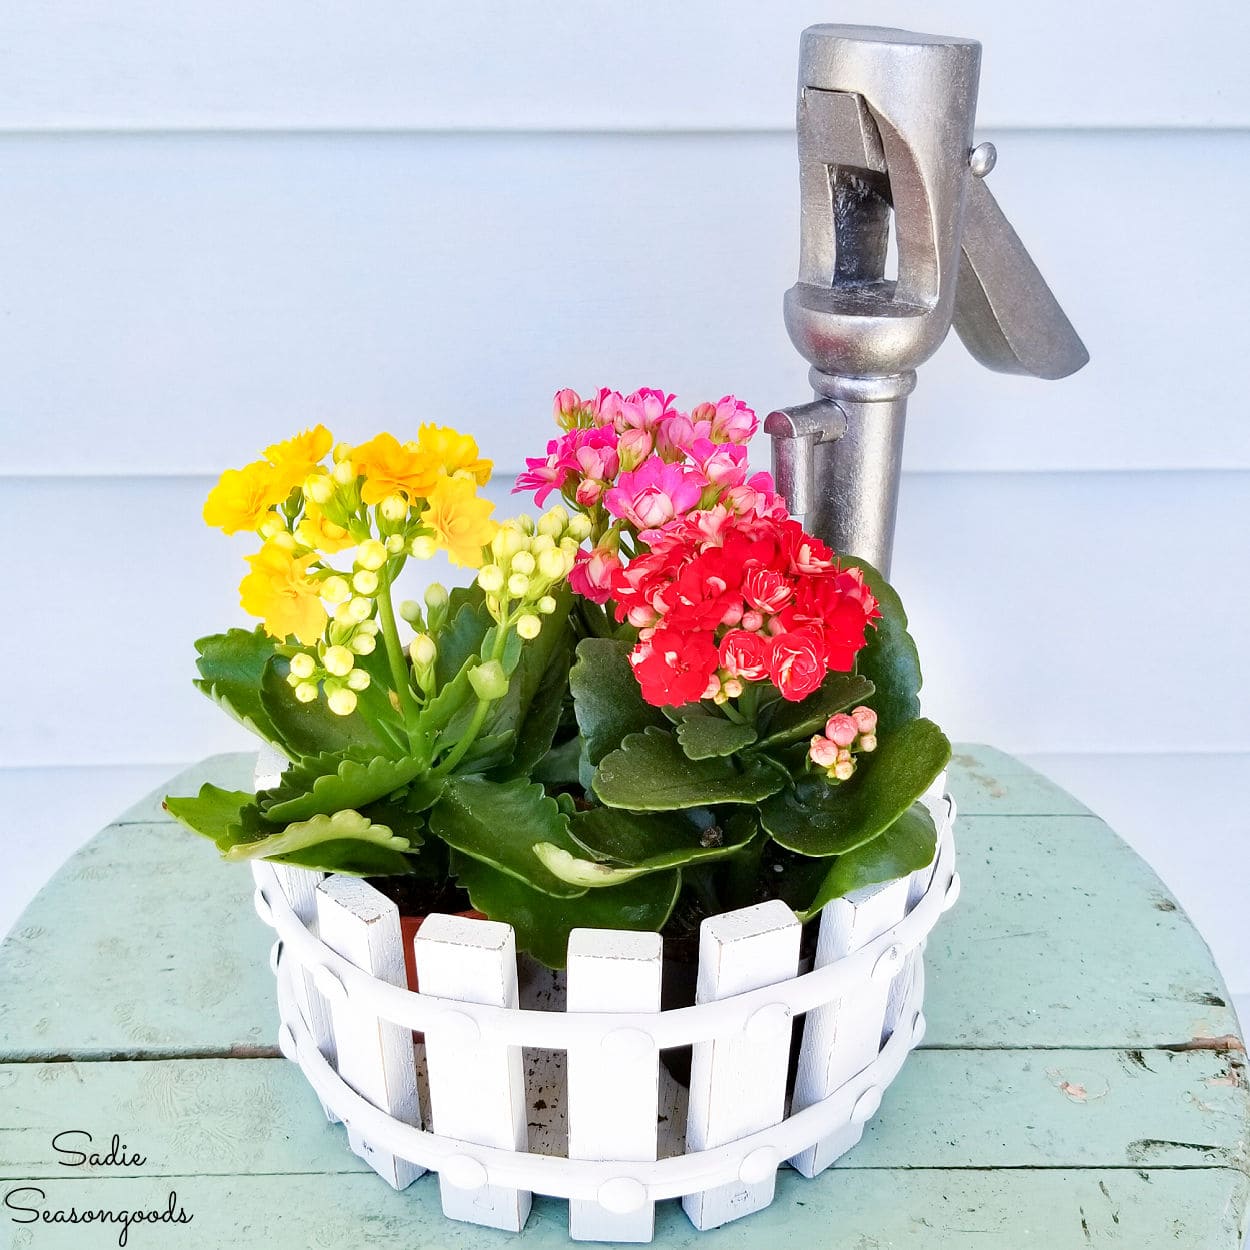
It really was just as cute as could be, and much more practical at holding plants than shelled nuts (in our house, anyway). And hopefully I won’t upset too many folks because I painted it- I’ve certainly done that before.
I always enjoy remembering these old projects in my archives that never made it onto my own website and hope you don’t mind throwback posts like this. There aren’t many of them left, but I’ll add a few more over the course of the year.
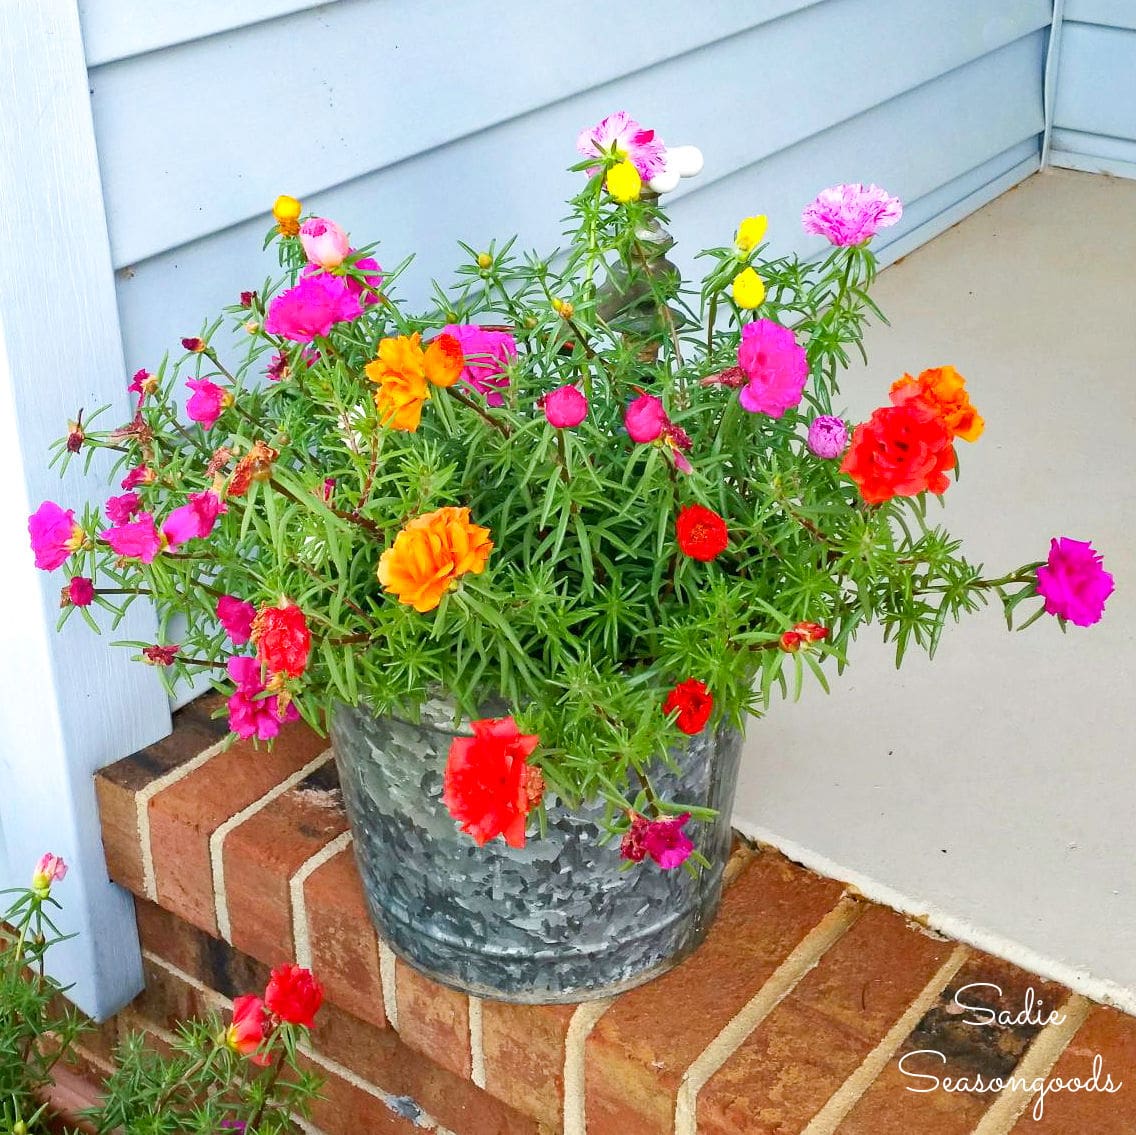
Plus, if you enjoyed this upcycling idea for a cute little planter, then you may also enjoy this bucket planter that I made, as well!
Craft on!
S
Want to be notified when I publish my next upcycling project tutorial?
Join me on Social Media:
PIN ME!
Sarah Ramberg is the owner of Sadie Seasongoods, a website that celebrates all things secondhand. From upcycling ideas and thrifted decor to vintage-centric travel itineraries, Sadie Seasongoods is a one-stop shop for anyone who loves thrifting and approachable repurposing ideas. Sarah is also the author of “Crafting with Flannel” and has been featured in numerous media outlets and magazines.








You are so creative. Love following and seeing what you come up with. I need to get to thrifting.
Thank you so very much, Jan!
Those are super cute! I thrift a lot and I’m not sure I’ve ever seen one of those! When I saw nutcracker in the title, I was envisioning those soldiers used as Christmas decor, lol! Thanks for sharing, especially the use of the stencil brush for the silver paint. I could see that working better on other projects as well, like vases, frames, etc.
You’re definitely right- the stencil brush has lots of applications, especially with different types of paints. Happy crafting, Vicki!
What a great idea. I always thought those nutcrackers were so ugly and dated. They make great planters! And how novel–not like everyone else’s! It would be great to save (or buy!) one of those plastic liners from a basket to reuse to protect the planter from moisture, too. I love the stippled look to the paint; I have imitated a galvanized look with shades of gray, black, and white on a green plastic watering can to make a veggie stand for a dollhouse-sized Peter Rabbit!