Ever since I put together this collection of ways to repurpose silver plate, I’ve been itching to add a new project to it. So, when I found these silver-plated goblets while thrifting, I decided they’d be fun to play with. And putting together winter scenes in the tarnished silver seemed perfect for this time of year.
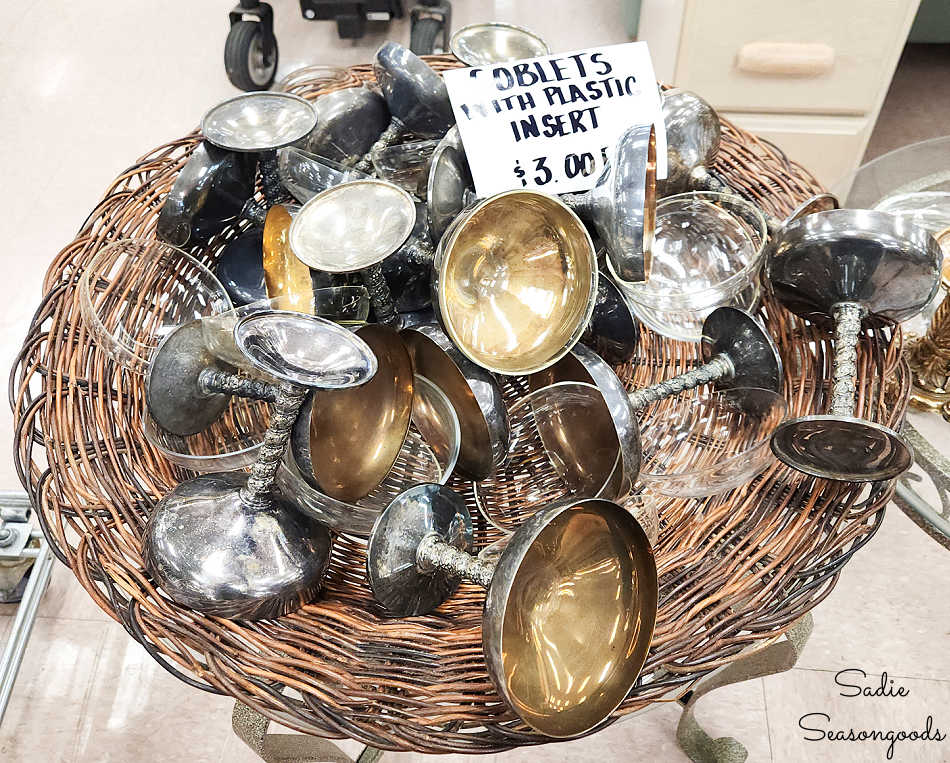
Image credit: Sadie Seasongoods.
While I was at the same thrift store, I found even more pieces of silver plate. Goblets, creamers, cups and more.
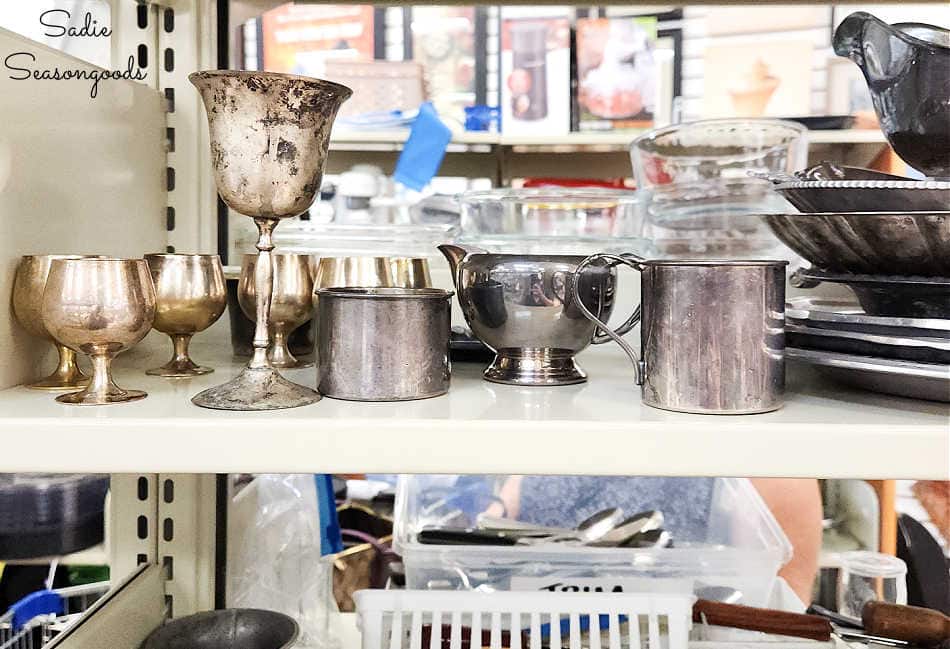
Image credit: Sadie Seasongoods.
And while I have made winter snow globes before, I had one more trick up my “sleeve” this time around.
Yes, that’s a hint at what’s to come. And it turned out so cute, I think you’ll want to file this idea away now and maybe use it closer to Christmas!
This post contains affiliate links for your crafting convenience. As an Amazon Associate, I earn from qualifying purchases. All blue, bold, and underlined text is a clickable link, either to a product or to a related post.
Foundations for Winter Scenes
Ultimately, these are the pieces of silver plate that I thrifted that day (plus an additional goblet). I wiped them down and removed price tags, but didn’t polish away their tarnish.
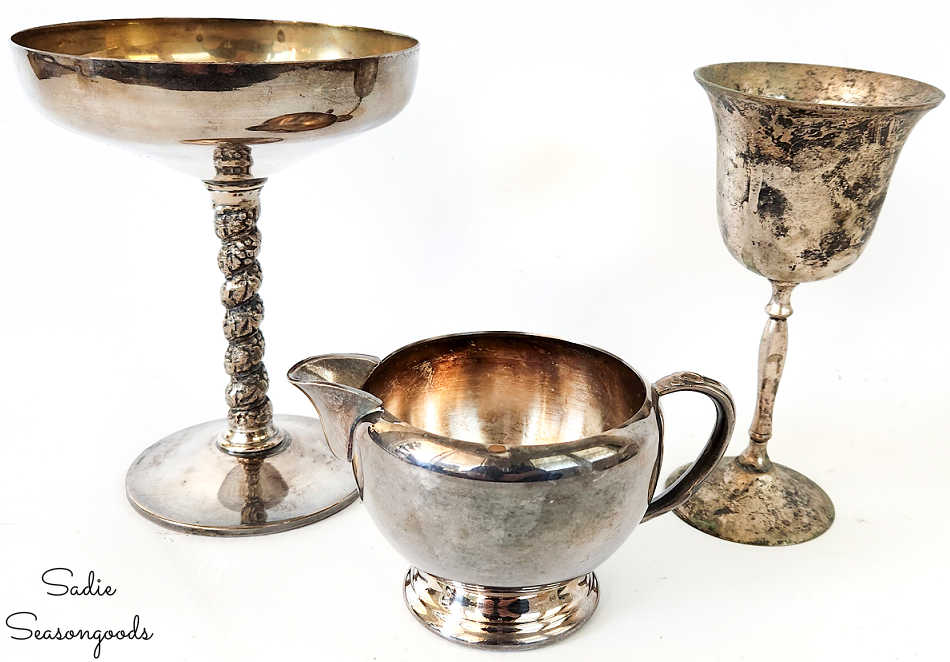
Image credit: Sadie Seasongoods.
From there, I gathered some of the craft supplies I wanted to use for my snow or winter scenes. Miniature deer, bottlebrush trees, and…coffee cup sleeves that I’d saved.
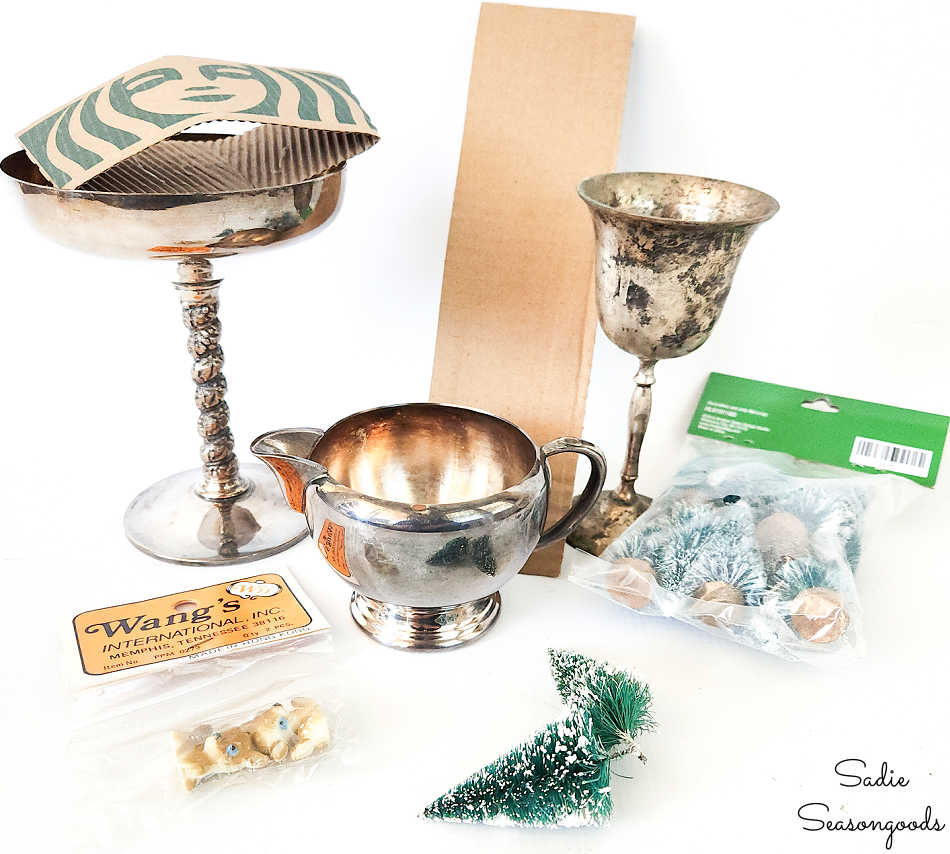
Image credit: Sadie Seasongoods.
Now, to create my winter scenes, I needed to create a flat(ish) foundation for my accoutrements. And to do so, I planned to repurpose some Styrofoam from a recent purchase (we finally bought an Air Fryer!).
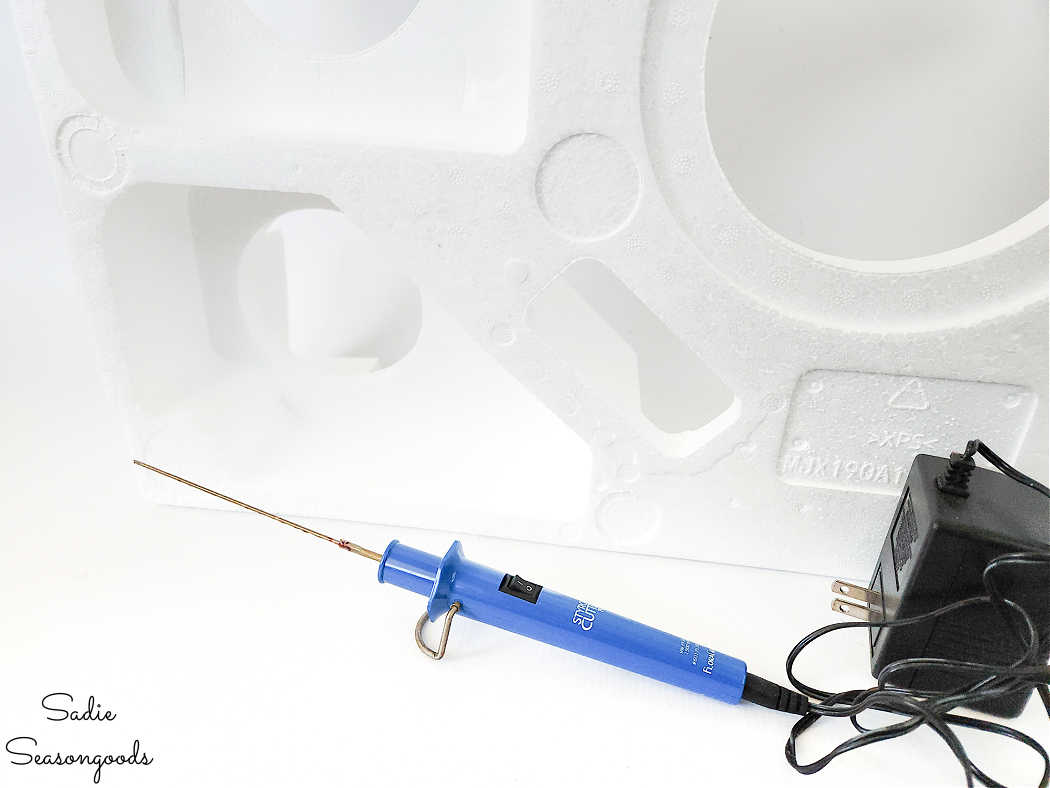
Image credit: Sadie Seasongoods.
Next, I used a Styrofoam cutter to slice off pieces to sit inside each piece of silver plate. The cutter made this process SO MUCH EASIER than a knife.
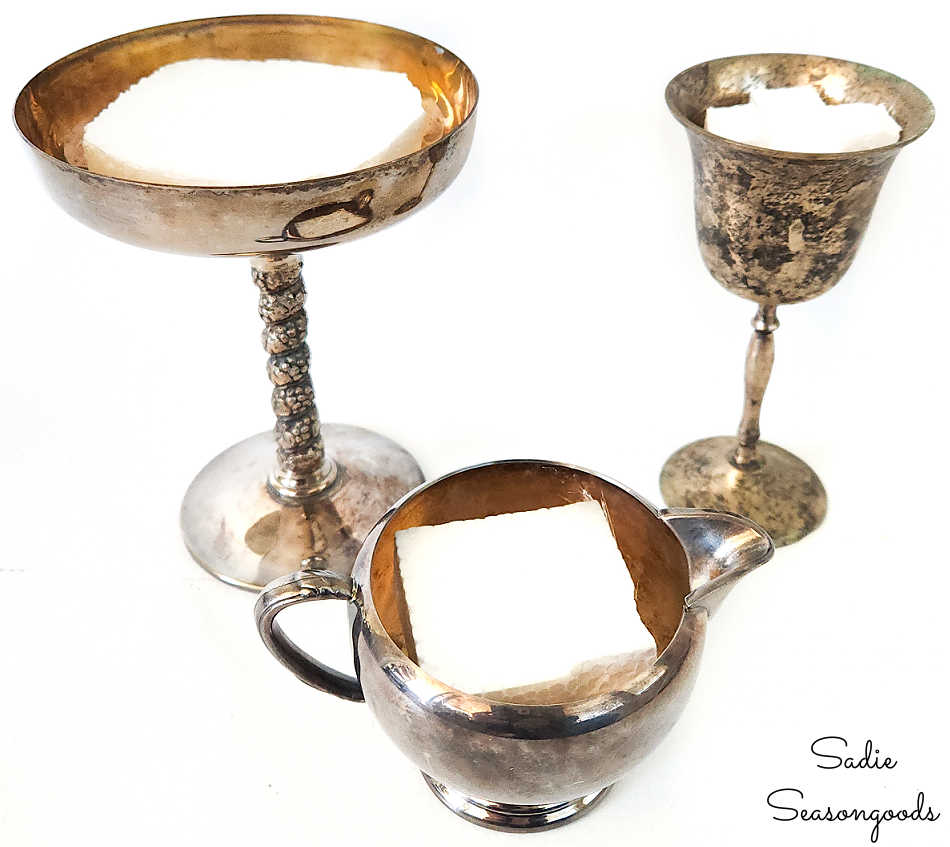
Image credit: Sadie Seasongoods.
From there, I gathered some bottlebrush trees that I had in my Christmas stash. Since I had some without wooden bases (and some with), I opted to use the baseless ones first.
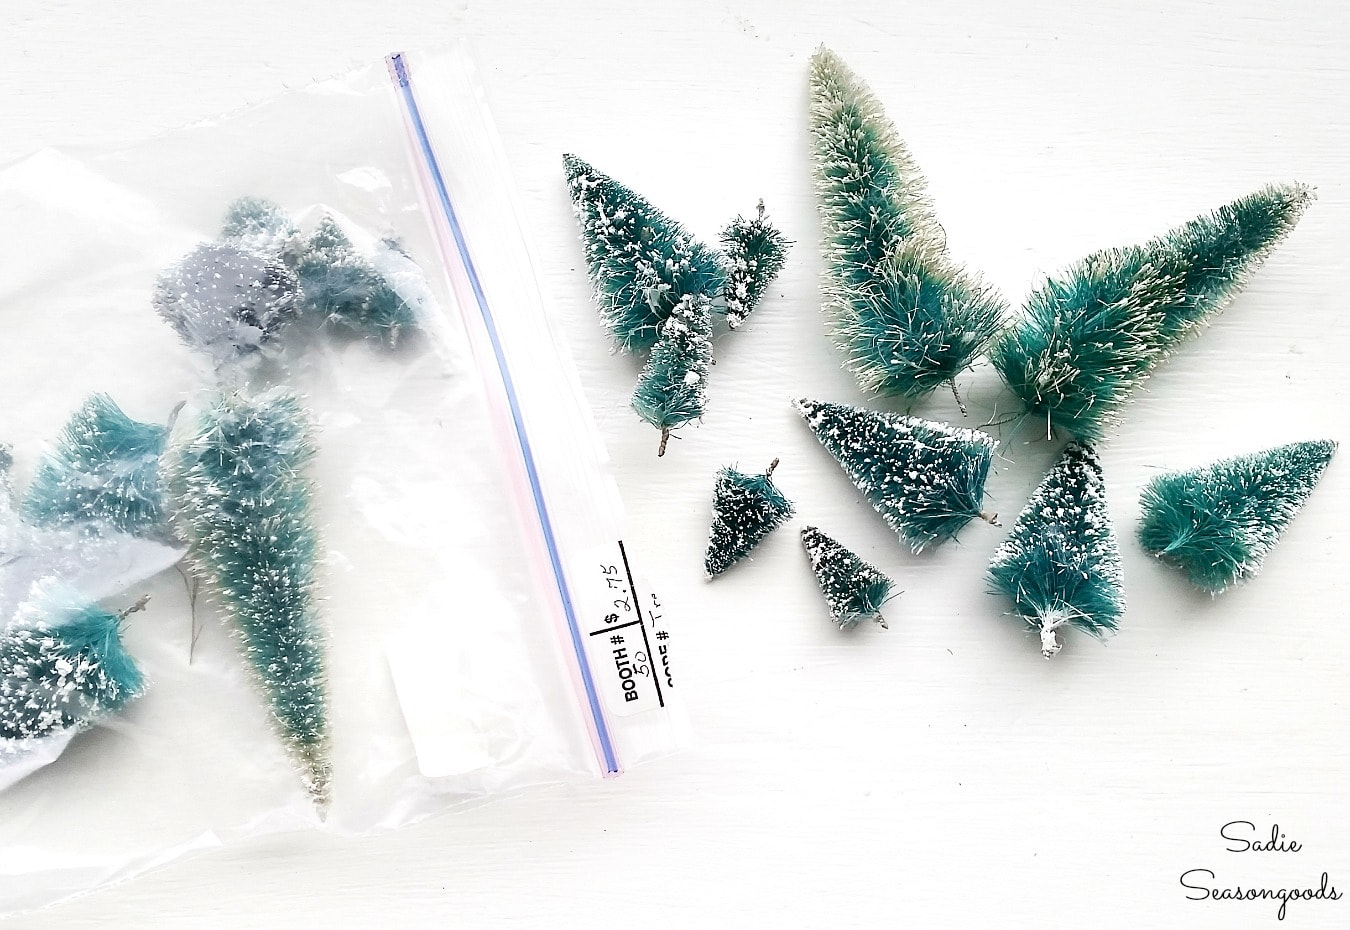
Image credit: Sadie Seasongoods.
Snow Scenes with Bottlebrush Trees
Then, using the baseless bottlebrush trees, I simply pushed the wire into the Styrofoam. No glue needed!
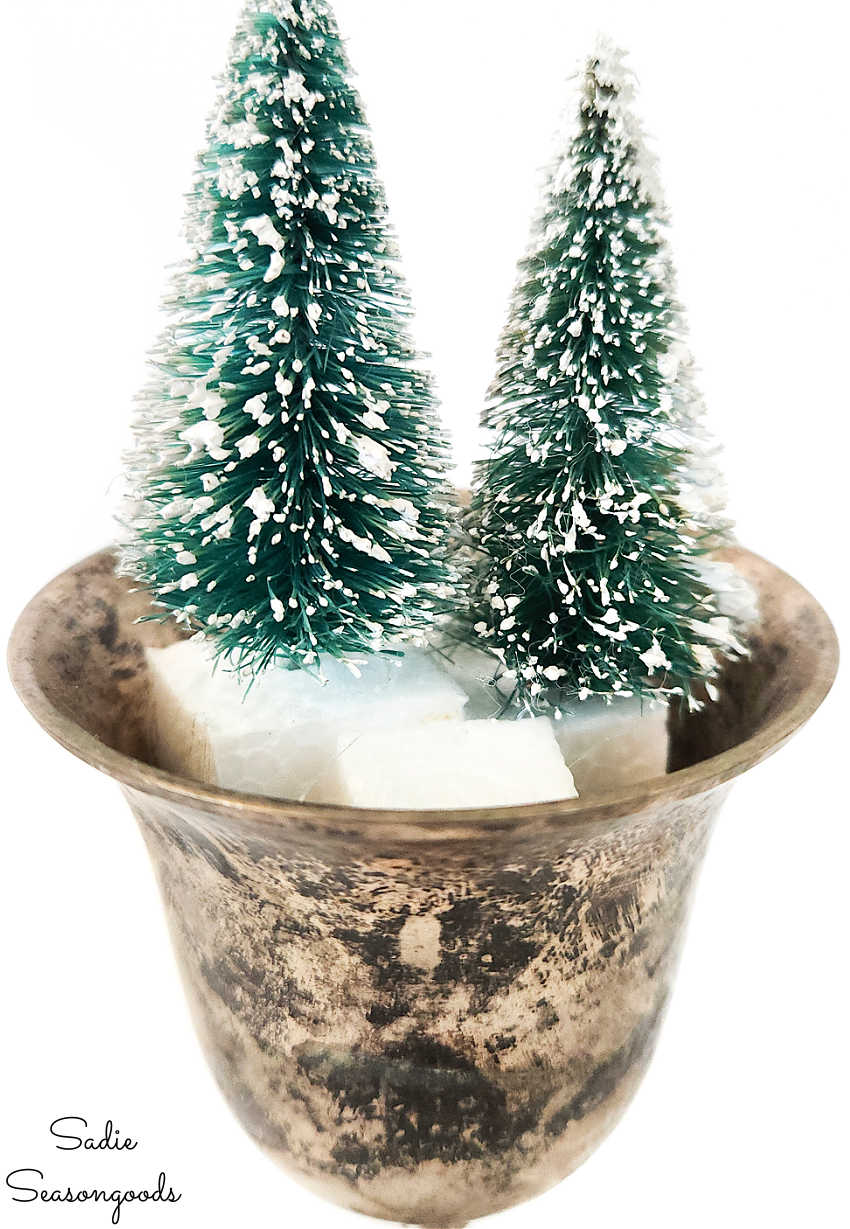
Image credit: Sadie Seasongoods.
After that, I spooned some artificial snow into the silver plate goblet, covering the Styrofoam base. Since this can be a messy process, I did it over a piece of newsprint, which made it easy to clean up.
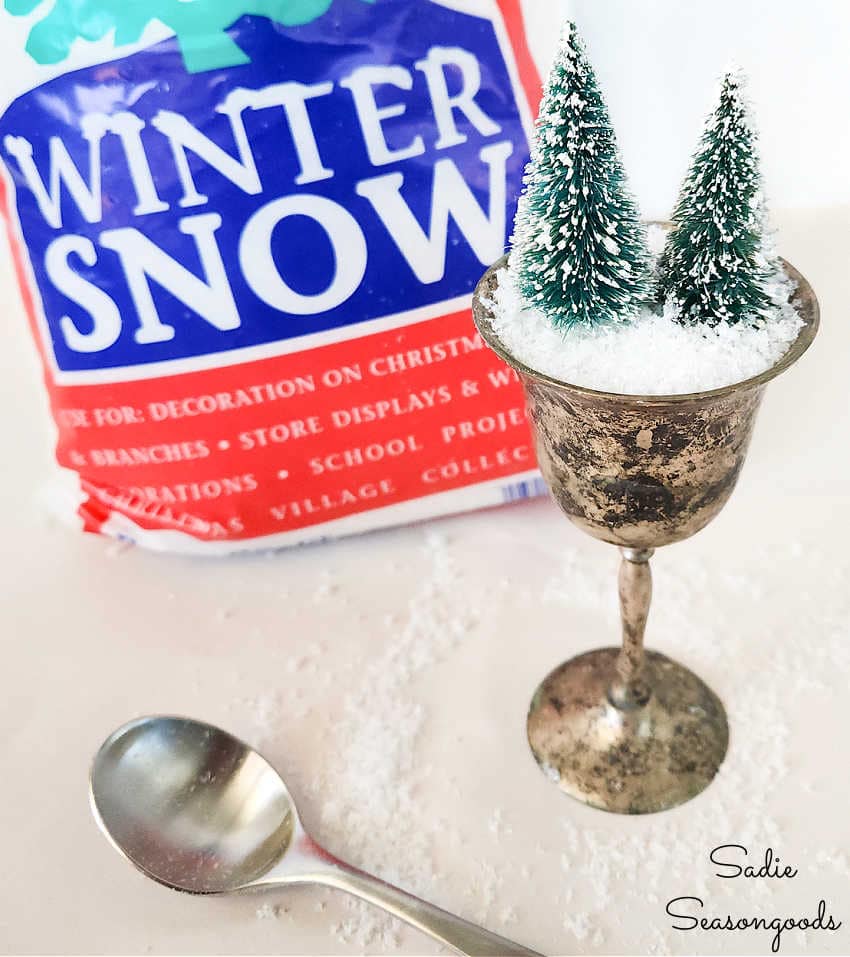
Image credit: Sadie Seasongoods.
Now, I wanted to add a miniature deer in front of the trees. I had plastic deer, but opted to use a miniature ceramic deer that I’d found on Etsy.
It was then that I noticed that it had a small hole underneath; not a flaw-hole, but from the production process.
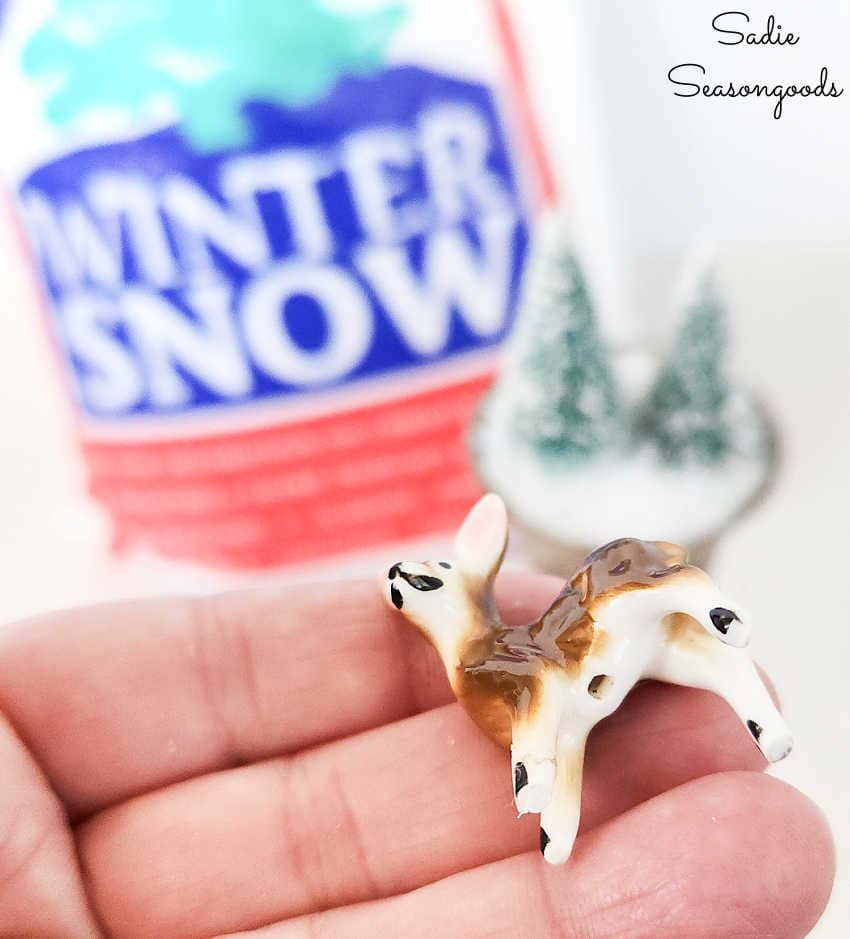
Image credit: Sadie Seasongoods.
So, instead of gluing the deer, I snipped off a short piece of jewelry wire and stuck it through the snow into the Styrofoam. It’s hard to see but I circled it in the photo.
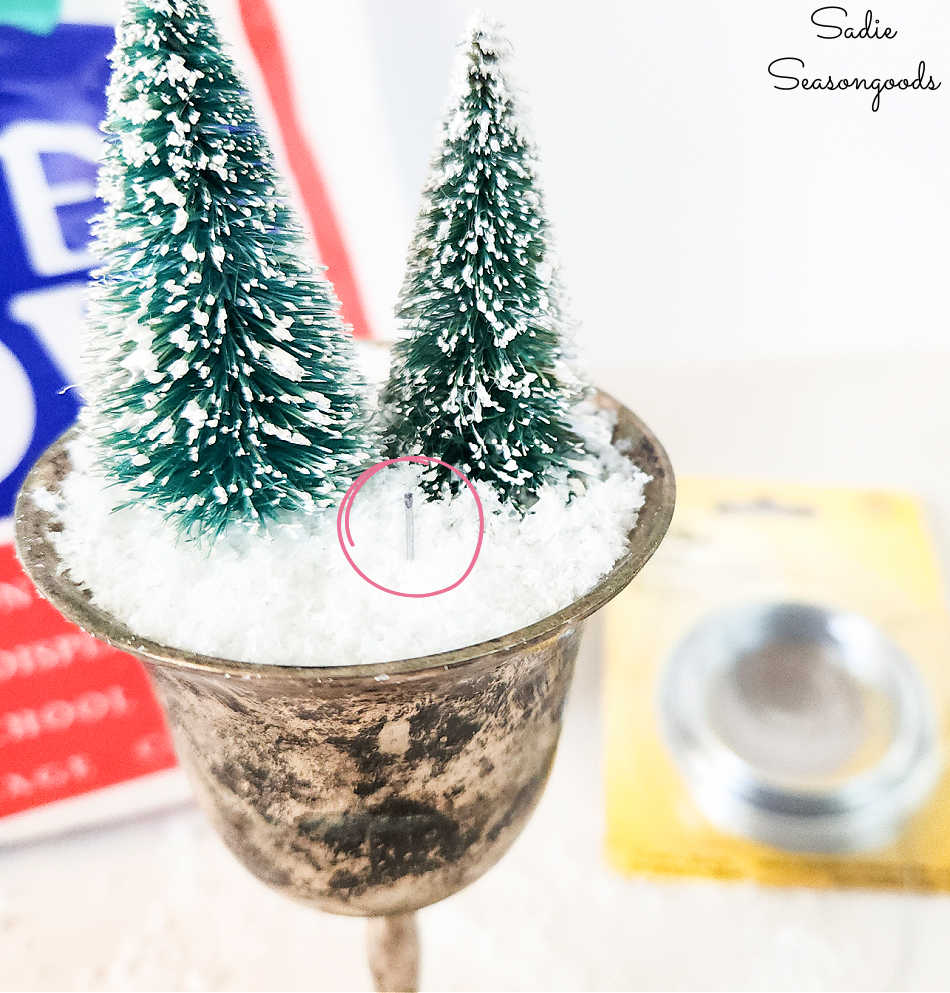
Image credit: Sadie Seasongoods.
Then, I simply placed the deer on top of the wire, which went inside the deer to hold it in place.
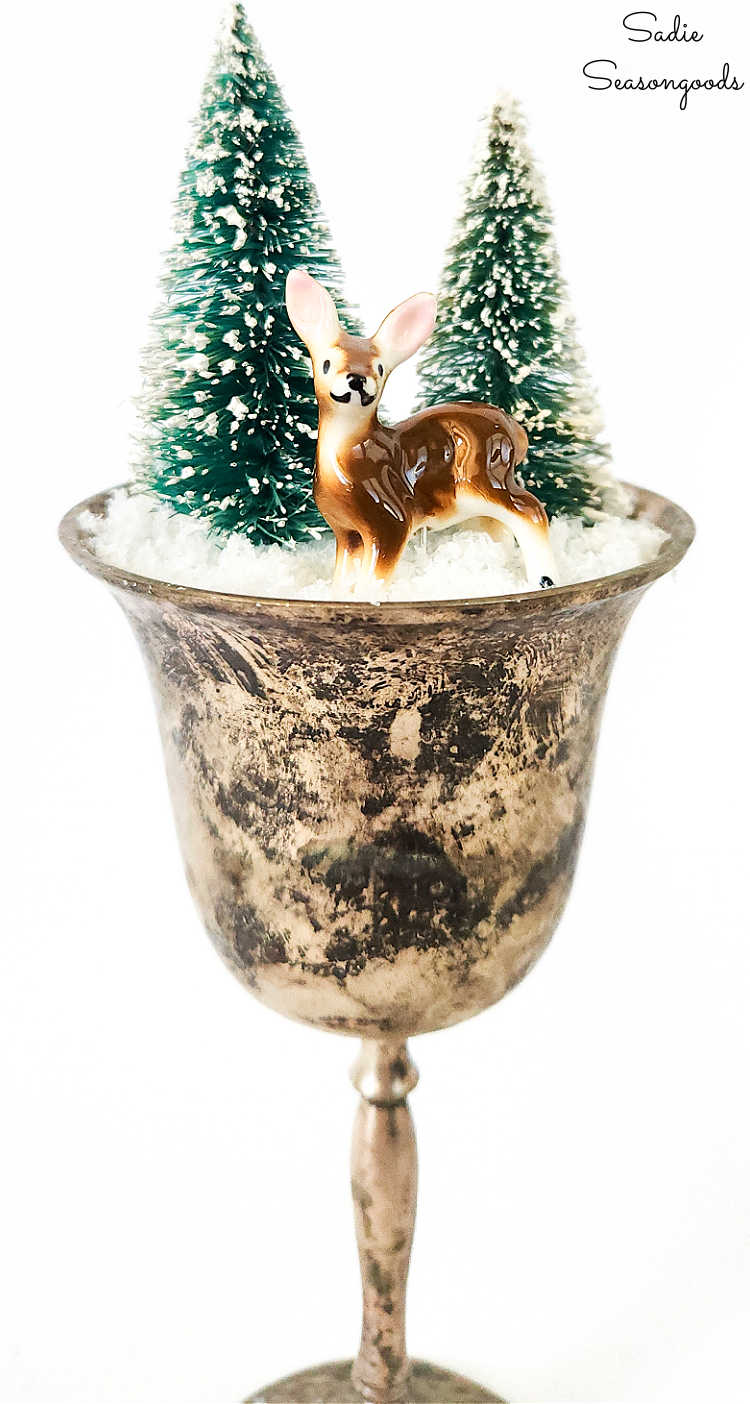
Image credit: Sadie Seasongoods.
And that was it! The first of my winter scenes was completed and none of it was permanent, by design. Now onto the next one…
Making a Log Cabin Putz House
Ok, remember the hint I gave at the beginning of this post about a “sleeve”? Well, here’s where that comes into play.
I decided I wanted to create a winter scene with a log cabin in the woods. But small log cabin Putz houses are few and far between. (Unfamiliar with Putz houses? I discuss them a bit in this post about Vintage Christmas decorations.)
Anyway, I decided to create my own log cabin Putz house. Especially once I realized that the small corrugations on some cardboard coffee cup sleeves (like these from a Starbucks run) would mimic the look of a log cabin quite nicely.
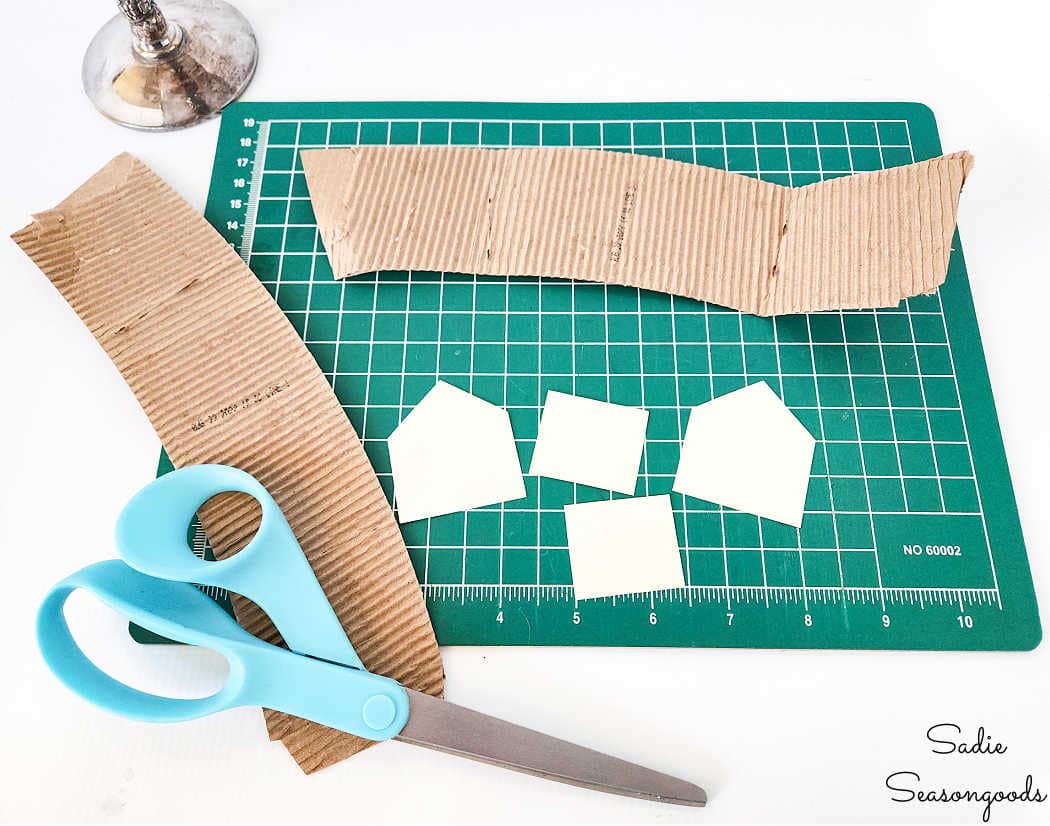
Image credit: Sadie Seasongoods.
As you may have noticed in the above photo, I’d already created a template on cardstock of the Putz house. I traced them on a coffee cup sleeve and cut them out (carefully!) with an X-Acto knife and a small self-healing cutting mat.
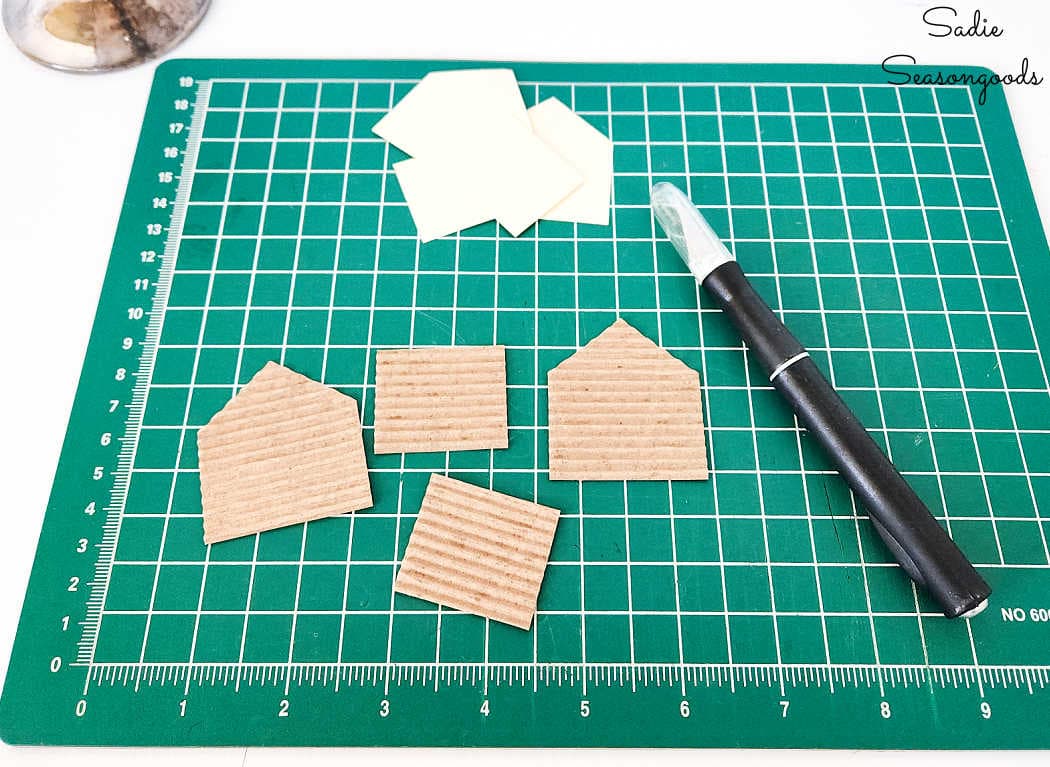
Image credit: Sadie Seasongoods.
On one of the pitched pieces, I also carefully sliced out a doorway and two windows.
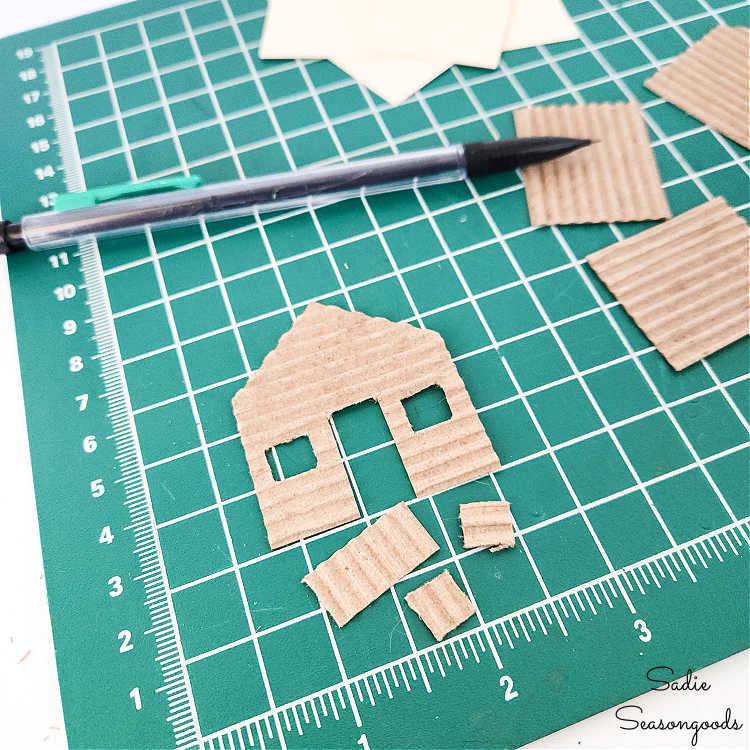
Image credit: Sadie Seasongoods.
Then, I glued black card stock and white parchment paper behind the doorway and windows, respectively, using a glue stick.
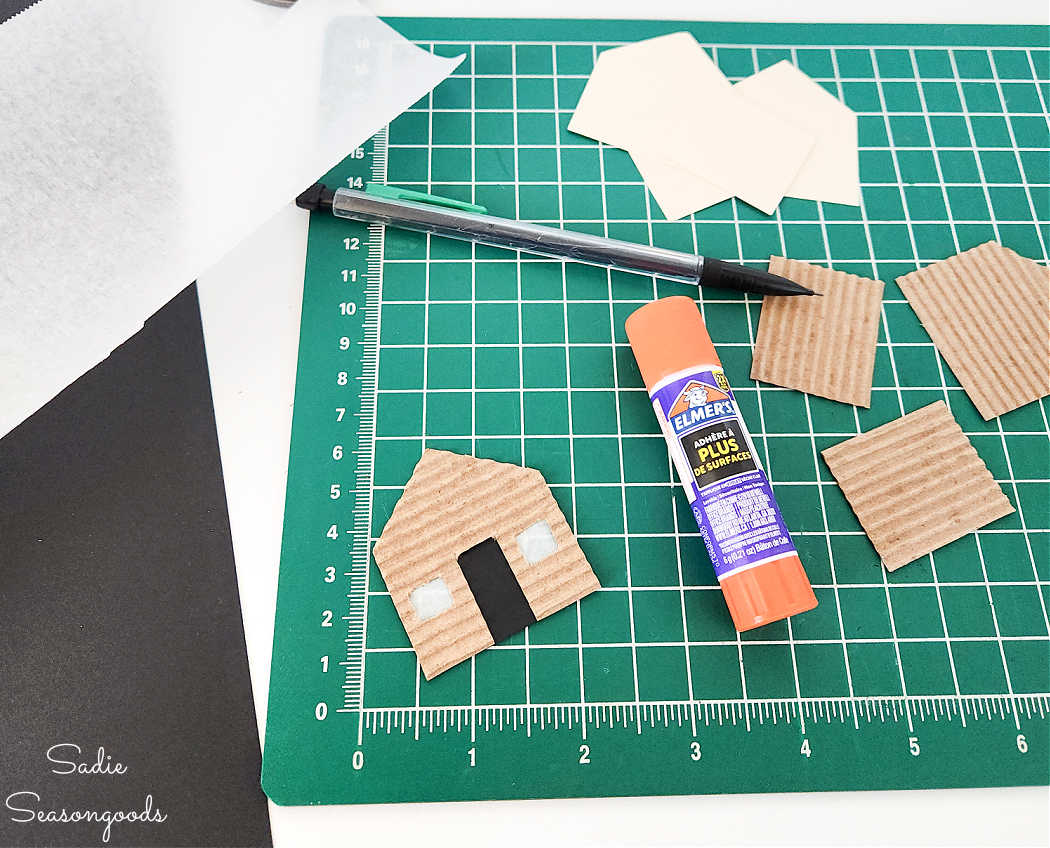
Image credit: Sadie Seasongoods.
From there, I glued the four pieces of log cabin together, using my hot glue gun sparingly. Trying to avoid big globules of hot glue at the seams…
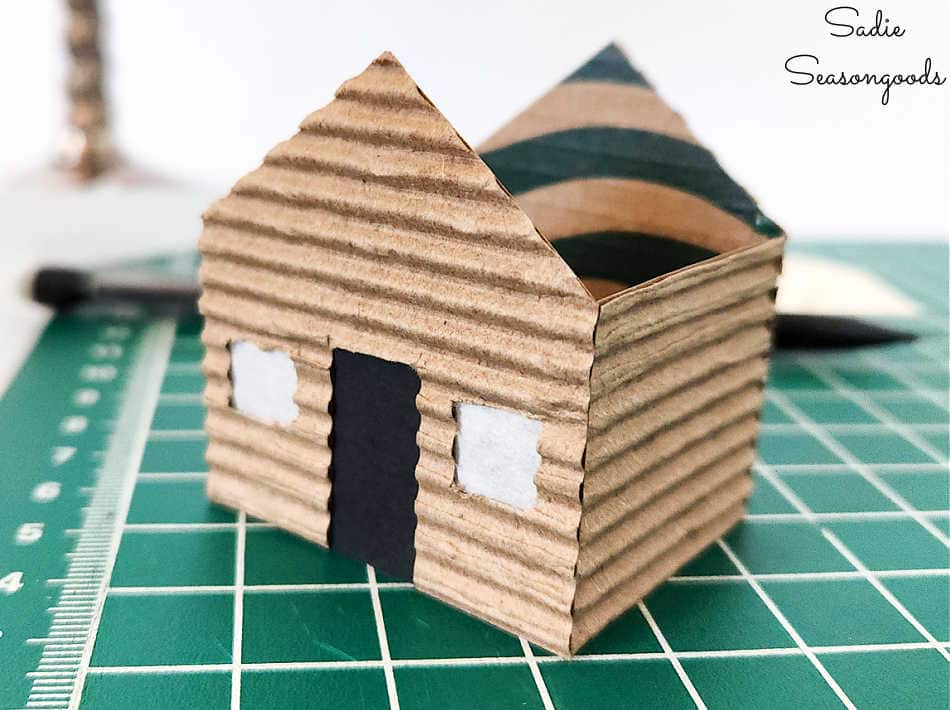
Image credit: Sadie Seasongoods.
Lastly, I made a roof from glittery black cardstock and rolled a piece of cardboard sleeve into a chimney shape. These were also attached with hot glue.
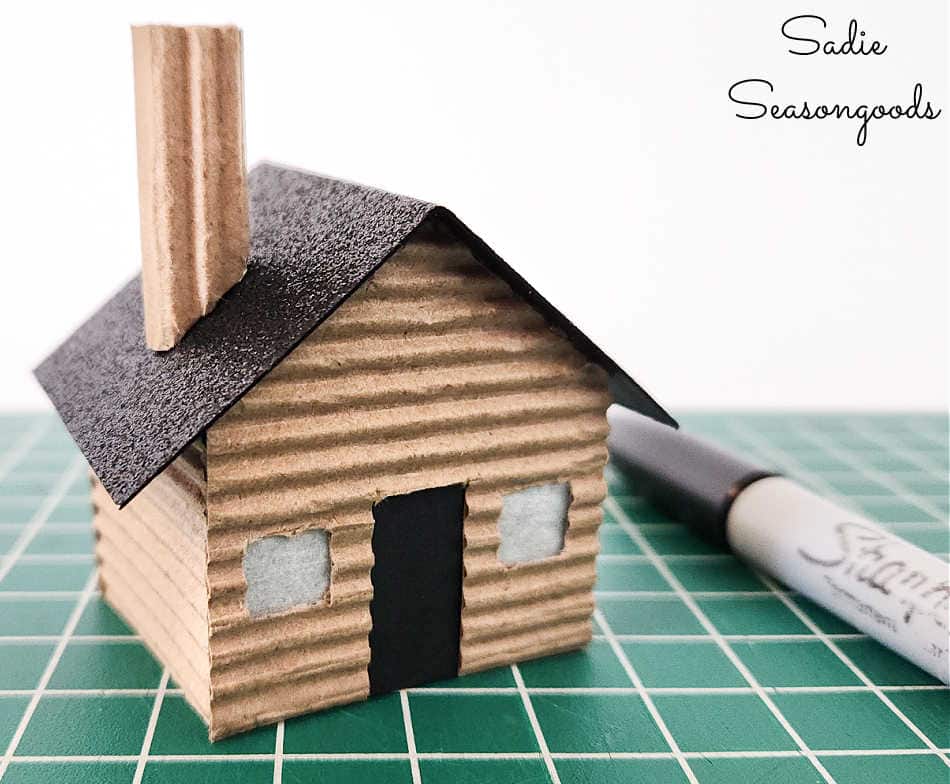
Image credit: Sadie Seasongoods.
And just like that, I had a delightful little log cabin Putz house for my winter scenes. The cuteness was almost too much to bear (in a good way!).
Winter Scenes in Silver Plate
Lastly, I assembled another winter scene similar to the first one. And I simply nestled the log cabin Putz house into the snow.
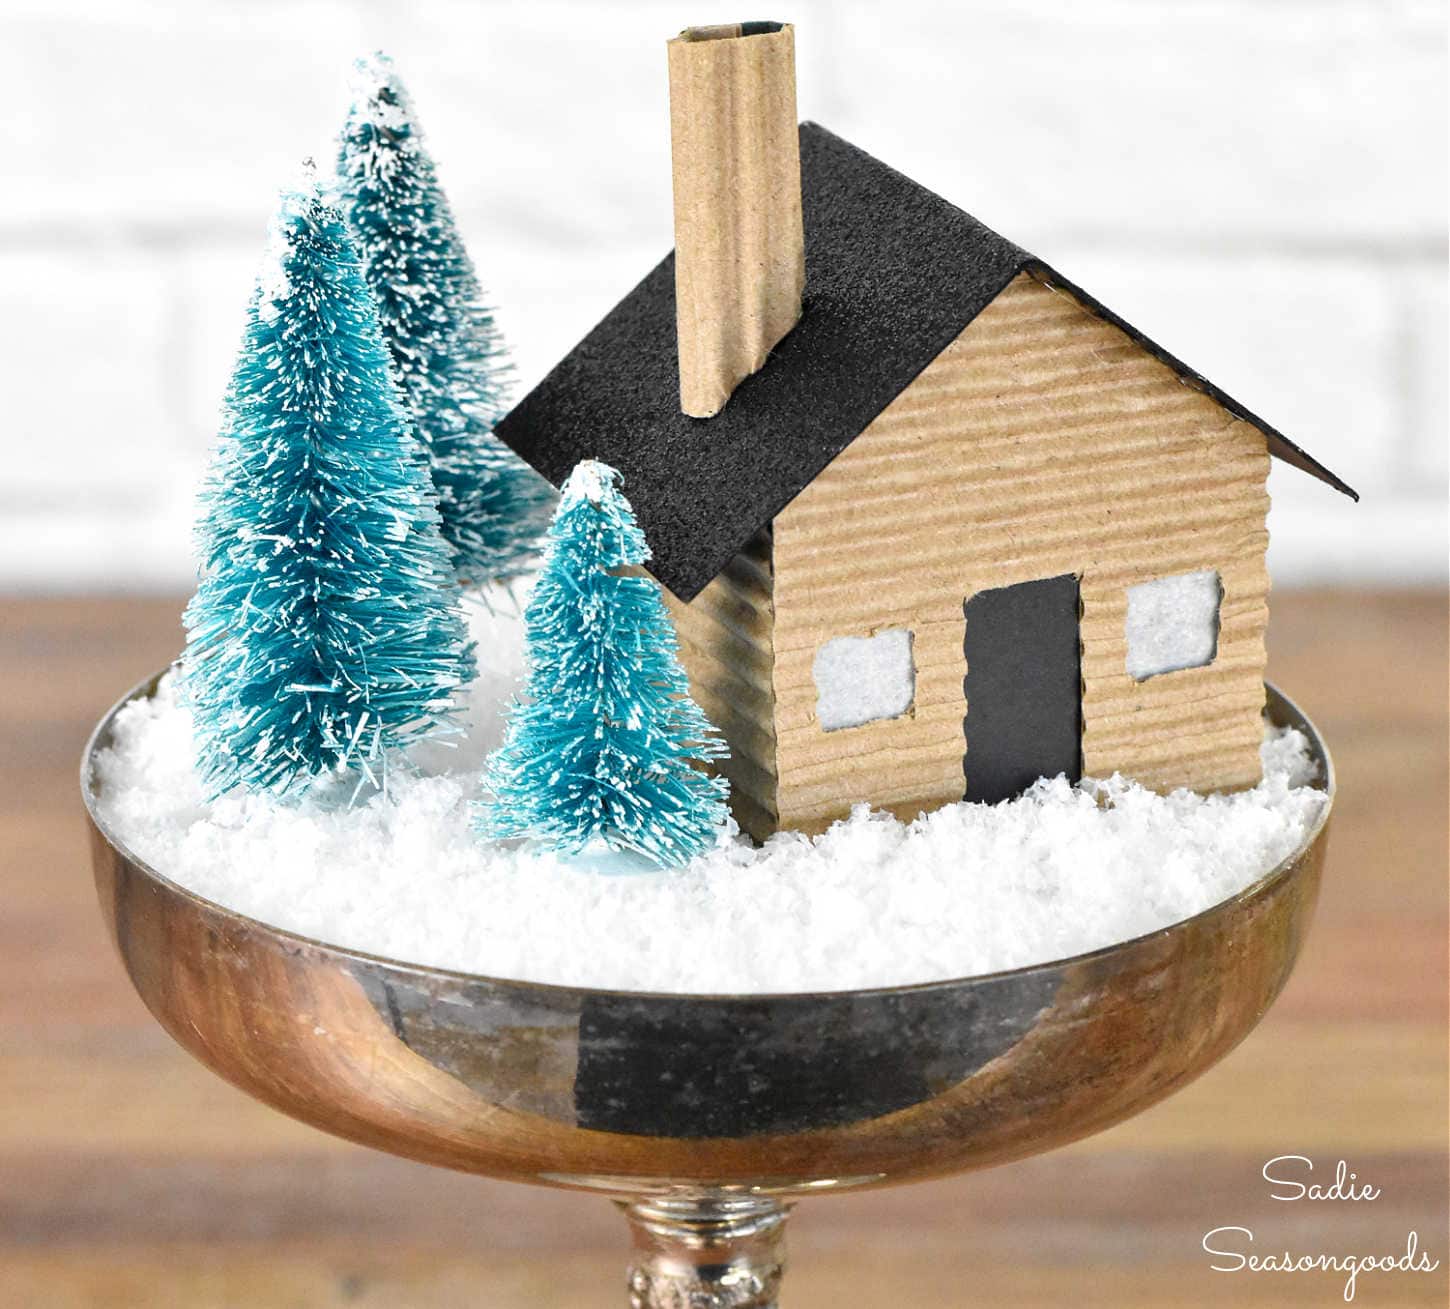
Image credit: Sadie Seasongoods.
In the end, I made three different winter scenes. This one in the silver-plated creamer involved bottlebrush trees and metal pinecone jewelry findings in the snow.
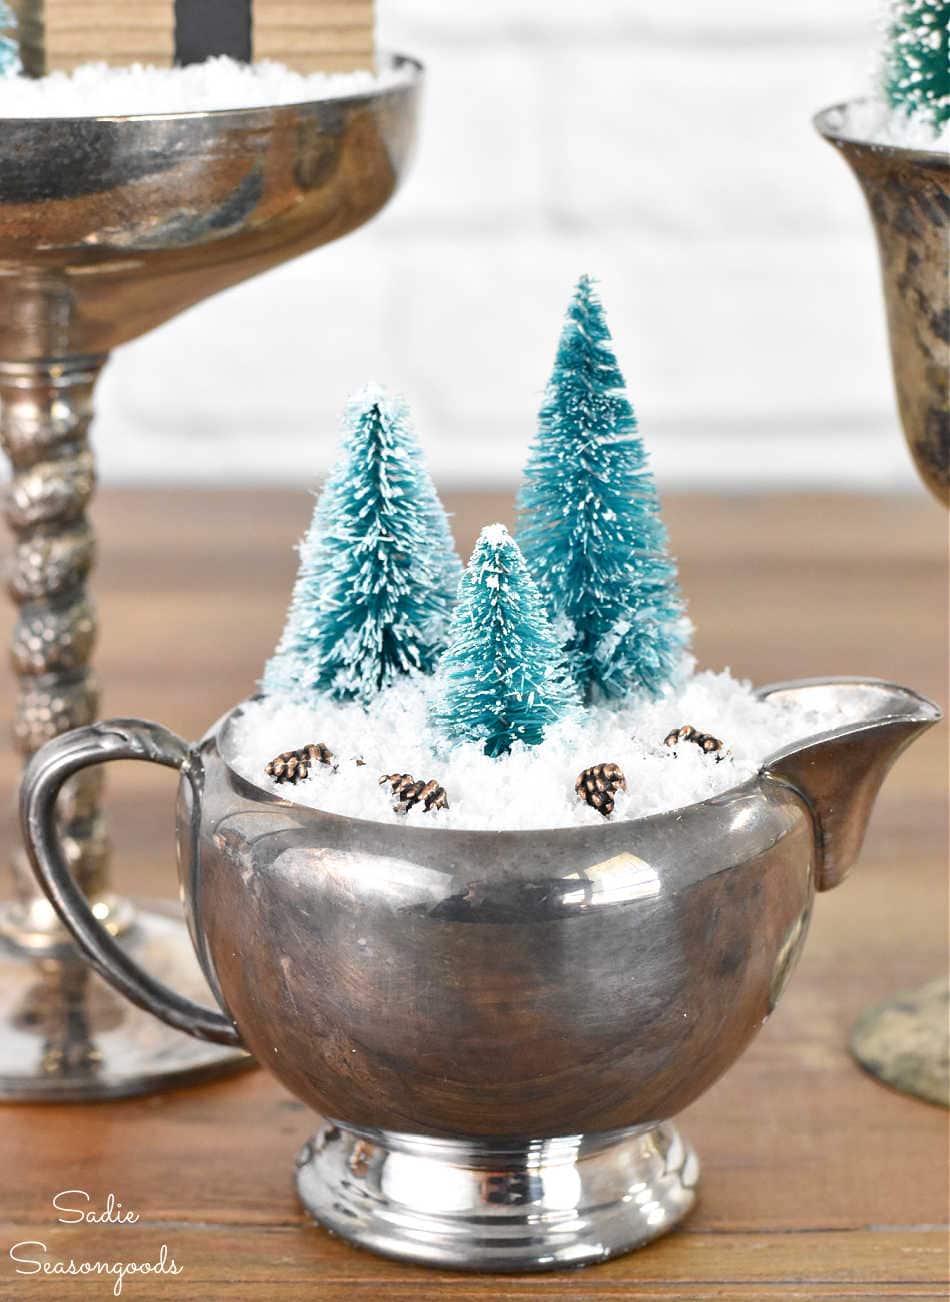
Image credit: Sadie Seasongoods.
I love all three of them and how they convey everything I love about winter. And now that I’ve made one tiny Putz house, I may be compelled to make more come Christmastime!
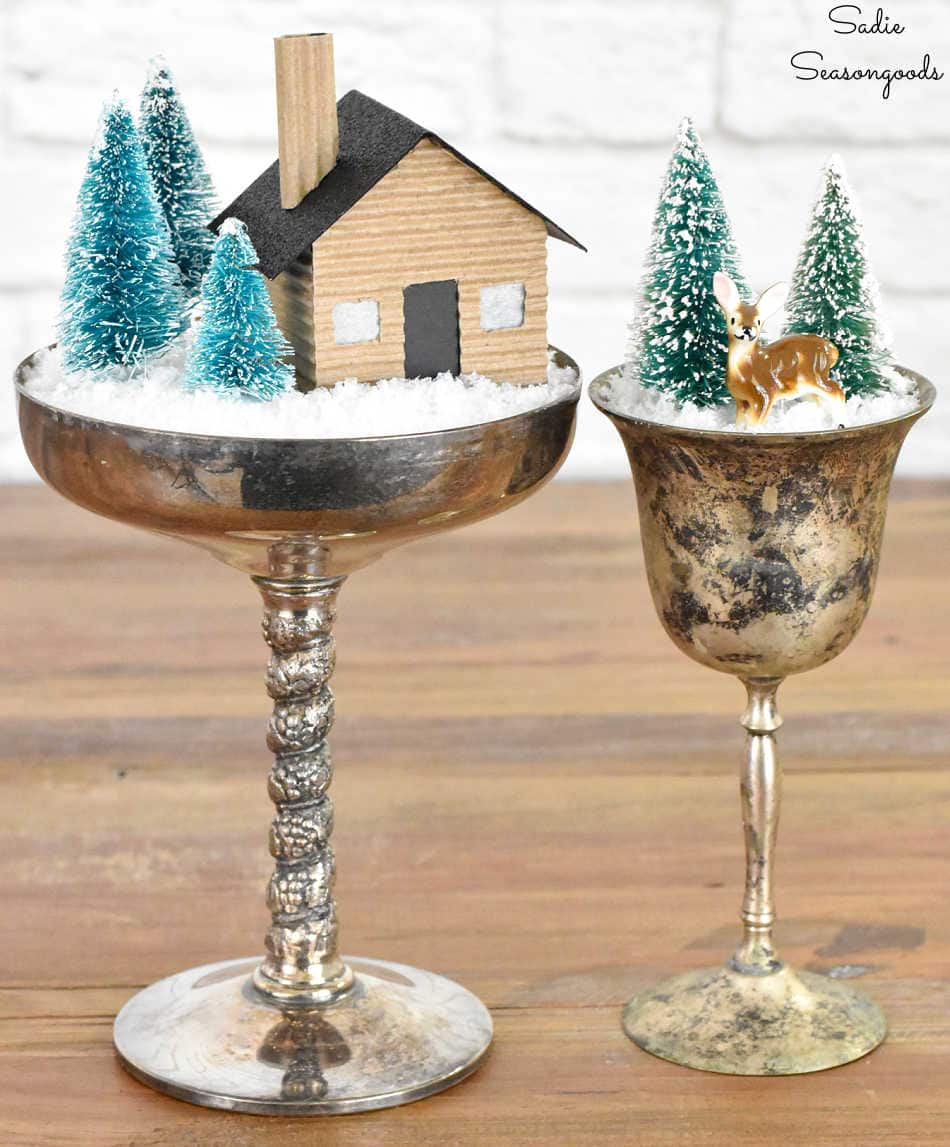
Image credit: Sadie Seasongoods.
Speaking of which, think you’ll be looking for pieces of dainty corrugated cardboard now?
Anyway, I hope you enjoyed these ideas for winter decor! And since nothing is permanent or glued on, I can reuse the silver plate again in the future.
AND, today is the second Wednesday of the month, which means it’s Thrift Store Decor Team day! Check out what my blogging gal-pals have been up to.
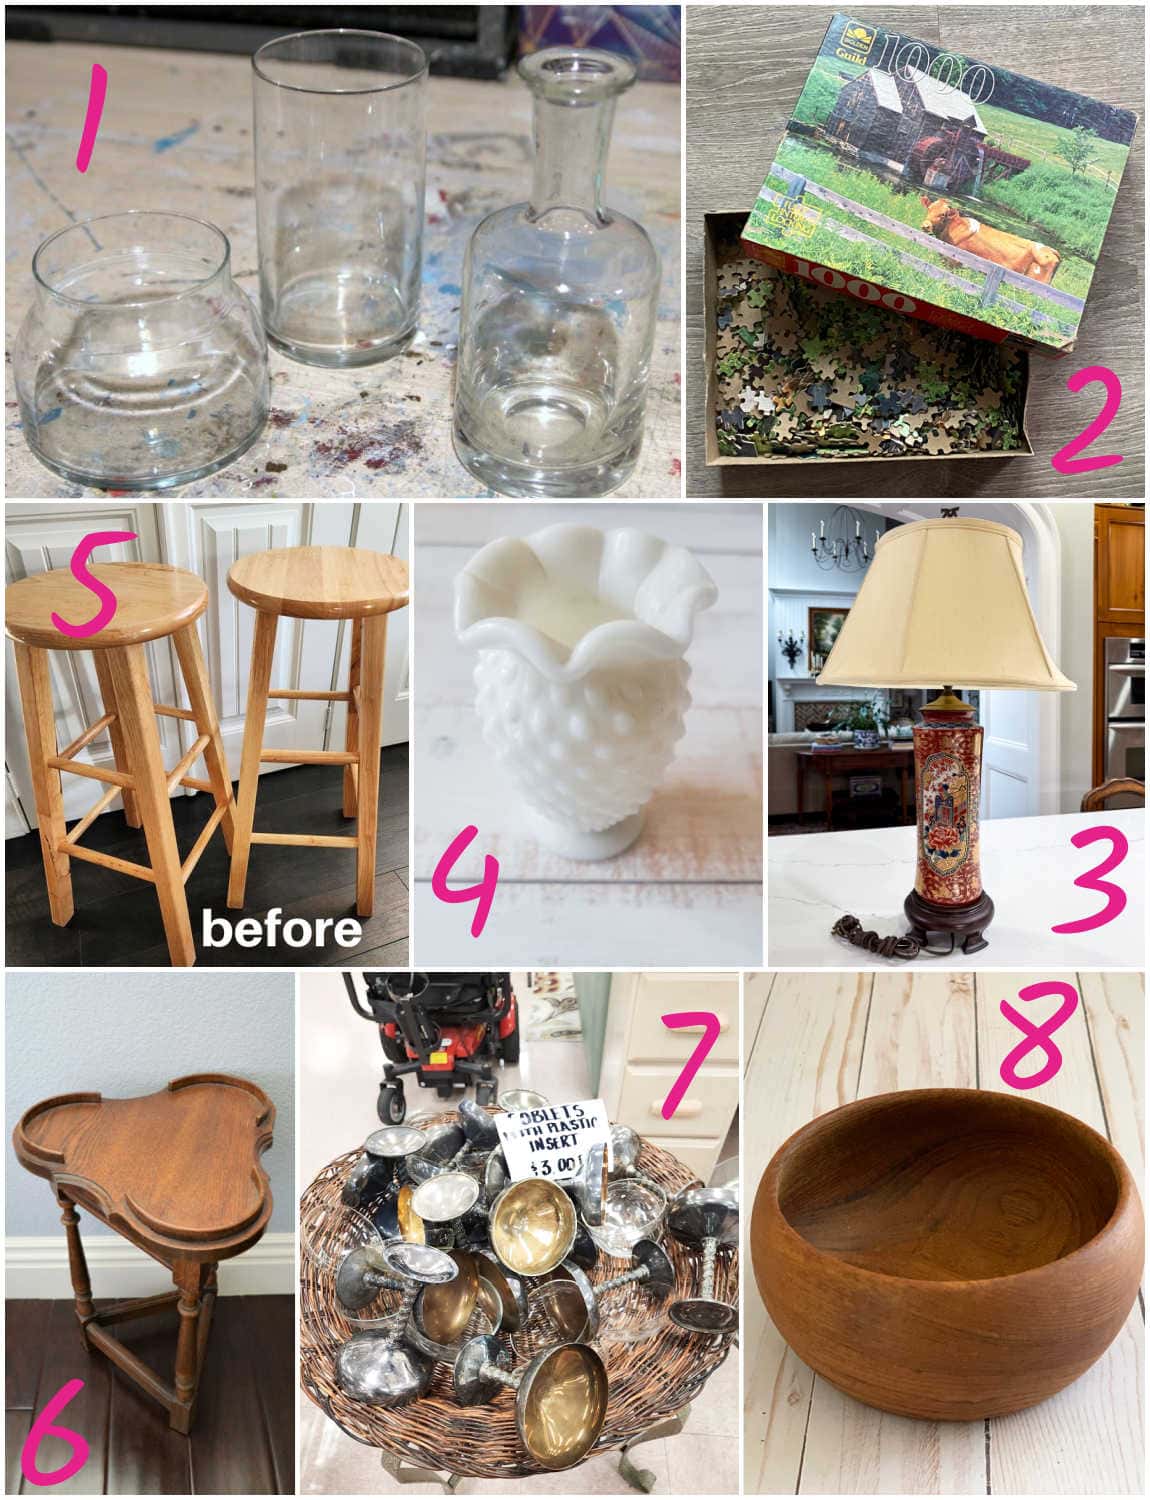
1. Metallic Gold and Clear Glass Vases – Petticoat Junktion
2. Valentines Puzzle Heart Decor – Shop at Blu
3. Updating a Thrift Store Lamp – Our Southern Home
4. DIY Hobnail Milk Glass Candle – Domestically Speaking
5. Bar Stools into Nightstands – My Repurposed Life
6. DIY Floral Mosaic Side Table – My Uncommon Slice of Suburbia
7. Winter Scenes in Silver Plate – Sadie Seasongoods
8. Teak Wooden Bowl Makeover – House of Hawthornes
It feels so good to be creating again after a much-needed sabbatical. Thank you for your patience with that, by the way! I needed to step away from project work to do some other tech-related blog work, but it feels so good to be thrifting and upcycling again.
Craft on!
S
Want to be notified when I publish my next upcycling project tutorial?
Join me on Social Media:
PIN ME!
Image credit: Sadie Seasongoods.
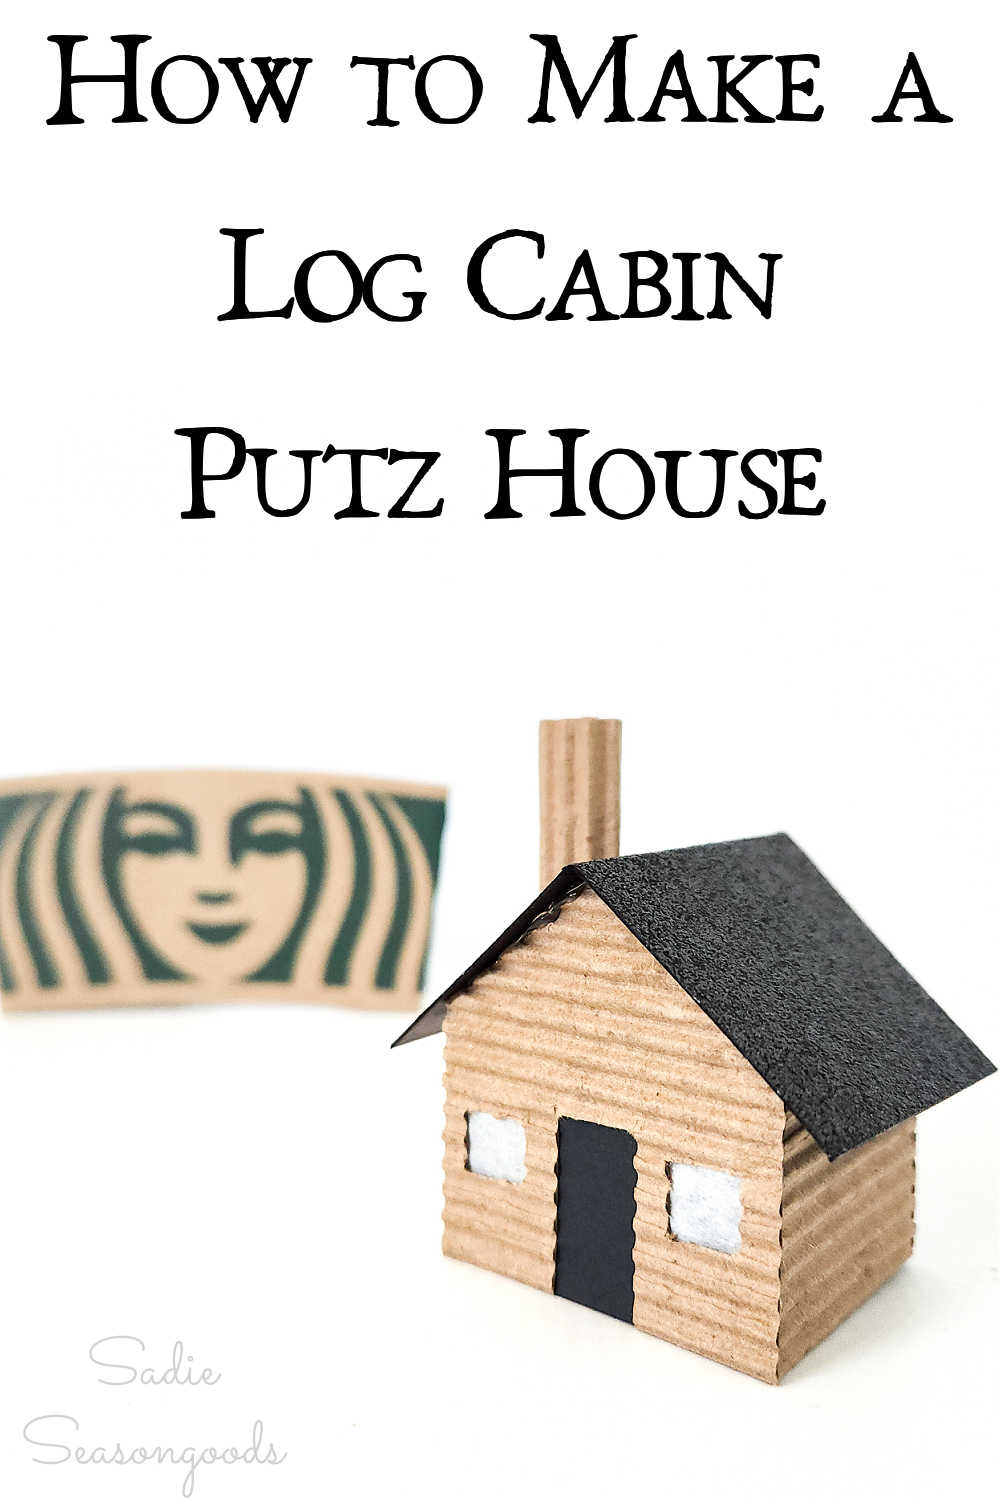
Image credit: Sadie Seasongoods.
Sarah Ramberg is the owner of Sadie Seasongoods, a website that celebrates all things secondhand. From upcycling ideas and thrifted decor to vintage-centric travel itineraries, Sadie Seasongoods is a one-stop shop for anyone who loves thrifting and approachable repurposing ideas. Sarah is also the author of “Crafting with Flannel” and has been featured in numerous media outlets and magazines.





Have a question or like what you see? Please let me know!