Years ago, I made a winter door wreath by upcycling a plain Christmas wreath. It got lost or donated somewhere between then and now and I was feeling the urge to create a new one. It would, of course, be wintery, but have a somewhat different look.
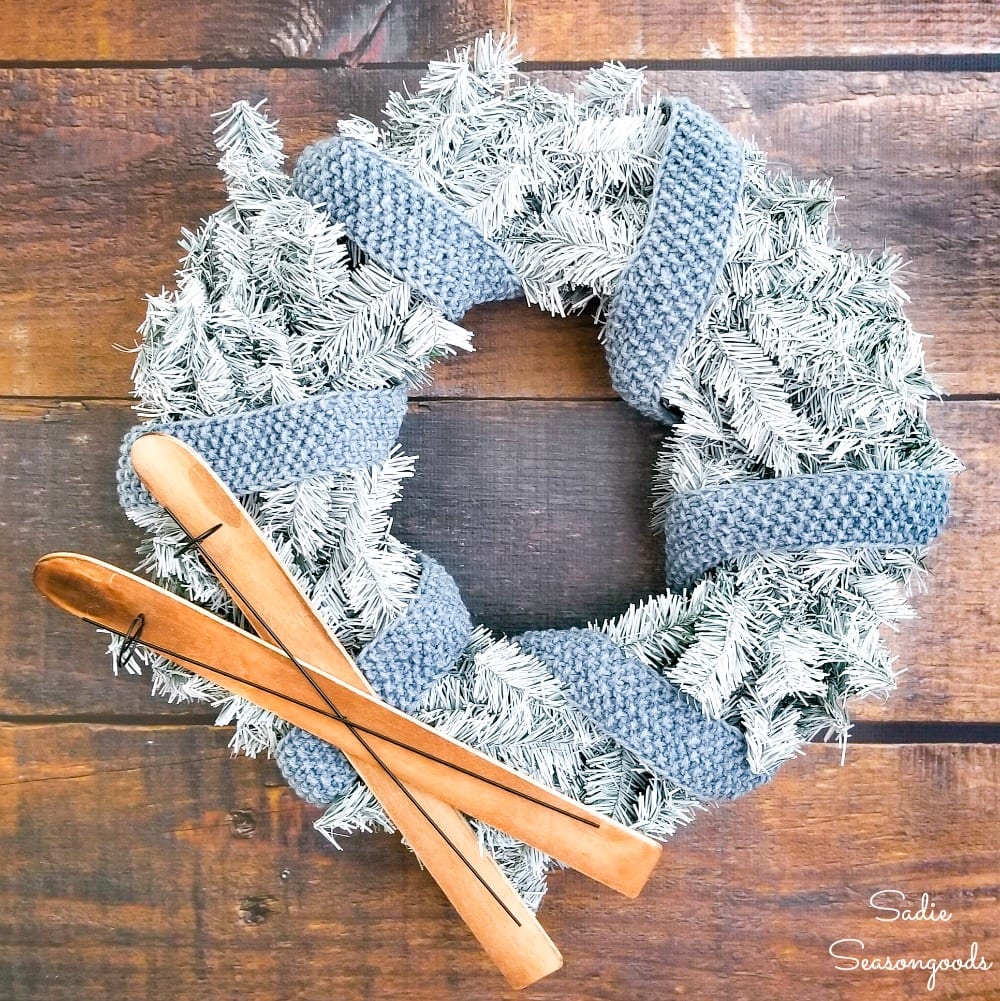
The old one, for reference:
Cute, right? I’d also thrifted those wooden skis, even though they were originally a Target Dollar Spot item. Shows you how rarely I go on Target runs, eh?
Anyway, for this version of a winter door wreath, I decided to incorporate something else: vintage cookie cutters.
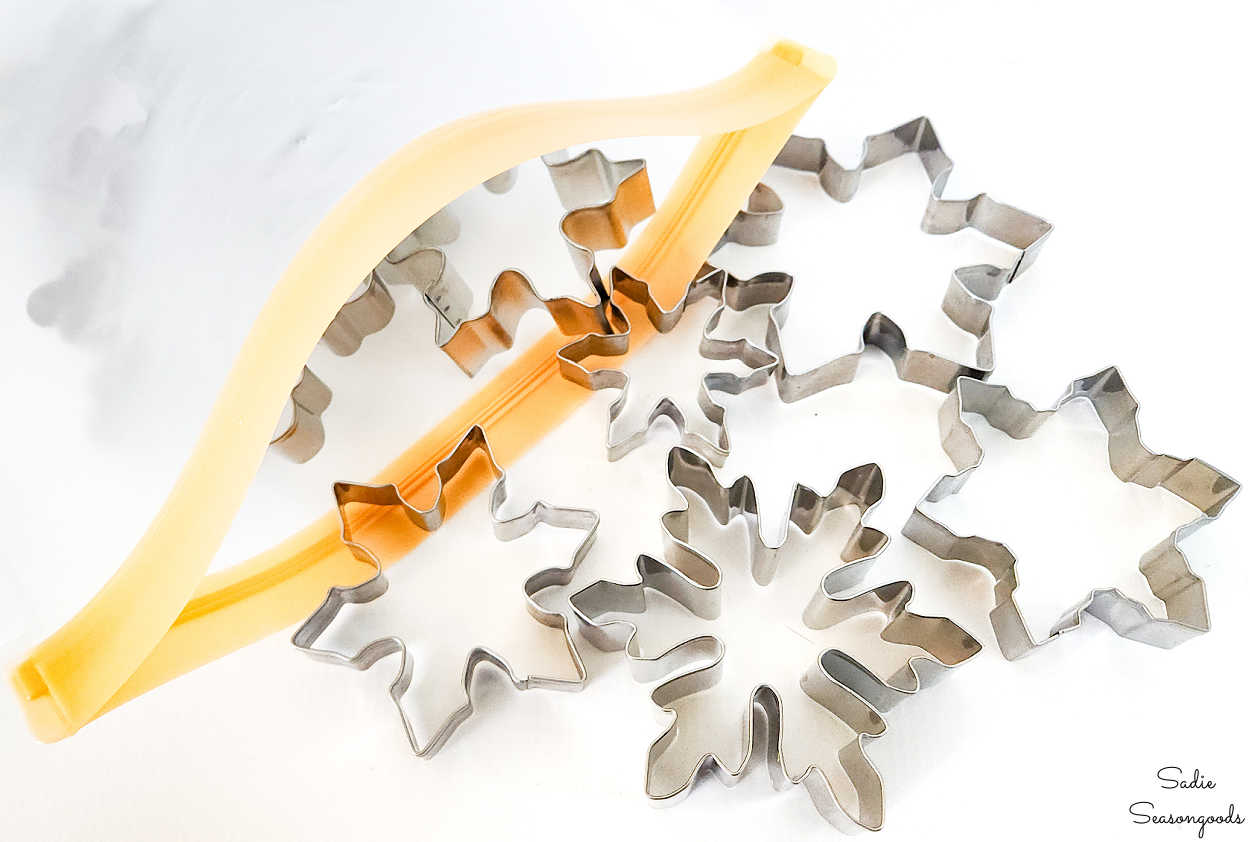
Image credit: Sadie Seasongoods.
Specifically, vintage snowflake cookie cutters, which I’d been collecting for a while. So, let me show you how it turned out!
This post contains affiliate links for your crafting convenience. As an Amazon Affiliate, I earn from qualifying purchases. All blue, bold, and underlined text is a clickable link, either to a product or to a related post.
Making a Winter Door Wreath
So, my plan was pretty simple: cover this grapevine wreath (also from a thrift store) with a knitted scarf and embellish with the metal cookie cutters.
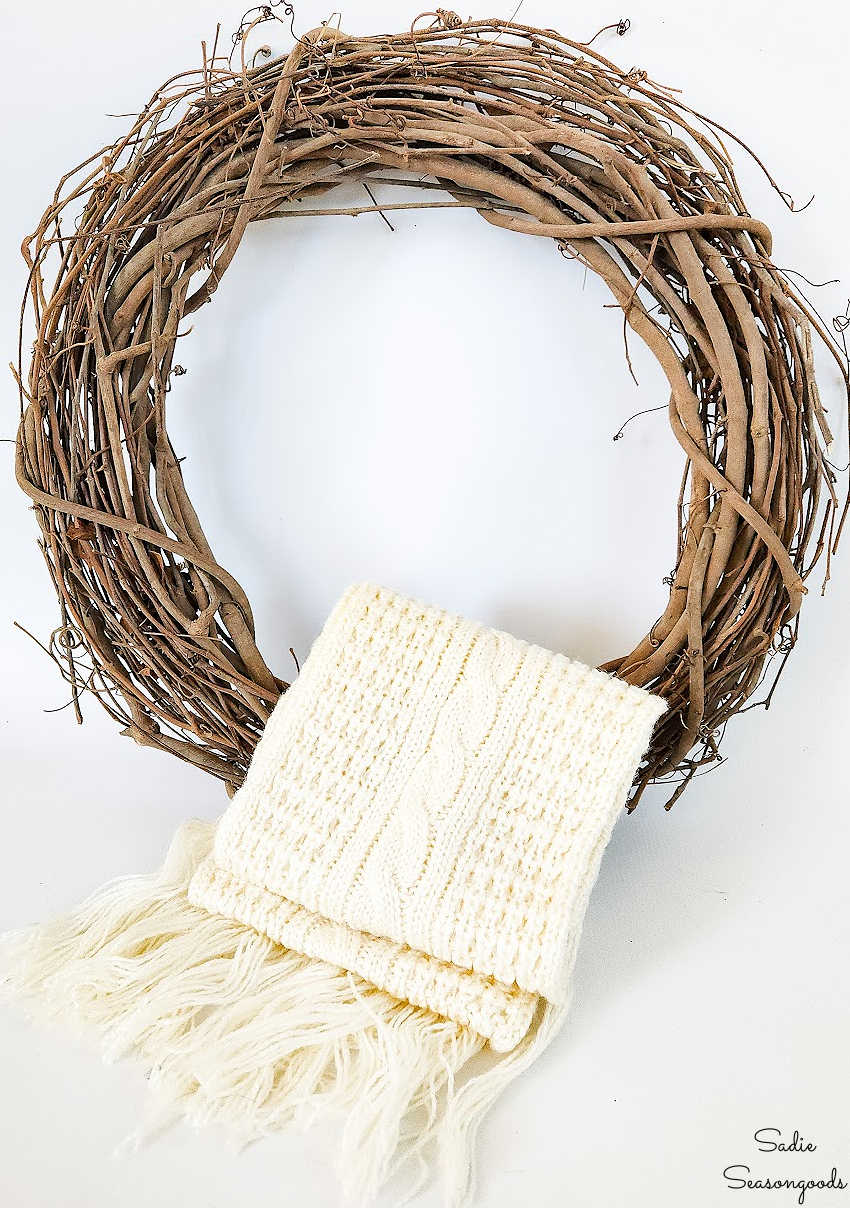
Image credit: Sadie Seasongoods.
But I realized very quickly that if I was going to use a grapevine wreath, I was going to need to cover it with fabric first. All the little grapevine twigs kept trying to snag the scarf!
I rummaged through my fabric bin, but didn’t find anything that would really work. So, I ran to Joann Fabric and found a roll of off-white fabric in the remnants bin.
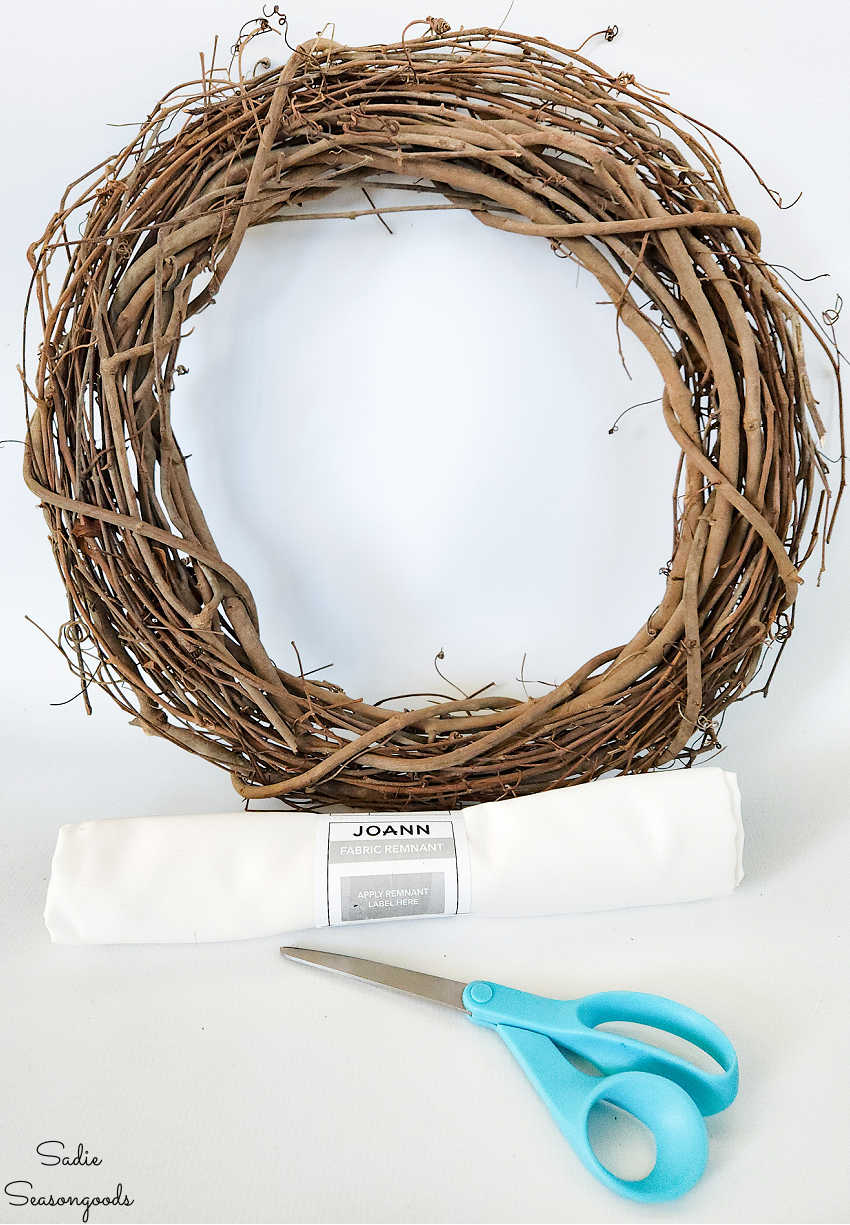
Image credit: Sadie Seasongoods.
Next, I simply cut the fabric into long strips (no measuring, just about 3” wide) and hot glued the fabric to itself to hold it in place.
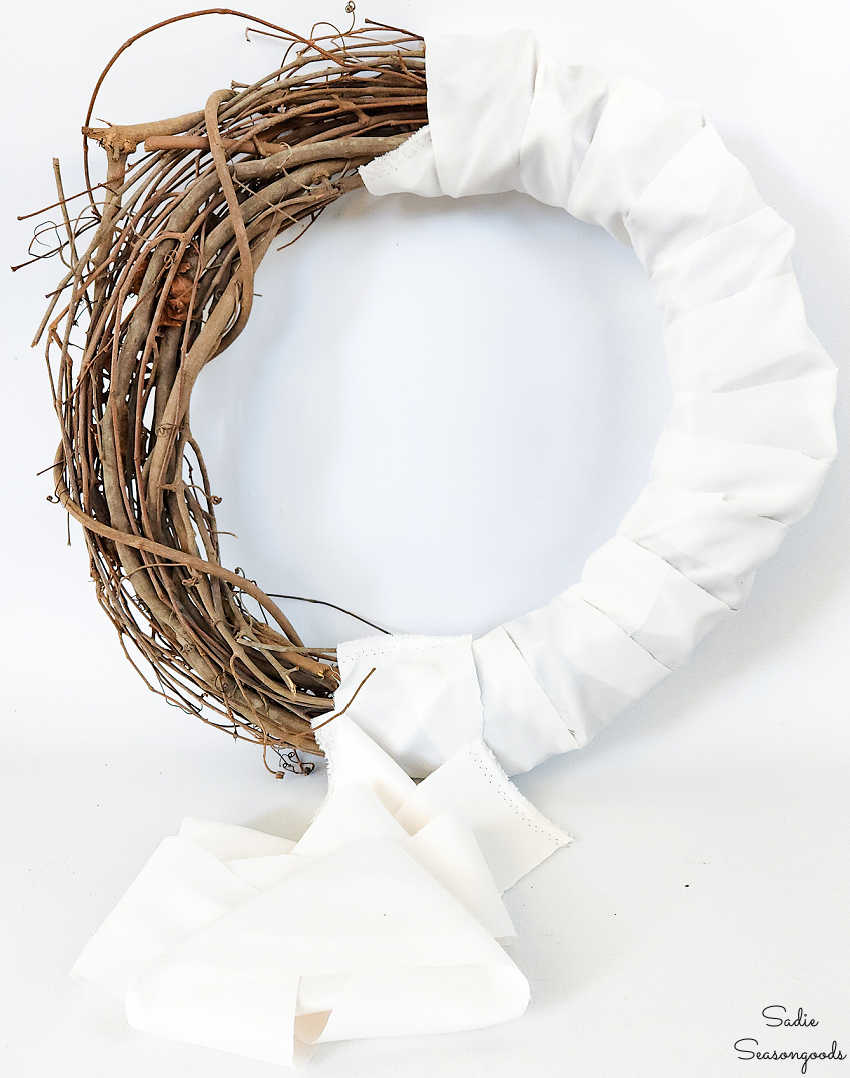
Image credit: Sadie Seasongoods.
Once I had my “mummy wreath” ready to go, I came to another realization. My 1980s Avon scarf was nowhere near long enough to wrap around the entire wreath.
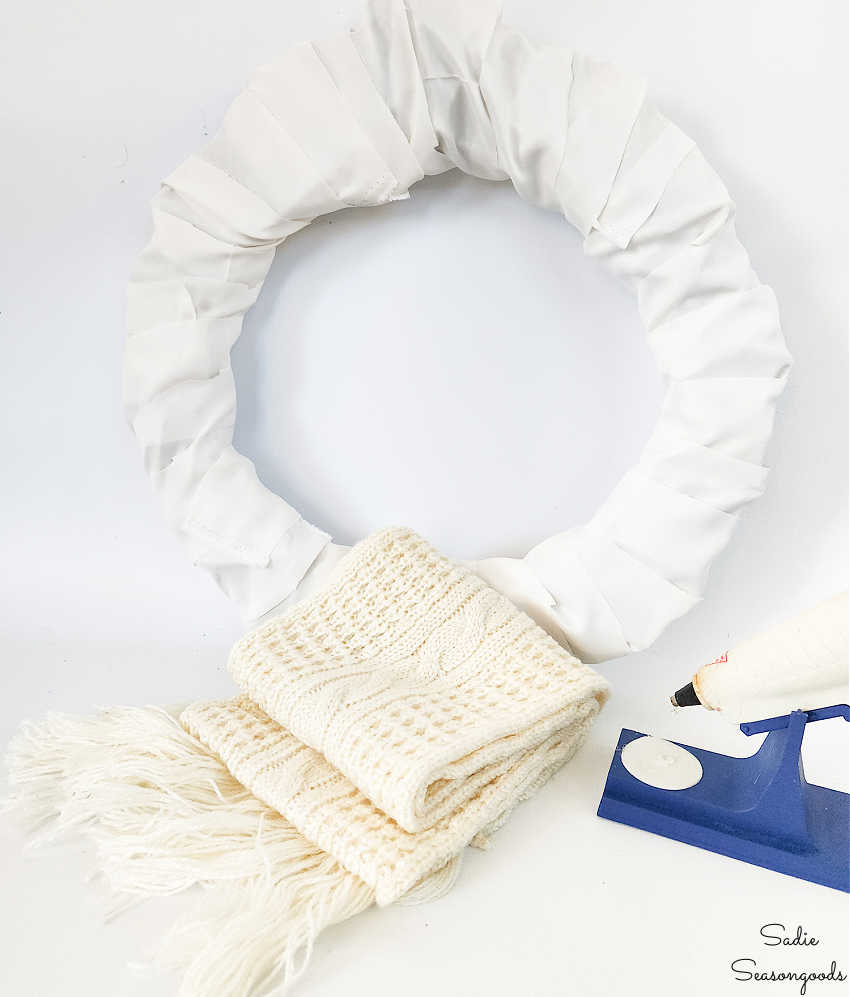
Image credit: Sadie Seasongoods.
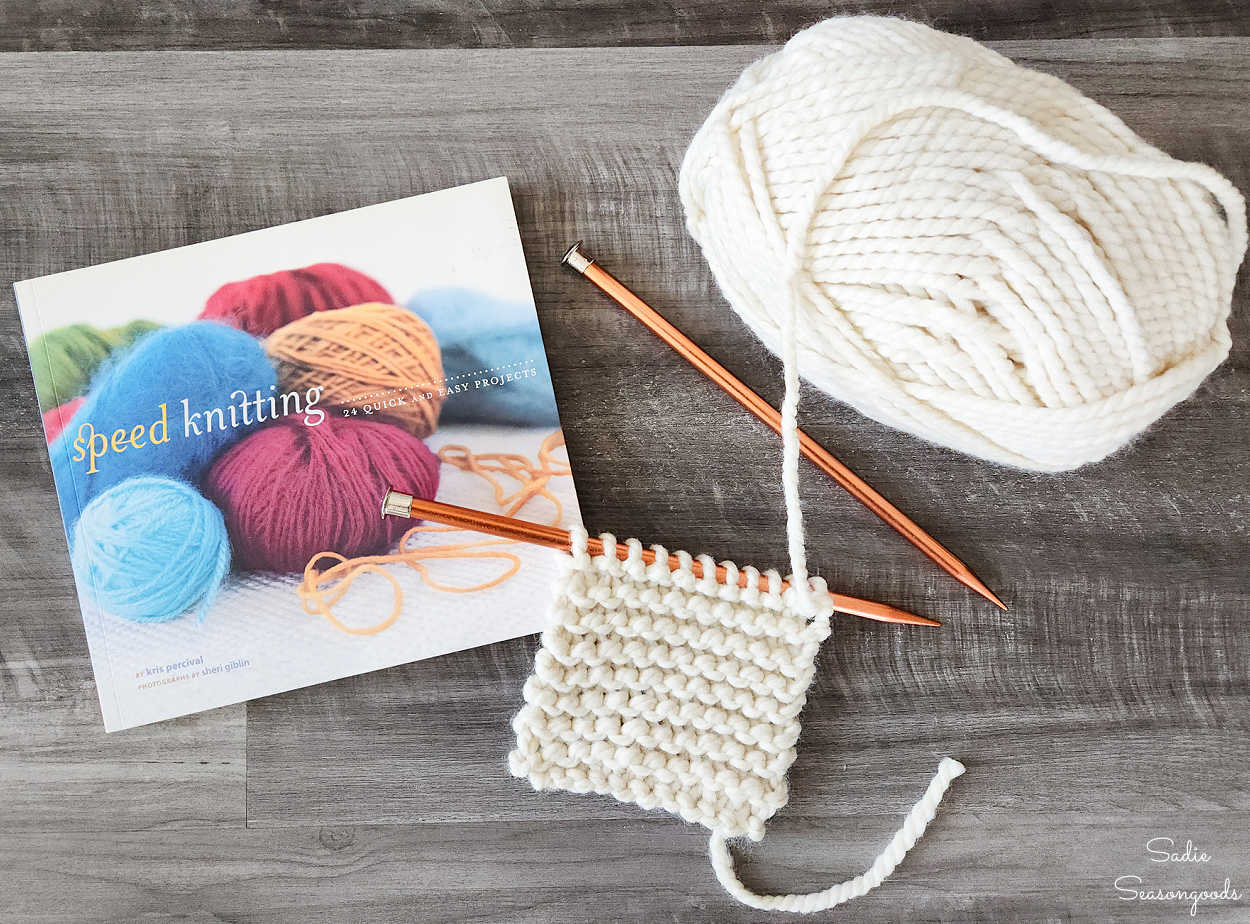
The good news, though, was that I was concurrently working on a new blog post for the Habitat ReStore blog here in Charlotte. And, as a result of that post, I was reigniting my interest in knitting…
Decorating with Metal Cookie Cutters
Long story short, I decided to knit a long scarf using two skeins of Wool Easy thick and quick in the color “Fisherman”. In addition to my Avon scarf…
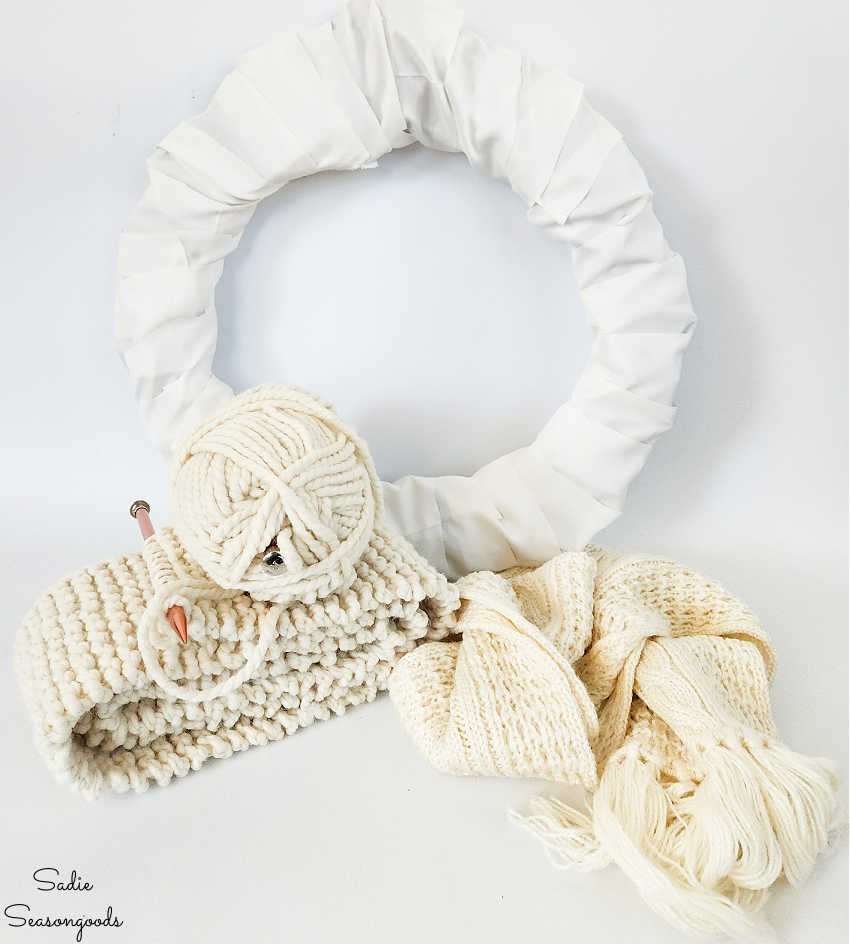
Image credit: Sadie Seasongoods.
Then, I wrapped my knitting around the wreath, securing the ends in place with safety pins. Even it wasn’t quite long enough!
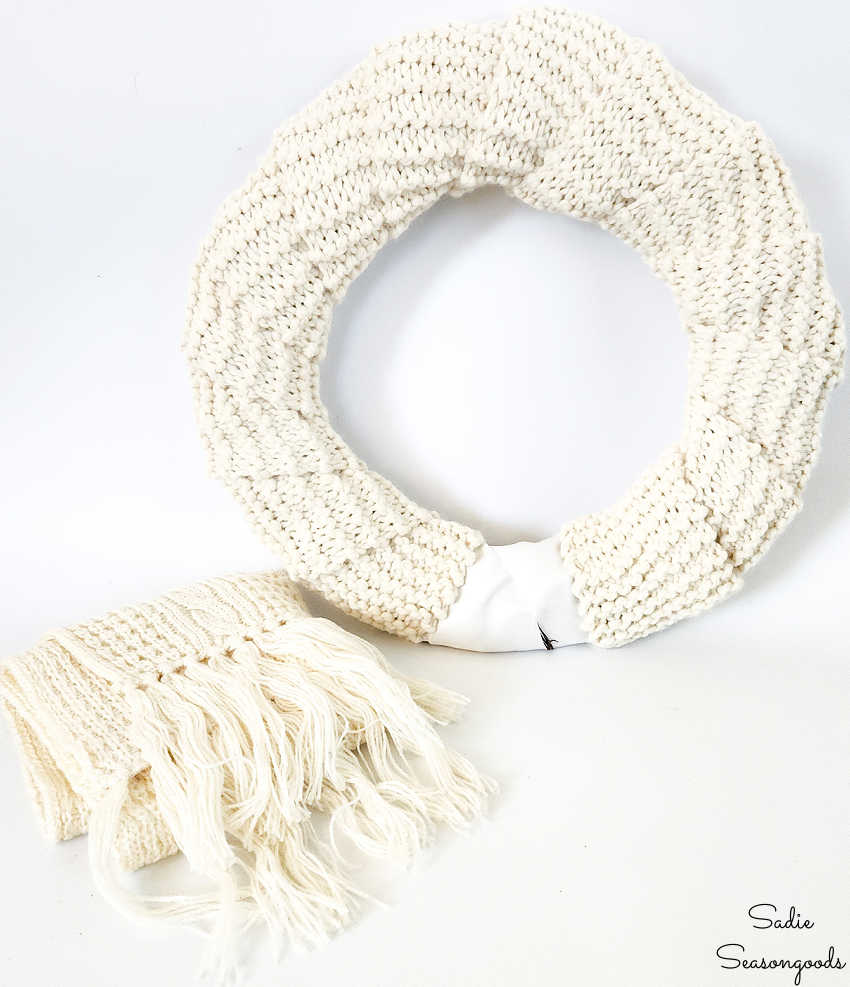
Image credit: Sadie Seasongoods.
That’s where the Avon scarf came in handy, which I wrapped over the knitting and covered the gap.
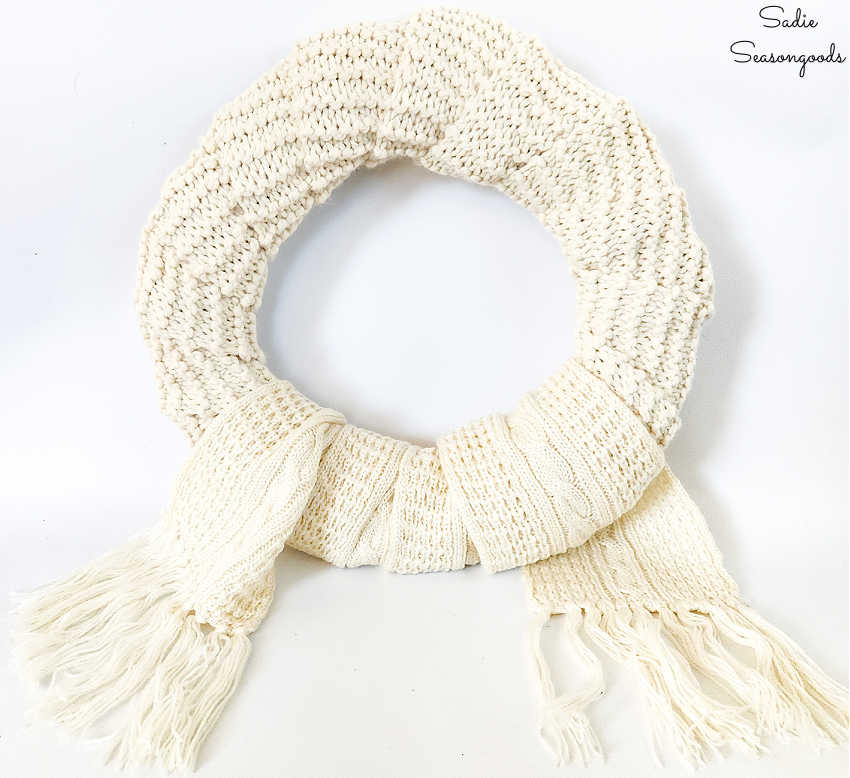
Image credit: Sadie Seasongoods.
And I actually really liked the slight difference in texture. The two similar but different scarves really gave my winter door wreath a “bundled up” look. Perfect for this winter weather!
I really could have left it just like that- a scarf wreath. But I had all those snowflake cookie cutters, so I began arranging them in different ways on top of the scarves.
I tried using them all the way around, but ended up preferring just a few of them at the bottom. When I was happy with their placement, I used a needle and thread to hold them in place.
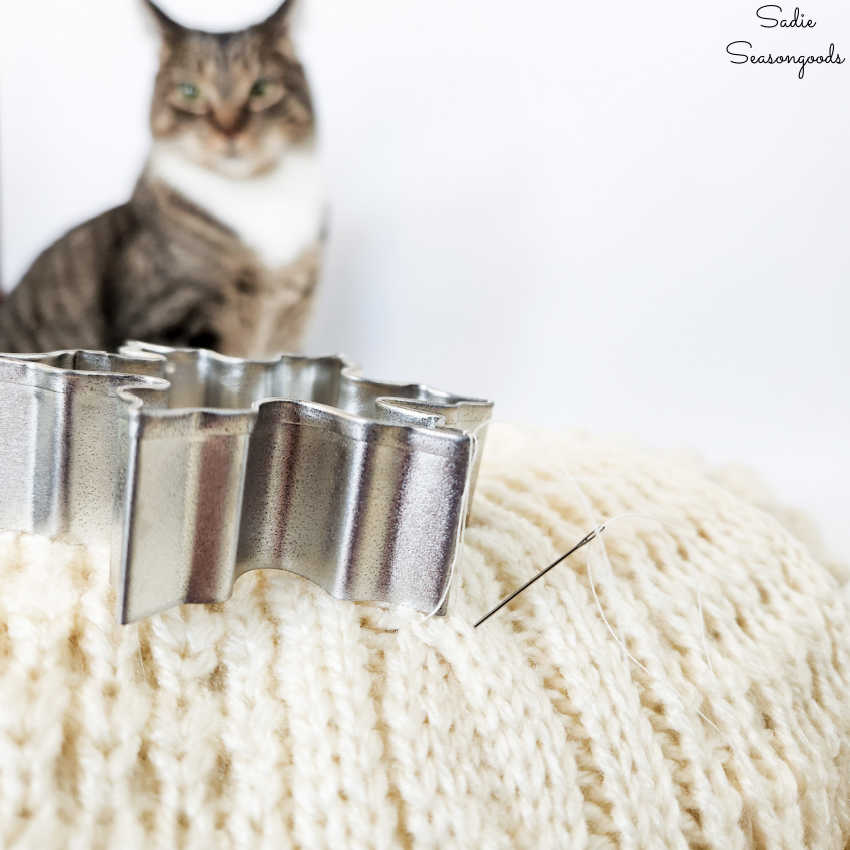
Image credit: Sadie Seasongoods.
Can you tell that Pixie was NOT pleased that I was crafting/sewing and not letting her assist?
Winter Door Wreath with Vintage Cookie Cutters
Once I’d stitched on the metal cookie cutters at the bottom of the winter door wreath, this is how it looked.
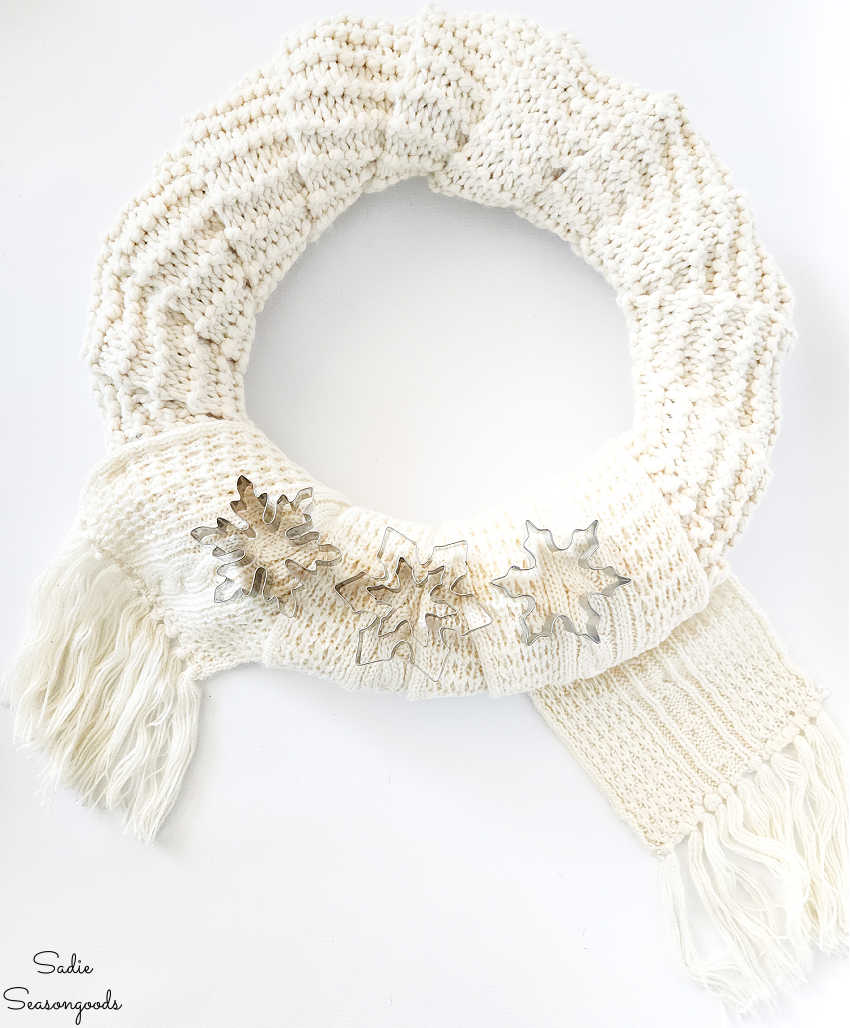
Image credit: Sadie Seasongoods.
Last but not least, I knotted a loop of kitchen baking twine and attached it to the back of my wreath for hanging. Also using safety pins- I was clearly on a safety pin kick.
And this is how it looked hanging on our front door. I really love how it turned out, but it would be just as wintery-cute had I not had the snowflake cookie cutters.
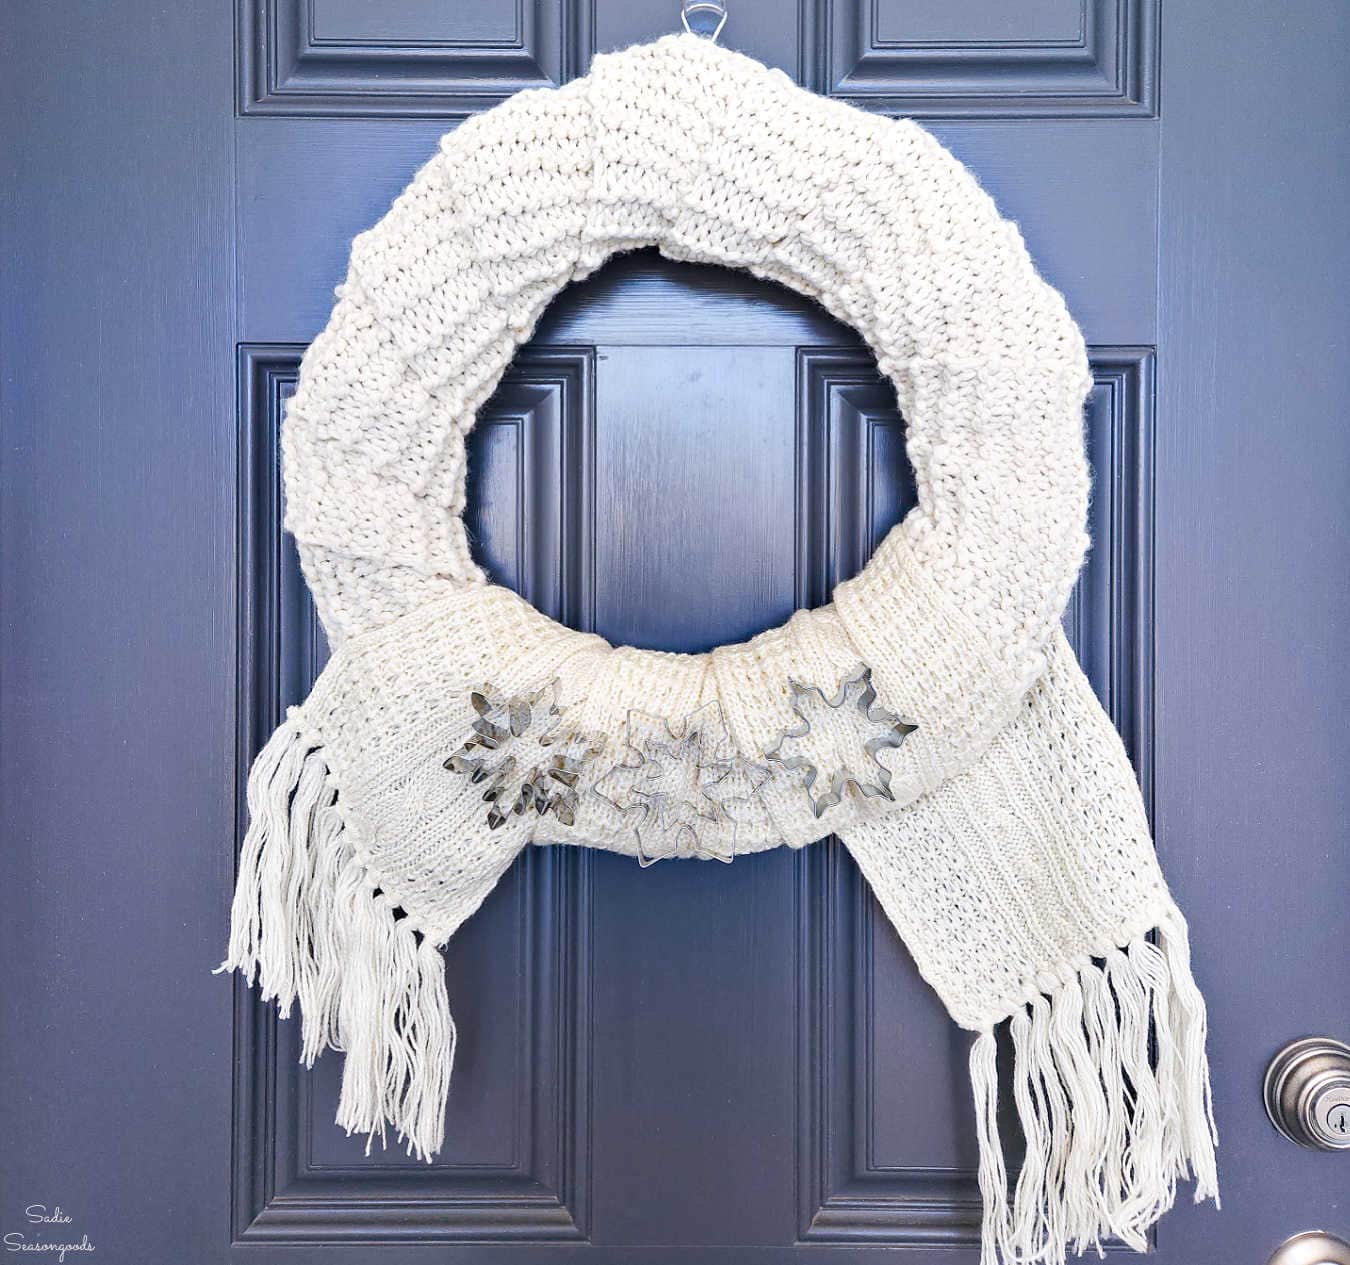
Image credit: Sadie Seasongoods.
Ok- about all those safety pins. I realize I could have glued everything on- the scarves, the cookie cutters, etc. But I really do love the idea of changing out this wreath- or reusing the grapevine form for something else entirely.
So, between the safety pins and the stitched-on cookie cutters, everything is removable. I’d have to cut the fabric wrapping off, but it was glued to itself- not the grapevine. And heck, I probably could have used safety pins for that part, too!
Either way, I hope you enjoyed this new winter craft project of mine. And I’m really excited to do more knitting again- it’s been years since I’d done it. I also really want to try and learn how to crochet as well.
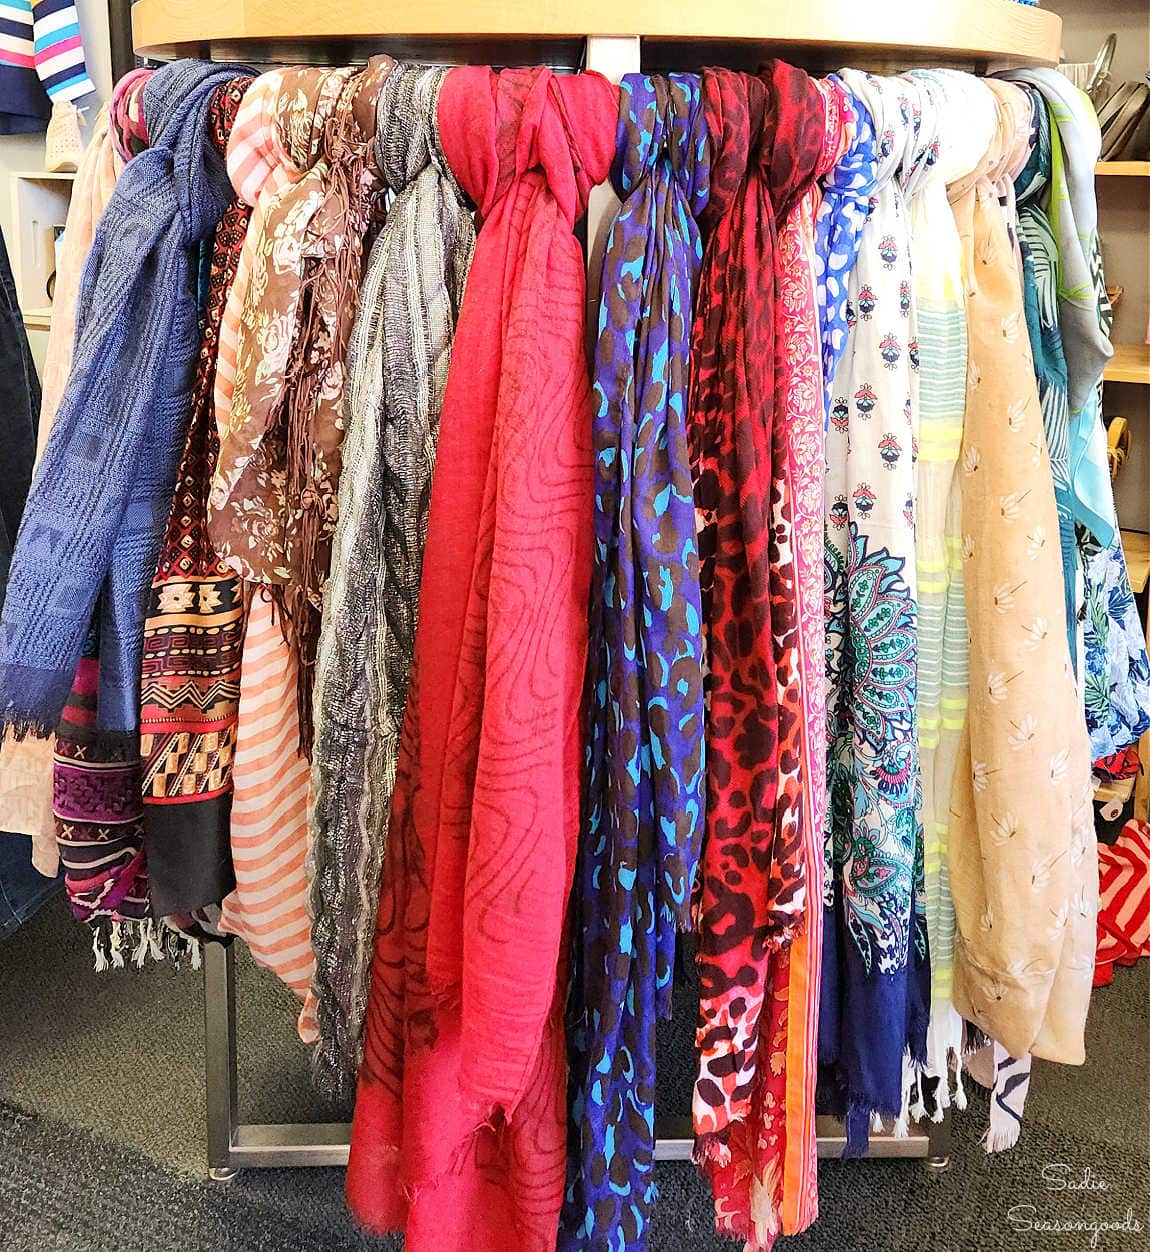
Interested in a few more upcycling projects that use scarves- the winter kind and otherwise? This collection is full of all sorts of inspiring projects for scarves, bandanas, and handkerchiefs.
Craft on!
S
Want to be notified when I publish my next upcycling project tutorial?
Join me on Social Media:
PIN ME!
Image credit: Sadie Seasongoods.
Sarah Ramberg is the owner of Sadie Seasongoods, a website that celebrates all things secondhand. From upcycling ideas and thrifted decor to vintage-centric travel itineraries, Sadie Seasongoods is a one-stop shop for anyone who loves thrifting and approachable repurposing ideas. Sarah is also the author of “Crafting with Flannel” and has been featured in numerous media outlets and magazines.


Have a question or like what you see? Please let me know!