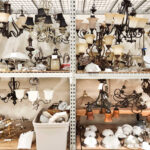
Even though I’ve already made waterless snow globes before, I wanted to make a NEW version. You see, I found these jelly jar light fixtures at my Habitat ReStore and thought they’d be wonderfully upcycled into snow globes. But instead of making Christmas ones, I thought they’d be perfect for winter snow globes instead.
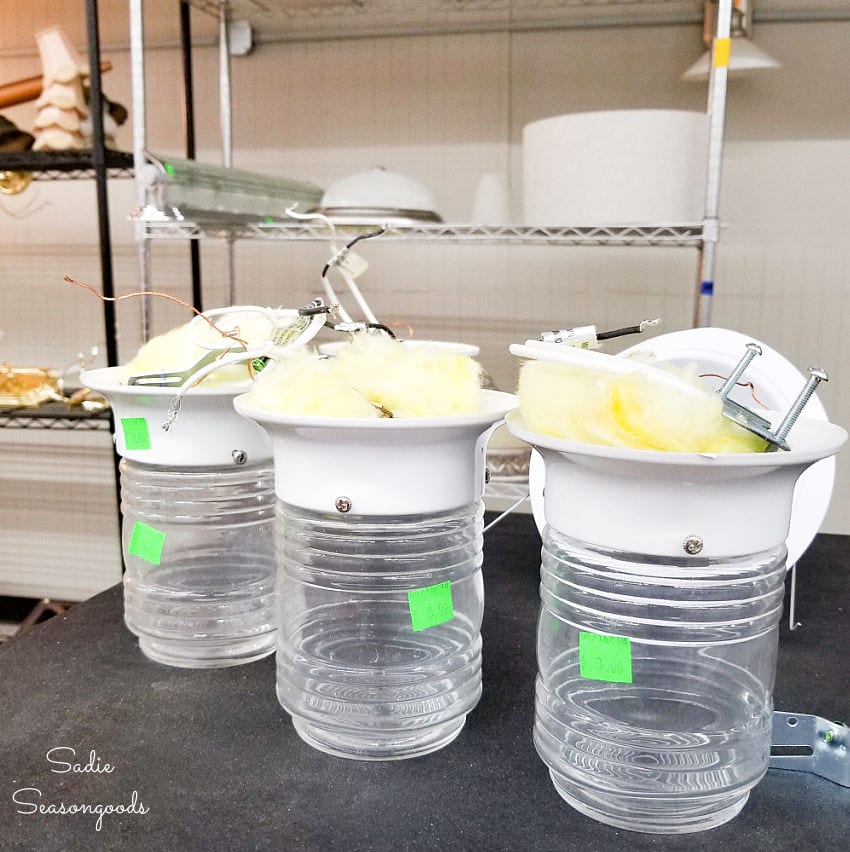
Image credit: Sadie Seasongoods.
See what I mean? Definite snow globe potential!
And since I’m always short on good winter decor, I think that’s the route to go with. There are a few extra steps involved because these are light fixtures and not jars (with a sealing lid), but I thought it would be worth it!
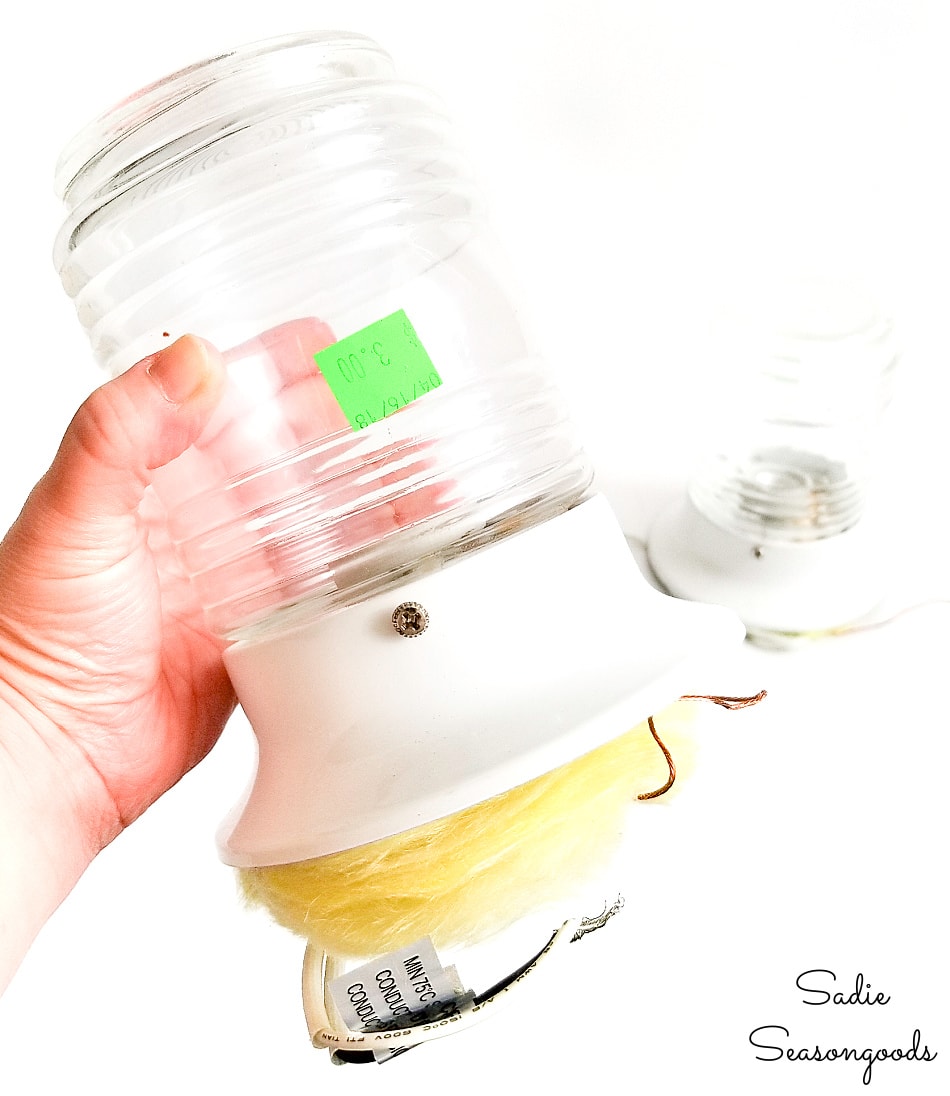
Image credit: Sadie Seasongoods.
This post contains affiliate links for your crafting convenience. As an Amazon Affiliate, I earn from qualifying purchases. All blue, bold, and underlined text is a clickable link, either to a product or to a related post.
Preparing the Jelly Jar Lights for a Winter Craft Idea
First things first, I removed all the wires and insulation using needle nose pliers and wire cutters.
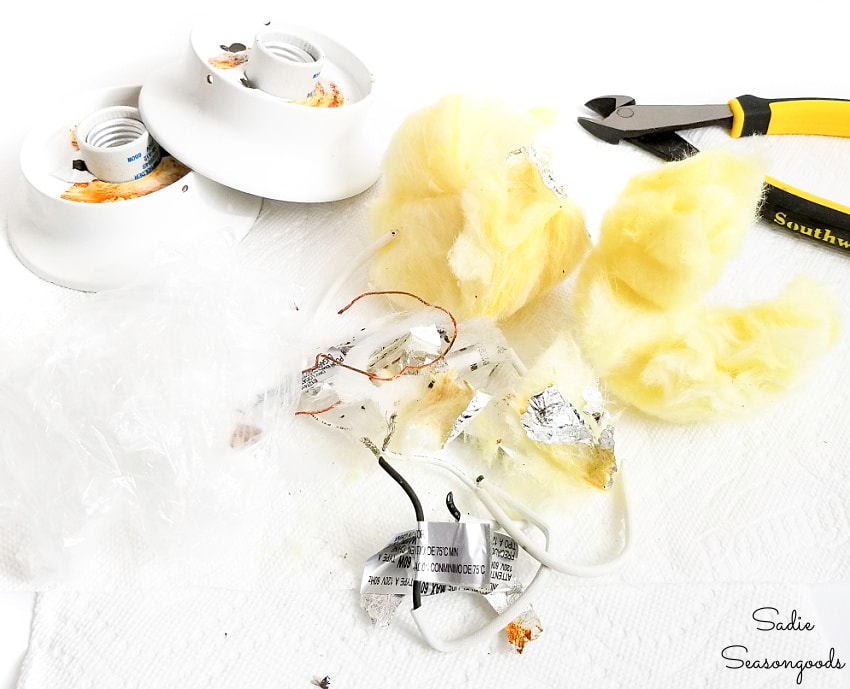
Image credit: Sadie Seasongoods.
And while I could have left the bases white, I wanted a little bit of contrasting color.
Between the clear glass and the artificial snow I’d be using, that would be a LOT of white/paleness.
So, I used my favorite “galvanized” spray paint to do the job.
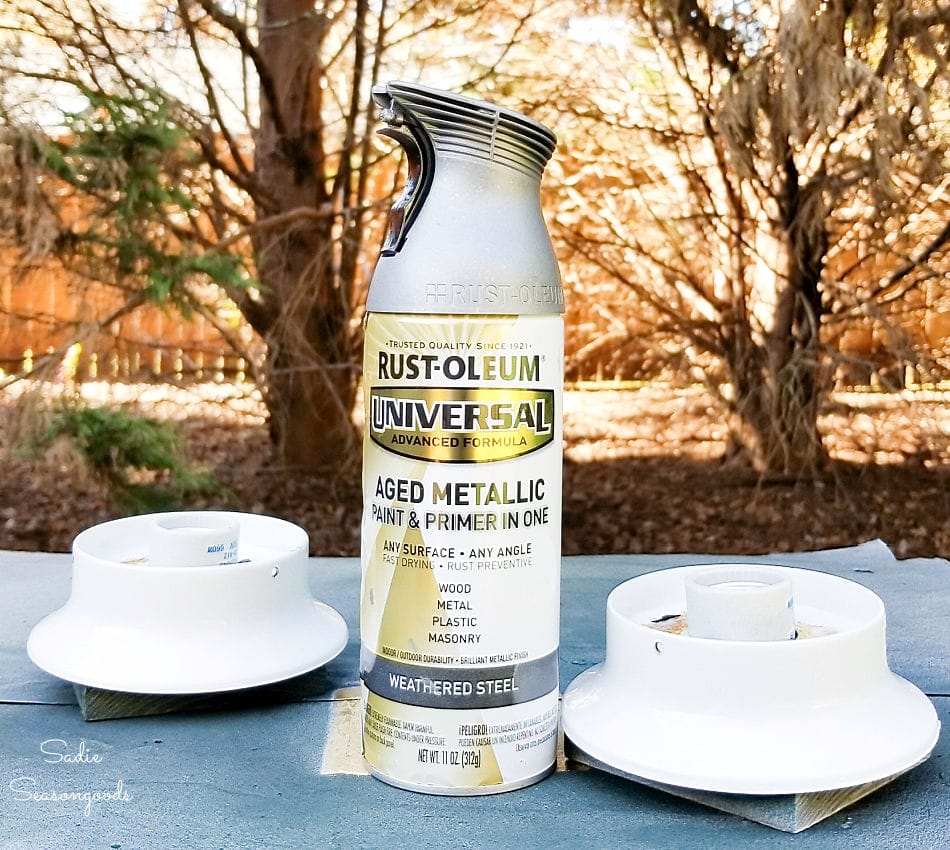
Image credit: Sadie Seasongoods.
Next, I brushed on my favorite matte top coat for protection after the spray paint had dried.
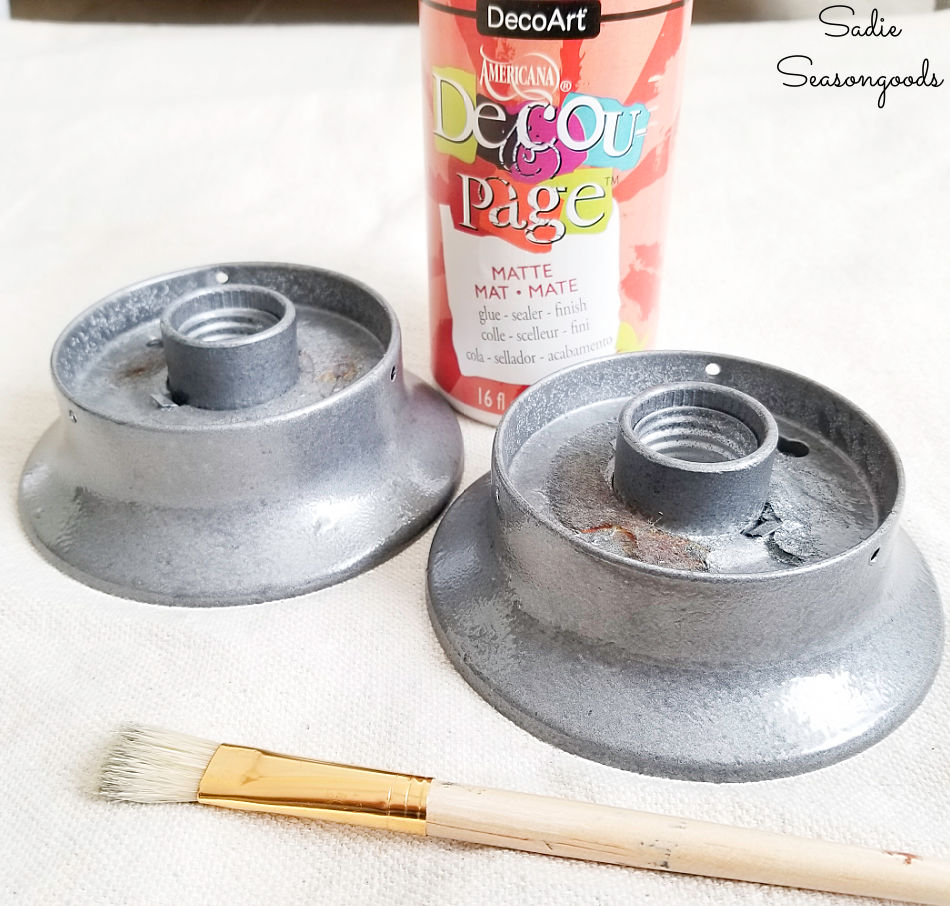
Image credit: Sadie Seasongoods.
Then, I needed to seal off any spaces/openings in the base so that my artificial snow couldn’t leak out.
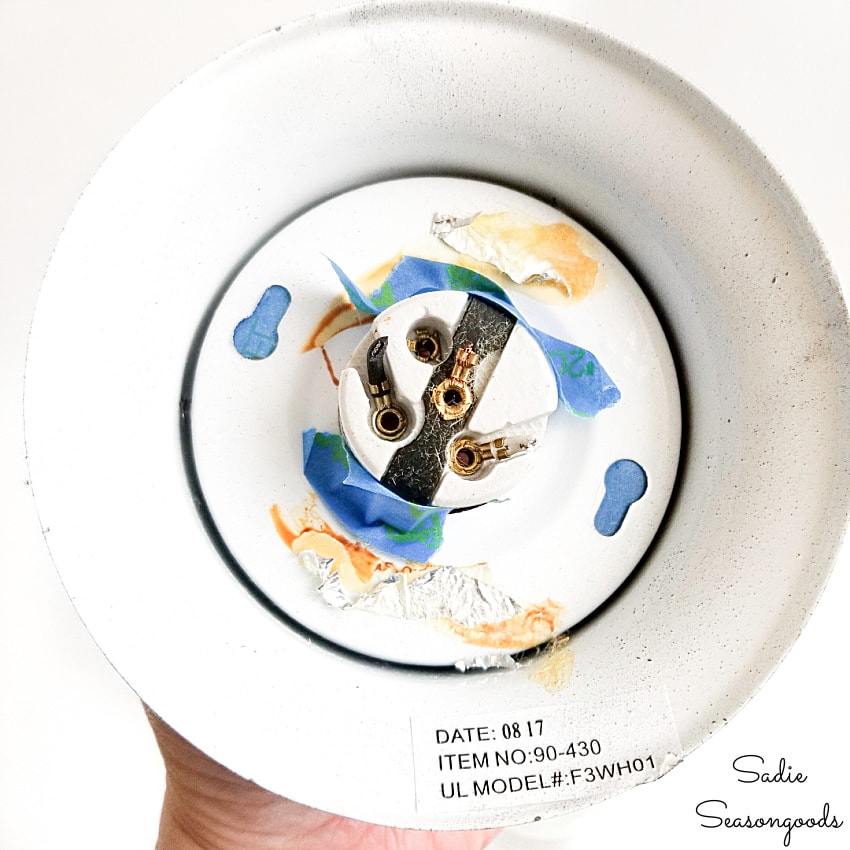
Image credit: Sadie Seasongoods.
So, I applied painter’s tape to the openings, and used hot glue like “caulk” to seal the holes. When the glue had cooled and hardened, I simply removed and discarded the tape.
Nature Scenes for Winter Snow Globes
For my first winter snow globe, I wanted to go “all natural” with just a tree and some mini pine cones.
First, I needed a wine cork that fit snugly in the light fixture socket. Once I found one, I cut it in half.
Next, I jabbed a small tree inside the center of the cork.
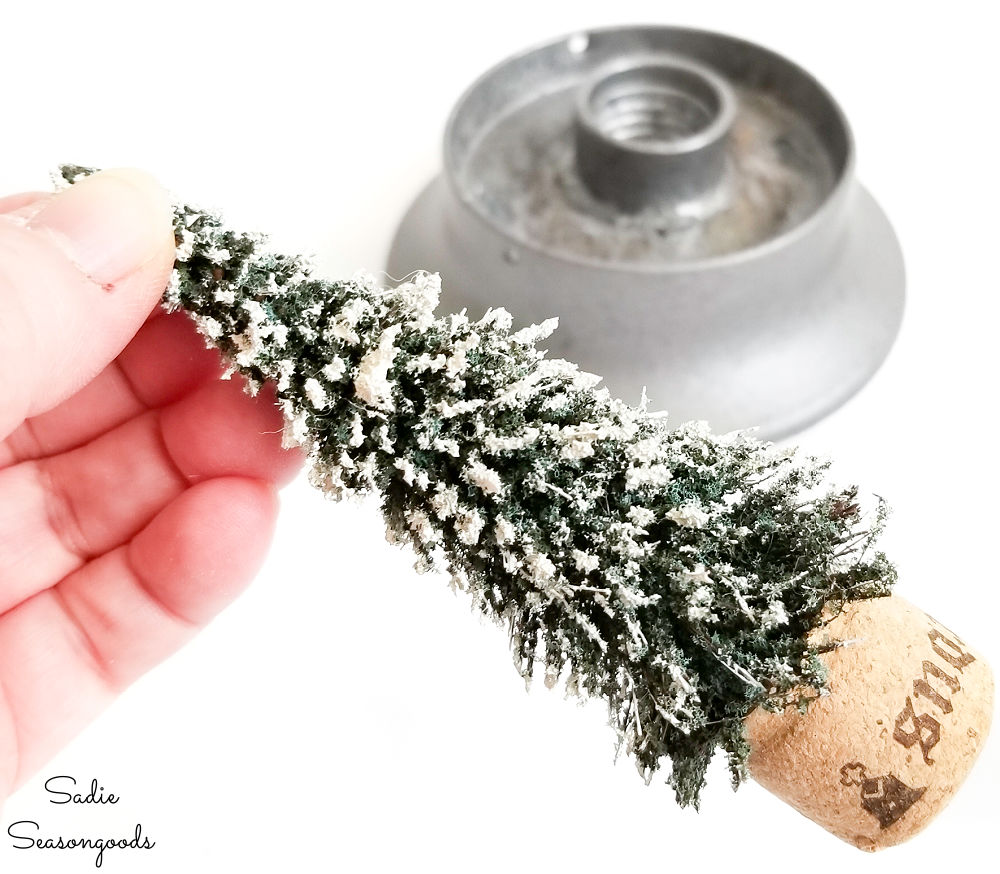
Image credit: Sadie Seasongoods.
You may recall that this was I’ve done something similar with wine corks before!
Then, I simply hot glued the cork inside the light socket- that was it!
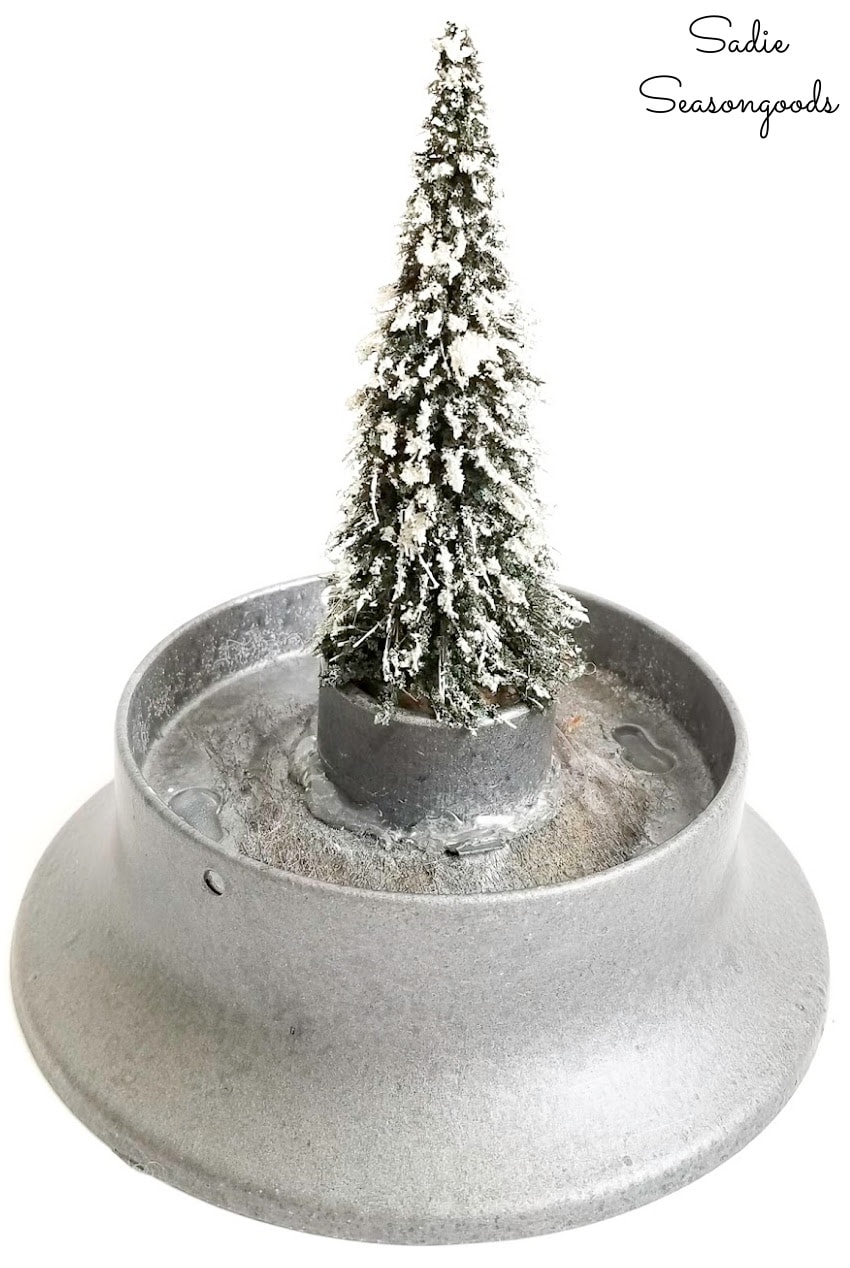
Image credit: Sadie Seasongoods.
Now it was time to assemble my winter snow globe! Inside the jelly jar light, I added a handful of teeny tiny pine cones (like these, but mine were gold).
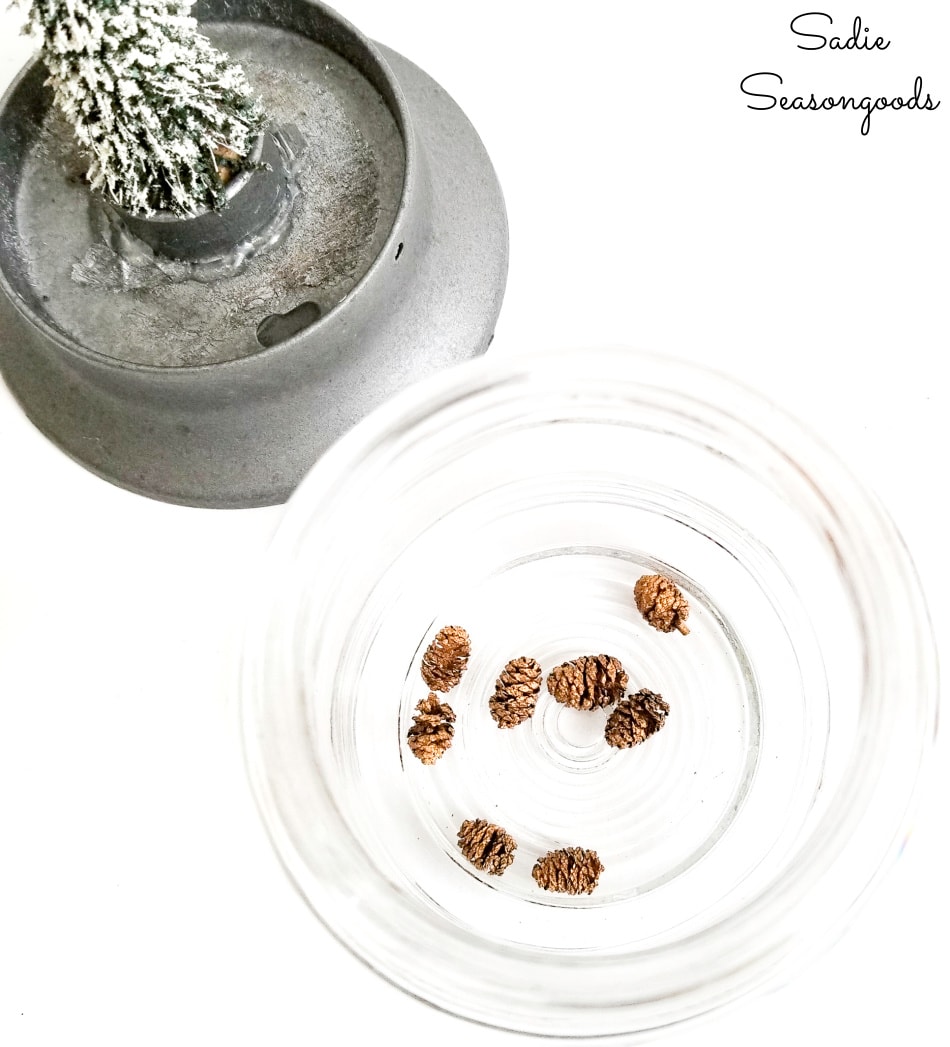
Image credit: Sadie Seasongoods.
Then, I measured out some artificial snow. This was a total guessing game, admittedly, but I *DID* get to use my adorable science-y measuring cups.
Next, I poured the snow over the pine cones.
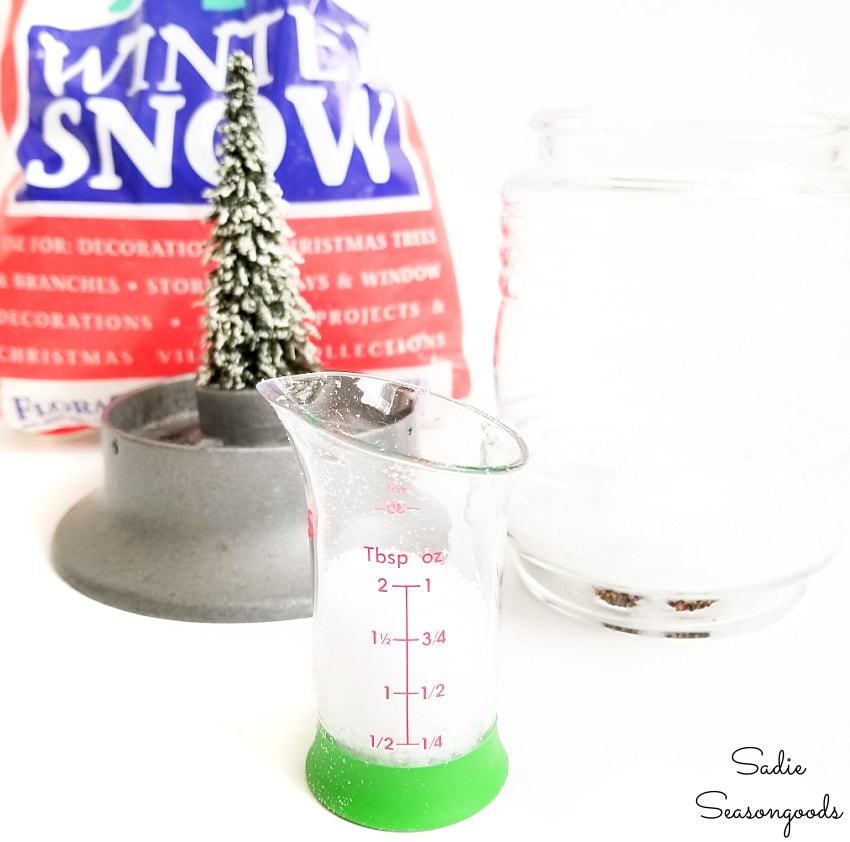
Image credit: Sadie Seasongoods.
Finally, it was the moment of truth.
I turned over the base, complete with the tree in the socket, and reattached it to the jelly jar light fixture using the original screws.
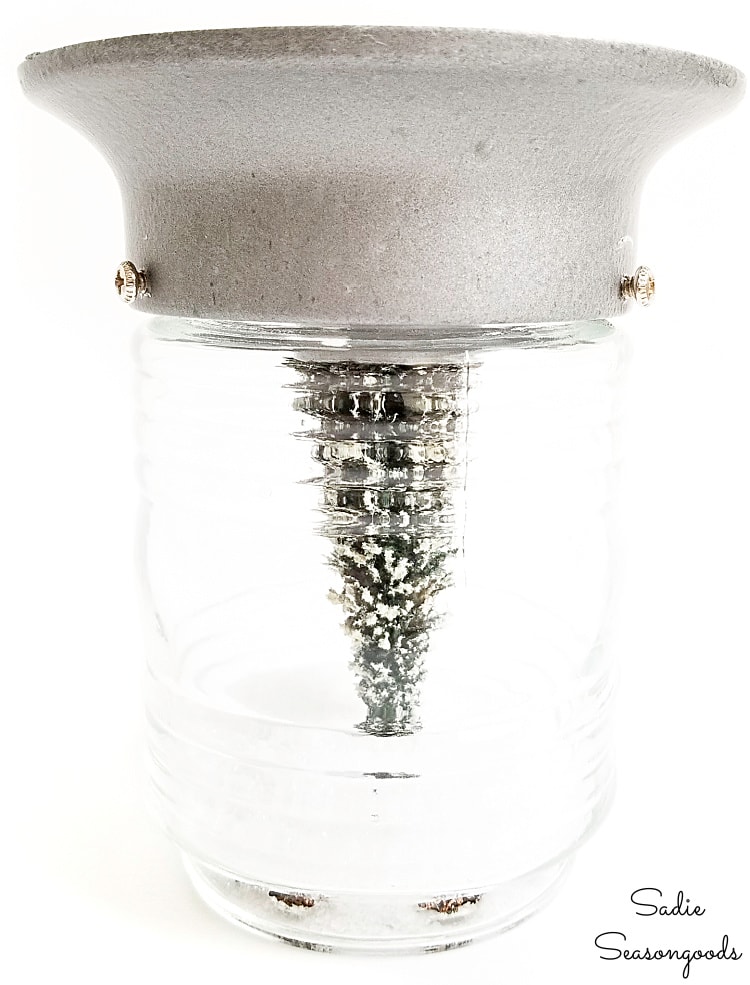
Image credit: Sadie Seasongoods.
A Vintage Putz House for a Winter Snow Globe
But before I show you how my first winter snow globe turned out, I should warn you. I made a second one and it might be a wee bit controversial.
Why?
I painted an vintage putz house. I know- go ahead and gasp. Get it out of your system, I can handle it.
This is what it originally looked like. Cute, yes, but a little plain.
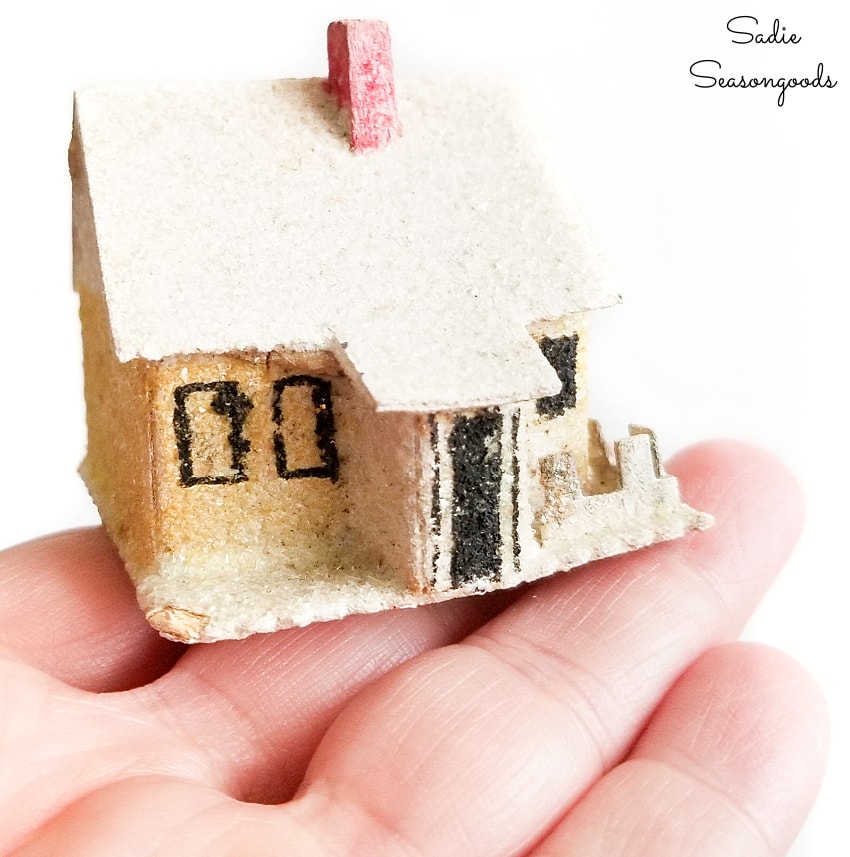
Image credit: Sadie Seasongoods.
Our first house was pale blue with a dark grey roof and a bright red door. It was small and quirky, as many first homes are.
Anyway, I decided to paint the vintage Putz house to look like our old house!
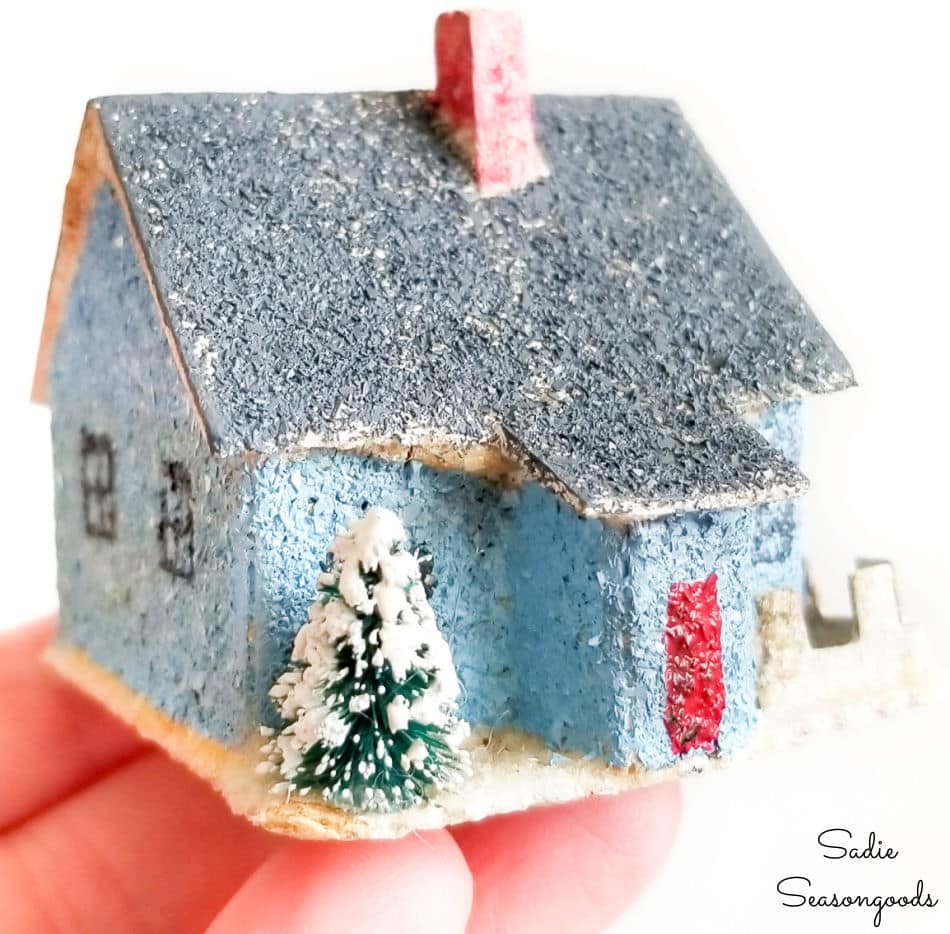
Image credit: Sadie Seasongoods.
I also snipped off the top of a new bottle brush tree and glued it to the base of the Putz house, too.
Now that you’ve seen how cute it is, can you forgive me?
After that, I simply hot glued the Putz house on top of the light socket inside one of my jelly jar light fixtures.
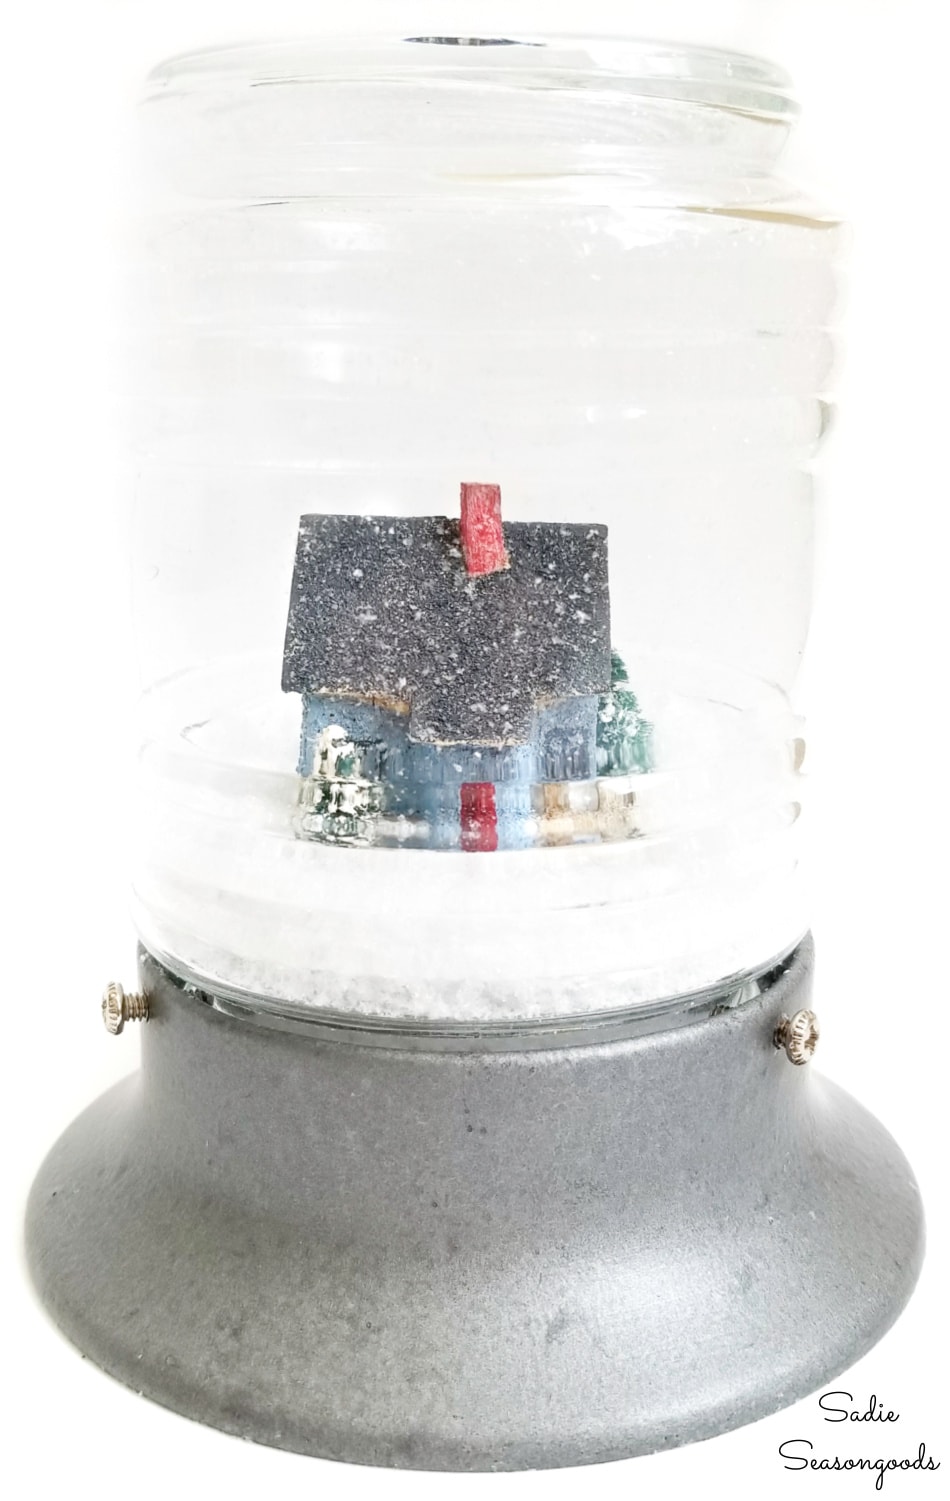
Image credit: Sadie Seasongoods.
I did the same thing to this one- poured my favorite craft snow inside the jelly jar light, reattached the base, and turned it over.
And, oh, here’s how the serene nature scene version turned out!
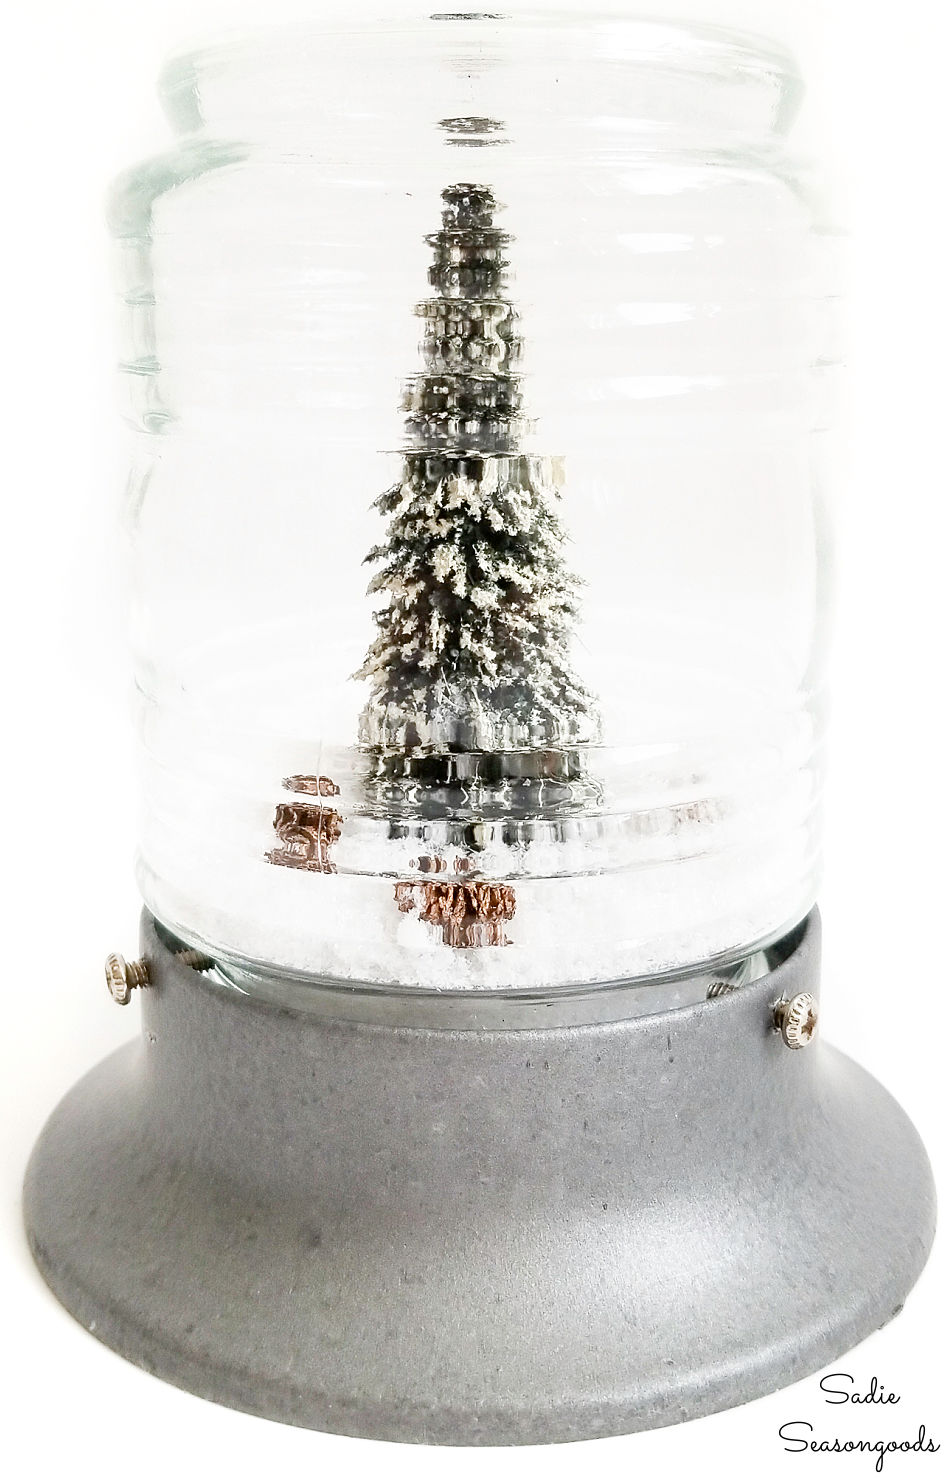
Image credit: Sadie Seasongoods.
Winter Snow Globes in Jelly Jar Light Fixtures
Aren’t they the sweetest things ever? The jelly jar light fixtures worked PERFECTLY as snow globes.
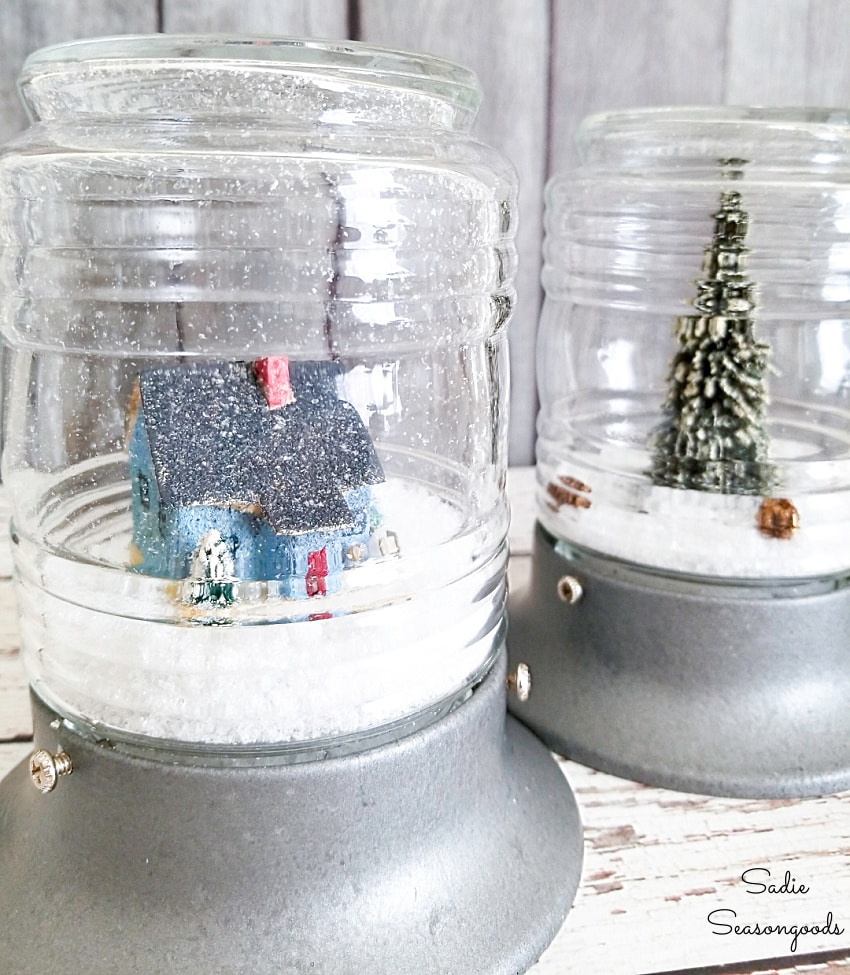
Image credit: Sadie Seasongoods.
And that was it- my winter snow globes were done and as cute as can be. See? Snow globes aren’t just for Christmas after all!
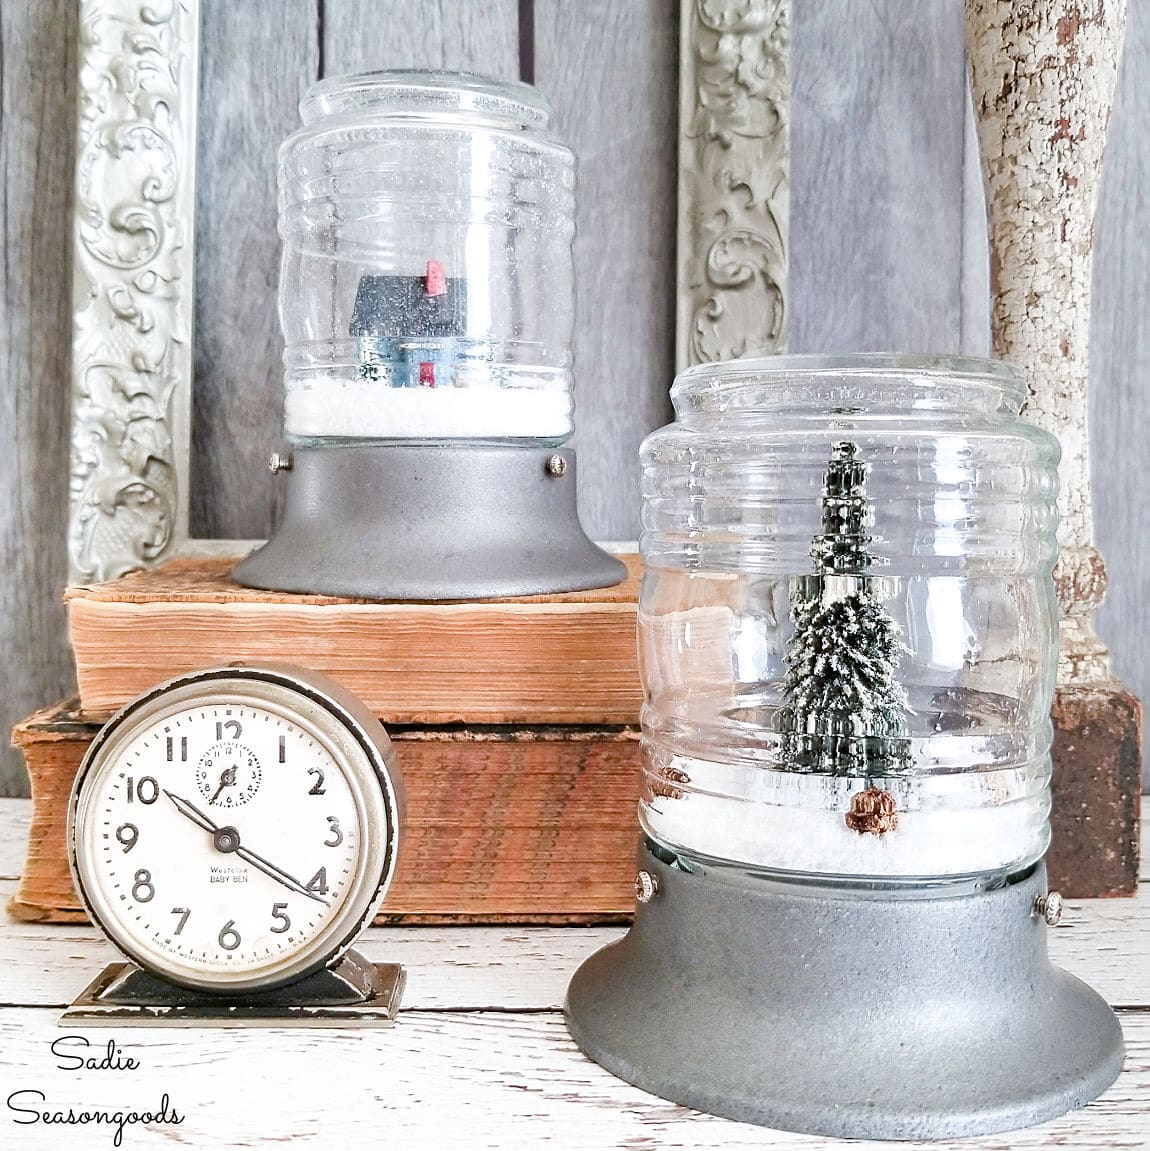
Image credit: Sadie Seasongoods.
I’ll leave these out through February until it’s time to think Spring. But what do you think- do industrial light fixtures work for waterless snow globes, or what?
Speaking of winter and snowy weather, I hope you’ll check out my first book, “Crafting with Flannel“. It’s full of craft ideas that are perfect for this time of year!
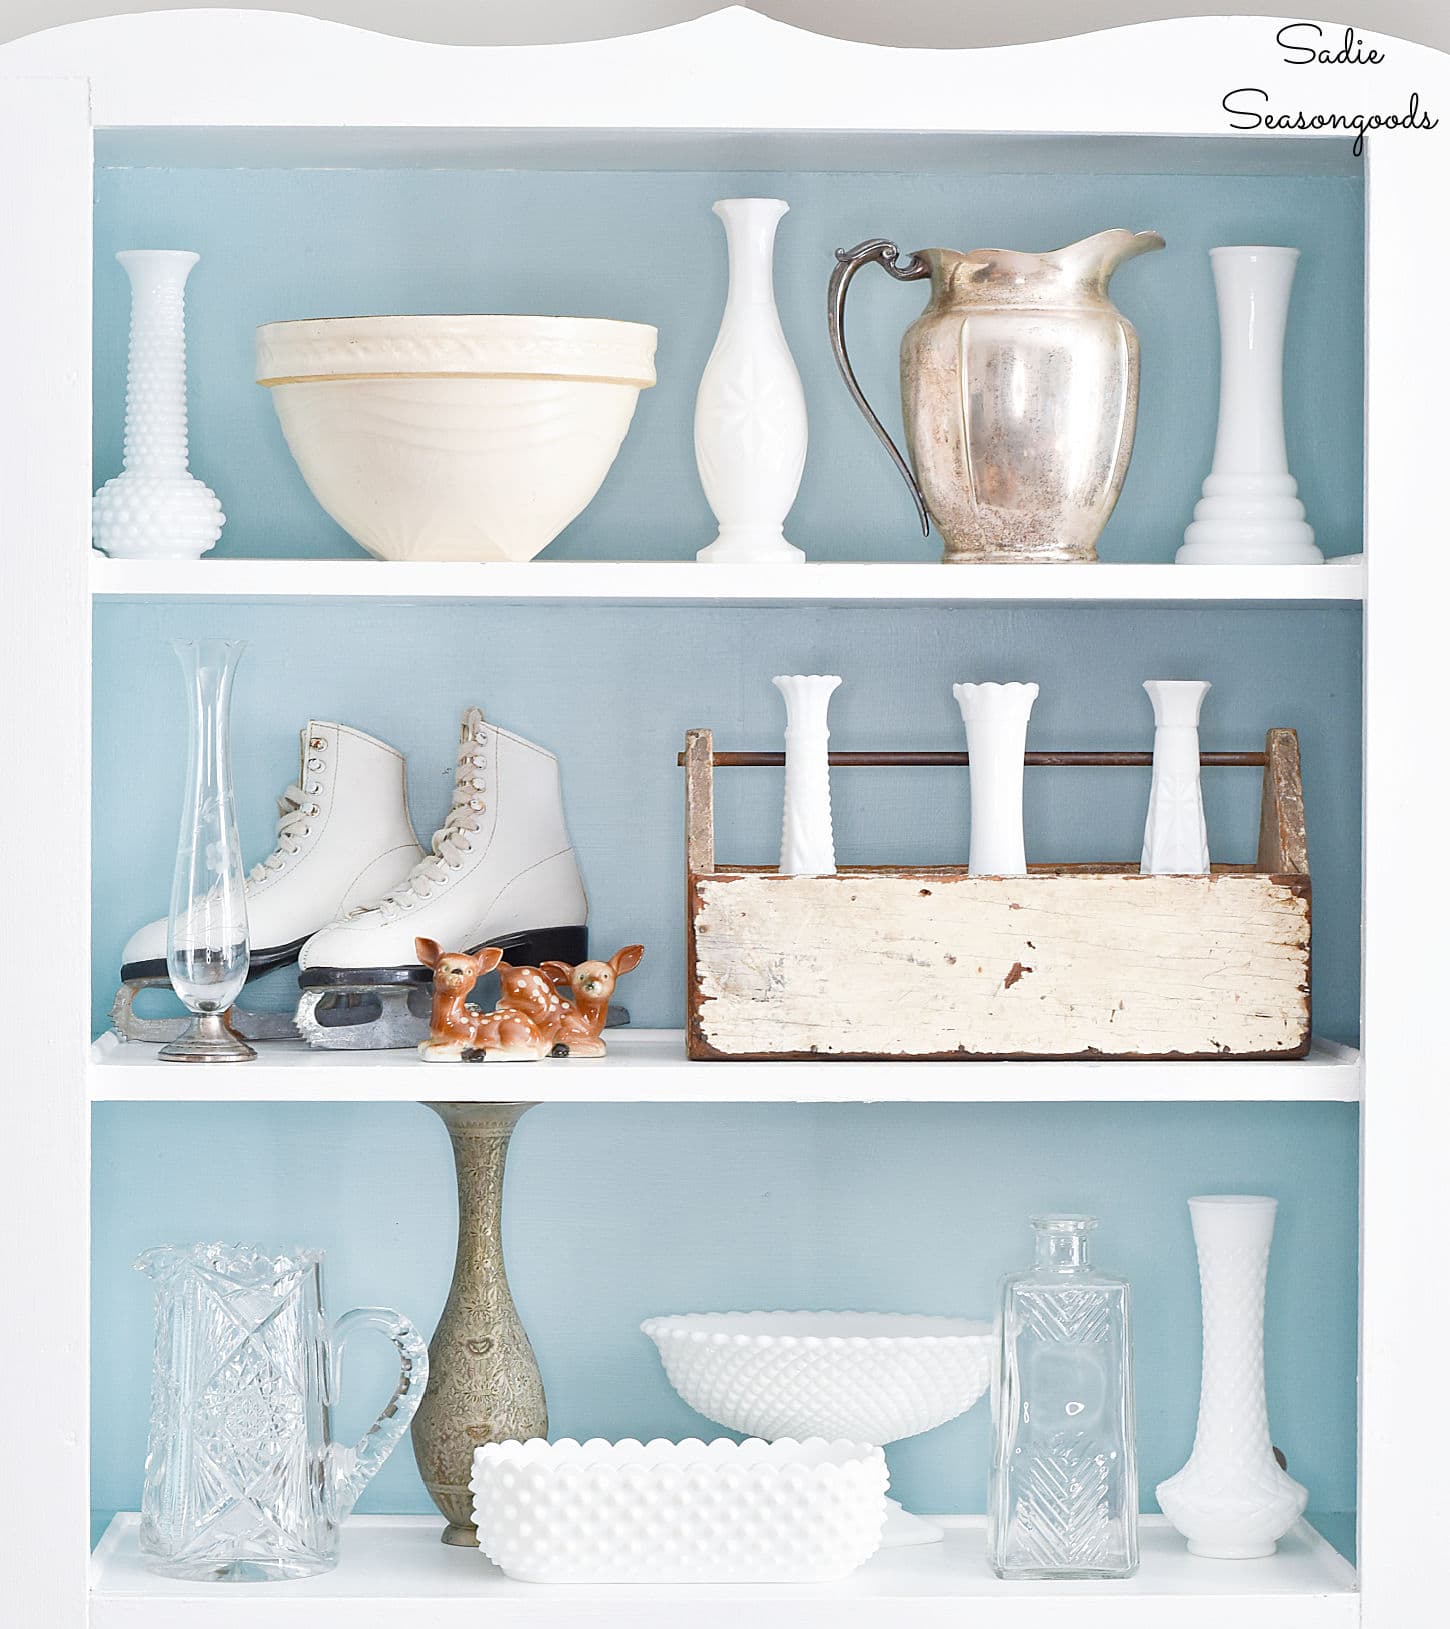
Looking for more winter decorating ideas? Perhaps my hutch display of thrifted treasures will inspire you!
Craft on!
S
Want to be notified when I publish my next upcycling project tutorial?
Join me on Social Media:
PIN ME!
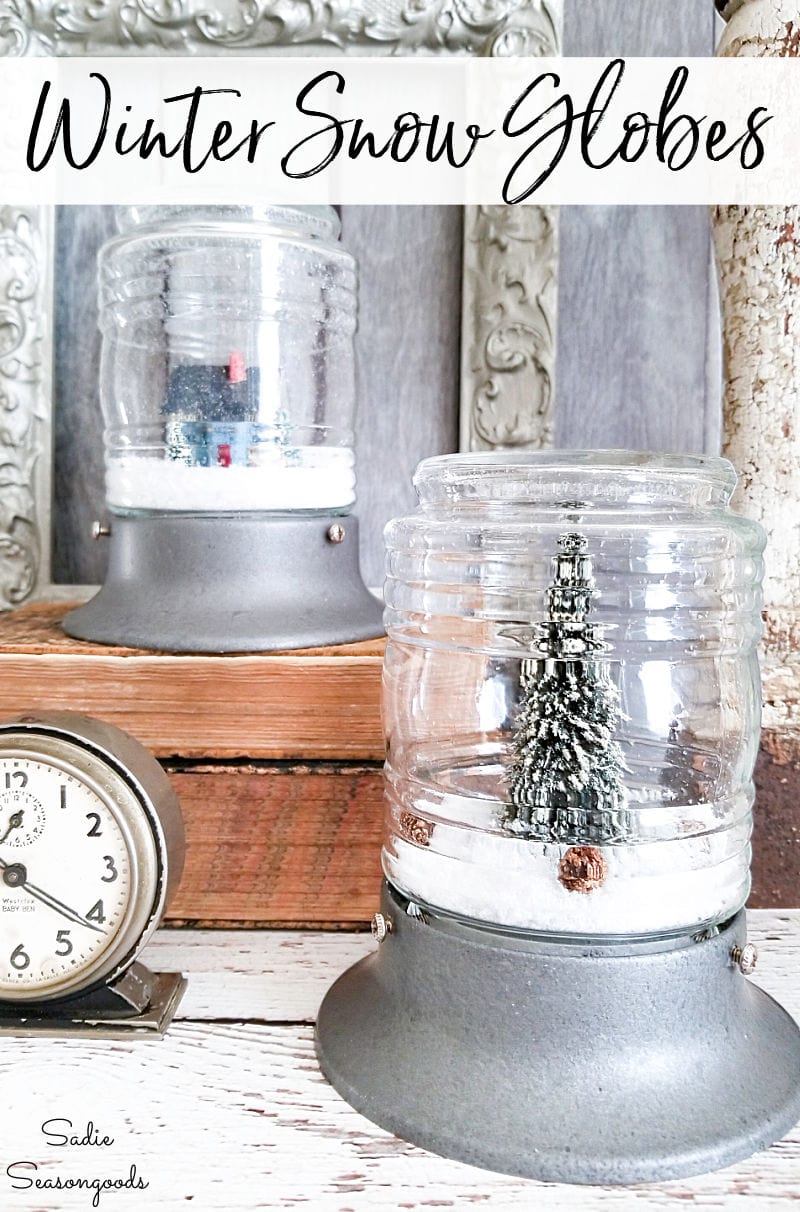
Image credit: Sadie Seasongoods.
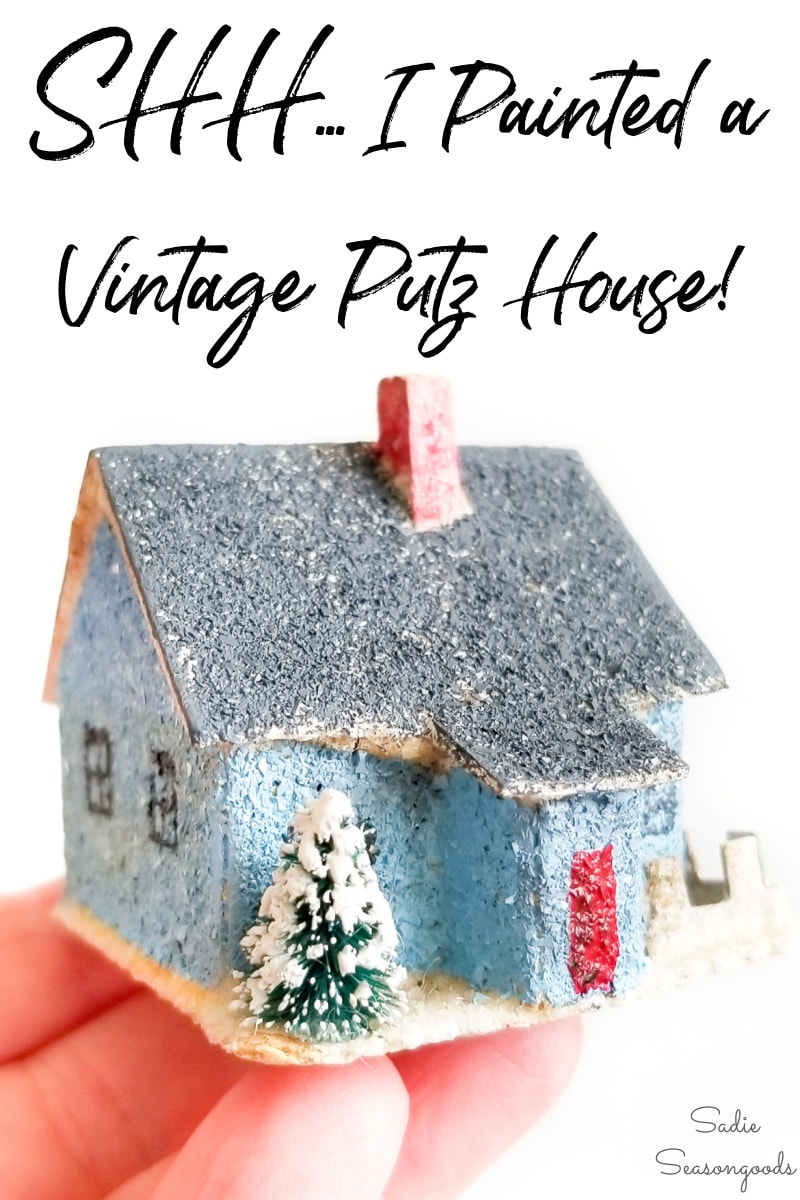
Image credit: Sadie Seasongoods.
Sarah Ramberg is the owner of Sadie Seasongoods, a website that celebrates all things secondhand. From upcycling ideas and thrifted decor to vintage-centric travel itineraries, Sadie Seasongoods is a one-stop shop for anyone who loves thrifting and approachable repurposing ideas. Sarah is also the author of “Crafting with Flannel” and has been featured in numerous media outlets and magazines.





Way cute! And I like the house repainted…much, much better. Great upcycle!
Thank you!!
So cute, Sarah!
Thank you, Karen- Happy Holidays!
What a great idea!! Love it!!
Hugs,
Debbie
Thank you so much, Debbie!
Love this idea!!!
Thanks, Jan!
What a great project idea…. thank you for sharing.
Thank you, Grace!
These are great you could even make spring ones. You are so talented. I love all the different seasons you can do them for.
Definitely! But I already made Spring versions (in jars, but same concept): https://www.sadieseasongoods.com/vintage-spring-jars/
You are just so clever. What a cute idea!
Thank you, Debra!
These “snow globes” are ADORABLE!!! Thank you so much for sharing your talent!!!
Merry Christmas to you and yours!
Thank you so much, Jackie!
Those came out so much cuter than I ever would have guessed an old light fixture could look! Beautiful! And I like that they are “winter” and can stay out into the post Christmas months.
Thank you so much, Becky!!
Absolutely wonderful!
Thanks, Robyn!!
A great repurpose..you have a lot of imagination. Merry Christmas.
Thank you! Happy Holidays to you, too, Rita!
Okay, how many times can you stand to see “cute”??? Sosososo CUTE! Go girl!
I’ll take as many as you can throw at me, Mary!! 🙂
I love the look of these two. They look very serene and homy and I just love looking at them. Great project. I guess when someone says “snow globes” they use the clear Christmas globes, but I like this idea better…….Thank you for sharing……
Thank you so much, Rosalinda!! They’re very peaceful indeed.
Yep, I forgave you when I saw how cute the house was painted! Gotta check out my local Restore! They have lots of light fixtures! I love all winter decor, too! Scored a bunch of bottle brush trees at Joanne’s for 70% off–hurrah! Full price hurts my Scotch-Irish-Polish sense of thrift! Merry Christmas!
These are flippin’ fantastic. So cute, very awesome.
Thank you so very much!
I had no doubt that they would work! You are very creative with anything you get your hands onto. They both turned out super cute! I never would of thought of using those for a snow globe.
Thank you, Linda!
this is genius!! l collect gumball machines to make snowglobes but these are awesome!!
Awwwwww Sarah, that’s so cool. Love how they turned out
Thank you!!
What a adorable idea! Love it.
Thank you, Maria!
Thanks, Maria!
What a cute idea! Love the new colors of the house.