Craft paper storage for my vintage ephemera (i.e., old paper stuff like labels) was not high on my list of “priority projects”. But, I spotted a vintage photo album at the thrift store the other day, and, well, fate had another plan in mind. It just seemed ideal to be upcycled into a DIY paper organizer!
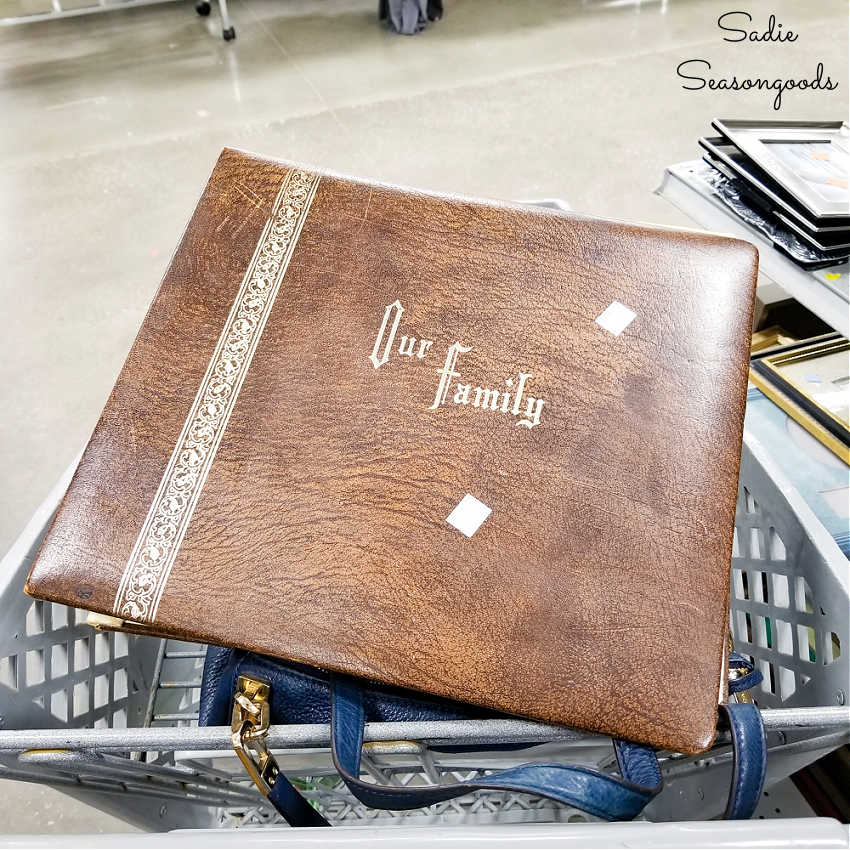
It was heavy and in terrific condition, but it was the photo pages that really sold me!
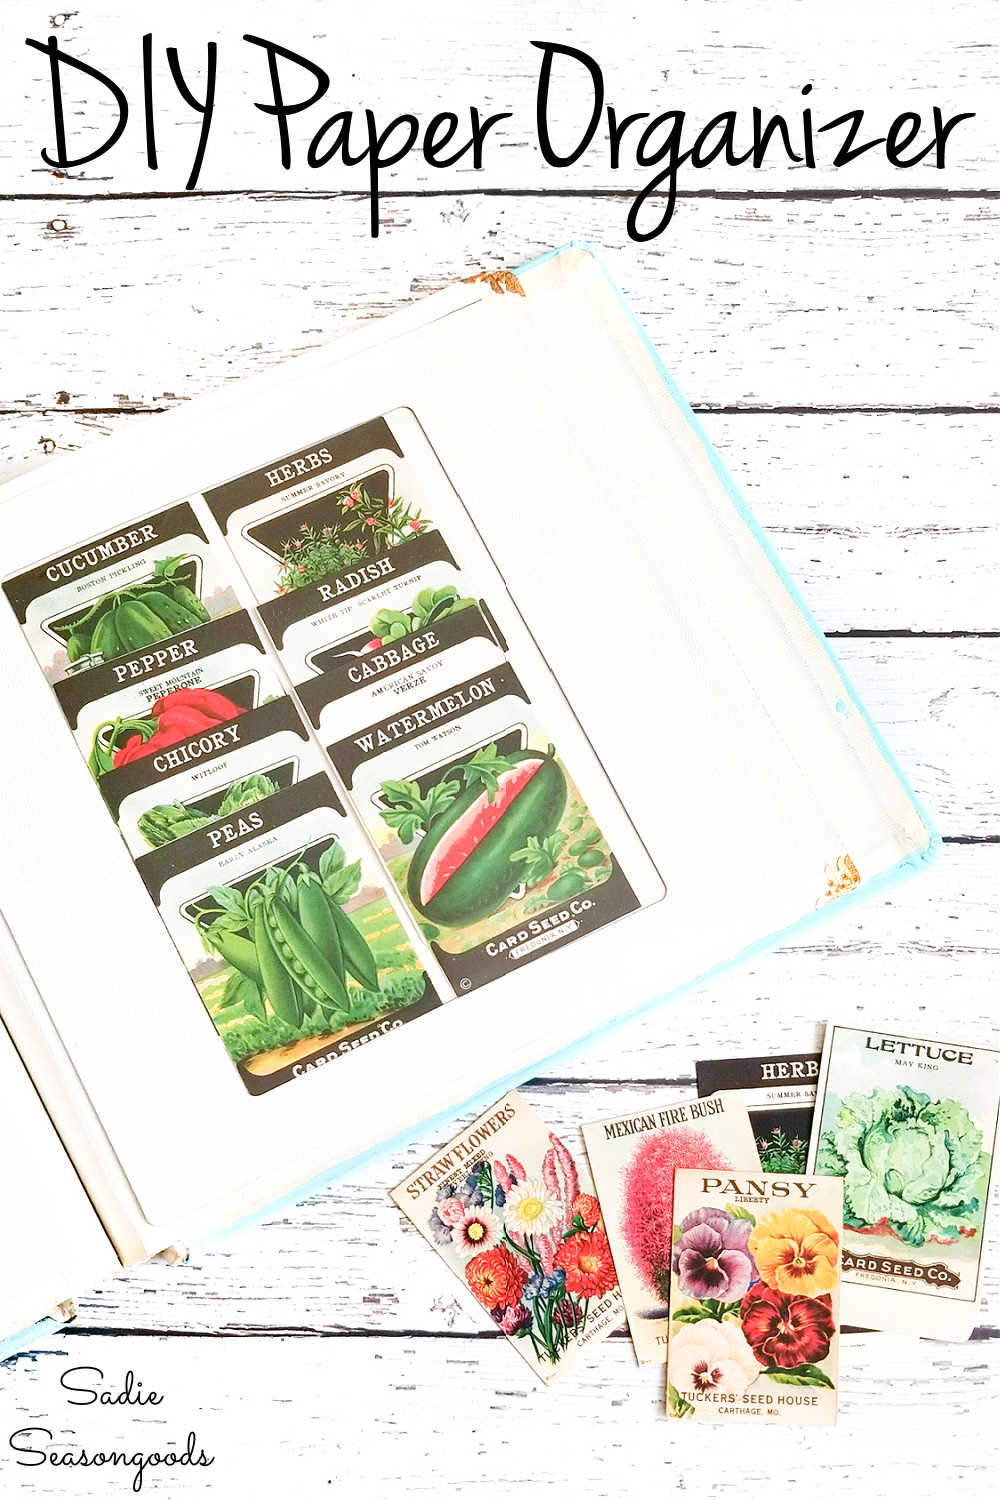
Instead of sticky pages covered in plastic film, this old photo album had heavy duty pockets with large cellophane windows.
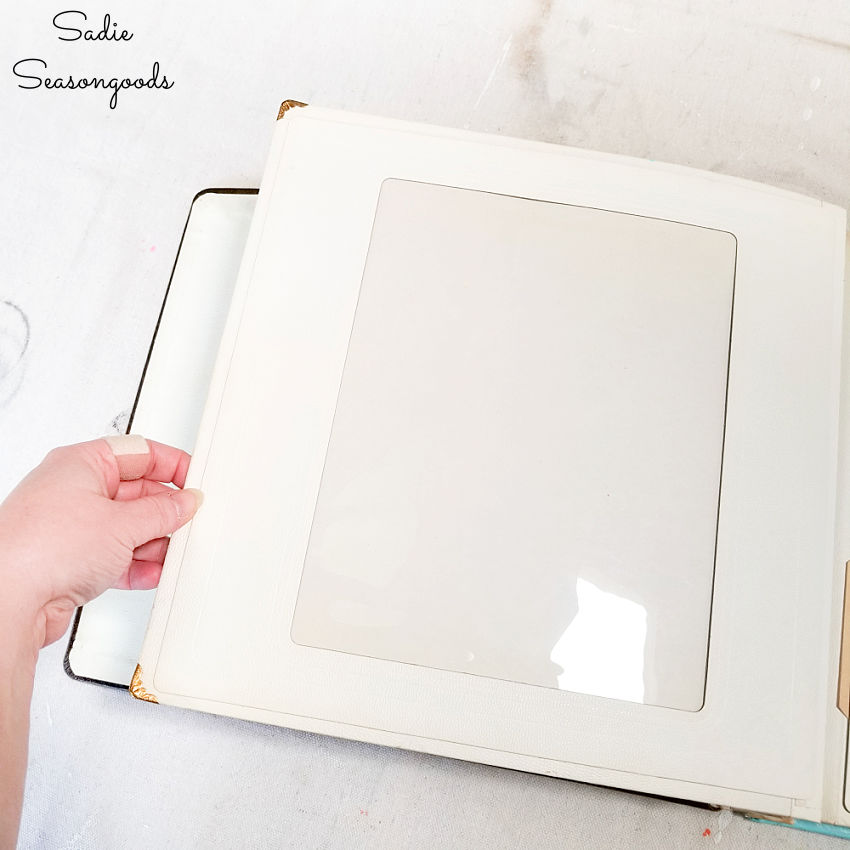
And I thought, “Gosh…this would be FABULOUS for my collection of paper ephemera. Vintage seed packets, labels, old greeting cards, etc.”.
Plus, it had these great Baby Book-type pages up front for filling out family information.
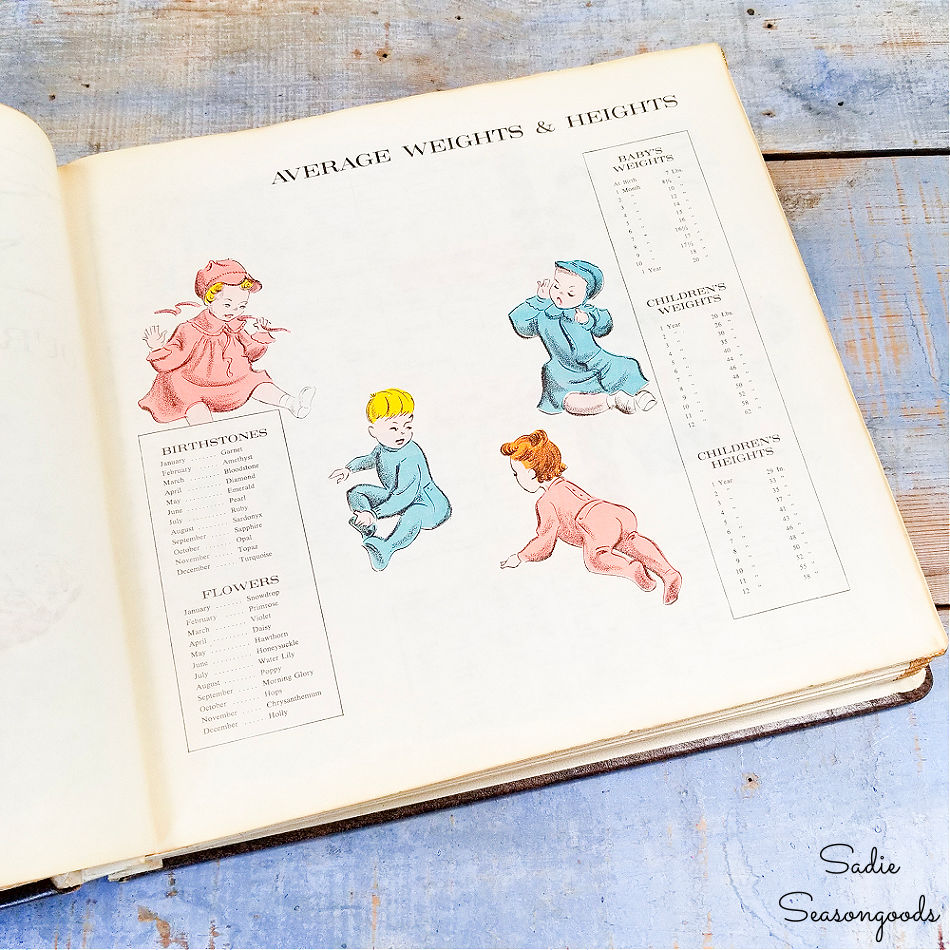
Aren’t those graphics and information on the pages wonderful?
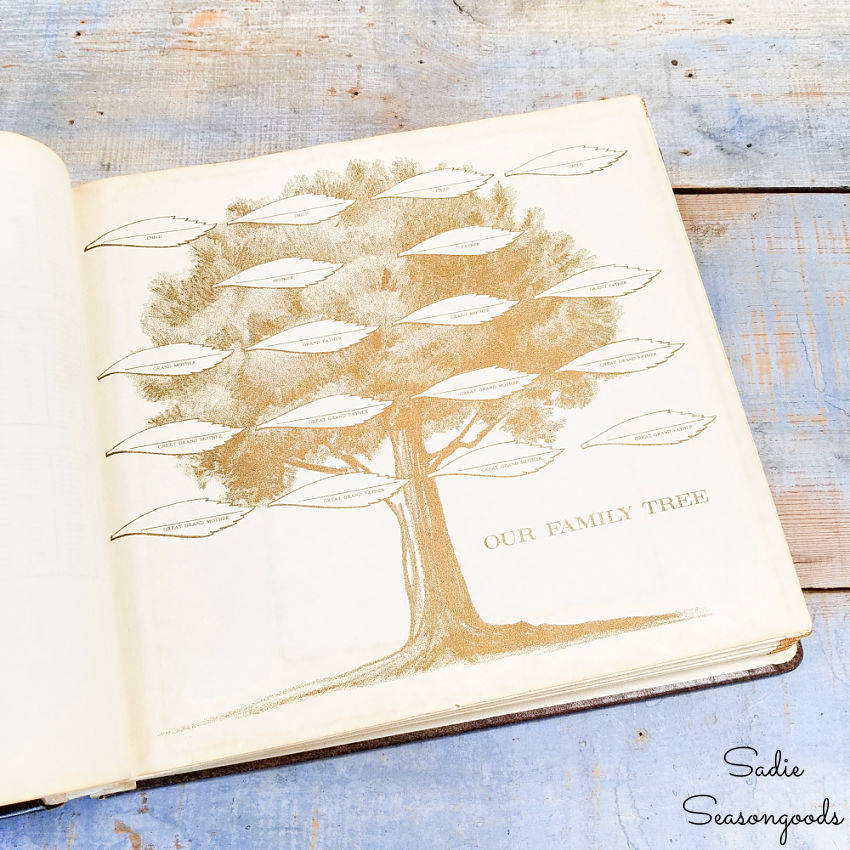
I was smitten! So, I placed it in my cart and brought it home to upcycle into a craft paper organizer or scrapbook organizer!
This post contains affiliate links for your crafting convenience. As an Amazon Affiliate, I earn from qualifying purchases. All blue, bold, and underlined text is a clickable link, either to a product or to a related post.
Craft Paper Storage for Vintage Ephemera
Of course, I could have just brought home the photo album, removed the price tags, and start organizing my craft paper supplies right away. But what’s the fun in that?
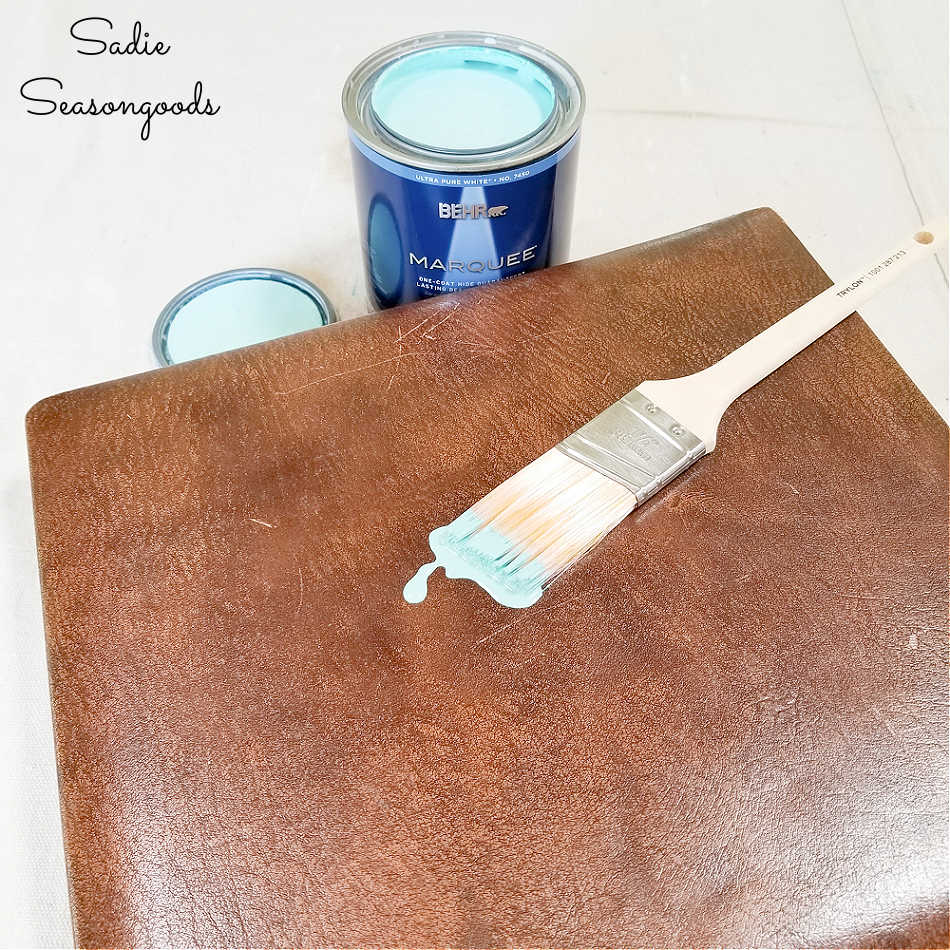
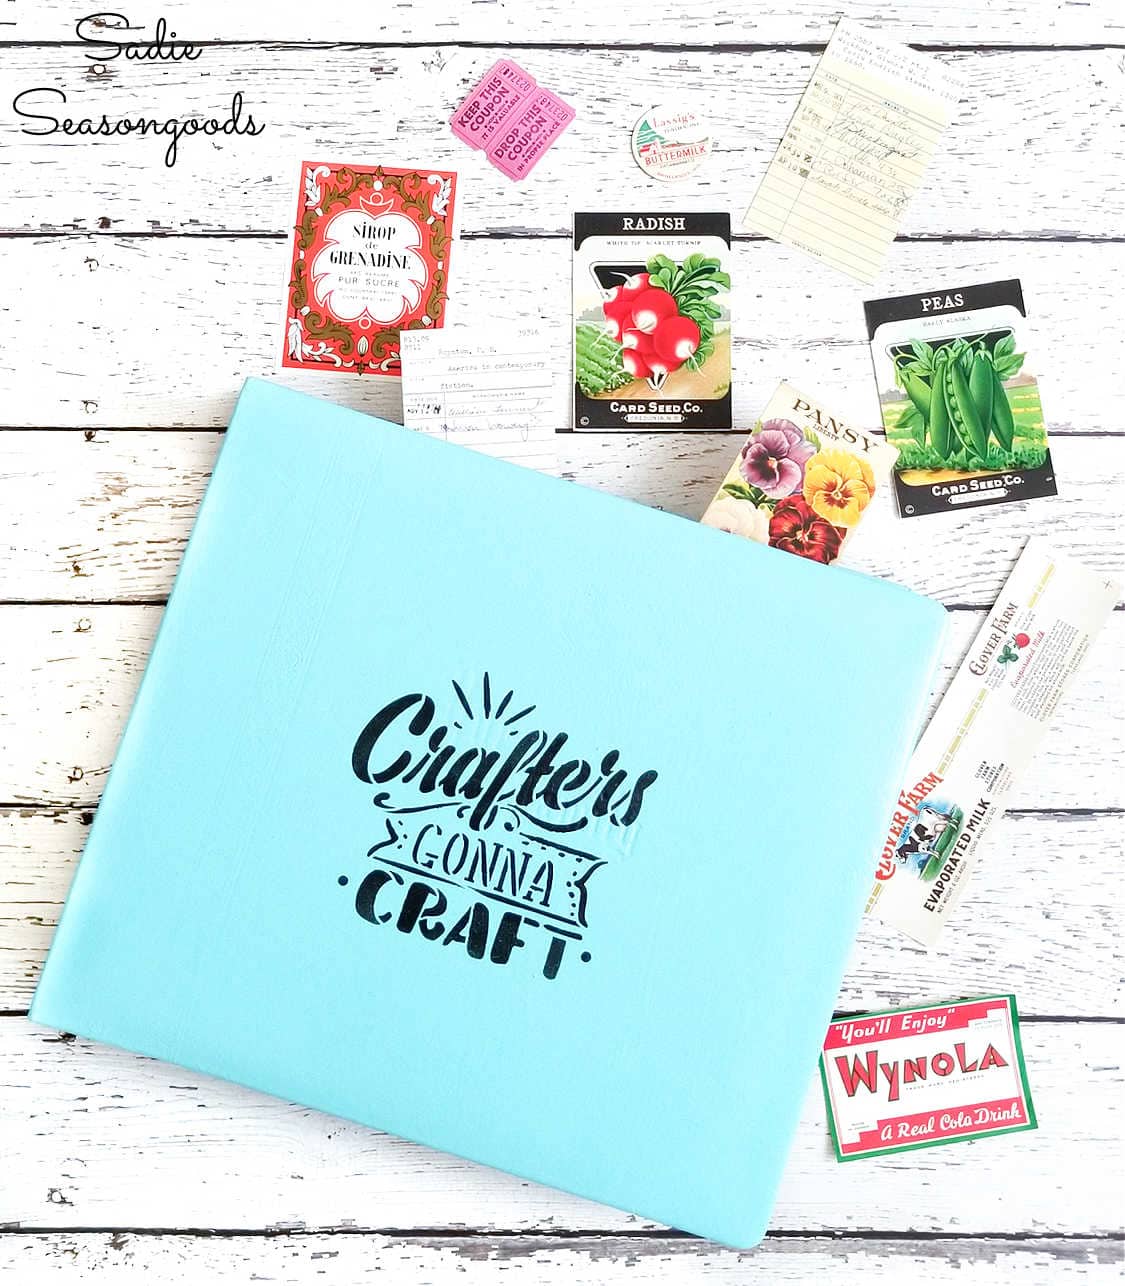
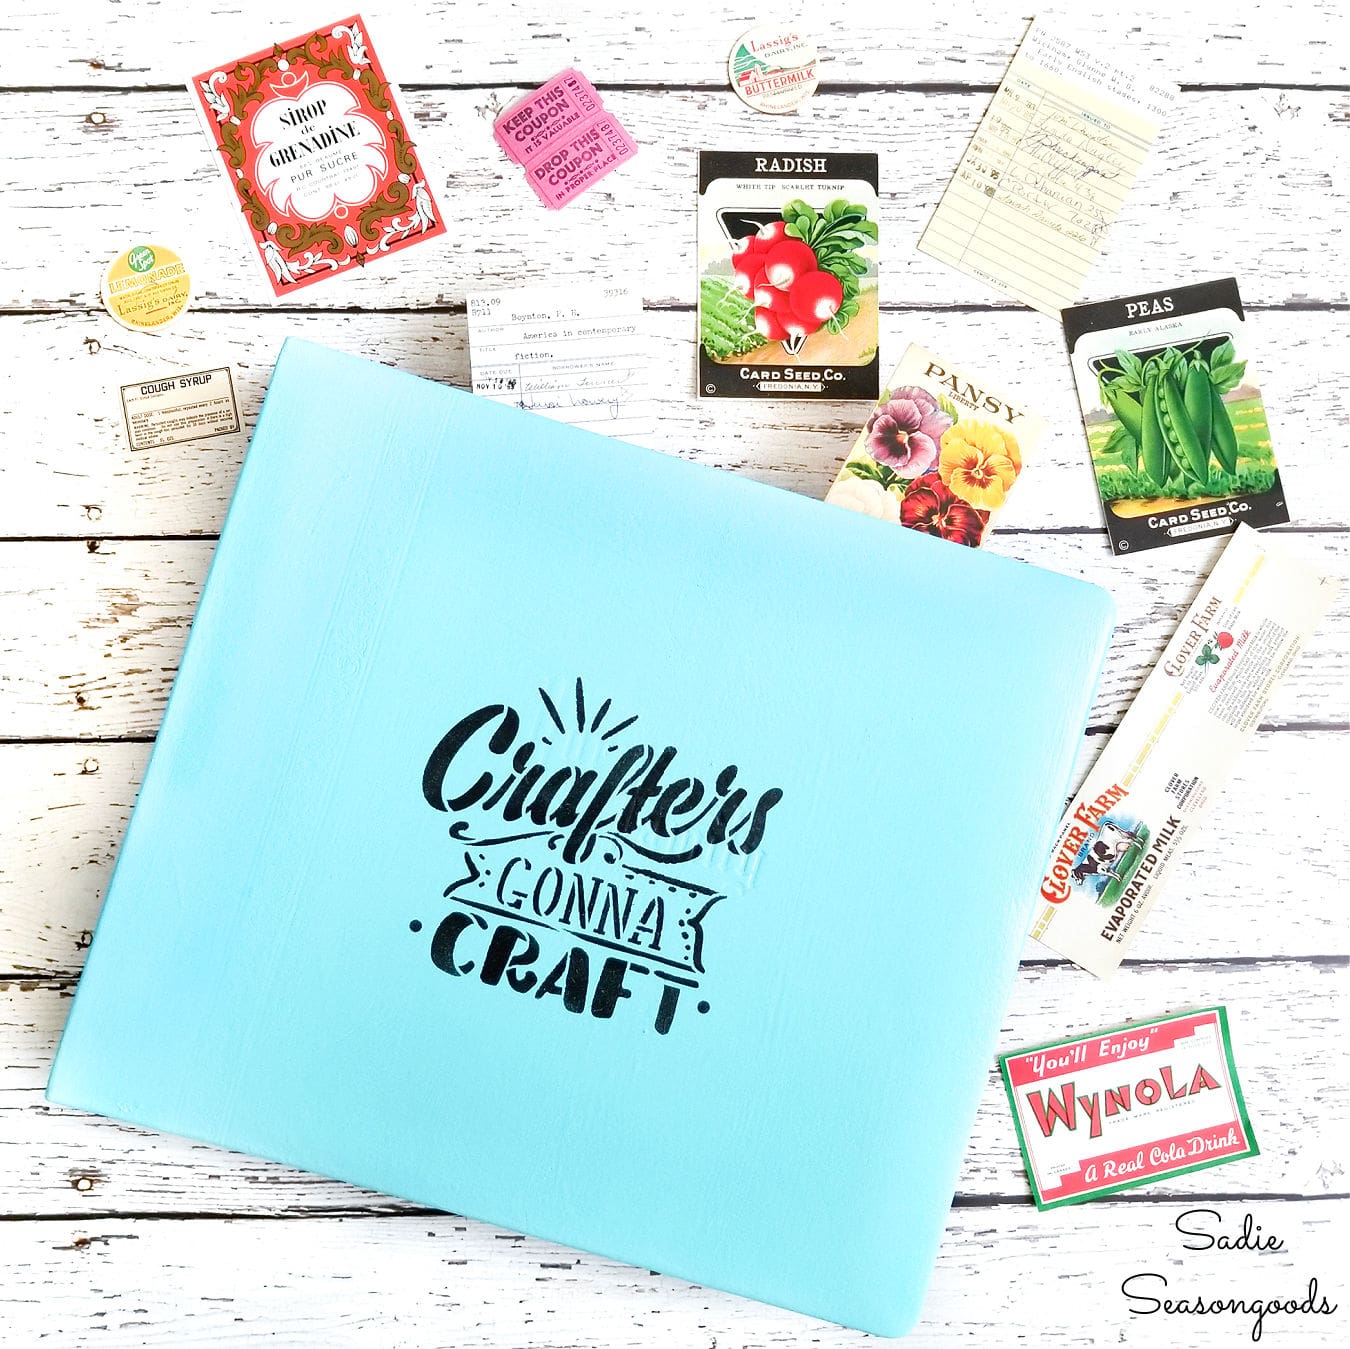
Instead, I grabbed some bright aqua paint, a brush, and began to give it a makeover.
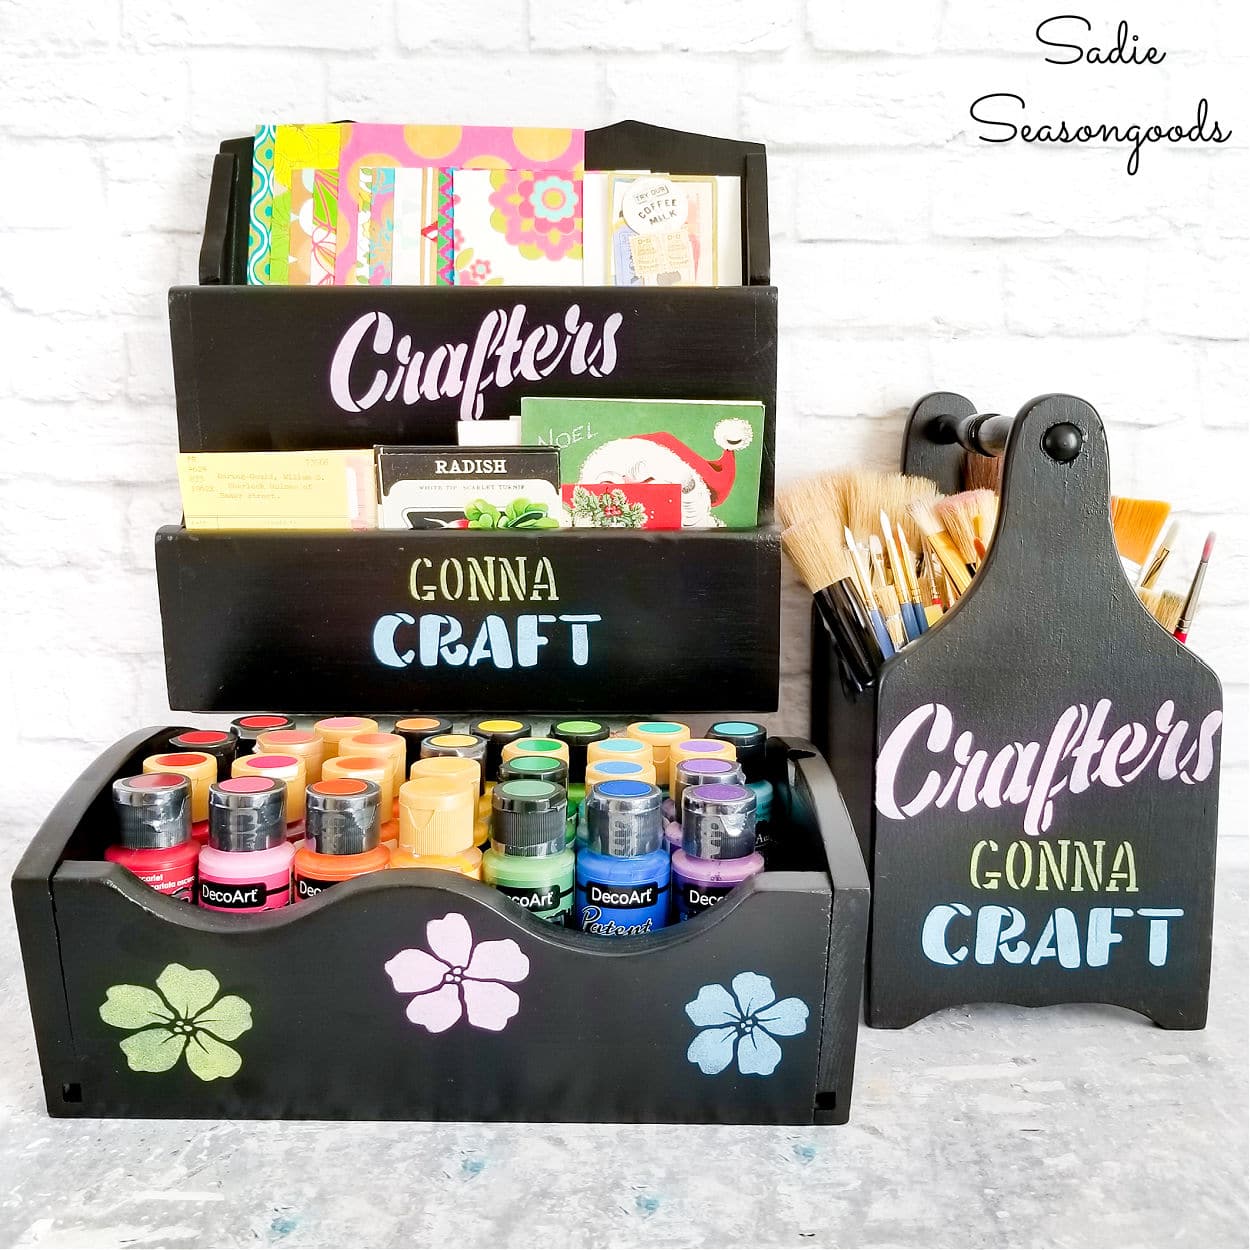
Because I had already started stenciling some craft supply organizers earlier this year, I used the same stencil so that it coordinated nicely.
Next, I centered the stencil on the vintage photo album, and used painter’s tape to hold it in place.
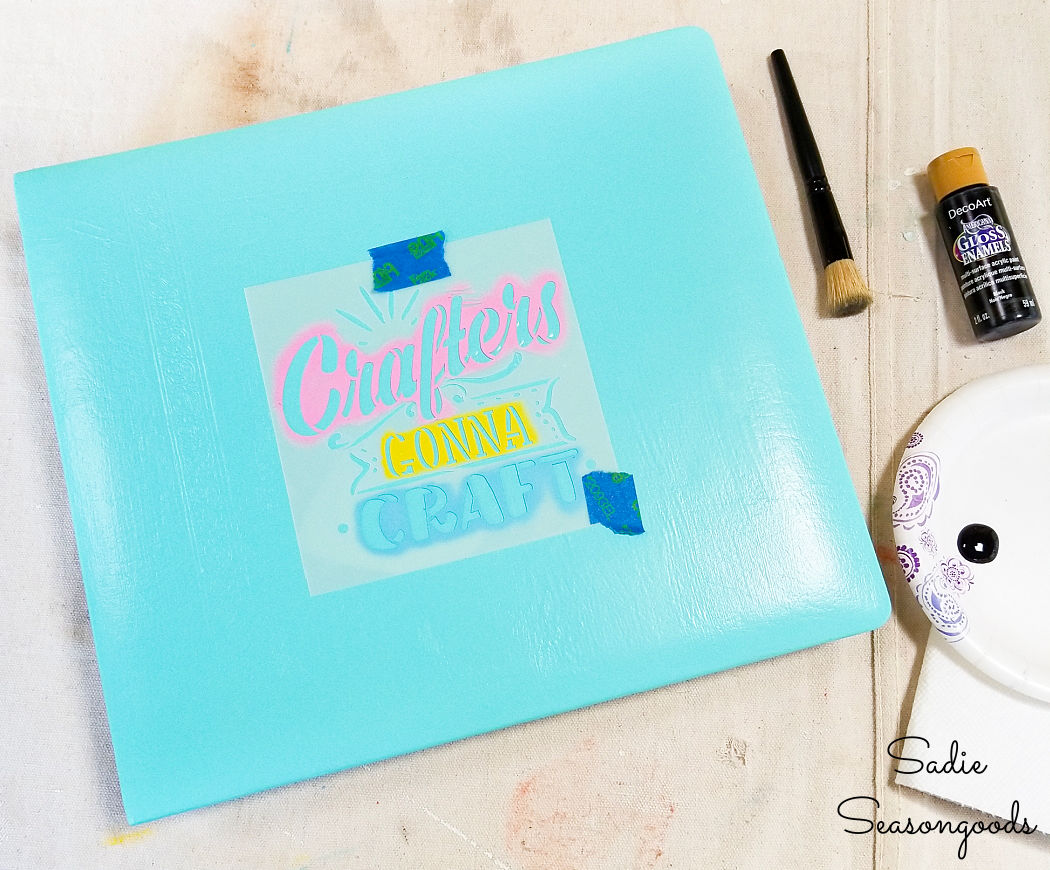
And yes, I do *some* stencil cleaning after a project, but I don’t spend a lot of time on it or worry about removing every last bit.
To keep it clean and simple, I used black craft paint (and my stencil brushes from this online shop) to decorate my DIY paper organizer!
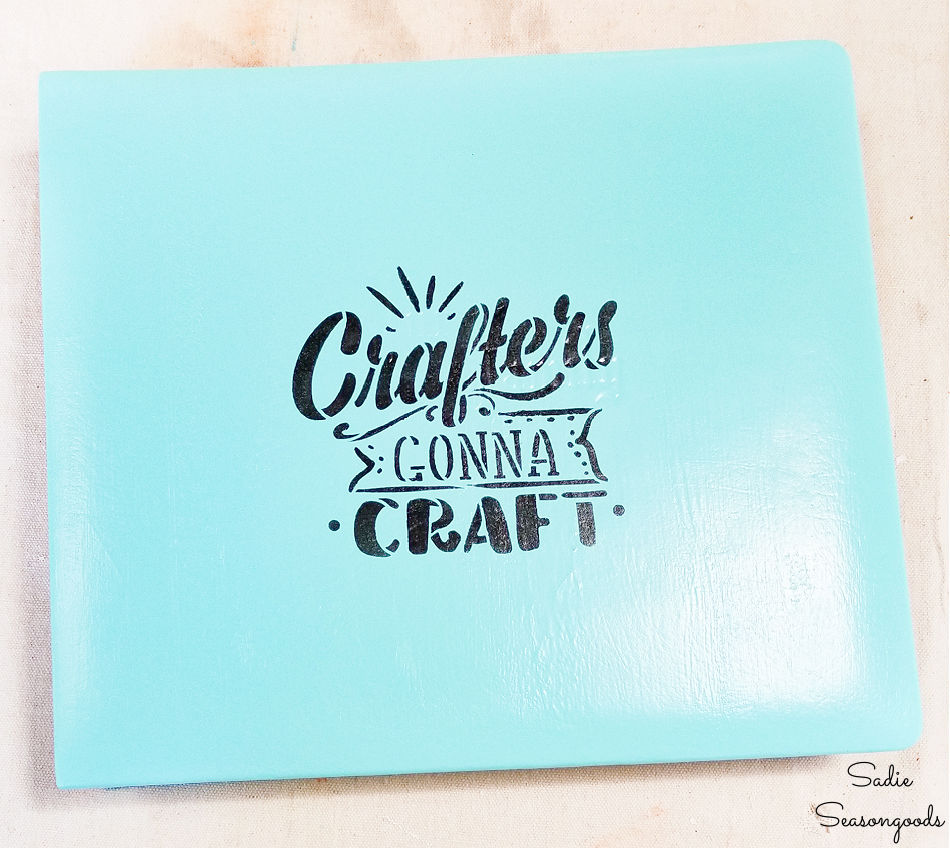
Lastly, I spritzed on a light topcoat. I made sure to hit it directly from above so that none of the spray got on the sides or pages. And that was it- my upcycling idea for craft paper storage was complete.
Craft Paper Storage in a Vintage Photo Album
Now it was time to fill each pocket with my vintage ephemera and other scrapbooking supplies.
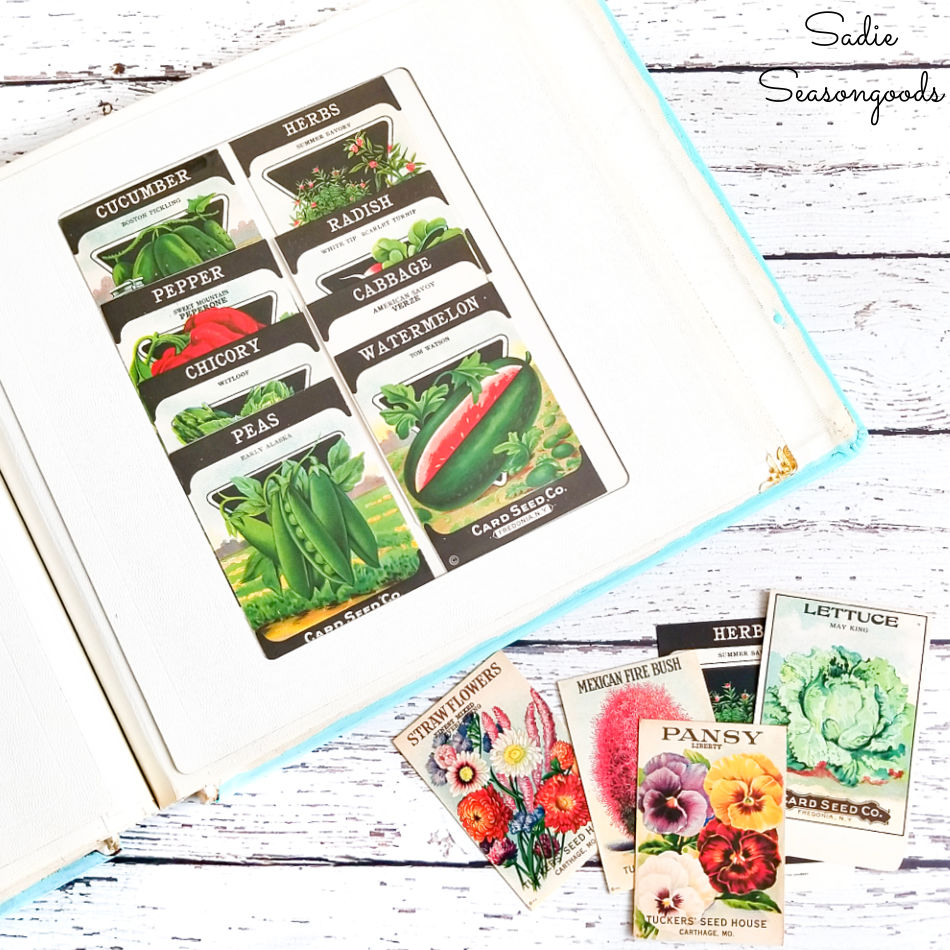
Something that I plan to do but hadn’t finished by the time this blog post was published was add labels. Once I’ve organized my paper ephemera into the vintage photo album, I’ll create labels for each page to keep things more organized.
This vintage photo album is seriously a game changer for my scrapbooking supplies! It’ll keep everything flat and away from sunlight, AND I can see everything through the cellophane pockets.
No more digging through a box or bin!
Curious where I find much of my vintage paper supplies? Check out Crafty Lisa’s Vintage on Instagram – she’s my main supplier!
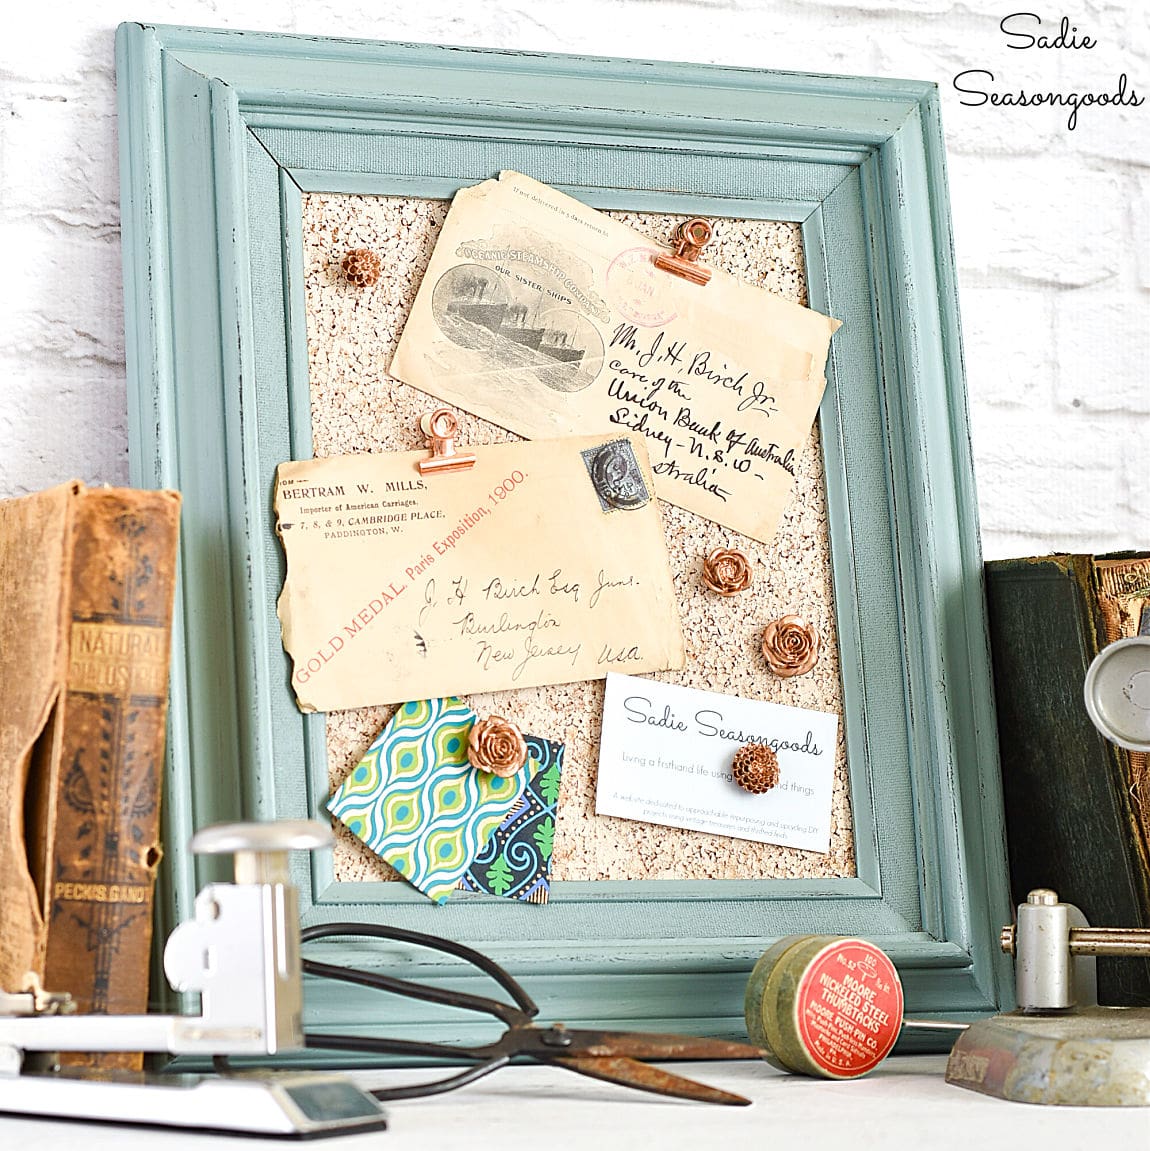
If you enjoyed this upcycling idea for organizing craft supplies, then you’ll love my DIY cork board or framed cork board, too!
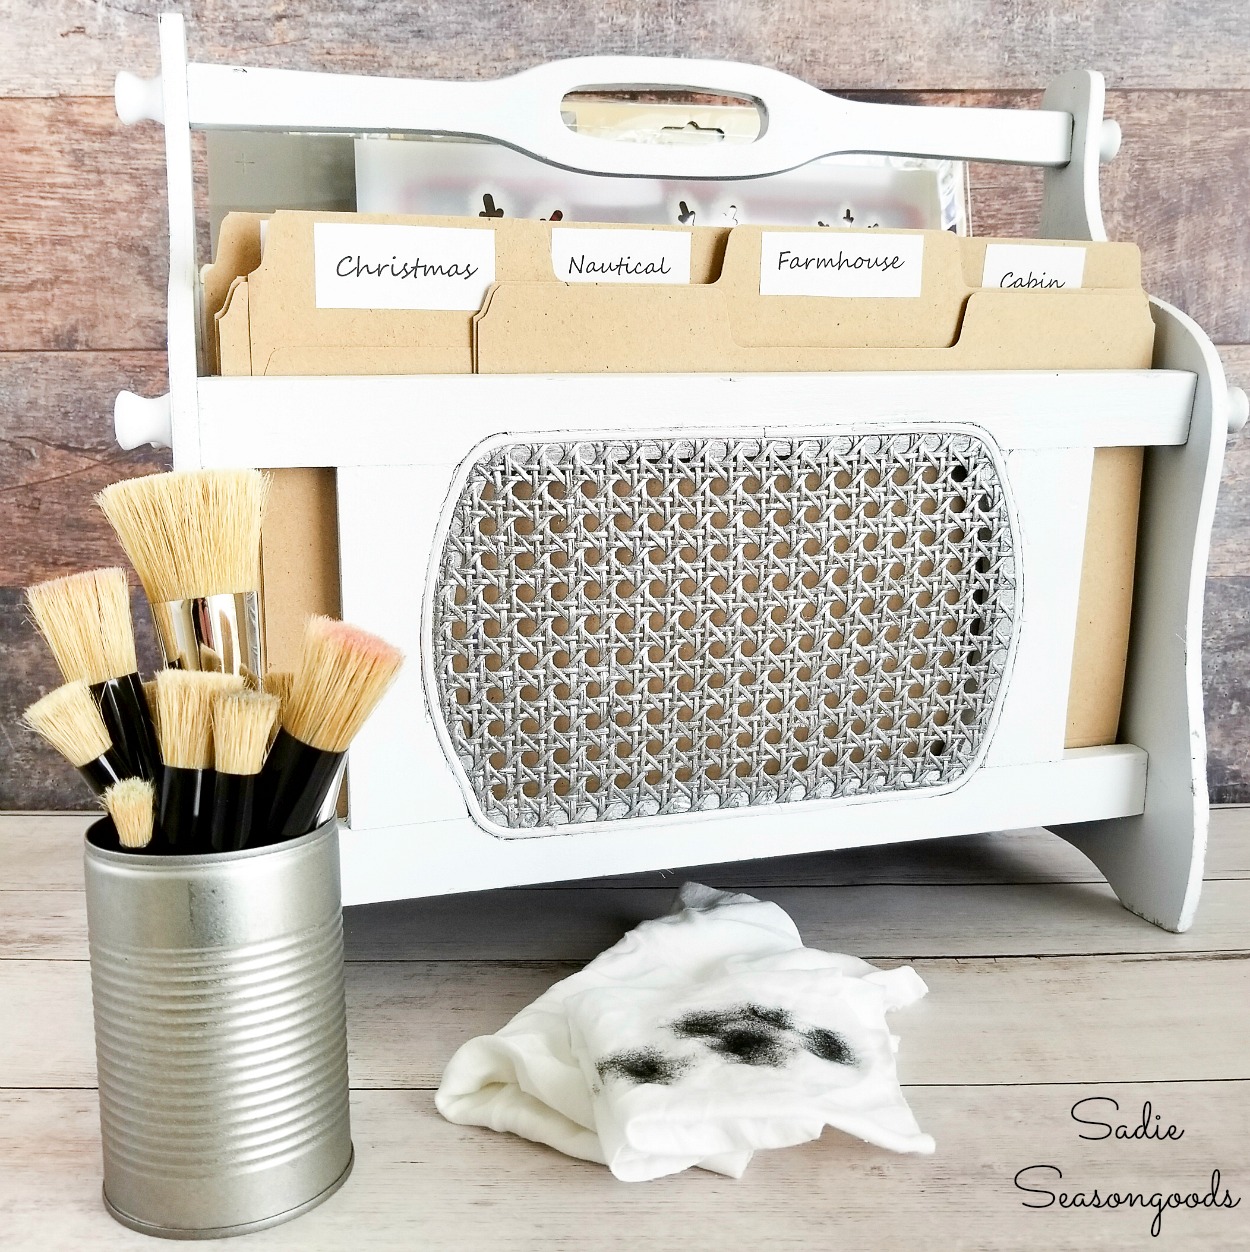
And for stencil storage? Check out what I upcycled for that, as well!
Craft on!
S
Want to be notified when I publish my next upcycling project tutorial?
Join me on Social Media:
PIN ME!
Sarah Ramberg is the owner of Sadie Seasongoods, a website that celebrates all things secondhand. From upcycling ideas and thrifted decor to vintage-centric travel itineraries, Sadie Seasongoods is a one-stop shop for anyone who loves thrifting and approachable repurposing ideas. Sarah is also the author of “Crafting with Flannel” and has been featured in numerous media outlets and magazines.





Such a neat idea and i love color!
Thank you, Lori!
This is great! I keep most of my little bits – stitckers, paper cuts, & such – in a large 3 ring binder. I use the different sized pocketed inserts to keep things divided up. Of course they do need some beautifying on the outside still! ; )
Yes!!! Also a great idea, Kristie!
Great project! As a rubber stamper, I have used GW $1 notebook binders with acetate papers and photo pages (5 pockets on a page) to store my flat rubber stamps and embellishments. Organization is such a good thing. Unfortunately, I bet you thought of umpteem projects while you were organizing these, didn’t you?!?!
Ha!! Other way around, more like it- I’m working on another project with some of my paper goodies and realized how unorganized they were!
Oh my goodness! What a great idea, it turned out great!
Tania
Thank you so much, Tania!
Another great idea!
Thank you, Jane!
I love this!
Thanks, lady! You can never have too much organization, right?
WoW! I’m sooooo excited to do this project! I am behind on projects, (spring plants/salsa garden) so I pinned, made notes, put all supplies in a project basket. Labeled so i know exactly what i want to do. Thank you for sharing and giving so much detail. Love your ideas, creativity and truly inspiring!
Thanks, Angie!
Love that color. I try to stay organized but sometimes labeling a box is the best I can do. ha ha
I understand 100%!!!
I LOVE this! Such a great way to use old photo albums. And what a find! 🙂
Thank you, Christina!
Great idea!
Thanks, Ruth!
What a find, I don’t think I have ever seen one like this with the pocket pages. I never would of thought to paint and stencil to bring it up to date, and look so pretty!!
Thank you so much, Kaycee!
Love this AND its one of my fav colors!
Thank you, Debbie!
This seems so cool
What a great idea! Love the color and all your other craft room organizers.
Thanks, Linda!
This is a really great project. Where did you get that wonderful stencil?
Thanks, Lori! I got it from Stencil Revolution (there’s more info about that stencil in this post of mine: https://www.sadieseasongoods.com/utensil-caddy-paint-brush-holder/ )