Making my own jewelry has been a staple in my life for about as long as I’ve had motor skills. I’ve obviously graduated from the friendship pins and bracelets of childhood. But, this project is nearly just as simple, using some vintage handkerchiefs as the main ingredient.
This is another older project of mine that I am republishing. In fact, it was originally posted in January 2014, which was my first full month of blogging!
Which means that the photos were awful and the project deserved a fresh coat of paint, so-to-speak.
Anyway, one of my favorite Instagram sellers, Vintage Junk in My Trunk, sent me a handful of vintage handkerchiefs so I could make some new bracelets with them.
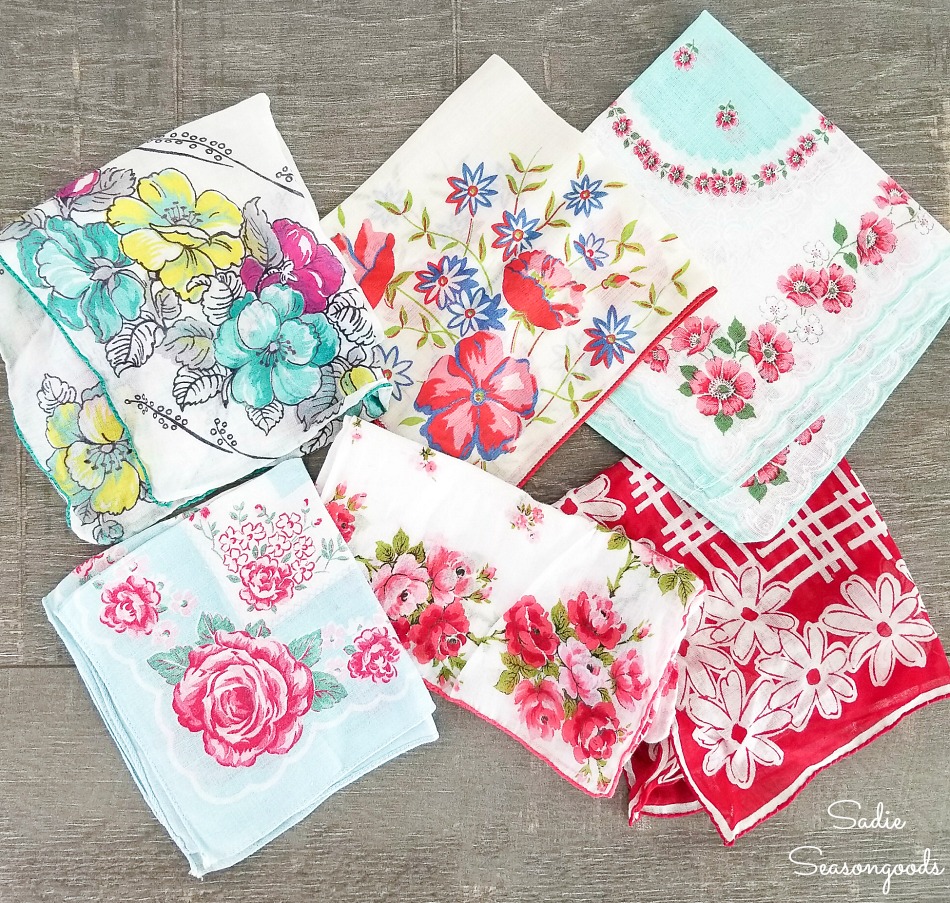
Image credit: Sadie Seasongoods.
One of the best parts of this project is that it’s a great way to repurpose the handkerchiefs that are damaged. Because, chances are, the flaws will disappear during the upcycling process!
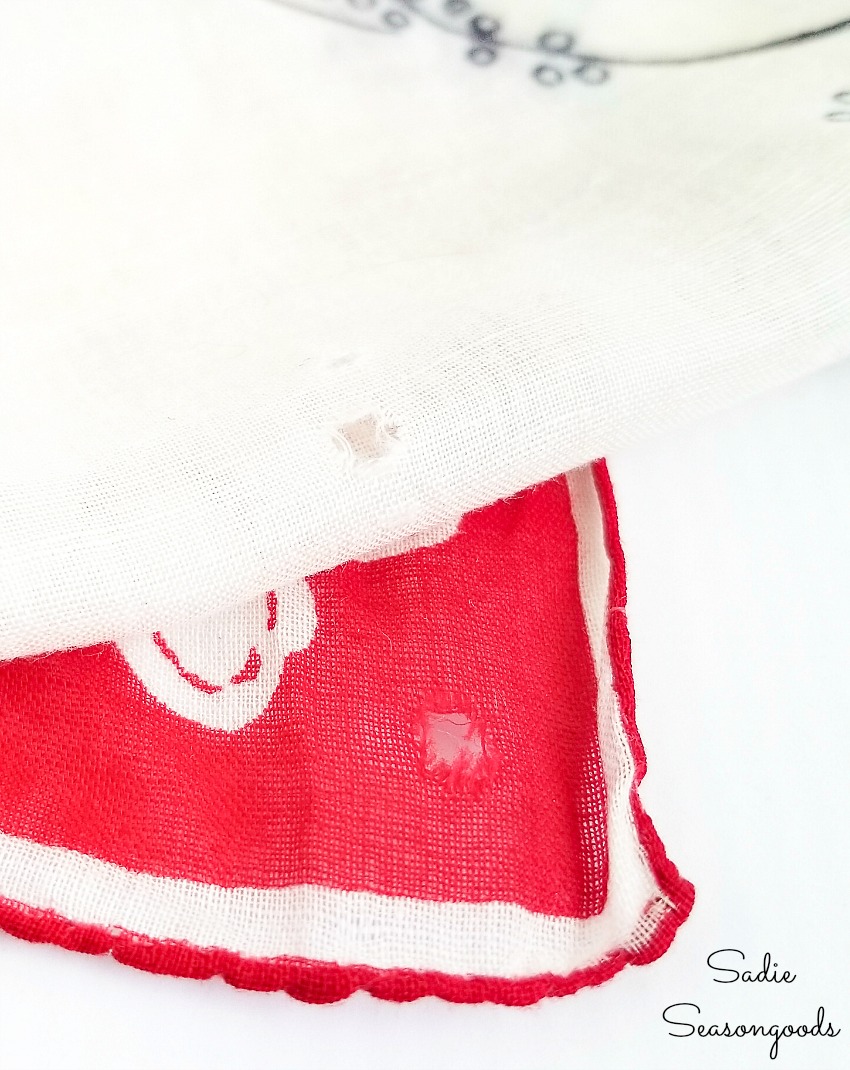
Image credit: Sadie Seasongoods.
Either way, this is a terrific idea for upcycling those hankies that you’ve been hanging onto for a while. You may recall that I re-worked a damaged scarf to make a jewelry project, too!
Anyway, here’s a simple little project to work on at home, which is something we can all relate to right now!
This post contains affiliate links for your crafting convenience. As an Amazon Affiliate, I earn from qualifying purchases. All blue, bold, and underlined text is a clickable link, either to a product or to a related post.
Prepping the Vintage Handkerchiefs for Jewelry Making
To start these simple bracelets, I first ironed the handkerchiefs. Then, I cut off one of the finished edges before cutting three strips of fabric, each strip about 1¼” – 1½” wide.
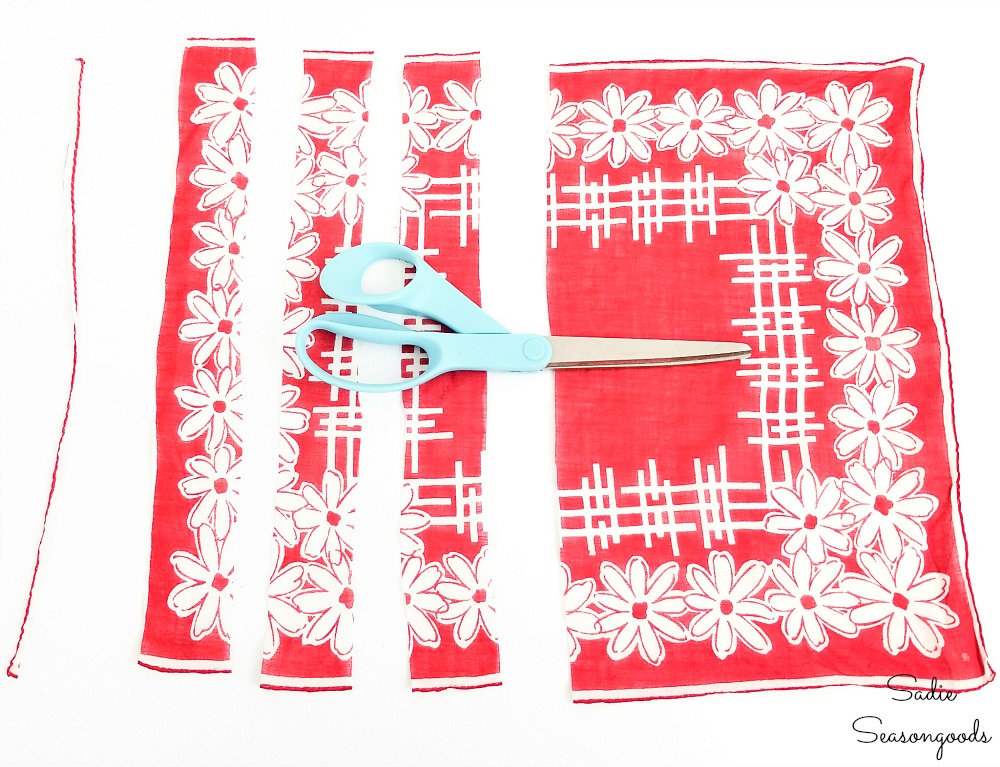
Image credit: Sadie Seasongoods.
Because I like a “shabby” look to these, I pulled the long edges of each strip to encourage some fraying.
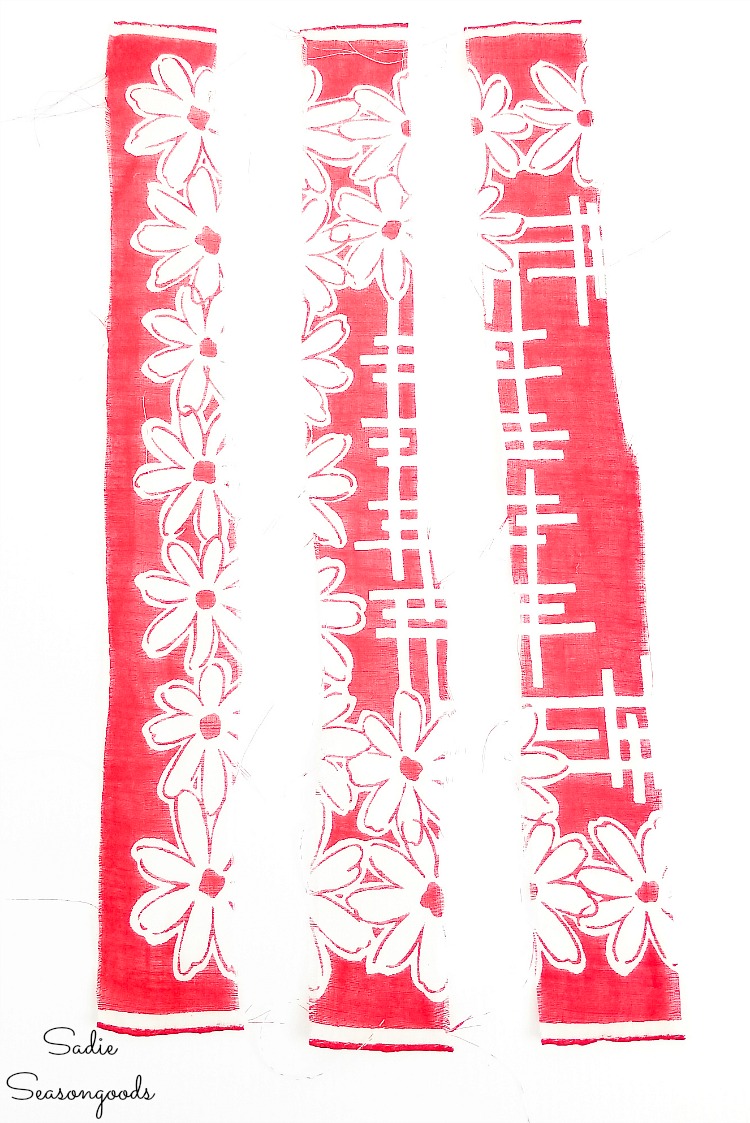
Image credit: Sadie Seasongoods.
To start the bracelet, I folded each strip in half (just at the top), and all three together. I pulled a needle and thread through the folds a few times before wrapping the thread tightly around the end.
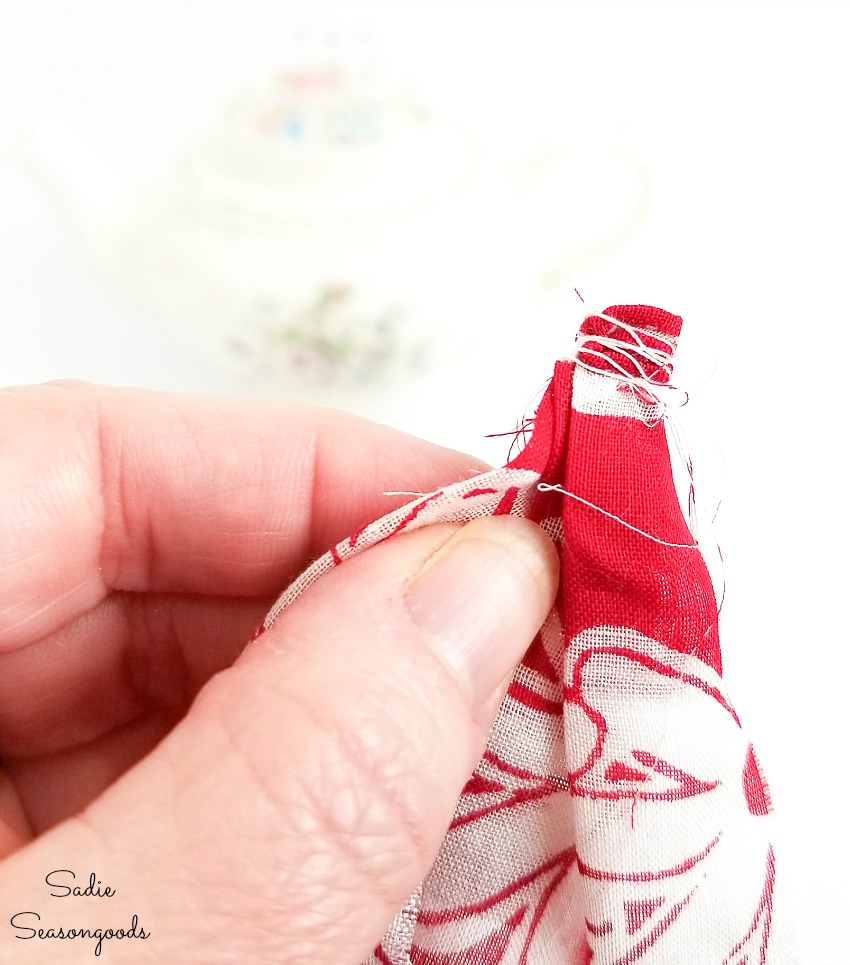
Image credit: Sadie Seasongoods.
Before I started braiding the strips of vintage handkerchiefs, I threaded my needle again before setting it aside. Trust me, do this now- you’ll thank me later!
Then, I began to braid the strips of fabric. Not too tightly, not too loosely- just an even, straight braid that didn’t bend or pull.
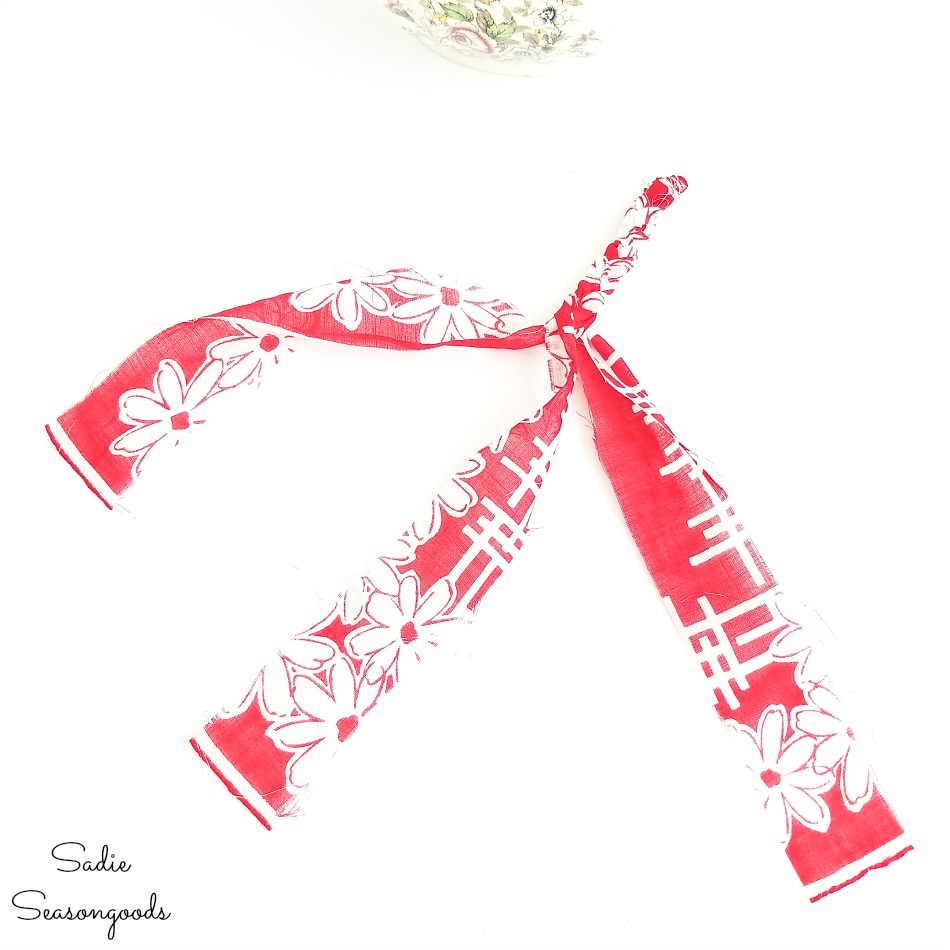
Image credit: Sadie Seasongoods.
Vintage Inspired Jewelry and Boho Bracelets
When I reached the end, I carefully checked the size of the braid to see if it was long enough to fit around my wrist. It was, so I stopped braiding just shy of the very end, but this will be different for everyone.
NOW that pre-threaded needle comes in handy! Otherwise, I would have had to set the braid down to thread the needle and it would have come undone a bit.
Anyway, just like at the beginning, I pinched the strips of handkerchief between my fingers and pulled the thread through a few times. I finished by wrapping it around the gathered fabric before knotting off.
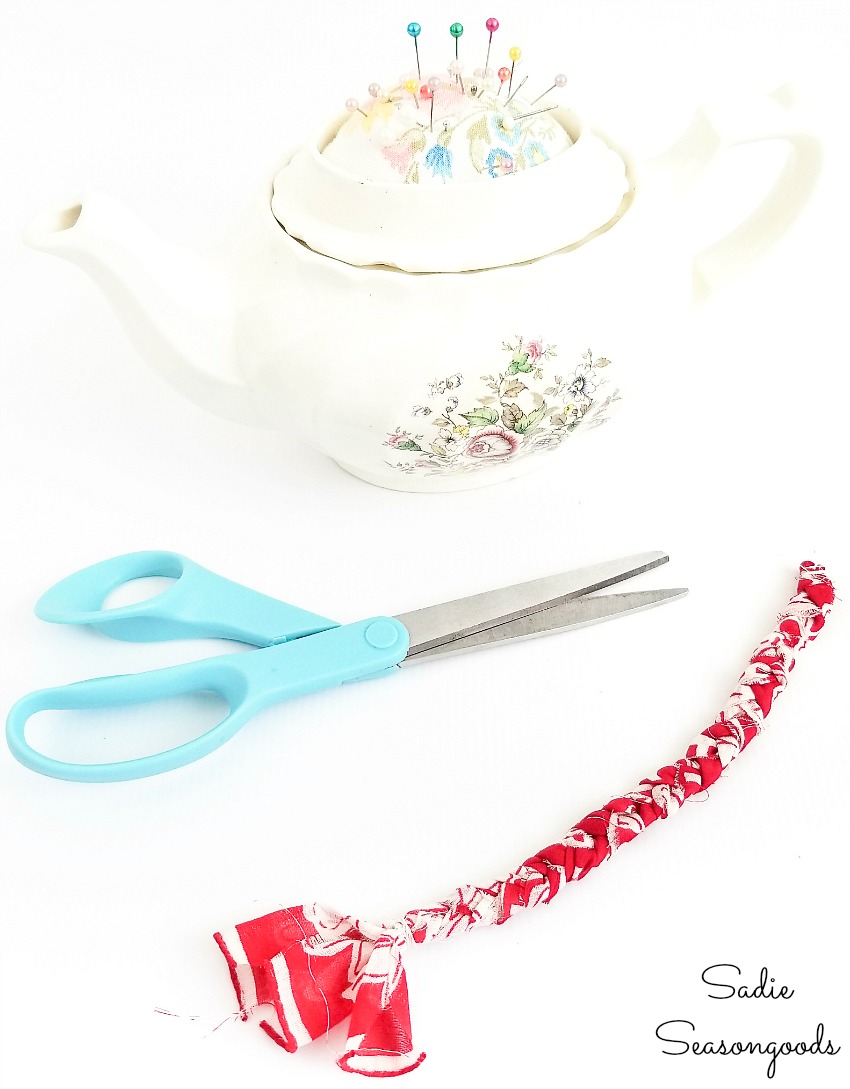
Image credit: Sadie Seasongoods.
And yes, that’s my teapot pincushion and sewing caddy in the background- I use it constantly!
Next, I trimmed off the ends of the strips just above the wrapped thread, taking care not to cut through the thread.
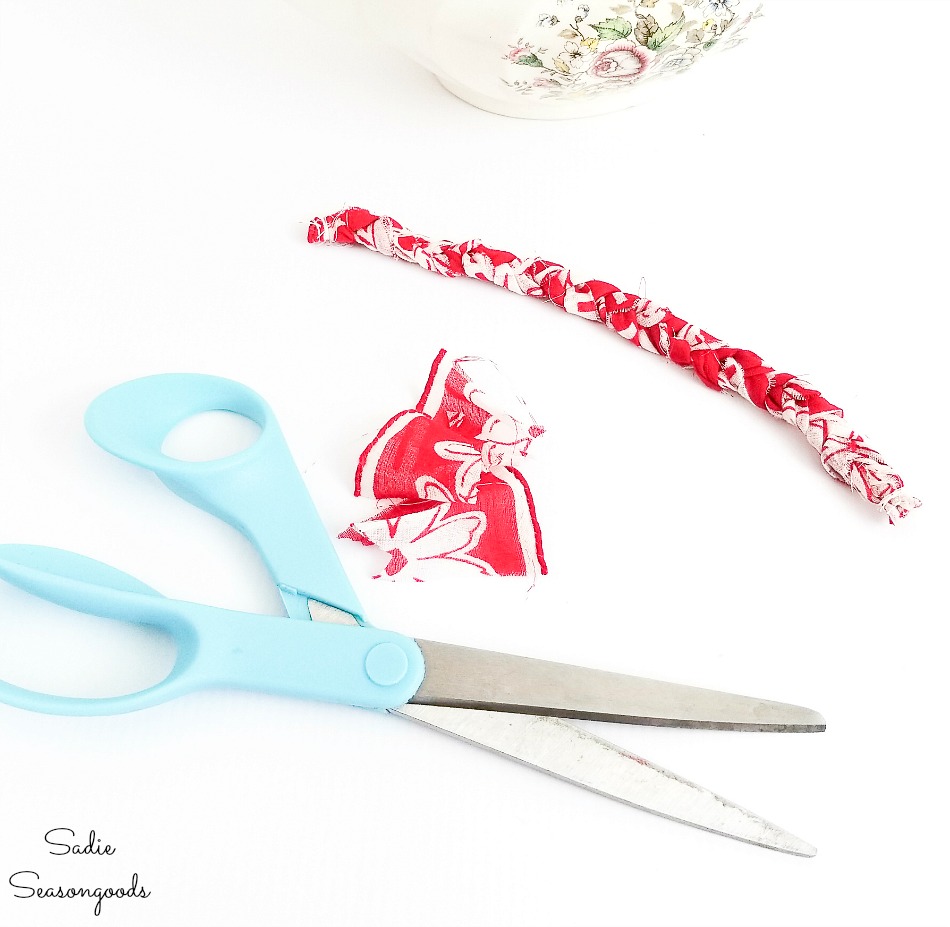
Image credit: Sadie Seasongoods.
To finish off the braided bracelets, I gathered some jewelry end caps (like these, with an opening of 6-7mm), super glue, and a bamboo skewer.
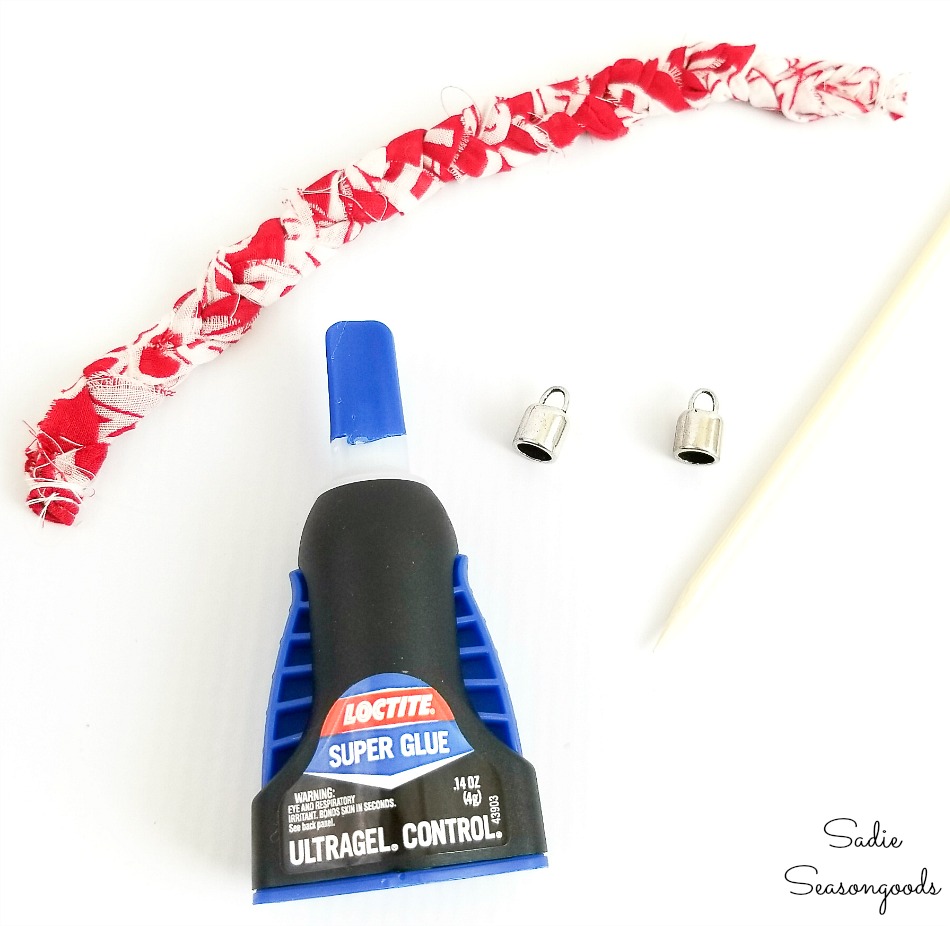
Image credit: Sadie Seasongoods.
I added a few drops of super glue inside one end cap. I inserted one end of the braided bracelet into the end cap, using the skewer to push it in fully.
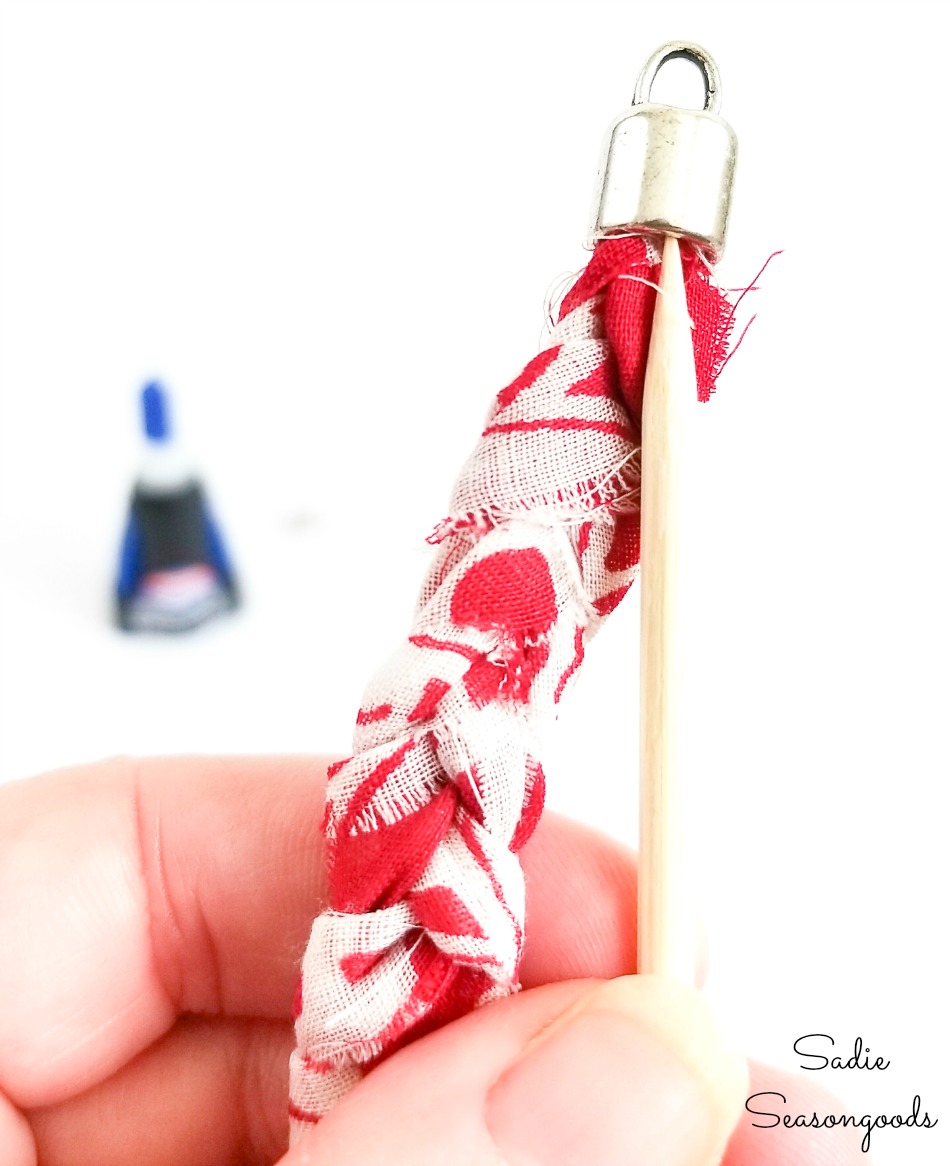
Image credit: Sadie Seasongoods.
Then, I did the same thing at the other end. All I needed to do to finish it up was attach a clasp (I used a magnetic version) to each end via a jump ring.
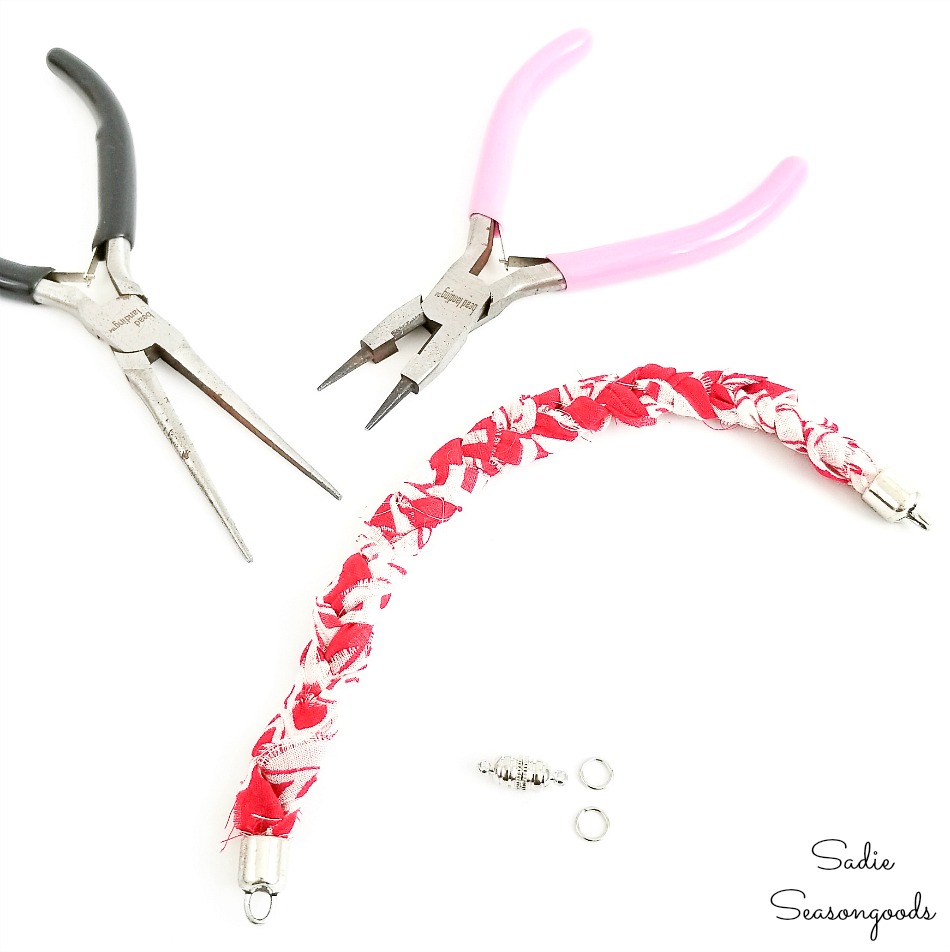
Image credit: Sadie Seasongoods.
Braided Bracelets from Vintage Handkerchiefs
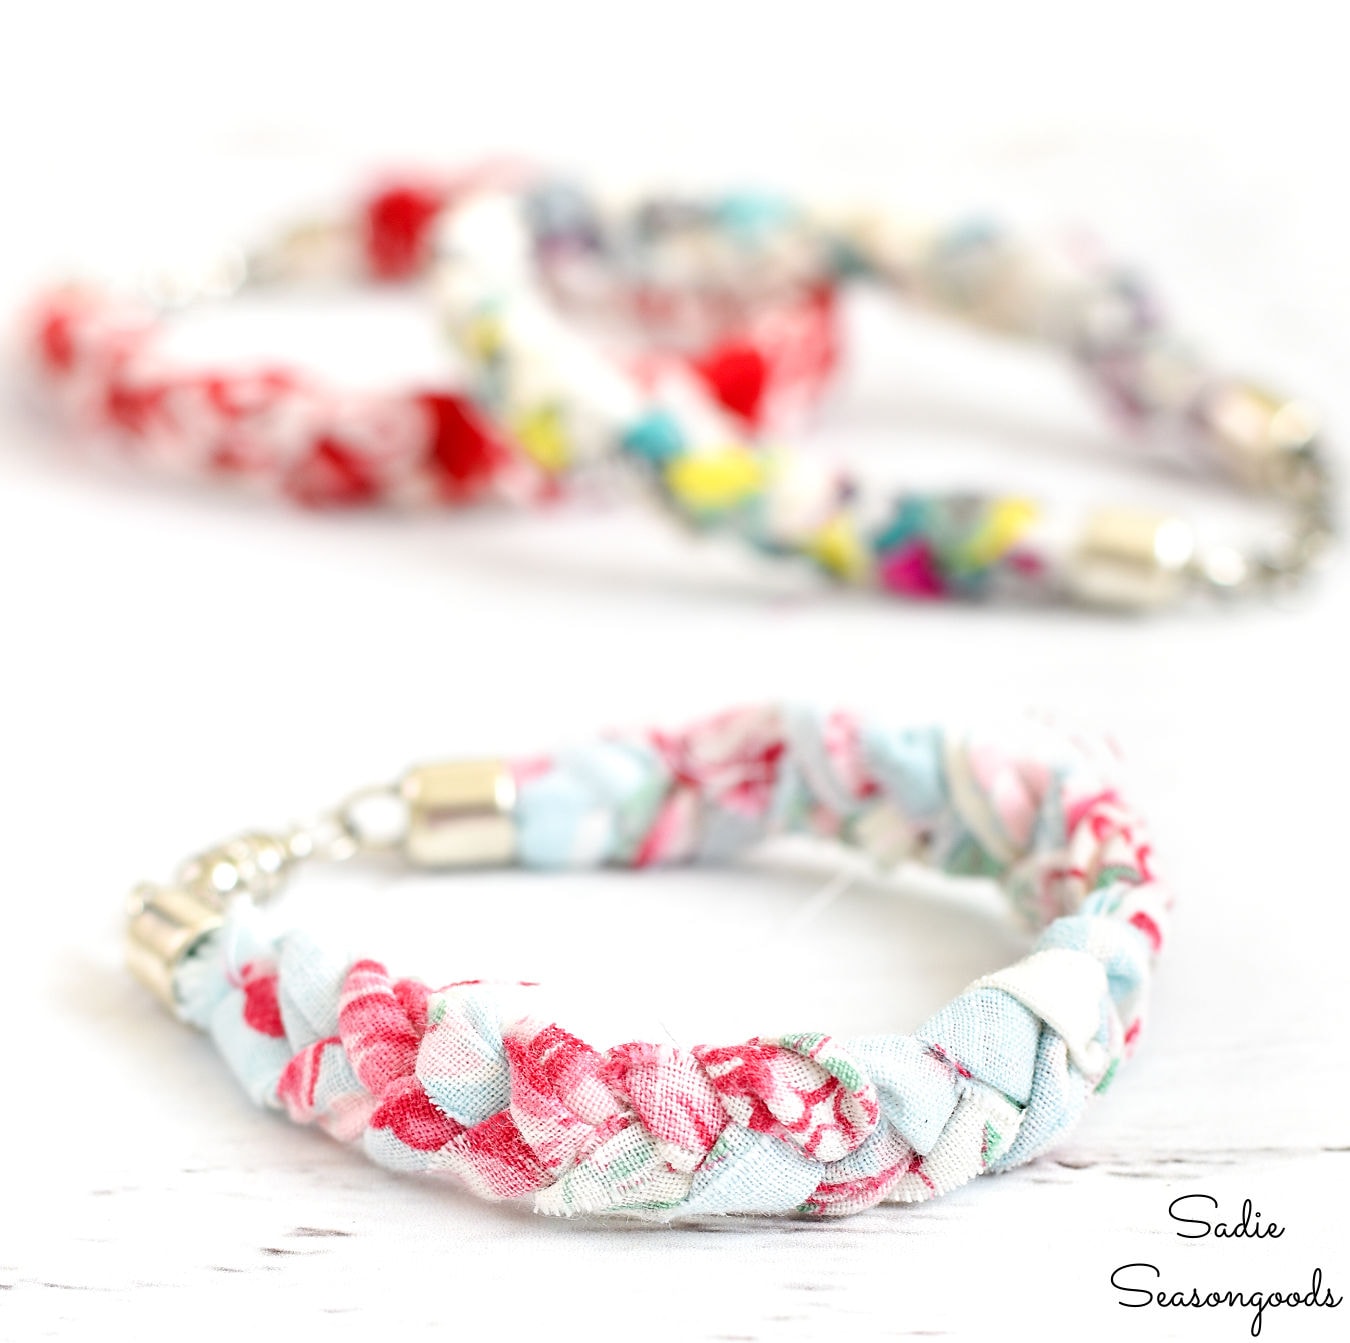
And that, as they say, was the end! I had upcycled one of the vintage handkerchiefs into a very sweet and shabby little bracelet.
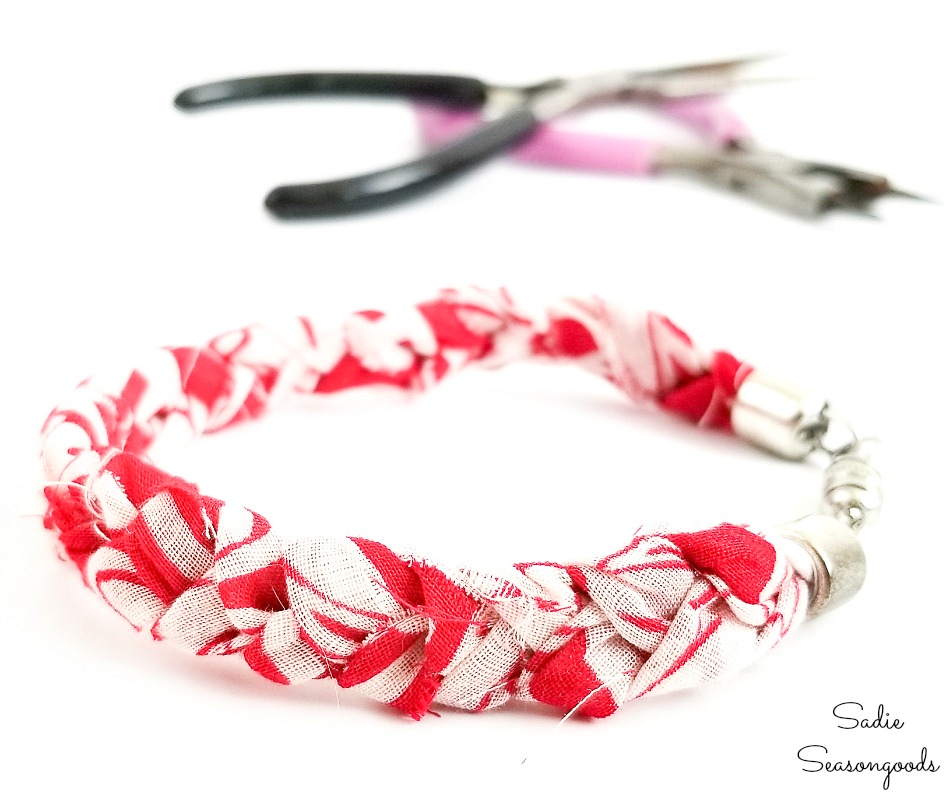
Image credit: Sadie Seasongoods.
Of course, I needed to make more from some of the other hankies that Gina had sent me! These are like potato chips: once you make one, you can’t stop!
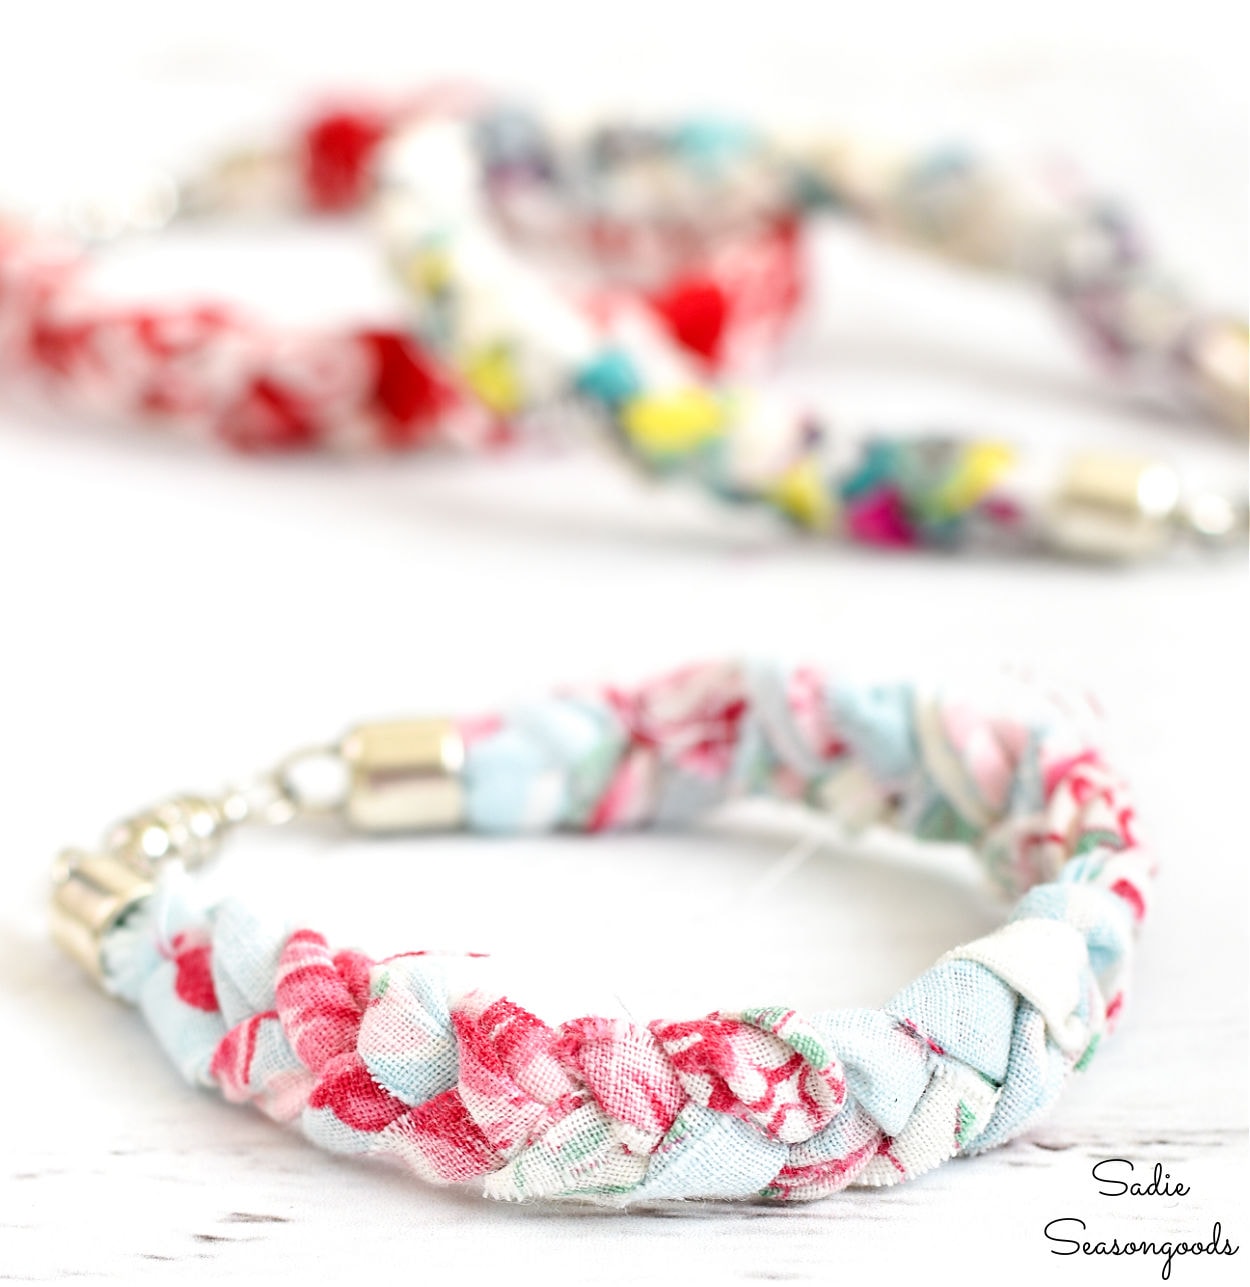
Image credit: Sadie Seasongoods.
Super easy to make a great way to repurpose those vintage hankies that you may have laying around.
And trust me, if they’re damaged or worn through in places, you’ll likely never know!
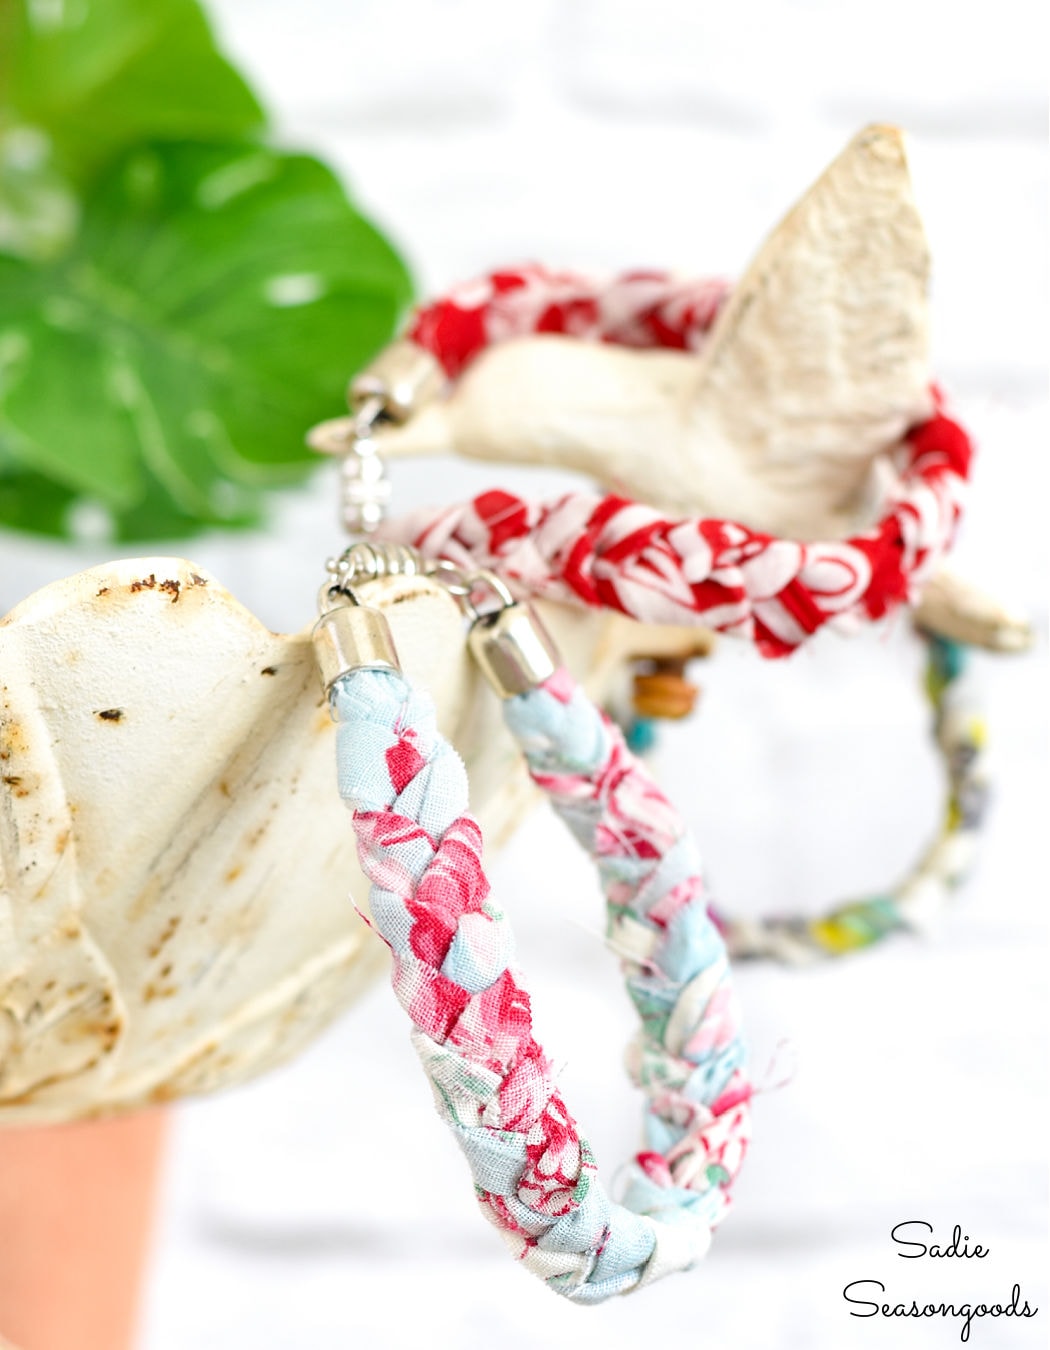
Image credit: Sadie Seasongoods.
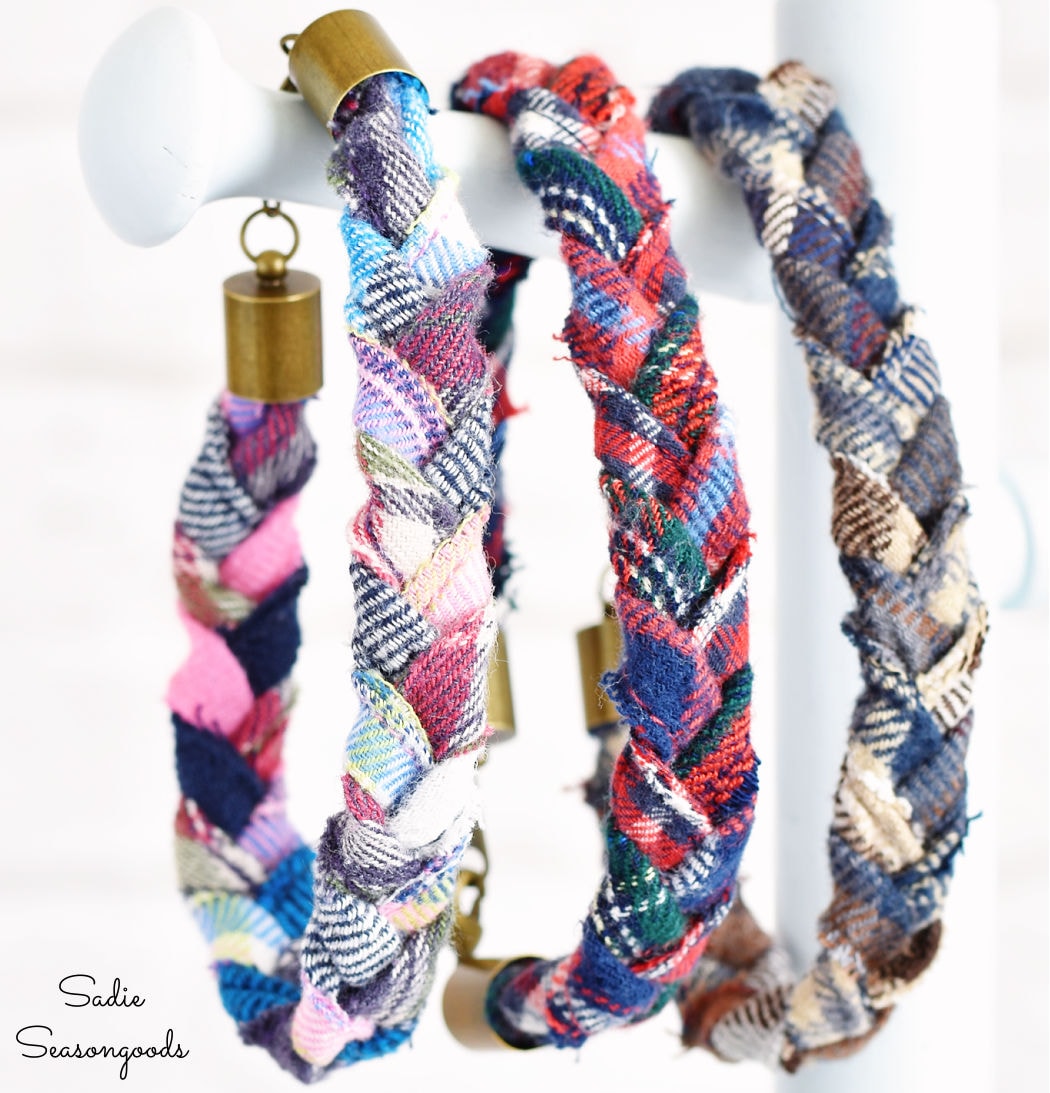
And check it out. I even did a version of these braided bracelets in my book, “Crafting with Flannel”! Can you guess which part of a flannel shirt I used to make them?
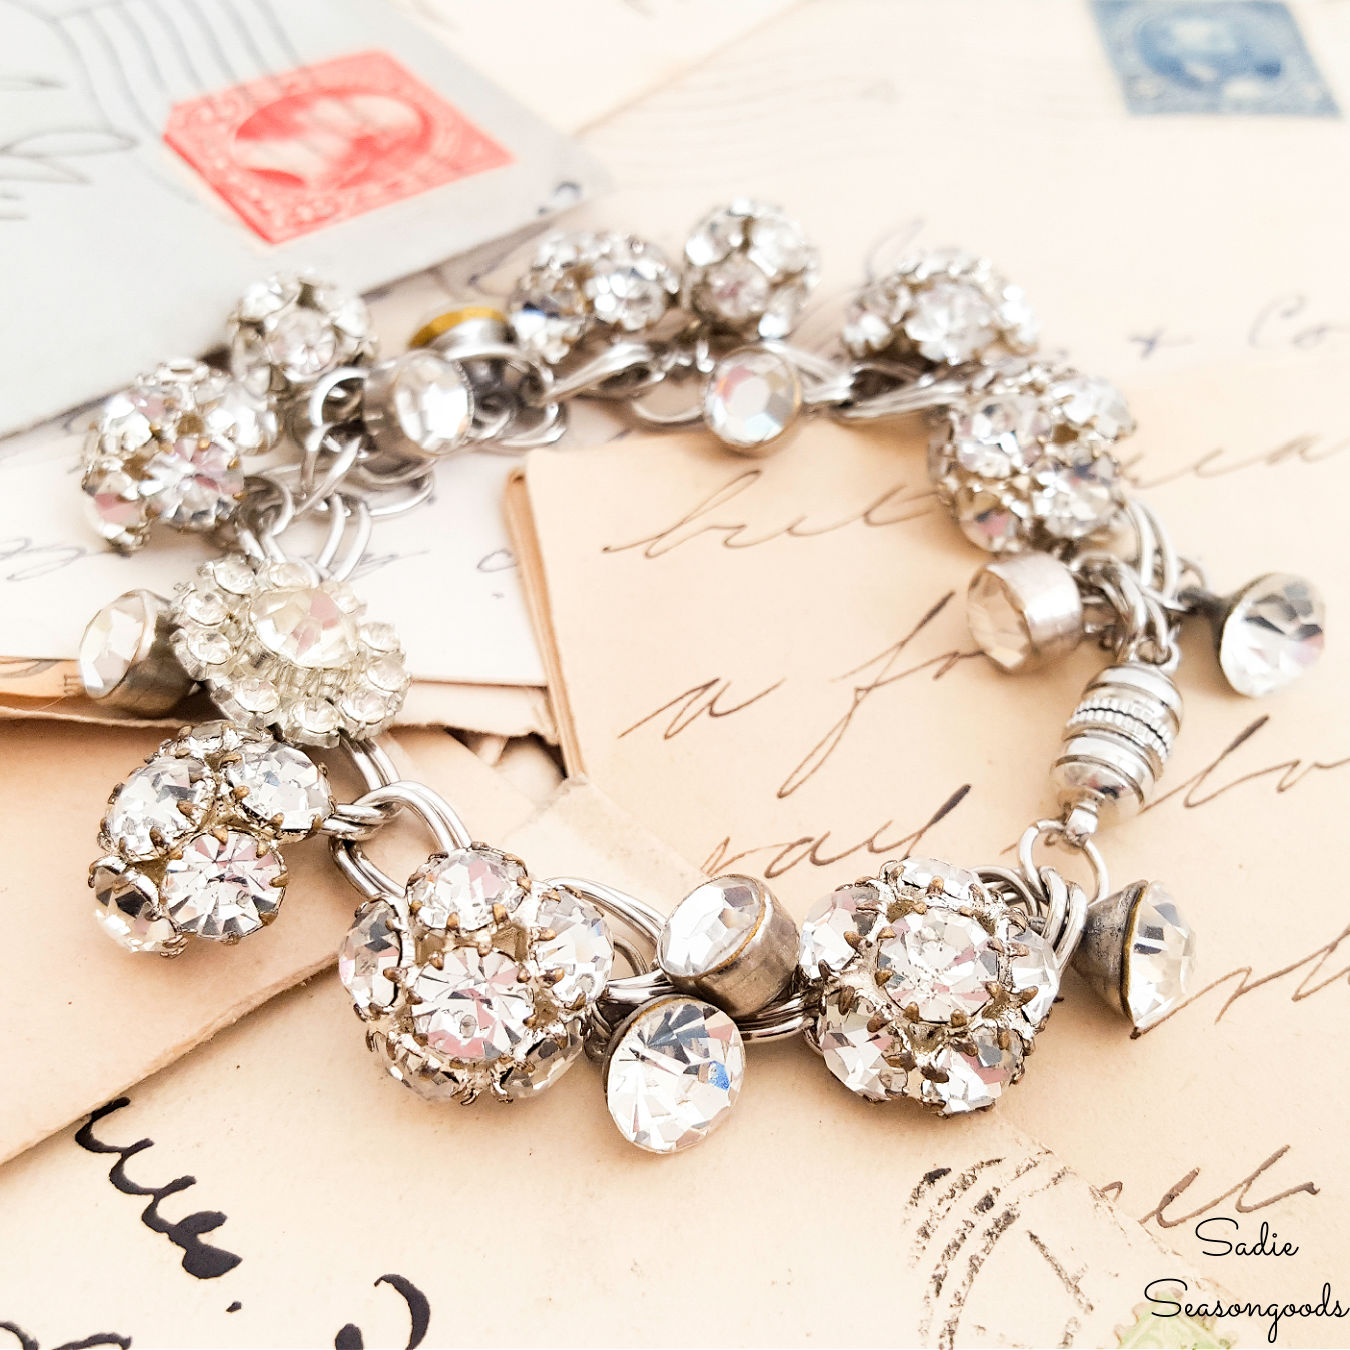
If you enjoyed this upcycling idea for cloth bracelets from vintage handkerchiefs, then you’ll also love this DIY charm bracelet from rhinestone buttons!
Craft on!
S
Want to be notified when I publish my next upcycling project tutorial?
Join me on Social Media:
PIN ME!
Image credit: Sadie Seasongoods.
Image credit: Sadie Seasongoods.
Sarah Ramberg is the owner of Sadie Seasongoods, a website that celebrates all things secondhand. From upcycling ideas and thrifted decor to vintage-centric travel itineraries, Sadie Seasongoods is a one-stop shop for anyone who loves thrifting and approachable repurposing ideas. Sarah is also the author of “Crafting with Flannel” and has been featured in numerous media outlets and magazines.







I love this sweet and stylish idea to use with some of my Mom’s old hankies–so simple,too! Thanks!
Also, did you make the teapot pin holder? I’d love to see directions on that!
Thank you so much, Melissa- and I sure did! I just added a link in my blog post, too, but here’s the tutorial for that!: https://www.sadieseasongoods.com/sewing-to-a-tea-the-hidden-pin-cushion/
Your bracelets are so pretty, Sarah, and surprisingly easy to make, thanks to your tutorial. They’d make a lovely Mother’s Day gift!
Thank you, Marie!
I absolutely love anything vintage and you nailed it with this cute idea!! These are so cute!!
Can I ask which magnet clasp you used? I just went on Amazon and there are so many to choose from.
I looked on Amazon for similar ones to share a link, but I agree- nothing quite like them. If I remember correctly, they are from Michaels (which I think you can order online, as well): https://www.michaels.com/bead-landing-magnetic-barrel-clasp/M10443280.html
Love this idea! Will be ordering handkerchiefs today.
I love this idea; magnetic clasps are so great; my SO is lousy at doing clasps for me and arthritis is a PIA! Have you worn them long enough for them to get ratty looking yet? Would a spray of Scotchguard keep them nice longer? These would be great for people with metal sensitivities, too!
That’s a great question about Scotchguard! Probably worth experimenting with!
These are so so cute but I am so so allergic to any of that “metal ware”. I would really like to find a way to make things like this without using hardware and still in a way where you can put it on with one hand!
cover the metal with clear fingernail polish
Thank you Sadie, I appreciate your quick response!! I will check these out.
Very cute, great repurpose. Pinned
Thank you so very much!
I don’t have vintage handkerchiefs on hand, but I’m assuming this would work with other cotton fabric scraps (of which I have many); what would you say the basic ballpark measurements should be? 1-and-a-half inches wide, and how long?
Thanks!
The hankies I used were roughly 10.25″ or 10.5″ squares- I’m sorry I didn’t add that in the post originally, but I will now! I would say that yes, other fabric scraps would work so long as the fabric is soft and thin (i.e., easily braidable)- does that make sense? Thank you!
These are so pretty!
Thanks, Janet!
These are so creative! I love the vintage handkerchiefs. I’m going to have to keep my eye out for some.
Thank you, Michelle!
Super clever !!
Thanks!
What a fabulous idea for a gift
I love these! Did you do a special type of braid? It looks more unique than what I n ow to do.
No, just a basic braid! The fabric kinds of folds on it’s self which gives it a more layered look, I think.
Vintage! Love ALL Vintage!
Beautiful brackets. Can’t wait
to make some ❤️
I absolutely love vintage handkerchiefs and have collected them for over 10 yrs. I began collecting them and doilies, as it was the only thing I could afford at antique, vintage, thrift, and re sale shops. I want to try this idea because I wear bracelets ALL the time and love having different colors to go with any outfit. Thank you for sharing !
You are so very welcome, Cathy! Happy crafting and if you’re looking for projects with vintage doilies, maybe you’ll find some inspiration here: https://www.sadieseasongoods.com/repurposed-vintage-doily-project-ideas/
So glad to see this project–just perfect for me to make since I’ll be going to my niece’s bridal shower next month. I’ll be making about 30 of them in 3 different lengths, and let her give them out as gifts. And I’ll be making cheesecake stuffed strawberries too.
Peace and blessings for sharing your talents!
I have some old lace fabric scraps, would that work. These are so pretty, can’t wait to make some!!!!!
I love these, I’m definitely going to make some, plus a few more! Pinned.
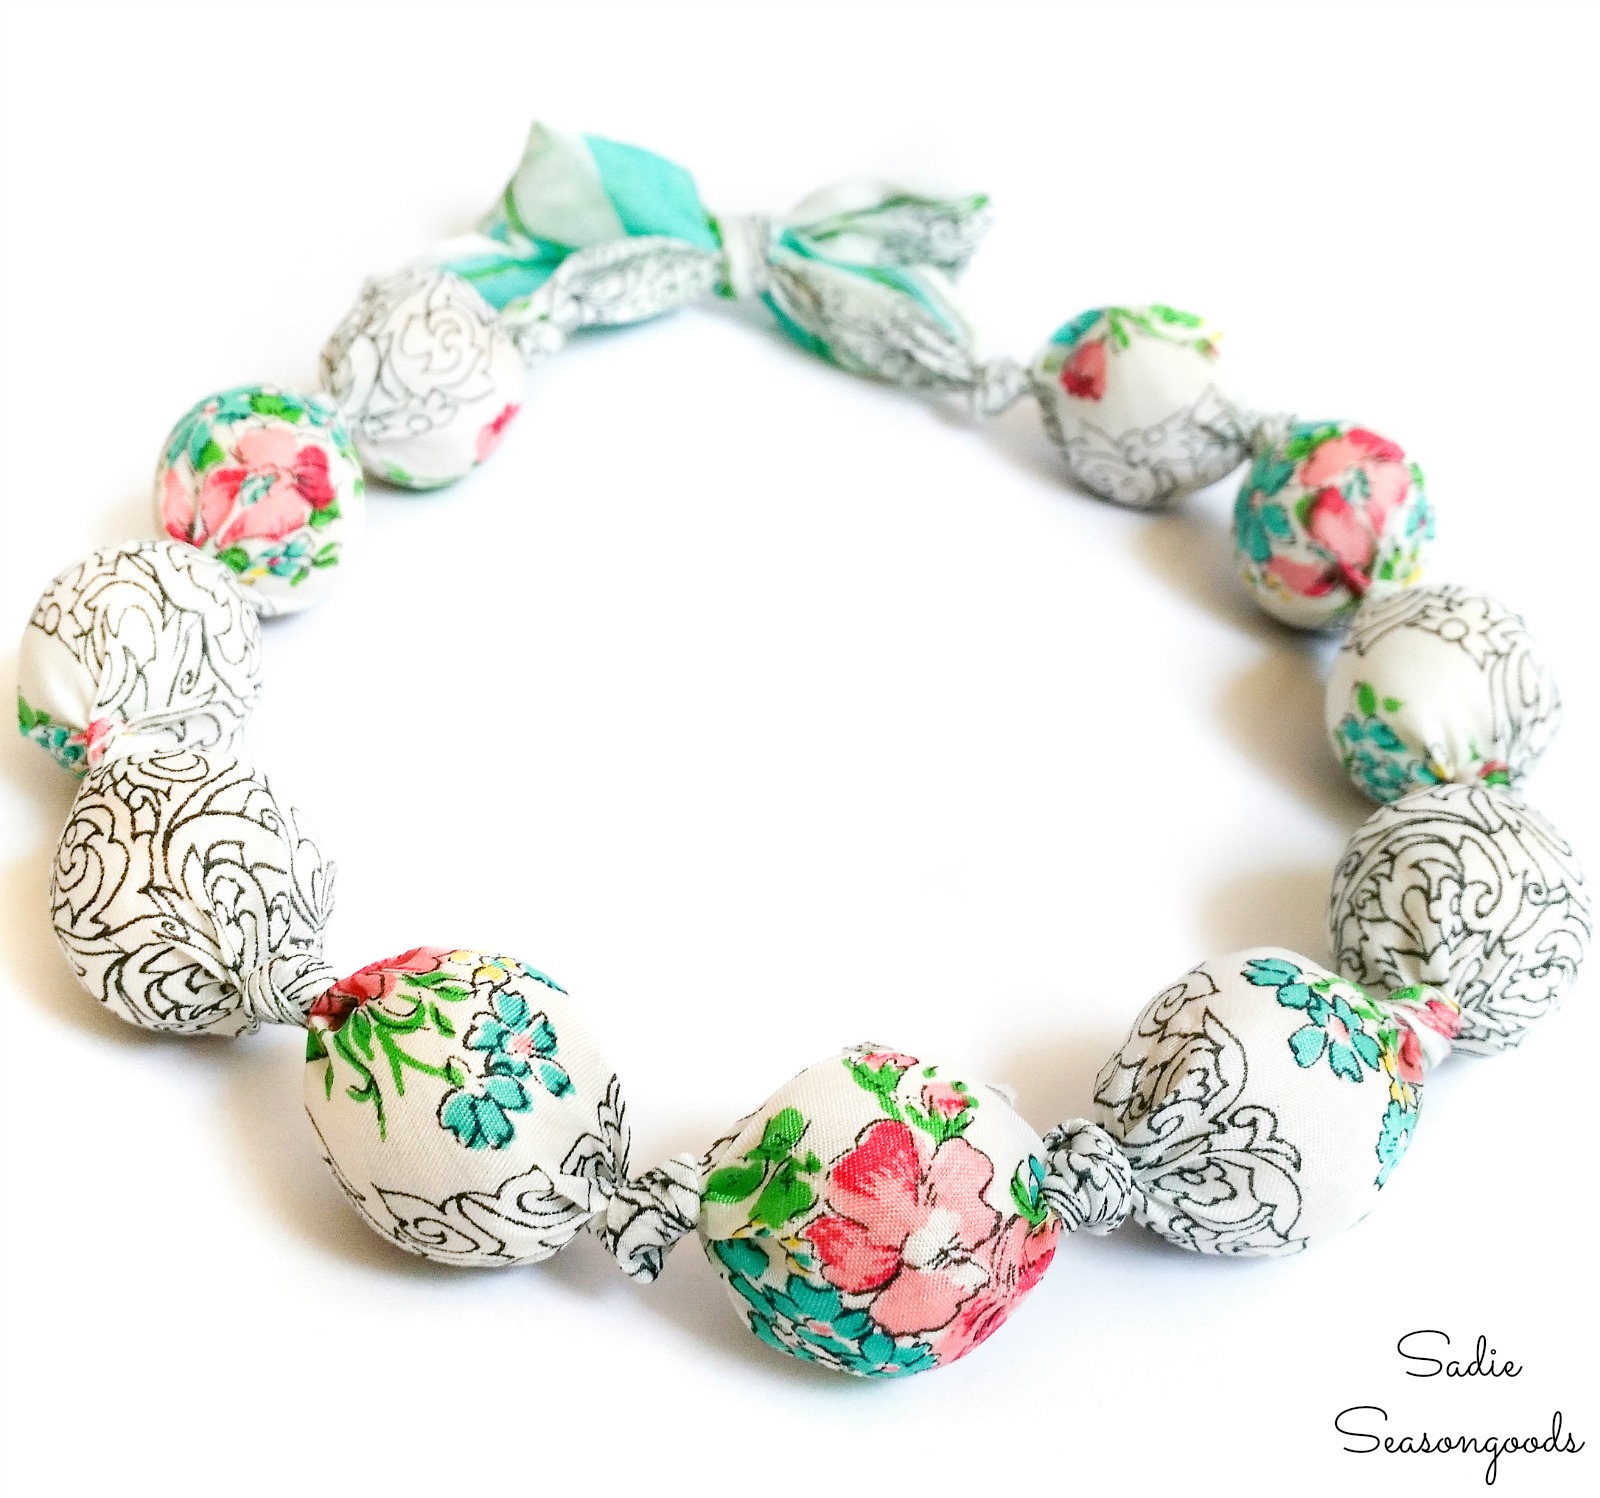
Do you have directions on the beaded handkerchiefs? These are adorable. I just purchased some at a garage sale this past weekend. Thanks in advance.
Hmm…I never created a post about a beaded handkerchief. There’s this one, that is a braided handkerchief, and I also created a necklace with an old scarf and large beads. I’m afraid I’m not entirely sure what you are looking for…
Where can I find the bracelet clasps?
If you mean the actual clasps, craft stores like Michael’s have lots of options! The endcaps, however, aren’t always in stores and I like to them in my post. (Look for the bold, blue, underlined text for links)
These are so cute! I love that they are made from vintage handkerchiefs; it reminds me of my grandma Minnie. I wish I had some of hers to make some with. I make silverware jewelry, and now I want to mix the 2 together somehow. Thank you for the inspiration!
I’ve tried making your bracelet and must be doing something wrong. Too short to go around wrist. I’m using 10 in square hankies. Please help…I love these. Making out of grandmother’s hankies for all my cousins. Just need help why are they so short? Thank you
I wish I knew why they were coming up short, Diane. I don’t recall the original size of the ones I used but they weren’t oversized. Could you add a short chain of jump rings to each end cap to help close the gap?