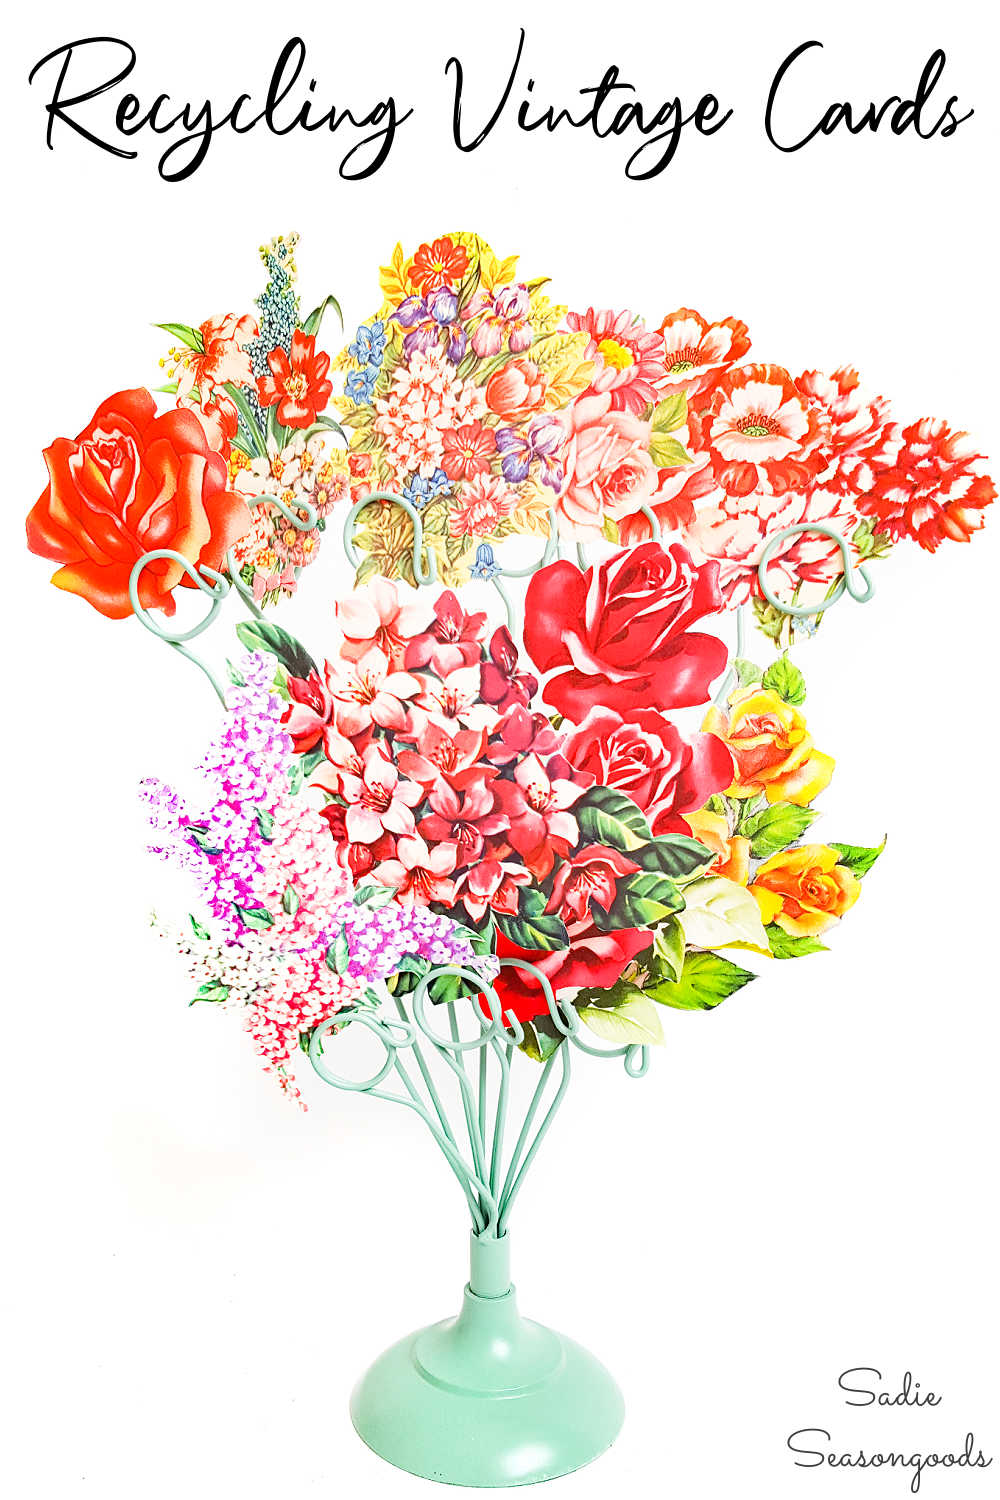
I absolutely love vintage greeting cards, from old Christmas cards to vintage birthday cards, and everything in between. I often find them (used) at thrift stores and wanted to find a fresh way to recycle them. After mulling over upcycling ideas in my mind, I settled on the idea of a paper flower bouquet, especially once I stumbled across this wire picture holder.
I spied it at a favorite thrift store in Greenville, SC (Red Ribbon Resale) while waiting to pay. On impulse I plucked it up and added it to my pile.
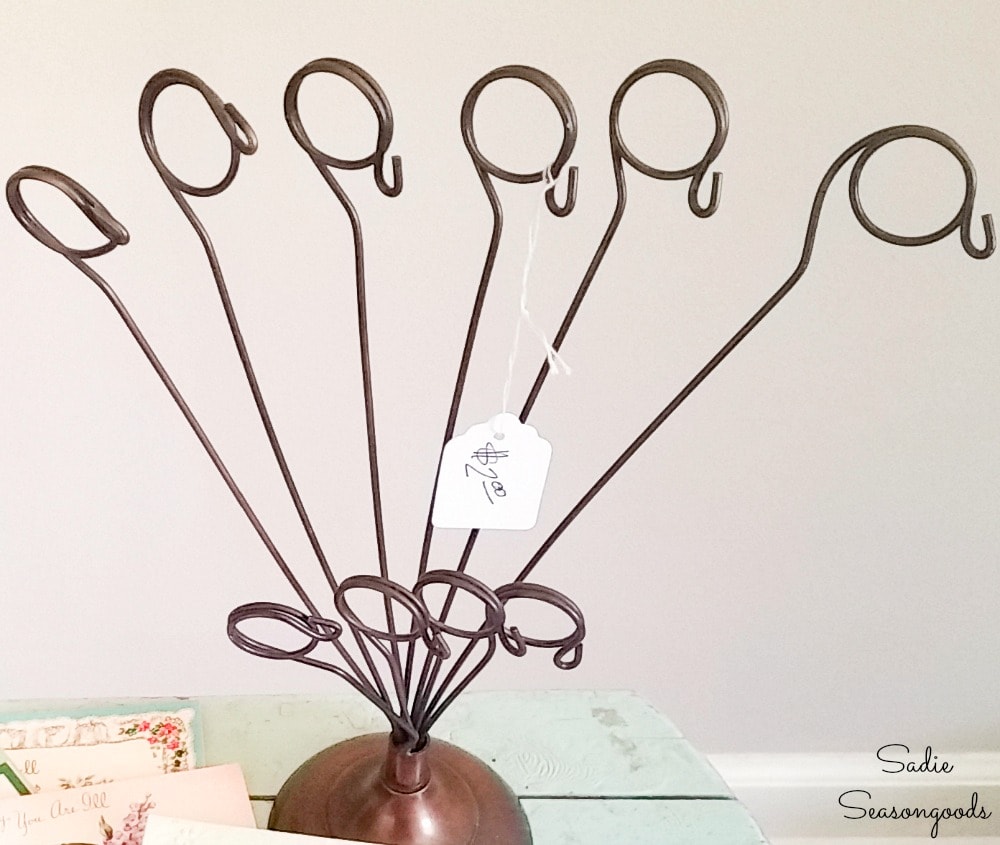
It reminded me of a dandelion sprouting up from a freshly mowed lawn. With its stems springing up, demanding to be noticed!
And an idea for this wire picture holder began to take shape.
What if I created a paper flower bouquet with some of my vintage greeting cards?
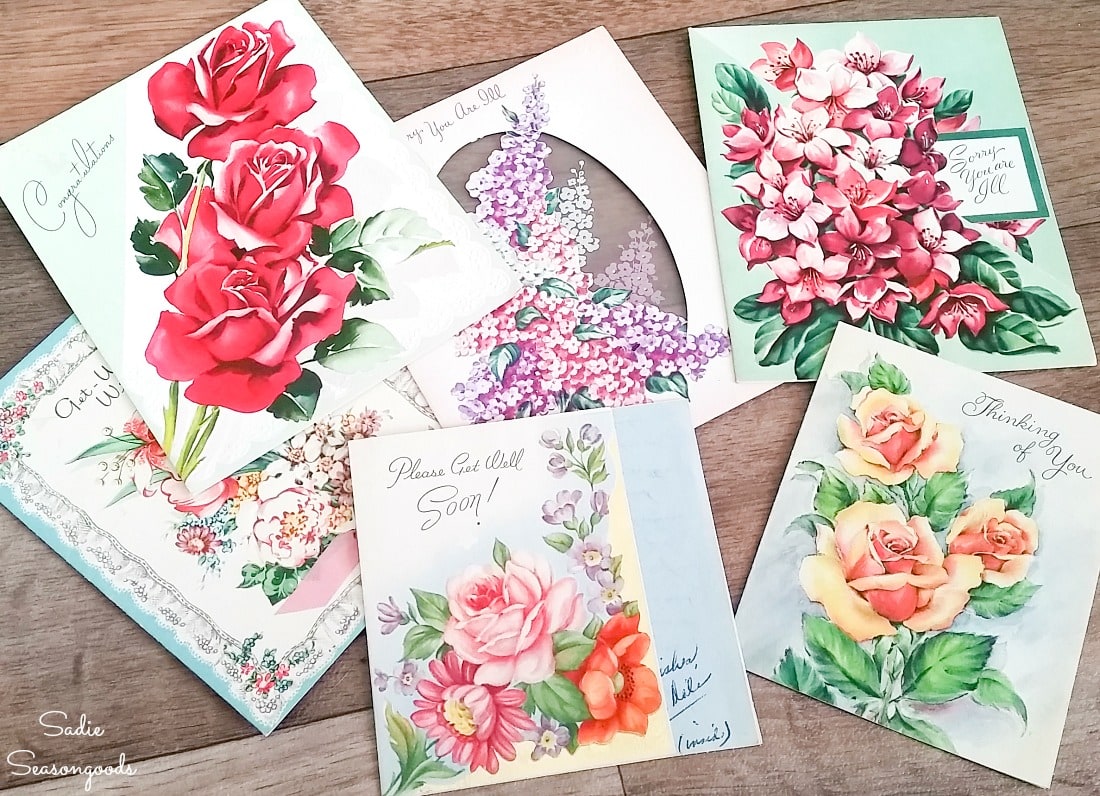
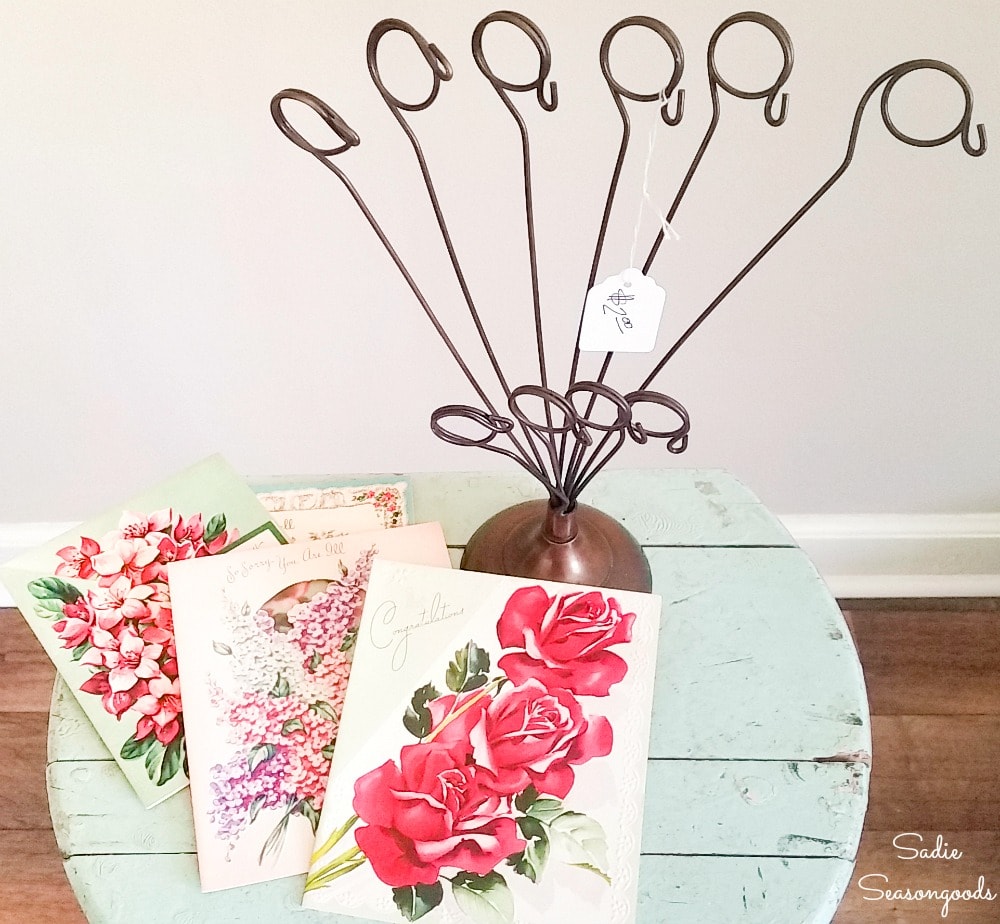
And so, I gathered up a few supplies and got to work on my little paper crafting idea.
This post contains affiliate links for your crafting convenience. As an Amazon Affiliate, I earn from qualifying purchases. All blue, bold, and underlined text is a clickable link, either to a product or to a related post.
Paper Crafting with Vintage Greeting Cards
Now that I had the main ingredients for my project, I was ready to get started!
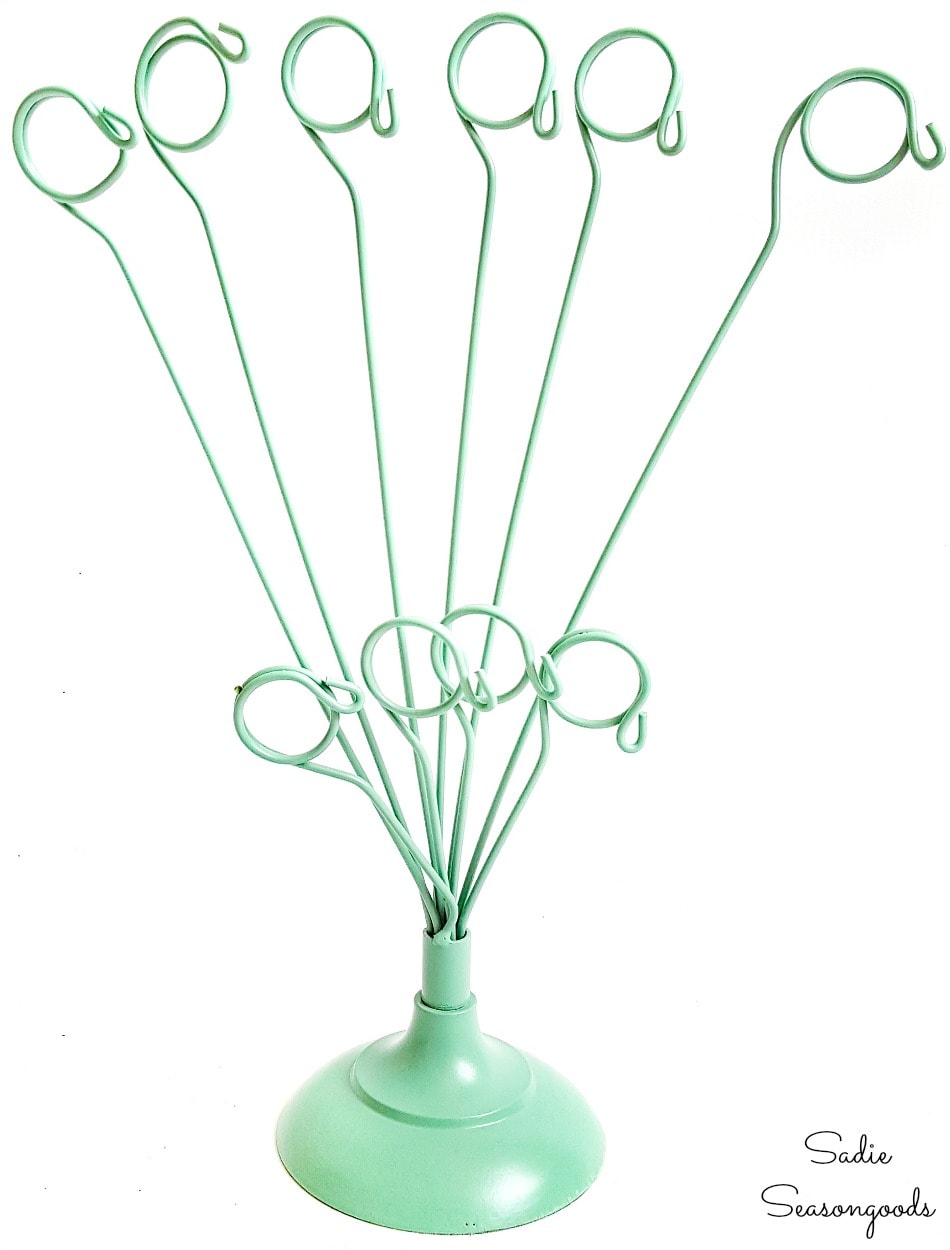
First, I needed to paint the wire picture holder. I wanted it to complement the vintage greeting cards and look a little bit like flower stems.
So, I started with a light coat of metal primer (always Step #1 when painting anything metal), and then I spray-painted the holder in a pretty Jade Green.
Believe it or not, this wasn’t my first choice. I wanted something brighter, but I didn’t have a can in my stash!
In the end, however, I am so glad I went with what I had. The color reminded me of the dusty green tulip leaves that my mother grew at my childhood home.
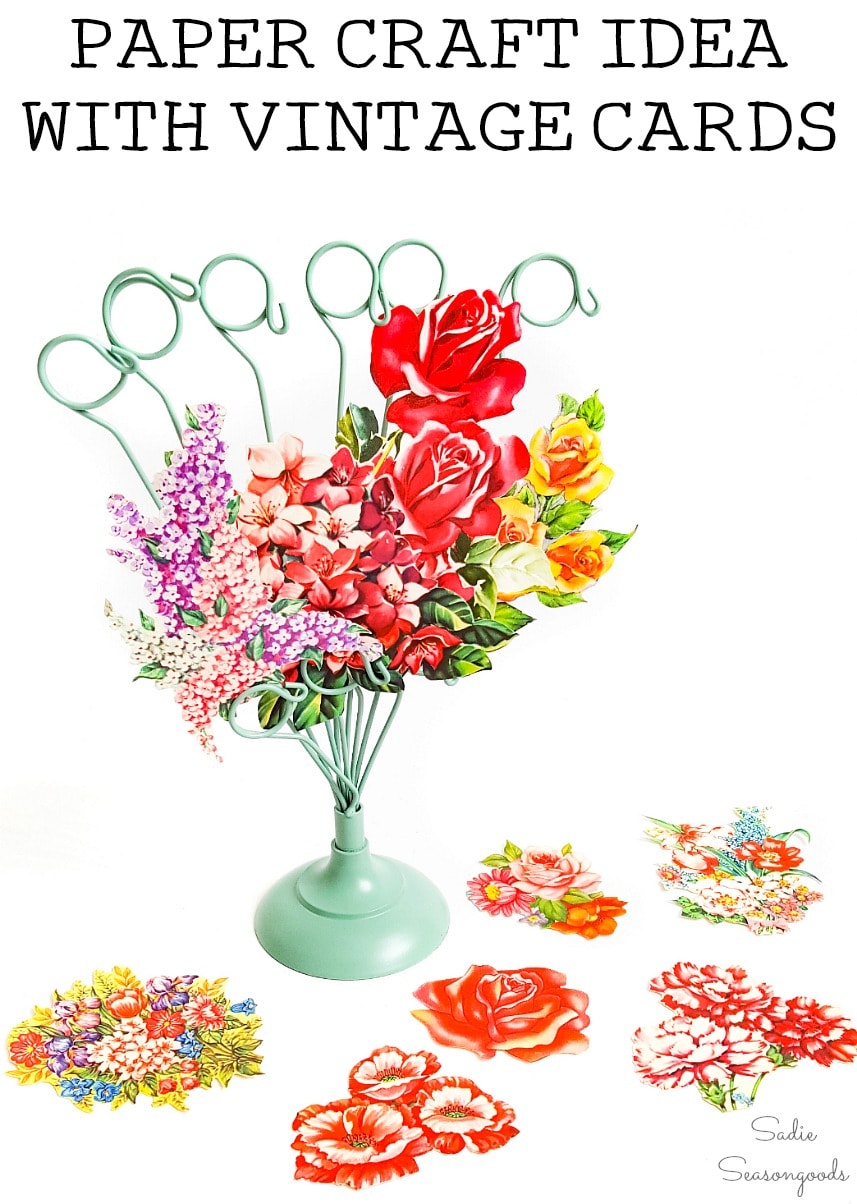
Next, I started in on the vintage birthday cards that I had gathered from various sources, such as Etsy.
I carefully cut out the flowers along the edges as if they had been laser- or die-cut with no visible margins, if that makes sense.
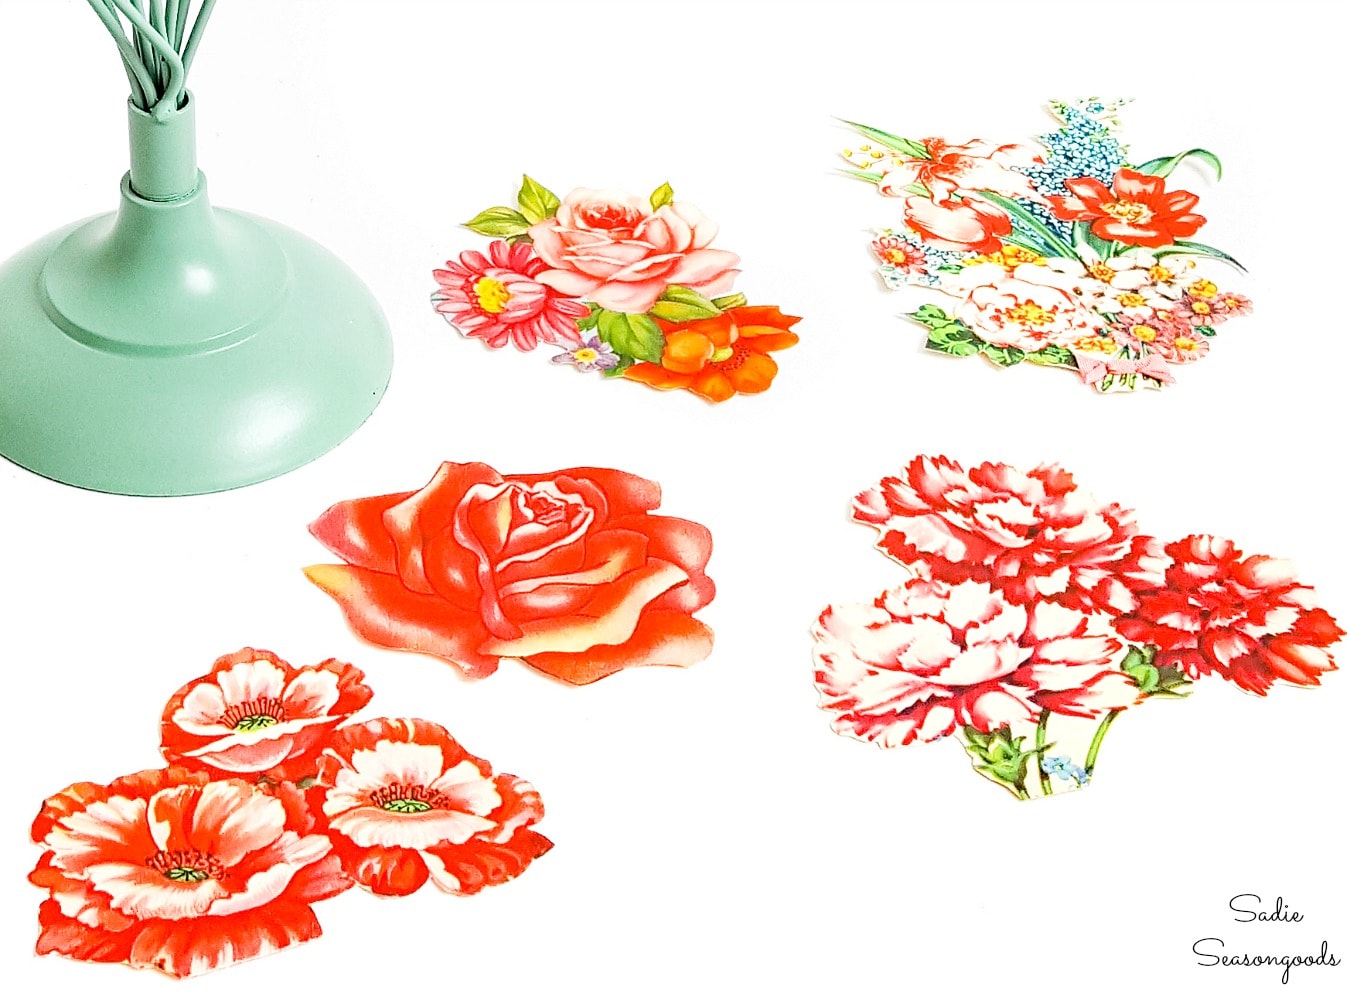
To cut them, I used sharp scissors and constantly turned the paper card as I cut. That way, I never had any straight or flat lines, or hard ends where I stopped cutting. Doing this kept the cutting smooth, rounded and more “laser cut” looking.
Then, I carefully arranged them on the “stems” of the wire picture holder.
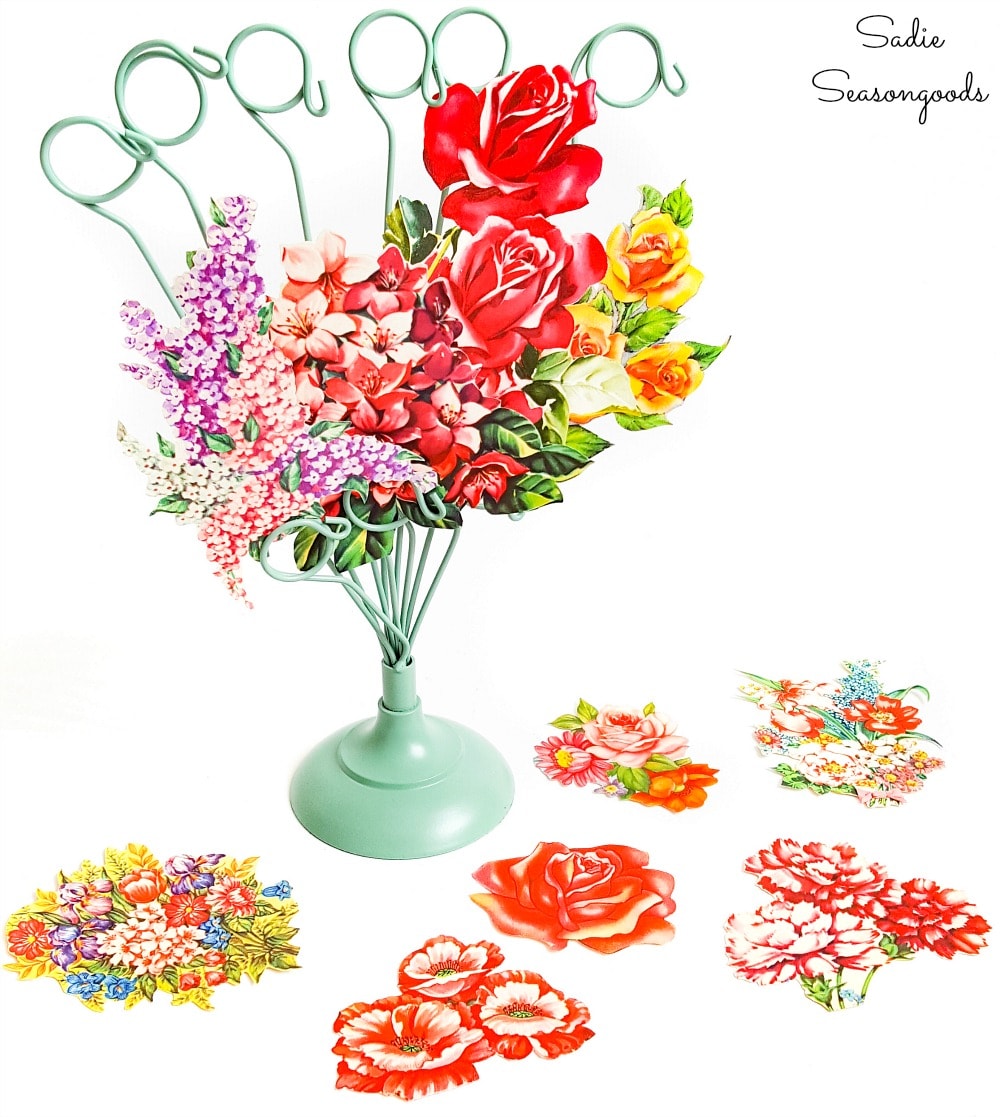
And I arranged, re-arranged, and arranged again a few more times until I achieved the desired effect!
Paper Flower Bouquet from Recycled Greeting Cards
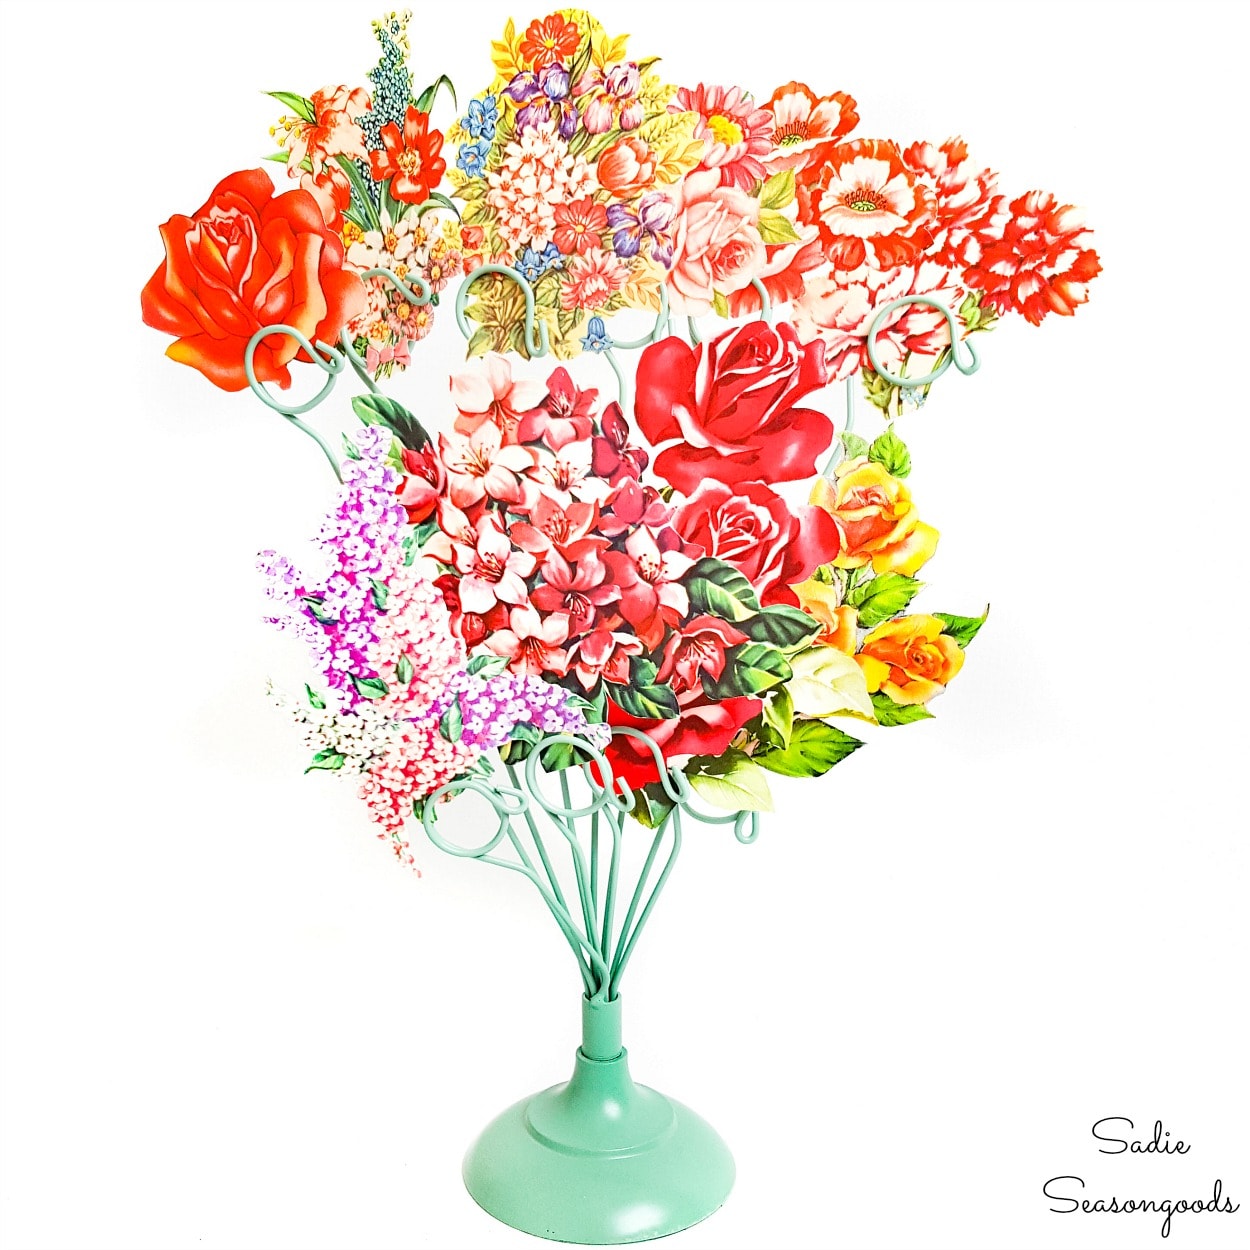
When all was said and done, with some arranging to maximize space and flower color, I ended up with a paper flower bouquet that was quite lovely.
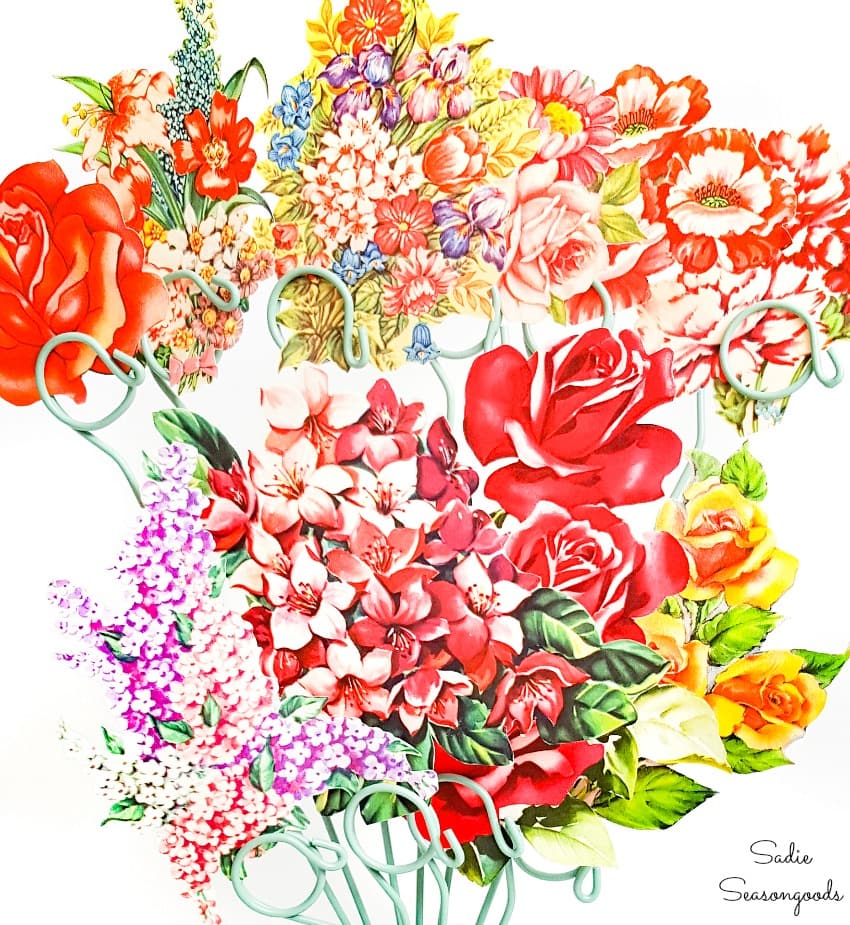
In fact, you could call it…a flower FAUXQUET! I mean, y’all know I can’t resist a good pun.
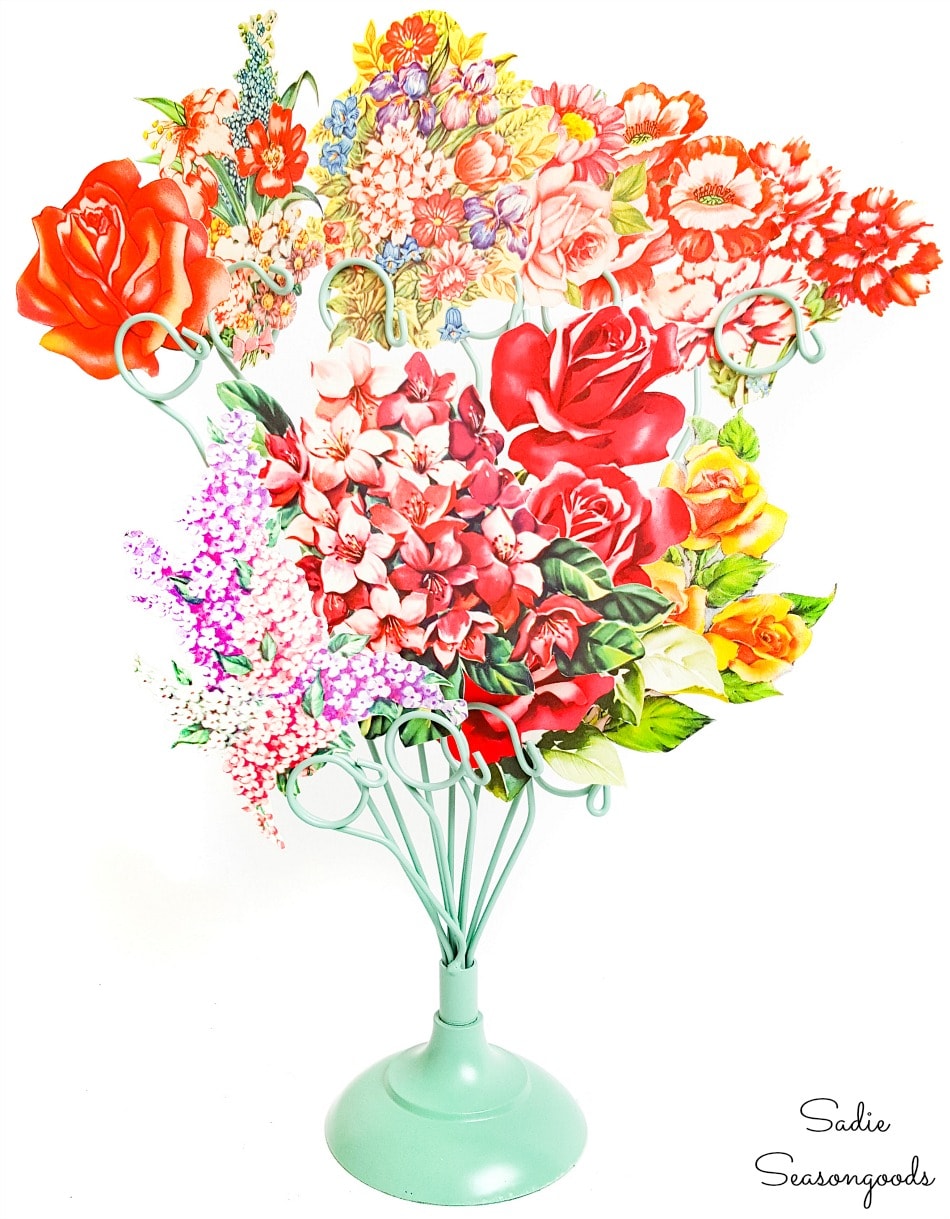
This is seriously charming. It’s colorful and a welcome burst of color. Plus, it’s a great way to recycle used greeting cards!
OR, the perfect “flower bouquet” for a sick friend who has allergies! I could see lots of potential applications for this paper flower bouquet.
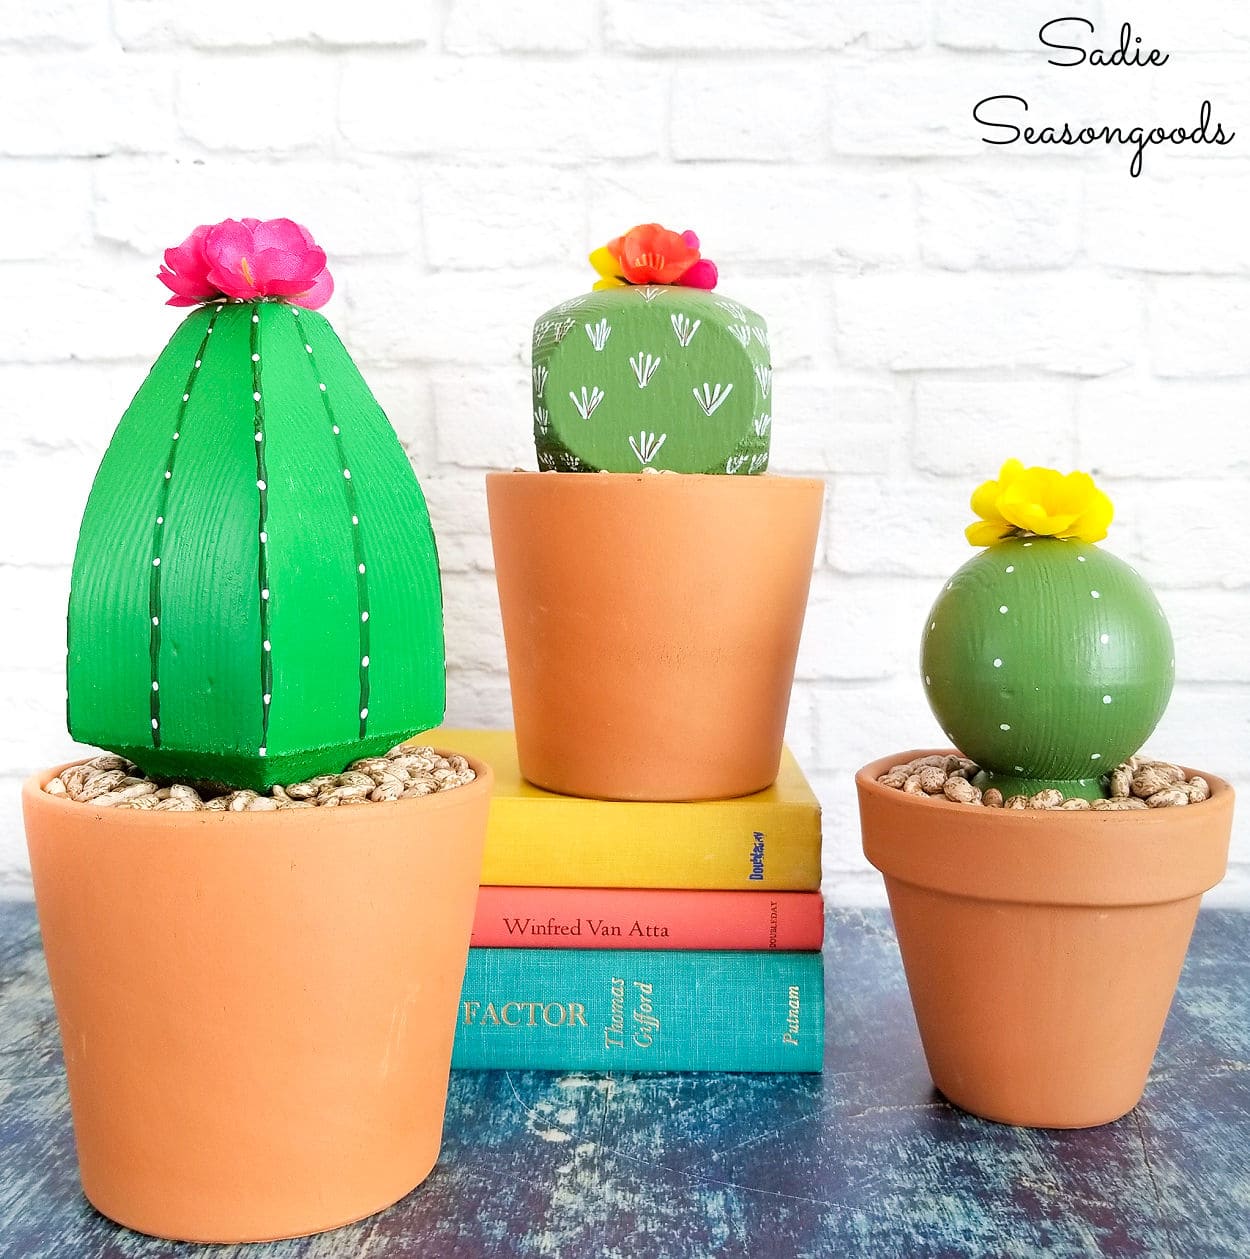
If you enjoyed this project for faux flowers, then you may also enjoy this upcycling idea for faux cactus or cactus decor that I also made!
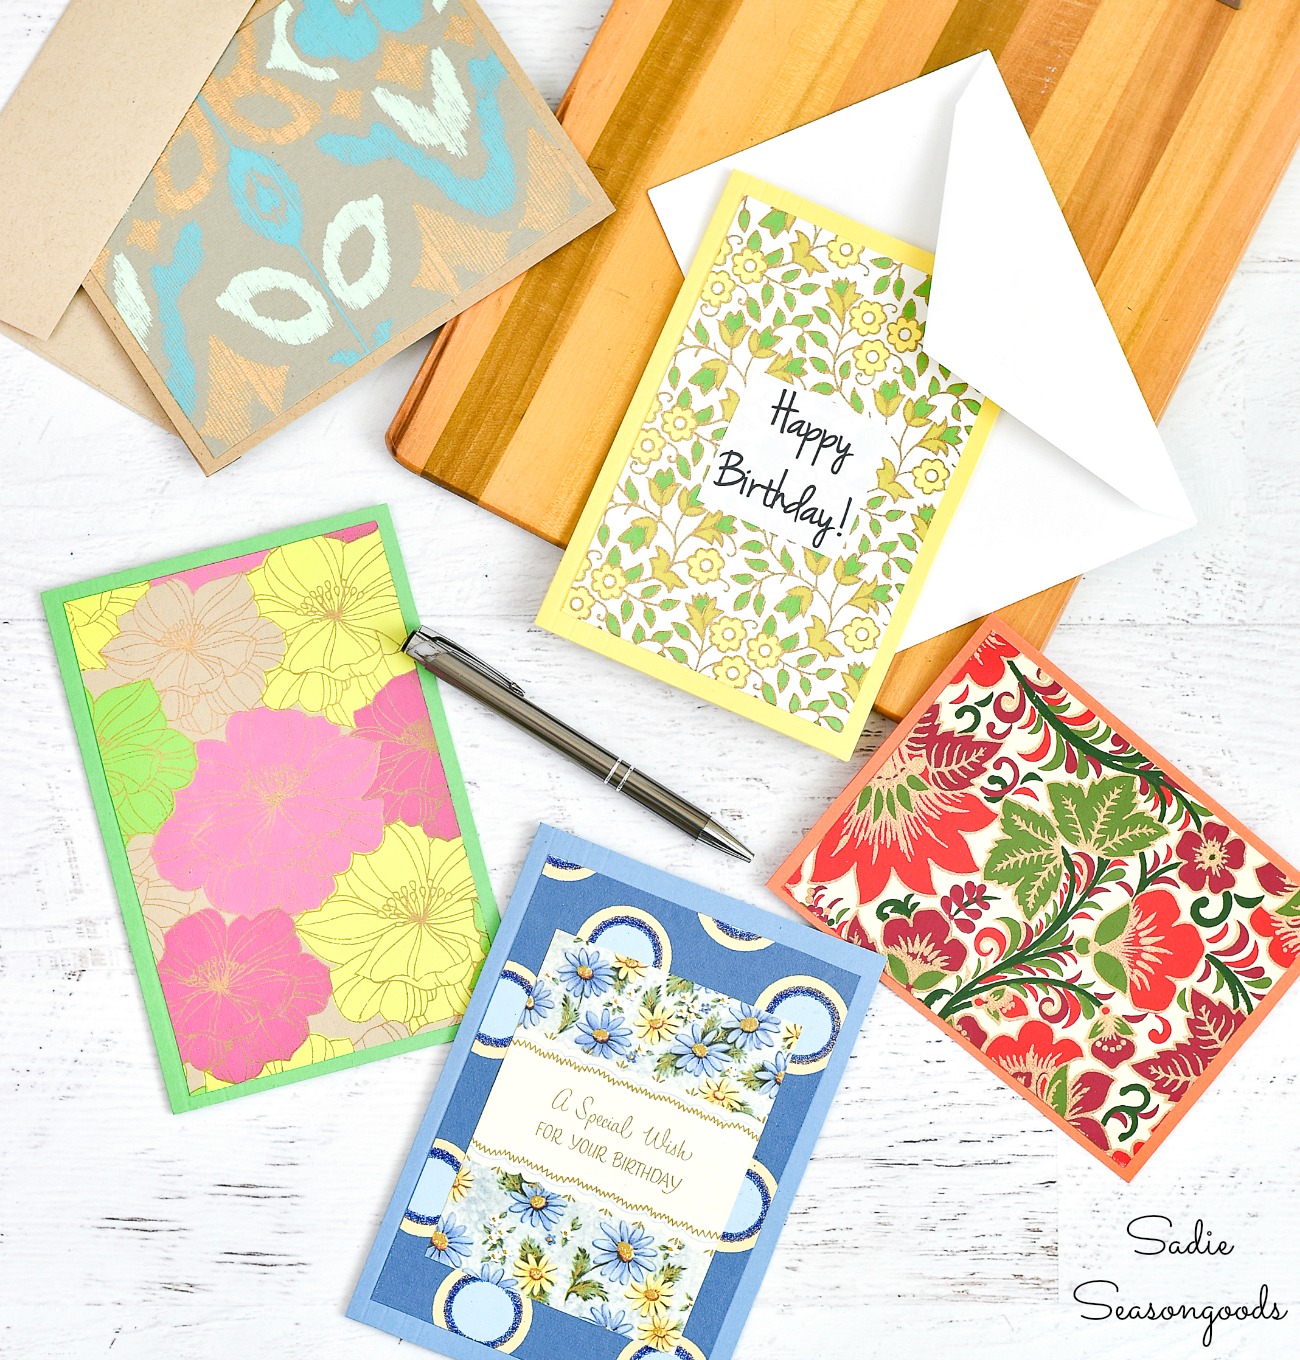
And for another way to upcycle used or vintage greeting cards, what about making new cards with a few office supplies?
Craft on!
S
Want to be notified when I publish my next upcycling project tutorial?
Join me on Social Media:
PIN ME!
Sarah Ramberg is the owner of Sadie Seasongoods, a website that celebrates all things secondhand. From upcycling ideas and thrifted decor to vintage-centric travel itineraries, Sadie Seasongoods is a one-stop shop for anyone who loves thrifting and approachable repurposing ideas. Sarah is also the author of “Crafting with Flannel” and has been featured in numerous media outlets and magazines.






I hear what you are saying 🙂 Glad you had the guts to show this faux-quet off! I love it! Very beautiful and you don’t have to worry about it wilting or dying!
I have one of those in a silver metal and love this idea!! Now I have to find cards with flowers and make my own bouquet. Thanks!
Thanks, Rose! And they’ll never wilt! 🙂
This is so lovely!! You picture didn’t show on the actual link party…I hope people still stop by to see this beauty!! Thanks for sharing on My 2 Favorite Things on Thursday!! I have Pinned this too!! Don’t forget to come back next week and share some more!! I love having you!
I would never have thought of this, but it looks amazing.
Thank you, Linda!
Thanks for sharing with us at the #HomeMattersParty this week.
~Bonnie
This is a super cute idea!! It looks great 🙂 Thank you so much for attending week 19 of #PureBlogLove and linking your fantastic blog post, I can’t wait to see what you have in store for our next party, Thursday 8 PM EST- Sundays at midnight. Your post has been added to the #PureBlogLove Pinterest board for all to see 🙂 Have a great day!
Nicole
What a great idea!! Absolutely love it and definitely have to try that myself!
All the best wishes from Vienna, Austria
Steffi
tulipandlily.blogspot.com
Thank you so much!
It is just lovely! The colors are fantastic and the jade green is perfect.
Thanks, Karen!
This is such a great idea! I have so many of these vintage cards from my Grandmother. This would be a great way to show them off.
Thanks for linking up over at the Ladies Collective Linkup. Sure hope we’ll see you back next week 😀
Stephanie @ http://www.mommyzoid.ca
This is genius! Can’t wait to see what you come up with next.
Such a wonderful idea to add a touch of spring to any room! Thank you for linking up to Idea Box link party!
Thank you, Christy!
Love this idea! I have used that jade spray paint on the bottom of an old Maytag washer that I planted and love the color. Gave that holder such a vintage feel! Thanks for sharing with SYC.
hugs,
Jann
Very creative. Came to your website via “Funky Junk Interiors” on FB.
Thanks, Lorrie- I really appreciate that! If you’re into upcycling projects using vintage treasures and thrifted finds, you’ll enjoy my website! Have a great weekend!
this is so creative! It’s adorable!
Jenna
Thank you, Jenna!
I just passed on one of these at the thrift shop the other day, now I could just kick myself! lol
Argh!!! I feel your pain, Suzy!!
This is so neat!! Wow! I need to look for one! 🙂
I would love for you to share this with my Facebook Group for crafts, recipes, and tips: https://www.facebook.com/groups/pluckyrecipescraftstips/
Thanks for joining Cooking and Crafting with J & J!
This is just adorable! Thank you for sharing!I know what I will keep my eyes open for…
Thank you so very much!
Such a pretty project. Have to tell you that when I saw the B4 picture, the first thing that came to mind was a peacock. Hope I find one of these so I can try something too 🙂
Several people have said the same thing (or turkey), so I expect a few folks to be making them as such! 🙂
As usual, I love it. I wonder if scrapbook paper flowers would work; don’t have any vintage cards, but coordinating papers might work!
Sadie, how are you attaching those cut out flowers to the STEMS of the photo holder? Did I miss something?
Thanks for another great project idea.
Hilary
Hi, Hilary! If you look at the photo holder, you’ll see the tops are round? They are the photo holders- think of them as large, round paper clips. I just slid the flowers in between the two pieces of wire, like a paper clip. They hold the cards firmly in place, but not permanently!
The jade green is perfect – it compliments the vintage nature of the flowers, and doesn’t overpower them. Another fantastic upcycle!