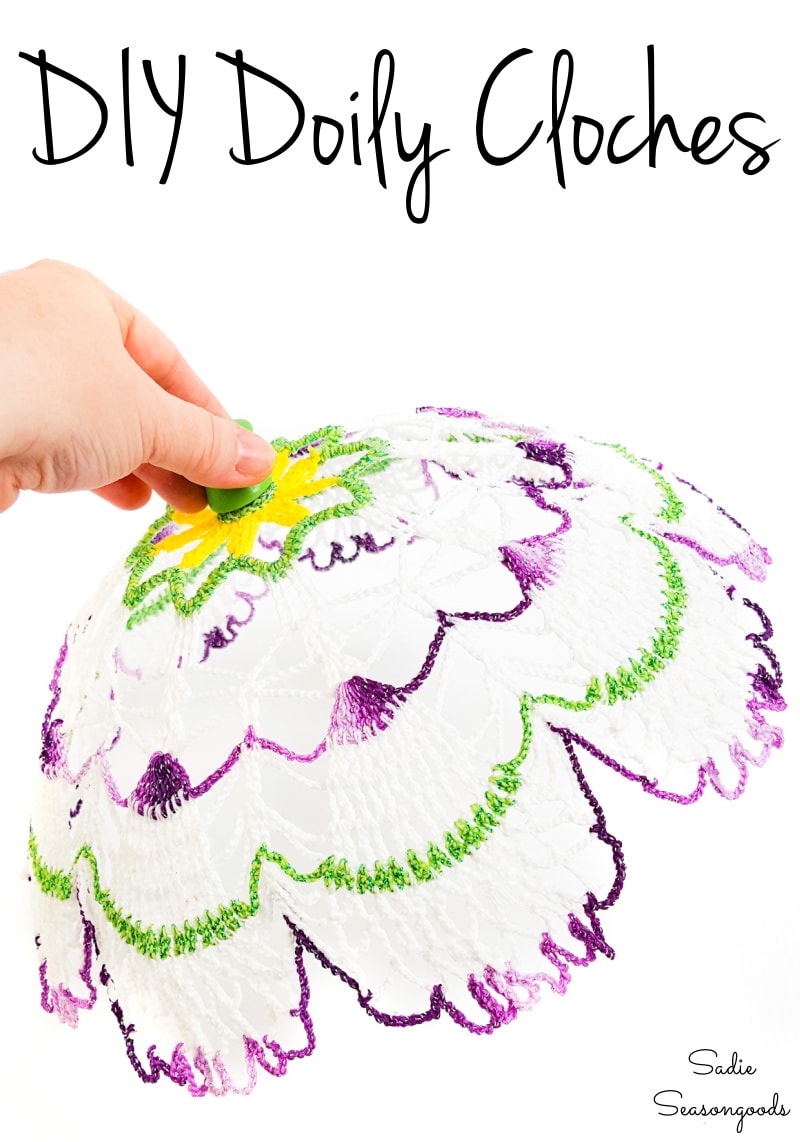
I know, I know- here I go again with another upcycling project using vintage doilies. What can I say, though? There are just SO many possibilities out there! This time, however, I decided to try a crafting product that I’ve never played around with before- fabric stiffener. The reason? To make a plate cloche or dinner plate cover!
Goodness knows I have plenty of vintage doilies to play around with!
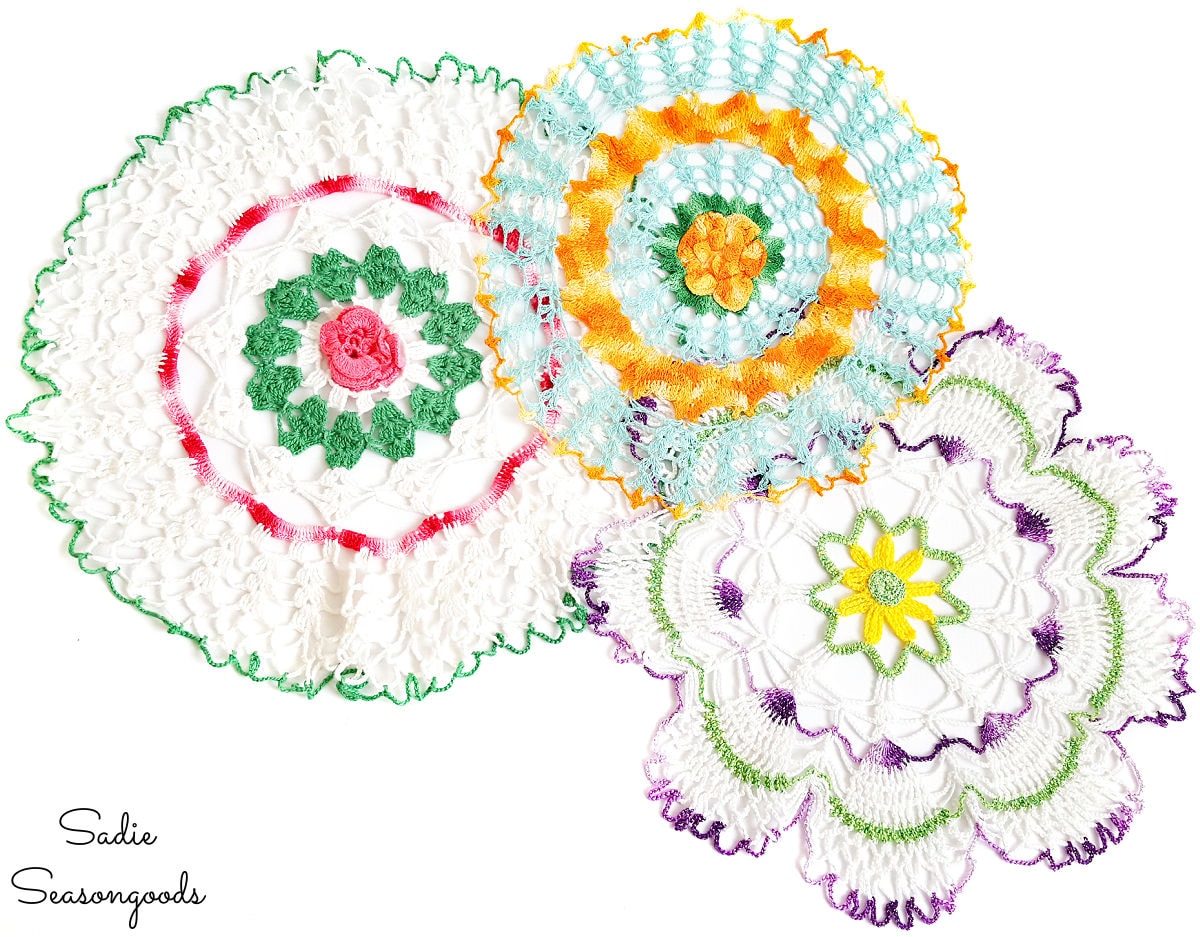
A lot of people have used fabric stiffener on plain, small doilies to create decorative bowls- which is really cool! But as we head into summer, I wanted to take it a step further.
Why not flip the bowl around and create a cloche or plate cover for summer picnics and dinners on the patio?
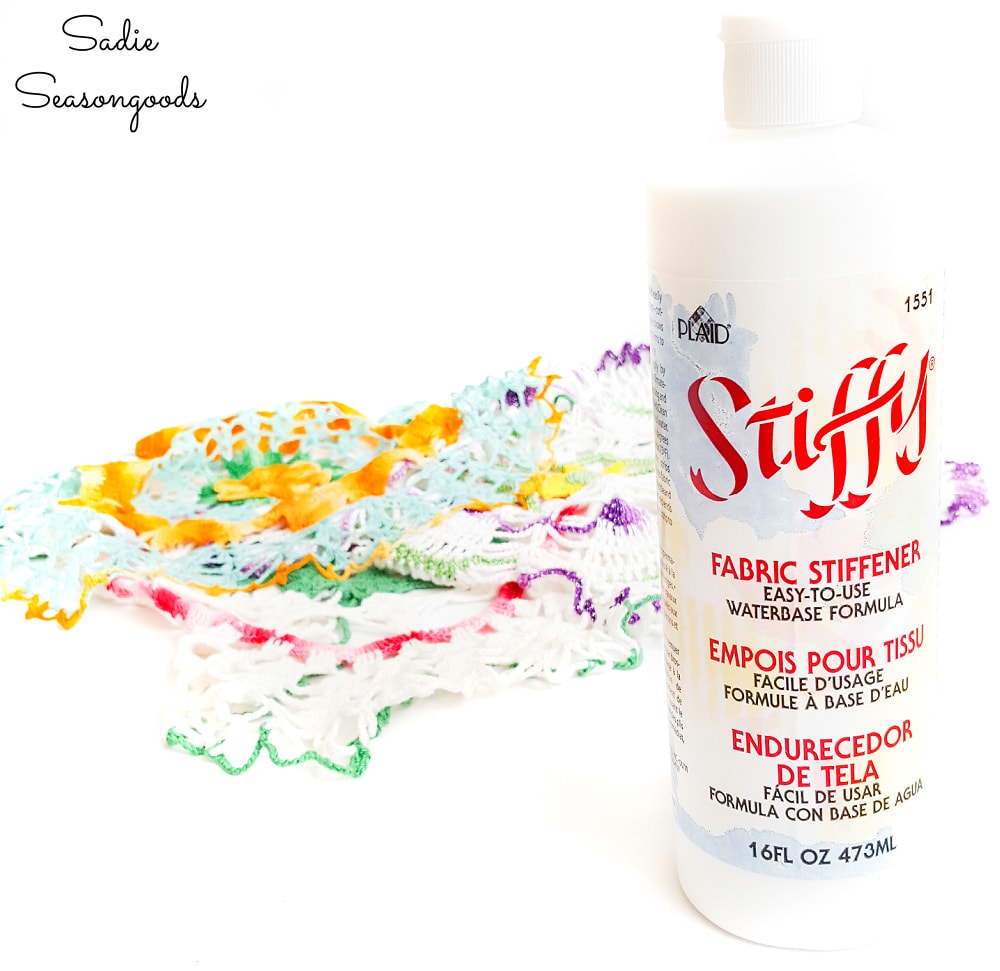
It was definitely worth giving it a go!
This post contains affiliate links for your crafting convenience. As an Amazon Affiliate, I earn from qualifying purchases. All blue, bold, and underlined text is a clickable link, either to a product or to a related post.
Stiffening Doilies to Make Plate Covers
Before I started, I gave a lot of thought to the best approach. My hands were going to be messy (covered in fabric stiffener), so I needed an easy way to smooth my gloppy doilies around an upturned bowl.
A potter’s wheel would be an ideal option- but not exactly something I have sitting around.
BUT. But. I did have a lazy Susan from one of my junkin’ jouneys! So I dragged it out and grabbed some foil from my kitchen to cover/protect it.
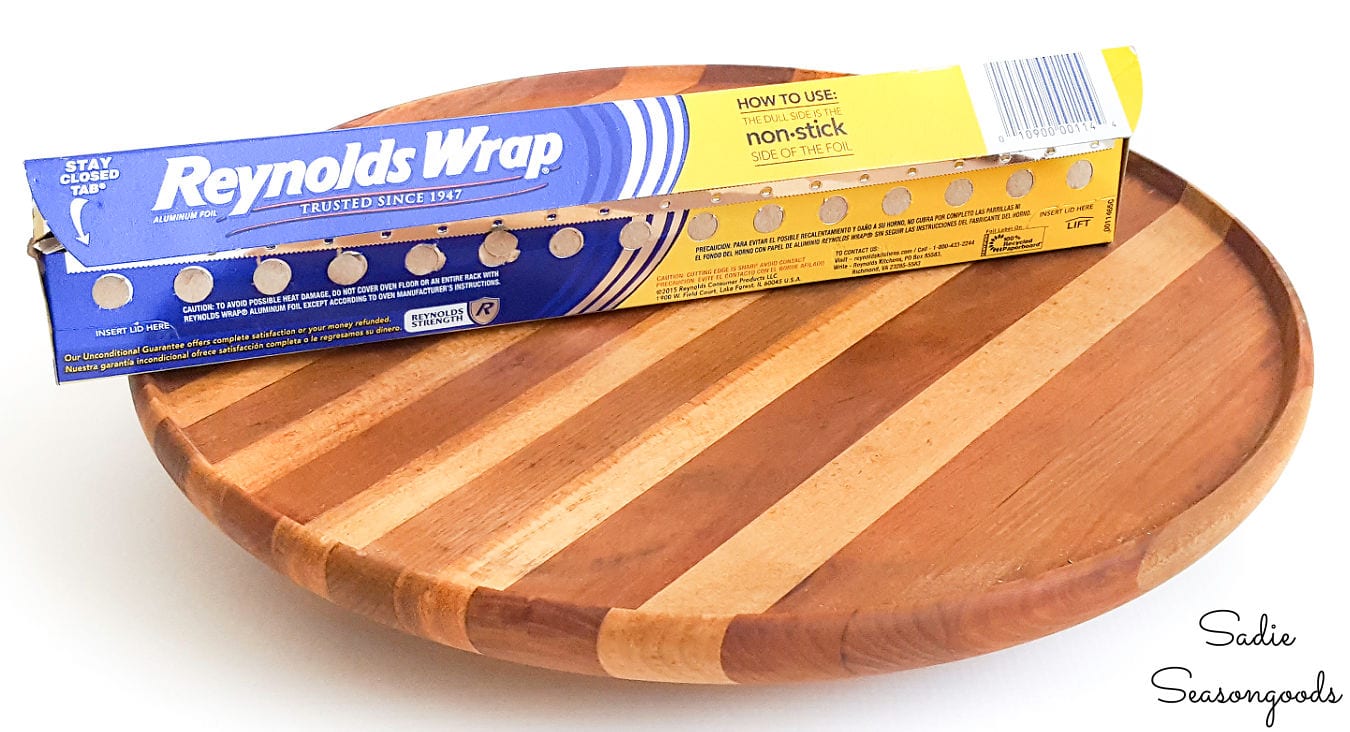
First, I covered the lazy Susan with foil to protect from my doily starching adventures.
Then, I selected a good-sized bowl (i.e., my cloche mold) and covered it in plastic cling wrap.
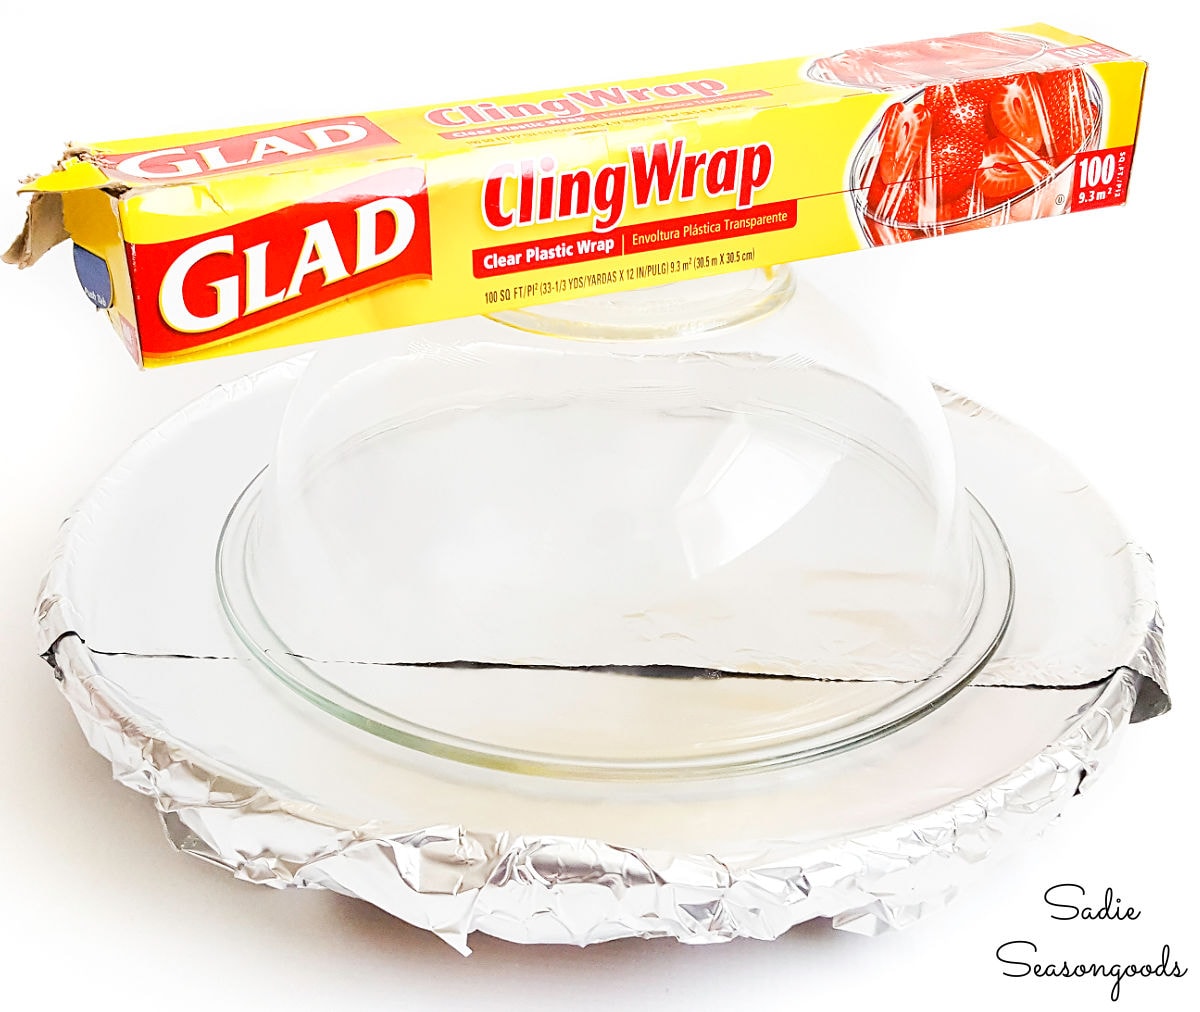
A certain kitten chewed on the corners of the cling wrap box, so just ignore that!
Now I was ready to get my hands dirty! Using a recyclable plastic cup, I wadded up the vintage doily and tucked it in the bottom of the cup. Then, I poured some fabric stiffener in until it just covered the top of the doily.
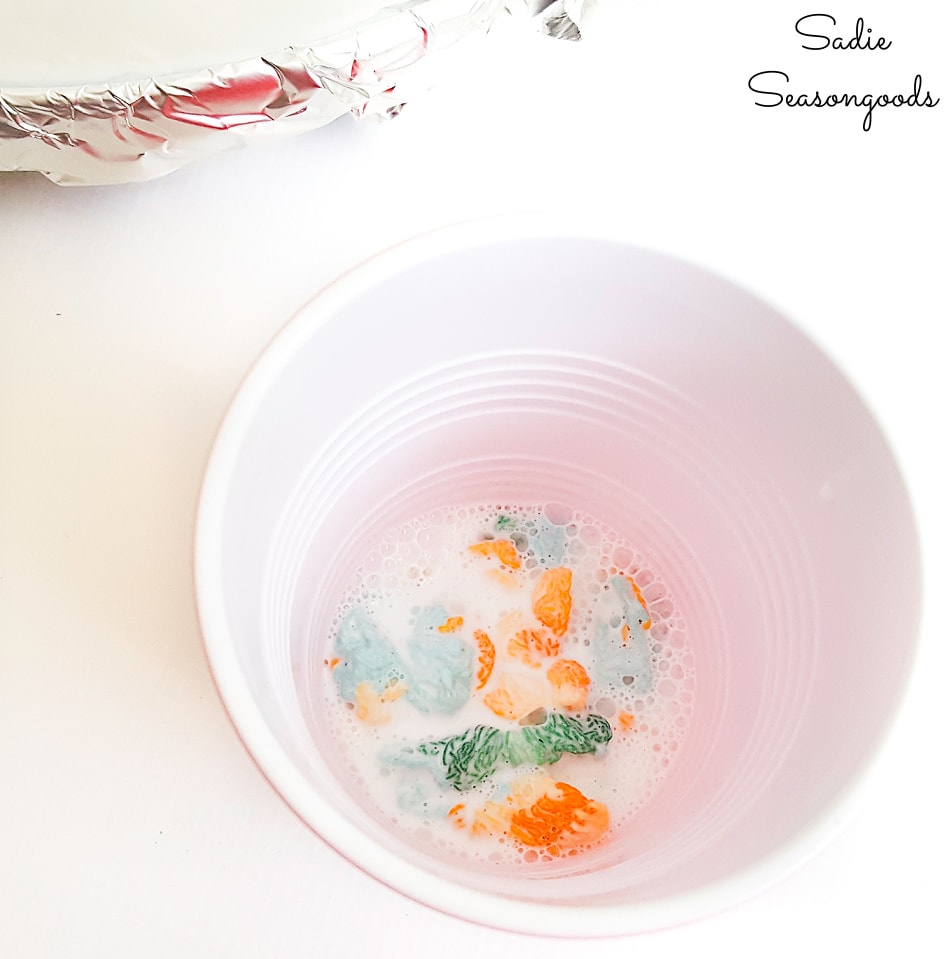
I used a bamboo skewer to poke it around a little, just to ensure it was completely submerged. Then I let it soak for a couple of minutes.
After it soaked, I pulled it out, squeezed as much excess stiffy as I could, and carefully spread it over my plastic-covered mixing bowl.
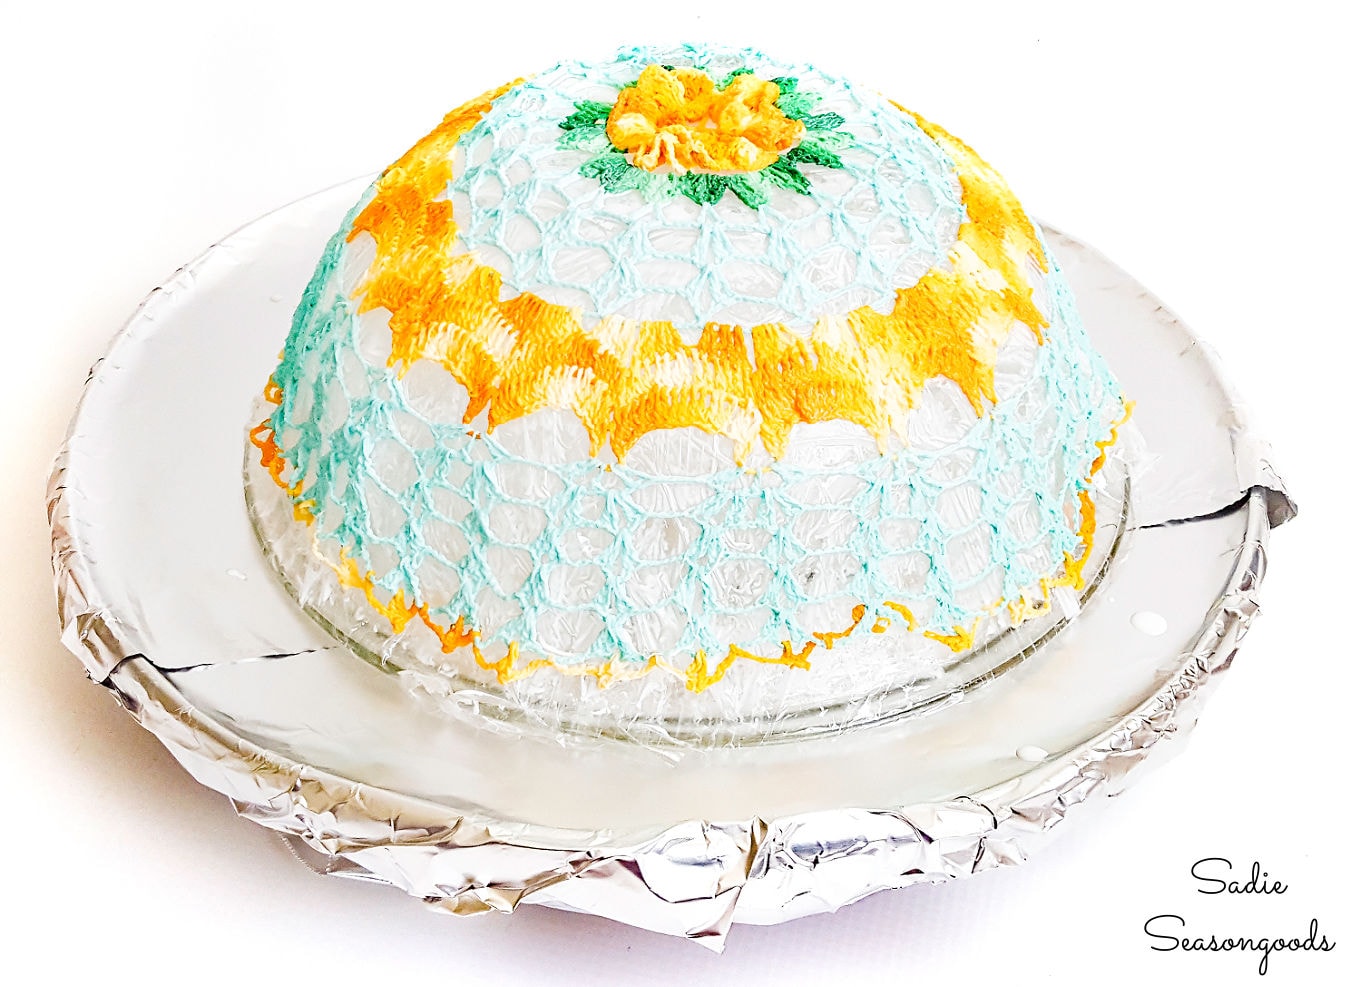
I also made sure that the center flower was directly over the center (flat part) of my bowl.
This was why the lazy Susan was so perfect- I could slowly spin it around as I smoothed the doily over the glass, making sure there were no wrinkles or overlaps.
I was so excited to see how it turned out. But I had to be patient and let it dry overnight.
Transformation into a Plate Cloche
When morning rolled around, I carefully pulled the now-stiff plate cloche from the mixing bowl mold. Then, I began to peel away the cling wrap.
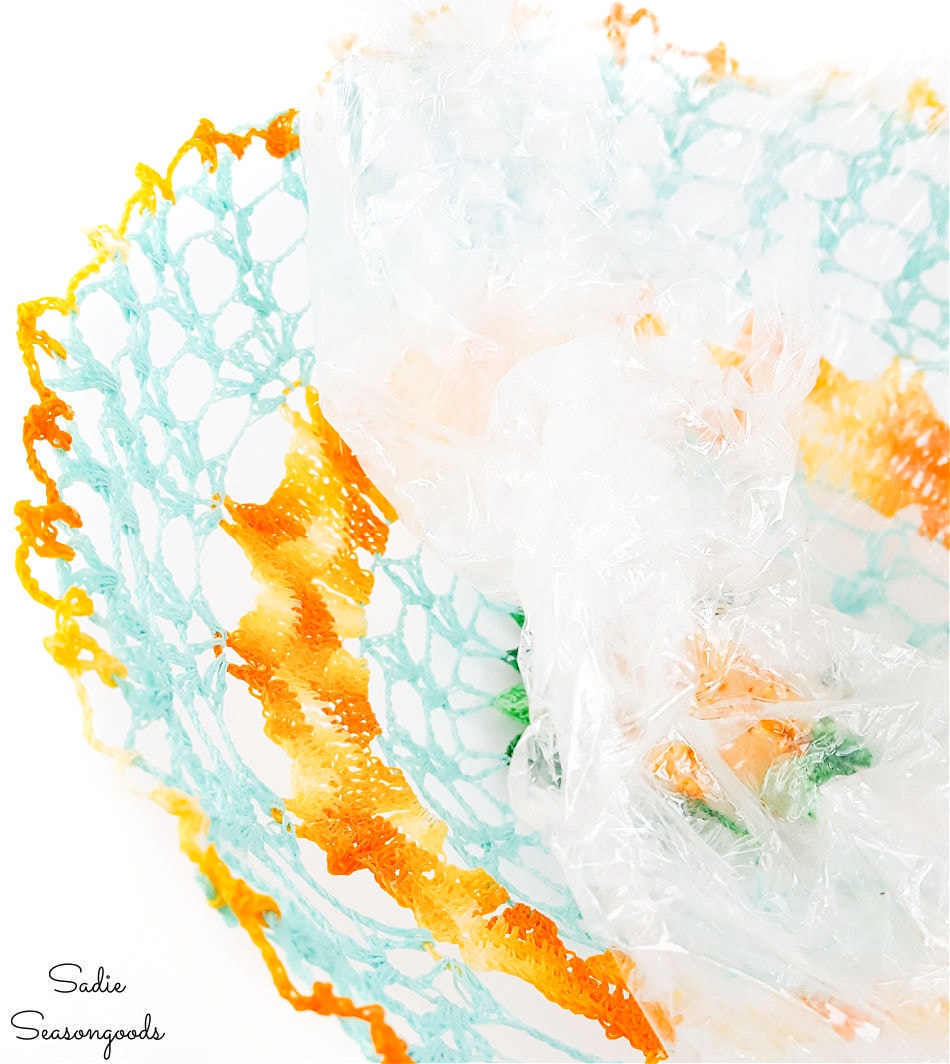
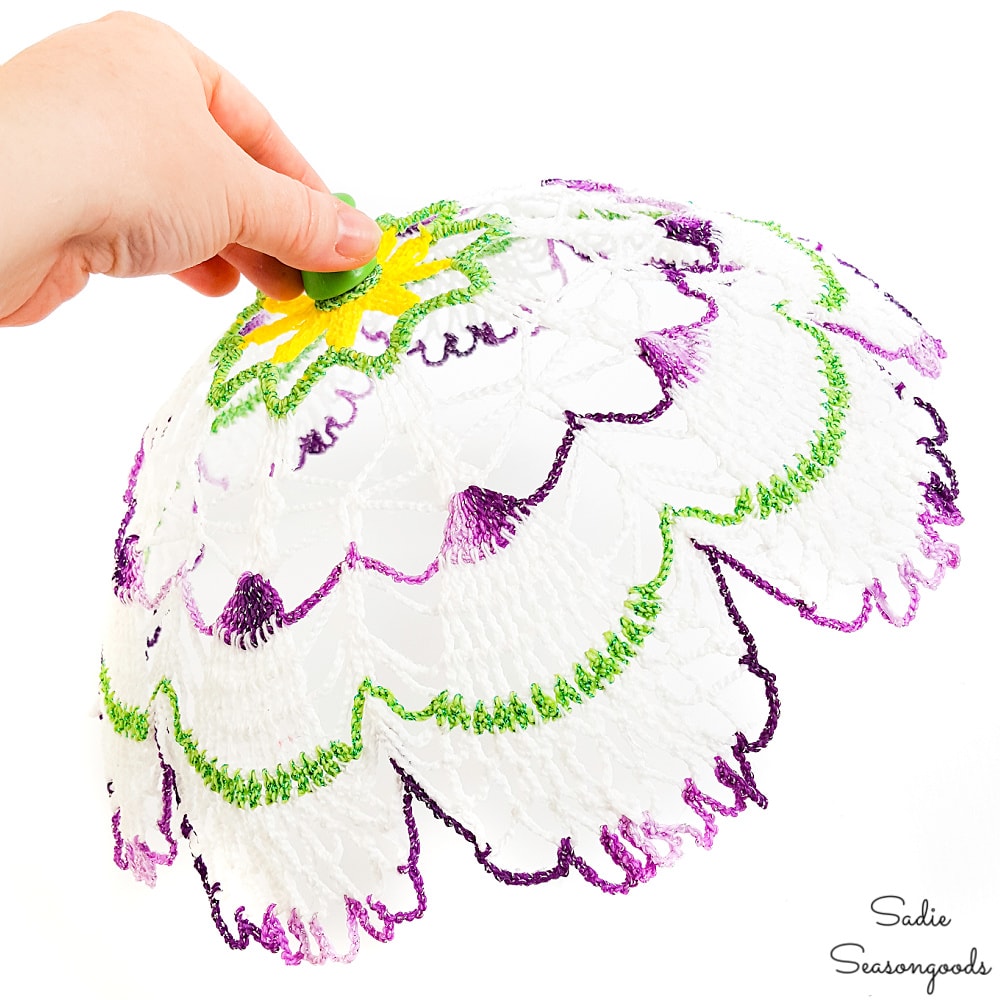
Look at that- it worked! I had a wonderfully shaped doily. It was moveable (i.e., not hard like concrete), but retained its bowl-like concave shape.
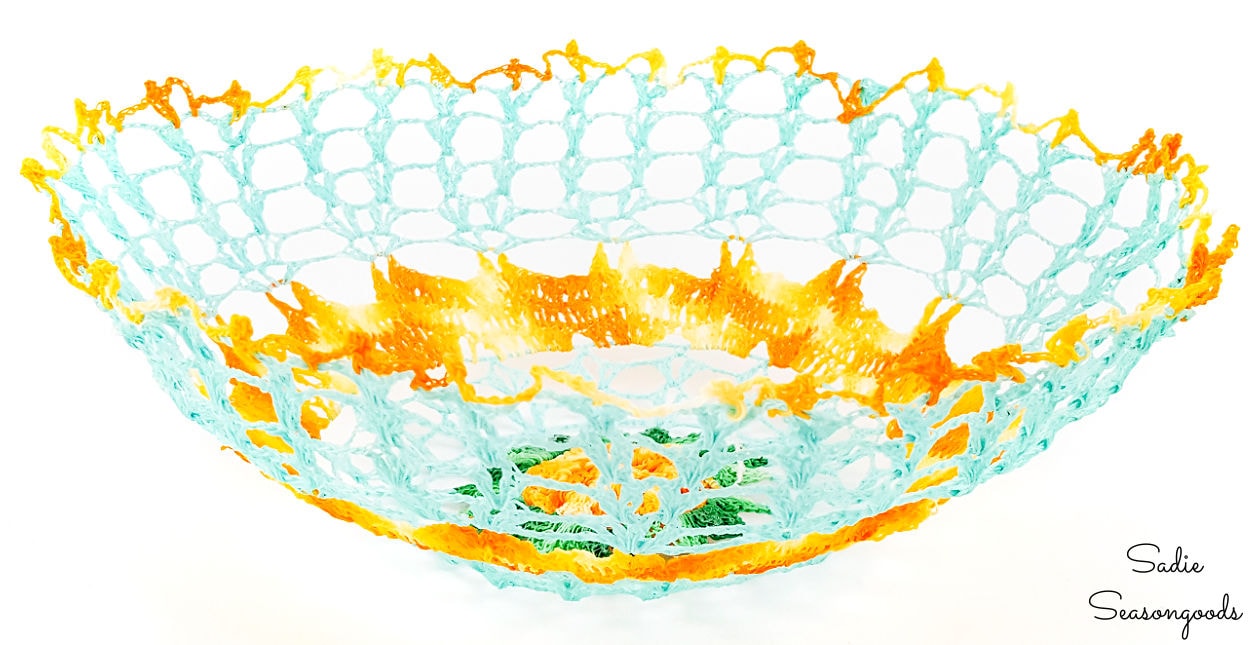
If I were just making a doily bowl, I could have stopped here. But as I mentioned earlier, I planned to turn it around.
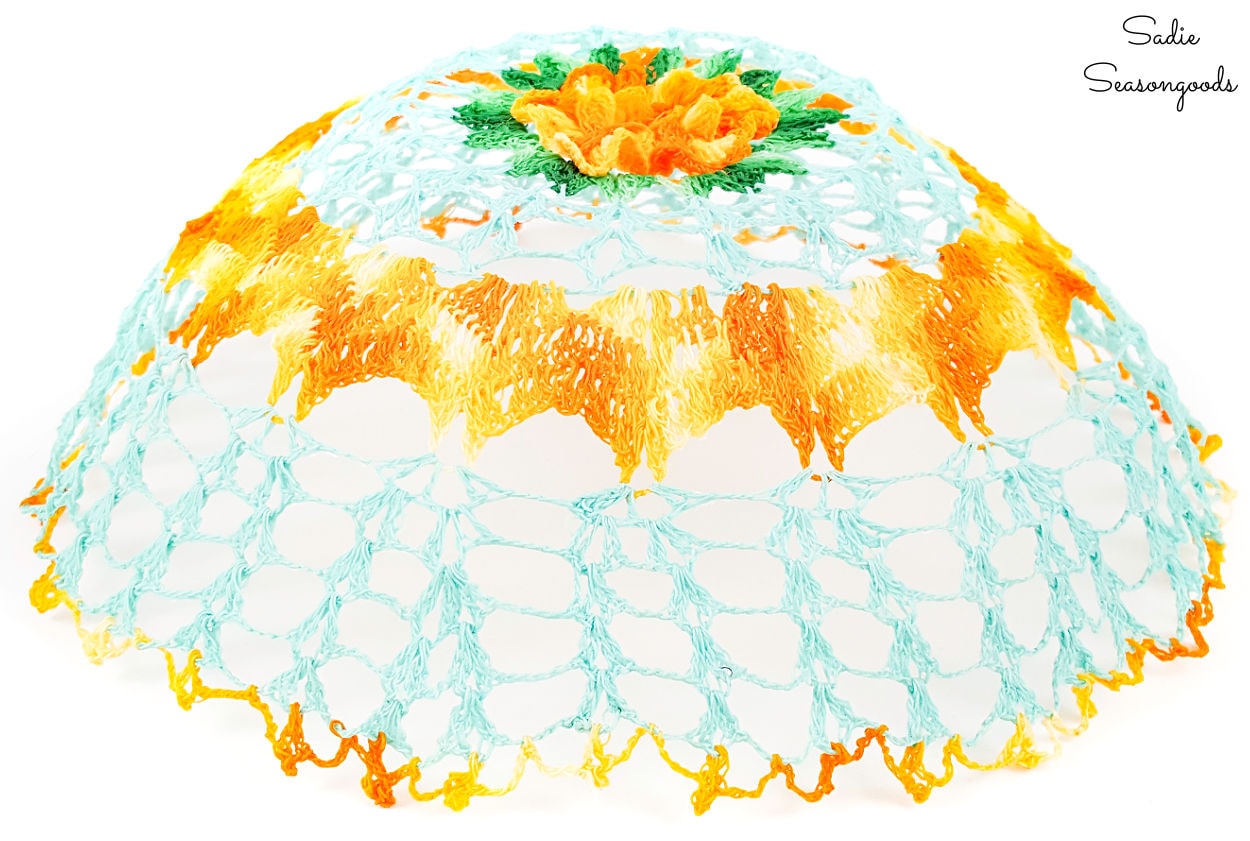
And use it as a plate cloche or dinner plate cover!
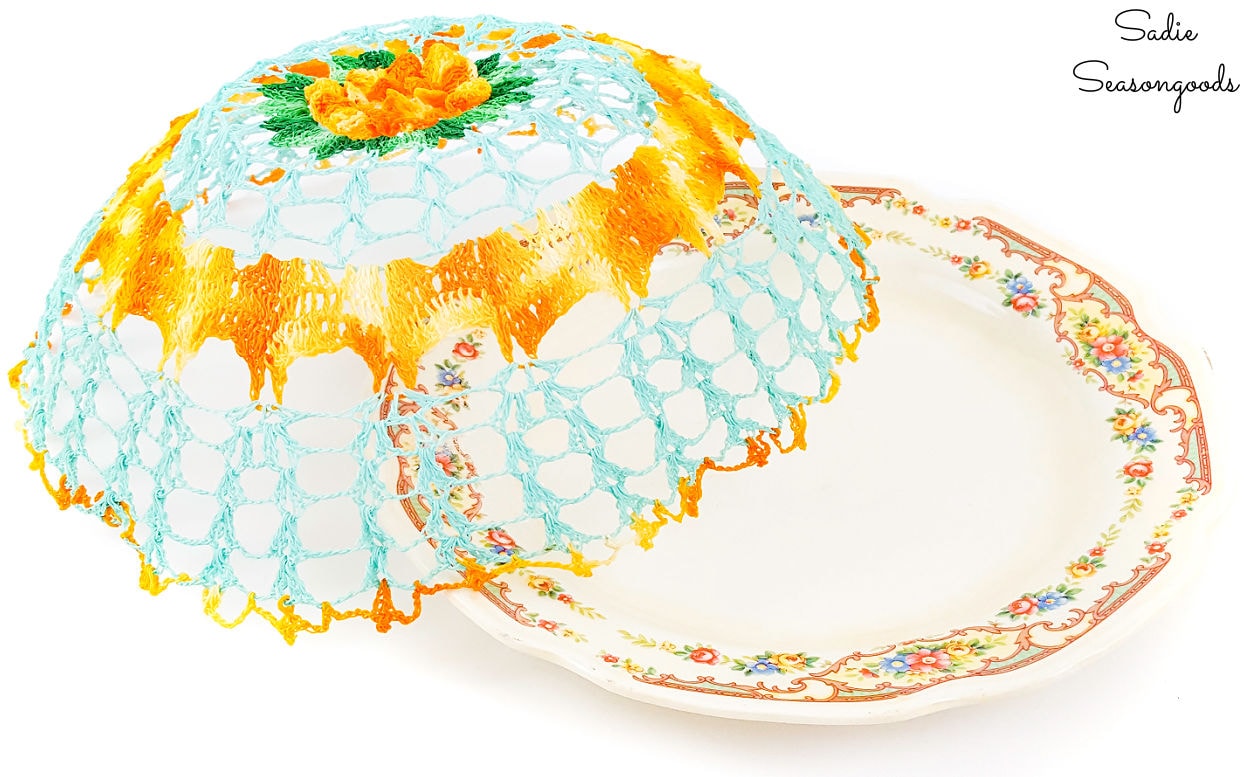
I just needed one more thing to complete the transformation!
A handle! A little handle at the very top.
I thought about using a pretty cut glass drawer pull, but I didn’t want the hassle of cutting off the screw hardware. Instead, I used inexpensive wooden knobs that I painted to coordinate with my cloche covers!
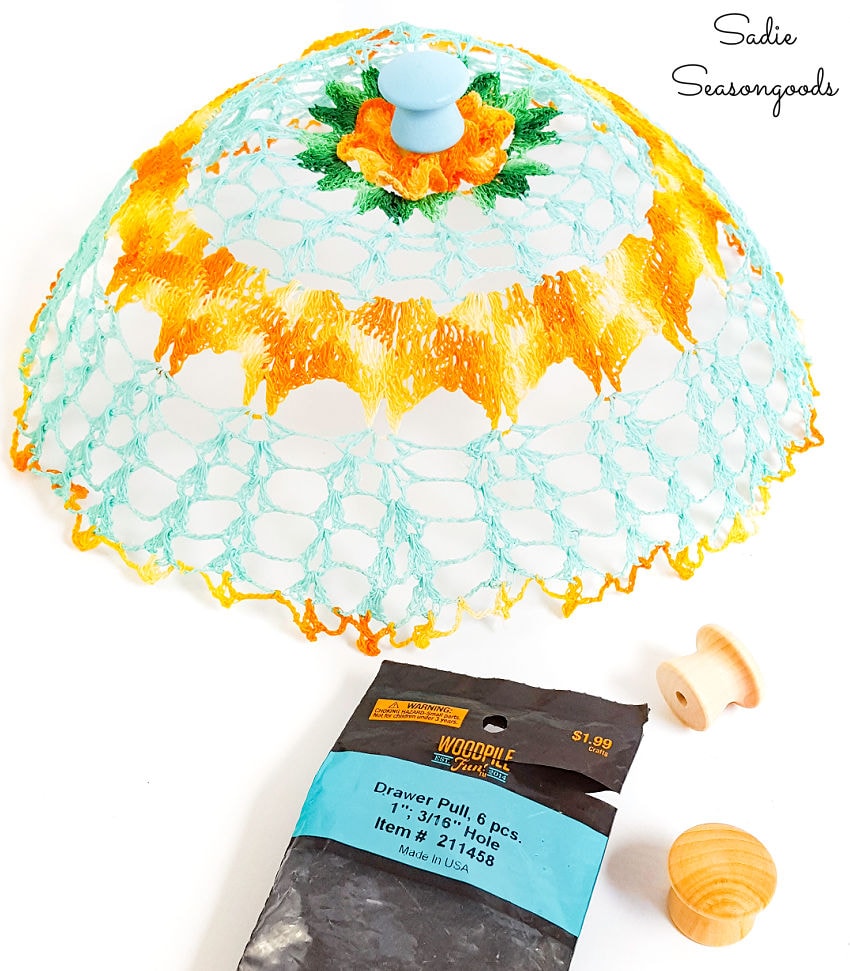
Once the knobs were painted, I simply used my beloved hot glue gun to attach them to the top of each doily cloche.
Plate Cloche from a Vintage Doily
And just like that, I had a plate cloche from a vintage doily.
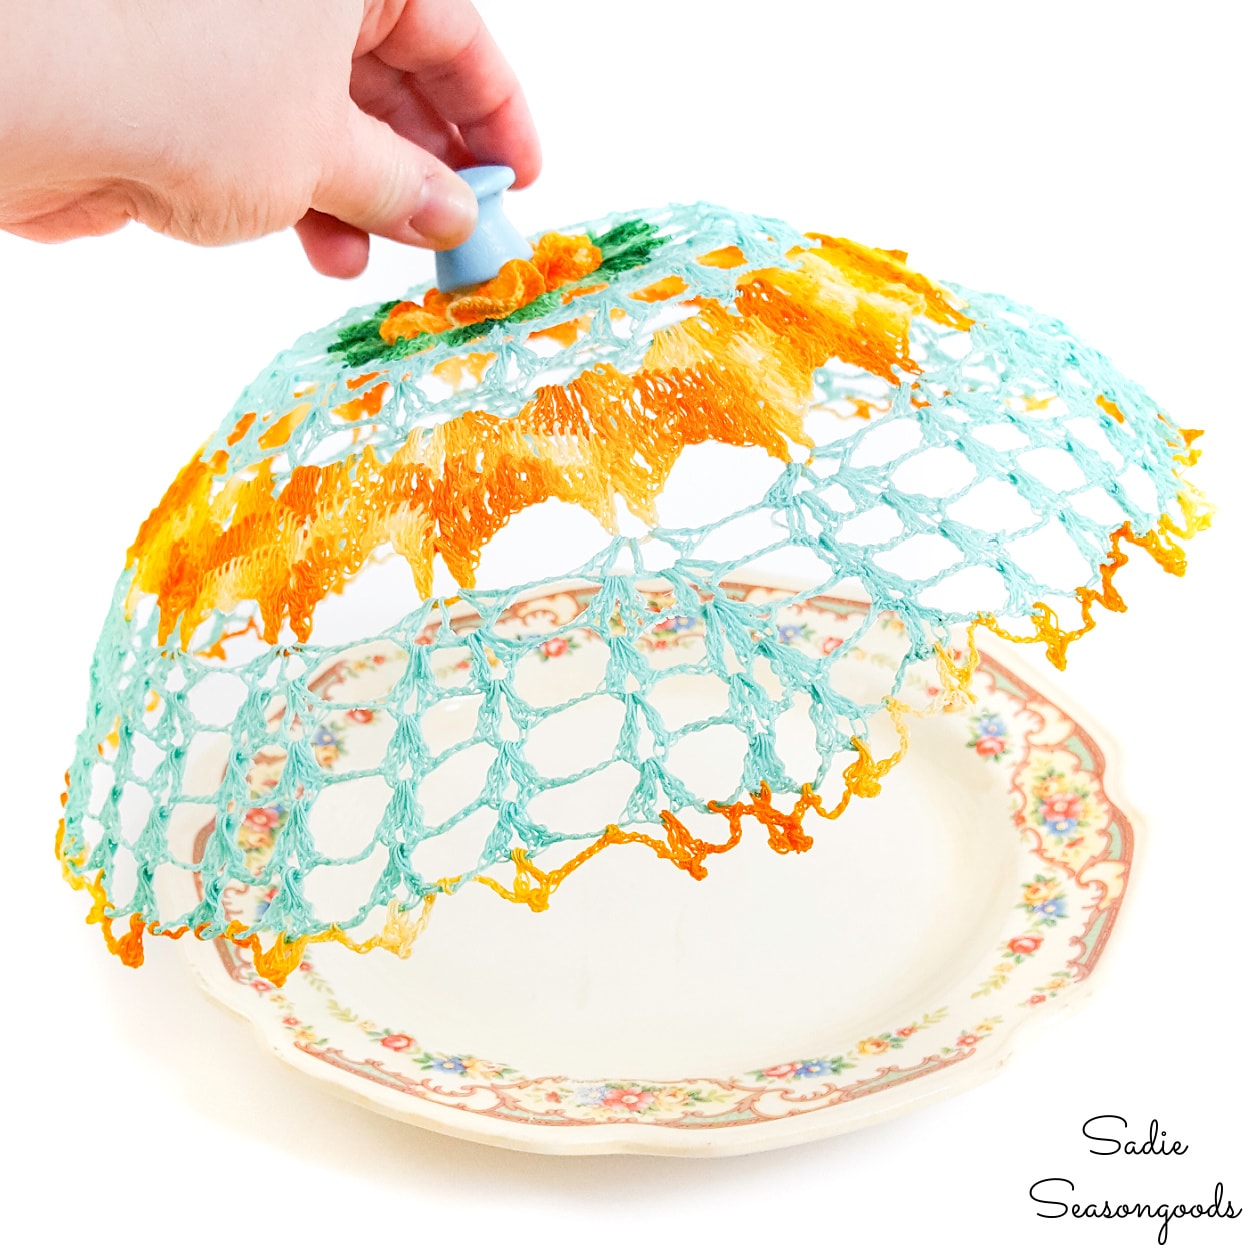
How perfect is that?
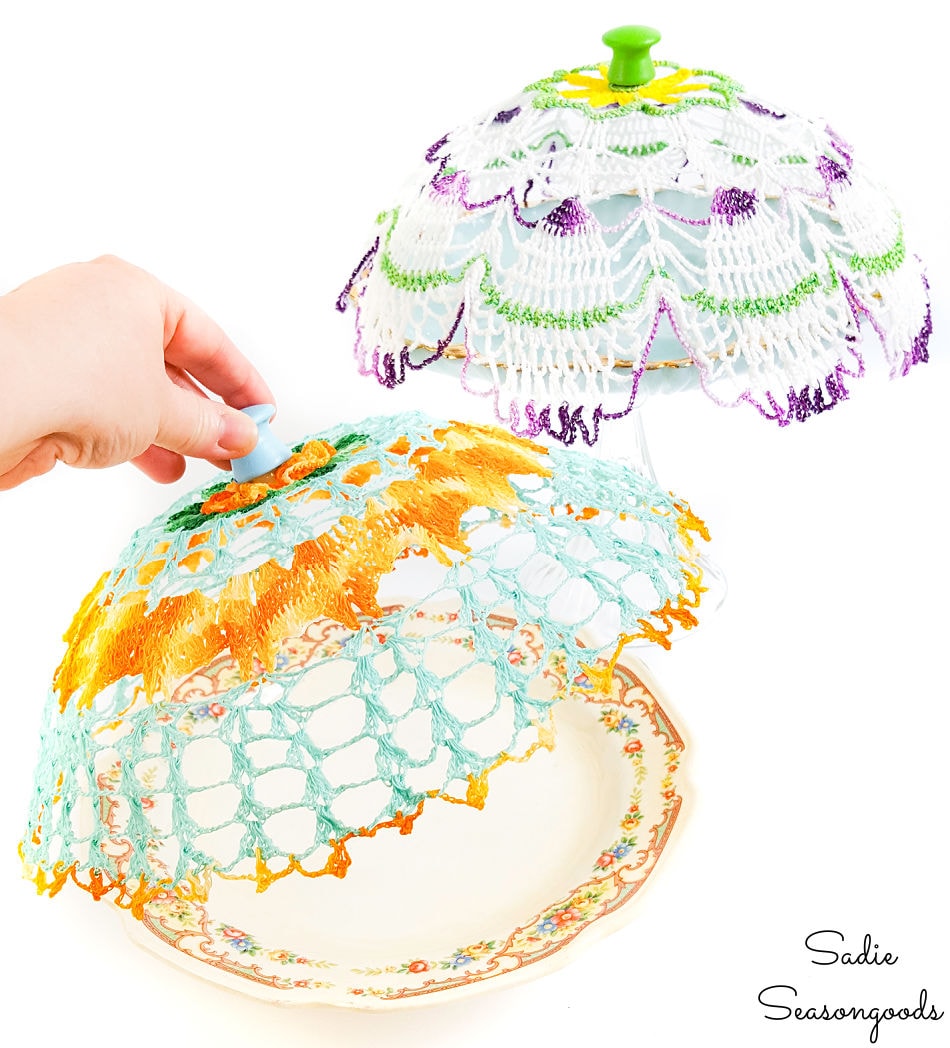
I did the same process to one of my other vintage doilies, as well. SO cute!
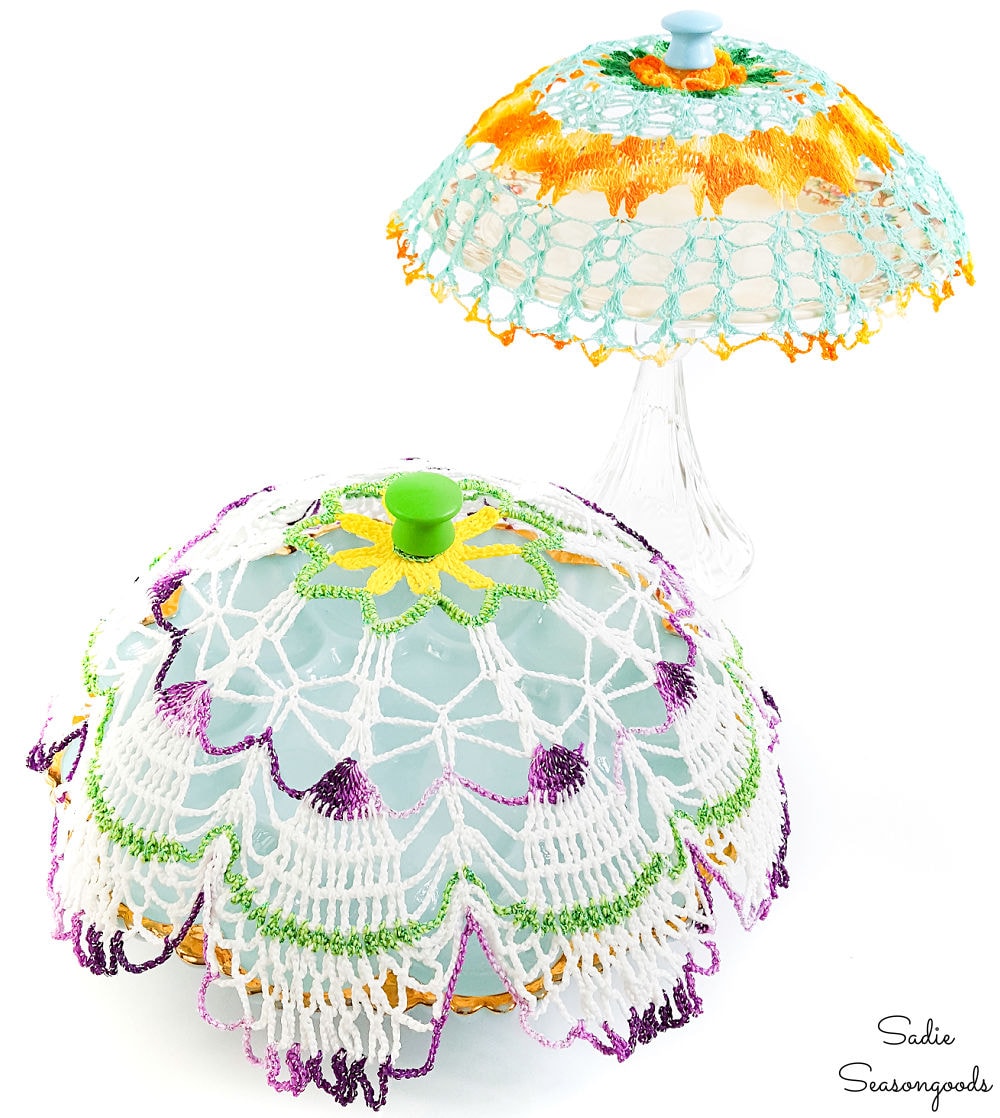
So, they might not keep out the smallest of insects during your next outdoor gathering, but they’ll look awfully pretty!
And you could easily make these with a layer of fine mesh underneath. Just stiffen them together over the same bowl.
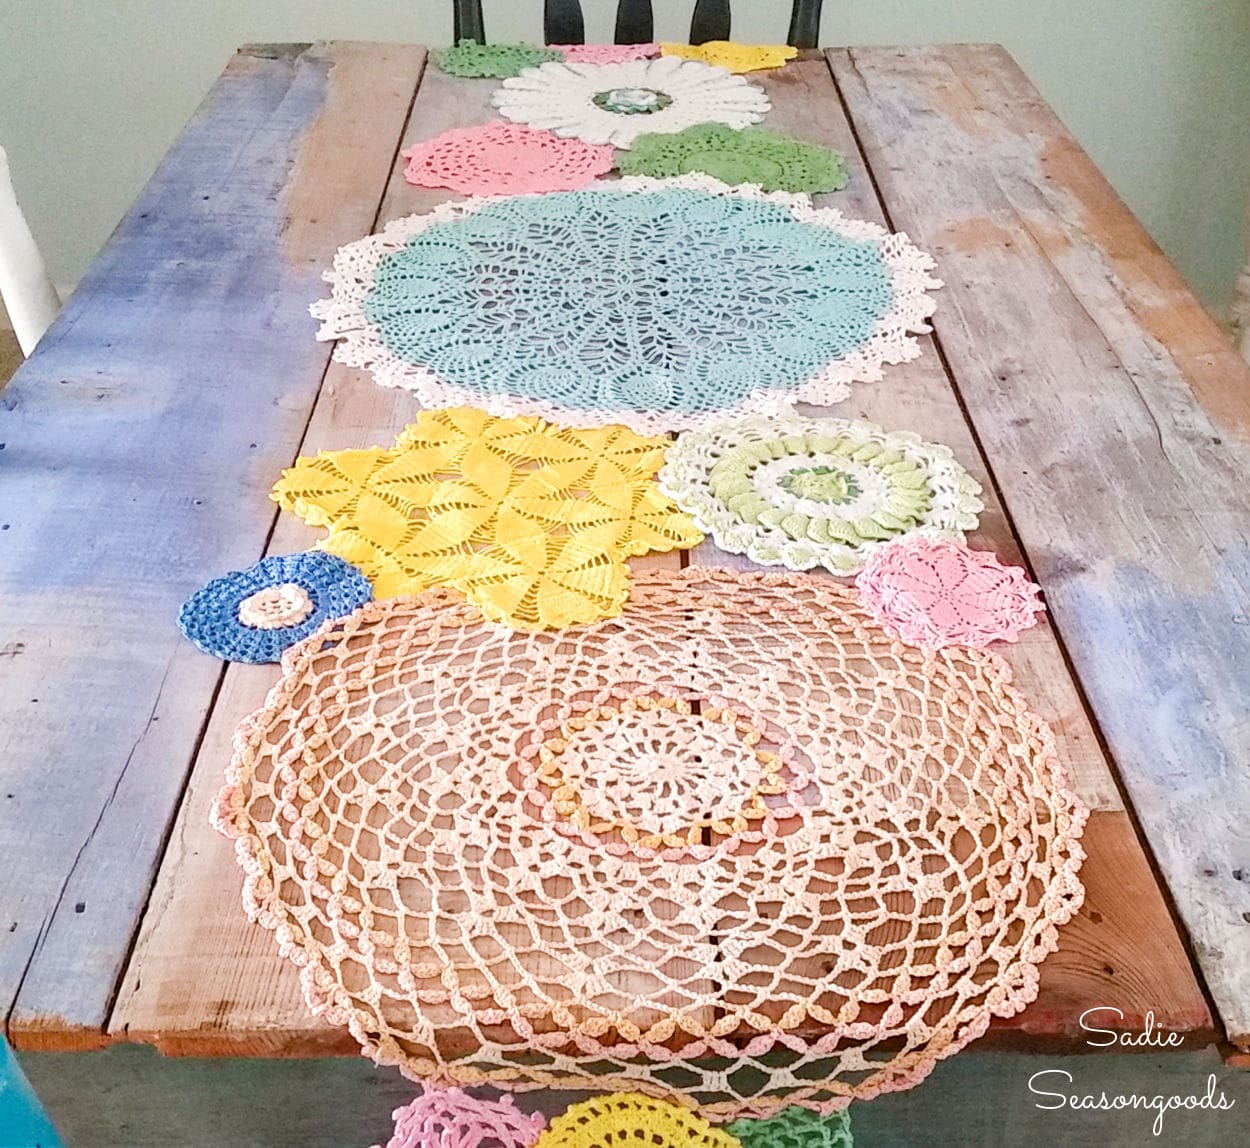
If you enjoyed this upcycling idea for vintage doilies, then you may also like my doily table runner, as well!
Craft on!
S
Want to be notified when I publish my next upcycling project tutorial?
Join me on Social Media:
PIN ME!
Sarah Ramberg is the owner of Sadie Seasongoods, a website that celebrates all things secondhand. From upcycling ideas and thrifted decor to vintage-centric travel itineraries, Sadie Seasongoods is a one-stop shop for anyone who loves thrifting and approachable repurposing ideas. Sarah is also the author of “Crafting with Flannel” and has been featured in numerous media outlets and magazines.







Love love this, I’m so making this….what size of doily did u use?
Thanks, Kathy! My doilies were 11-13″ in diameter, for the most part.
Thanks didn’t see in your details, sorry to bother…the hunt is on for doilys today! Thanks for sharing..
A clever idea! And so pretty.
Amalia
xo
Thanks, Amalia!!
Wow, Sadie, these are so beautiful. I have tons of doilies and I will be making these. So clever of you.
Bev
Thank you, Beverly!!
Love the plate you used. My great grandmother had that set… and now I have it.
Thanks, Teri!!
Who cares if they ACTUALLY keep out bugs?! SO so cute!!
HA!!! Thank you so much, Lauren. 🙂
Those are great! I wonder if you could leave the plastic wrap on to make them “insect proof”?
Thanks, Pat!! (did you get my email response?)
Please,What would you recommend to make bug proof?
I’ve never tried it so I can’t guarantee that it would work. But you may want to layer cheese cloth or a really fine mesh underneath the doily when making it.
You are so clever! Just the cutest thing ever!
Thank you, darlin’!!
These are beautiful! What a fun project
Thanks, Sylvia!
can u tell me what the name of the pattern is o the plate. My mother had this pattern.
I wish I knew!! There’s no marking on the back. 🙁
So, so cute!
You are a master at reinvention!
Thank you for joining TOHOT!
Thank you so much!!
These are so fun…charming!
Thanks, Linda!
What a great repurpose!
Thanks, Pat!!
You are so amazing and your crafting ideas/projects are awesome! Your visions have challenged my eyes to “see” beyond! I love your site and all its links.
Theresa
Thank you so, so much, Theresa- your comment has truly made my day! 😀
Lovely idea. I wonder if you could turn them into a lamp shade somehow? Sorta reminds me of that too. 🙂
If there’s a will, there’s a way- I just don’t know how Stiffy holds up against a hot bulb. LED might be the way to go, just in case.
These turned out great. I have used the Stiffy to make some ornaments for Christmas out of old quilts. I haven’t used it for doilies yet, but I know I will now! Thanks for sharing.
xo Dianne
Just a thought, but if you lined the doily with a circle of bridal veil netting or other fine netting before stiffening, the doily cloche will be bug proof. Lovely idea by the way.
Very good idea!!
Just saw this on my link party and this is just so stinkin’ cute!!
Thanks, Janet- and thank you for hosting!
Another one of your fabulous doily ideas! LOVE this!
Awww, thank you!
Fun fun fun idea!
Thank you, Carlene!!
Homemade mod podge recipe ….1 bottle of school glue, any brand Elmer’s or store brand and 1/3 Cup water, pour into any container or jar with a lid…..add both glue and water, put lid on and shake…ready to use right now…have fun
AWESOME! Thank you for sharing these!!!
Your welcome…that’s what it’s all about…helping each other out!!
Hello Sarah,
I’m absolutely thrilled by these cloche covers. They’re stunningly beautiful! I most definitely must try making some too (wondering where I might get fabric stiffener from, but I’ll find some for sure!)
Happy crafting,
Marjan
Thank you, Marjan! I had a reader in New Zealand wonder the same thing…and she decided she might be able to make her own with watered down glue or Mod Podge. I don’t know if it would work or not, but it might be worth looking into if you can’t find any!
I’ve seen recipes for homemade..I’ll try and find one
1 bottle of school glue, any store brand or Elmer’s and 1/3 cup water, put in jar or container with a lid, shake container and it’s ready to use…
What a cleaver idea. I don’t have any crochet doilies, but I might buy a couple now. Thanks for sharing this cutie idea at Your Inspired Design Link Party.
Thanks, Carol!
Those are adorable Sarah! Great tips & details on how you did it!
Thanks, Florence!!
What a fun project! Love it.
Thanks, Virginia!
How clever! Great project and how lovely for a tea party or any occasion really!! Love it 🙂
Right?? Thanks so much, Sam!
How fun! I remember something like this product being used to make those cheesecloth ghosts years ago, but I had forgotten all about it! I think these are brilliant! Thanks for sharing over at Celebrate Your Story! link party. Now I am trying to think where I feel I will best find some old doilies!
Thanks, Chloe!!
What a great idea! I love how delicate they look. So clever! Thanks for sharing on Family Joy Link Party this week! 🙂
Thanks, Cristina!!
This is such a fun and useful idea! I always kind of hated the thought of all those handmade doilies, being such a labor of love, being not appreciated because they’re out of style. Good for you for finding a great use for them!!
Thanks for sharing with us on Throwback Thursday!
Mollie
Thanks, Mollie!
Came over from Bella Rosa Antiques to see the details. Fun! I wonder if you can wash them when food inevitably gets on them or if that washes out the fabric stiffener.
I would think it would was out stiffener …
Dang auto correct….think it would wash out stiffener …
Wow…what a neat idea! 🙂
I would love for you to add this to my Recipes and Crafts Facebook Group: https://www.facebook.com/groups/pluckyrecipescraftstips/
Thanks for joining Cooking and Crafting with J & J!
This is such a fun idea. And it looks simple enough to make.
These are just adorable. My Grandmother and Mother used to starch doiles to the high heavens and make little ripples then set a lamp or a what not in the middle. They would have loved this idea, I do. Thanks for sharing with us at Merry Monday.
Thank you so much!!
Sarah, what a fantastic idea!! The doilies look so lovely as cloche covers. You’re very creative!
Thanks so much, Keri.
Absolutely adorable and thank you so much for sharing at Vintage Charm! Now I have to look for some pretty doilies.
Thank you so much!
This is lovely! I came over from Posed Perfection to say hi. Your work is gorgeous!
All the best, Annemarie
Thank you so much, Annemarie!
This is great–wonderful tutorial! Thanks for sharing at Funtastic Friday!
Thanks so much!!
Very pretty Sarah and I will be on the lookout for doilies when I go thrifting.
Thanks so much!
These are so beautiful, Sarah! I look forward to your new creations each week… and you never disappoint! Featured you on Party Junk this weekend! 🙂
Thank you so very much- and I’ll be there with my latest and greatest!! <3 and 🙂
Sadie, these are gorgeous 🙂 As you know I crochet so I will be making some doilies just for this! Thank you so much for sharing!
Congratulations! You are one of my features 🙂
Joanita @ Snickerdoodle Sunday
Thank you, Joanita!!
Oh!!! This is so cool! Such a unique idea to make cloche covers with doilies. Love it!
Thank you, Christine!!!
What a cool idea!
What a seriously clever idea. Love it. I will be featuring this tuesday evening at 8pm EST at my Sizzle into Summer party. Please stop by and pick up an I’ve Been Featured button. Thanks. http://diybydesign.blogspot.com
Thanks, Judy!
Great idea! My mother in law has tons of doilies!
Thanks so much!!
I love these – what a great and easy idea! Thanks for sharing on the Pleasures of the NW DIY party!
Thanks, Helen!
One can never have too many doilies, can one. I love your cloche covers, you are so very clever!
Thank you so much, Kim!
Since I have no experience with doilies or stiffener, do you think they would hold up in humid Florida weather? They are beautiful and I think I want to try this.
Well, I can’t say for certain, but I know firsthand how hard that humidity can be! They might be ok if you kept them inside…but I just don’t know. Maybe experiment with some plain or newly purchased doilies as to not try pretty vintage ones straight out of the gate. Good luck!
Soooo cute!!! I was wondering if you are able to do this project in layers? Such as cheese cloth first then the doily as a second layer. I am not sure how it might look, but was thinking it would keep out the nasty flies. Just a thought…thanks for sharing your project 🙂 sue.
I don’t see why not! Thanks so much. 🙂
Wow! Thanks Sadie – You are a genius & now I’ll have to do this too. I love it! Thanks. 🙂 I don’t have enough to do already ha ha
Thank you so much!!! And I hear ya 100%!!! 😉
Very pretty ! can they be washed?
These just fascinate me; I have a stash of doilies I might try this on. I love doilies with multi-colors; my late mother-in-law used too-bright colors but did lovely pansy-edged doilies that NEED to be stiffened.
LOVE THIS ? I have a few handmade dollies my grandmother, mother, and Aunt made. I definitely will be displaying a few this way?
Thank you, Lori!!
Simply brilliant idea with an even more brilliant result! I am a young in age but old in spirt doily collector and aficionado ALWAYS seeking interesting and unique ways to display my precious pieces and, let me say, this is the BEST result I have ever seen! Inspired = me
Simply Adorable!! Thank you for sharing. What could u use to make them water proof. Just in case something gets on them.
Hmm, that’s a good question! I’d try spraying on a matte top coat first, but I honestly don’t know how that would react with the stiffener.
O YEAH!! What a great idee, grandmother left me a cupboard full, I were to sorry for it to throw away
Grandmother was a pro in crochets.
Well, the cheesecloth lady beat me to my idea, but I do like the layering suggestion of cheesecloth (or something like it), then the doily. Am toying with the idea of spraying some type of substance like Scotch Guard or whatever it is that keeps spots and other unknowns from blobbing up furniture fabric. I don’t think it would react with the Stiffy if it’s perfectly dry when you apply the Scotch Guard. Good show, Sadie!
Shari