If you are looking for ways to reduce waste (like me), then this idea might be for you! I love using my antique stoneware bowls, but because they don’t have lids, I end up using foil or plastic wrap to cover them. So, I decided to make some reusable bowl covers for a recent Independence Day party.
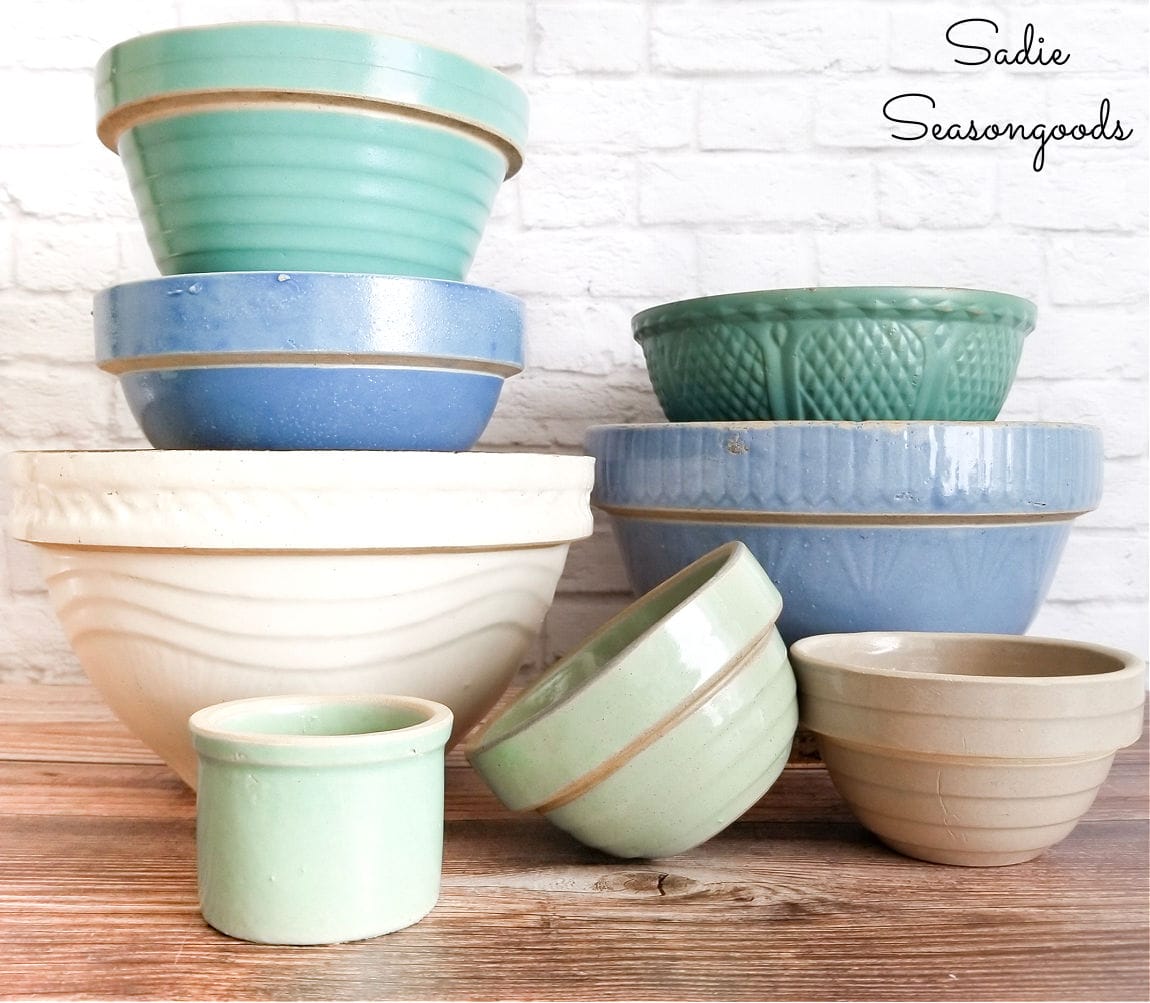
And to stay in the red, white, and blue theme, I decided that bandanas would be the perfect fabric for my reusable bowl covers.
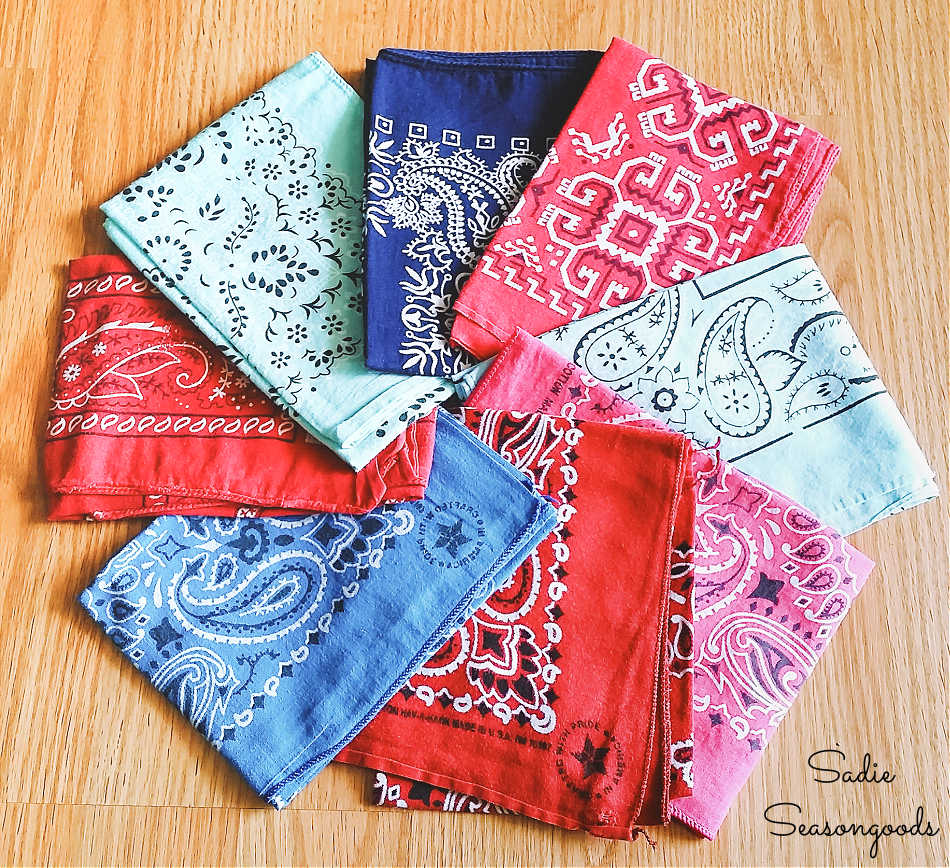
I thought a red bandana would pair up beautifully with my blue stoneware bowl! Perfect for summer as Independence Day decorations, but also eco-friendly at the same time.
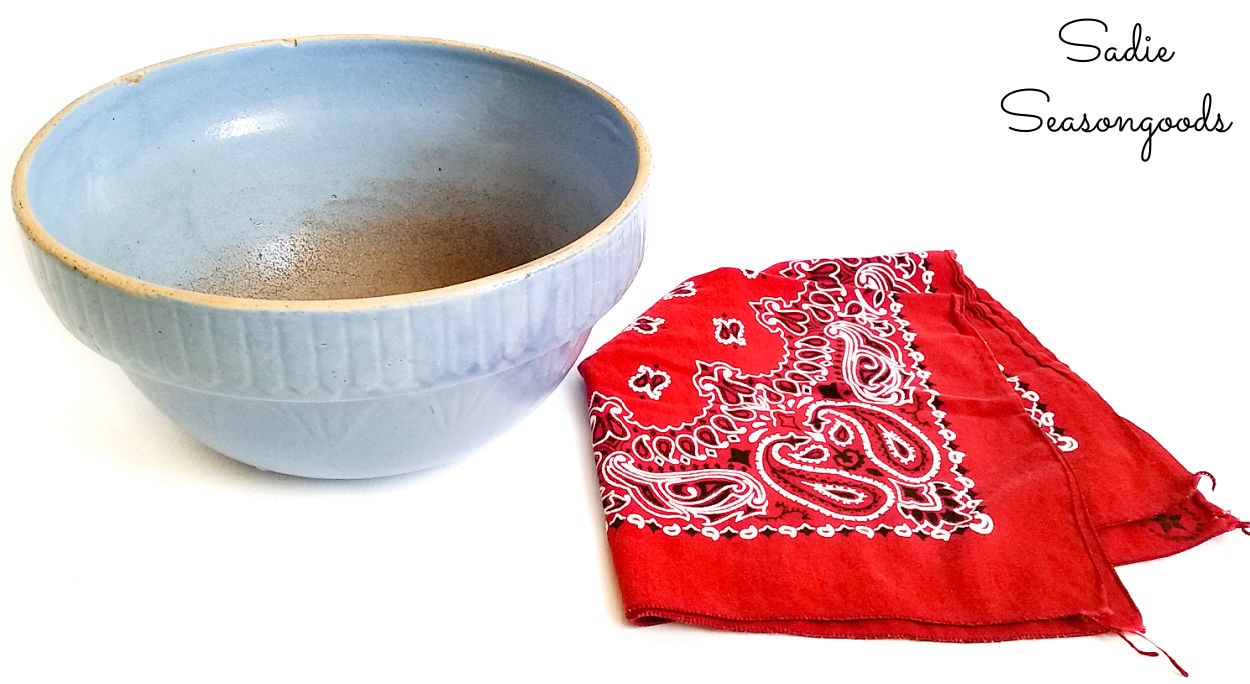
So, I gathered up some bandanas and basic sewing supplies to get started!
This post contains affiliate links for your crafting convenience. As an Amazon Associate, I earn from qualifying purchases. All blue, bold, and underlined text is a clickable link, either to a product or to a related post.
Cloth Bowl Covers for Vintage Stoneware Bowls
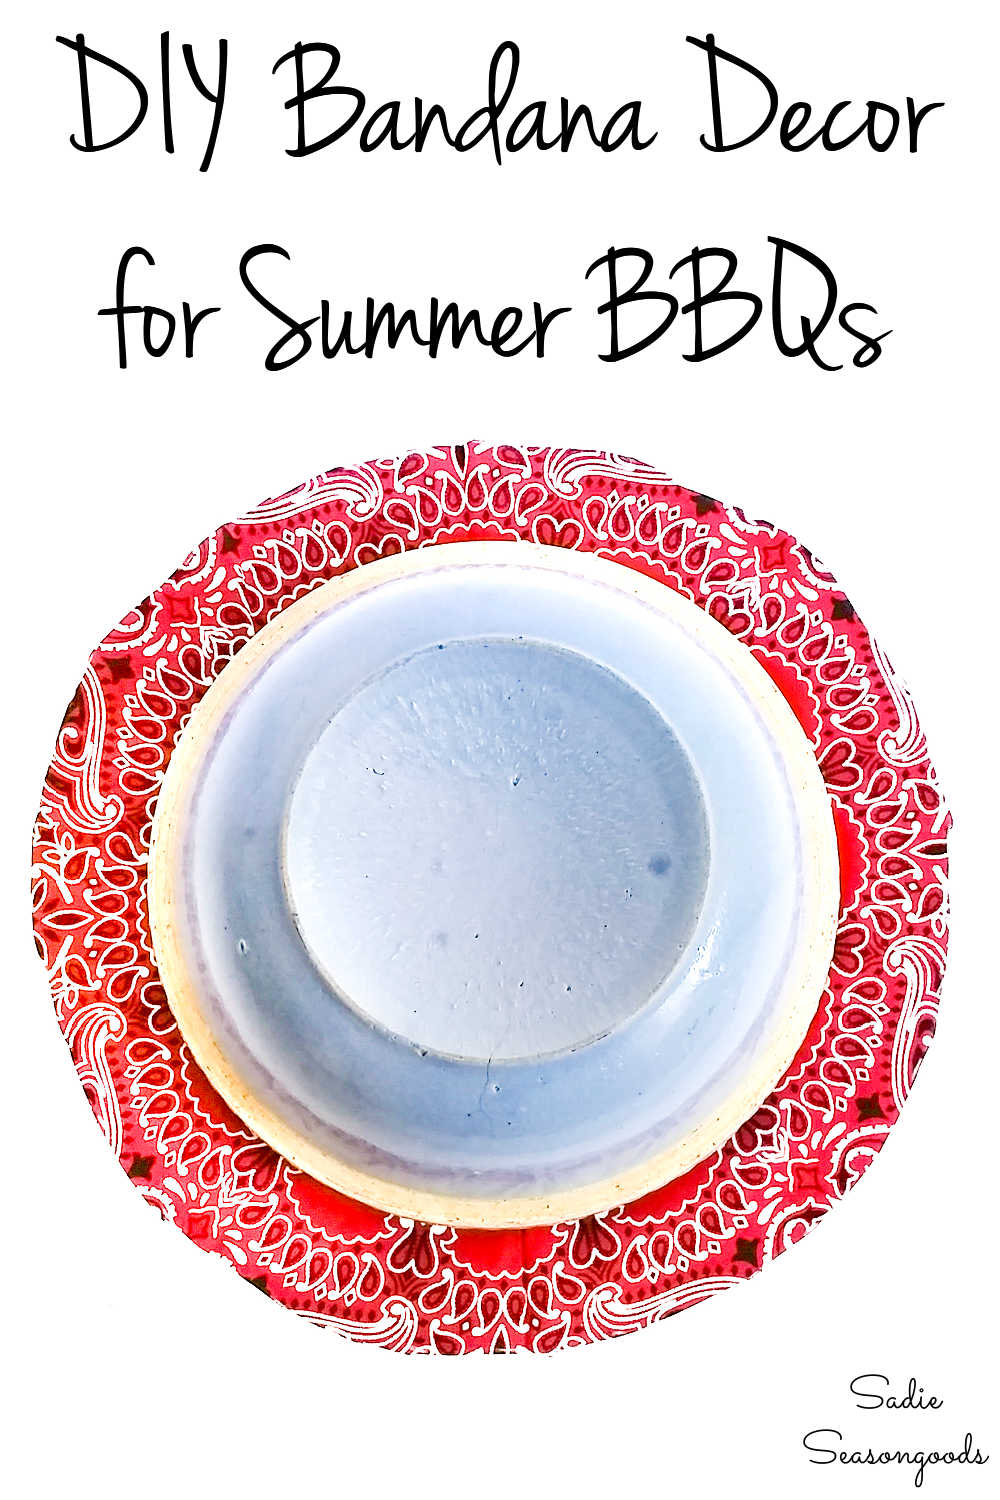
To create my reusable bowl covers, I placed my upturned bowl in the middle of a vintage bandana.
Many bandana patterns have a circular pattern in the center, which makes it easy to center your bowl.
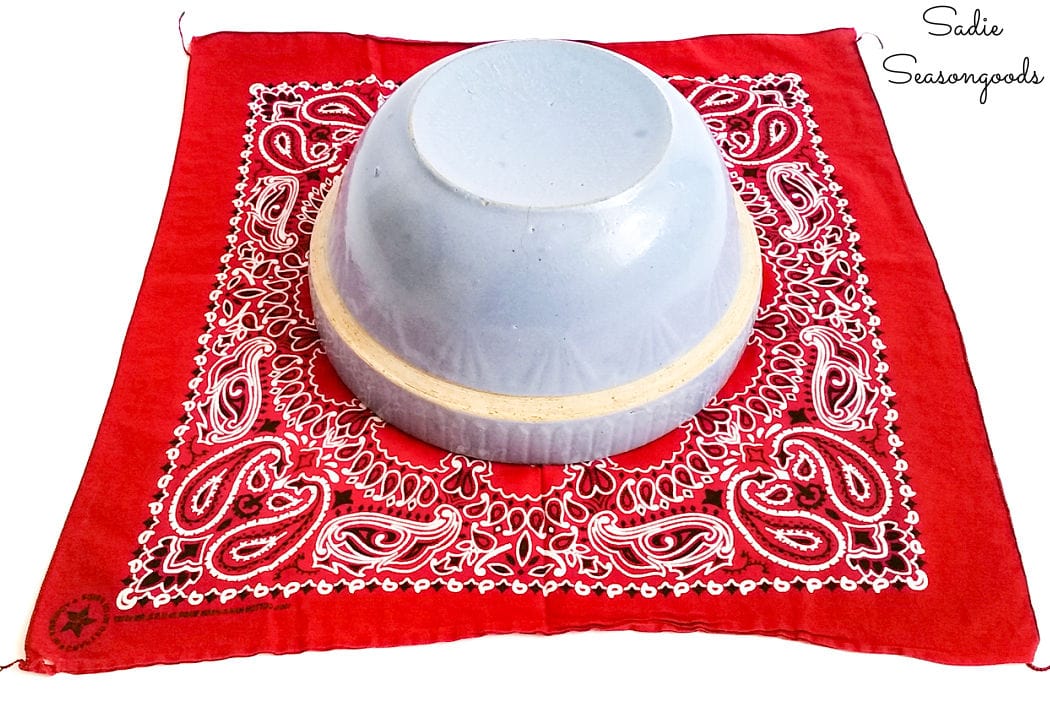
Then, I used a measuring tape to measure between 1½” – 2” out from the bowl’s edge.
For these old stoneware bowls with a large lip, I went with 2”. But 1½” would work just fine for most other bowls.
Next, I made dashed lines here and there with a fabric pencil at the 2” mark.
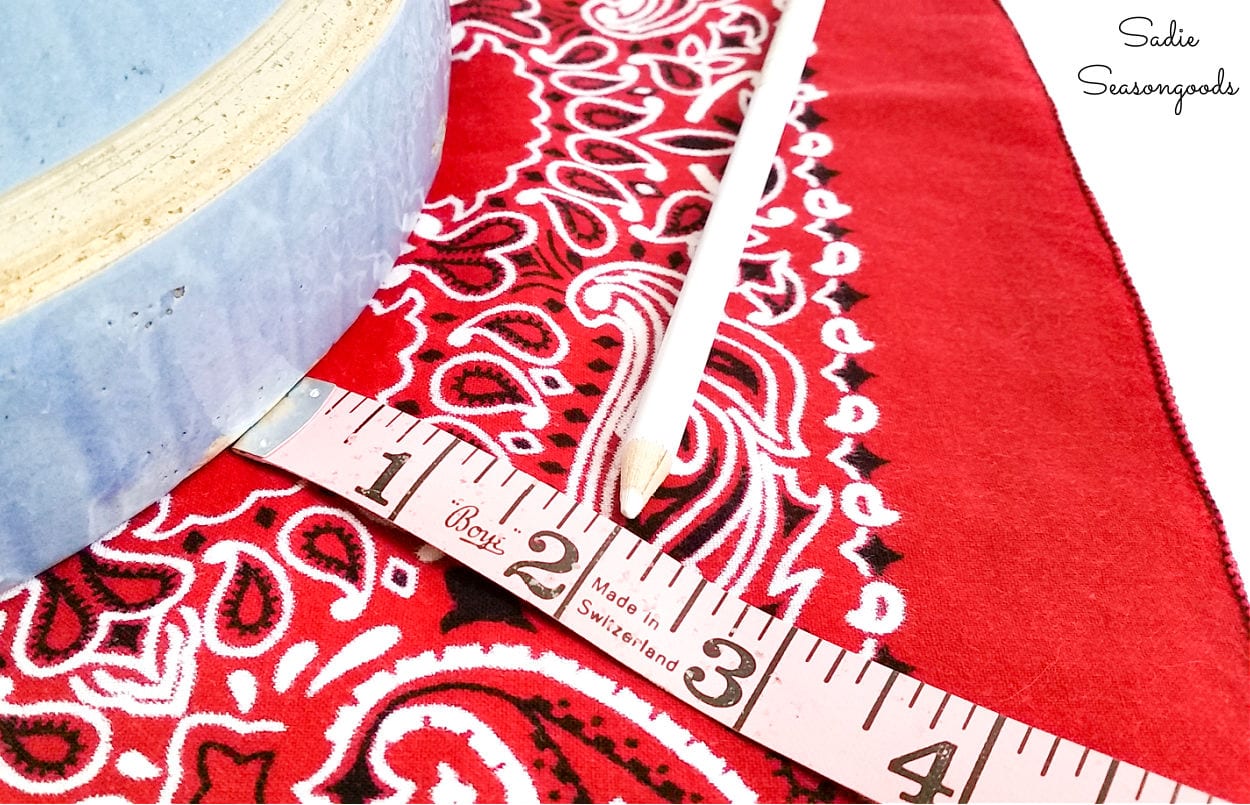
After I had enough dashes to guide me, I cut out my circle of bandana fabric with fabric scissors.
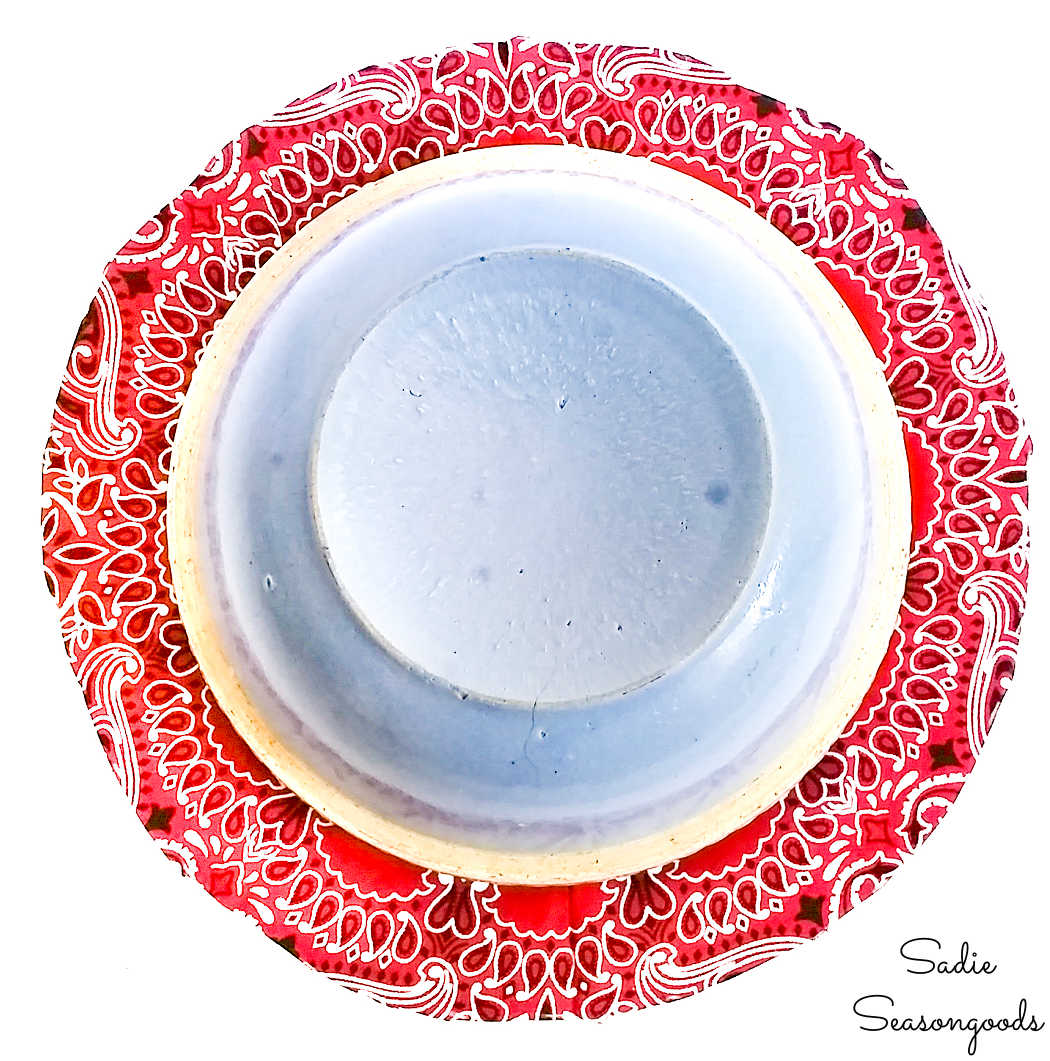
Finishing the Reusable Bowl Covers
Next, I ironed my fabric circle and headed to my sewing machine. I used an overedge stitch around the entire raw edge to keep it from fraying.
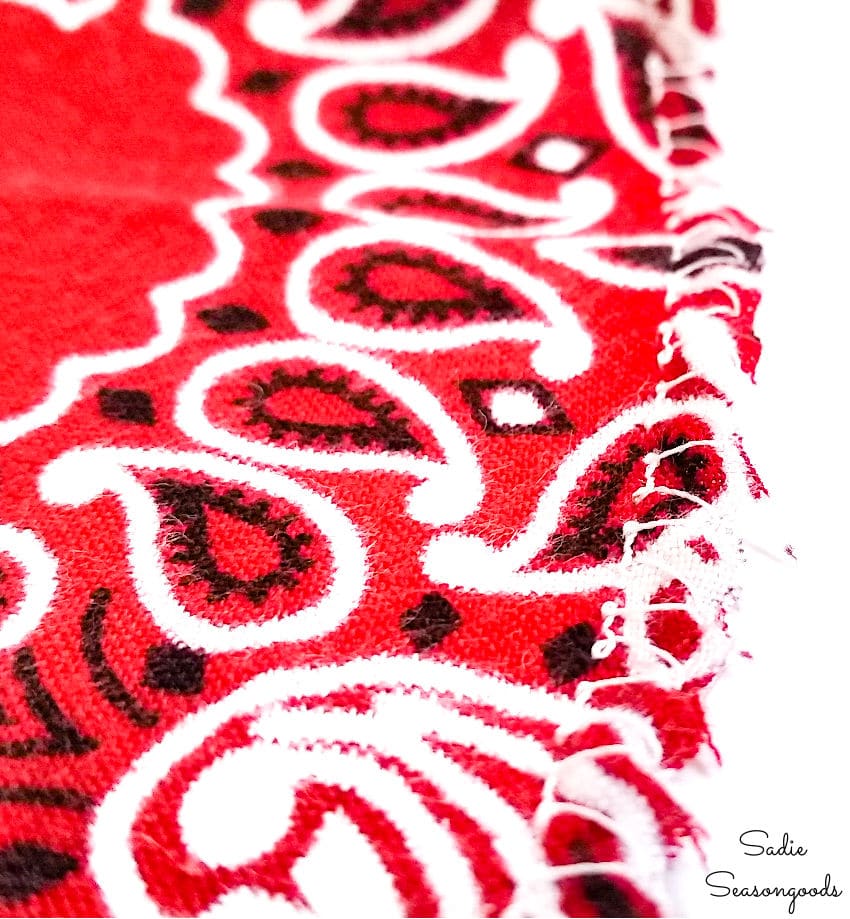
A rolled hem would be neater, but I liked the rustic look of a little fray coming through.
Lastly, I used ¼” knit elastic which I pinned to the fabric on the “wrong” side, approximately ¾” in from the edge. Then, I used a zig-zag stitch all along the elastic.
Pro tip: there’s a secret to sewing elastic to make it bunch up like a shower cap. Pull the elastic taut the entire time you’re sewing it to the fabric.
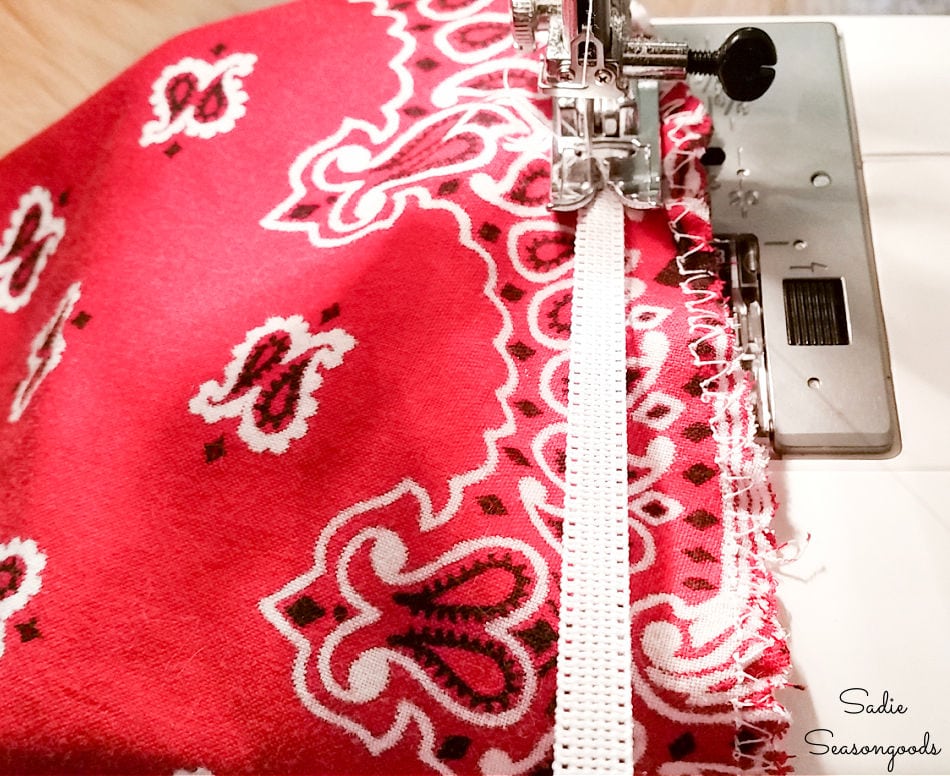
And that was it! Ready to see what the first of my reusable bowl covers look like?
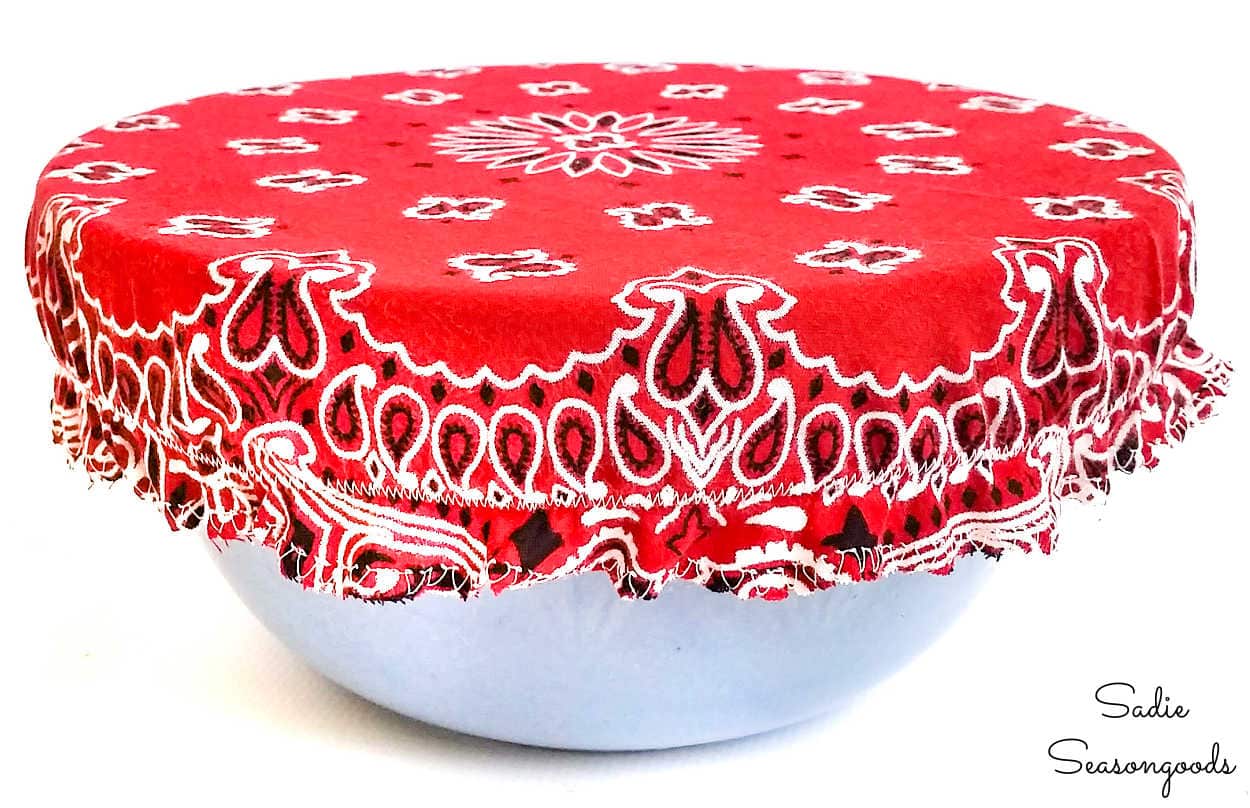
It looked like a little granny shower cap- but it fit over my bowl absolutely perfectly!
I loved my red one so much that kept making more! And in whichever colors I could find while bandana shopping.
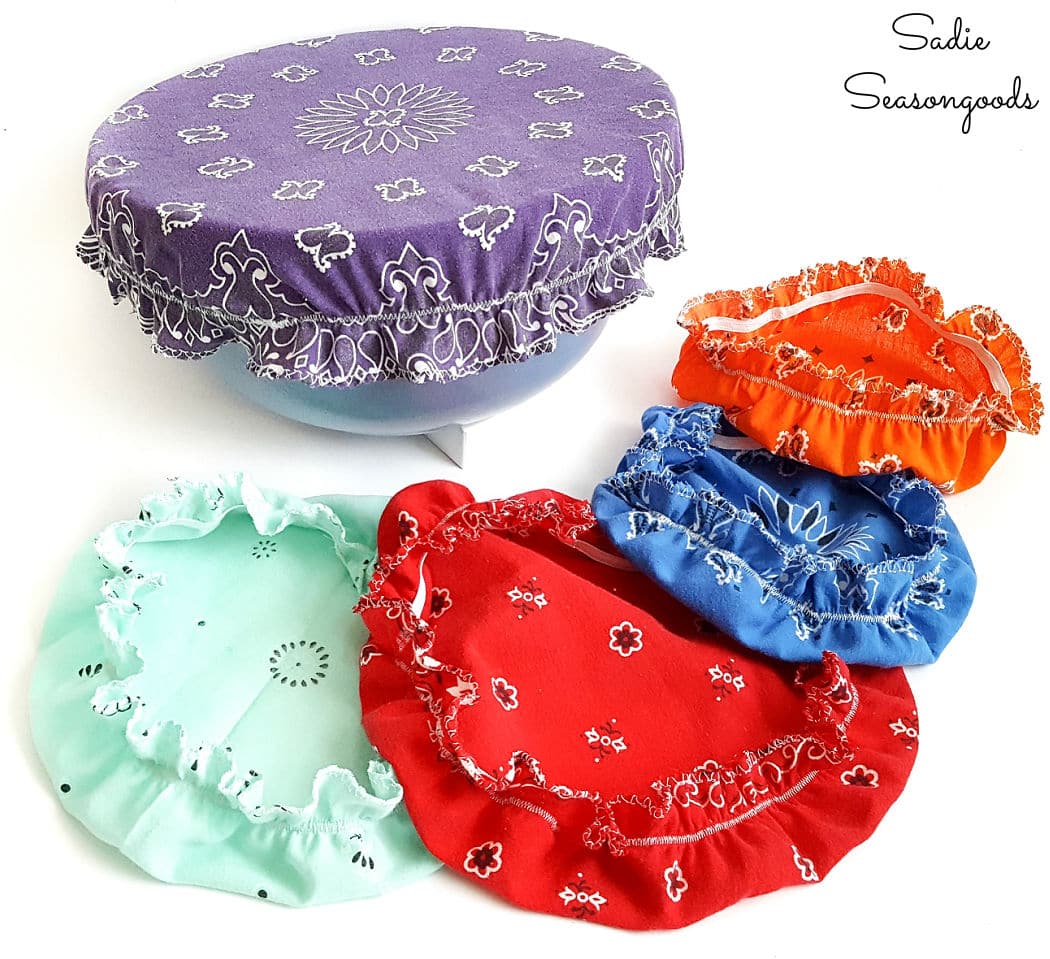
Reusable Bowl Covers from Bandanas
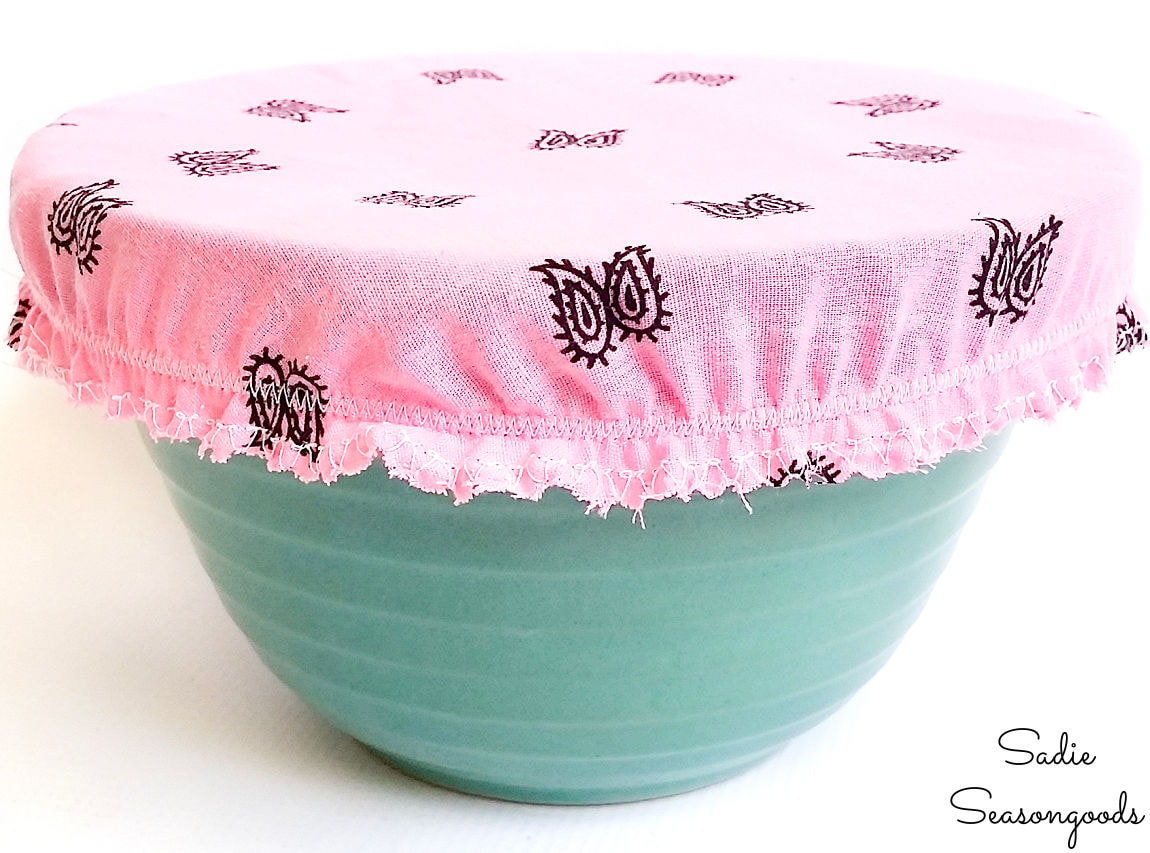
Aren’t those the cutest? And I just love finding new ways to reduce waste, and these are easy to wash and reusable over and over again.
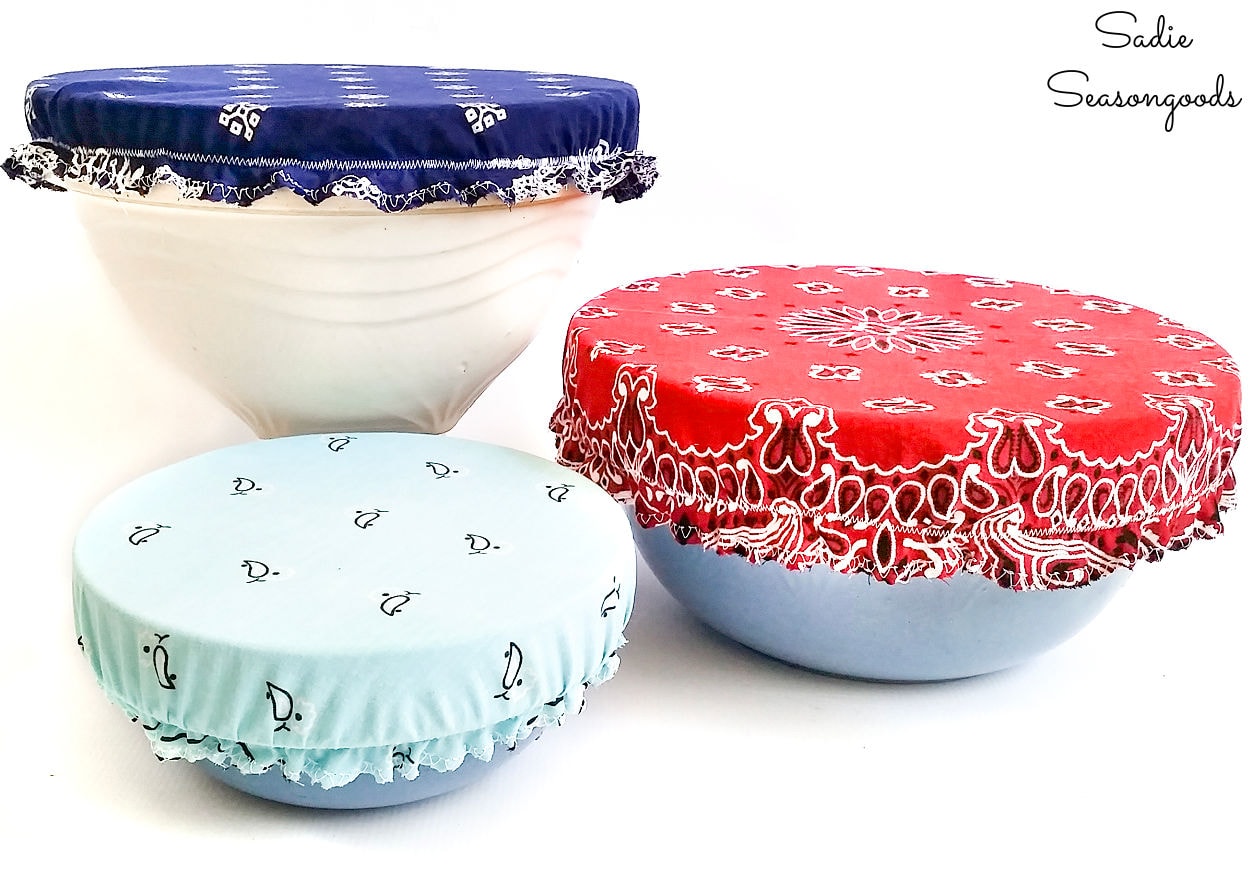
And yes, I know these aren’t air-tight or lined with beeswax or vinyl. But the idea is to use these in a decorative way at 4th of July parties to keep bugs out, etc.
There are all sorts of ways to add wax and other lining, though.
I’m also excited to announce that my first book is now available! If you enjoy upcycling clothing and simple sewing projects, then you will love my book on flannel crafts!
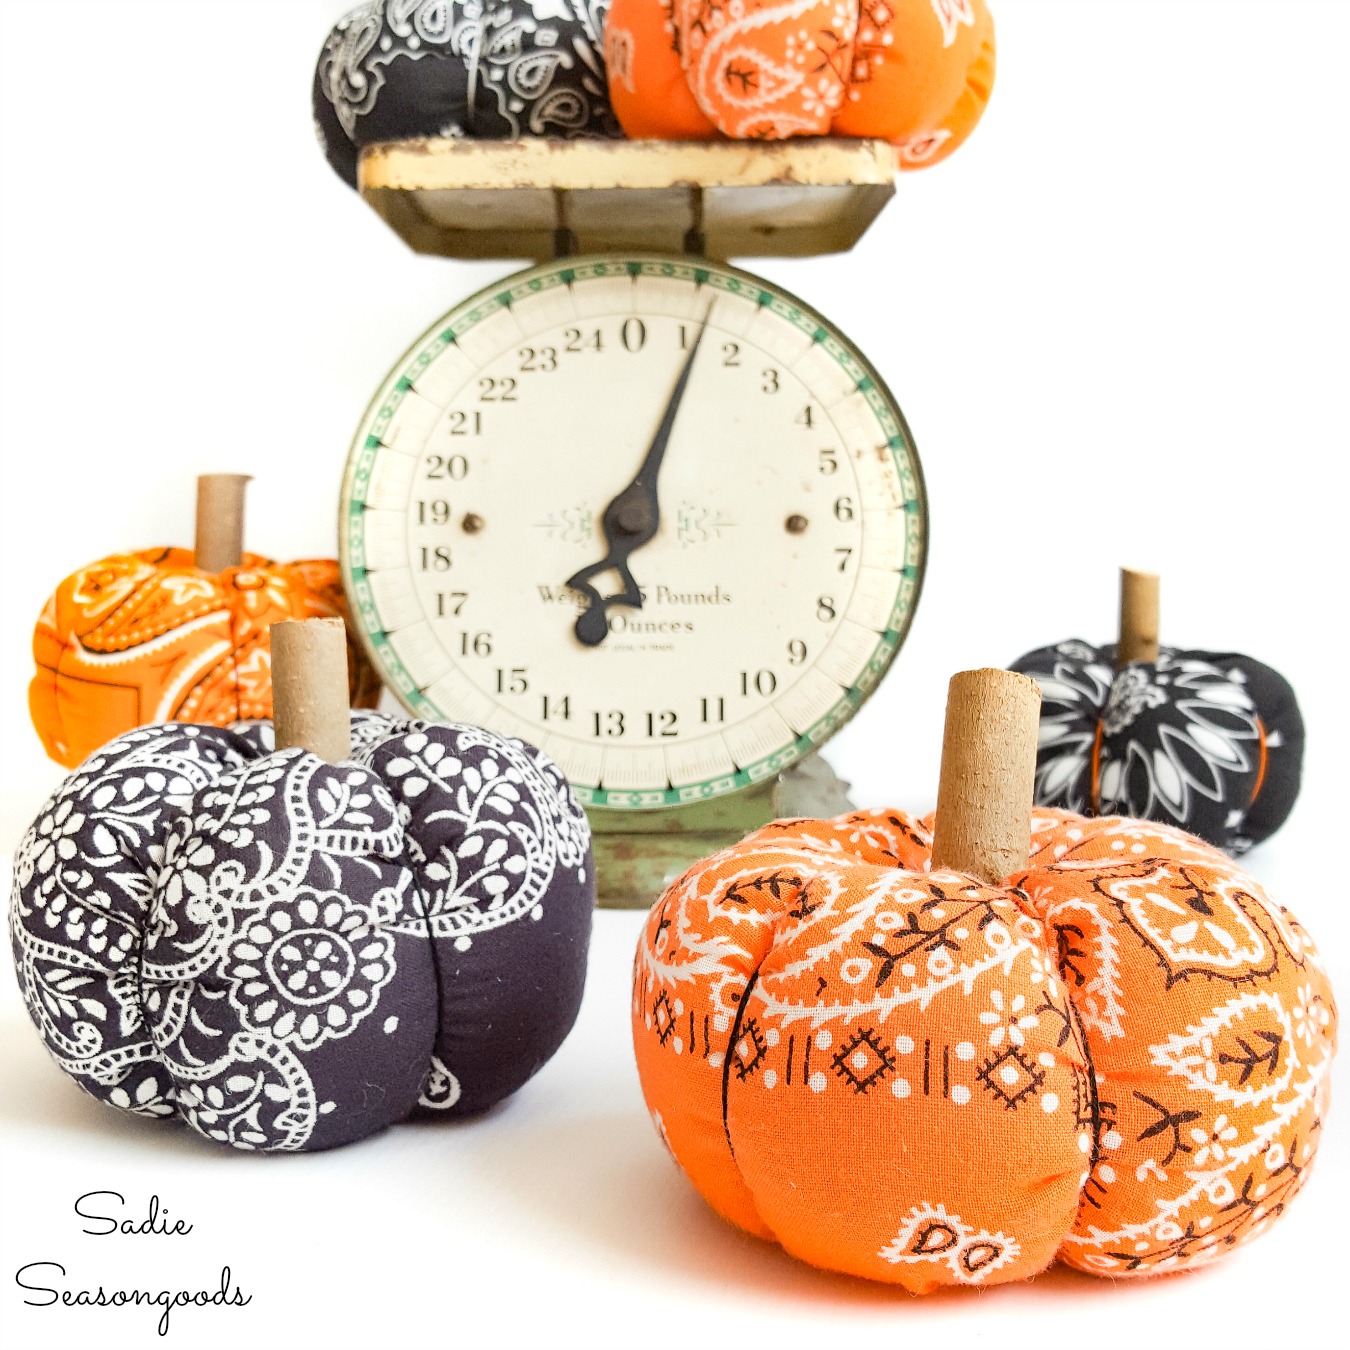
And if you enjoyed this upcycling idea with bandanas, then you’ll love my bandana pumpkins for Fall and Halloween decor!
Craft on!
S
Want to be notified when I publish my next upcycling project tutorial?
Join me on Social Media:
PIN ME!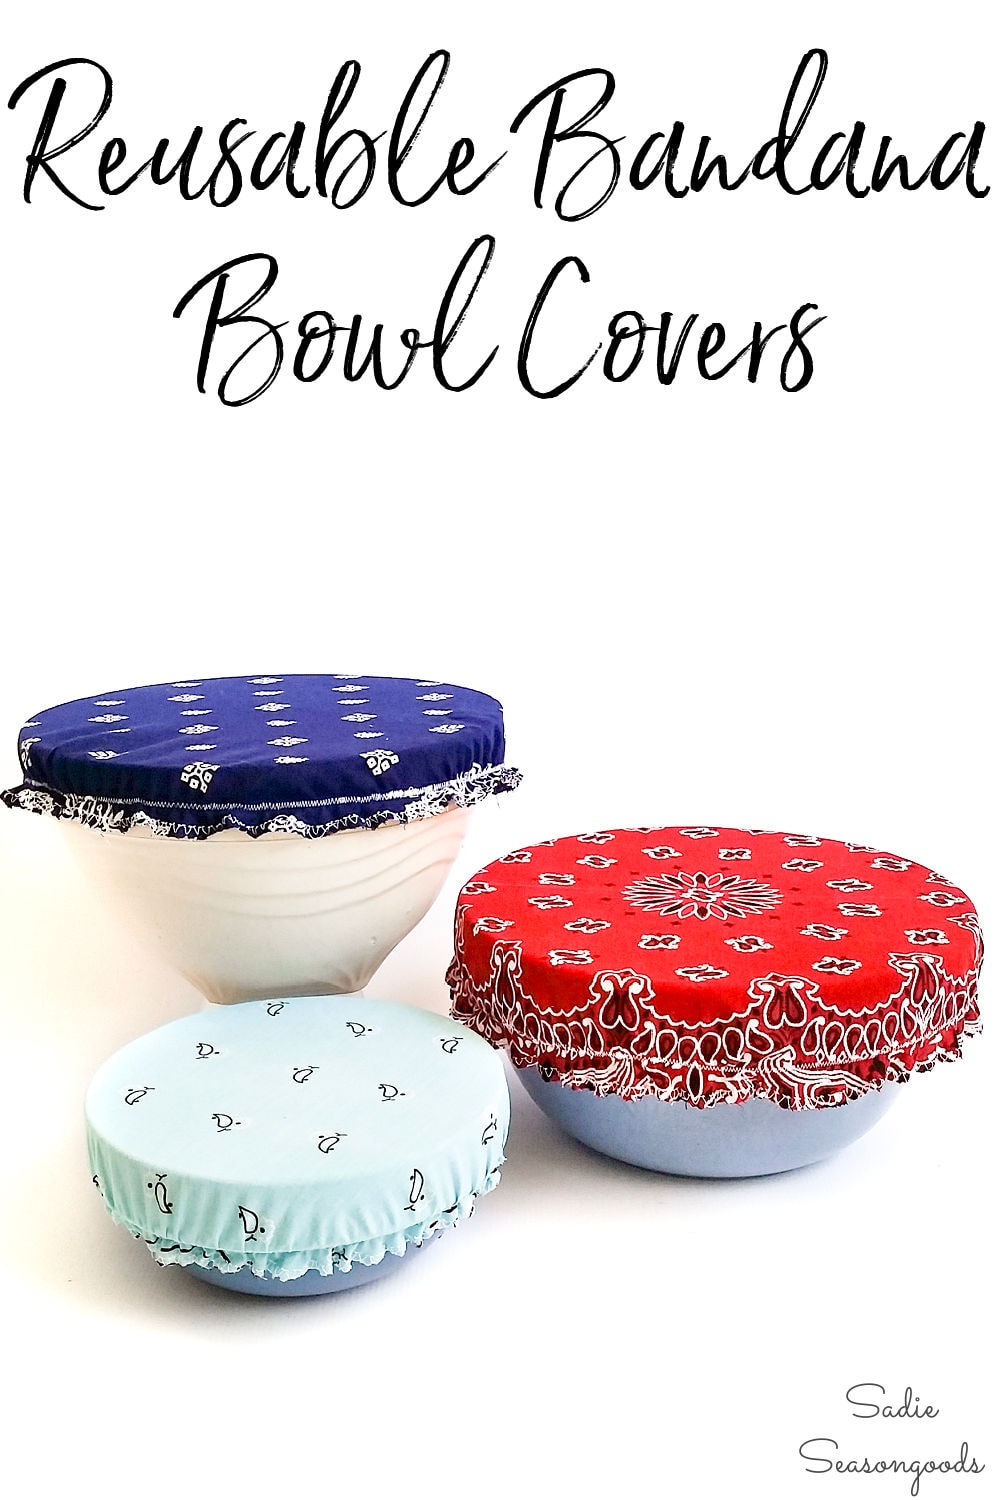
Sarah Ramberg is the owner of Sadie Seasongoods, a website that celebrates all things secondhand. From upcycling ideas and thrifted decor to vintage-centric travel itineraries, Sadie Seasongoods is a one-stop shop for anyone who loves thrifting and approachable repurposing ideas. Sarah is also the author of “Crafting with Flannel” and has been featured in numerous media outlets and magazines.


I just donated all of my bandannas! *sigh* this is brilliant
I have my bandages in the “donate bag” NOT ANYMORE 😉
Haha… Not anymore 🙂
I just gave 3 of them away literally 4 days ago! I was making face masks with them and no longer had any use for the left over ones…and someone else did—so there they went!!!
this is the cutest idea, i will have to break out the sewing machine i am not sure where it is ,but it is in the house some where ha ha xx
Haha!! Mine has taken up permanent residence on the dining room table. 😉
My daughter moved out a few years ago to go to university. I promptly turned her bedroom into my craft room 😉
They are gorgeous, I guess if you really felt the urge to wear them you could use them as shower caps 😉
….I already tried it…and I tried it on Cottonball, too! 😉
Cracked me up!! Good one 🙂
How cute! Thank you for the tutorial!
You are so welcome, Missy!
These are great! What a great idea for a summer get-together!
So colorful, and, cute. Great idea.
Thank you!!
I absolutely love this idea!! So creative and cute.
Thank you so much!
Thanks for showing us how to do this. Those are adorable!
Thank you, Michele!
How cute are those?!? Thanks for the tutorial!!
You are so welcome!
So cute AND practical – doesn’t get better than that!
My nan made some from lace and crocheted a beaded edging to weigh them down. I wonder where they ended up? I remember thinking how lovely they were when I was little.
Oh this is so clever! I’m always fiddling with plastic wrap that doesn’t stick or foil that tears – this is a MUCH better solution!
Right?? Saran Wrap is a bane of my existence!!
These are so sweet! Thank you for sharing. Need to share this on my FB page, Isabella’s Whimsy…going there right now.
Thank you, Janie!
This is awesome! What a great way to reduce, reuse, and upcycle! Now if I just weren’t so intimidated by elastic! : ) Pinning this gem now; thank you!
At least for this project, elastic is easy!! It was my first time working with it and after I go over the initial fear (which had more to do with snapping it in my face accidentally), then it was a breeze! You can definitely do it. 🙂
Cute covers! I will have to make them! Thanks!
– Little Miss Dexterous
This is seriously such an awesome project. The bandanas works perfectly as bowl covers.
Thanks, Erlene!
This is such a clever idea!!! I never ever thought of creating a cover for my coverless bowls! Now, I know what to do about that…
Thanks, Nina!
Fabulous! Thanks for sharing!
These bandanna covers are just too cute!!! I pinned it earlier today and just saw you again @ The Pin Junkie. I’ve never sewn elastic before but I am gonna have to try after seeing this post. We are always eating outdoor and this is the perfect solution!
Awesome!!!
That is creative and cute.
Thank you so much!
This is so cute! Thanks for sharing 🙂
These are adorable!
Thank you, Angie!!
Oh wouldn’t that make a nice hostess or housewarming gift a bowl of something with a handmade to fit cover.
This is the cutest idea! I’d love to share this on my weekend features post this weekend if you’re ok with that. I always link back to the original author. 🙂
Absolutely!! Please send me the link when you, I’d love to see it. 🙂
Would a waterproofing spray like Scotchguard work to keep moisture in and be easier to clean? Or does Scitchguard only last thru one use? I have my old sewing machine up, but the new one is still in its box. You’ve given me a reason to swap them out! Thanks
Hi, Terri! I’d be too afraid that the spray would somehow come in contact with my food…but other people have talked about cutting up a plastic shower liner (cheap from Bed Bath & Beyond) and sewing that into the whole thing. They then have to be handwashed, but that’s ok- I love the idea of adding in the plastic liner!!
I was worried about the chemical contamination, too, but thought there might be another product out there I didn’t know about. Shower curtain idea is great! Now, if my new sewing machine doesn’t get indigestion from sewing plastic…..
Cheap plastic shower caps from the dollar store (and always save them from hotel stays) underneath will provide instant protection from spills while traveling to/from a potluck or picnic, and keep moisture in while refrigerated. Those scraps can make Mason jar covers, too!
I’ve read that you can solve that problem by melting beeswax on the cloth prior to sewing the cover. I haven’t tried it yet, but there are a lot of tutorials explaining how to do it.
The problem would be that the elastic and therefore the folding and unfolding of the fabric would undermine the wax layer, don’t you think? The beewaxed fabric covers I’ve seen are just flat.
Living on a very tight budget I like to recycle, save money, & also go for healthier options when possible, these covers do all this & look great too, thank you for sharing 🙂
What is “cottonball fur”?
Hi, Lucy!! Cottonball is my crafting apprentice cat…he’s in a lot of my blog posts and photos. Sorry for the confusion- he actually has his own fan base through my blog! 🙂
Hey do you think we could just use a shower cap.? I don’t sew.
Kathy, you really need to learn to sew, it’s so fun and relaxing. I’m sure you would love creating. This would be a great project to start on.
I do that all the time..even saved those I didn’t use from the hotel. ..
What a great idea! I have tons of bandanas lying around my house just waiting for a cool craft like this. I am hosting a Link Party this Thursday on my blog http://www.inthenewhouse.com and I would love for you to stop by and share one of your craft ideas. Hope to see you there! –Lela
Will do- thanks for the invite!!
These are so cute and so handy! I definitely needs to make these before my next potluck at my mom’s 🙂
–Brittany
http://www.diyjustcuz.com
Such a great idea! I have a collection of Bandanas (I buy one each year from cancer research fundraisers) Think I will be pulling them out and getting creative now 🙂
I love this idea! PInned & shared. I hope I get a chance to make some soon. They’d come in handy.
Thank you!!
Sarah –
These are adorable! I love how you repurposed the bandannas! Plus I HATE fighting with cling wrap. It never seems to cling to my bowls. Thank you so much for sharing at Dream. Create. Inspire. Link! I can’t wait to see what you come up with this week!
Thank you so much!!
This is such a cute idea and so functional! I wish I could sew 🙂
I stopped by from Frugal Crafty Home.
Your bowls and bowl covers are so useful and adorable that I might have to start sewing to make them. Had a sewing machine years ago and made one very simple sundress and that was it. Ta-Da, no more sewing. I think I could do this, though. Thank you for a simple, functional DIY with clear, easy-to-follow directions. http://onceuponatimehappilyeverafter.com
Thanks you SO much for sharing this on my Grandma Ideas link party. I really appreciate it!
I love, love, love this! I going to make a few for gifts and myself of course ;0)
Thanks, Shantel!
Adorable! Thanks for sharing with Friday Favorites. Hope you will link with us again! Michelle OurCraftyMom
Such a great idea! I have a ton of bandanas and bowls that didn’t come with covers. I may have to make some of my own! Thanks for sharing this wonderful idea!!
Navy Wifey Peters @ The Submarine Sunday Link Party
I love his idea and the though of not having to purchase plastic wrap again sounds wonderful.
Thanks for the tutorial.
Carole
You are so welcome, Carole!
I had never thought of making these with fabric and yours are so charming. I’ve never been much of a fan of plastic wrap – it’s always better at sticking to itself than the bowl or plate I’m trying to cover.
Right??? Same problem here.
OH!!! These are SO DANG CUTE!!! Thanks so much for taking the time to link up with us over at the #HomeMattersParty – we hope to see you again on Friday!
Thanks, Kristen!
Very cute I see you used1/4 elastic, depending on the size of bowl 8′, 10′, 12′ or larger how much elastic did you use. Did I miss that in the directions. Love the idea especially since I live in
Texas. Thanks so much
No elastic measuring required! I just pinned one end to the fabric, stitched it all round while keeping it pulled taut, and then snipped off the end after overlapping by 1/2″. Doesn’t get much easier than that!
How did you determine how much elastic to use? Just pulled it tight around the bowl and then cut it or measured the opening and subtracted a few inches?
No elastic measuring required! I just pinned one end to the fabric, stitched it all round while keeping it pulled taut, and then snipped off the end after overlapping by 1/2″. Doesn’t get much easier than that!
Great idea! Thanks so much for sharing. 🙂
Oh these are so darn cute! I’ve got some bandanas, now I just need to get some elastic. Thanks for sharing with SYC.
hugs,
Jann
Thanks, Jann!
These are just adorable! Thanks for sharing your tutorial.
Thanks, Kathleen!
I just love these bowl covers. Such a great idea! Thanks for linking up at Inspiration Thursday! Hope to see you next week!
Best idea ever!! You are so so talented! I love that you shared this on MMM!! Pinned because it’s awesome! Hope to see you on Sunday night! 🙂
Cathy
Thank you so much- and I’ll be there! 😀
These are just so adorable AND practical! It definitely makes me want to learn how to sew too. Thanks so much for sharing this with us at Merry Monday! We hope you’ll join us again starting Sunday evening! 🙂
Thank you- and definitely!
These are great! Thanks for sharing at the Motivational Monday link party – I’m featuring it at this week’s party! Have a great weekend!
Danielle
SewMuchCrafting.com
Thanks, Danielle!!
Hi, thank you for sharing the how-to of these darling useful bowl covers. How did you decide how much elastic to use? Is an overcast stitch possible on a regular machine or on a serger only? Thank you!
No elastic measuring required! I just pinned one end to the fabric, stitched it all round while keeping it pulled taut, and then snipped off the end after overlapping by 1/2″. Doesn’t get much easier than that! And I just have a regular machine, not a serger. I did have to switch out the foot, though, for the overcast.
Love these! Pinning to definitely make some of these later.
Thank you, Melissa!
A great tutorial – no bandana’s available but I’m sure I’ll have ‘some’ suitable fabric 🙂
Thanks, Lesley!
if you are any where near a DOLLAR TREE store you can get bandanas 2 for $1.
Not to make this more complicated, but you’ll do yourself a favor if you use a ball point needle to sew elastic. It’s a knit, which sews best with a ball point needle.
Thanks, Betty! I’m still such a sewing novice- just got my machine at Christmas!
I have been making these for awhile now- they make great gifts. I use thin clear plastic from Walmart to line the inside of the bowl covers. Now orders or moisture come from inside the bowl. I love to use them on my collection of old Pyrex bowls.
How do you put the plastic on? Just lay it on top of the bandanna and sew the elastic onto the 2 layers?
Thanks for the cute idea!! here’s an idea that you can use with your scraps! 🙂 http://www.scatteredthoughtsofacraftymom.com/2014/06/no-sew-simple-fabric-bracelet-tutorial.html
Thanks, Beth!! And, ironically, I *AM* thinking of a jewelry idea for the scraps!! 😉
Did you cut your elastic the length of the circumference of the bowl or a little shorter? If you mentioned the length I missed it, sorry.
No worries, Sandy- and no elastic measuring required! I just pinned one end to the fabric, stitched it all round while keeping it pulled taut, and then snipped off the end after overlapping by 1/2″. Doesn’t get much easier than that!
Do you sell them?
Hi, Bev- not at this time, but if I decide to in the future, would you like me to let you know?
Instead of sewing a shower cap to them you could use them to hold plastic wrap in place
Love this
Thank you so much, JoDee!
Hi,what about using, iron-on vinyl, on the back of the fabric.
so…I love these….have been using them for years but mine have plastic liners so the food stays frest and not so easy to leak…got any idea what to use…am thinking some not so heavy plastic that you would use to cover a tableclothe???…just a thought…great job on tut tho’….thanx
Thanks, Jan! A lot of folks have great ideas for this if you scroll through other comments- oil cloth, beeswax, etc. 🙂
If u don’t want to get anything on the bandana u can cut up a shower curtain and line them
Use pining shears for the edges…cute idea!
That would definitely be cute, too!
Meant pinking shears
Now THAT is creative! Well done!
Thank you so very much!
Love this idea. Thank you for posting. Just adorable.
Thank you so much!
Great idea and they came out so cute! Still usable for all the goodbye to summer picnics!
Thanks, AnnMarie!
Excelente me gustan sus trabajos los voy a hacer felicidades
¡Gracias, Maribel!
I wonder if you could back it with a plastic shower curtain from the dollar store to help protect the bandana from the contents of the bowl. Like for transport.
i think gingham check would look so cute.. plan to make them this spring but would definitly use foil over my food bowel first.. I also plan to make these lids to go over 9×13 cake plates and other sizes and shapes I have .. taking a nice casserole with this kind of lid to church functions and family picnics will be a conversation piece for sure.. I might even start selling them..who knows? 🙂 good idea.
I just bought some at a second hand shop for $1 like new
These are very cute, however the only problem is that these covers do not seal in moisture, so the food can dry out…or leak all over your picnic basket. Not so cute but very efficient when there’s no snap-on cover: unused shower caps or even a plastic grocery bag on a large bowl, then tie the ends.
I made these specifically to keep flies out at picnics- nothing more than that! 😀
Would it work on these to coat them in bees wax to make it a natural “wax paper” to keep things from going stale quicker? I saw a tutorial about making muslin this way, thought it might work for this as well Super cute by the way! 😉
Thanks! A lot of folks have mentioned the beeswax idea- I’ve never tried it but it sounds like a great addition!
http://myhealthygreenfamily.com/blog/wordpress/plastic-wrap-alternative-diy-beeswax-cotton-wraps/
If you beeswax them then they’d be washable! What a neat idea!
I love them, I would have to use remnant fabric though, cause my precious poochies get the bandanas
Hahaha, that’s awesome! And YES, any fun fabric would look awesome. 🙂
This is a real winner….tall Texan….Love it
Thanks, Nan!
I love this idea! What a great alternative to wasteful, plastic cling wrap!
Thank you, Carly!
Oh my gosh…what a cute idea!
Thanks for joining Cooking and Crafting with J & J!
Love these, esp. since they are so simple and you can pick up bandanas anywhere. I’ve been wanting dish covers for awhile but haven’t gotten around to buying (or making) any. Very cute!
Thank you so much!!
These are great! You could use flannel back vinyl tablecloths (they’re cheap at Big Lots & such), I have quite the collection in different prints including the big ol’ checks (so country-looking). You can hand wash ’em and hang out on the clothesline if needed.
Thanks, Denise!
Great idea and super cute too. Thank you for sharing at Vintage Charm. sb
Those are adorable! I pinned the post to my sewing board so I can make a set for myself. Thanks for sharing!
Thanks, Kailyn!!
these are a great idea for breadmaking. When I’m letting my sourdough rise, I like to cover it, but don’t want the cover air tight.
You are so right!! Definitely perfect for letting the dough rise- Thanks for stopping by!!
You’re right, who wants plastic wrap and aluminium foil after seeing these cuties? Awesome idea and I love the bandana style for BBQ’s. You’re genius!
Thanks, Katrin!!
So many good ideas; yours and in the comments. Have you tried making one without cutting, so you get decorative points? Or instead of sewing down 1/8″ or 1/4″ elastic, sewing over elastic cord? And if you have the right kind of machine (& plan to take the covers to potlucks) embroider your name on the bandana 1st.
Is it essential to pre-cut, or could you just stitch the elastic on, like for bigger bowls? Thanks and great idea!
Hey, Jen- I actually didn’t pre-cut the elastic (I think that’s in the blog post). I just stretched-and-stitched until I was all the way around…that way, I didn’t waste any. 🙂 Hopefully that answers your question.
I think these would be cute to use on a plastic bowl with a lid to bring to potluck and once you are there, put it on the bottom of bowl to make the bowl look cute on the table and keep the lid with the bowl depending on the shape of the bowl.
You NEED to sell these on Easy!! I would buy!! 🙂
Muah!! I just completed a custom order…but thankfully, I have a few more bandanas so I’ll be adding some soon! In a total change of direction, though, we’re overdue for a lunch or happy hour, my friend!
Yay!! I couldn’t agree more….any plans to be in the Hendo or WNC area soon? DId you ever make it to Waynesville to pick?
Great idea and a great way to reuse what you have! Thanks so much for linking up with us!
Thanks so much, Kelly!
Excellent idea and so easy to make! Pinning to share
Thanks, Marie!
Definite party bowls! Thanks for sharing on the Pleasures of the NW DIY party!
love all your crafts so cool thanks for sharing
Thank you so much, Lorraine!
🙁 They sold already? Please make more. I need these.
Hi, Julie- this post is actually from a year ago…but every time I add more bowl covers to my Etsy shop, they sell out immediately! Would you like me to let you know when some are available?
Yes please. I prefer the blue and red ones. I just found your blog and love it
Will do, Julie!
What a great idea! This makes me want to bust out my sewing machine 😉 Thanks for linking up for the #ReadySetCraftChallenge this month!
Thank you, Amber!!
Love this cute idea – and I have lots of bandanas. Tanks for sharing.
~Taylor-Made Homestead~
Texas
Thanks so much!
Now if those aren’t the cutest things ever! How clever! Hugs and blessings, Cindy
Thanks so much, Cindy!
Way prettier than foil and plastic wrap!
Wait a gosh darned minute there young whippersnapper! Those aren’t vintage – they’re like MY age, lol!! I love this idea! Thanks for joining us again at Throwback Thursday!!
Mollie
Ha!!! I hate to tell you this, but I’ve heard that anything over 30 years is Vintage…so I’ve been vintage for 10, going on 11 years now. 😉 But really, nothing beats a broken in bandana!!
Well, cheers to vintage then, lol!! 🙂 30 years, huh???
How cute!! Sharing on Facebook.
Happy Thoughts of Home friend.
Sarah, what a beautiful use for bandanas!! These covers are sure to be a big hit at potlucks!! Fantastic idea!!
Thanks, Keri!
These are so cute! I just love them. Thanks for sharing at Throwback Thursday!
Thanks, Carlee!
Oh, I am so charmed by these bowl covers (can you hear the excitement in my voice?). I can see that making these will be so addictive. I’m a huge fan of repuropsed projects, but adorable repurposed projects make me so very happy. Congrats, you’re featured this week at the #ThisIsHowWeRoll Link Party.
Thank you so much!!
Thanks for sharing on Peace Love Linkup! And a congratulations are in order because we will be featuring this post in our next link up which goes live tomorrow at 6! Stop by, grab a button, and share some more great content! : )
Thank you so very much!
Fabulous, festive, and environmentally friendly. I love this idea! Thanks for sharing the “how”.
Thank you, Neena!!
This is such a cool idea sometimes the plastic wraps don’t always work that helps to secure the wrap
Thank you so much- and you are most definitely right!
It is 1.03am and I’m tempted to sew
LOL!!! They’re awfully cute, aren’t they??
i made some for my shaffing pans
OMG! Last week, I was just talking about making some kind of cover for my candy jars when I prepare candy buffets. I do prep my station and Sometimes it’s better for me to transport the candy jars with the candy already in them. Therefore I’ll know if the bags of candy will fit in the size of the jar for the candy. And then I saw this blog. Perfect solution. And just think, I was just about to donate my over 20 something bandana’s to charity. Thank you so much for your creativity.
Sounds like Crafting Kismet to me!!! 😀
Love the idea! Why couldn’t you take a zip lock bag and sew for the plastic? Could also use the vinyl table clothes…still put the bandana on one side.
You certainly could!
Love it! ! Thank you! !!!!!!(
I love them…I would put heavy plastic liners on mine so if they tip over the won’t leak & also to keep the air out !!! great idea…
Thank you for your great idea using bandanas. I will be making many bandana covers and even giving these cuties to family and friends! I am so excited to start making them.
Yay!! I know they will love them. 🙂
I’m too lazy to cut and measure, I am sewing the elastic 2″ from where the edge of the bowl is and tying knots in the corners. I may even just cut the “hangover” part to make fringe! And these work great over the top of plastic wrap or foil. So much prettier on my picnic table, the cover stays on in the wind and keeps out the bugs. Plus, these are cute to take to a potluck and make really cute and useful hostess gifts (people do still bring a hostess gift, don’t they?). We get these bandannas all of the time for $1 each with all kinds of colors and designs at WalMart or the Dollar Tree.
That is very lovely & a perfect use for fabric bits we all have lying around …
Thanks, Dee- and definitely! It’s a great scrapbuster project. 🙂
Thanks for sharing on the Pleasures of the NW’s DIY party!
Such a great idea! Thanks for sharing on the Pleasures of the NW’s DIY party!
These are way cuter than plastic wrap!
Love these! Totally going to have to make some!
Thanks, Kristi!!
Found this on the Sweet Inspiration Link Party. Super cute idea. Seems simple enough. Now I just need to find some worn vintage bandanas!
Thanks, Cindy!
Thanks so much for sharing with us at the To Grandma’s house we go DIY link party! You will be featured on my site (www.grandmashousediy.com) tomorrow morning when the next party starts!
Thanks, girl!! I’ll be there with my latest. 🙂
They look so cute really it is a great idea! Thank you for sharing 🙂
http://artdecorationcrafting.blogspot.gr
I’m thinking the only thing that would make these better is a vinyl square in the middle to show what’s in there!
That’s a great idea!! Love it.
Add the iron on vinyl before you start sewing and you have a stain proof cover.
Absolutely loved those. I see by the other comments I wasn’t the only one either, giggles. I love your ideas. They all run in my taste line.
Your site said it shows where I have signed up before,but needed to confirm. To look at email. Well, I have both times and have not received an email to confirm my subscription. I’m sure its on my part, but not sure what.
Hmm, I’m sorry this is happening, Kelley. Those confirmation emails are sent instantaneously, so there’s never a delay. Have you checked your spam folder?
I saw this on Pinterest and about an hour ago felt inspired to pull out my sewing machine — I was skeptical that I’d be able to pull this off (considering I have virtually no sewing skills whatsoever) but this really was super easy, and now I have a cute cake stand cover!