It’s true, my love of vintage patches is pretty well documented here on my website. I’ve talked about adding them to various accessories in the past, but today I’m revisiting another application. One that is specific to the back-to-school time of year: the Varsity Sweater.
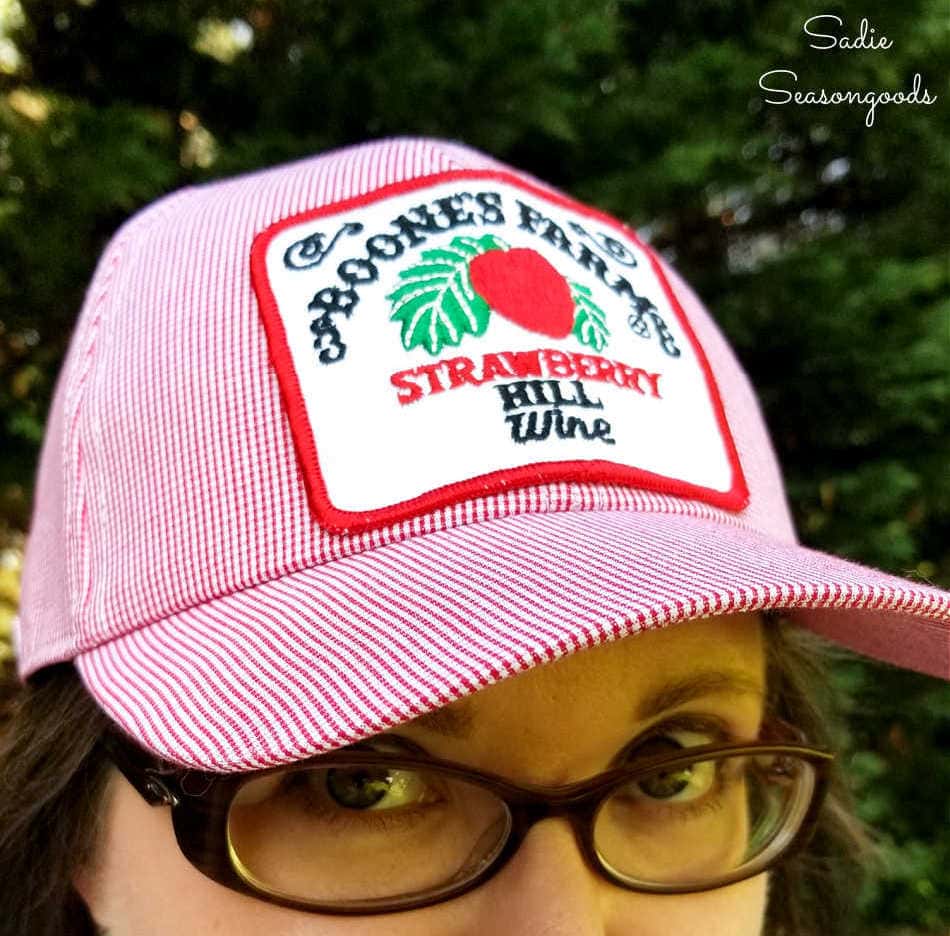
But first, a recap of my previous adventures with vintage and retro patches. In this tutorial post, I talked about covering up the logos on my husband’s old work polos with patches. And I also added to them a few baseball caps for myself…
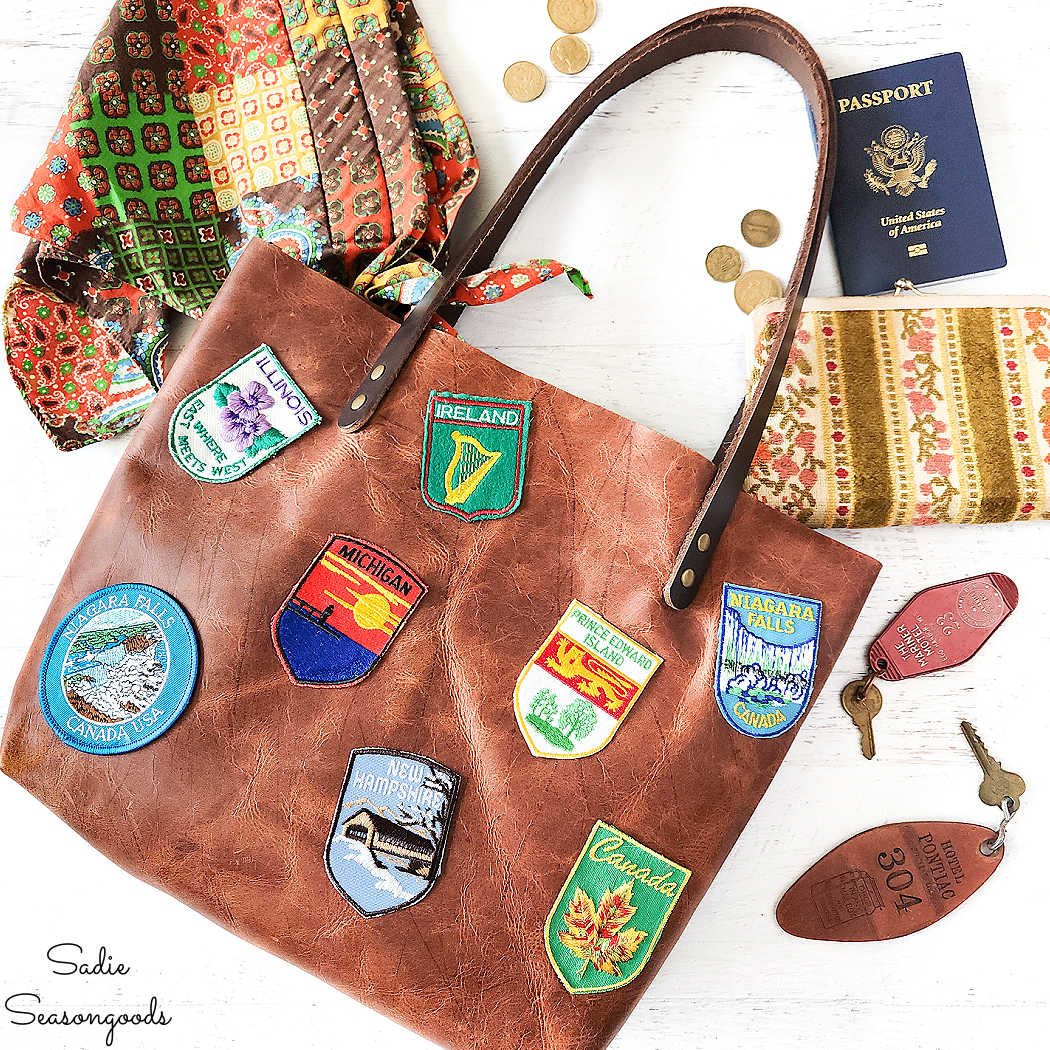
Then in this tutorial post, I recreated the look of a vintage suitcase on a modern leather tote bag. With the help of vintage travel patches, of course!
But today, I’m republishing a long-since forgotten project from my earliest blogging days. I had deleted the post eons ago with the hopes of republishing later on when I had a better handle on good blogging practices.
And today’s the day! In the spirit of all things back-to-school coupled with my love of patches, I’m showing you how I upcycled a thrift store sweater into a varsity sweater.
For fun, here’s a photo of my me from my high school years wearing my beloved vintage Letterman jacket. It came from my parents’ high school (Oak Park River Forest High School).
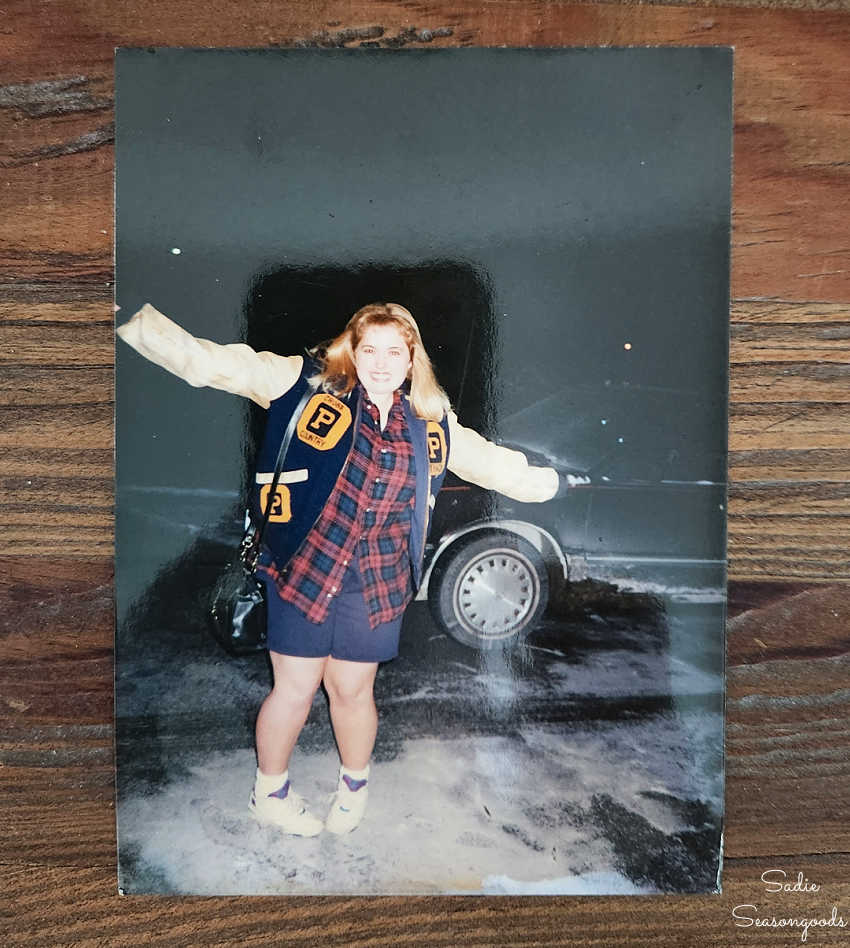
Image credit: Sadie Seasongoods.
Teenagers do crazy things, and yours truly was no different. Hence the concept of wearing shorts on an icy Chicagoland winter night. Sigh…
This post also contains affiliate links for your crafting convenience. As an Amazon Affiliate, I earn from qualifying purchases. All blue, bold, and underlined text is a clickable link, either to a product or to a related post.
Making a Letterman or Varsity Sweater
Now, admittedly, this is a VERY easy project to make once you have all the components you need. In fact, it may not even warrant a tutorial at all, but I’ve put one together nonetheless.
First, you need a plain cardigan-style sweater. I wanted one of the longer versions that are more typical of the letterman sweaters from days gone by. But I had to settle on a regular version, which I found while thrifting.
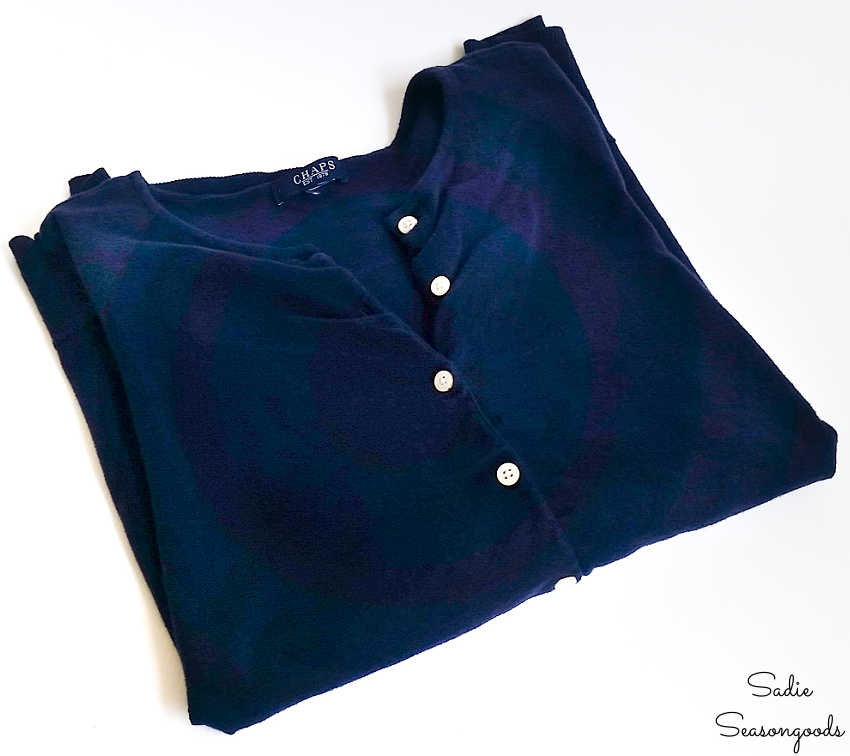
Image credit: Sadie Seasongoods.
It was, at least, navy blue which reminded me of my vintage letterman jacket that I loved so dearly.
Next, I hunted for some varsity letters. And, of course, none could be found on my thrifting adventures. So I turned to Etsy, where I found a variety of old chenille and felt patches/badges.
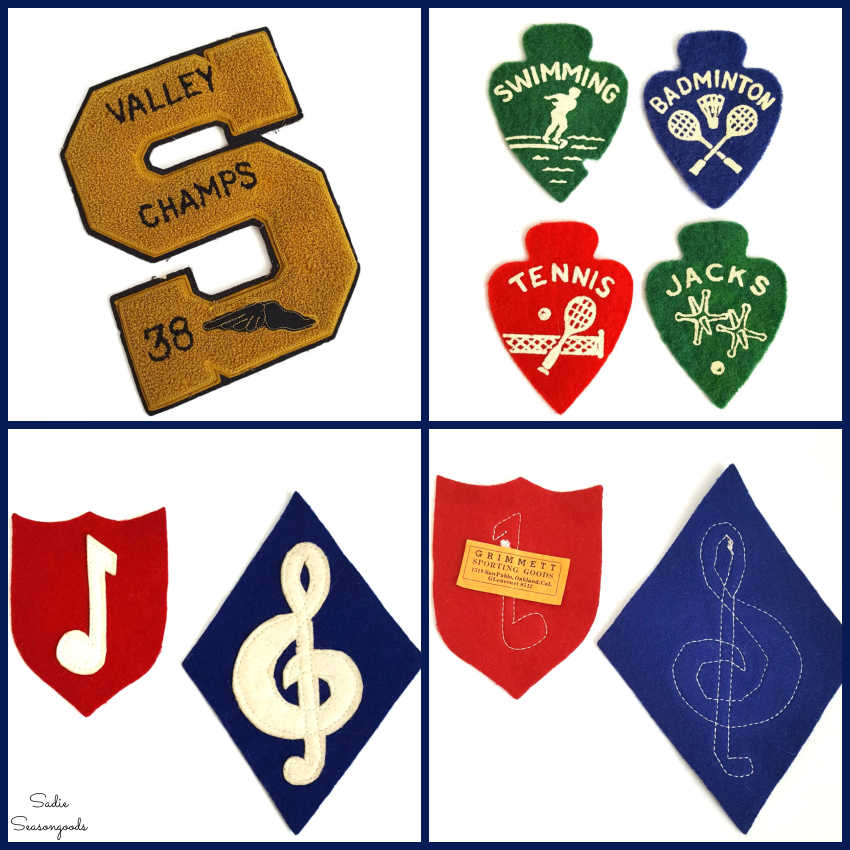
Image credit: Sadie Seasongoods.
And yes, I nabbed those cute little felt badges even though they’re more “camp” than “school”. But who wouldn’t want to letter in Jacks and Badminton?? Besides, they were just TOO charming to pass up…
Anyway, with vintage varsity letters and felt patches in hand, I was ready to make my varsity sweater.
Next, I played around with placement. I settled on the vintage chenille letter for the lower left corner…
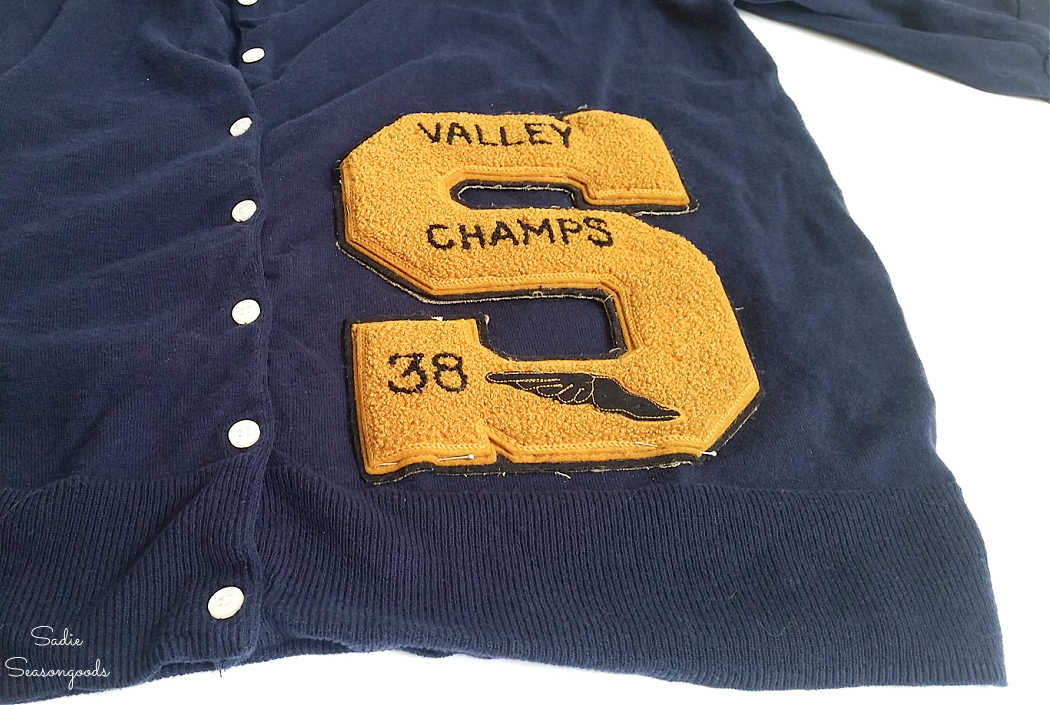
Image credit: Sadie Seasongoods.
And the super cute felt patches on the upper right corner. I also placed the two music patches on the back left shoulder.
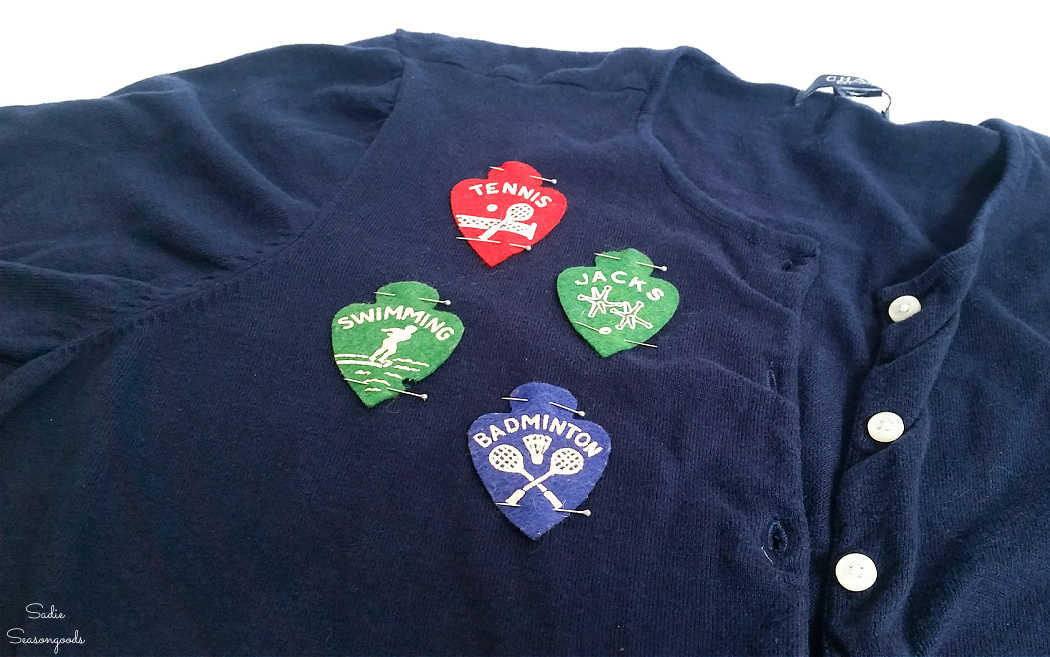
Image credit: Sadie Seasongoods.
After pinning them to the thrift store sweater, I stitched them on with needle and thread. Of course, I could have used my sewing machine, but hand-stitching gives me a reason to binge-watch a favorite show!
And yes, I re-watched Gilmore Girls for the zillionth time while I worked on my DIY varsity sweater. Re-watching Rory’s Chilton years while making this felt very symbiotic…
Fun Fall Refashion with a Varsity Sweater
Was this project too simple and straightforward to truly warrant an entire blog post about it? Perhaps…but if it inspires you to make your own varsity sweater, then it was definitely worth it!
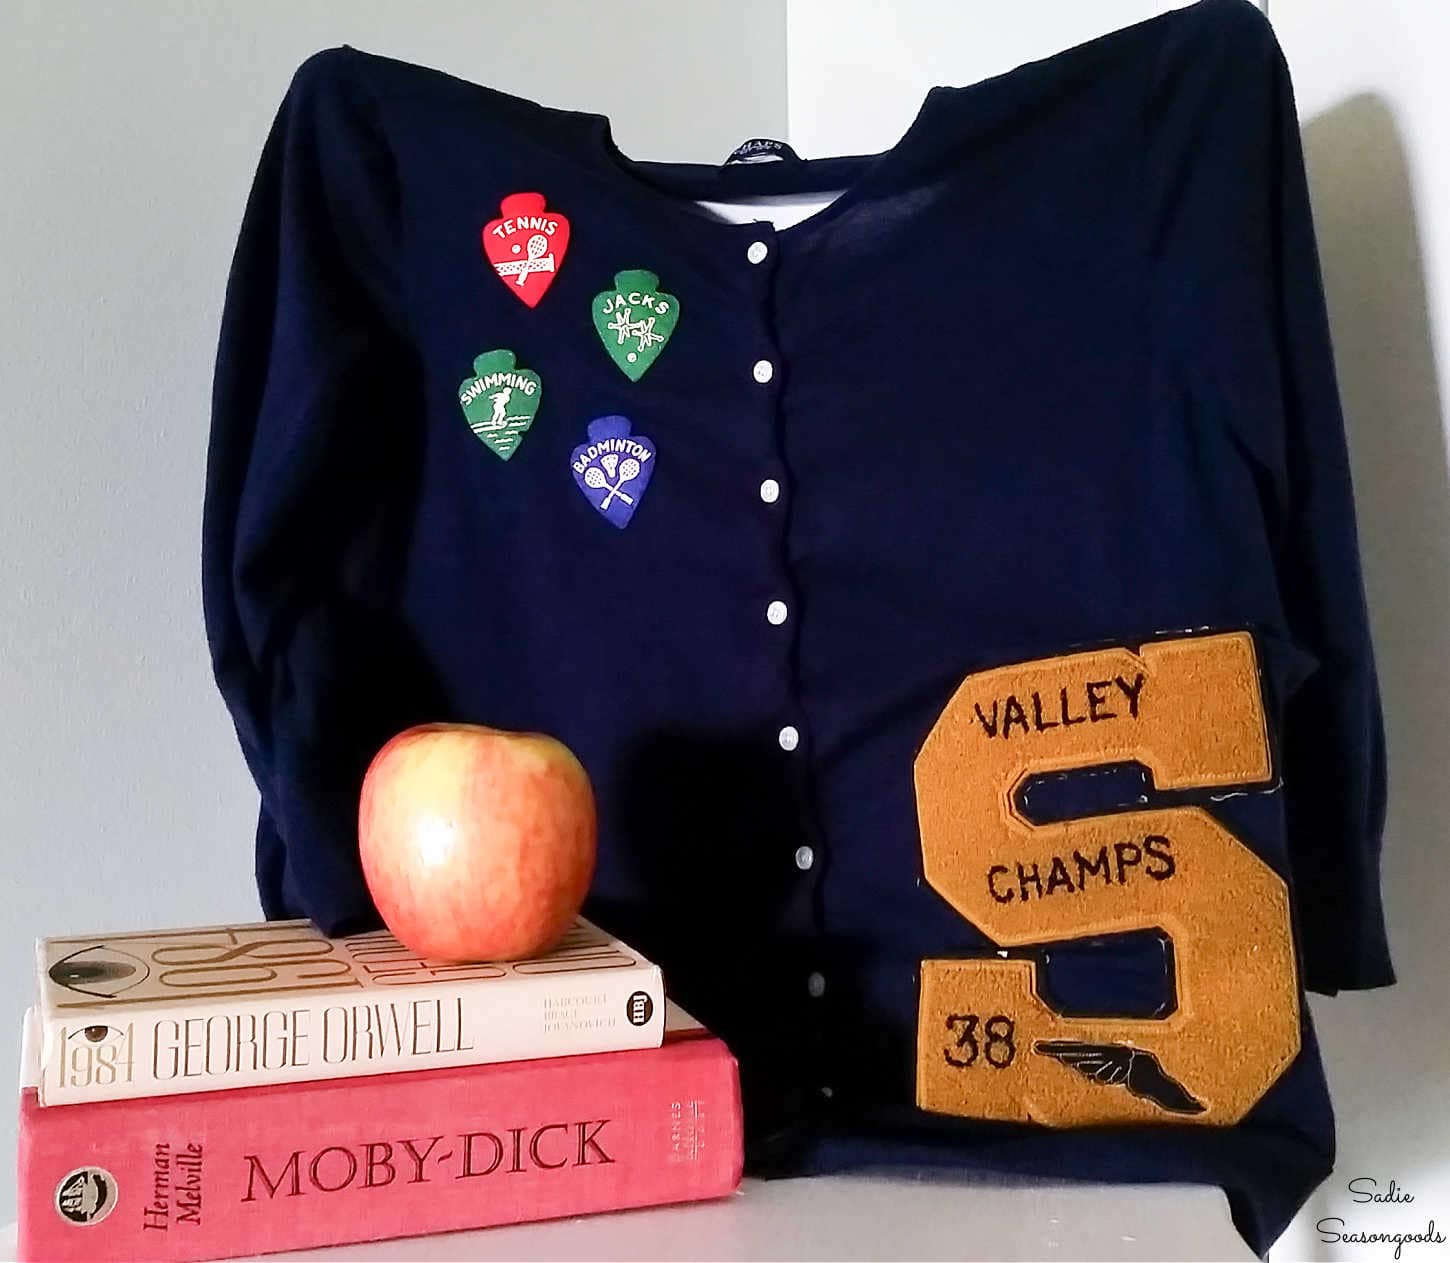
Image credit: Sadie Seasongoods.
I’m sorry the photos aren’t fabulous, but they’re from a decade ago! Long before I knew what I was doing with blog pictures.
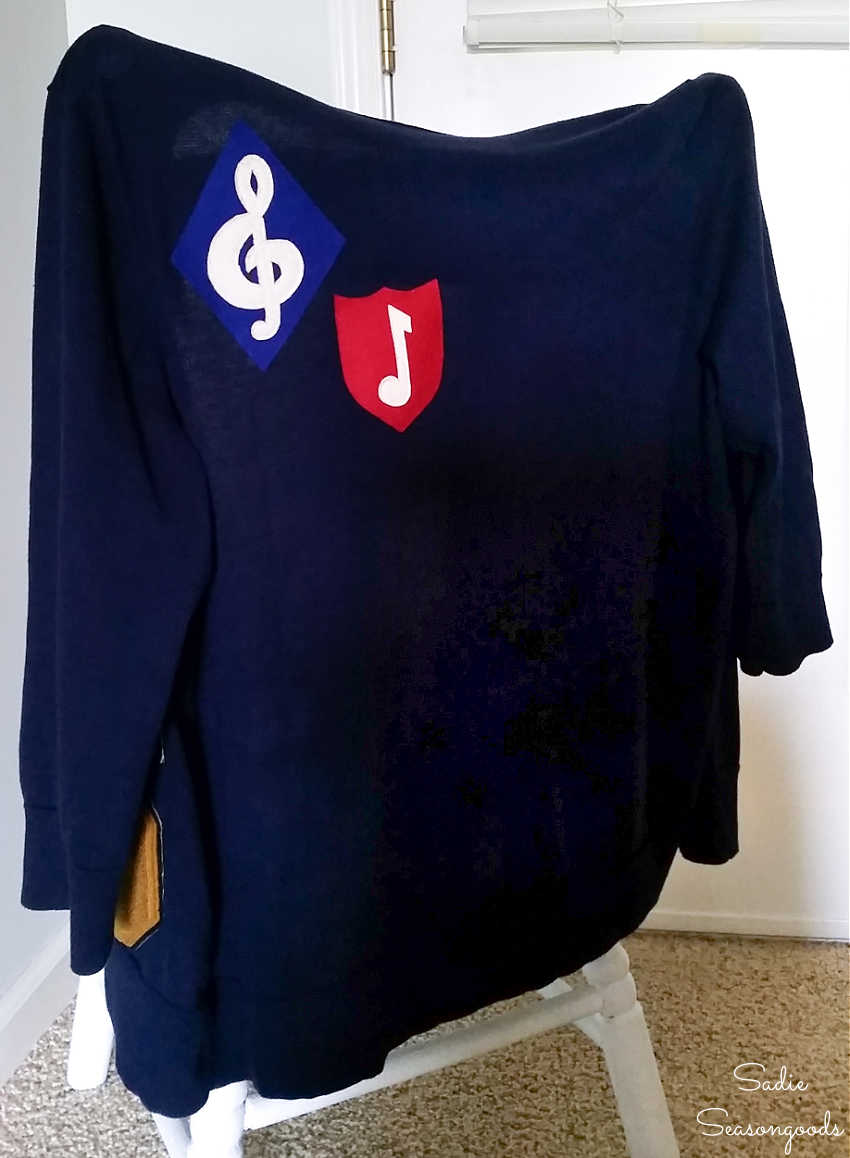
Image credit: Sadie Seasongoods.
Ironically, these music patches on my varsity sweater are the only thing I could have lettered in during my high school years. But the great thing about making a letterman sweater in your 40s, 50s, and beyond?
You can “letter” in whatever you want! Football, cheerleading, basketball- whatever. You’re only limited by the letters and patches that you can find. And the scavenger hunt is half the fun of this project.
Thanks for tagging along today while I skipped down memory lane by republishing this old project. I wish I still had this sweater to take fresh photos of, but sadly…it no longer fit me! Guess I’ll just have to make another one, eh??
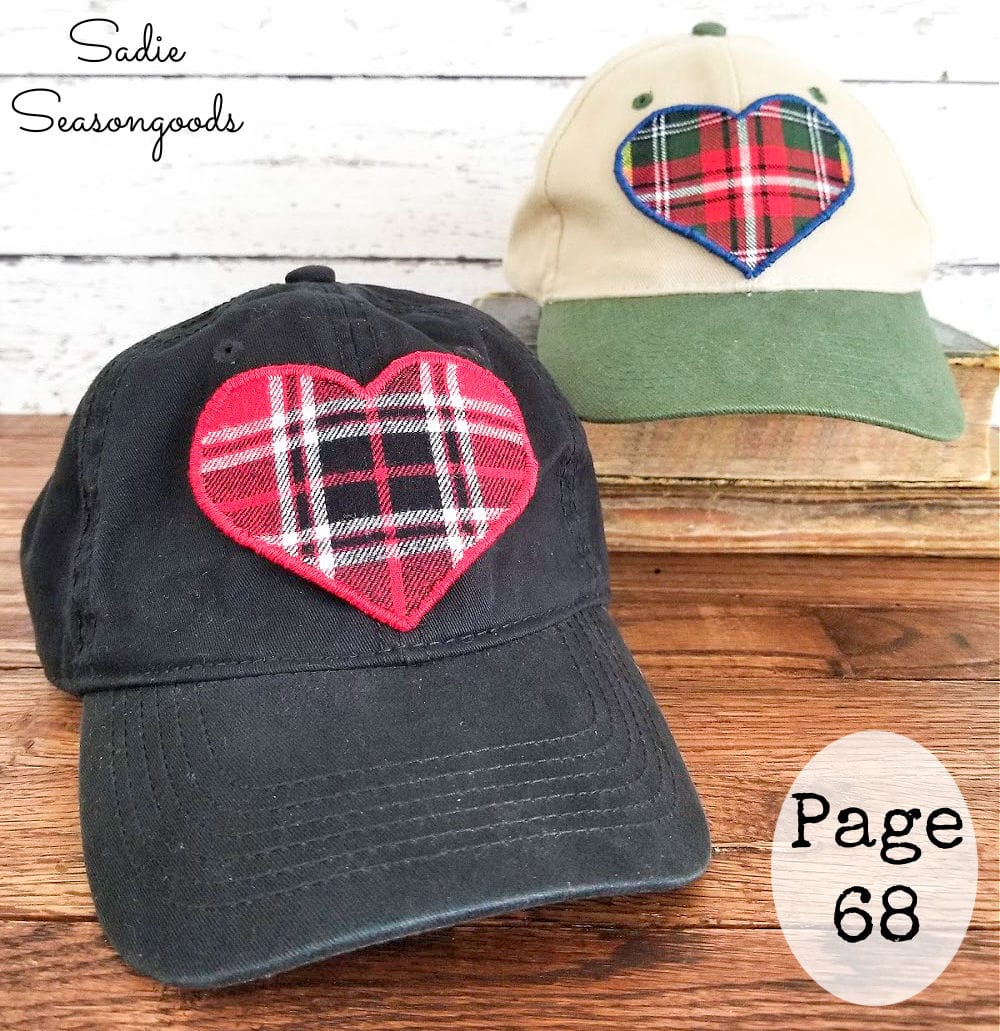
And if you enjoyed all my patch projects, then you may be interested in these flannel patches that I made for my book, “Crafting with Flannel”, too.
I also have a couple of posts that are full of upcycled clothing ideas that may catch your eye, as well:
- Upcycled Clothing Ideas
- Projects with Upcycled Flannel Shirts
- All Sorts of Ways to Repurpose Accessories (Bags, Belts, Scarves, etc.)
Craft on!
S
Want to be notified when I publish my next upcycling project tutorial?
Join me on Social Media:
PIN ME!
Image credit: Sadie Seasongoods.
Sarah Ramberg is the owner of Sadie Seasongoods, a website that celebrates all things secondhand. From upcycling ideas and thrifted decor to vintage-centric travel itineraries, Sadie Seasongoods is a one-stop shop for anyone who loves thrifting and approachable repurposing ideas. Sarah is also the author of “Crafting with Flannel” and has been featured in numerous media outlets and magazines.


Have a question or like what you see? Please let me know!