When I was deciding what I wanted to make for Valentine’s Day this year, I kept coming back to the idea of Valentine pillows. Embellishing some plain pillows from the thrift store is always a fun and easy project, plus I also had plenty of materials in my craft stash.
And when I spotted this mismatched pair- a silky pink throw pillow and a velvet, beaded lumbar pillow- at the thrift, it seemed like crafting kismet.
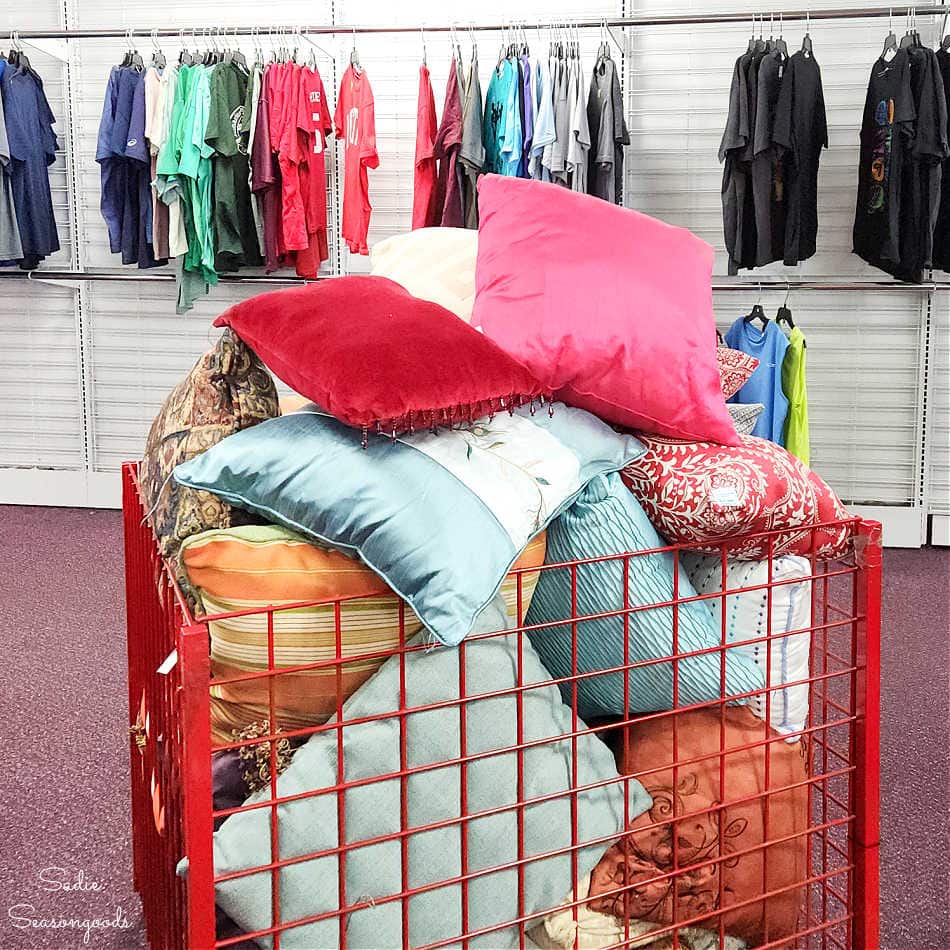
Image credit: Sadie Seasongoods.
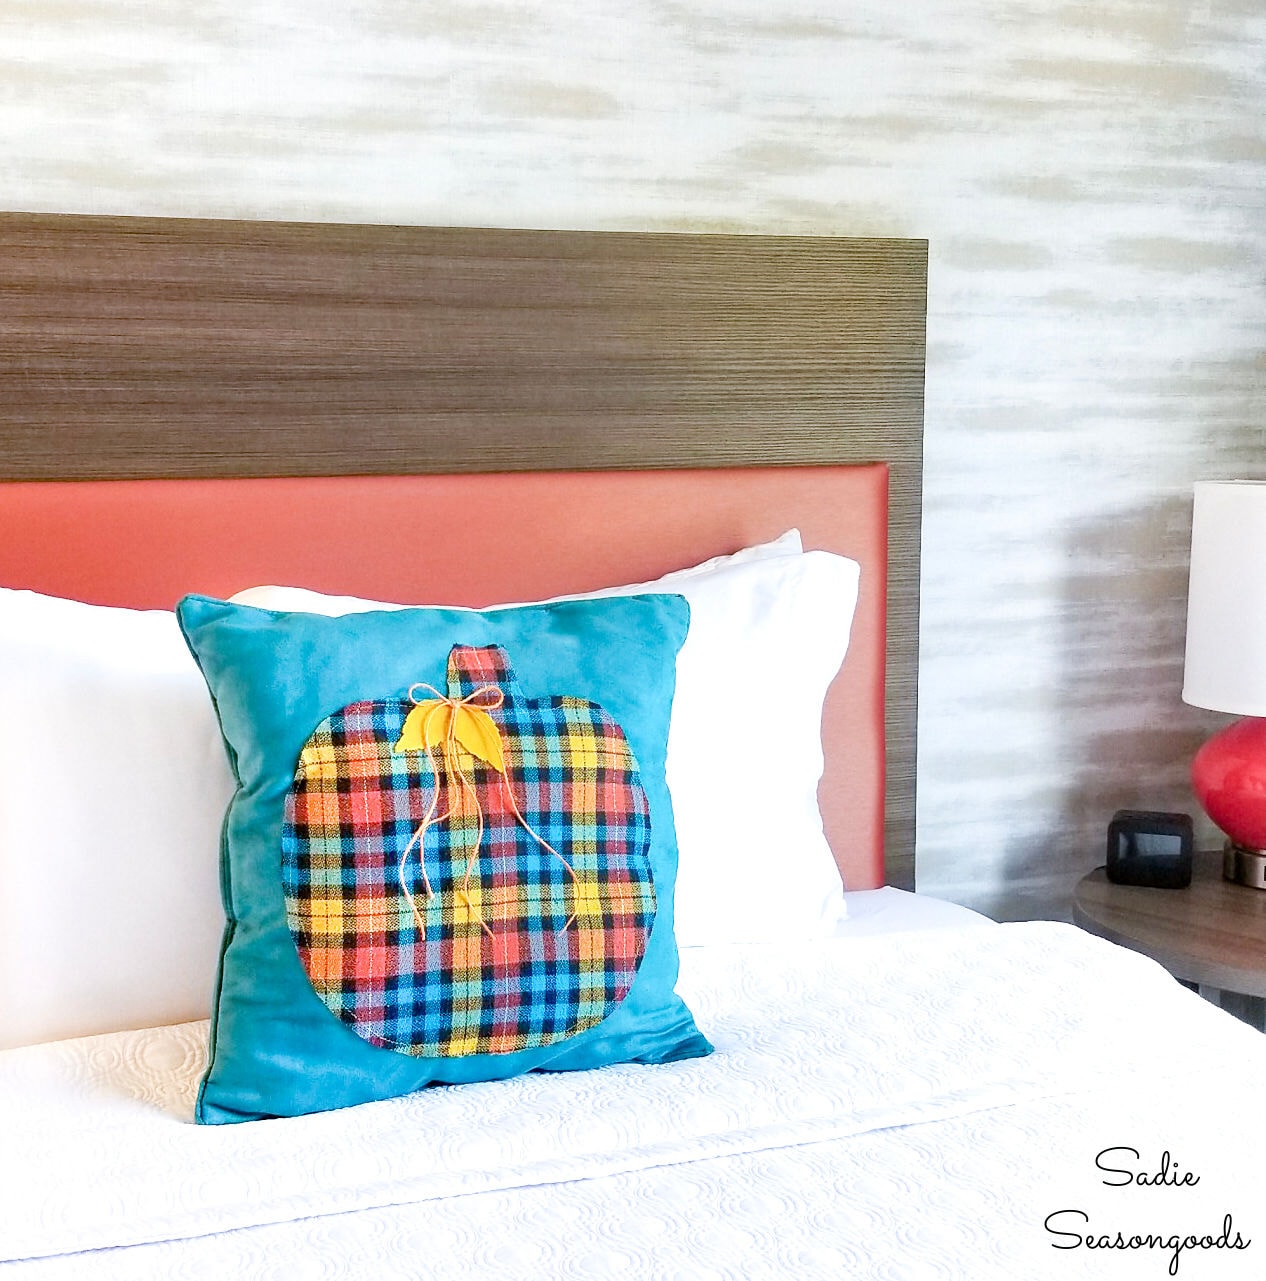
Yes, I’ve embellished thrift store pillows before! In fact, this one- while made for fall/autumn decor– kind of inspired me to do the same thing for other holidays. Namely, Valentine’s Day!
But instead of using a flannel shirt (as I’m wont to do), I planned on using heart-shaped doilies and handkerchiefs for my Valentine’s Day pillow idea.
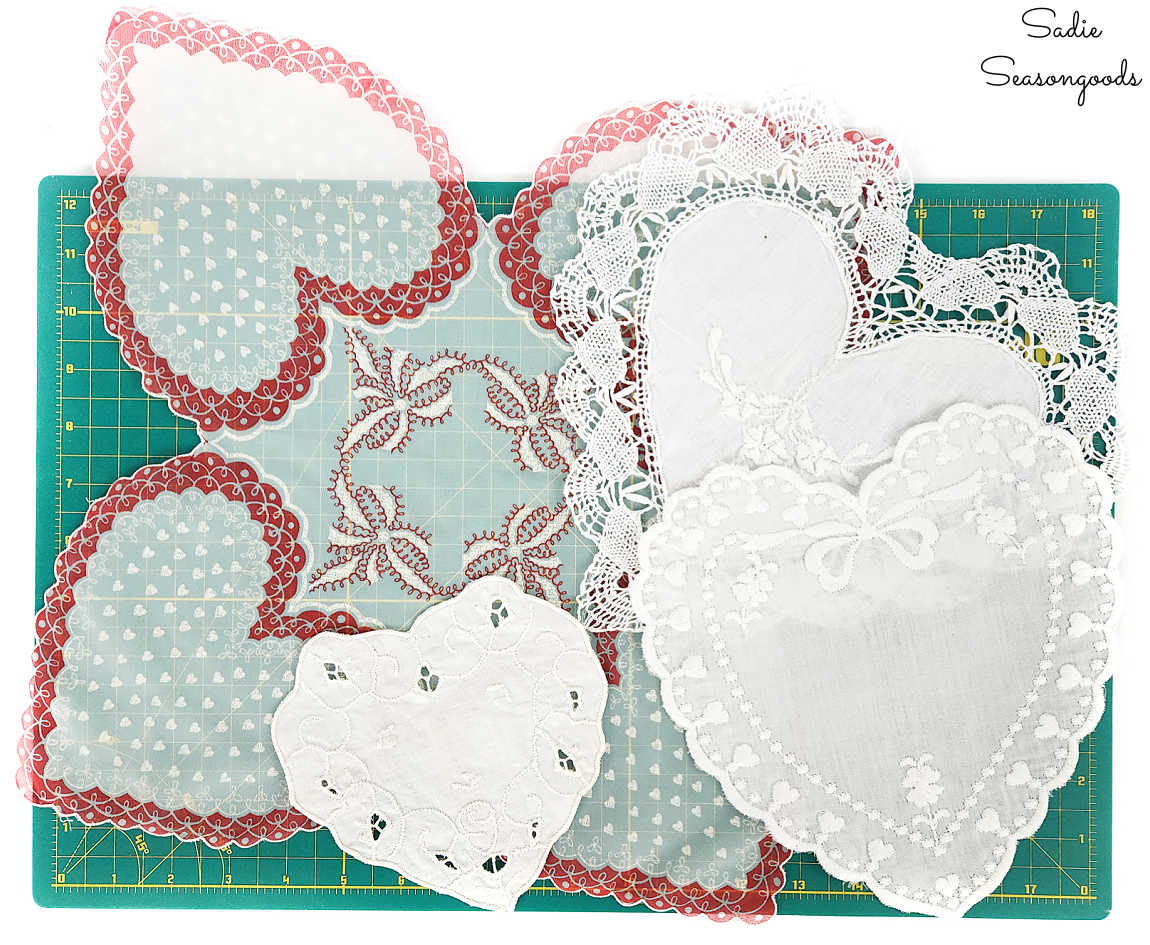
Image credit: Sadie Seasongoods.
Basically, I wanted to embellish the pink and red pillows in the spirit of vintage candy boxes (remember those?). So, I gathered up my supplies and got to work!
This post contains affiliate links for your crafting convenience. As an Amazon Affiliate, I earn from qualifying purchases. All blue, bold, and underlined text is a clickable link, either to a product or to a related post.
Decorating Pillows with Hearts and Lace
First things first, I needed to adhere a heart-motif handkerchief to the pink square pillow. And to do so, I planned to use a spray adhesive.
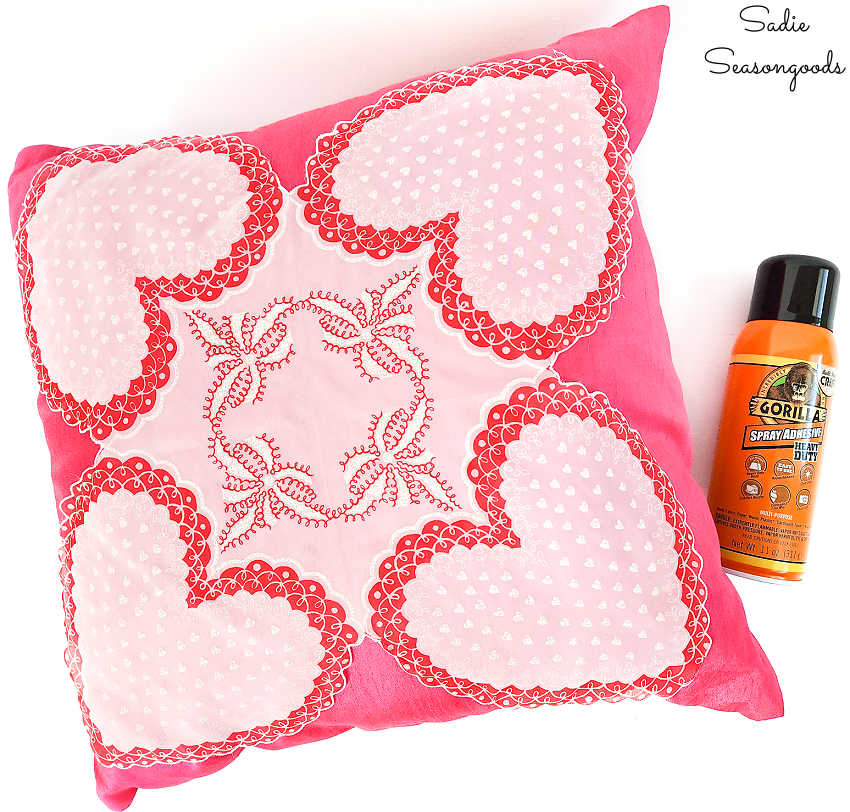
Image credit: Sadie Seasongoods.
So, I brought both the pillow and spray outside and followed the directions on the can. I sprayed the back of the handkerchief and the parts of the pillow that I planned on covering, and pressed it to the pillow.
Then, I set it aside to dry.
Next, I wanted to make a felt rose for the center of the pillow. Of course, I could have just used an artificial flower from a craft store, but I wanted to try my hand at a felt flower instead. After making these felt succulents, I’ve had a hankering to work with felt again, so…
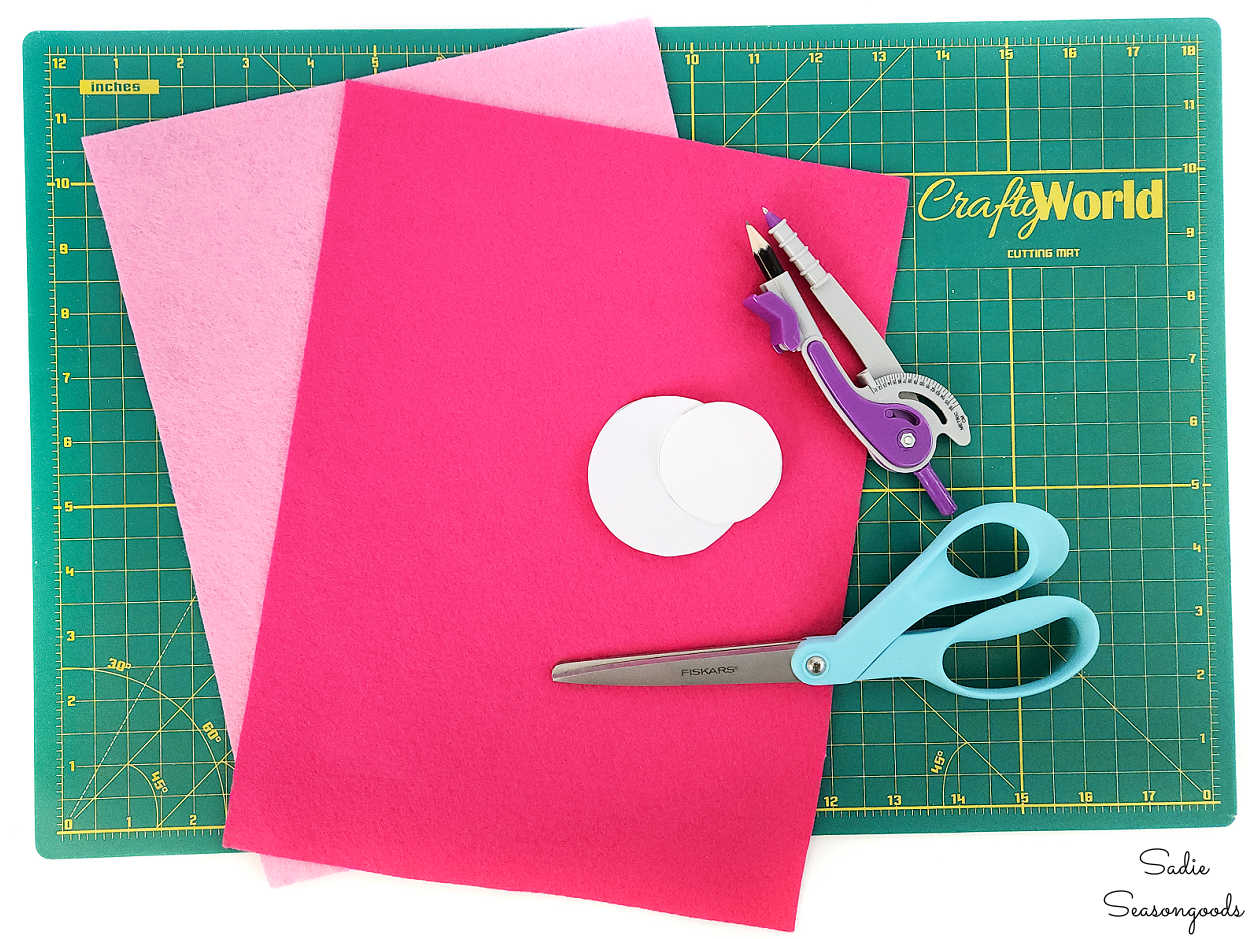
Image credit: Sadie Seasongoods.
First, I cut out 12 circles of felt (using a paper pattern) that were 2” in diameter. I have an old-fashioned compass in my sewing basket that I use to create circle patterns! It’s amazing how many times something so nostalgic and simple has come in handy.
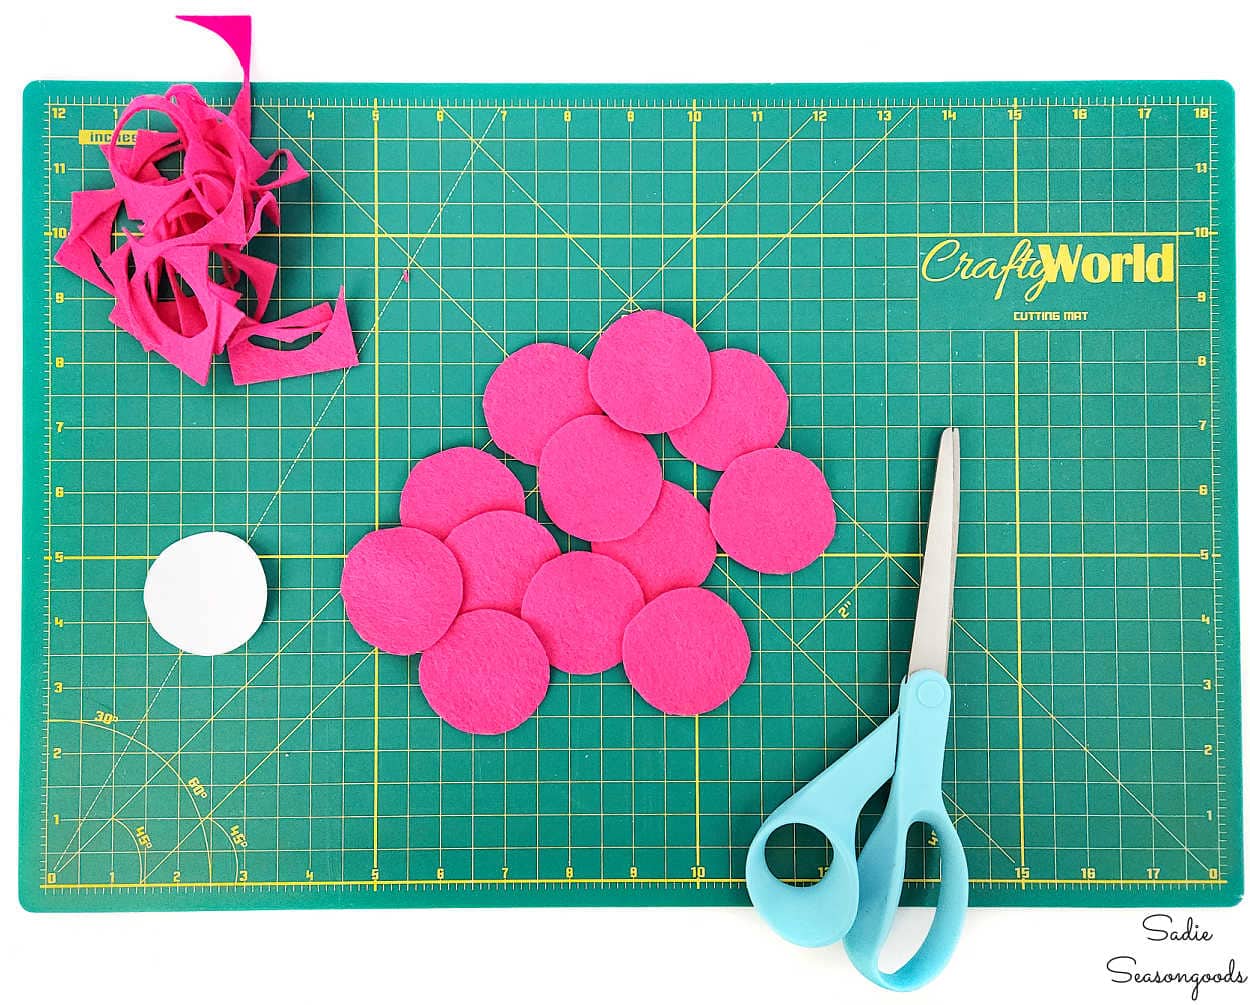
Image credit: Sadie Seasongoods.
Then, I cut each circle in half. After that, I ran a running stitch through them along the flat/cut side, carefully layering the half moons in the same pattern as I went. The pattern being laying one underneath the stitched one, then stitching to the center, and laying another one under that.
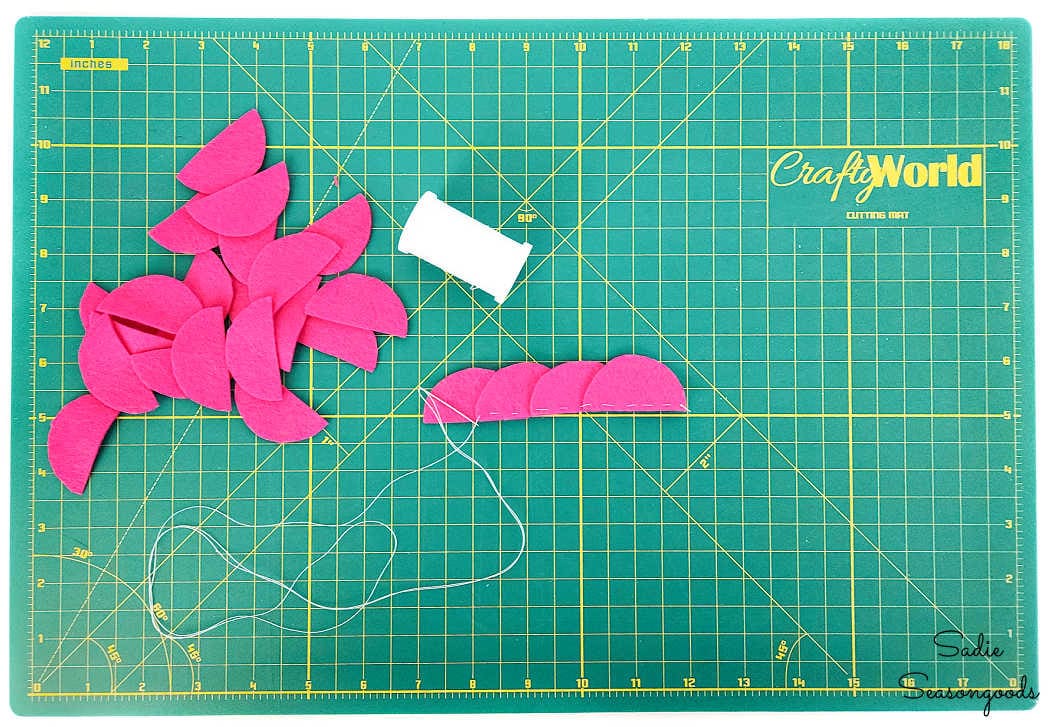
Image credit: Sadie Seasongoods.
**Normally I would try and match the thread to the felt, but I used a contrasting color here so that you could see the running stitch. But, as you’ll see in the end, it really didn’t matter anyway!**
When I had stitched them all together in a chain, this is what it looked like.
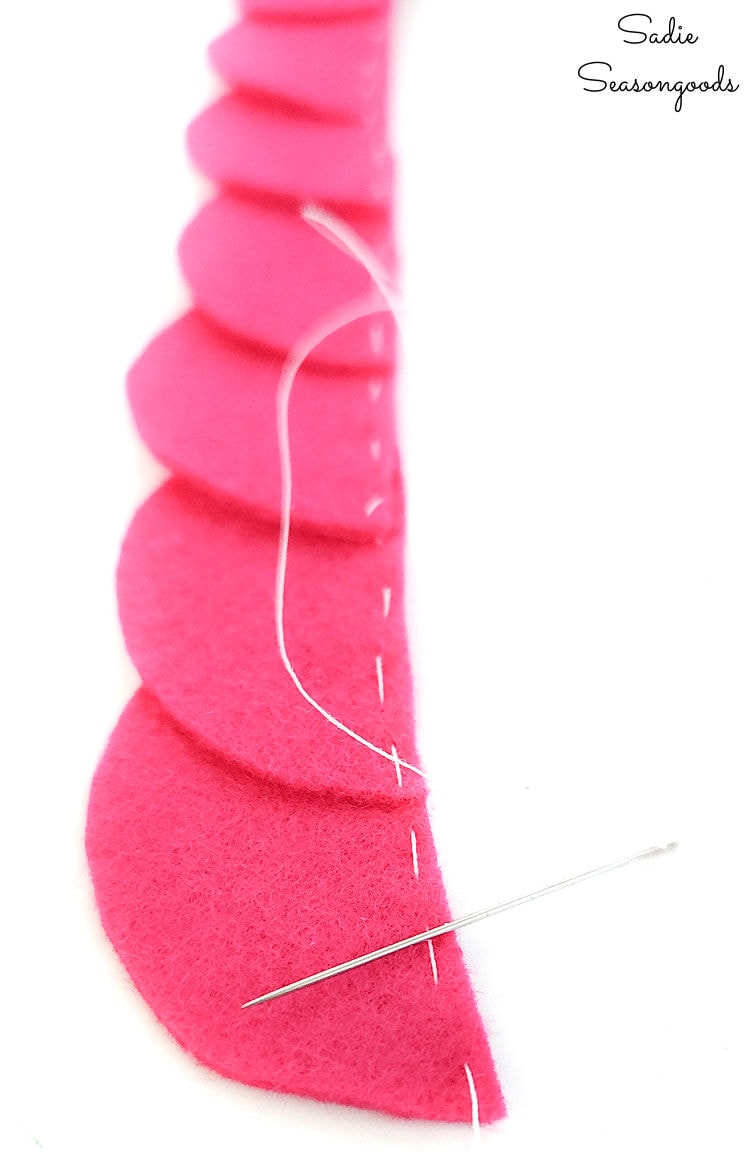
Image credit: Sadie Seasongoods.
Felt Roses for Valentine Pillows
Now, while the needle end of the thread was still loose (i.e., not tied off), I began to gather the felt “petals”. I did so by gently pulling the needle end of the thread and pushing the felt petals down, creating a ruffled or pleated effect.
When the chain began to curl naturally, I carefully tied off the loose end of the thread with a couple of small knots.
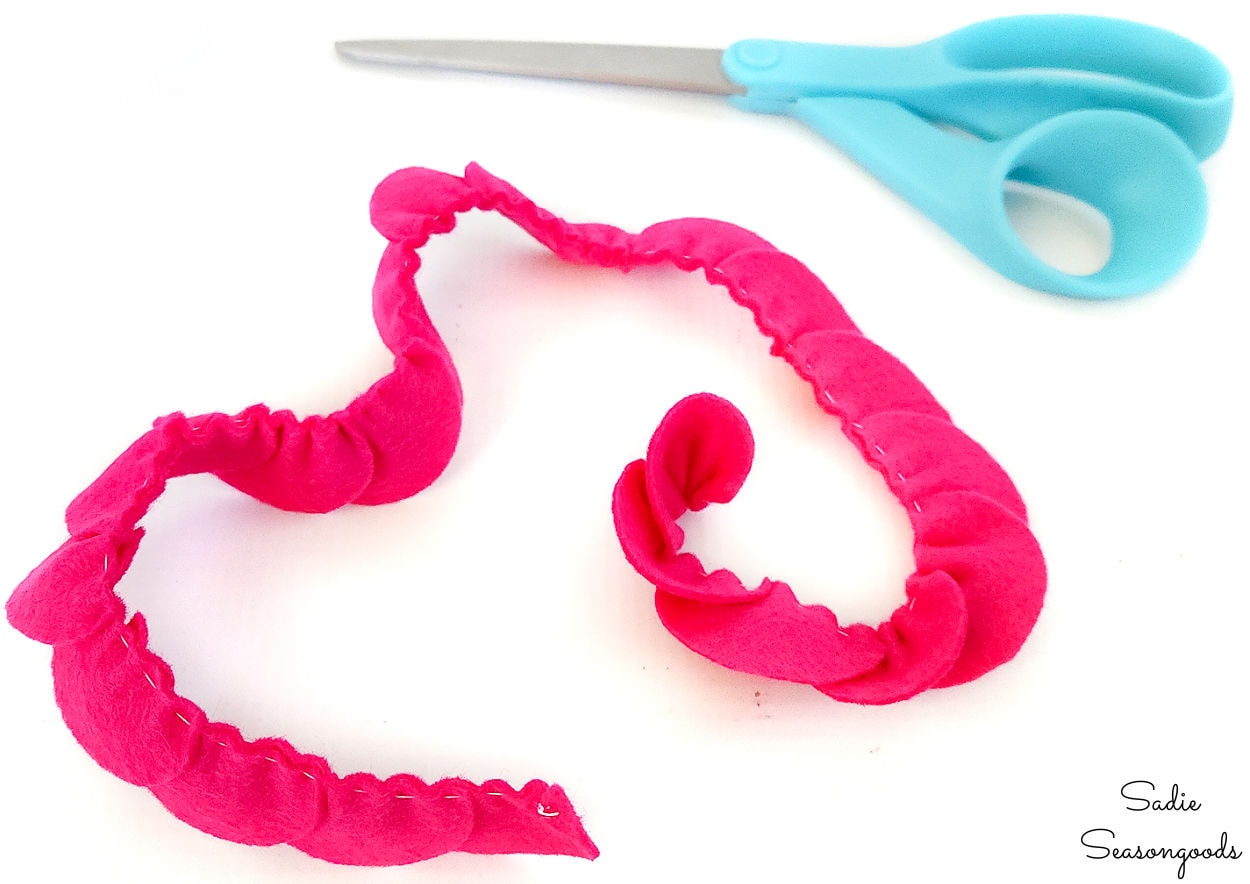
Image credit: Sadie Seasongoods.
Next, it was time to make a felt rose! I began to coil the gathered felt petals in a circle, using hot glue along the bottom of the chain to hold it in place. See how it’s starting to look like the center of a rose bud?
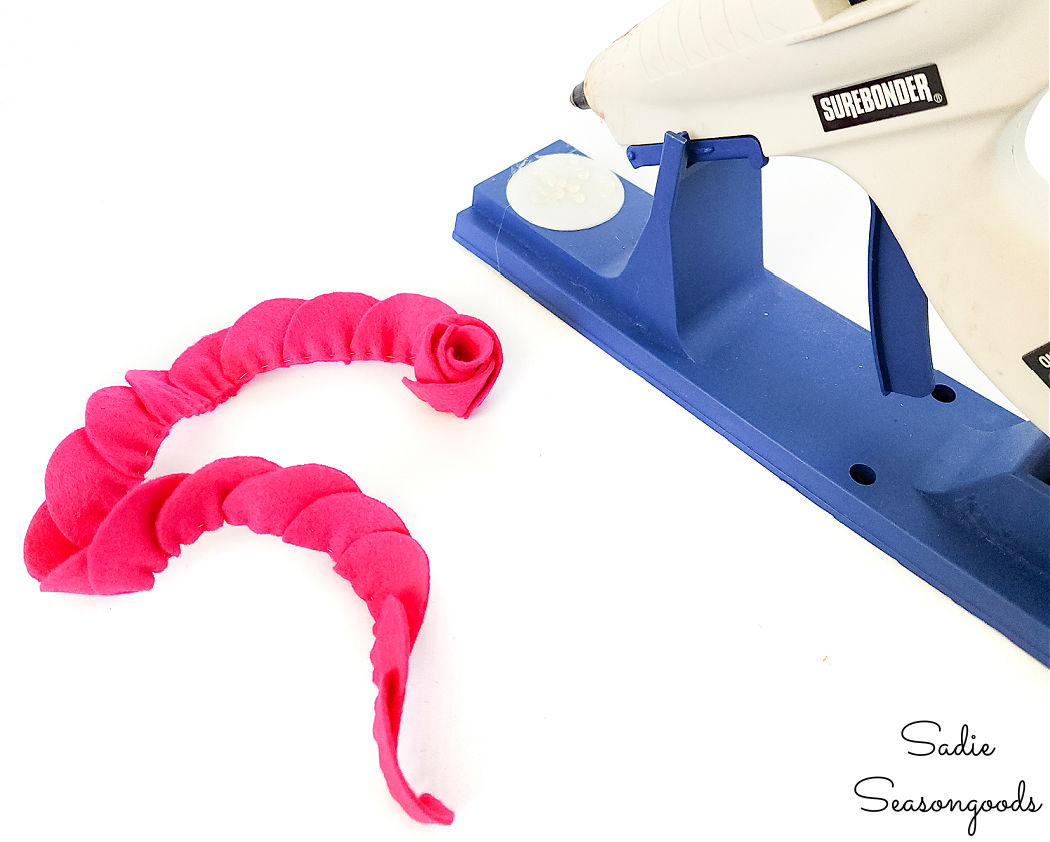
Image credit: Sadie Seasongoods.
When all was said and done with the 24 half-moons, this is what my felt rose looked like.
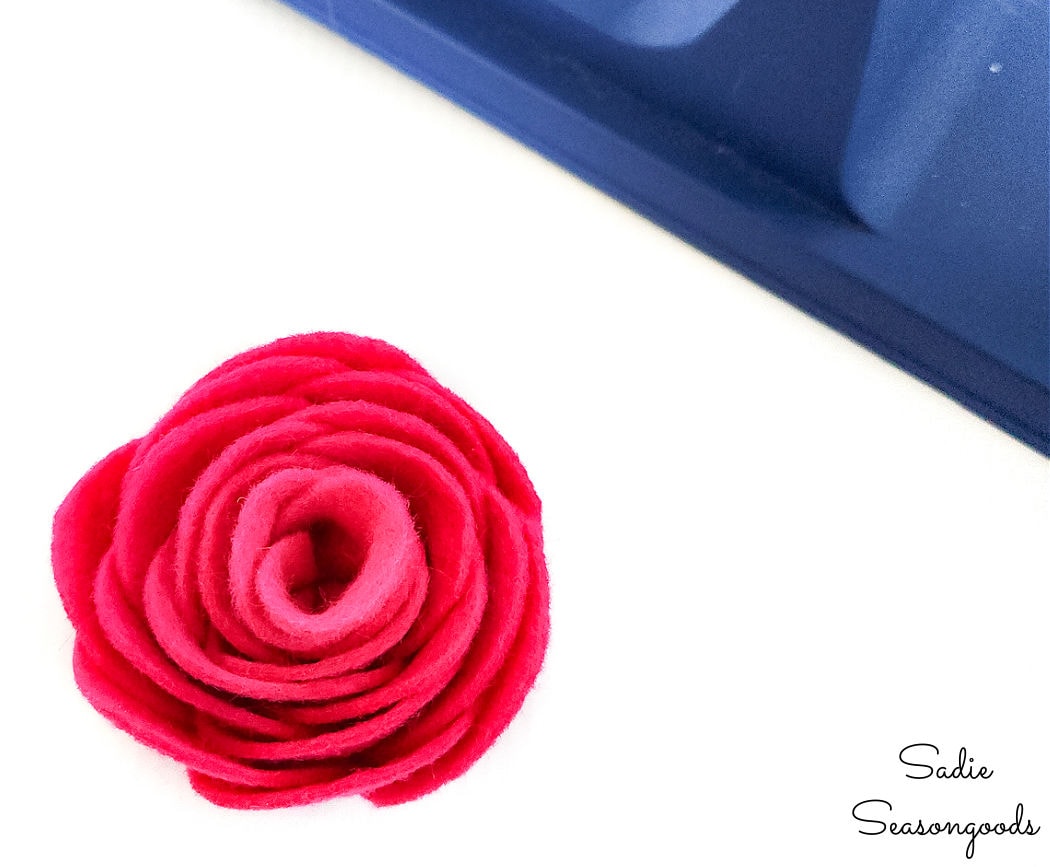
Image credit: Sadie Seasongoods.
Cute, but too small for my Valentine pillows! So, I simply started the whole process over, creating new petals, stitching them together, and gathering them in a pleated chain. Then I glued the new chain of petals around my original rose, as if they had both been part of the same chain of petals from the beginning!
And THIS was the final result. A perfectly full felt rose to go in the center of my pillow.
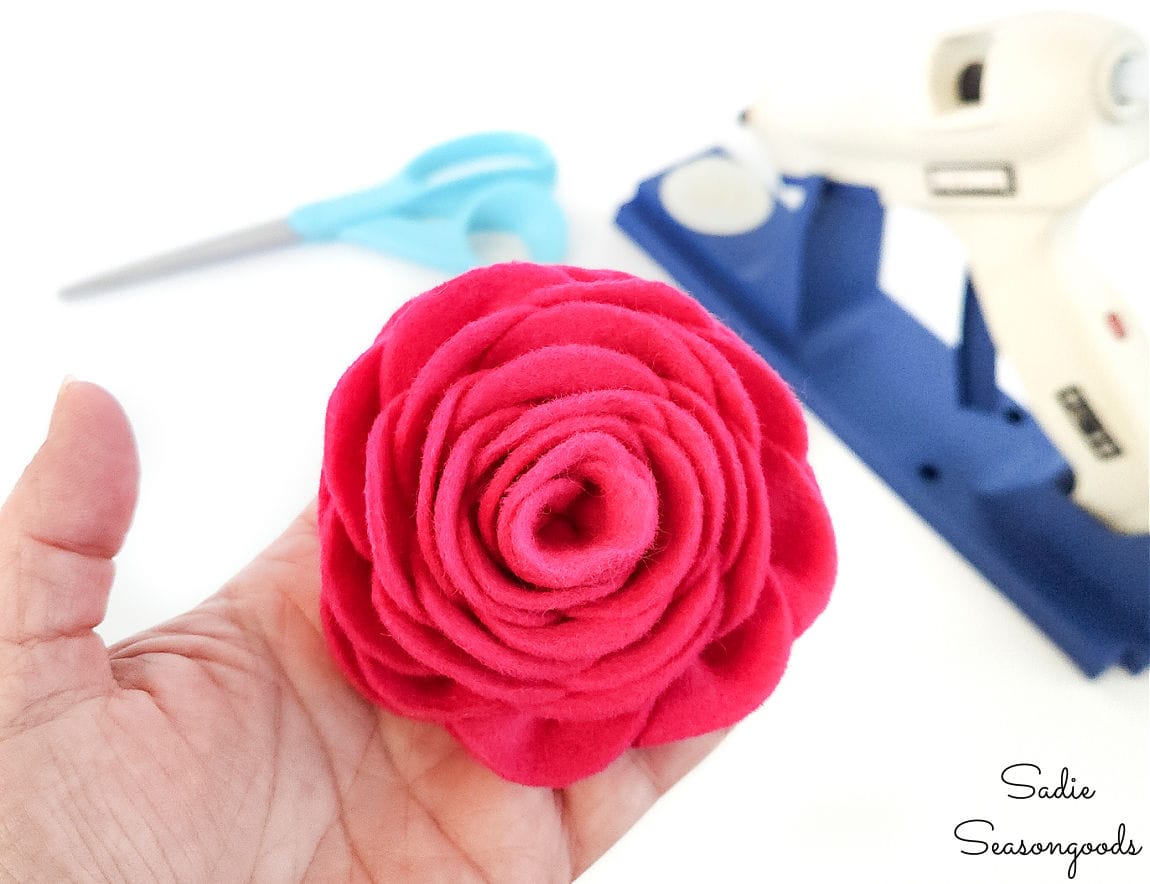
Image credit: Sadie Seasongoods.
See? It worked like a charm and was the perfect finishing touch for the first of my Valentine pillows. I attached it to the pillow with hot glue, as well.
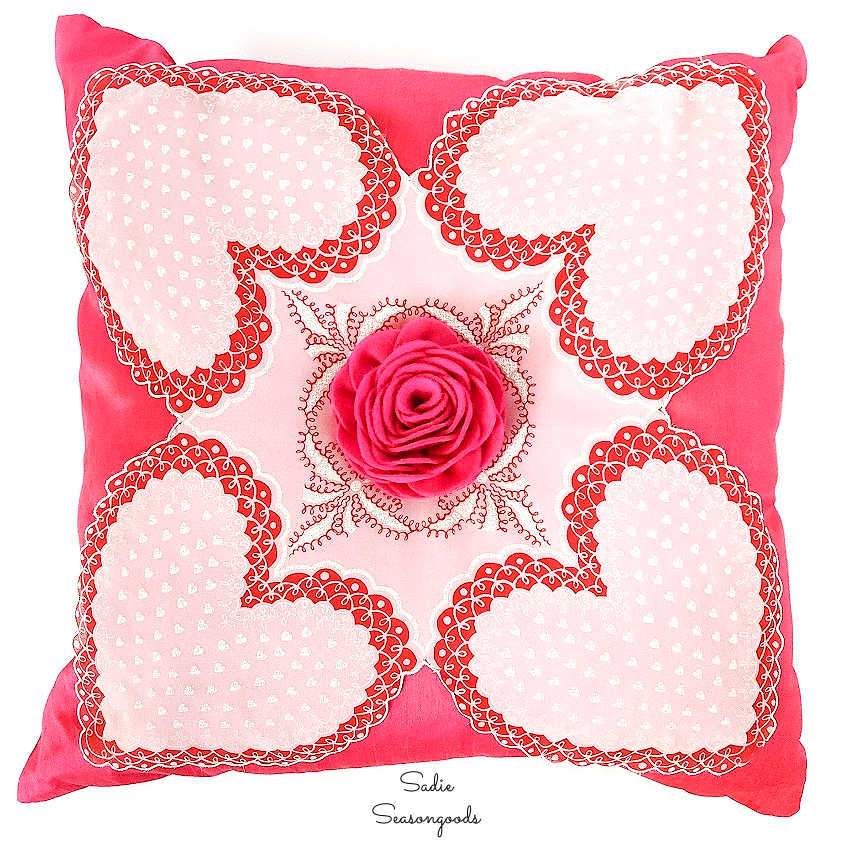
Image credit: Sadie Seasongoods.
Making Another Kind of Felt Flower
Next, I needed to embellish the second of my Valentine pillows. Namely, the velvet lumbar pillow that had beaded fringe along the short sides.
Again, I started by attaching two vintage lace heart doilies (well, more like eyelet than lace) to the pillow with my spray adhesive.
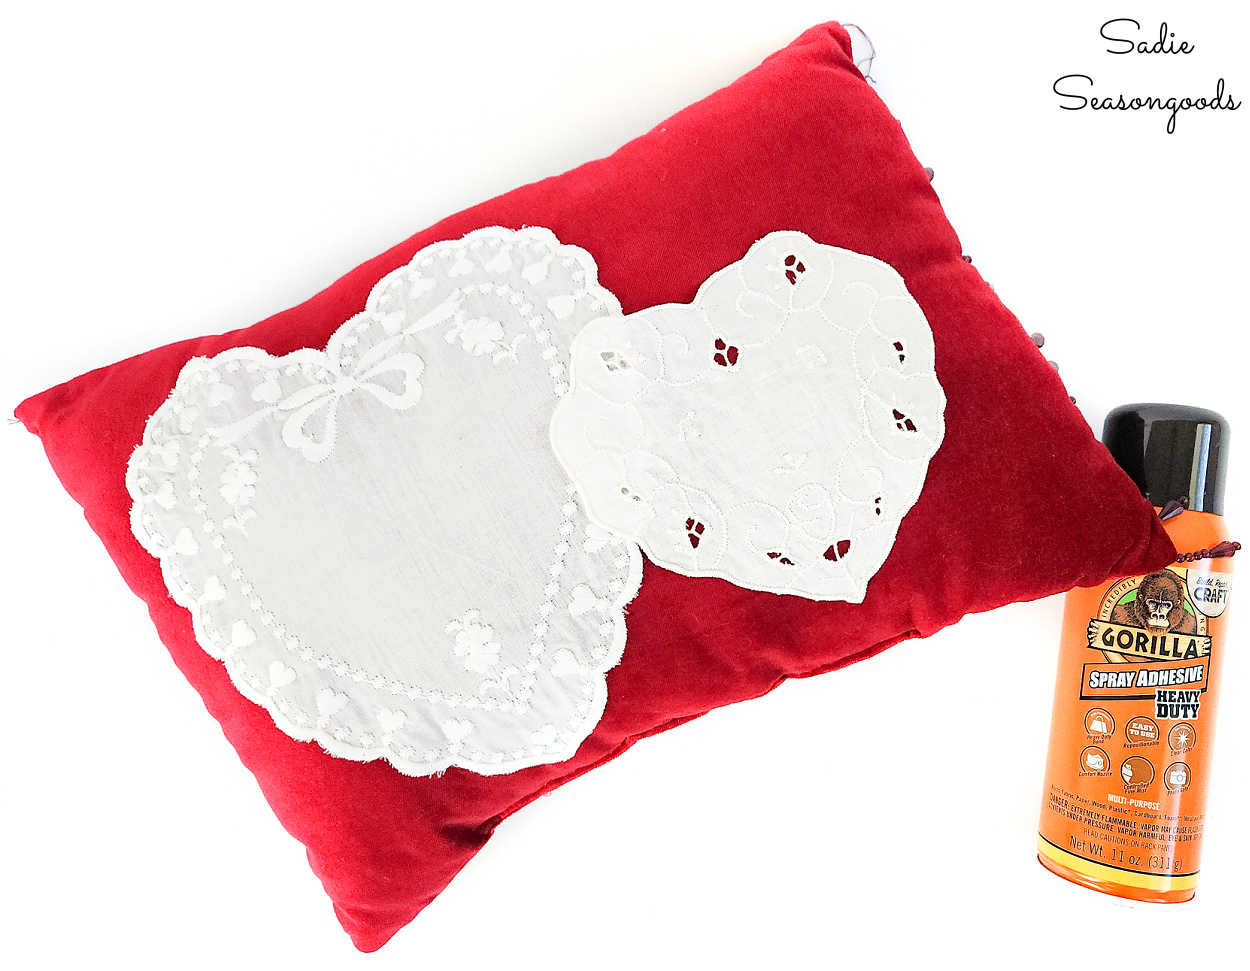
Image credit: Sadie Seasongoods.
And, like with the throw pillow previously, I wanted to create another felt flower for it. But not a rose this time- something simpler instead, like a daisy.
So, I assembled another sheet of wool felt and began cutting out U-shaped petals that were about 1¼” to 1½” long.
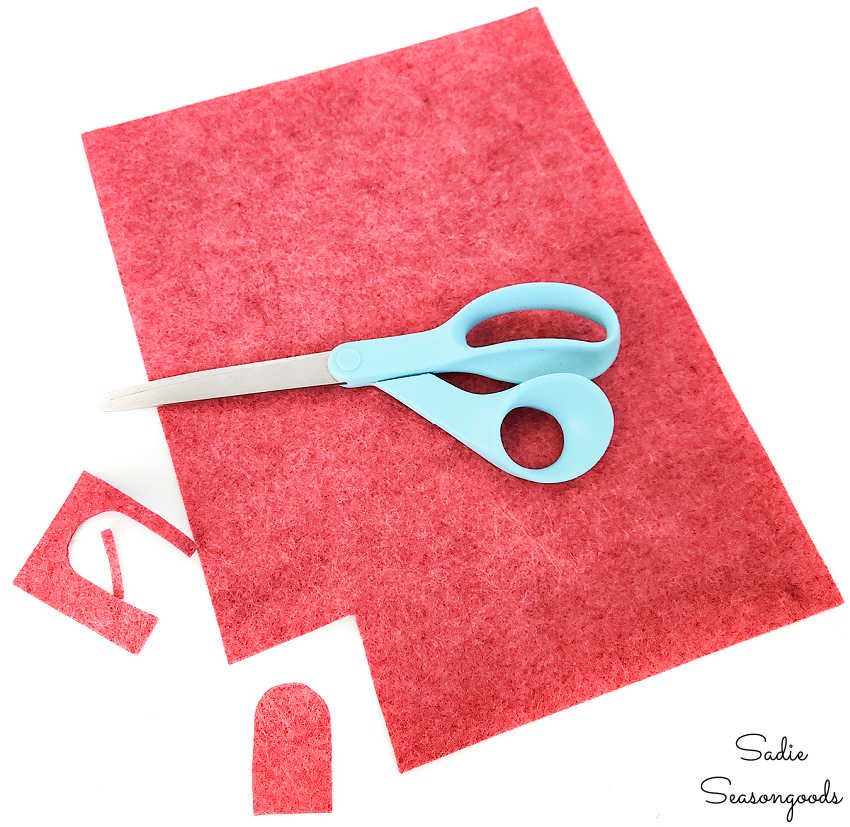
Image credit: Sadie Seasongoods.
Once I had six felt petals, I pinched the square corners together and hot glued the fold together.
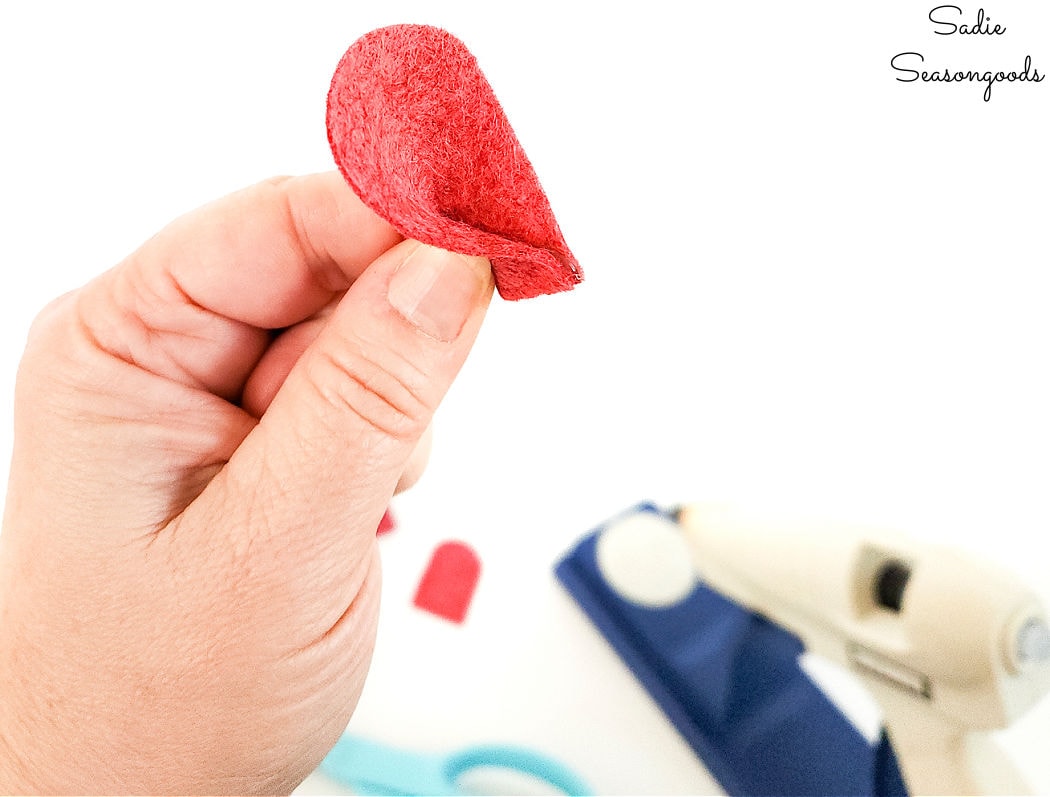
Image credit: Sadie Seasongoods.
Then, I simply hot-glued each petal next to each other, applying the glue on the outside of the pinched corners.
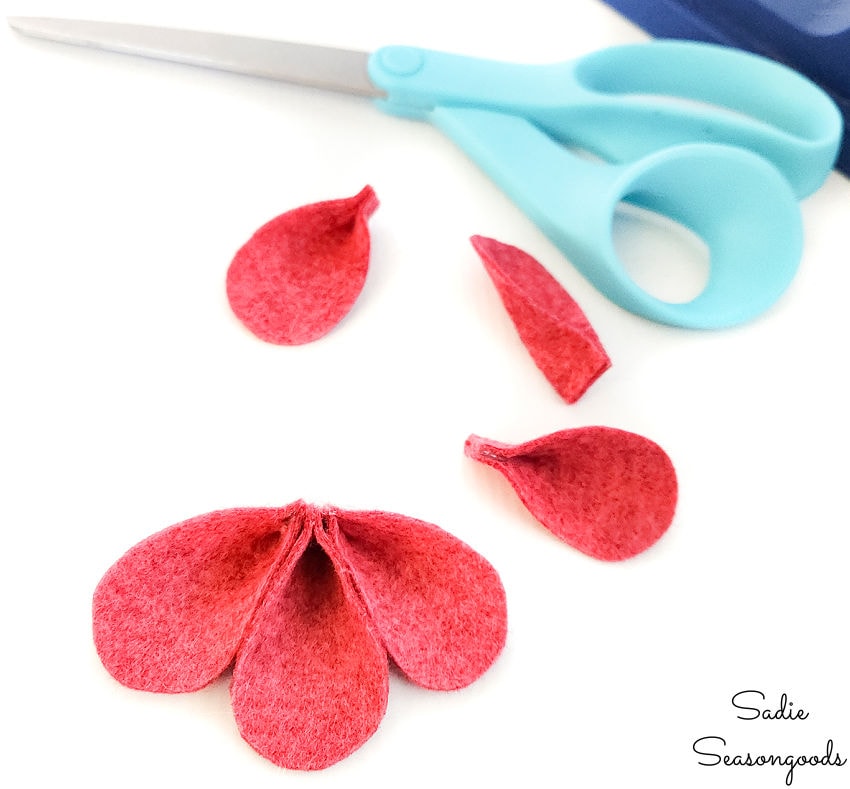
Image credit: Sadie Seasongoods.
After gluing in the final petal, I had a fun little felt daisy! I just needed to cut out a small circle of felt to attach to the center to finish it off.
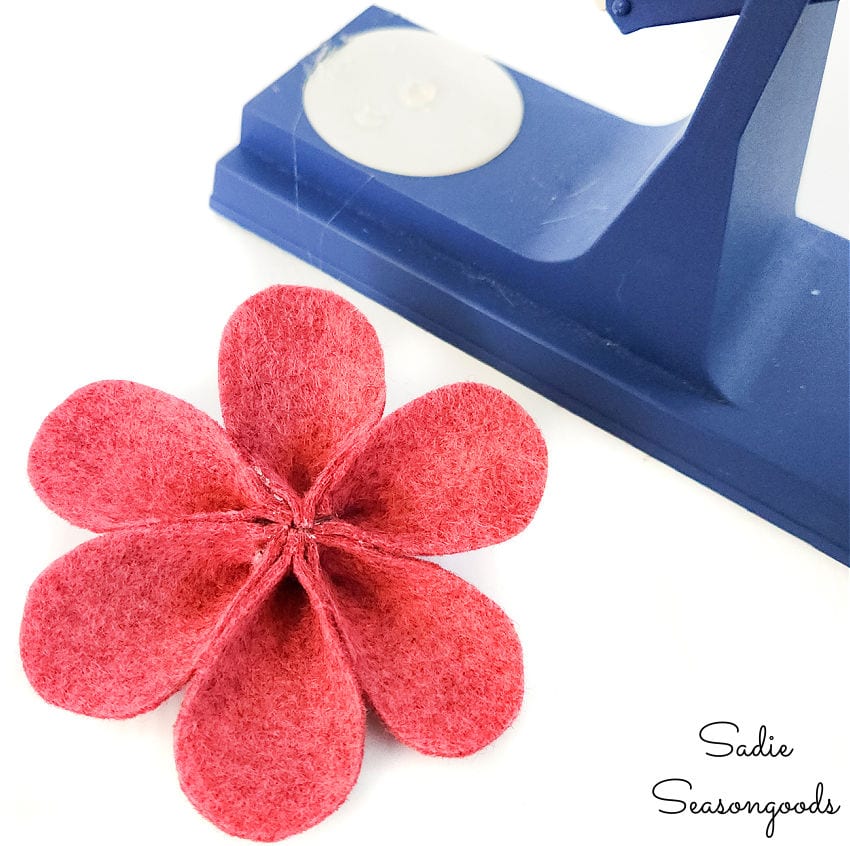
Image credit: Sadie Seasongoods.
And with that, another Valentine’s Day pillow was complete! How cute is that?
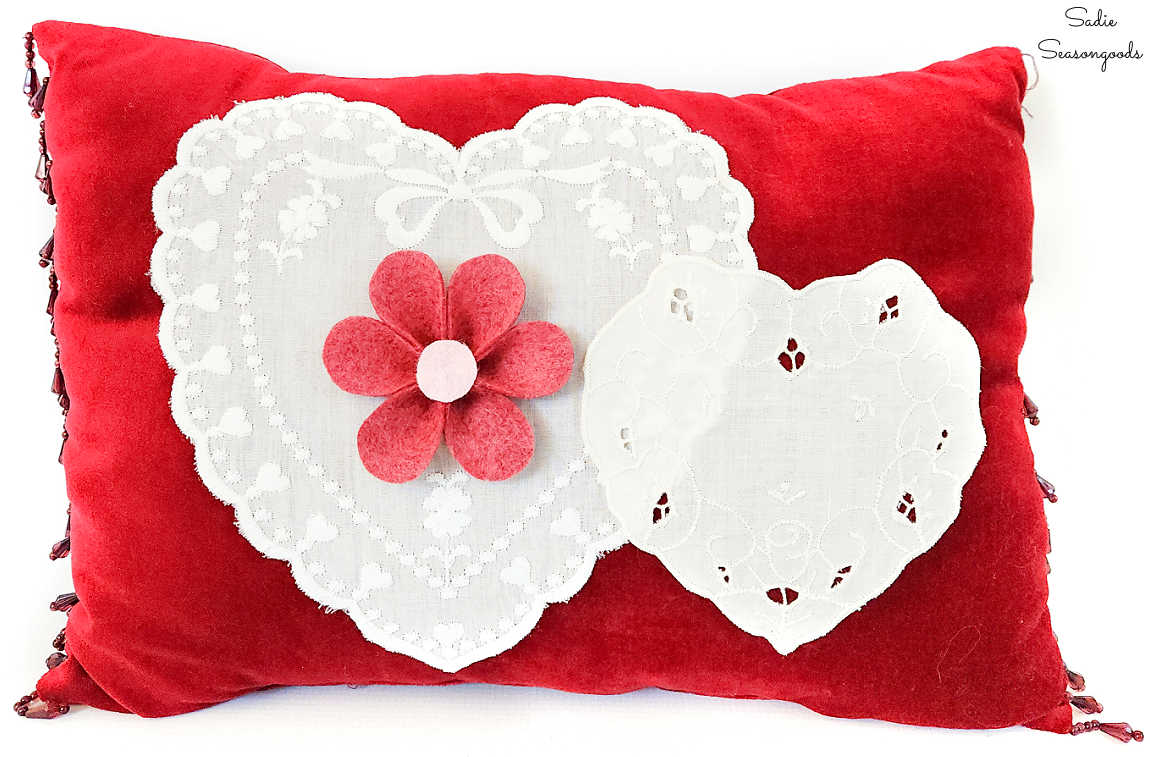
Image credit: Sadie Seasongoods.
Embellishing a Pair of Valentine Pillows
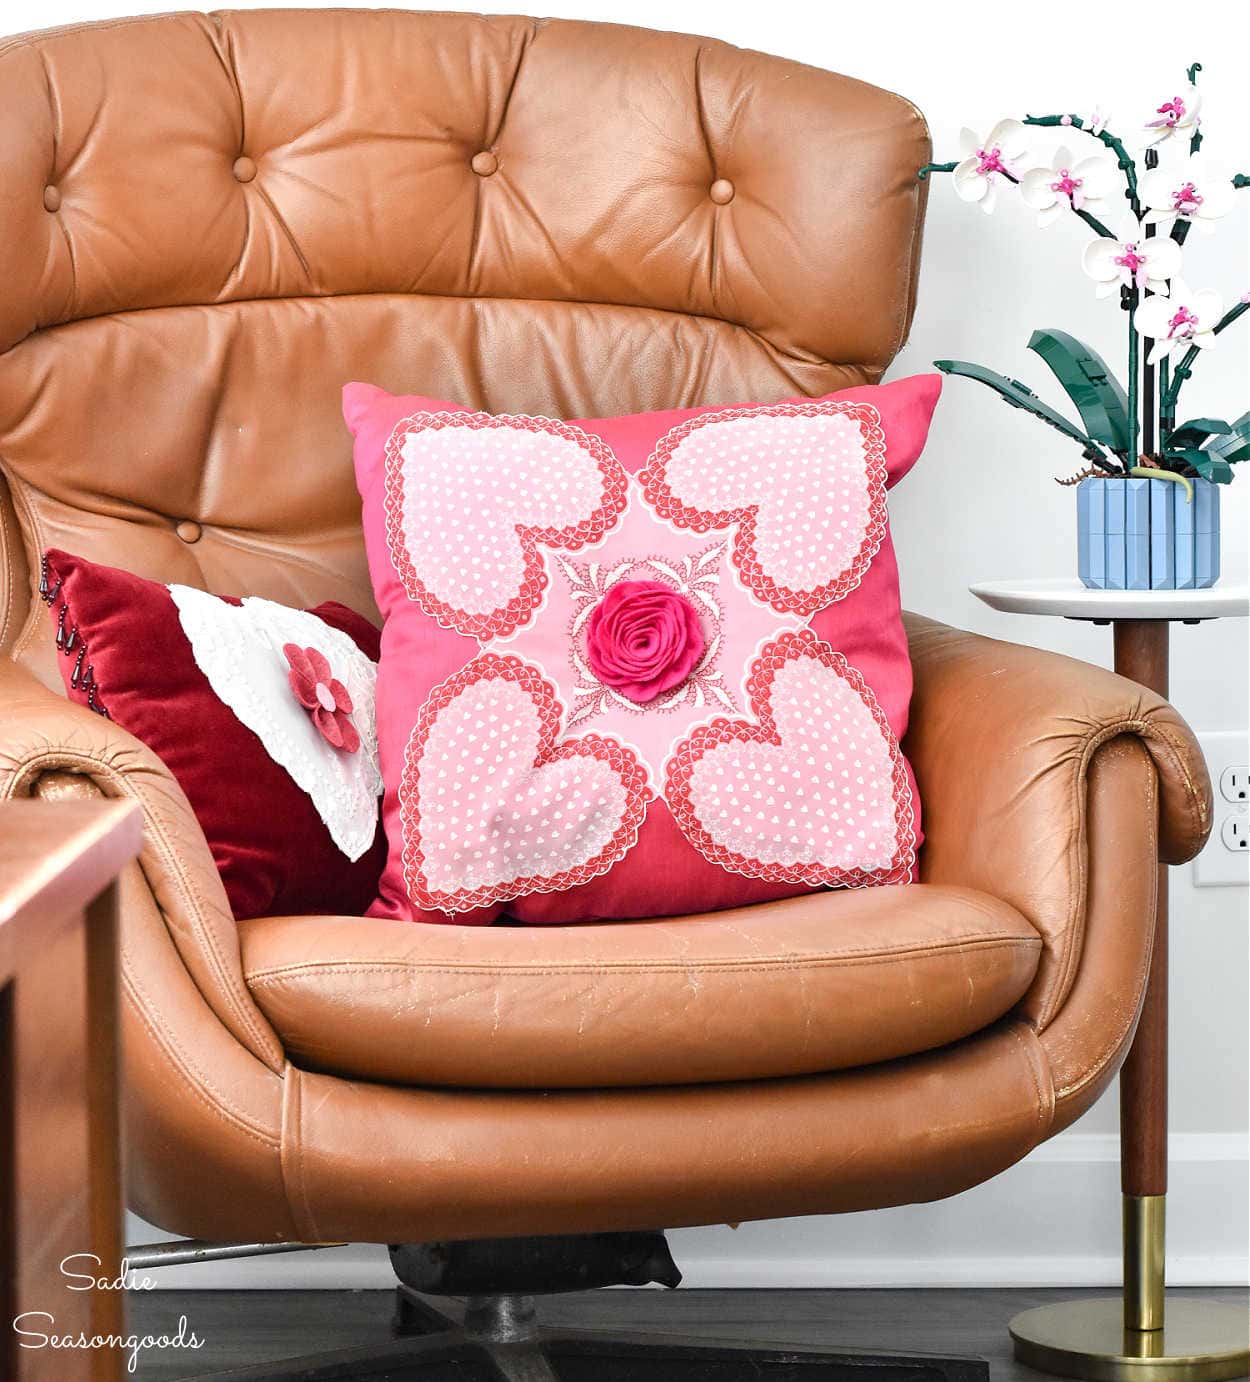
Not too shabby for a mismatched pair of thrift store pillows, eh? They were the perfect canvases for embellishing with doilies and felt flowers, if you ask me.
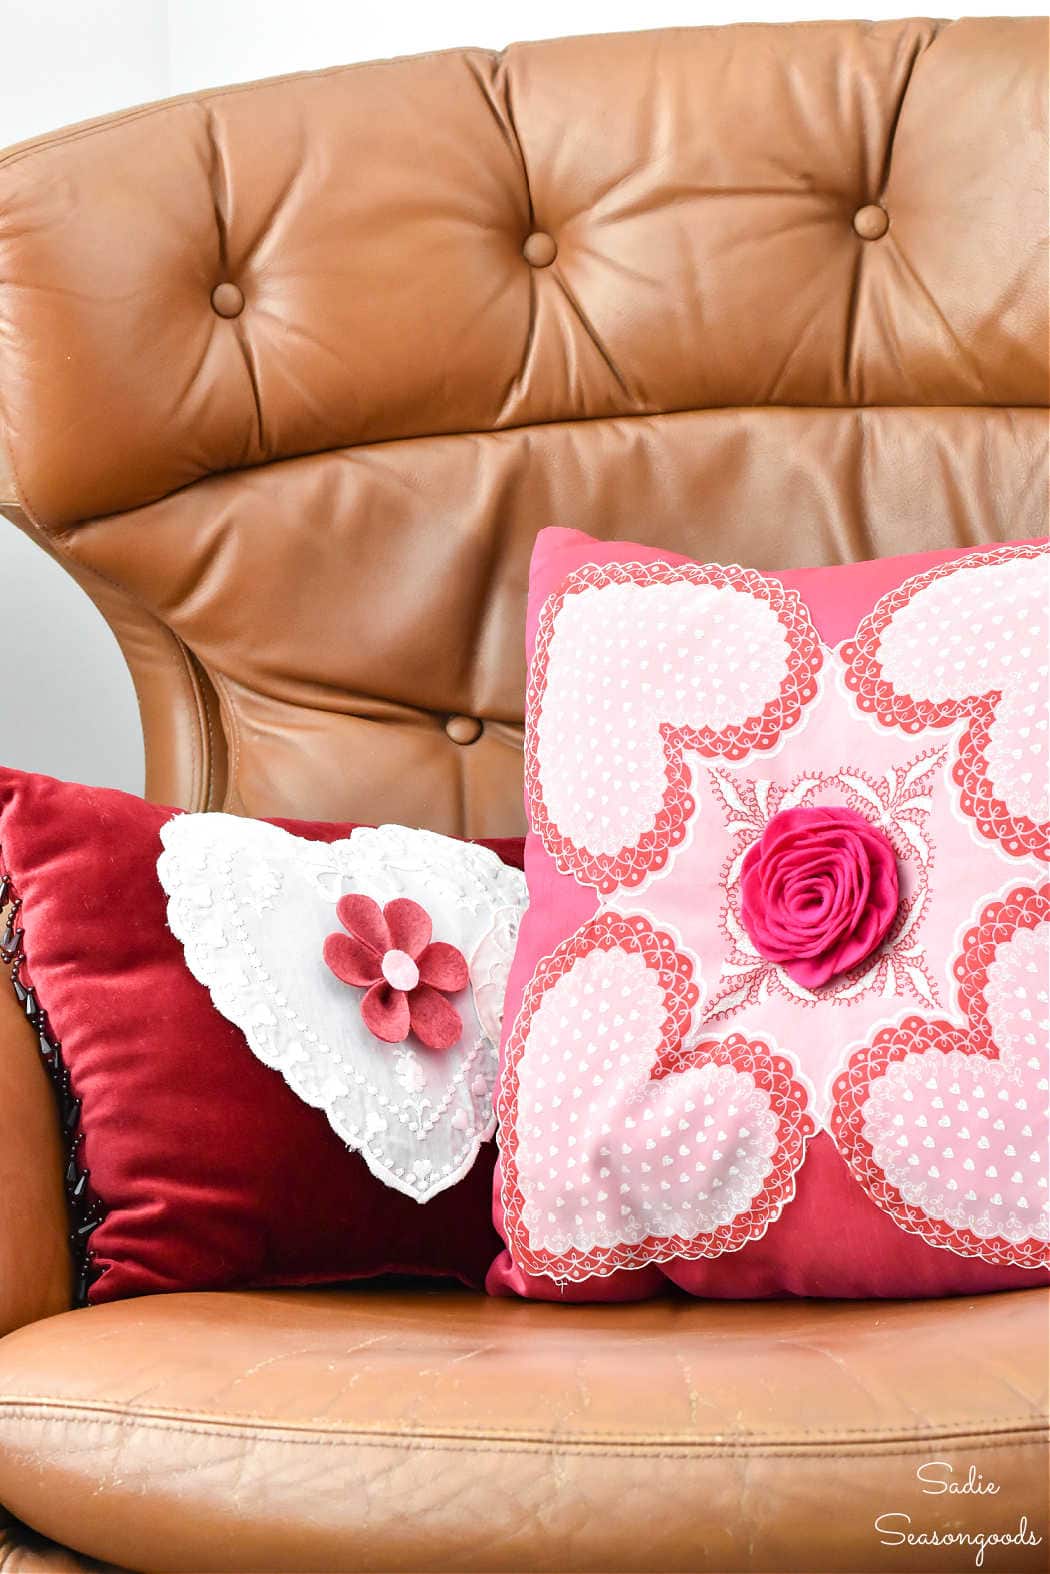
Image credit: Sadie Seasongoods.
And I know what some of you may be thinking- eww, gross, thrift store pillows! But I do check them as thoroughly as I can in the store. Opening zippers if I can, feeling them thoroughly for anything that seems questionable…and yes, a sniff test. And these passed my tests with flying colors.
I love changing out throw pillows during the year, and honestly, paying full price (even sale prices) at a lot of stores is a huge undertaking. So, decorating thrifted pillows like this is a much more manageable option for a thrifty cheapskate such as myself.
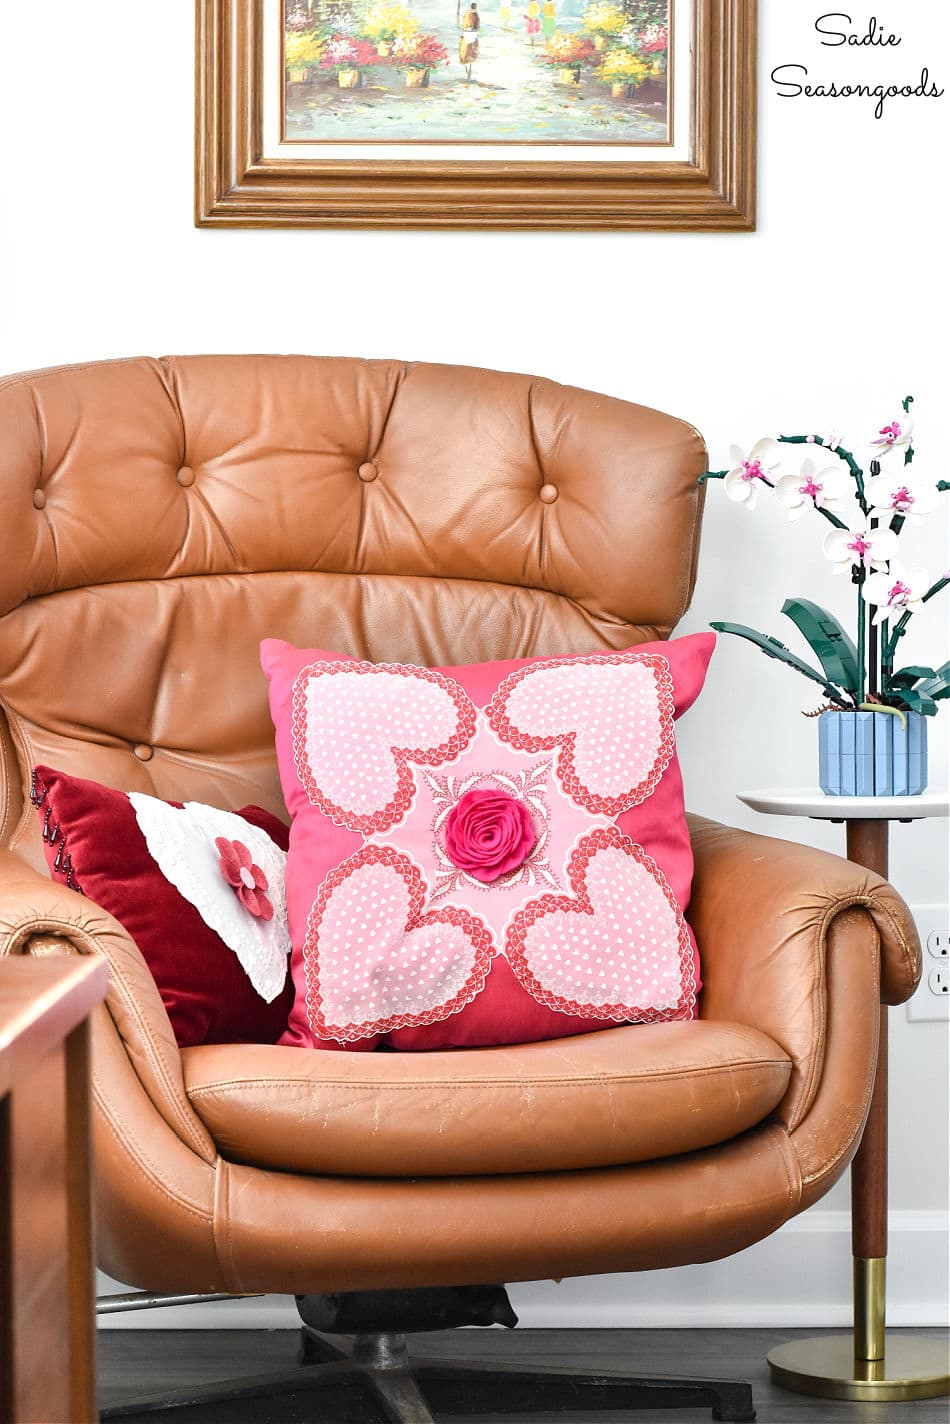
Image credit: Sadie Seasongoods.
*****
Plus, today is Thrift Store Decor Team Day! Please check out what my blogging gal pals have been up to, too!
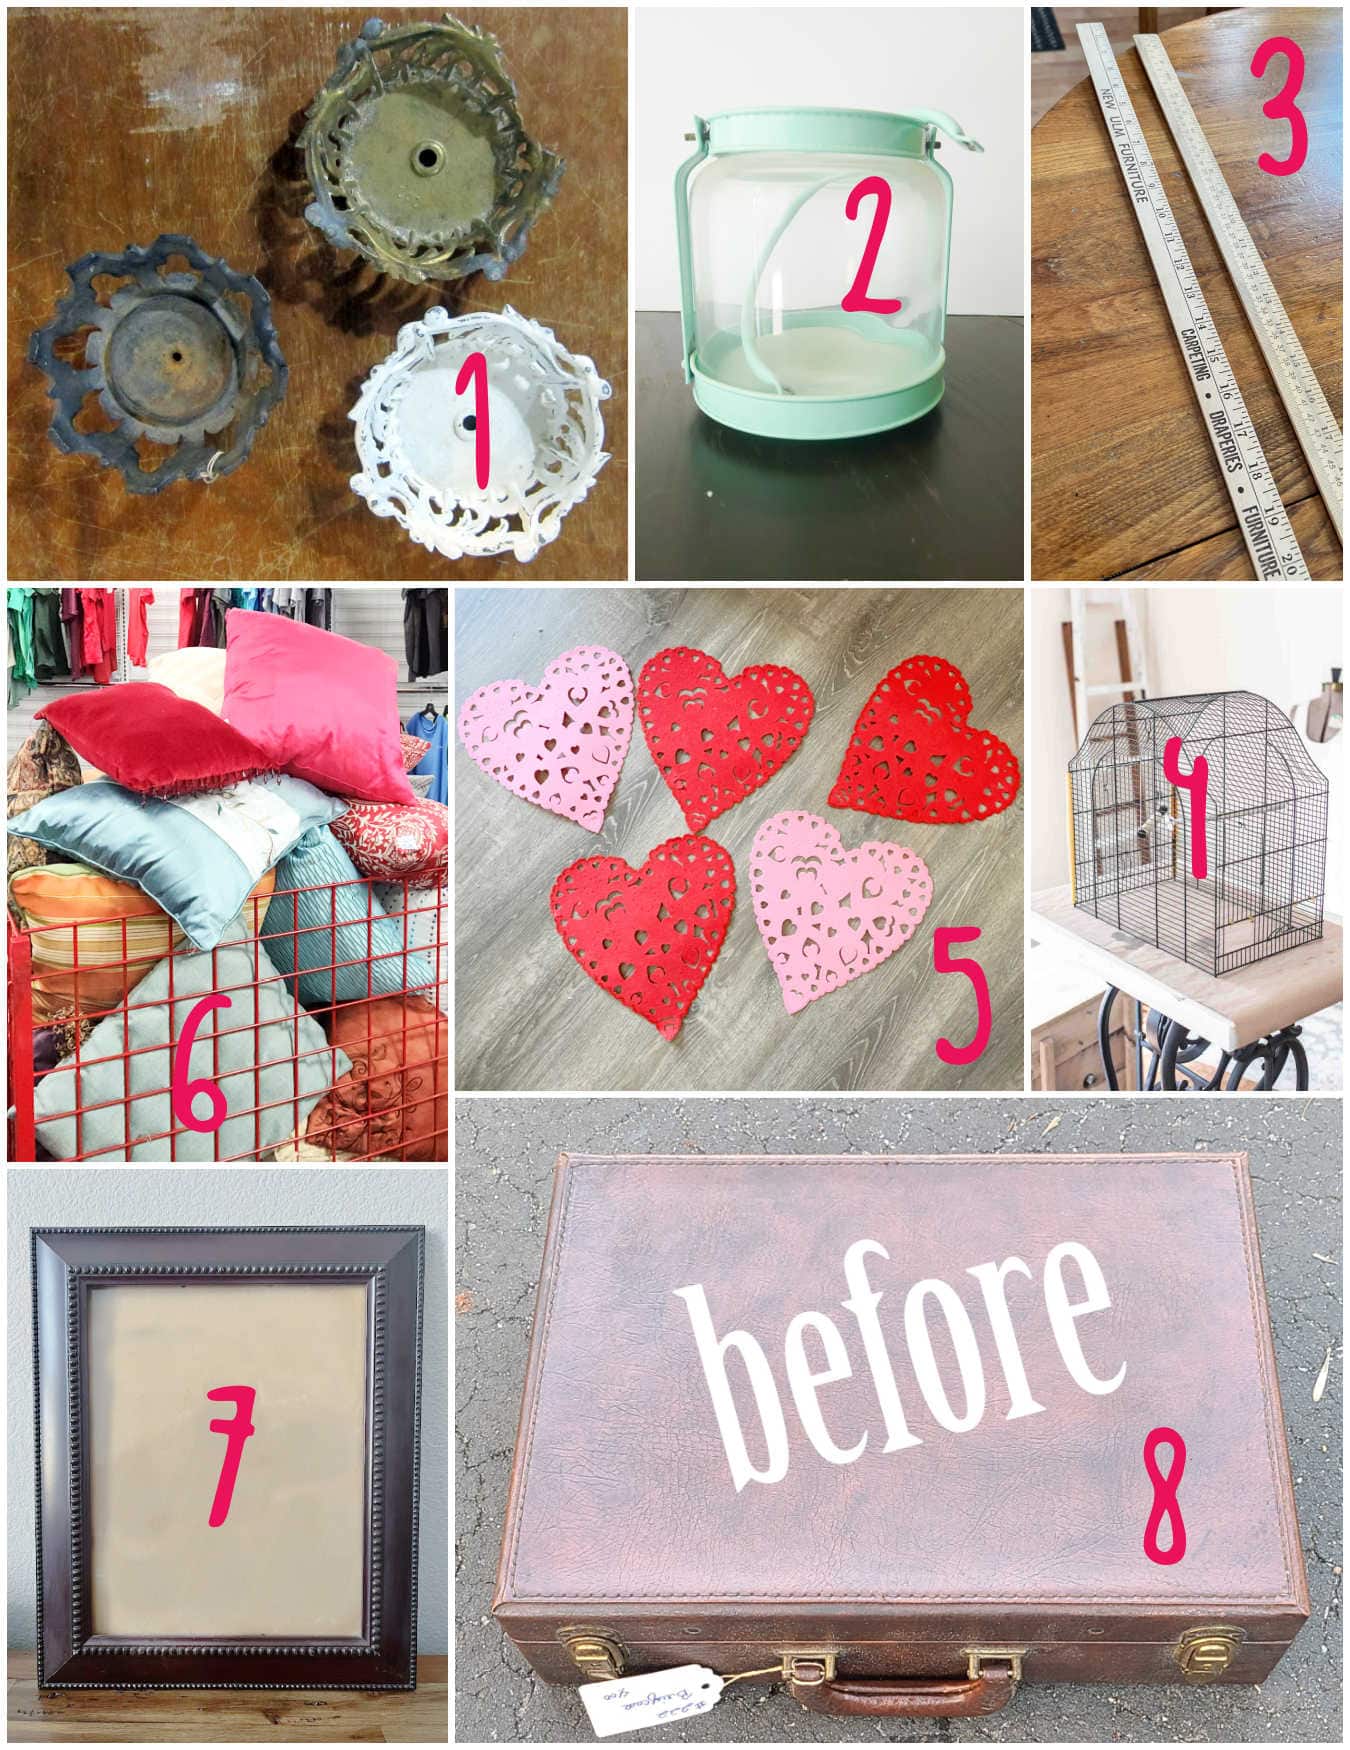
1. Upcycled Lamp Parts Candle Holder – Petticoat Junktion
2. Coastal Rope Lantern – Domestically Speaking
3. Displaying Vintage Valentines with Yardsticks – Organized Clutter
4. Easy DIY Rustic Light Fixtures – Reinvented Delaware
5. Valentine Heart Mantle Decor – Shop at Blu
6. Embellishing a Pair of Valentine Pillows – Sadie Seasongoods
7. Succulent Wall Planter Using a Picture Frame – My Uncommon Slice of Suburbia
8. DIY Painted Suitcase – My Repurposed Life
*****
What can I say, I really do love “bedazzling” thrifted pillows with fabric and notions and trim! And these Valentine pillows with their lace doilies and felt flowers are no exception. What do you think, will you be playing around with any nice, clean throw pillows in the future? And how will you be upcrafting them to suit your home?
Craft on!
S
Want to be notified when I publish my next upcycling project tutorial?
Join me on Social Media:
PIN ME!
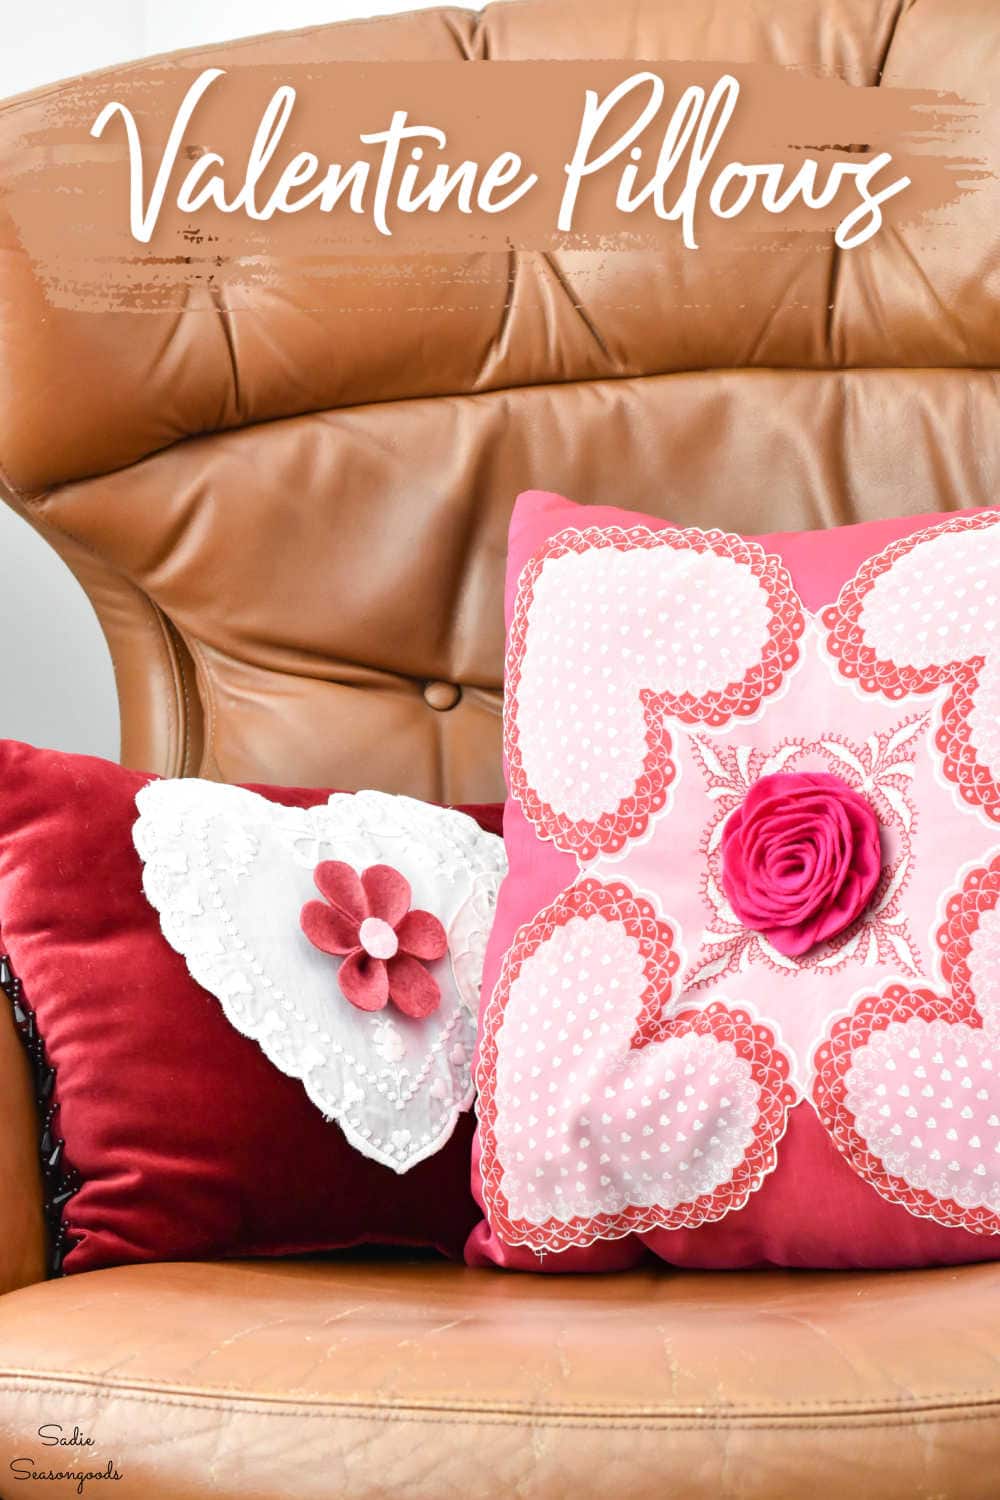
Image credit: Sadie Seasongoods.
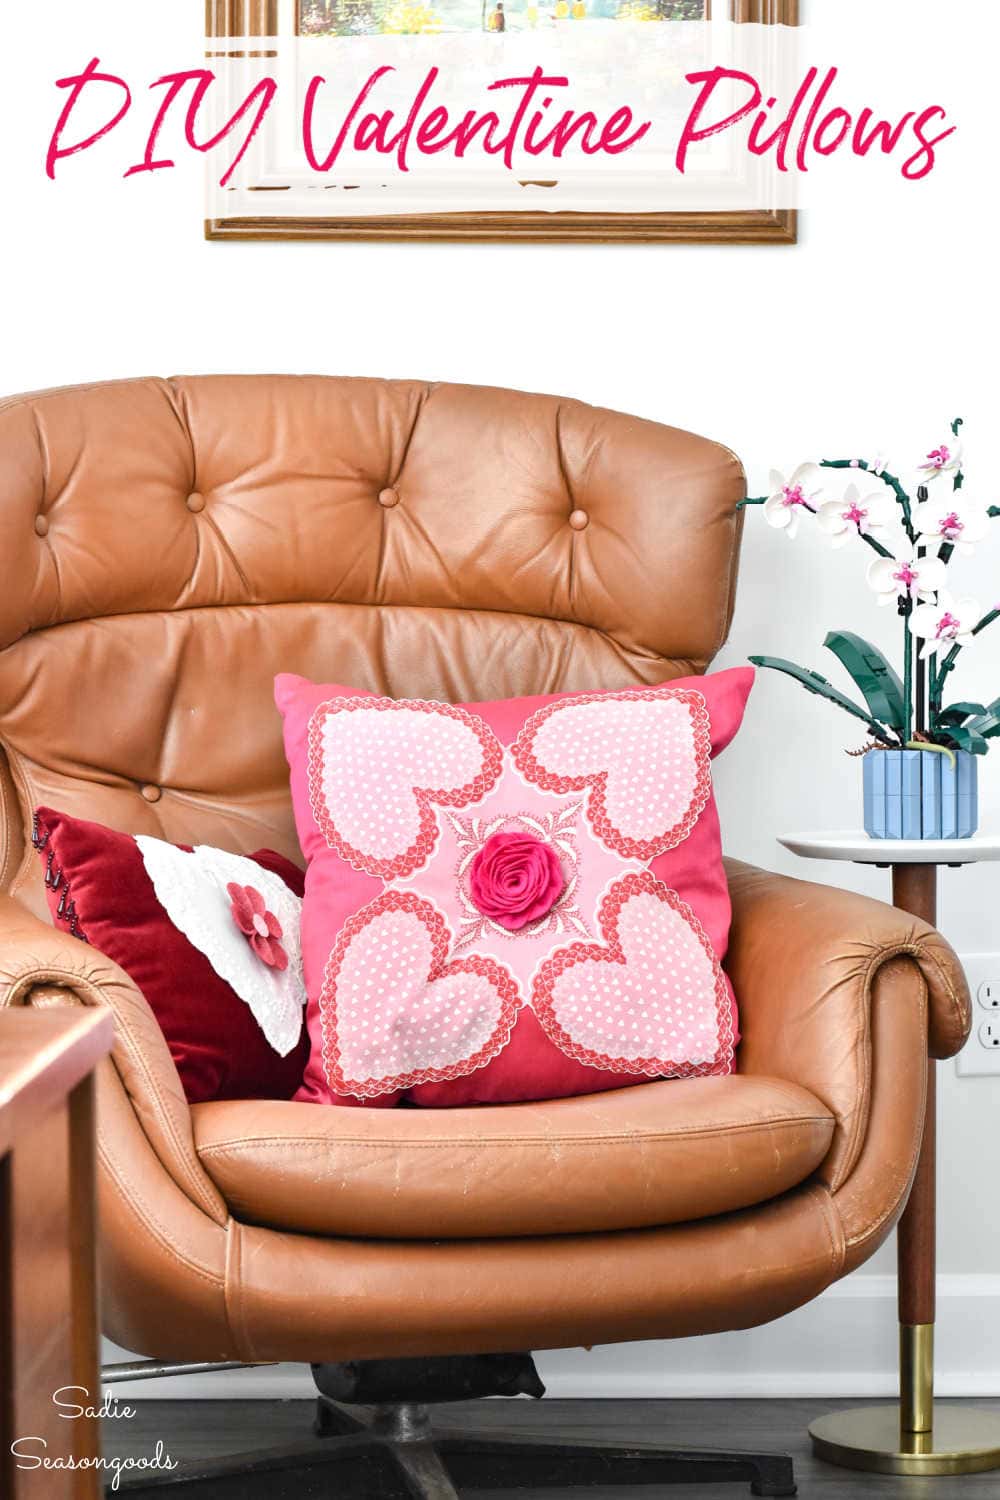
Image credit: Sadie Seasongoods.
Sarah Ramberg is the owner of Sadie Seasongoods, a website that celebrates all things secondhand. From upcycling ideas and thrifted decor to vintage-centric travel itineraries, Sadie Seasongoods is a one-stop shop for anyone who loves thrifting and approachable repurposing ideas. Sarah is also the author of “Crafting with Flannel” and has been featured in numerous media outlets and magazines.


They are both beautiful, but the pink pillow is fantastic. The handkerchief makes it special. You do good work. Thank you.
Thank you so much, Ann!
Love your pillows, I also use thrift store or yard sale pillows. I’m on a fixed income and can’t afford new ones.
It’s really the only affordable way to enjoy a pillow addiction!!
Both pillows look wonderful, but adding the handmade felt flowers, especially that felt rose is perfection on that pillow center!!
Thank you so much, Molly! I’m so glad you think so- I don’t know why I don’t craft with felt more often because I always enjoy it!!
Ohh how cute Sarah!!I love love love the pillows!!
Pinned
Gail
Thank you so very much, Gail!
These are adorable and I love the little petals you made, super cute! I guess I won’t pass on those pillows anymore and give it your sniff test lol!
Hahaha, it’s a little gross, I suppose, but better safe than sorry, right??
Super cute Sarah! The rose turned out so pretty! And that daisy is adorable!
What a great pillow makeover! Had to pin!
Thank you so much, Carlene!
Love the embellishment idea and the added flowers – so cute!
Thank you!