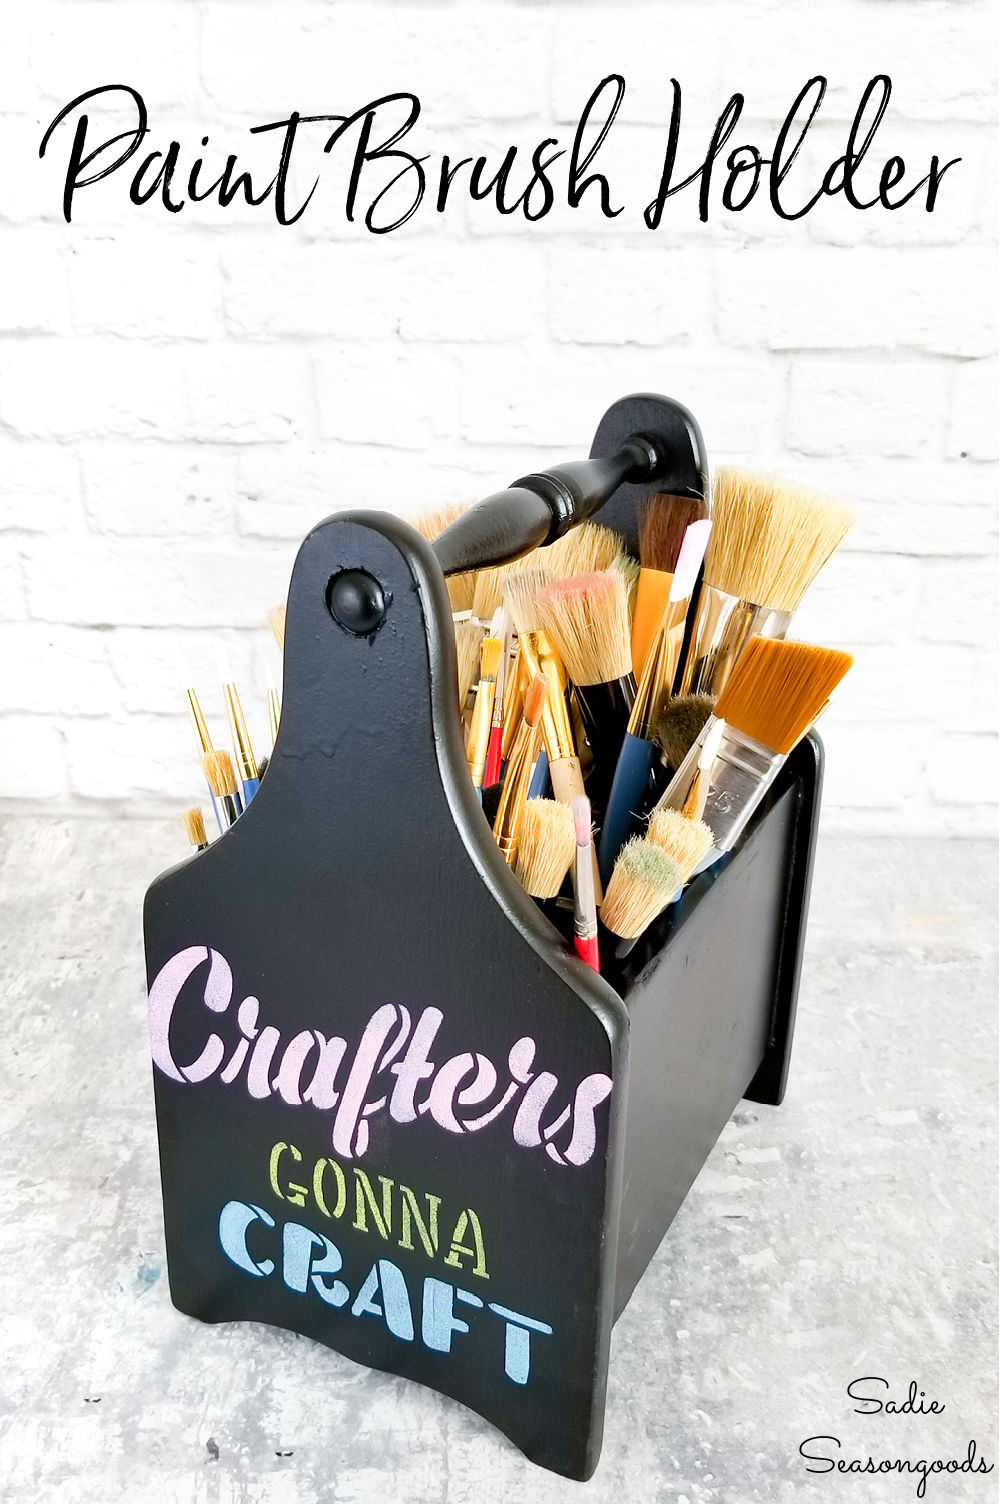
Craft room storage and organization craft supplies are a constant struggle for me, so it’s on my mind a lot. And this entire post started out when I found a flatware caddy while thrifting. At first I wasn’t sure what I’d do with it, but I realized later on that it would PERFECT as a paint brush holder.
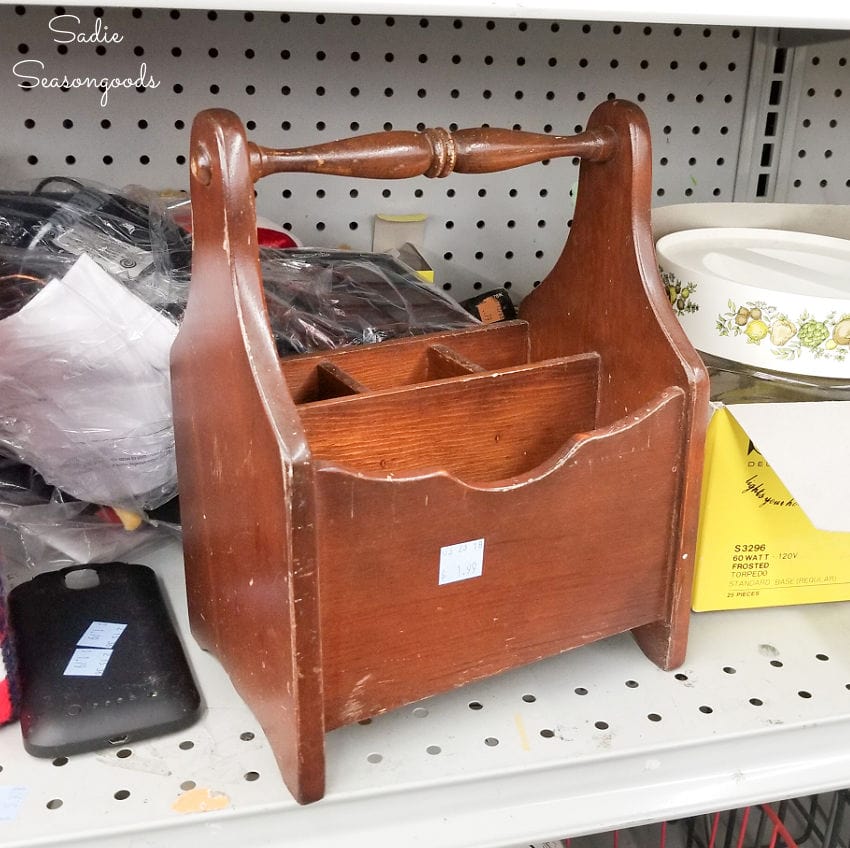
And yes, if you’re thinking, “But Sadie, you already HAVE a paint brush holder!”- you’d be right. But a crafter can always use more supply storage!
As I debated about a makeover, I realized that lots of wooden containers from the thrift store would work for organizing craft supplies, too.
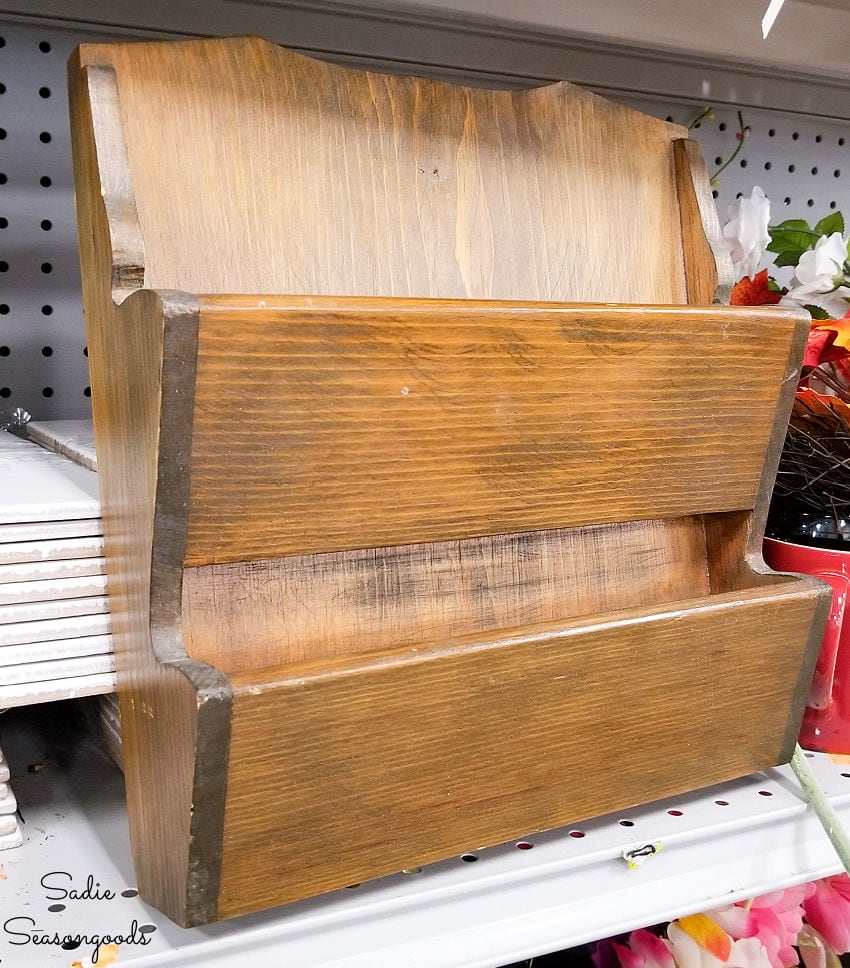
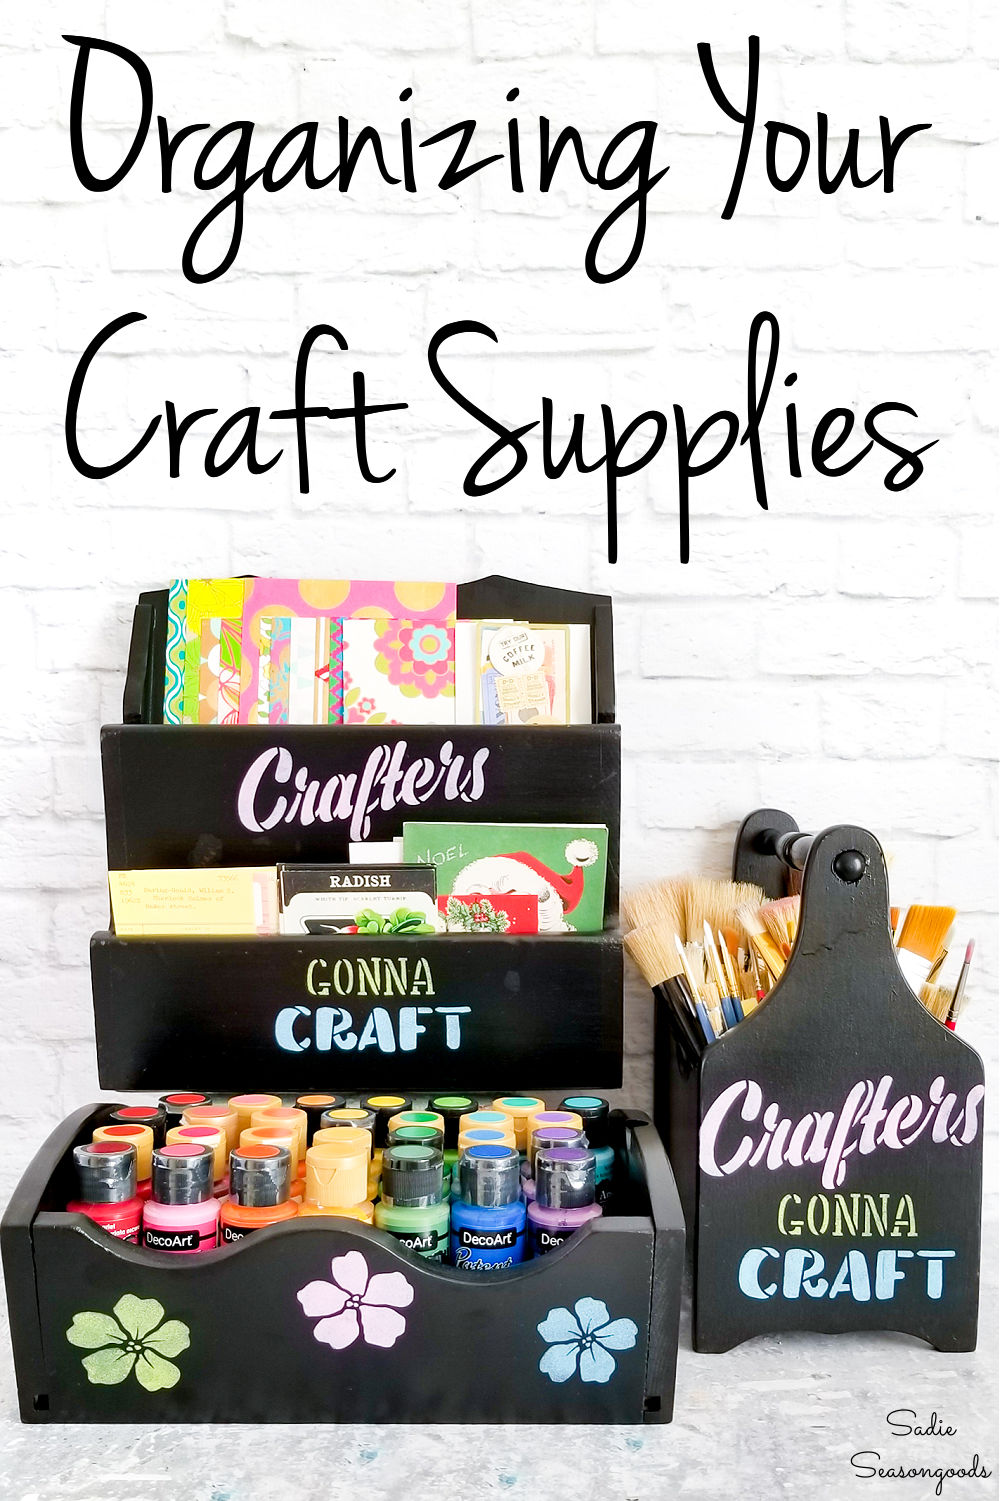
This wooden mail sorter, for instance, seemed ideal as a organizer for paper supplies. Think labels, stickers, and scrapbook paper…
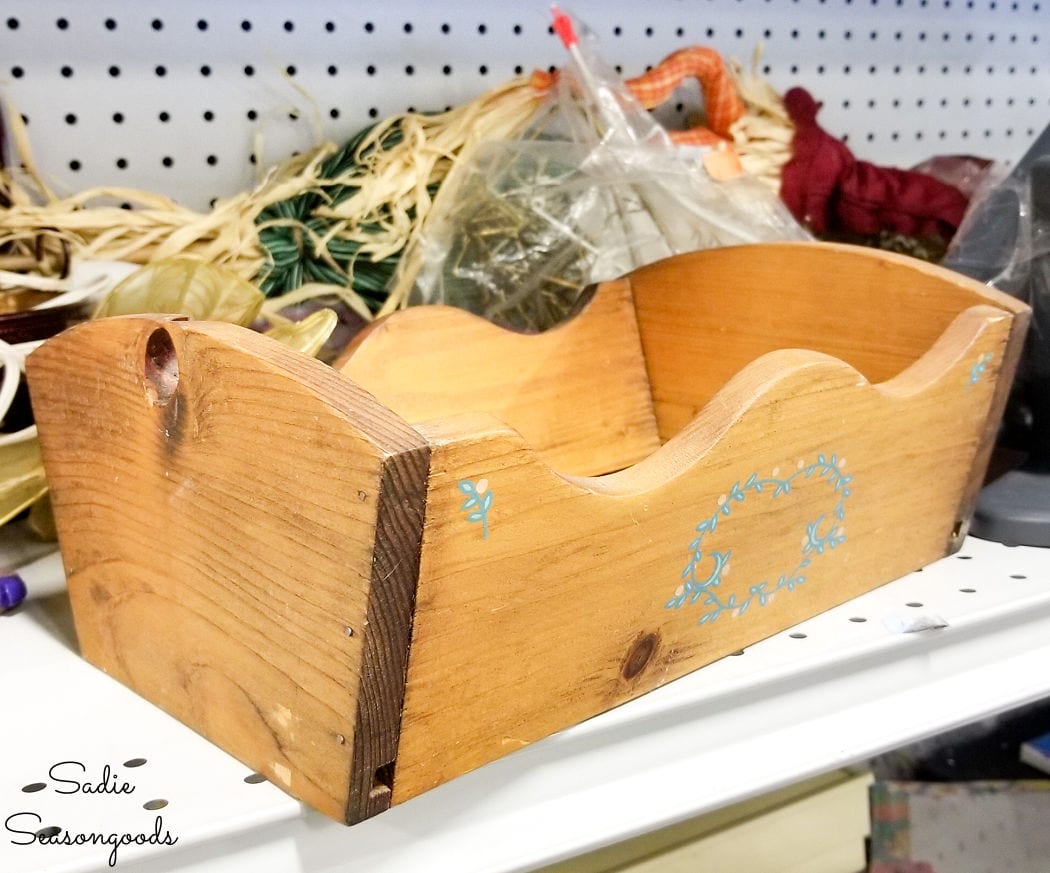
And this looked meant to become a craft storage box of some kind. It just needed a fresh and fun makeover first!
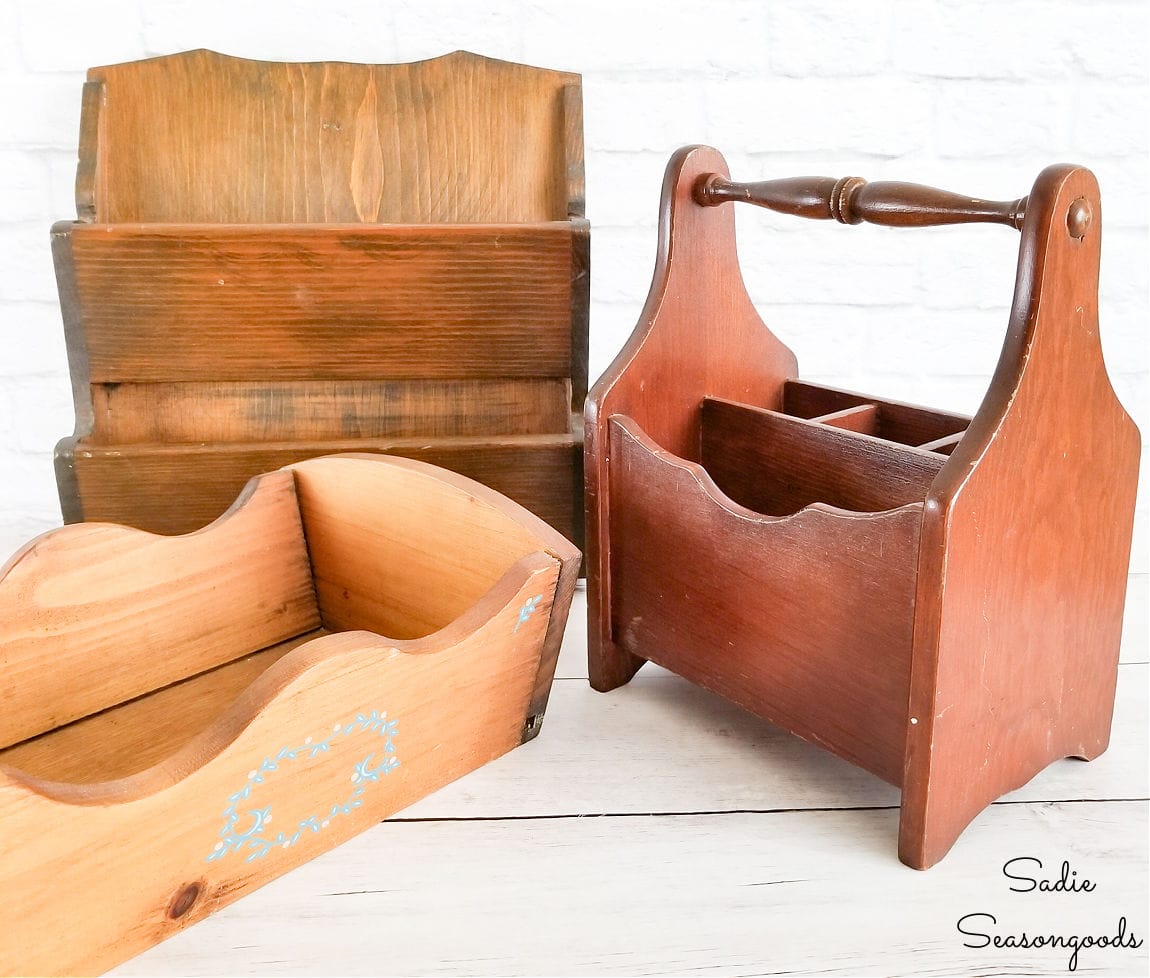
When all was said and done, I decided to create a matching set of craft room storage with my unrelated, un-matching thrifted treasures.
This post contains affiliate links for your crafting convenience. As an Amazon Affiliate, I earn from qualifying purchases. All blue, bold, and underlined text is a clickable link, either to a product or to a related post.
Stencils used in this project have been provided to me free of charge by Stencil Revolution, but all opinions are my own.
Transforming a Paint Brush Holder
As part of the makeovers for my craft room storage pieces, I wanted to paint them (of course) and stencil on some designs. Something that would give them a cohesive look, as if they were ALWAYS part of the same set.
My vision for them? To give the craft organizers the look of chalkboard art without actually using chalk.
What does that mean? Basically, I’d spray paint them black and then lightly stencil on the words and flowers using so that they looked like chalk, not paint.
First, I used black satin spray paint on the wooden containers to give them a nice dark background to stencil upon.
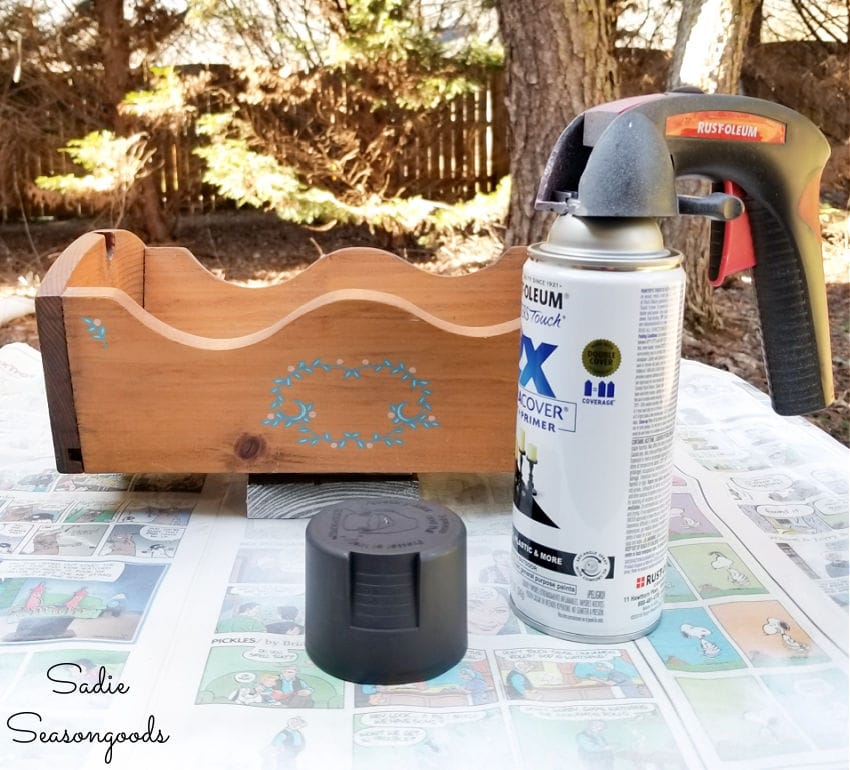
While I could have used chalkboard paint, it really wasn’t necessary. More authentic? Maybe. But still unnecessary.
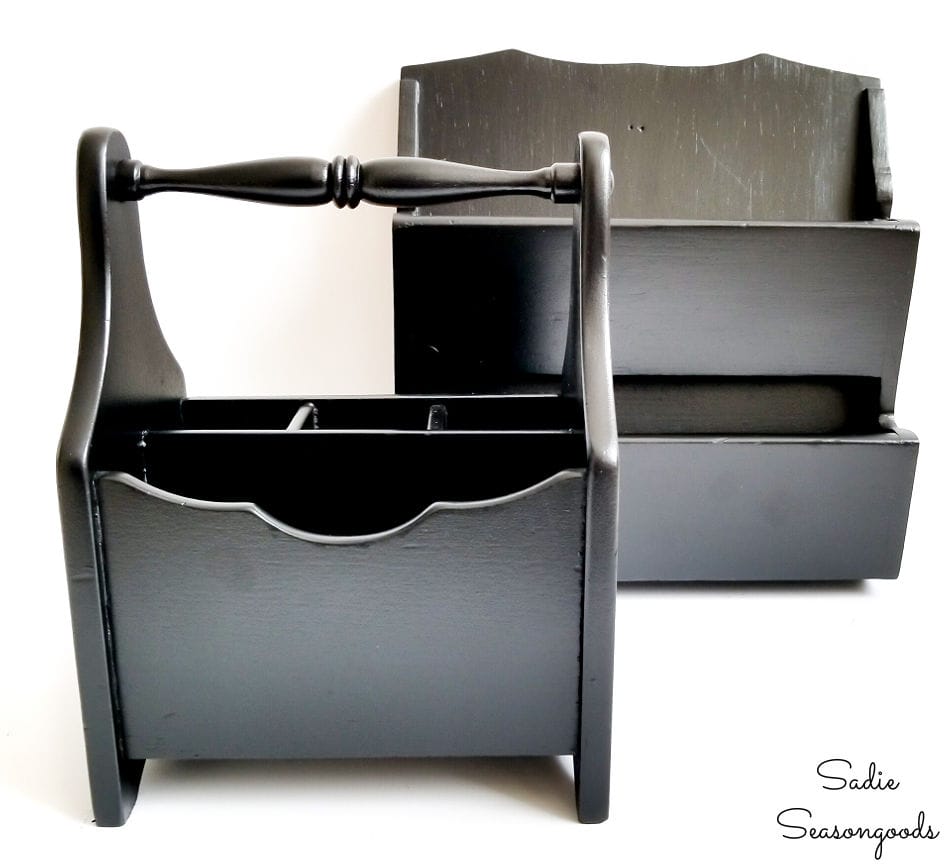
Once the paint had dried, I was ready to do the actual (faux) chalk art with stencils!
Making a Set of Craft Organizers
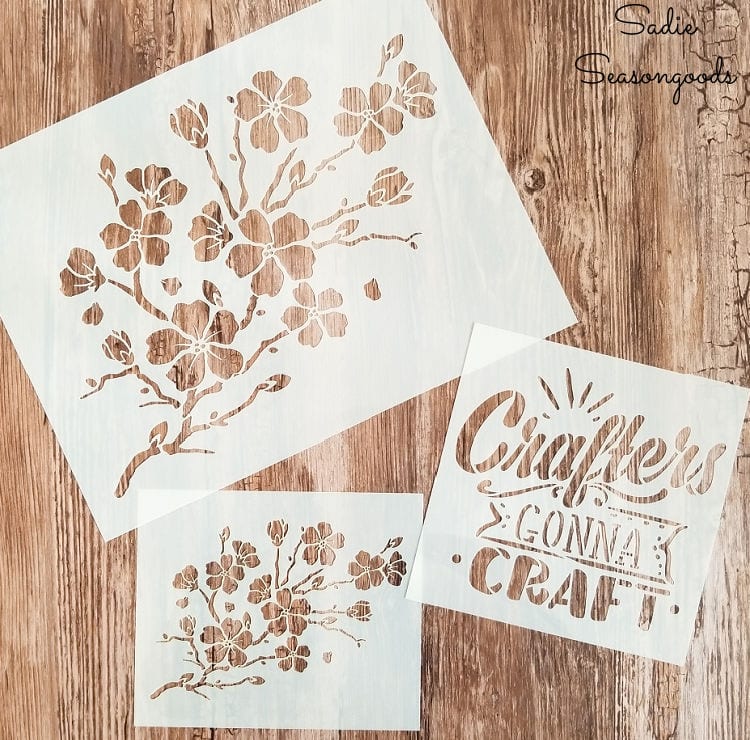
I discovered a new-to-me online stencil retailer (Stencil Revolution – click here to check out their store!). For this project, I tried out a couple of their vinyl stencils – Cherry Blossoms and Crafters Gonna Craft!
Then, I gathered my stenciling materials (painter’s tape, pastel craft paint, my favorite stencil brushes, etc.).
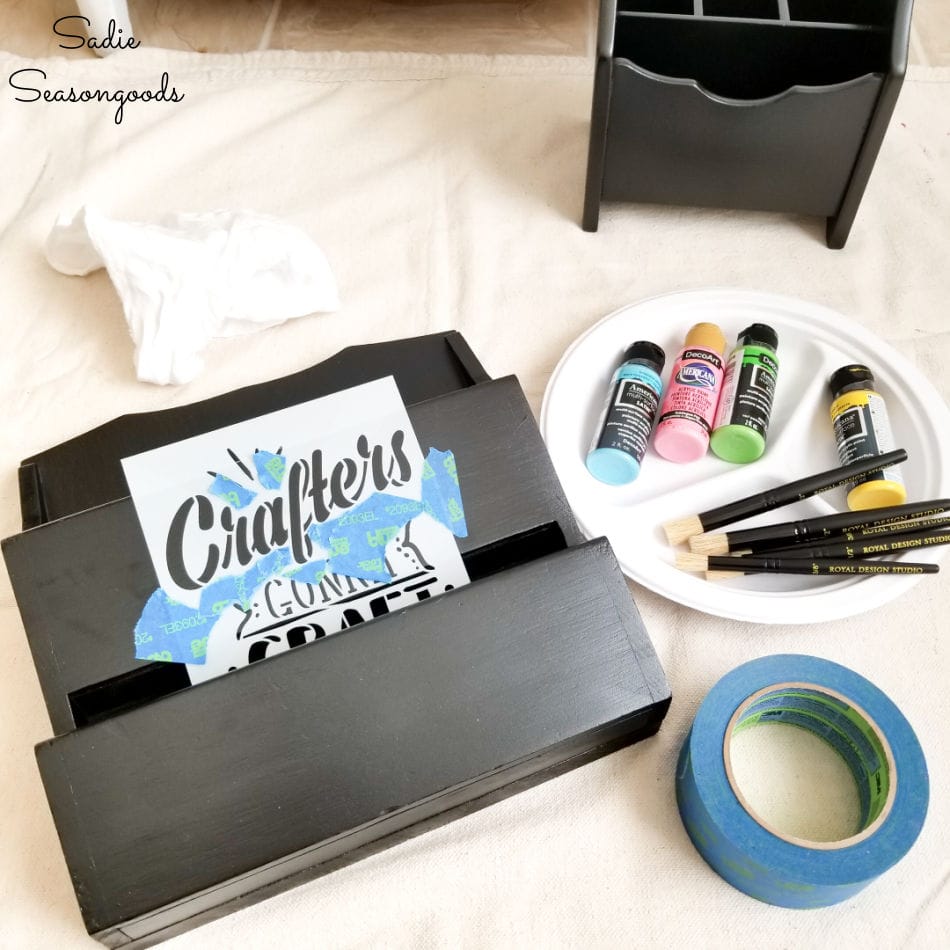
Like I mentioned before, I used a feather-light touch during the stenciling. I really wanted the pastel craft paint to be somewhat sheer and uneven, like chalk art would be.
And the vinyl stencils from Stencil Revolution did NOT disappoint. Especially given how affordable they are.
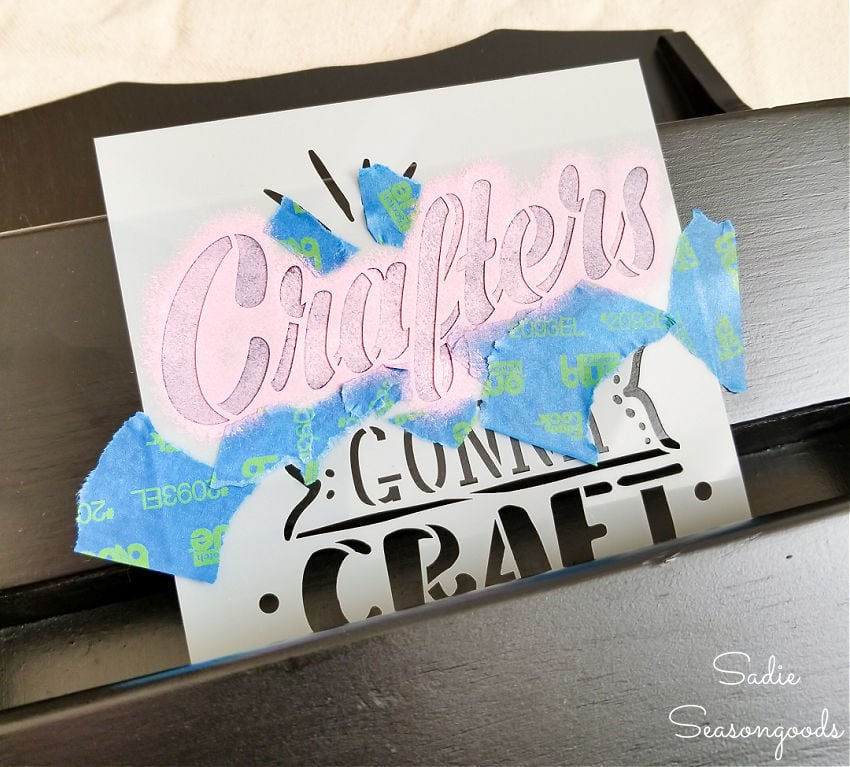
I did the same thing to each of the wooden containers until I had a coordinated set!
Organizing Craft Supplies with a Paint Brush Holder
Here are all the thrift store containers with their coordinating makeovers.
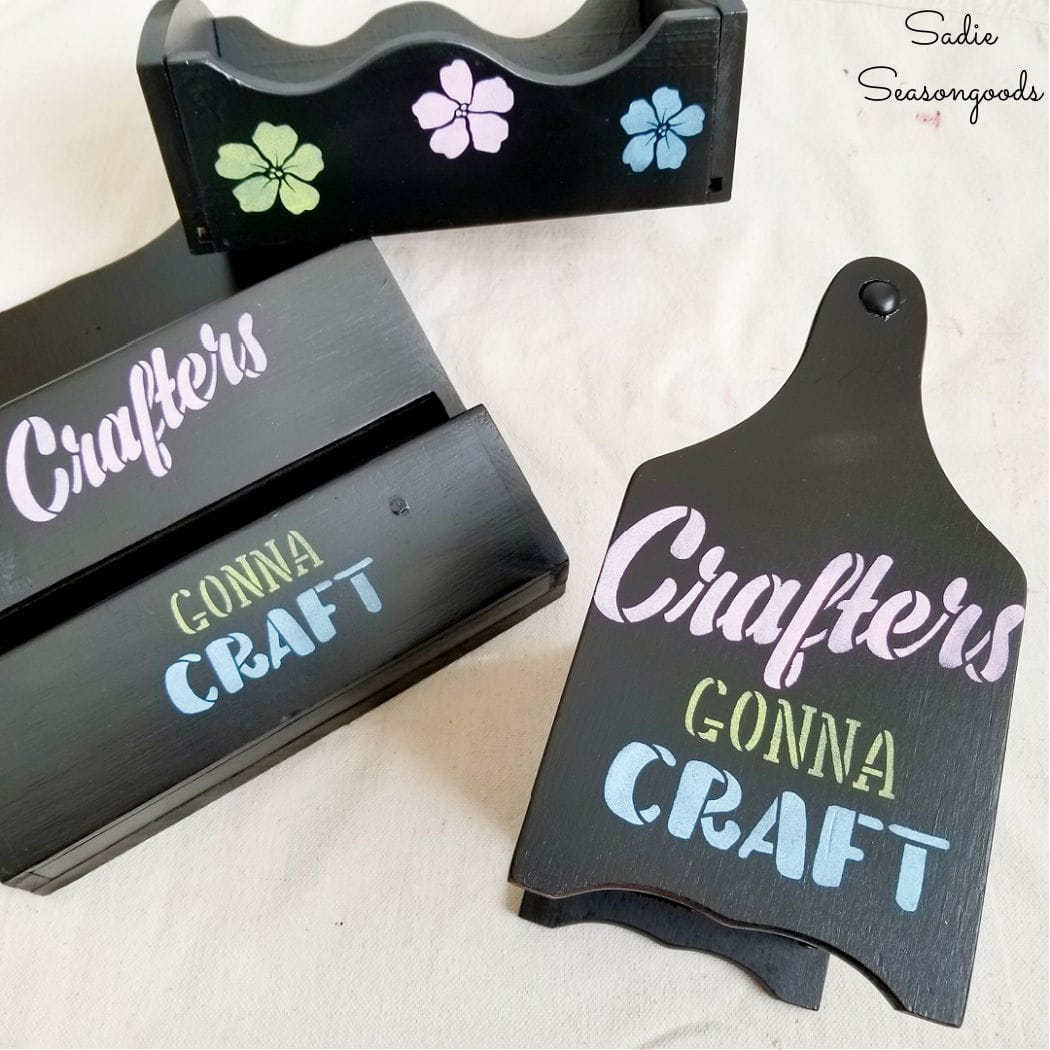
I LOVE how my faux “chalk art” turned out on my new craft room storage set. And I didn’t have to deal with specialty paints or materials – I simply used paints I already had and high-quality stencils.
And since I had leftover paint and the stencils are reusable, I’ll be able to create more craft organizers. It’ll be a fully coordinated set with completely mismatched items and wooden containers from the thrift store!
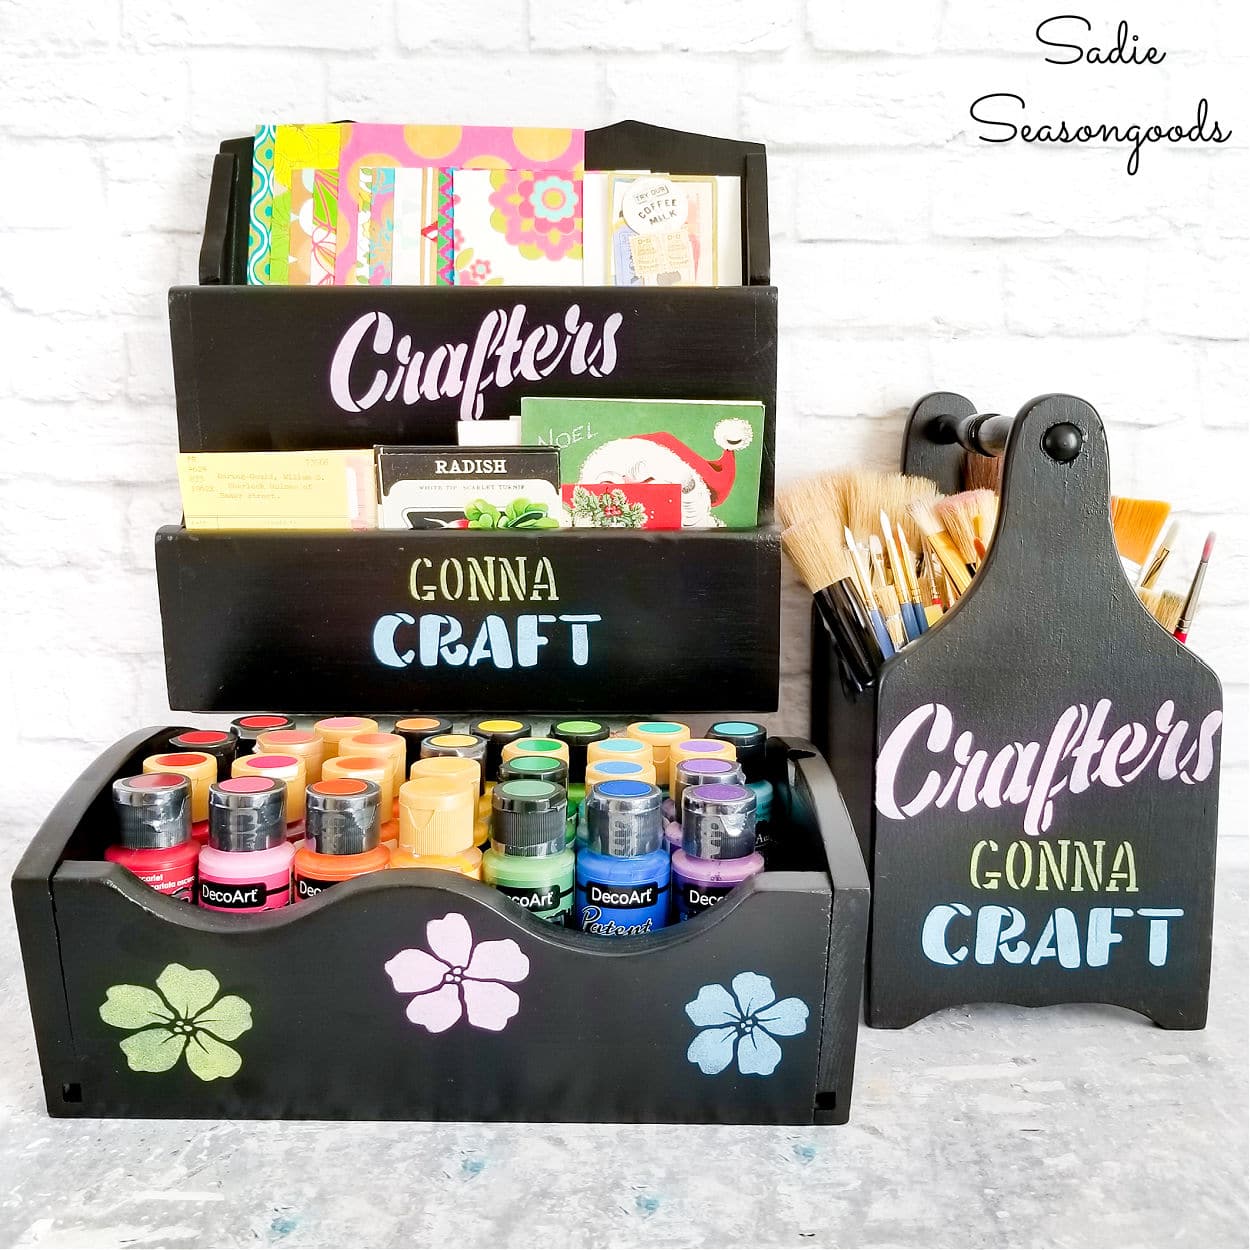
And just as I had originally hoped, the utensil caddy was simply PERFECT for upcycling into a paint brush holder. Both my craft paint brushes and stencil brushes fit inside and I have room for more as I add them.
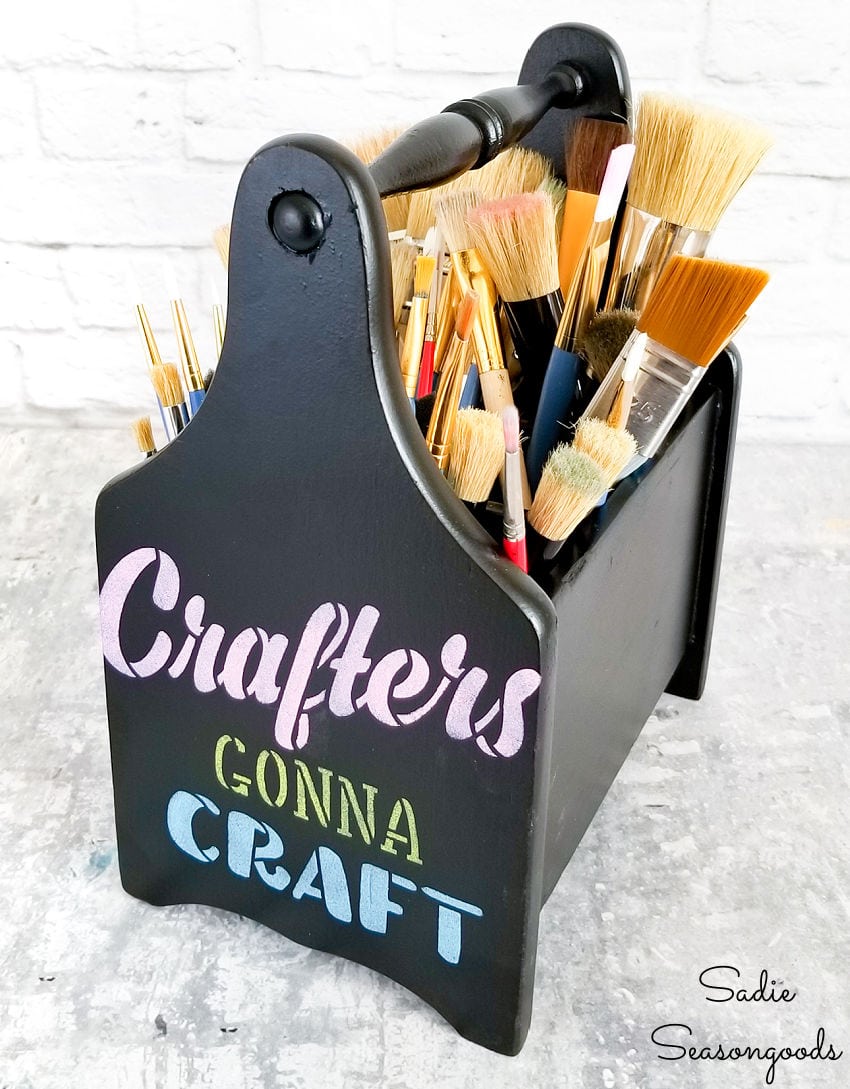
I also love that it’s super portable and instead of picking and choosing brushes for projects, I can just tote the whole thing around.
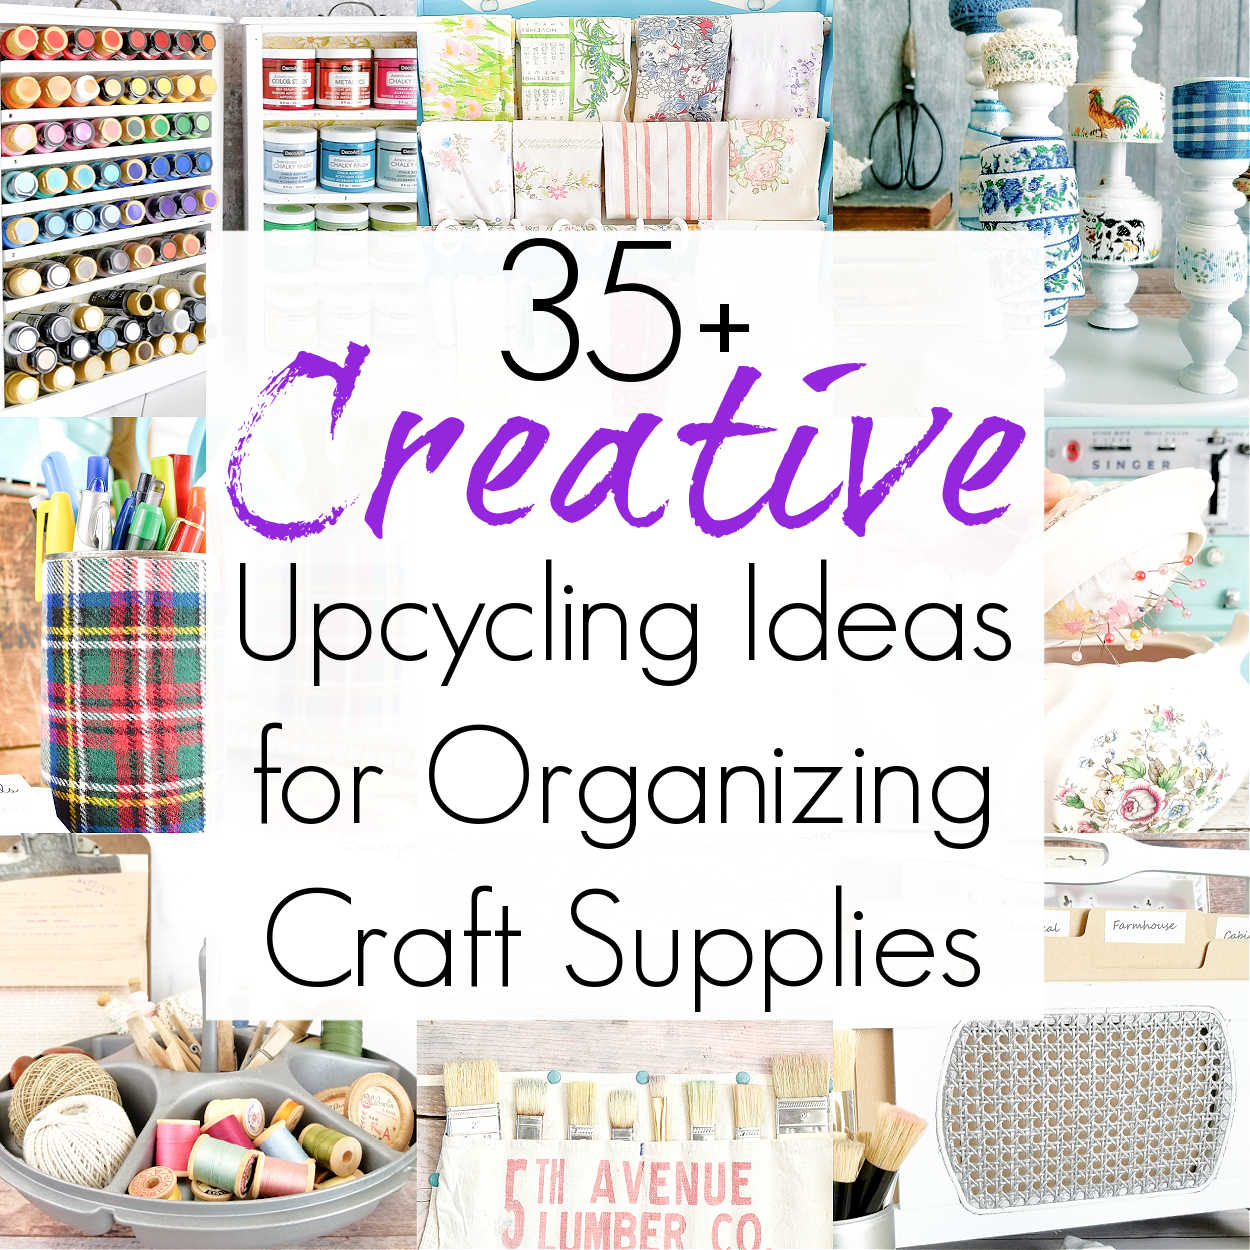
If you’re interested in even more craft storage ideas, I’ve got a fantastic collection of upcycling ideas here. I hope you’ll check it out before you go!
Craft on!
S
Want to be notified when I publish my next upcycling project tutorial?
Join me on Social Media:
PIN ME!
Sarah Ramberg is the owner of Sadie Seasongoods, a website that celebrates all things secondhand. From upcycling ideas and thrifted decor to vintage-centric travel itineraries, Sadie Seasongoods is a one-stop shop for anyone who loves thrifting and approachable repurposing ideas. Sarah is also the author of “Crafting with Flannel” and has been featured in numerous media outlets and magazines.


I love what you did with these old wooden holders. So often I see them at thrift stores and they look so sad and forgotten , but this idea is simple and brings new life! Thank you for posting. I may try it too!
Yay!!! Thank you, Brenda!
Sweet!
Thank you!! :*
I’ve been trying to decide on something to keep my paint brushes (and etc!) in, and now I know. Hope I can find one soon!
Sending good thrifting vibes your way and fingers crossed!!
Very cute!!!
Thanks, Linda!
Great post! Looks easy, fun and practical. Thanks for the stencil info too.
You are very welcome, Mary!
the set looks great! would have never thought about putting those items together. you have given me new vision! thanks Sadie
That’s awesome, CC!! Happy crafting!
Love this idea! Their all perfect for the craft room, and that little tote us so cute. The chalkboard paint look is very nice.
Thanks, Linda!