After successfully sowing herb seeds in thrifted muffin tins and then transplanting the seedlings into larger pots displayed on a vertical shower caddy, I’m wrapping up my three-part Upcycled Herb Garden series today! And what, pray tell, could my third part be about? Well, I’m upcycling some vintage shoe trees into DIY plant markers!
You see, I started collecting some vintage shoe trees on my junkin’ journey to Richmond, VA. At the time, I simply thought they looked interesting and perfect for an upcycling project.
I just didn’t know what that project was at the time!
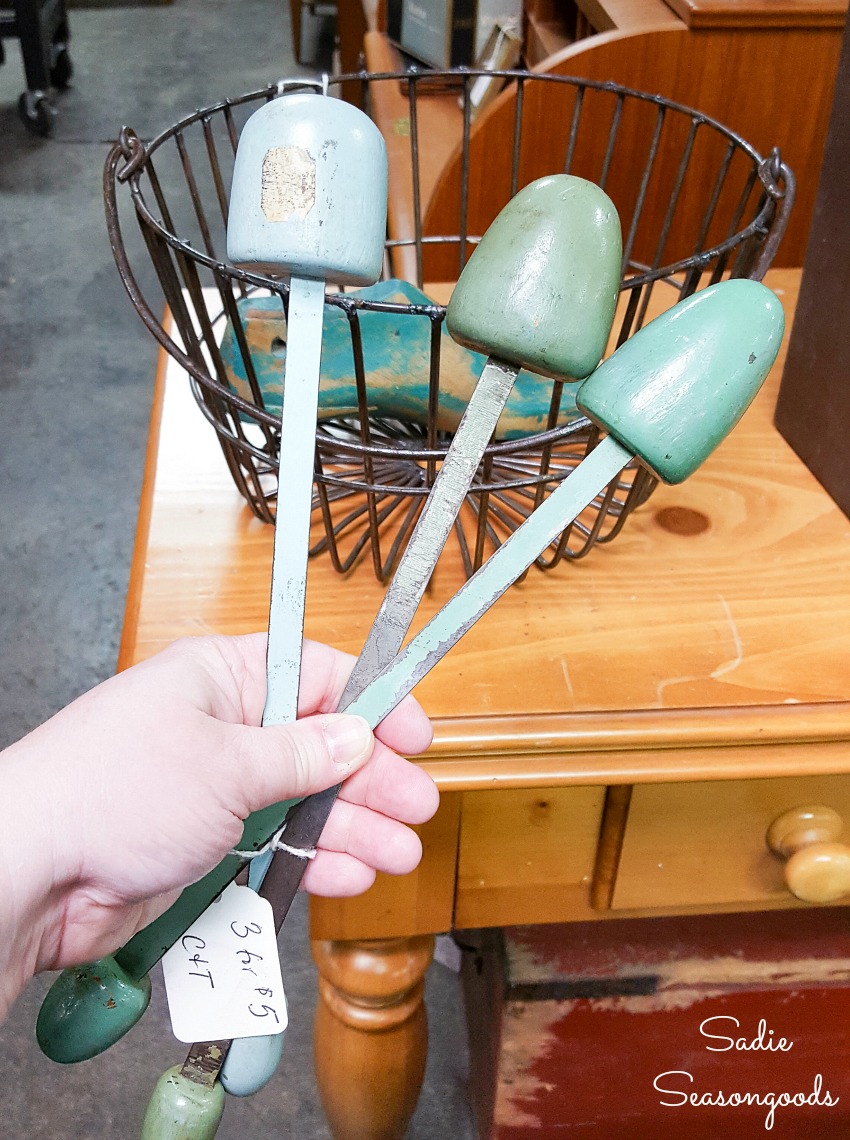
Image credit: Sadie Seasongoods.
But then my good friend, Pink Dogwood Jewelry, also gifted me some vintage shoe stretchers a while ago. She asked if I could do anything with them, and that’s when it hit me.
The fat end of each wooden shoe stretcher looked just like a toadstool mushroom!
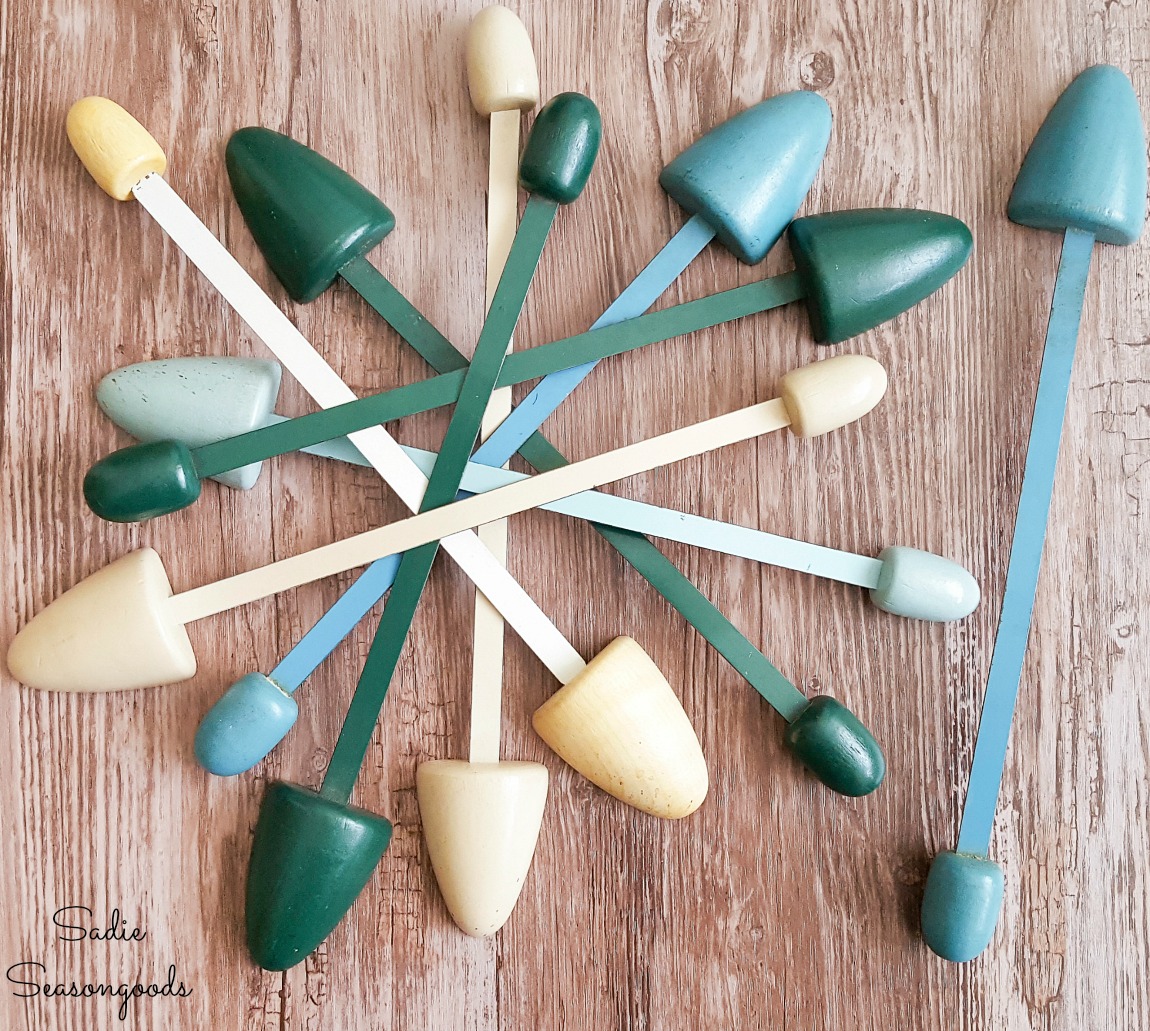
Image credit: Sadie Seasongoods.
That’s when I decided to create some plant markers from the wooden shoe trees! And believe it or not, THIS is the project that inspired the three-part series; I just had to work backwards first before putting it all together.
Now, I certainly don’t *need* to label my herbs- I know which one is which. But there’s just something fun about making little signs for your herb (or vegetable) garden…and the shoe trees seemed awfully perfect for it.
This post contains affiliate links for your crafting convenience. As an Amazon Affiliate, I earn from qualifying purchases. All blue, bold, and underlined text is a clickable link, either to a product or to a related post.
Transforming the Vintage Shoe Trees
First, I needed to cut off the blunt wooden end of each wooden shoe stretcher so that it could be plunged in potting soil. After considering my options, I ended up using bolt cutters to do the deed.
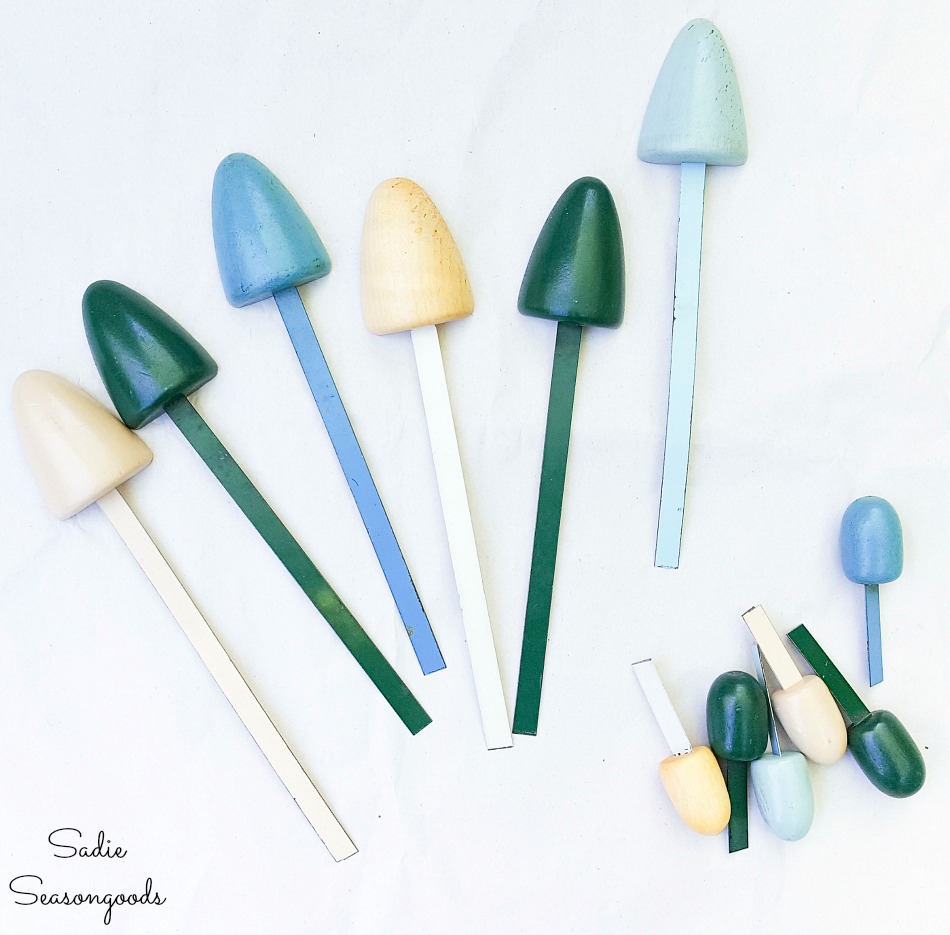
Image credit: Sadie Seasongoods.
Next, it was time to spray paint the antique shoe stretchers. I taped off a good portion of each one before painting.
I don’t actually know if spray paint can leach into soils, but better safe than sorry, right?
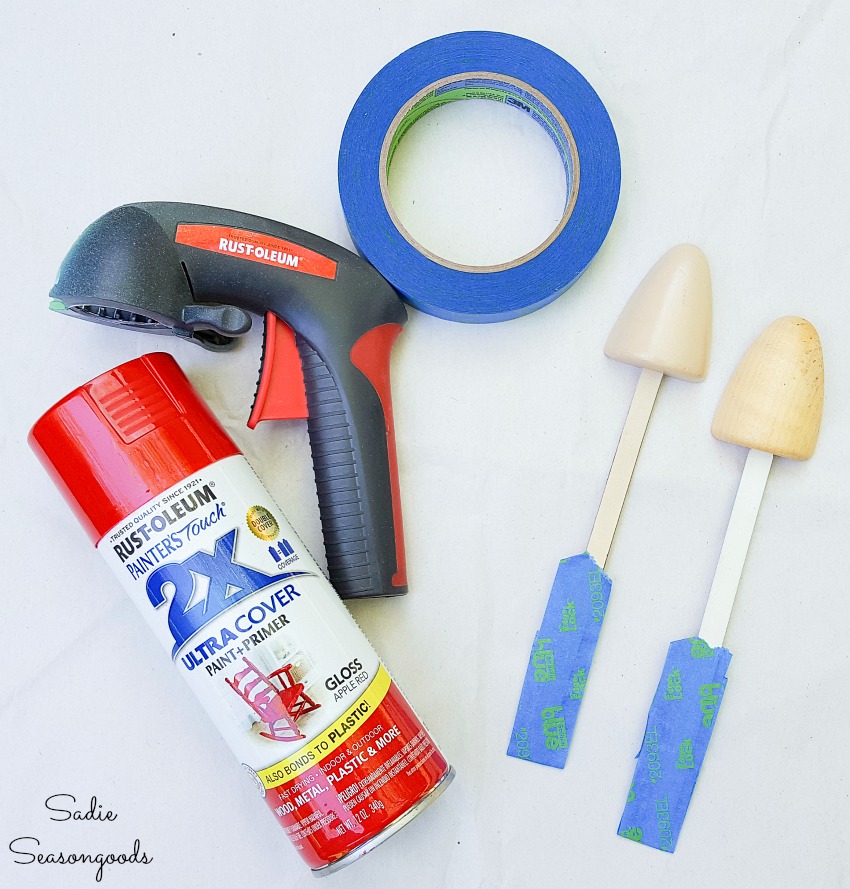
Image credit: Sadie Seasongoods.
When all was said and done, I painted two of the vintage shoe trees with red paint, two in bright green, and left two of the shoe stretchers that were blue as-is. These seemed like fun toadstool colors to me.
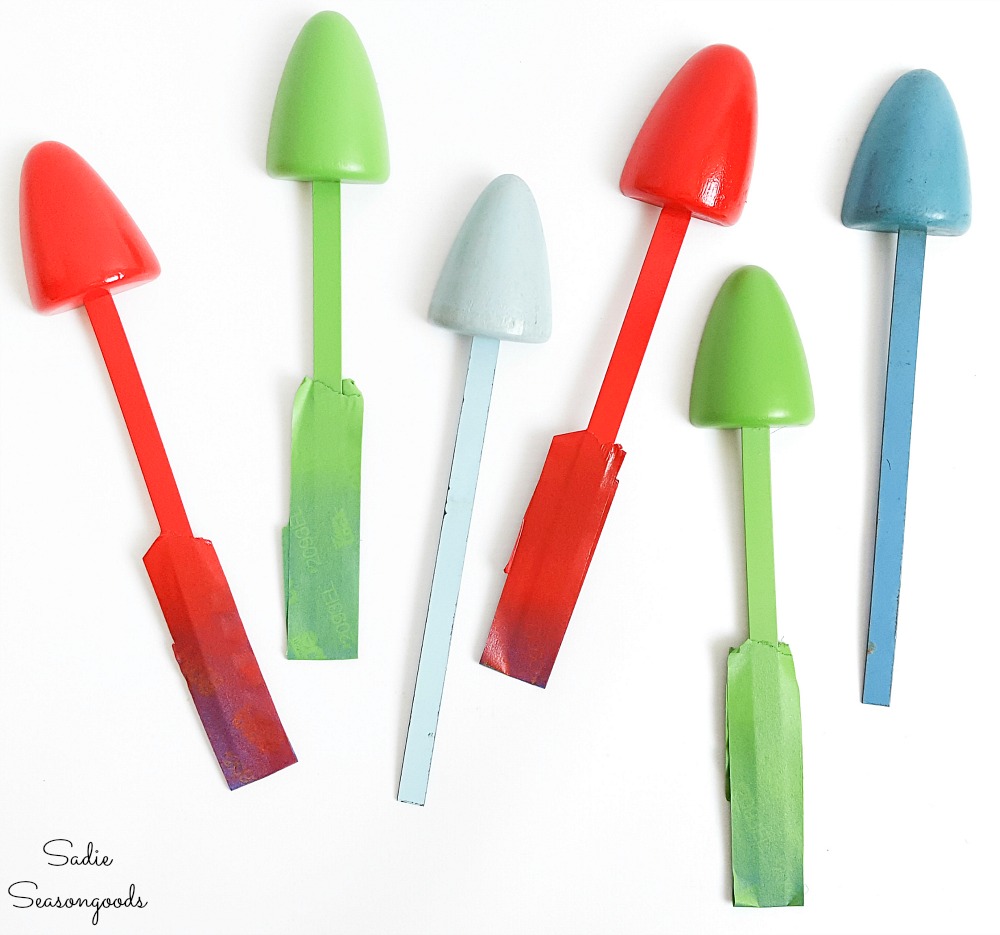
Image credit: Sadie Seasongoods.
But of course, these aren’t just going to be mushroom garden decor! I needed to still upcycle them as plant markers, so that’s what I focused on next.
DIY Plant Markers for an Herb Garden
Now, to make the plant labels reusable each season, I used chalkboard paint for the actual label. That way, I can reuse them year after year, swapping out herbs as I go.
First, I applied a few coats of chalkboard paint to each one, stopping where my painter’s tape had ended before.
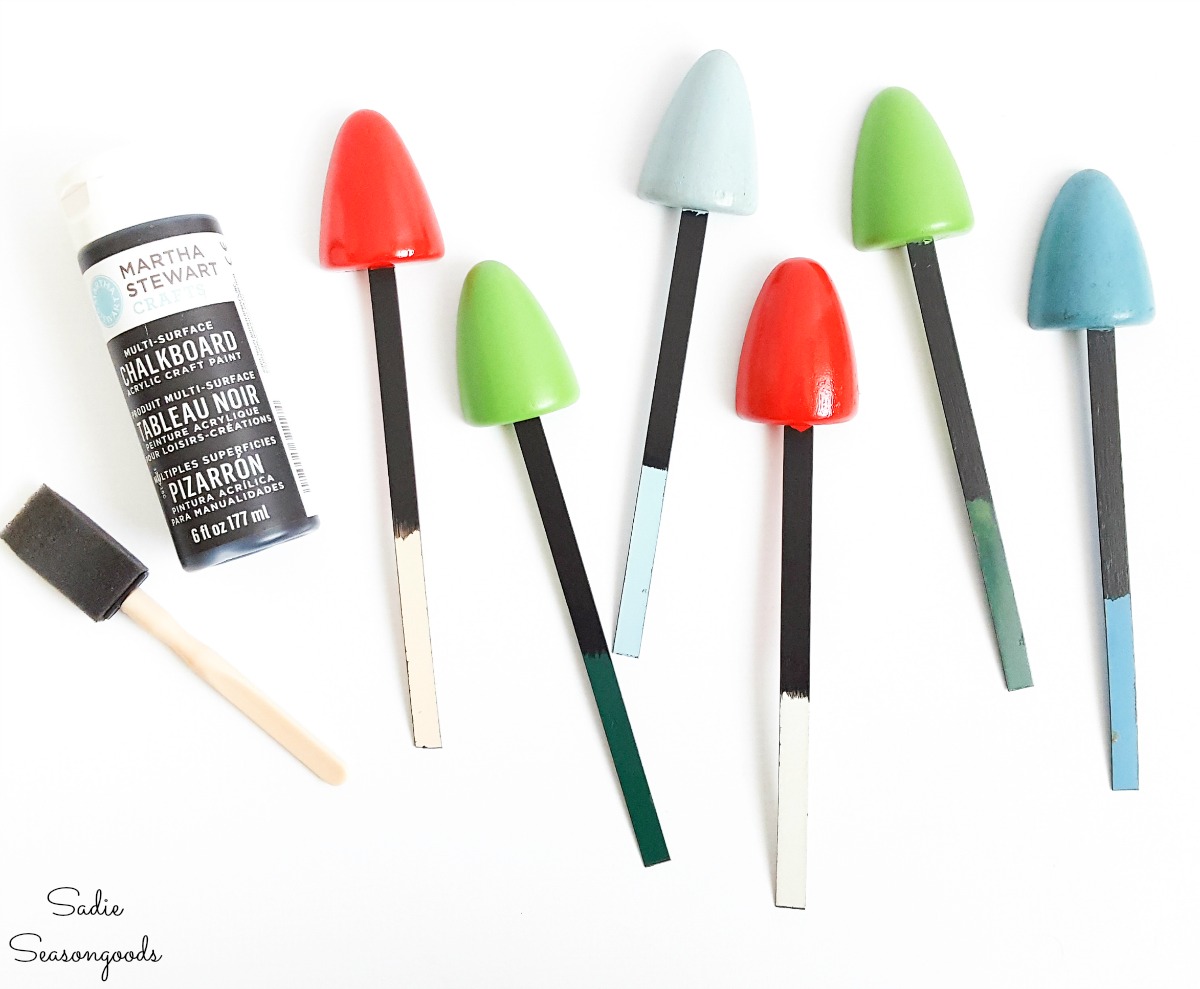
Image credit: Sadie Seasongoods.
And since little white spots are quintessential to toadstool mushrooms, I added dainty spots of white paint to each one.
I found small sponge daubers that were the perfect size, but a pencil eraser might work, as well.
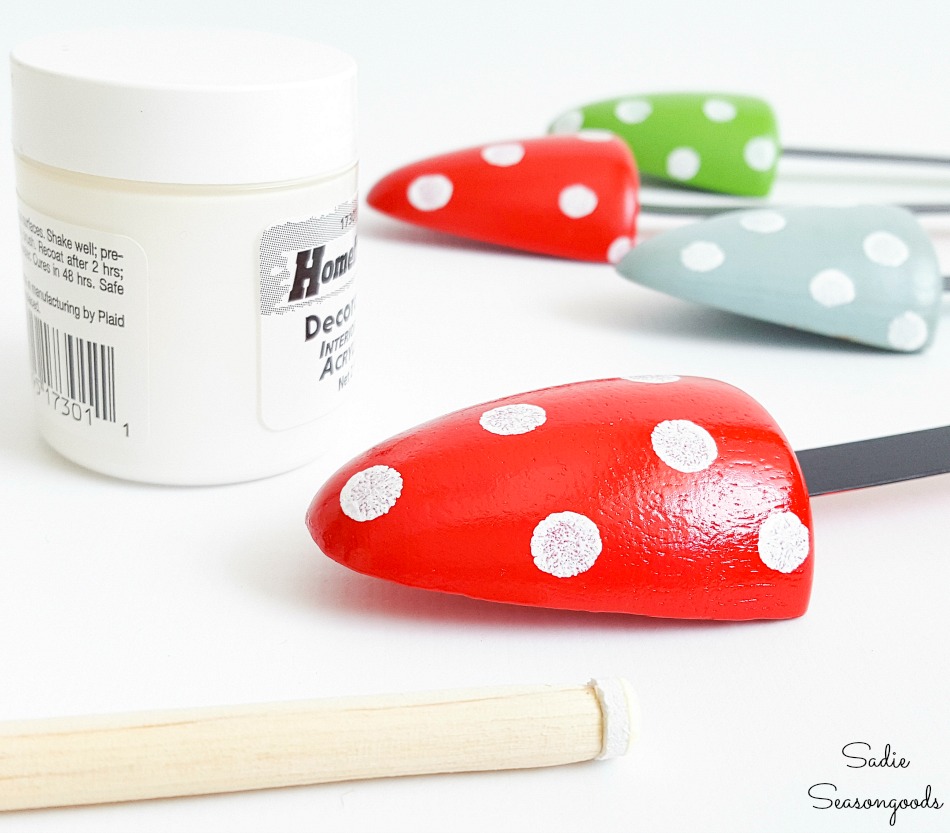
Image credit: Sadie Seasongoods.
Can you handle the cuteness? My plant markers looked JUST LIKE toadstools to me.
Now all I needed to do was label them and they would be ready to be added to my potted herbs.
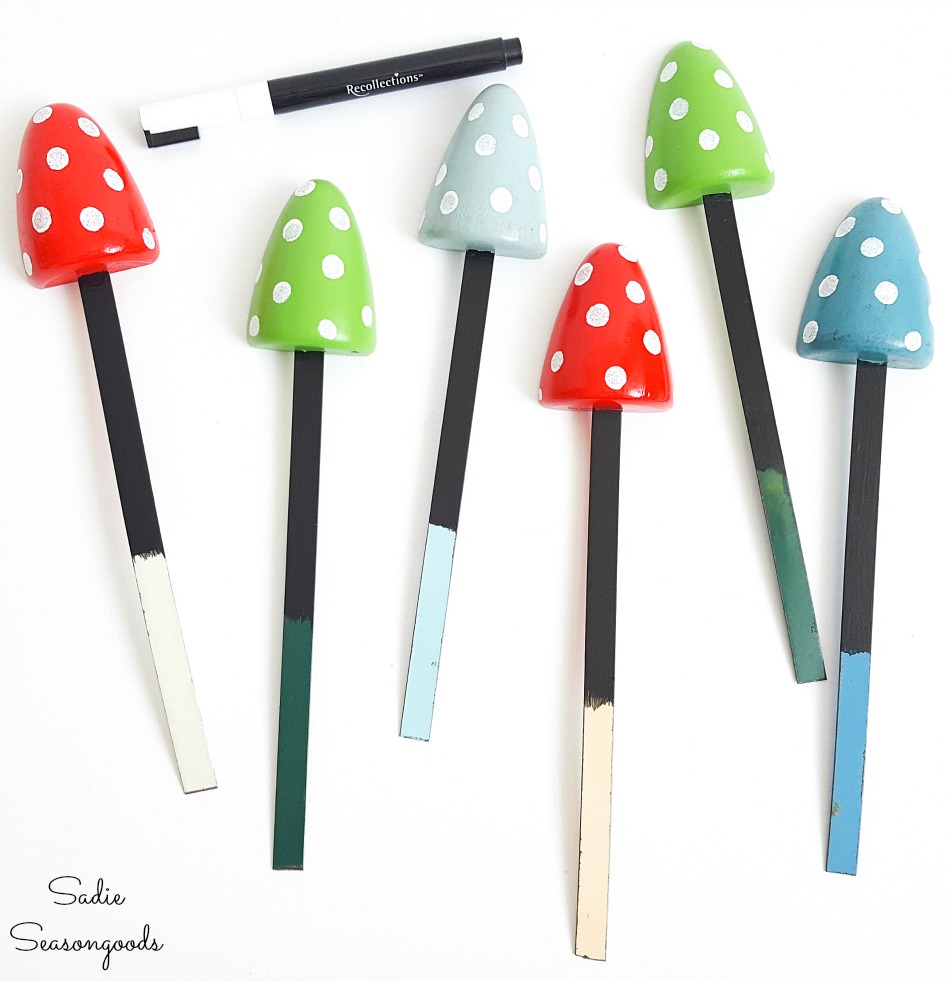
Image credit: Sadie Seasongoods.
I swear, my penmanship worsens when I try to be extra neat…but at least you know I’m not faking it with photo editing software, right?
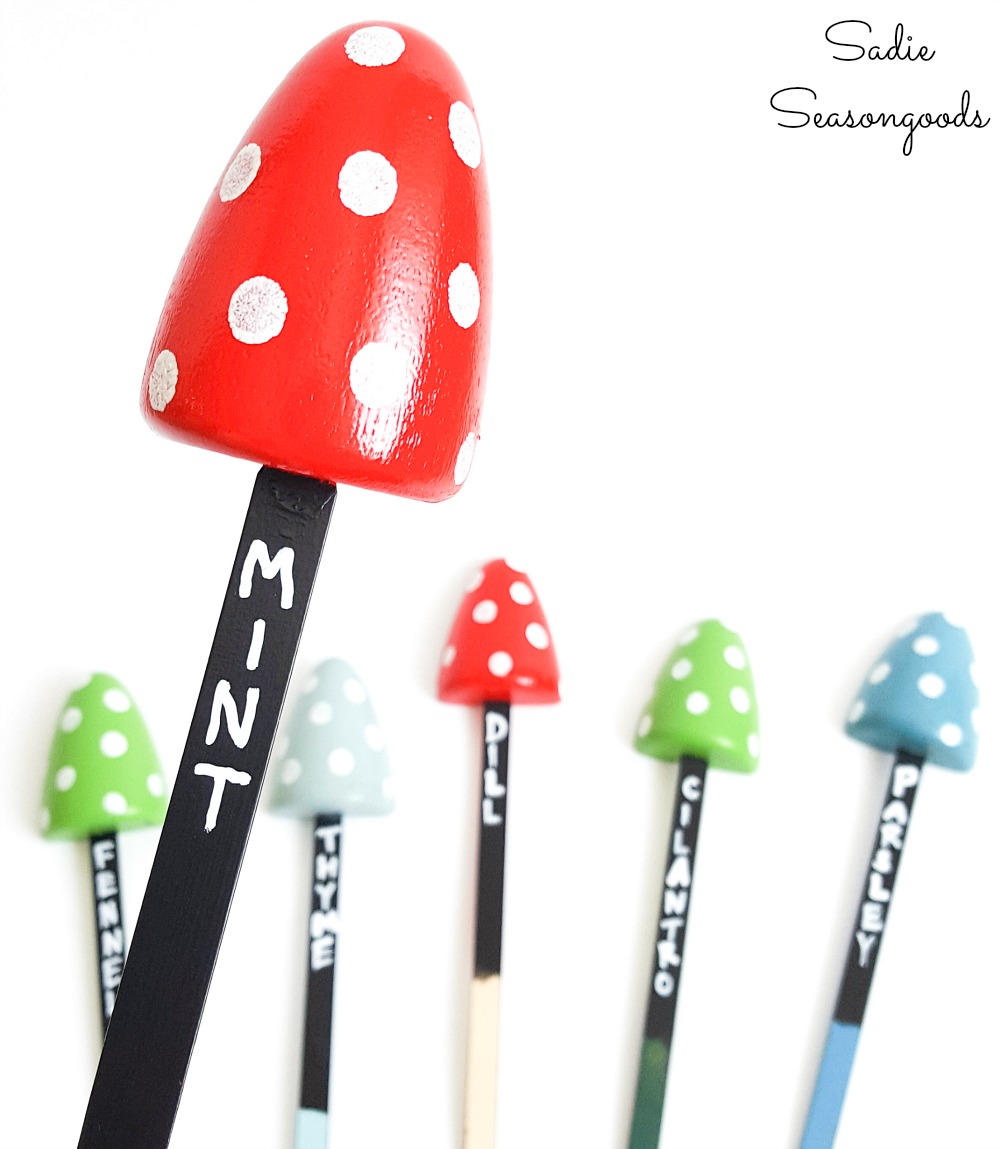
Image credit: Sadie Seasongoods.
But anyway, if you plan on planting the same herbs or vegetables each year, you could certainly use an oil-based paint pen for this step, as well.
The choice is most definitely yours, depending on your gardening habits!
DIY Plant Markers from Vintage Shoe Trees
Ta-da! Seriously, these are the cutest DIY plant markers ever. I mean, really, those vintage shoe trees were completely, 100% perfect for this!
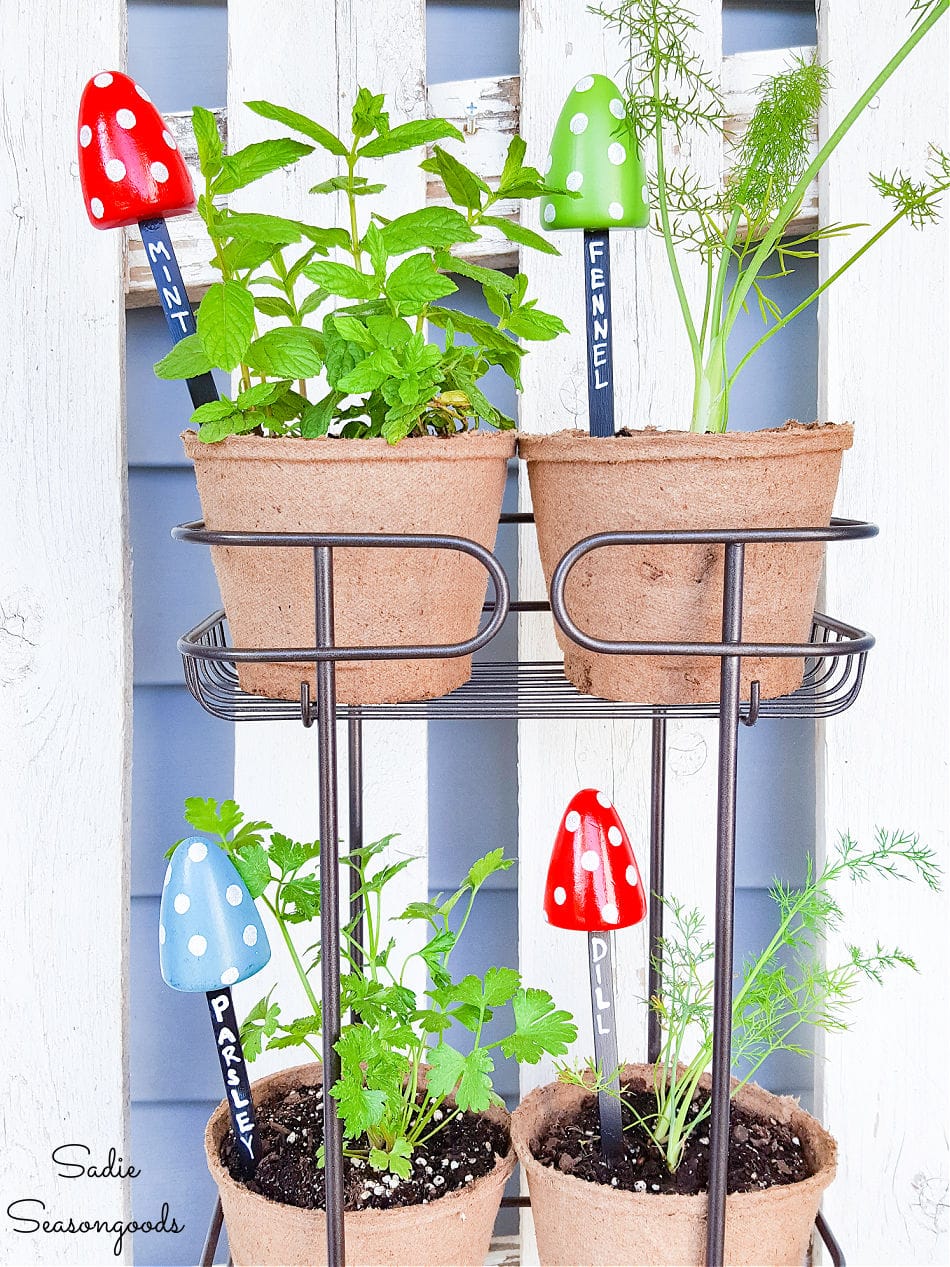
Image credit: Sadie Seasongoods.
Aren’t they adorable as little toadstools? Talk about adding whimsy to your potted plants or herb garden!
But see what I mean? No one *needs* to label their herbs. But when the plant markers are this adorable, well…why not?
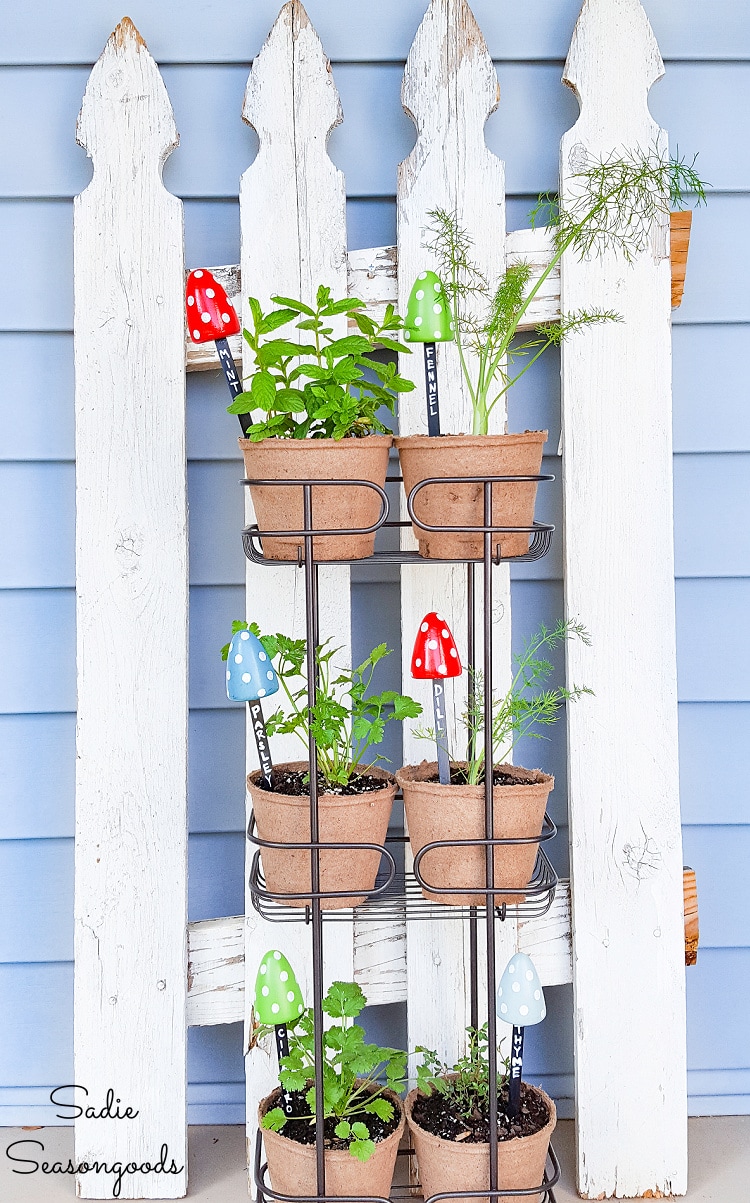
Image credit: Sadie Seasongoods.
I hope you enjoyed my three part upcycling series on herb gardening! I had a great time putting all the projects together and sharing with you.
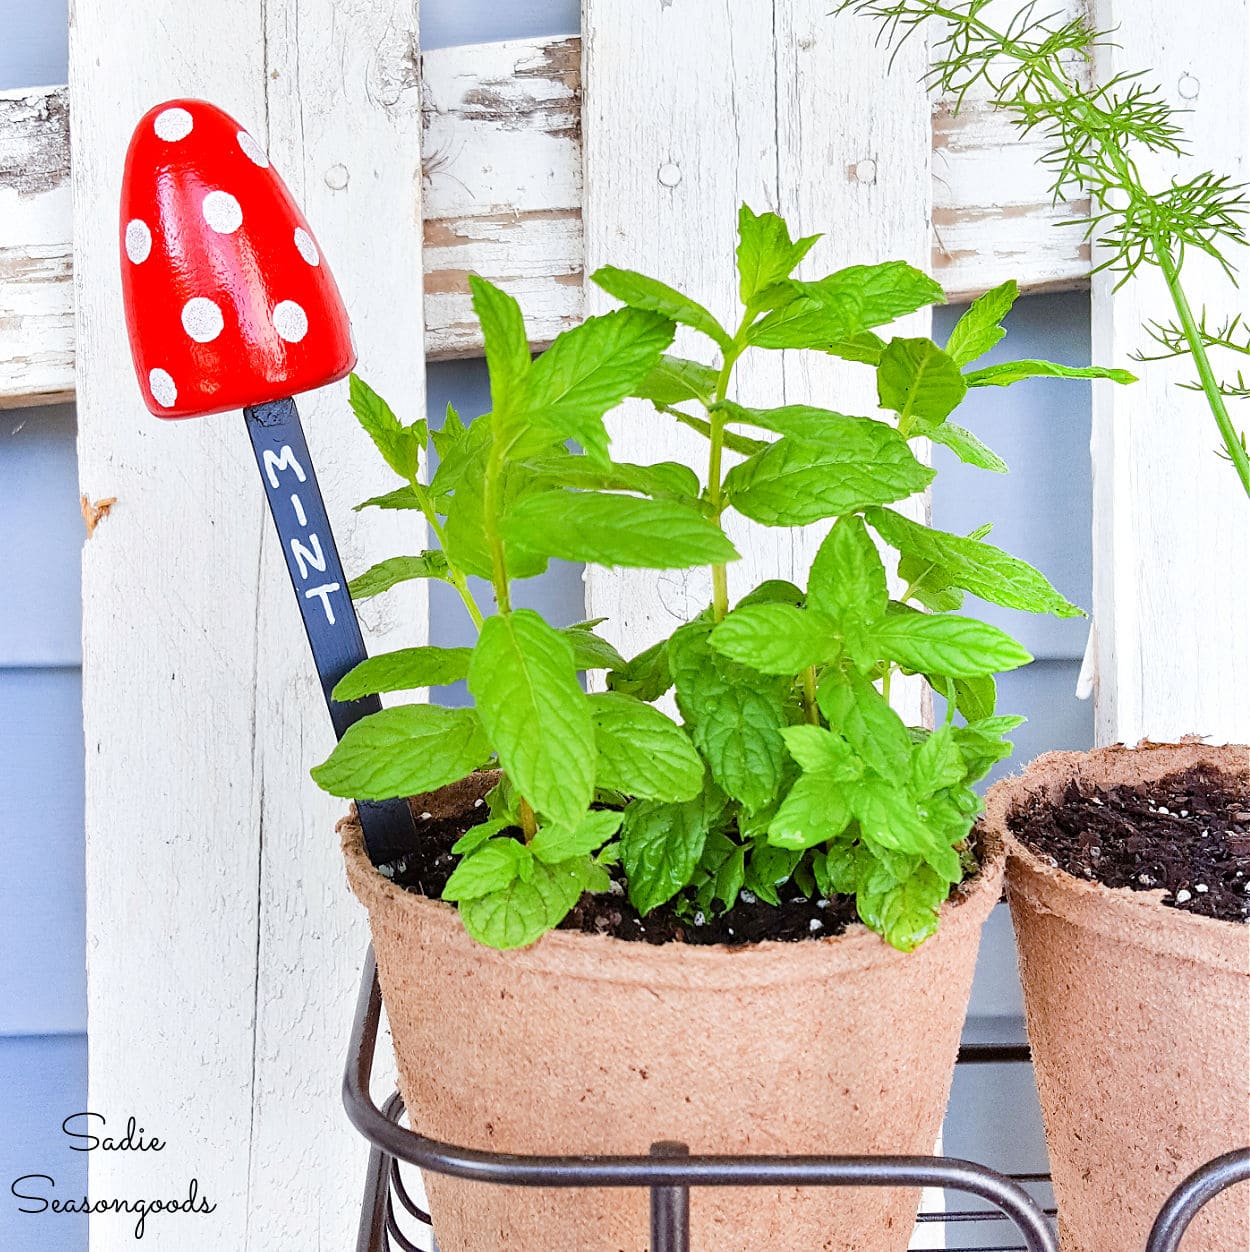
Image credit: Sadie Seasongoods.
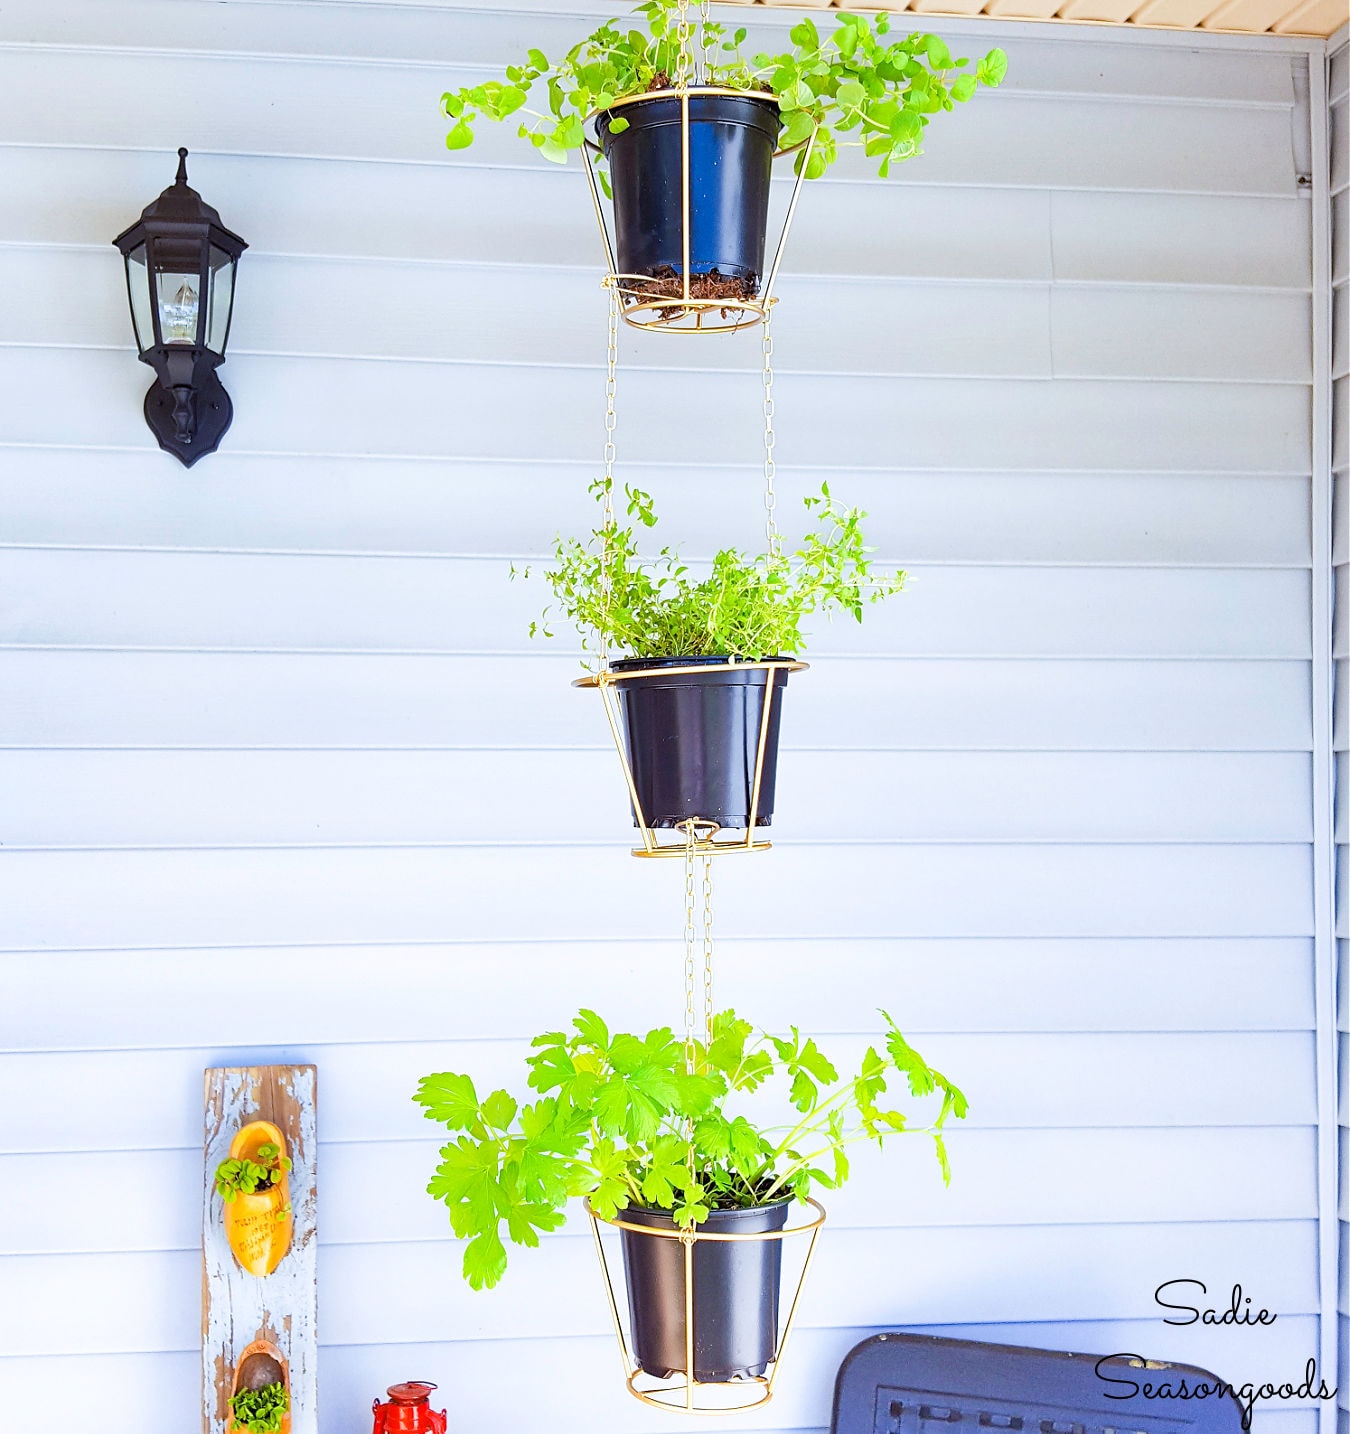
And if you enjoyed this upcycling idea for DIY plant markers for my herb garden, then you may also enjoy these hanging herb baskets, as well! Can you guess what they started out as?
And for even more upcycling ideas for garden markers and plant labels, please peruse this collection for tons of inspiration!
Craft on!
S
Want to be notified when I publish my next upcycling project tutorial?
Join me on Social Media:
PIN ME!
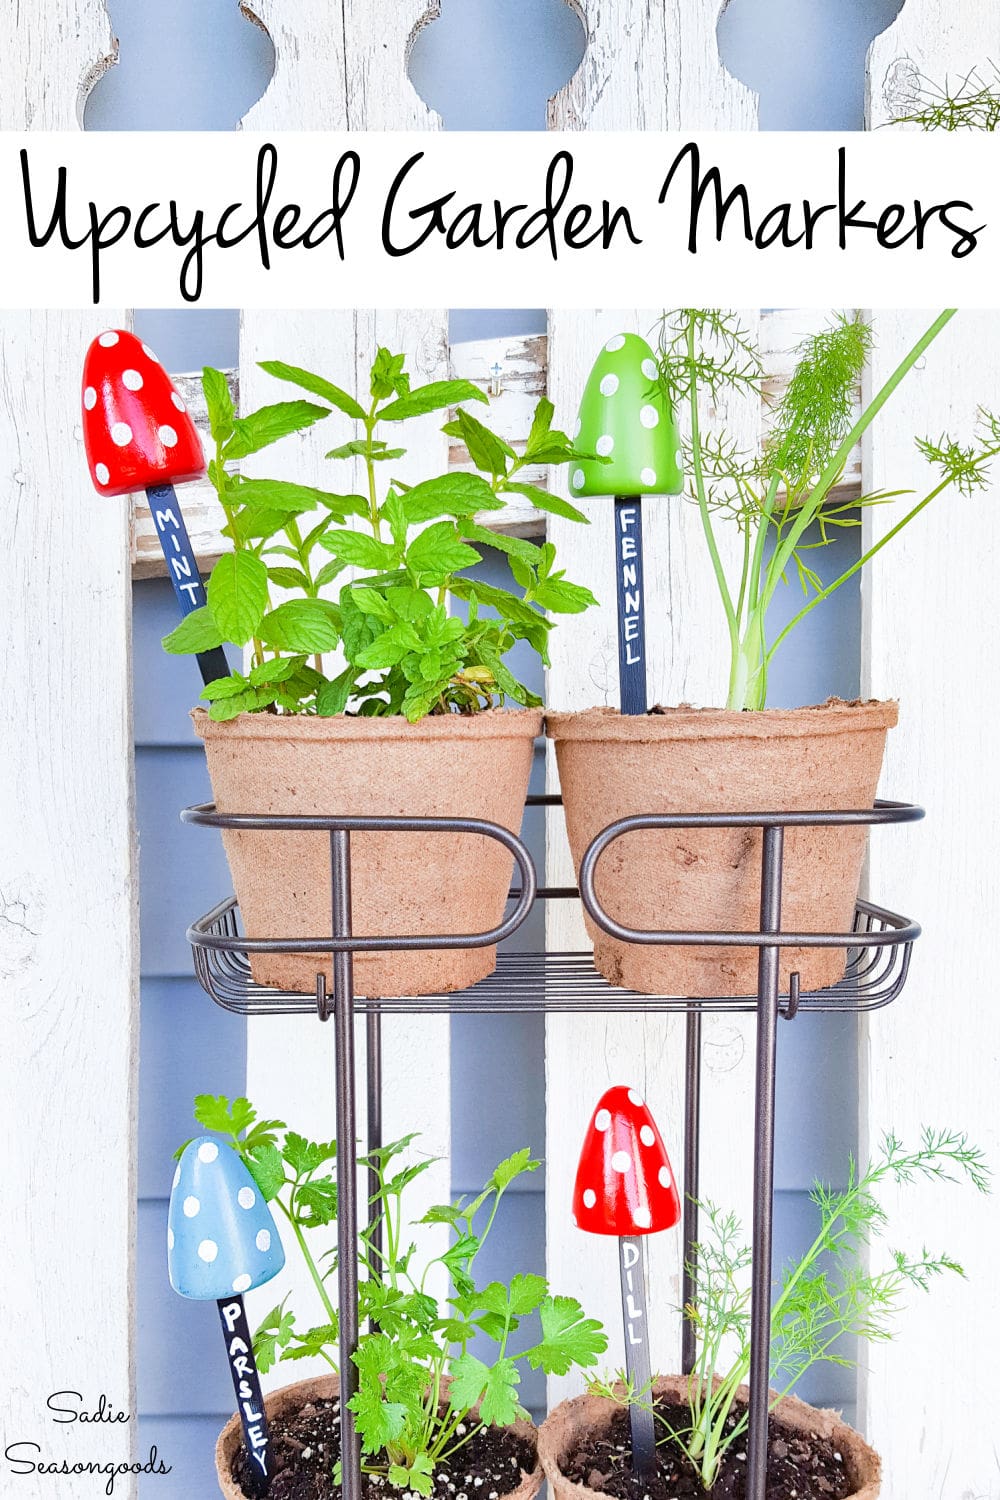
Image credit: Sadie Seasongoods.
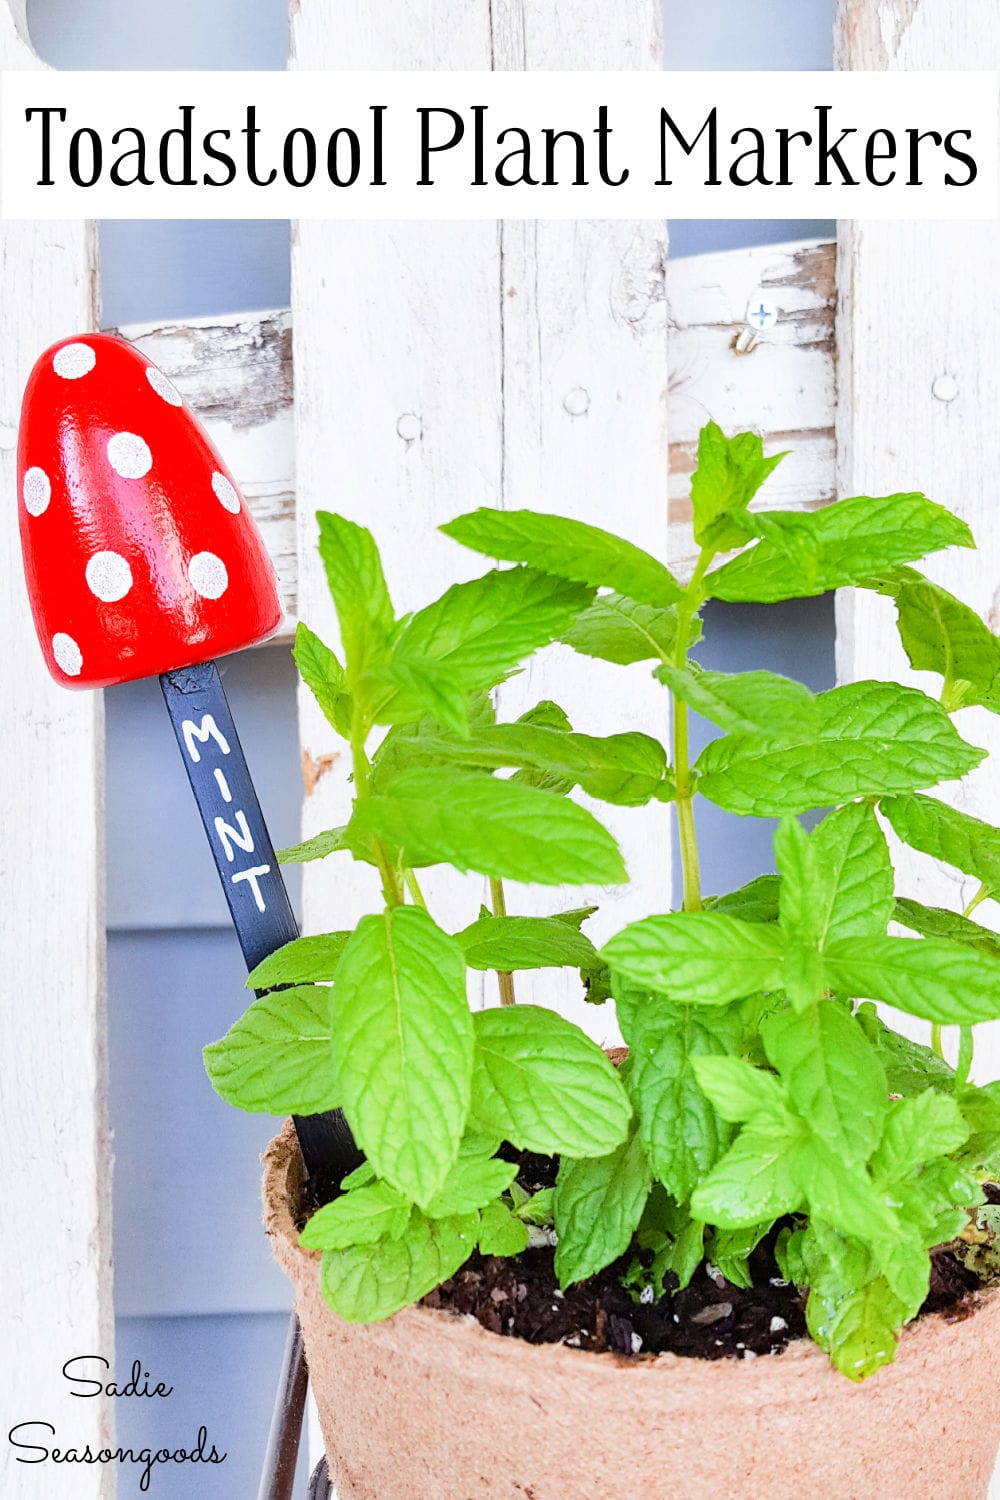
Image credit: Sadie Seasongoods.
Sarah Ramberg is the owner of Sadie Seasongoods, a website that celebrates all things secondhand. From upcycling ideas and thrifted decor to vintage-centric travel itineraries, Sadie Seasongoods is a one-stop shop for anyone who loves thrifting and approachable repurposing ideas. Sarah is also the author of “Crafting with Flannel” and has been featured in numerous media outlets and magazines.


Adorable!
Thank you, Rita!
Awesomely done!
Thank you so very much!
Super creative, as usual! These are so cute!
Thank you, friend!!
WOW! I love the way you think outside the box. I always look forward to opening your blog and seeing what you have created. Your ideas make me smile. Keep doing what you’re doing!!
Thank you so very much, Melissa!!
These are so adorable!
Thank you!!
Oh, no, another thing to be on the lookout for when I yard sale this summer! Love them! I make theme baskets for raffles for a group and church bazaar; what a great addition!
Thanks so much, Kathy!
What a fun idea!! I see these at the thrift store sometimes, and now I know what else I could use them for! 🙂
Thanks, Jamie!
I love a vintage updo. That was so cute .
Thank you!
What a cute idea! Keep ’em coming!
Thanks, Rose!
You’re right! They look exactly like toadstools or mushrooms! What a cute & clever idea! I love how you repurposed these!
Thank you so much, Florence!!
You always have the best ideas, so cute! And how nice of your friend! xo
Thank you, Courtney!!
I am always amazed at the the things you come up with. Love, Love, Love it!
Thanks for sharing.
Thank you so very much, Kimberley- I really do appreciate your kind words!
OMG, those are adorable, what a great idea!!
Tania
Thank you, Tania!
I have a collection of these in a clear glass vase in my guest room. I love them. thanks
Ohmigosh Sarah! These are so cute— I love the idea 🙂 Have a great weekend!
Thank you, Brittany!!
Oh yes please, those are just beyond adorable Sarah. I wish I could get inside your headand just drift on clouds of creativeness. This is a stunning idea
And when I’m super excited about a new creative idea I clearly have no concept of checking what I write. Sorry about the type 😉
Thank you, sweet friend! But…I mean…compared to your luggage dresser…this is NOTHING! 😛 😛
Genius!! Absolutely adorable.
Thank you so much, Sharon!
Thank you for sharing!
I am featuring your Herb Markers at the Snickerdoodle party today.
Thanks, Sharon!! Always appreciated. 🙂
I absolutely love this idea!! Pinned! thanks for sharing on the Pleasures of the NW’s DIY Party!
Thanks so much, Helen!
Another cute idea.
These are adorable Sarah! So cute and what a great way to reuse the shoe stretchers! And I agree with you, they totally looked like toadstools 😉
Thank you so very much, Lisa!
You think of everything and that’s a good thing. I would have plunged the painted end into the soil without a thought. These are so cute and this has been a great series. Thank you for sharing with us at Celebrate Your Story, and I hope you’re having a great weekend.
Thank you so very much!! <3
Will never look at shoe stretchers the same (if I can ever find any that is). So doggoned clever, cute and inventive. Leave it to you Sarah. Love these, so handy also. I’d probably need a marker to remember what plant was what, duh. Senior moments are the pits, lol. Love colors you chose.. Could use shorter ones for fairy garden
Have wonderful rest of week
These are adorable! I need a way to mark some of my perennials that I can’t remember the names, and I love these. I will be watching out for some of there.
Oh, that’s a great idea for the perennials, too!
Toadstool markers? The thought would never have crossed my mind. These are adorable. They make you want to have an herb garden of your own. That’s just what I’m going to do. Thanks for the inspiration. Amazing job as usual.
Thank you, Jeannie! And yes, they are cute enough to give you reason to start a garden, that’s for sure!
Sarah these are the cutest things ever! I wish I had seen this a few years ago, I had some of these and had no idea what to do with them so I gave them away :/ Excellent repurpose!
Upcycling Murphy’s Law in action!!! And thank you. 🙂
Thanks so much for sharing this idea!!! I have 2 of these and have been trying to think of something to do with them!! Great idea!!! Love it!!
Hugs,
Deb
Thank you so much for sharing your great idea!!!
Love it!!♡
Hugs!!
Vicki
You’re so very welcome, Vicki!