This wooden tissue box was one of the last things I snapped up at a favorite thrift store before it closed. It was sturdy and well-made, but I didn’t have a project idea right away. After a while, though, I wondered if I could tweak it and use it as a wren birdhouse for the backyard.
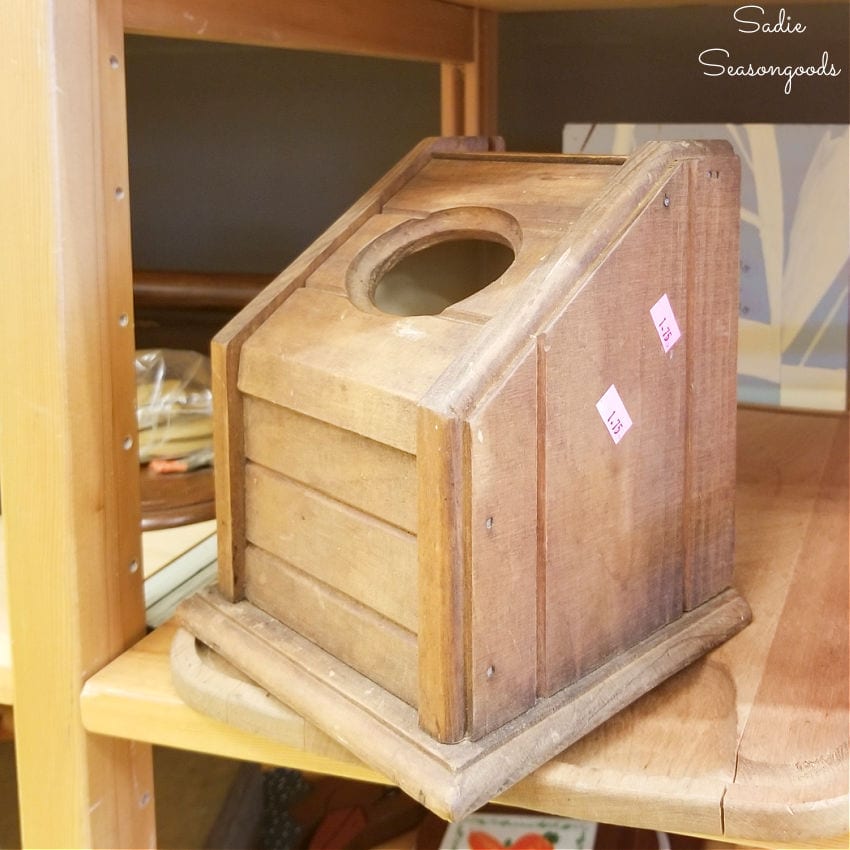
Ok, I’m not 100% sure that this was, in fact, a tissue box cover. Maybe it was some sort of kitchen canister, but I’m going to call it a tissue box nonetheless!
Now, bear with me as I work through this upcycling idea. Imagine this wood tissue box cover turned 90 degrees…so that the bottom becomes the back.
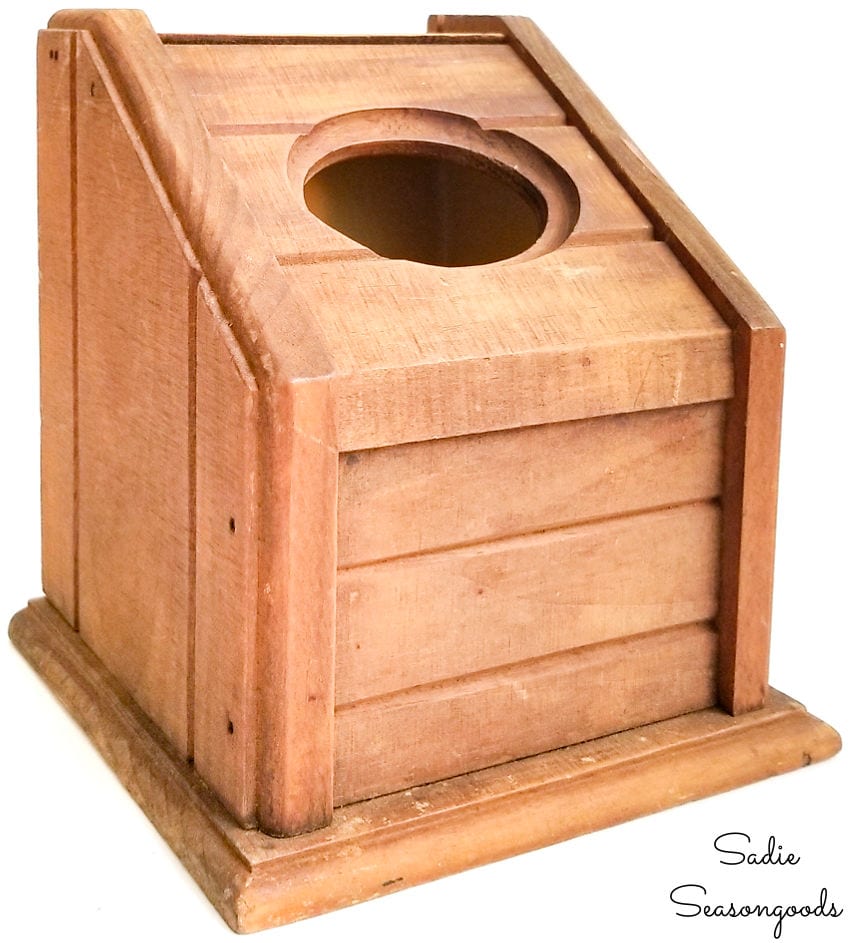
Ok, maybe it’s hard to visualize now, but trust me. I think this wooden tissue box will become an adorable birdhouse! I just need to add a few things to it.
This post contains affiliate links for your crafting convenience. As an Amazon Affiliate, I earn from qualifying purchases. All blue, bold, and underlined text is a clickable link, either to a product or to a related post.
Repurposing a Wooden Tissue Box
First, I took the wood tissue box cover apart. Or, rather, I removed the plastic insert and the sliding bottom to give it a good cleaning.
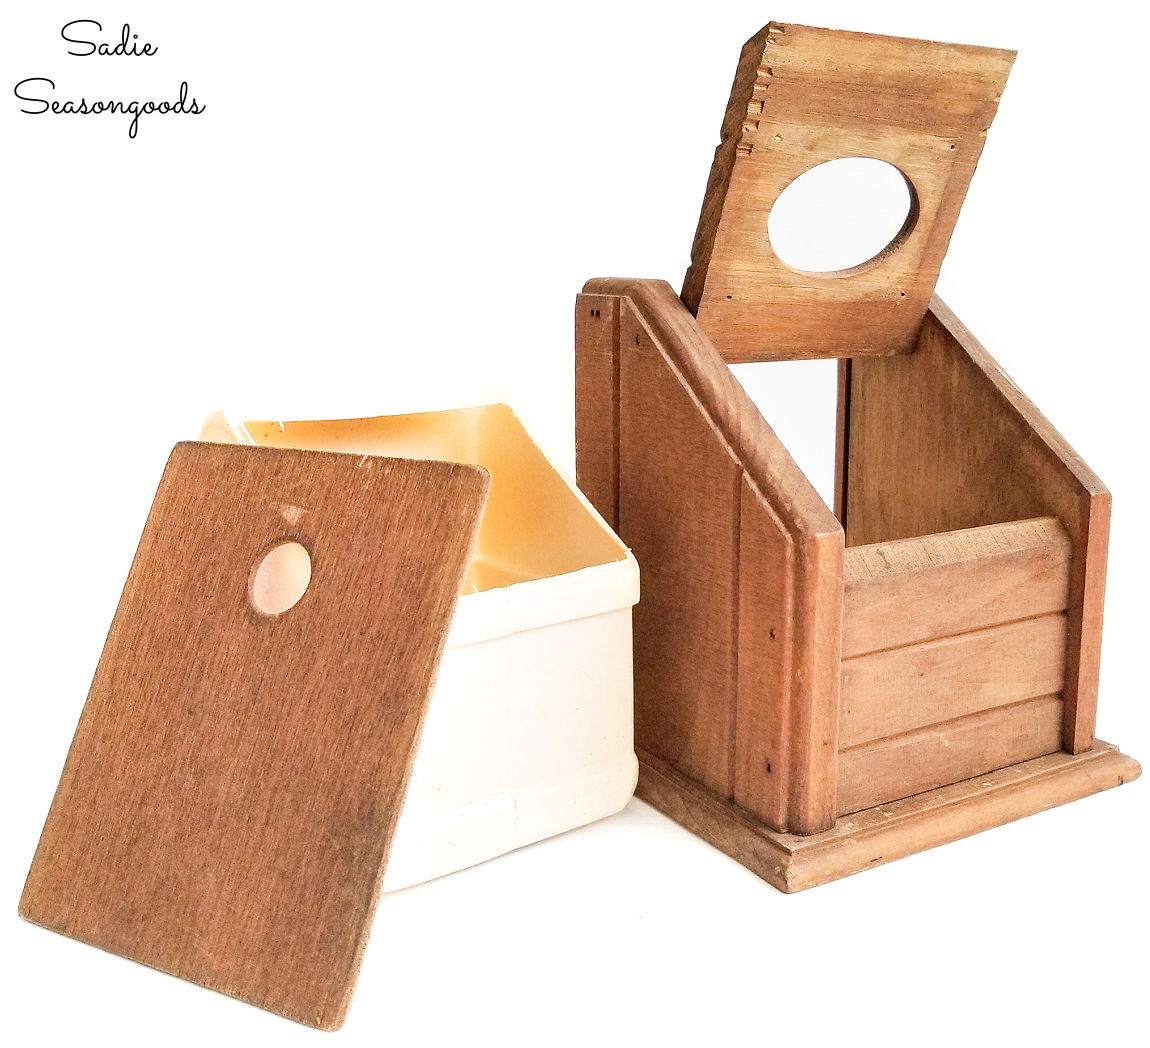
Then, I knew I needed to create a smaller birdhouse “entrance” hole. The existing oval-shaped hole for facial tissues was way too big for a wren house.
If you remember this project, I discussed the smallest recommended hole size (per Audubon) for wrens and chickadees (which always nest in our yard).
So, just like before, I used a hole cutting bit on a square of thin plywood to effectively reduce the existing hole size.
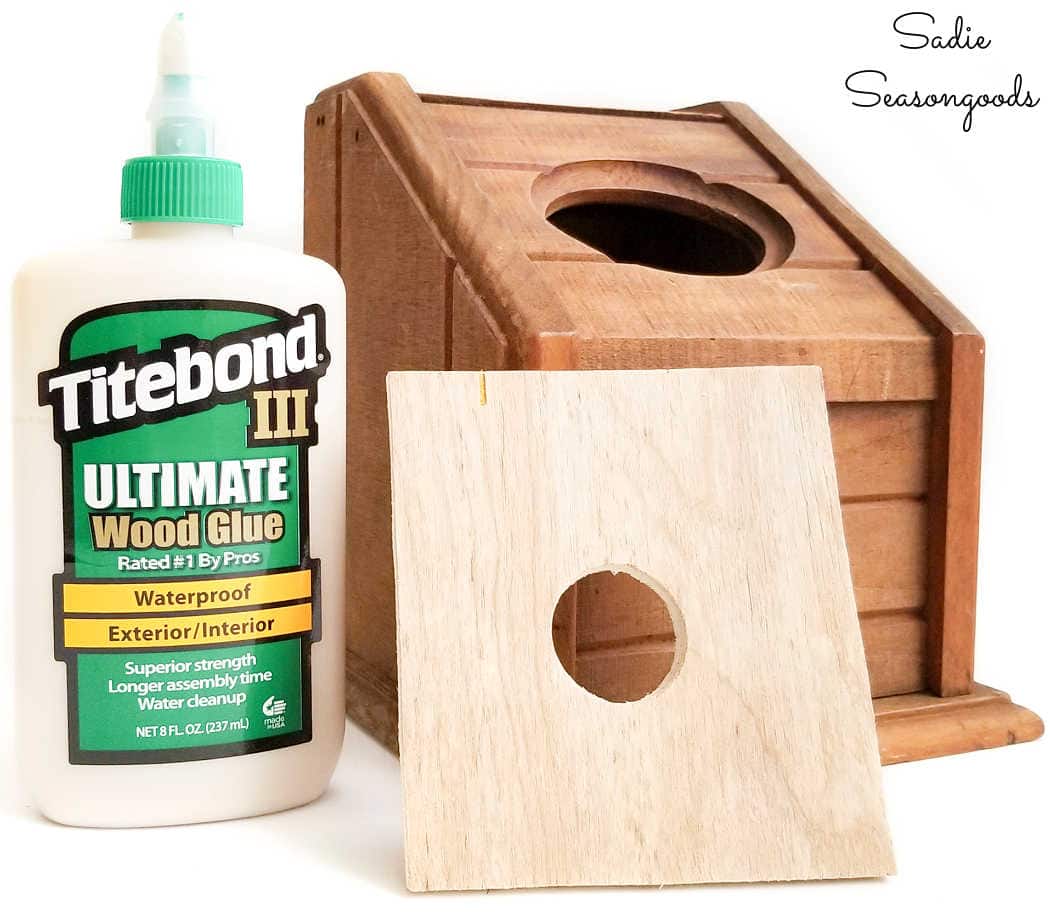
After it was cut and sanded down, I glued it to the inside of the wooden tissue box, clamping it down overnight.
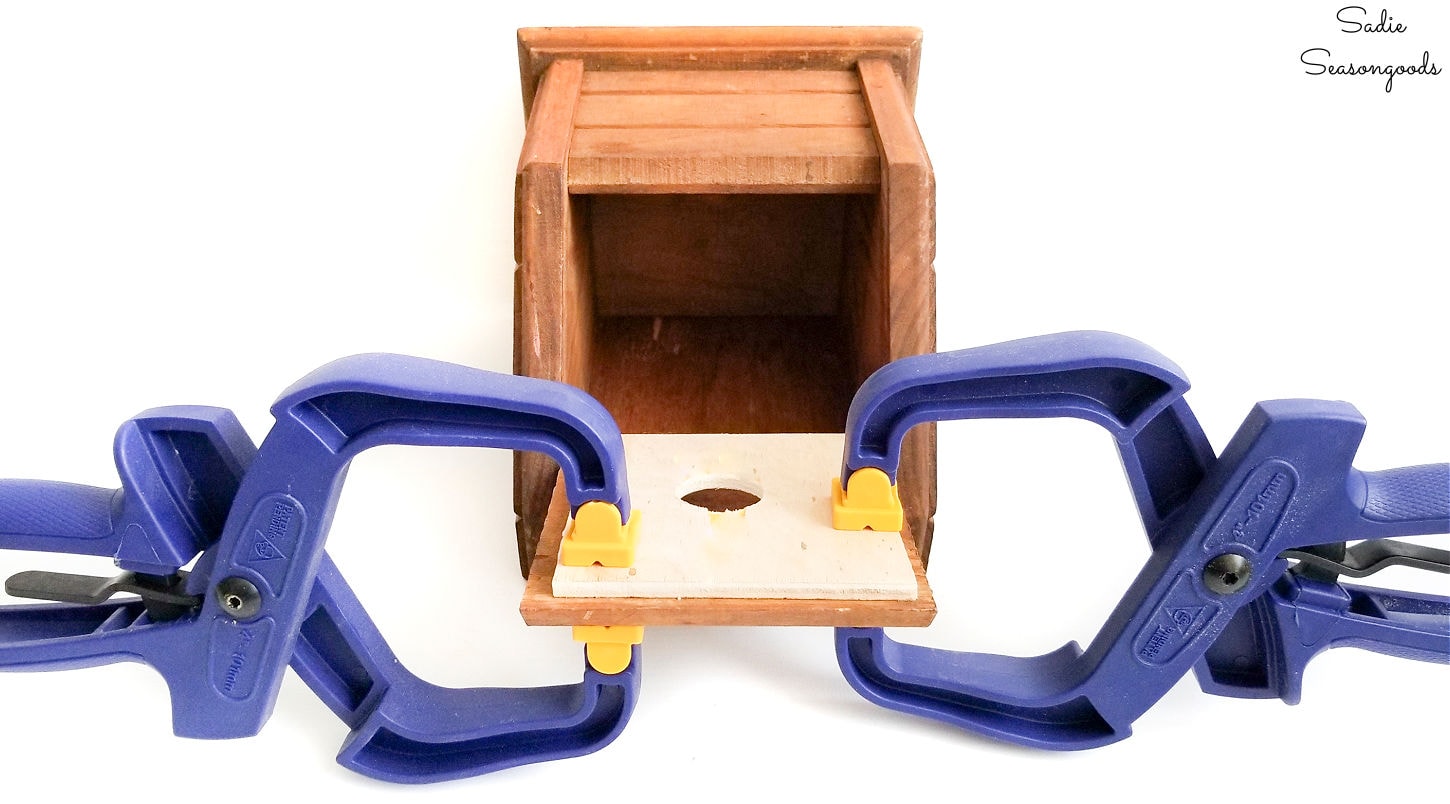
Because the back panel of the tissue box cover had a large finger hole (for sliding in and out easily), I also glue a strip of thin wood over it.
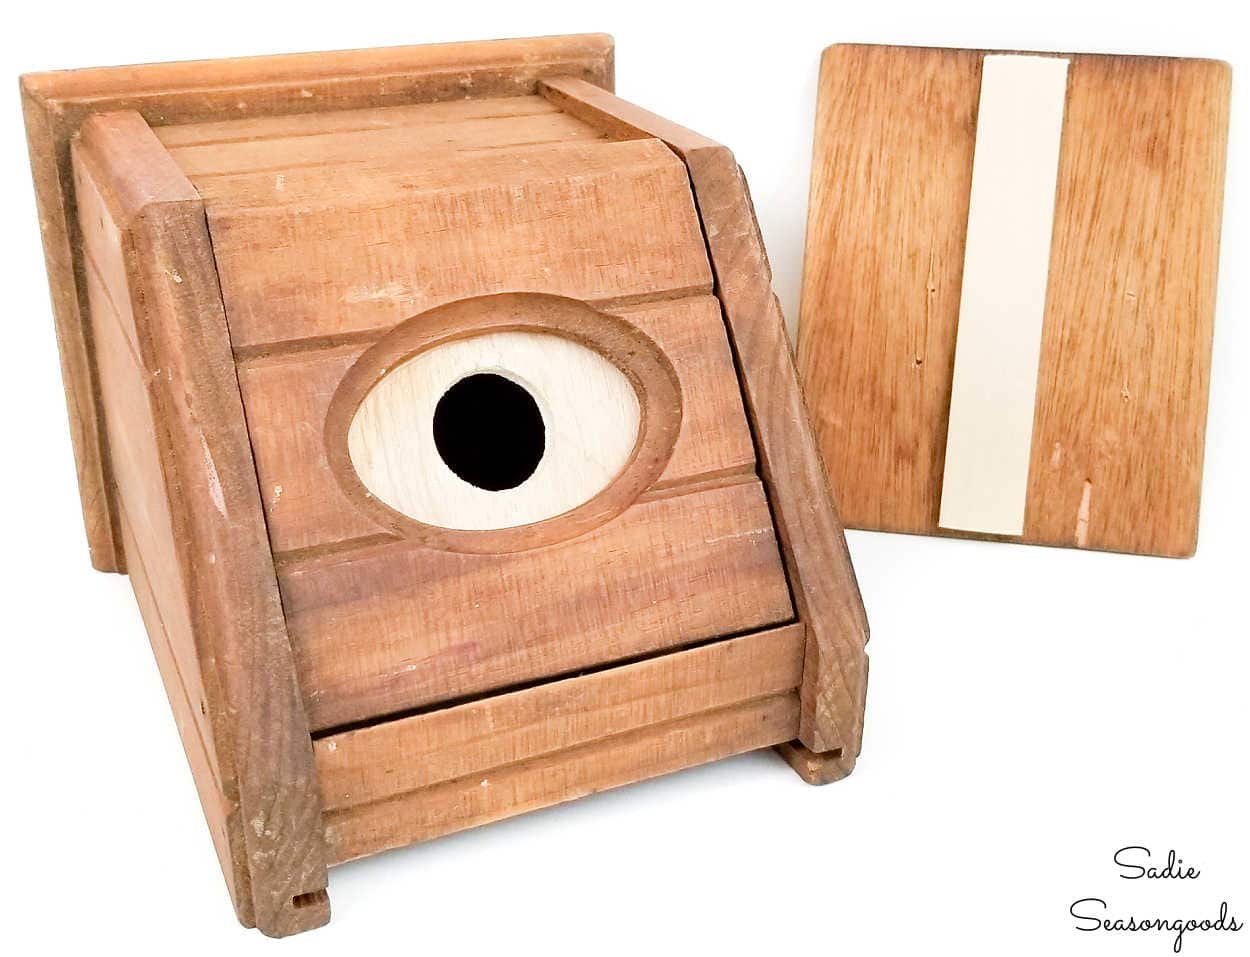
Once the wood glue had dried, I could put the finishing touches on the wren birdhouse!
Finishing the Wren Birdhouse
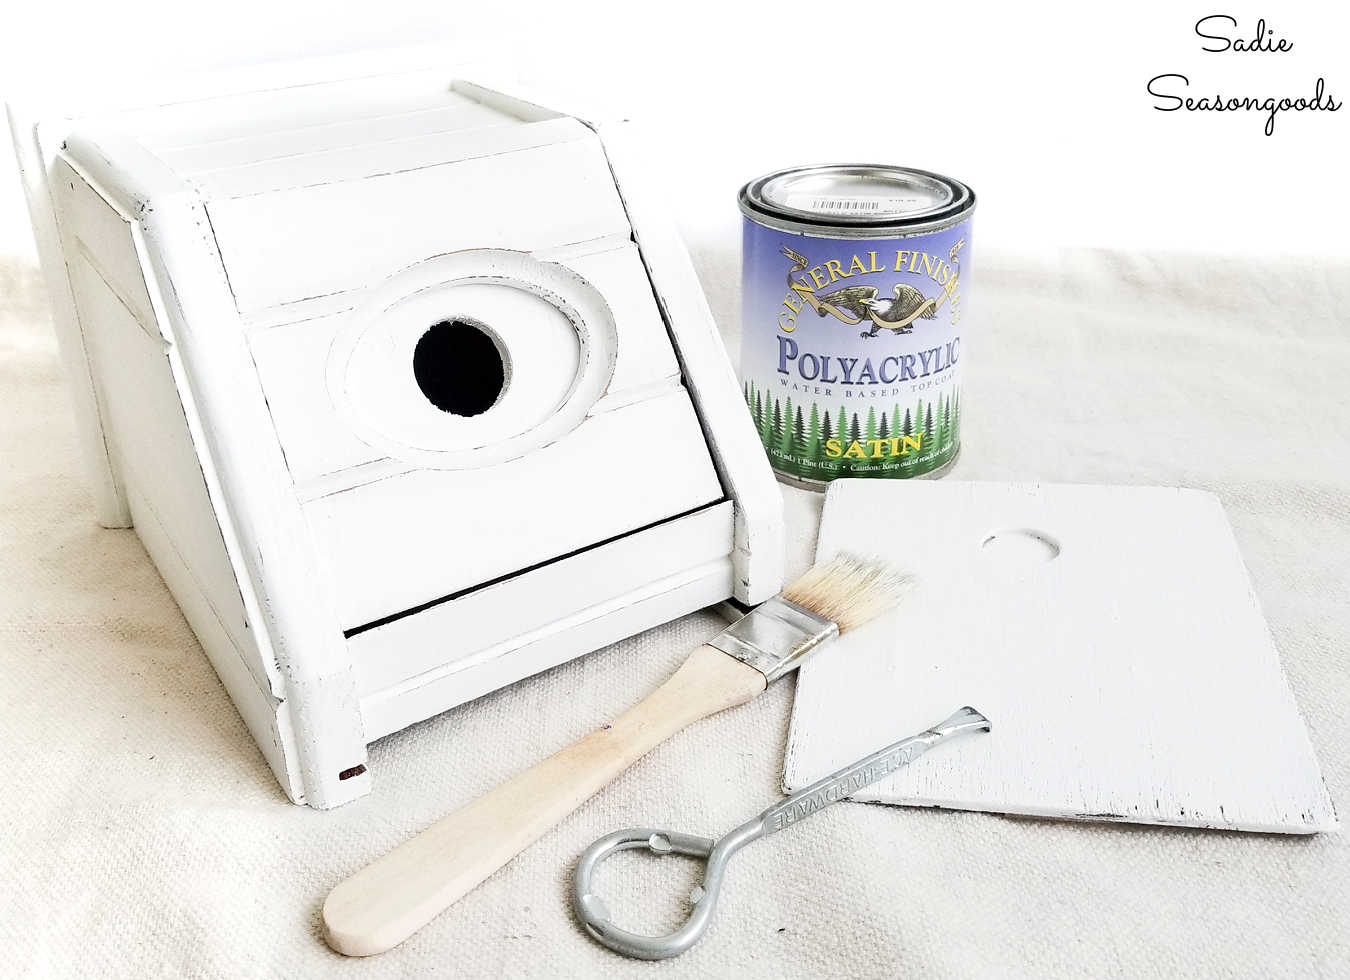
Next, I painted everything white and distressed it ever so slightly before sealing with top coat (inside and out).
This was an important step since it’s going to be a bird house living outside!
Now for a fun little embellishment that also serves an important function!
I didn’t want to seal the box cover “flap” closed for ease of cleaning out the birdhouse. But I needed to ensure that it wouldn’t open randomly once it was outside.
So, I used some picture frame turn buttons that could be turned to either keep it closed or allow it to open! Usually they’re found on the back of modern picture frames, holding the backing, glass, and photo tightly within the frame.
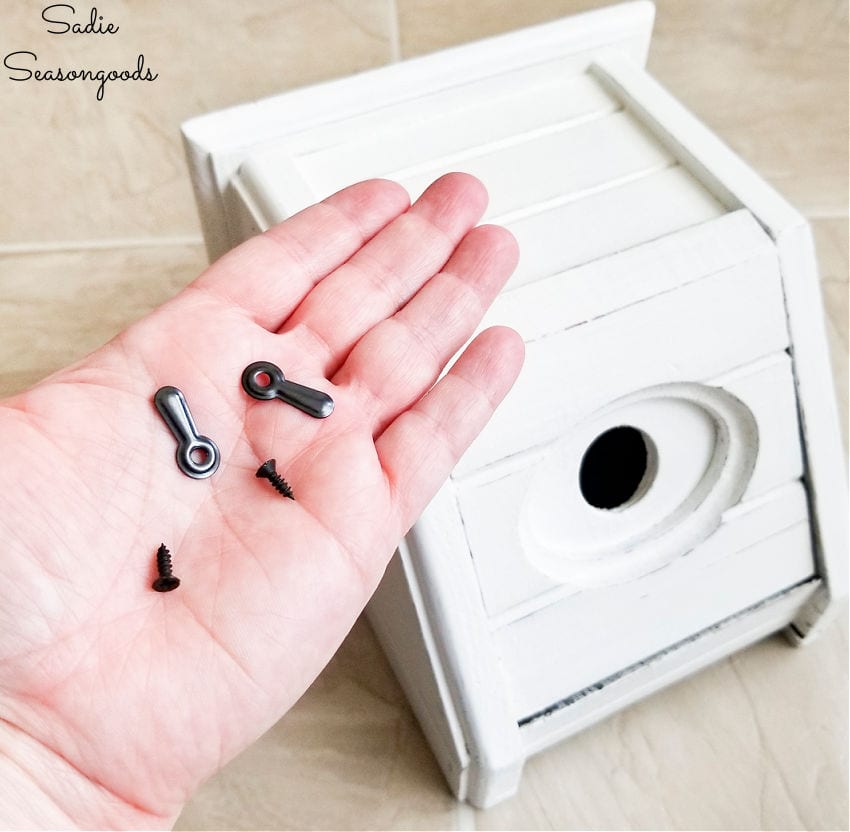
With my drill, I simply screwed them into the frame of the Kleenex box cover, right next to the “door”.
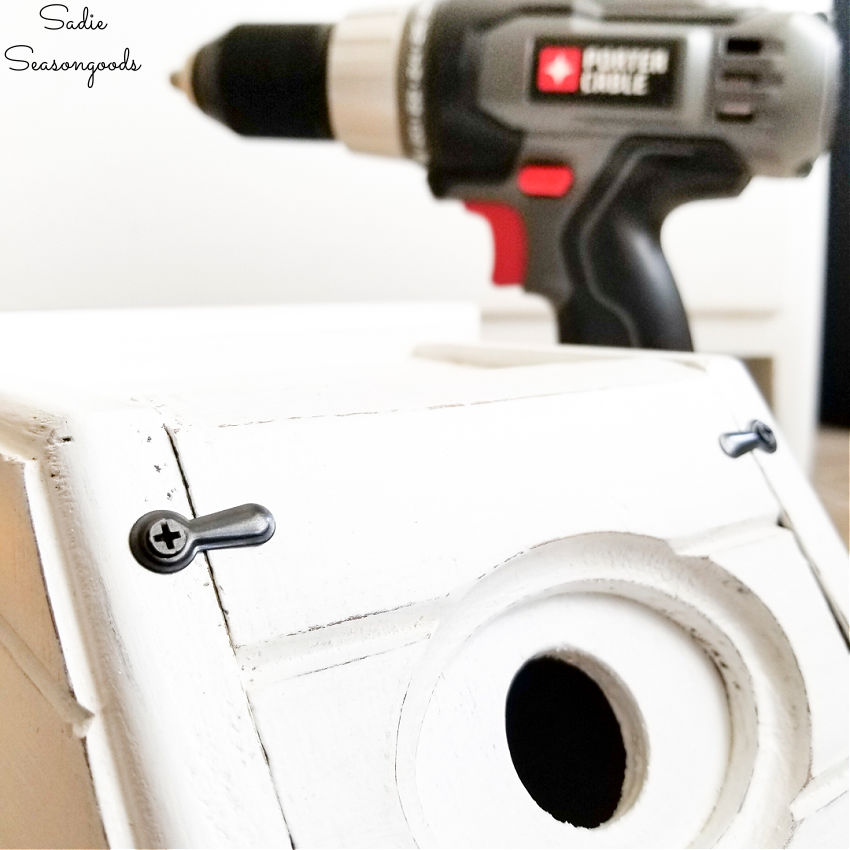
Not shown but other steps- I glued the back panel (now bottom panel) in place. I also drilled a couple of small holes in the bottom for drainage and air flow (important for bird houses to keep mold/mildew from building up inside).
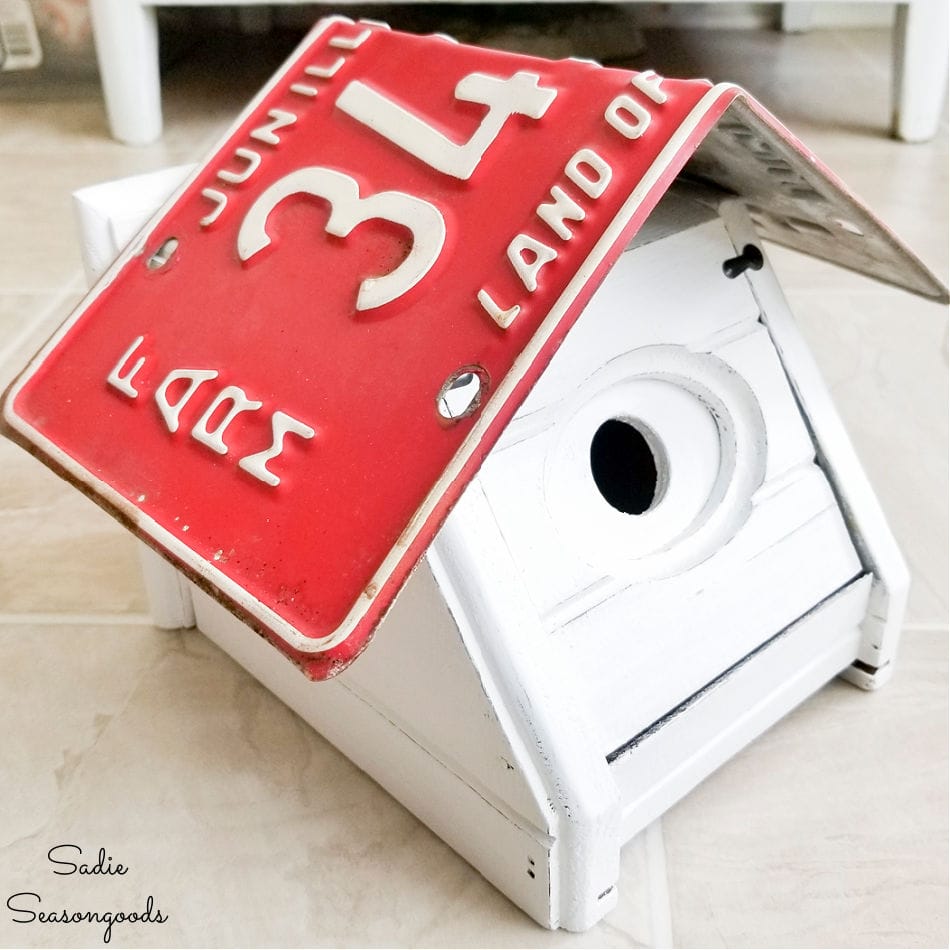
To finish up the wren birdhouse, I bent an old license plate in the center. Now my little birdhouse will have a colorful “tin” roof!
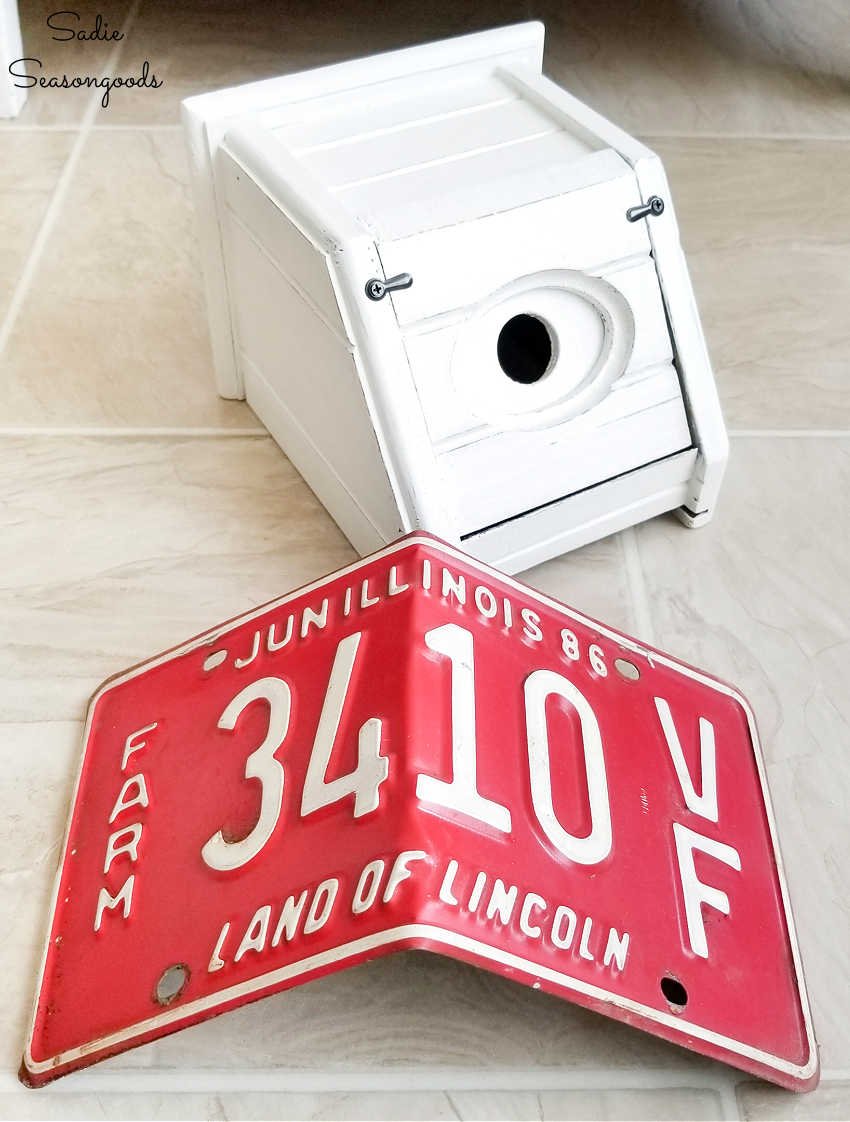
Lastly, I secured it to the top of the birdhouse with washers and screws.
Wren Birdhouse from a Wooden Tissue Box
And there it is! Fresh and ready to go outside.
We opened the front door to drill the birdhouse to our back porch. Now that it’s there, it’s ready to be discovered by our local house wrens (or chickadees, since they need the same small entrance hole size).
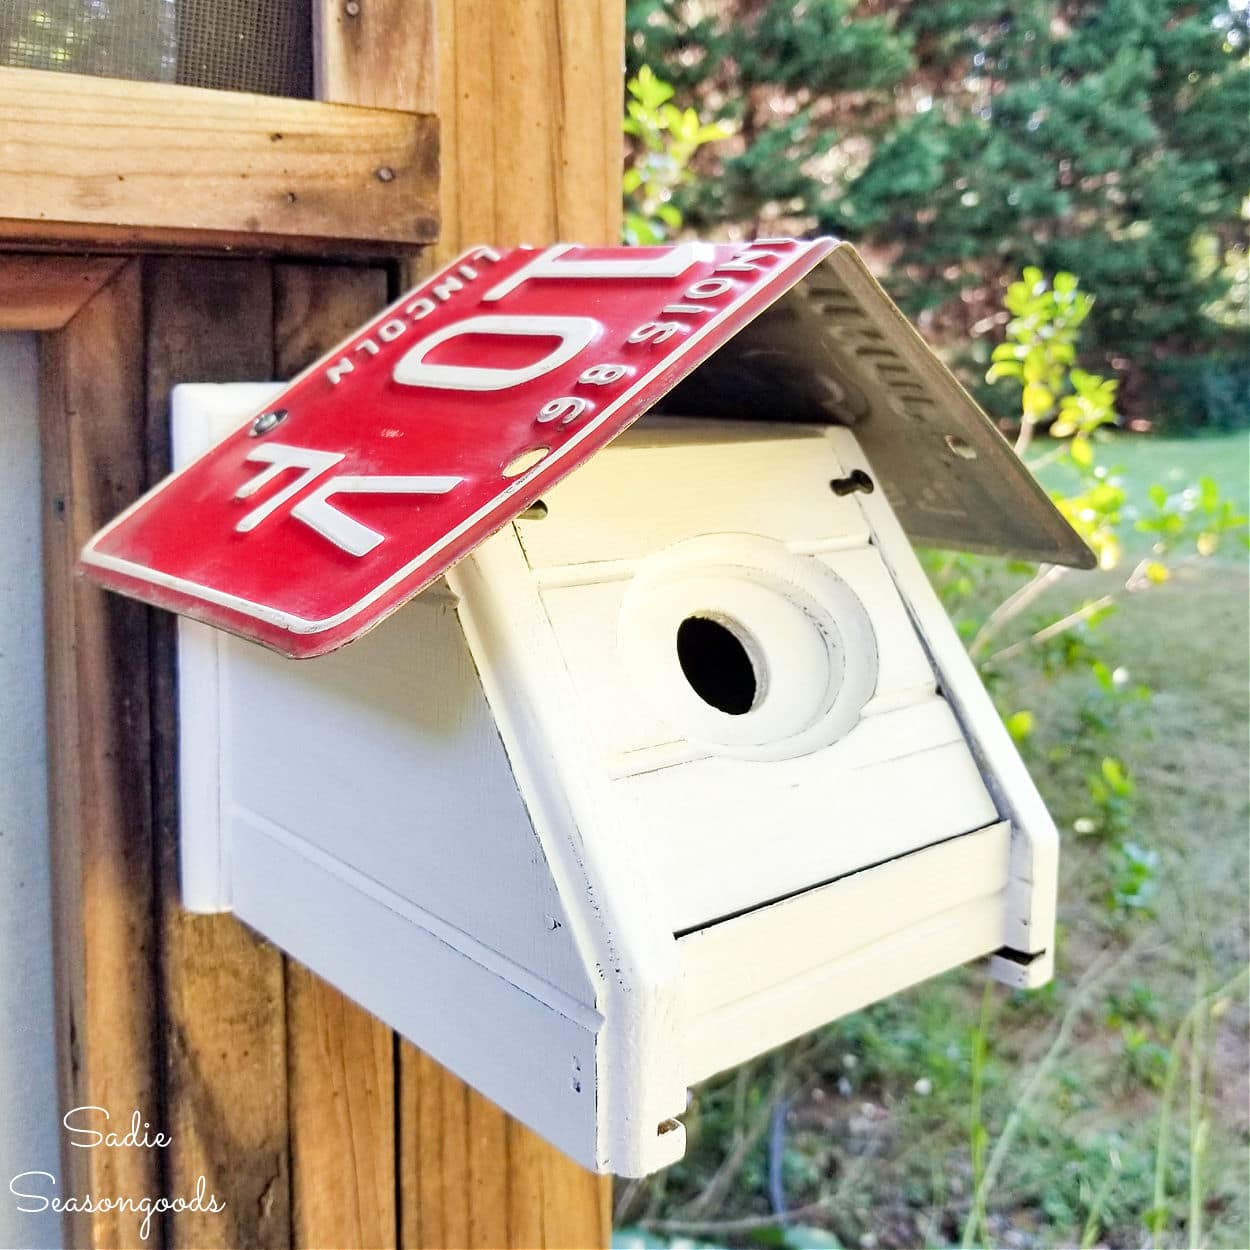
Can you tell I wanted to emulate a white farmhouse with a red tin roof?
And guess what? IT WORKED! A house wren is currently building a nest inside.
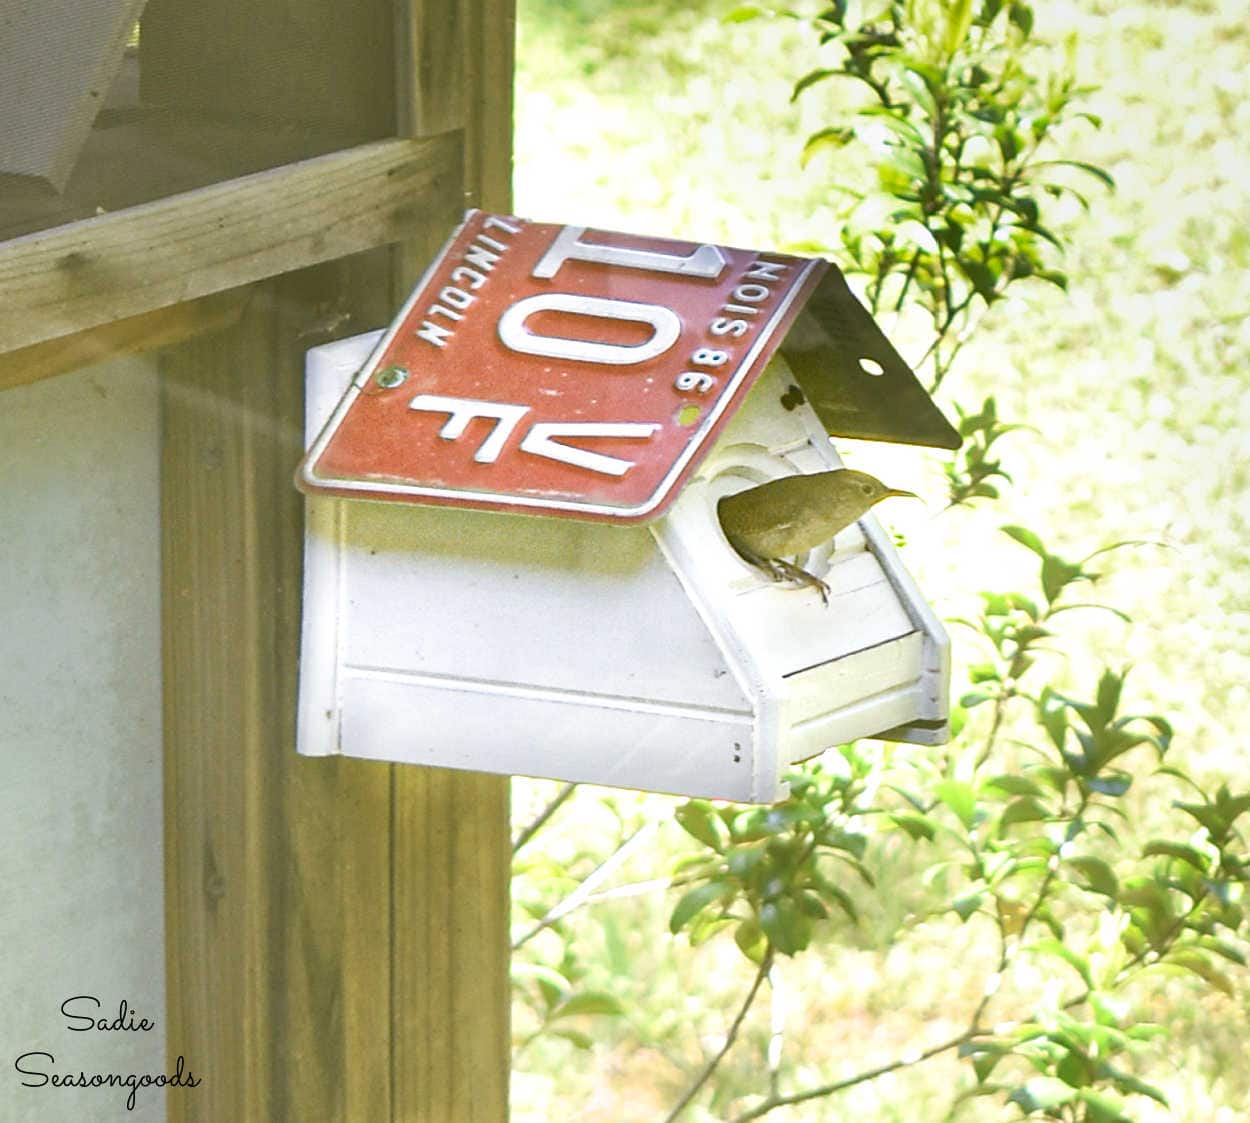
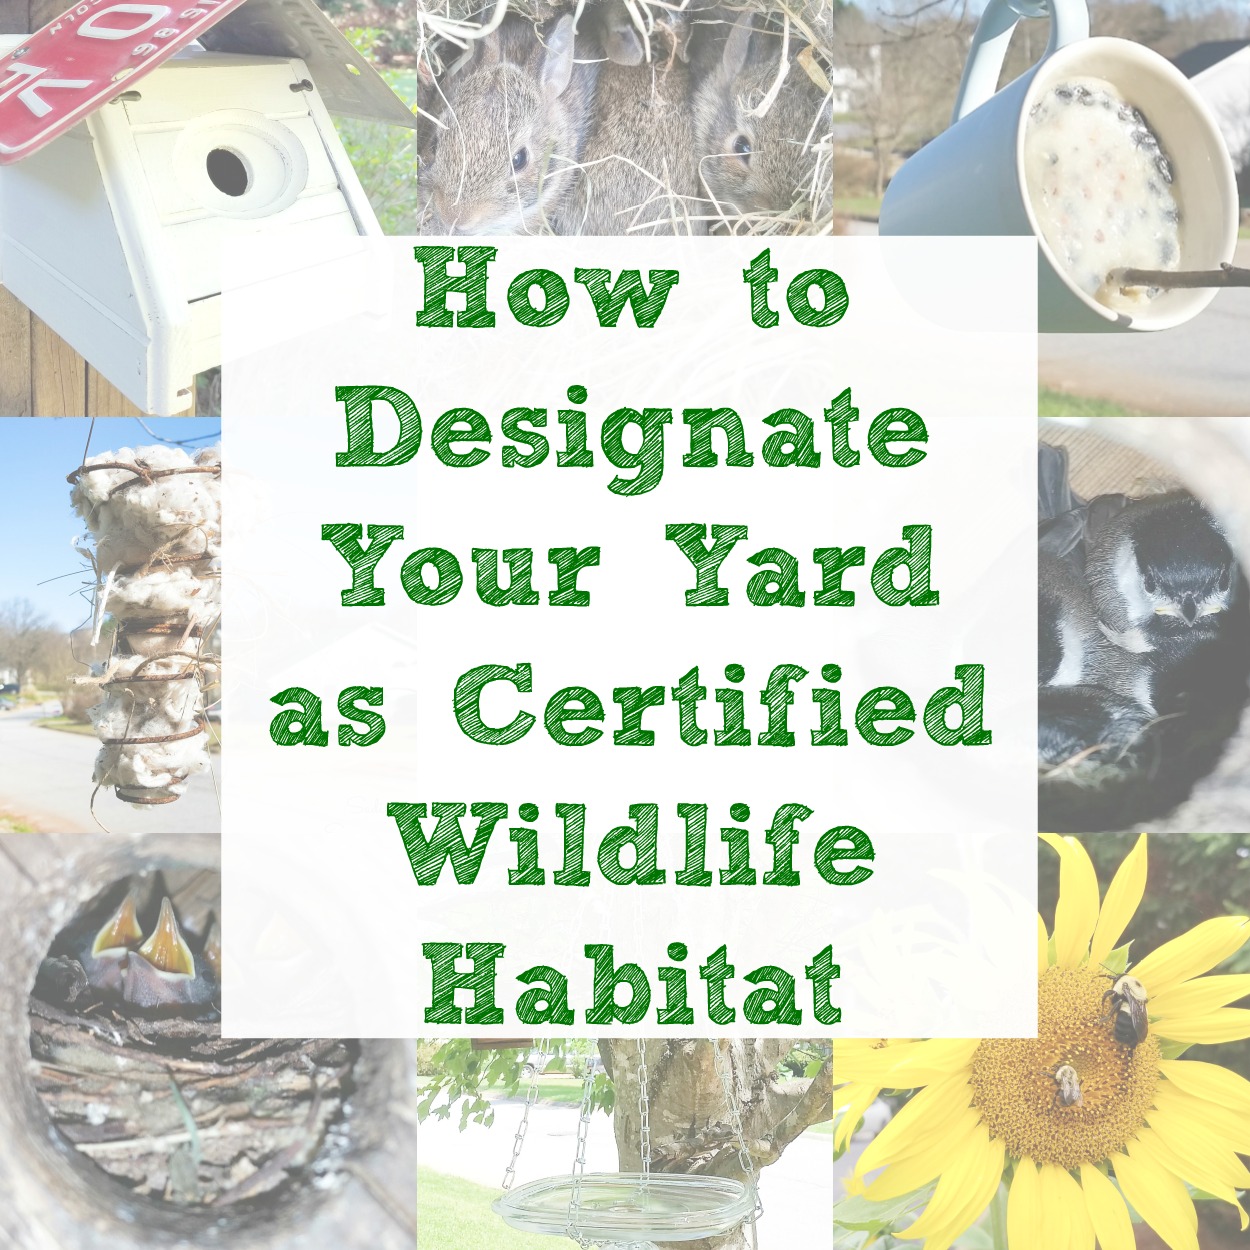
And if you enjoyed this upcycling idea for a wren bird house, then you may also be interested in getting your yard officially designated as Certified Wildlife Habitat!
Craft on!
S
Want to be notified when I publish my next upcycling project tutorial?
Join me on Social Media:
PIN ME!
Sarah Ramberg is the owner of Sadie Seasongoods, a website that celebrates all things secondhand. From upcycling ideas and thrifted decor to vintage-centric travel itineraries, Sadie Seasongoods is a one-stop shop for anyone who loves thrifting and approachable repurposing ideas. Sarah is also the author of “Crafting with Flannel” and has been featured in numerous media outlets and magazines.







Would you happen to have any advice on how to put together one of the birdhouses that attach to your window so you can watch them nest? I’m not sure about materials to upcycle and my daughter wants one so bad. She’s even been working with our other animals to earn it. Could sure use your expertise on this one. Thank you for sharing your excellent new birdhouse.
The kind that attaches to the glass with suction cups? I actually don’t like those because I’ve had suction cup feeders fail and fall to the ground…which is ok if it’s a feeder, but I would be devastated it it was a house with a nest and eggs/chicks inside.
Adorable!!!
Thank you, Karen!
as always, another clever redo! charming birdhouse, most especially because of where it all started.
Aww, thank you so much!
Since I am nuts (!) about birds and other wildlife in my yard, this is absolutely my favorite. Now I will look for same type of box!! Thanks for the idea.
Is your yard Certified Wildlife Habitat?? I have a blog post on it, but sounds like you’d probably qualify!
That is the most unique use for your tissue box. It turned out so well. Keep up the creative work., enjoy all your projects.
Thank you so very much, Charleen!
It turned out so cute! The next time I am in the thrift store I am going to buy everything I see, because I know you will inspire me on how to repurpose it haha 🙂
It would NOT be the first time I was jokingly referred to as a hoarding enabler. 😉
Such a great vision for a wooden tissue box and love the “red” license plate roof! As always, you amaze me with your creativity, Sarah 🙂
Awwww, thank you, Marie!
Look at you go girl, this is just the sweetest birdhouse. I love your red and white color scheme, and I’m certain your feathered friends will too! I have never seen a tissue cover like that, so now. . . I must search, let the quest begin! LOL
Thanks, Kaycee!! Someone on the FB page said it was part of a canister set and not a tissue box…which is bewildering to me, but she swears up and down that it’s just missing the plexi behind the opening. What do I know? LOL
Sadie, what a great birdie house! Very inspired and cute. I hope it has tenants soon!
Thank you so much, Naomi!
What a perfect way to reuse a Kleenex box holder. I do need more birdhouses! Next trip to thrift store I will have to keep that in mind. Maybe I can come up with something cool to turn into a birdhouse.
Do you have anymore suggestions if we don’t have a wooden tissue box to use if we made a house out of paint stirrers would that be strong enough for the wrens?
I’ve never built one from scratch or used paint sticks to build one. Most bird houses are made of wood thicker than paint sticks, though- I’d be worried that the stirrers wouldn’t be strong enough against wind and rain or provide the kind of insulation that stronger wood would provide.
Really love this project and will now be on the lookout for a wooden tissue cover (or whatever it is!). I have the perfect place for another birdhouse…
Yay!!! Happy hunting, Amy!
This is just brilliant!
Thanks, Meg!