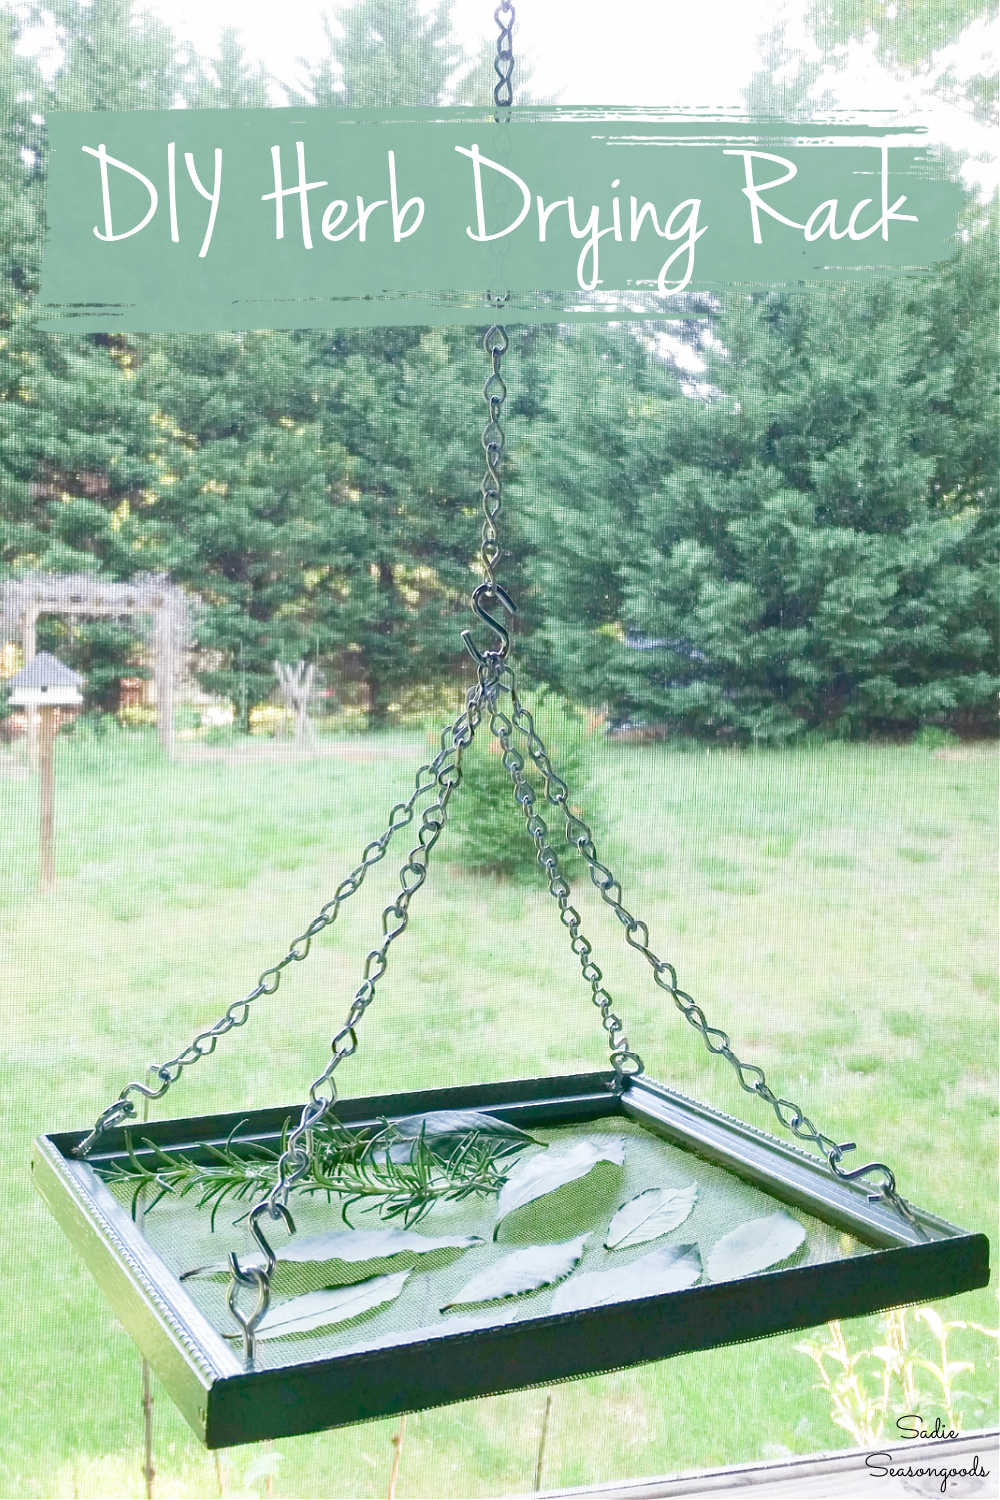
I love to upcycle items that are SUPER common at thrift stores, and picture frames fall into that category. There are endless options and the price point is (usually) ideal. This time around, I decided to create a DIY herb drying rack that is perfect to use with your fresh garden herbs!
Like I said, picture frames are a thrift store staple, and the only requirement for this project is that I picked a wood frame.
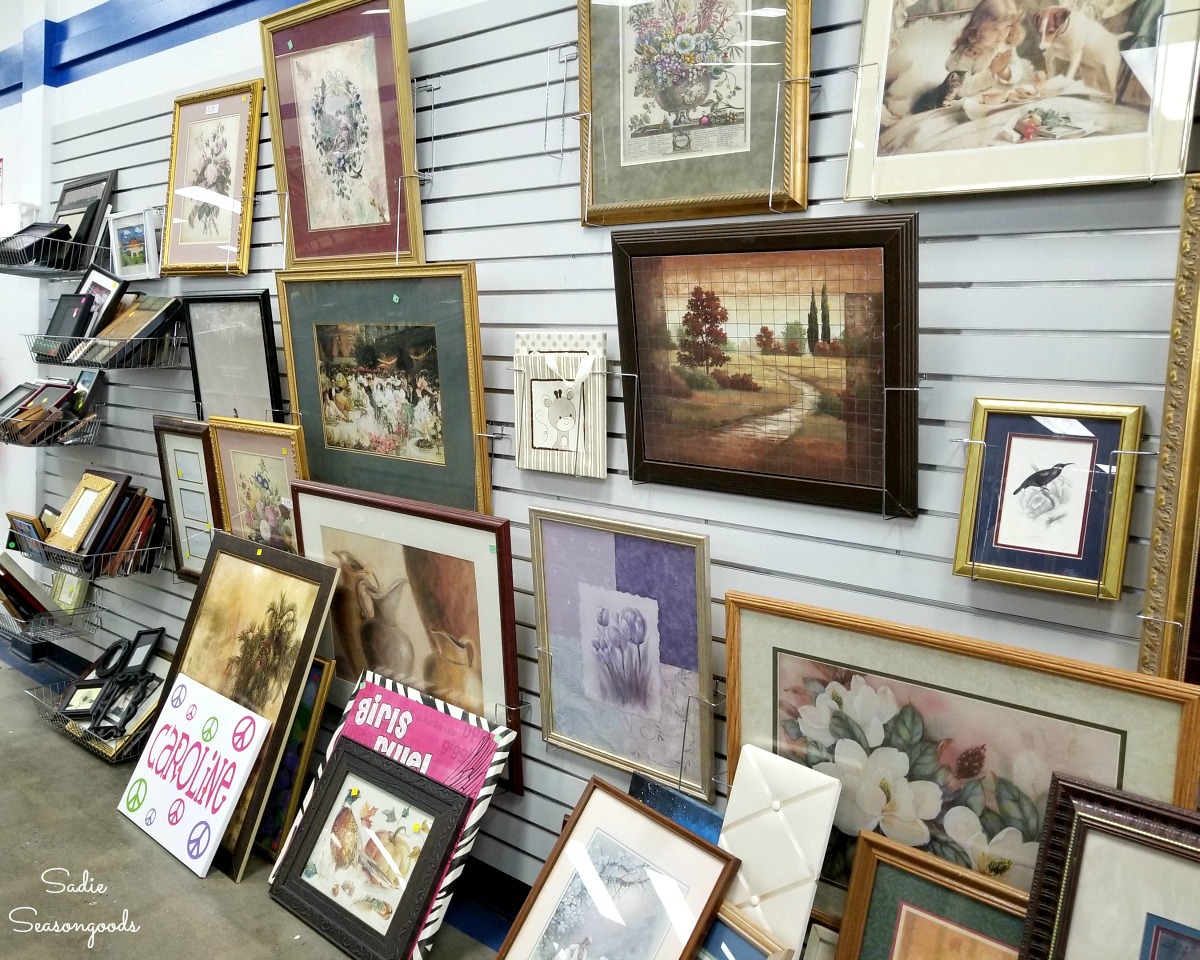
I bought one from a local thrift store that was 8”x 10” in size.
But I can honestly say that size doesn’t matter in this project – just the fact that it’s a wood frame matters!

Once I had my wood frame picked out, I then gathered the other supplies I would need.
This post contains affiliate links for your crafting convenience. As an Amazon Affiliate, I earn from qualifying purchases. All blue, bold, and underlined text is a clickable link, either to a product or to a related post.
Building a DIY Herb Drying Rack
In addition to the wooden picture frame from the thrift store, I also assembled the following supplies:
- Window screen
- Scissors
- Staple gun
- Hardware (eye screws, S-hooks, chain)
- Spray paint (optional- but good if you’re leaving this outside)
- Drill (for pilot holes)
After removing the cardboard backing, photos, and glass from the frame, I painted it- of course!
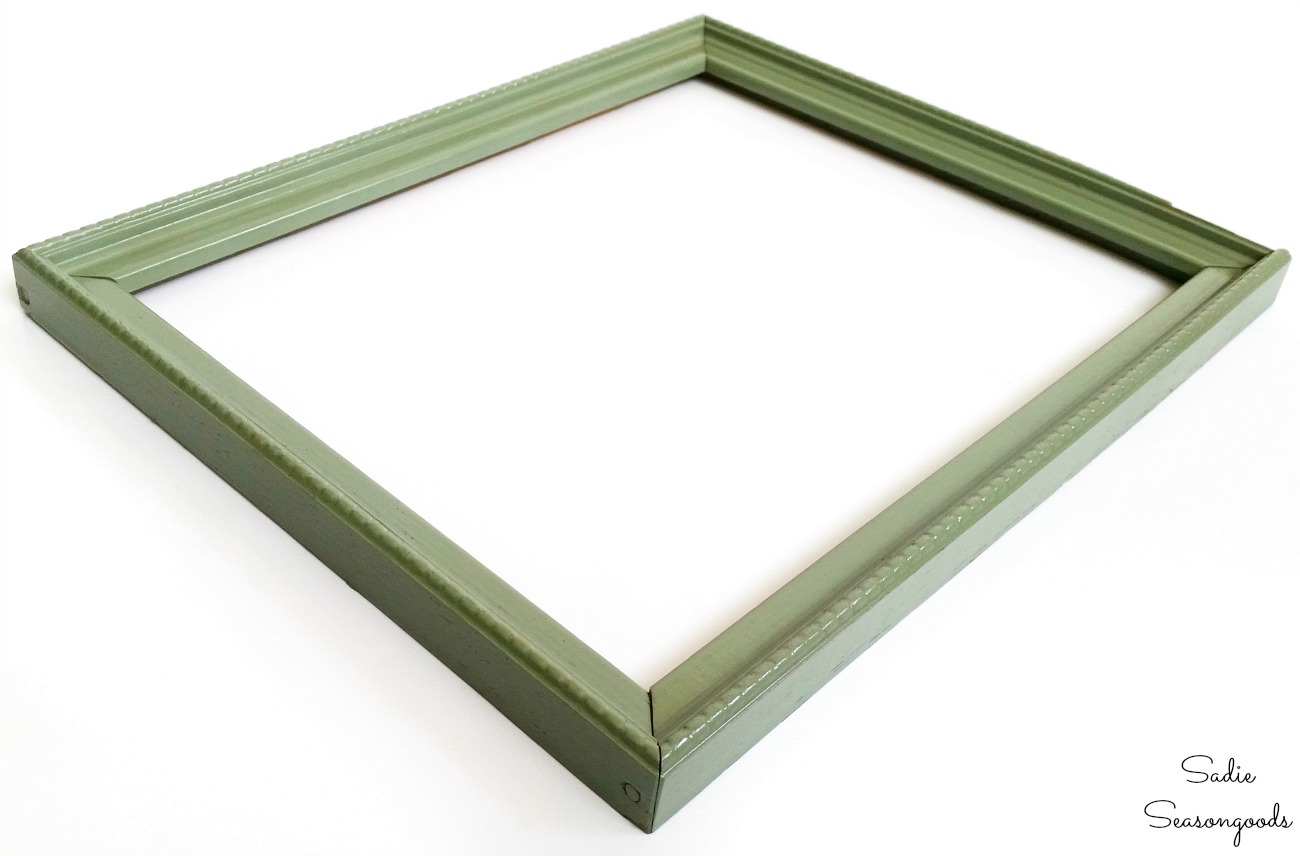
Using an indoor/outdoor spray paint and a coat of sealer was important since I live in the humid south and this project will be living on our back porch.
Then, I laid some inexpensive window screen across the back and cut a rectangle a good ¾” (or so) longer/wider than the frame.
I had extra leftover from this project, but you can find it on the cheap at home improvement stores.
Next, I folded over the edges, pulled it taut, and staple-gunned the screen to the back of the wood frame.
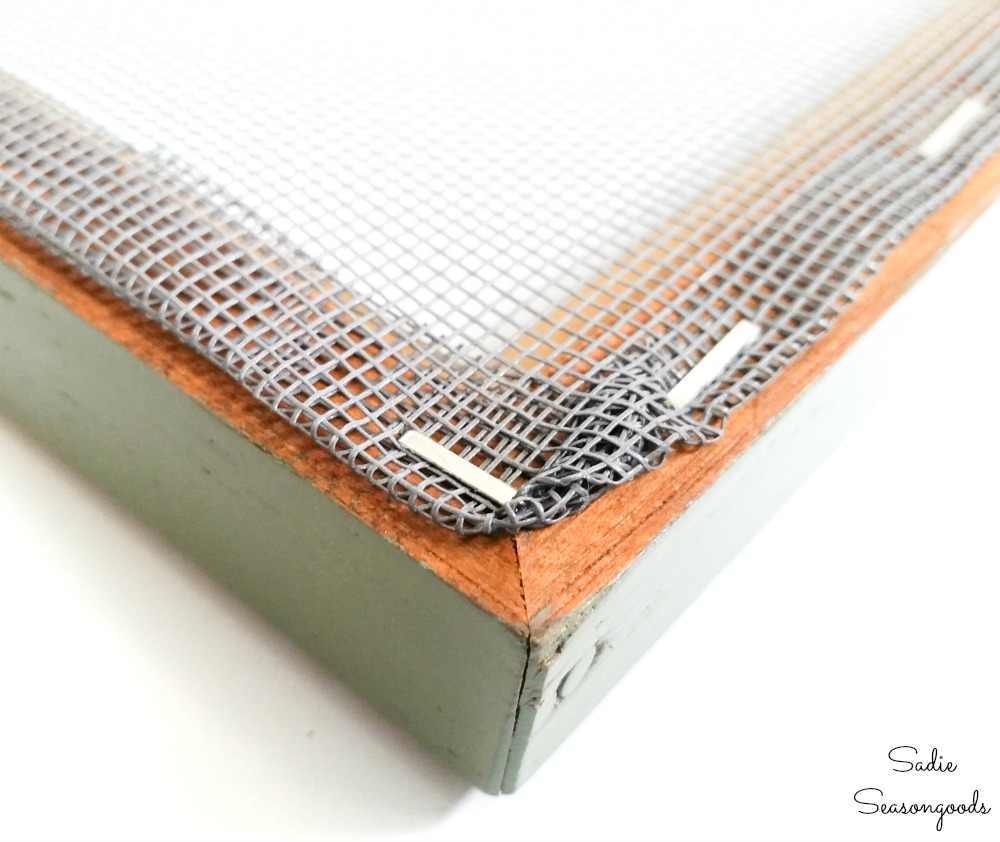
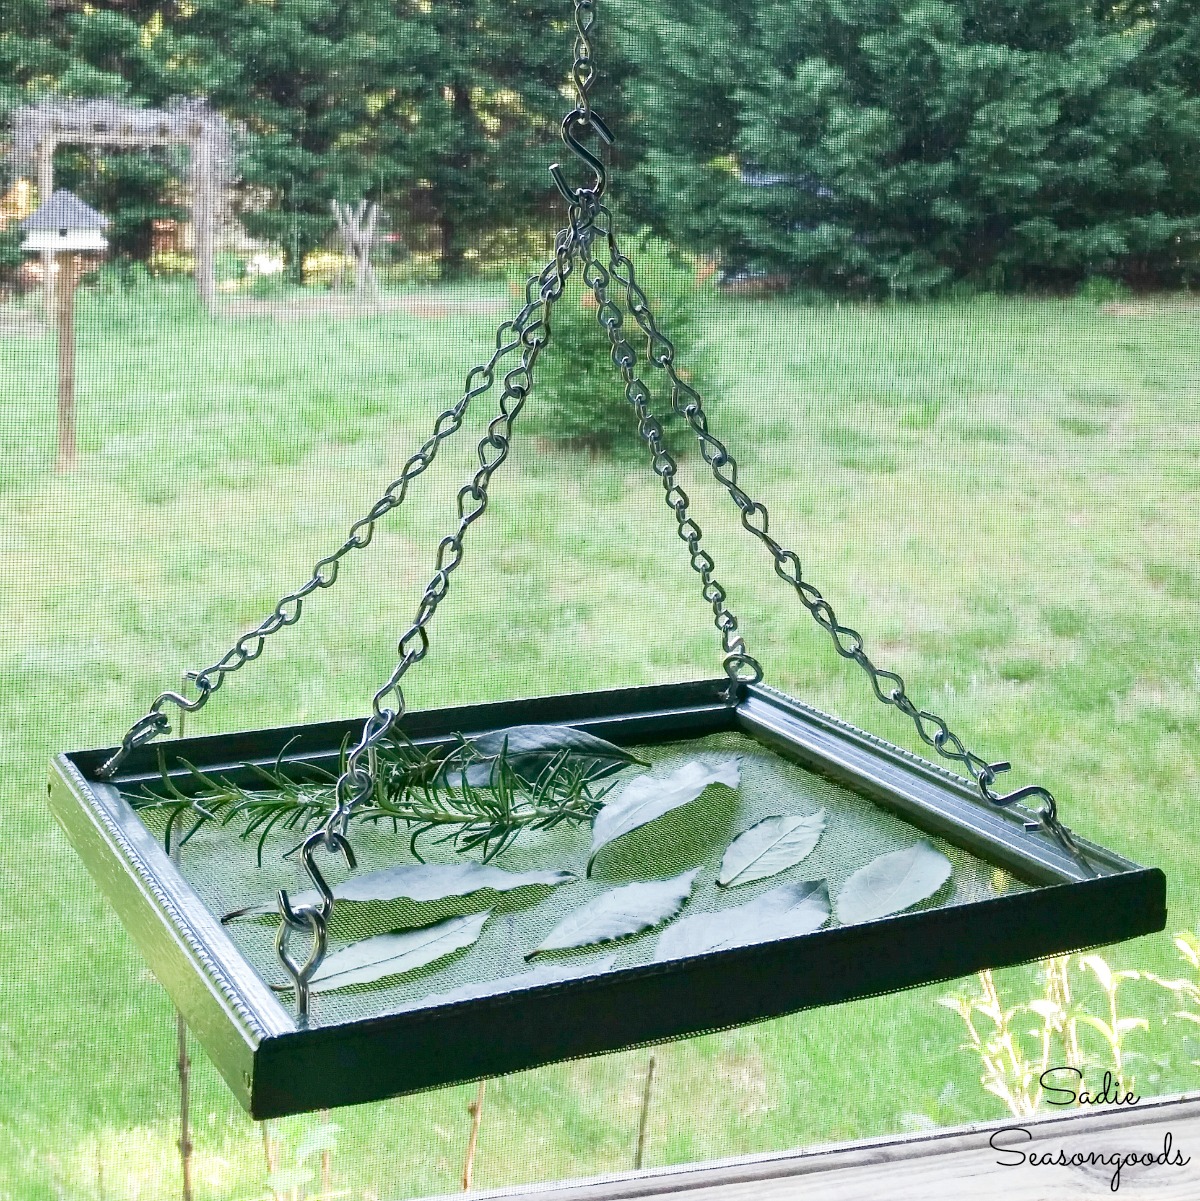
The screen mesh will allow air flow on either side of your fresh herbs which is crucial for the dehydrating process!
Next, I screwed in the eye screws at each corner of my wooden picture frame, angling them inward.
And yes, I wished I had had smaller, more delicate eyes for this frame…but y’all know I try and use supplies I already have on hand!
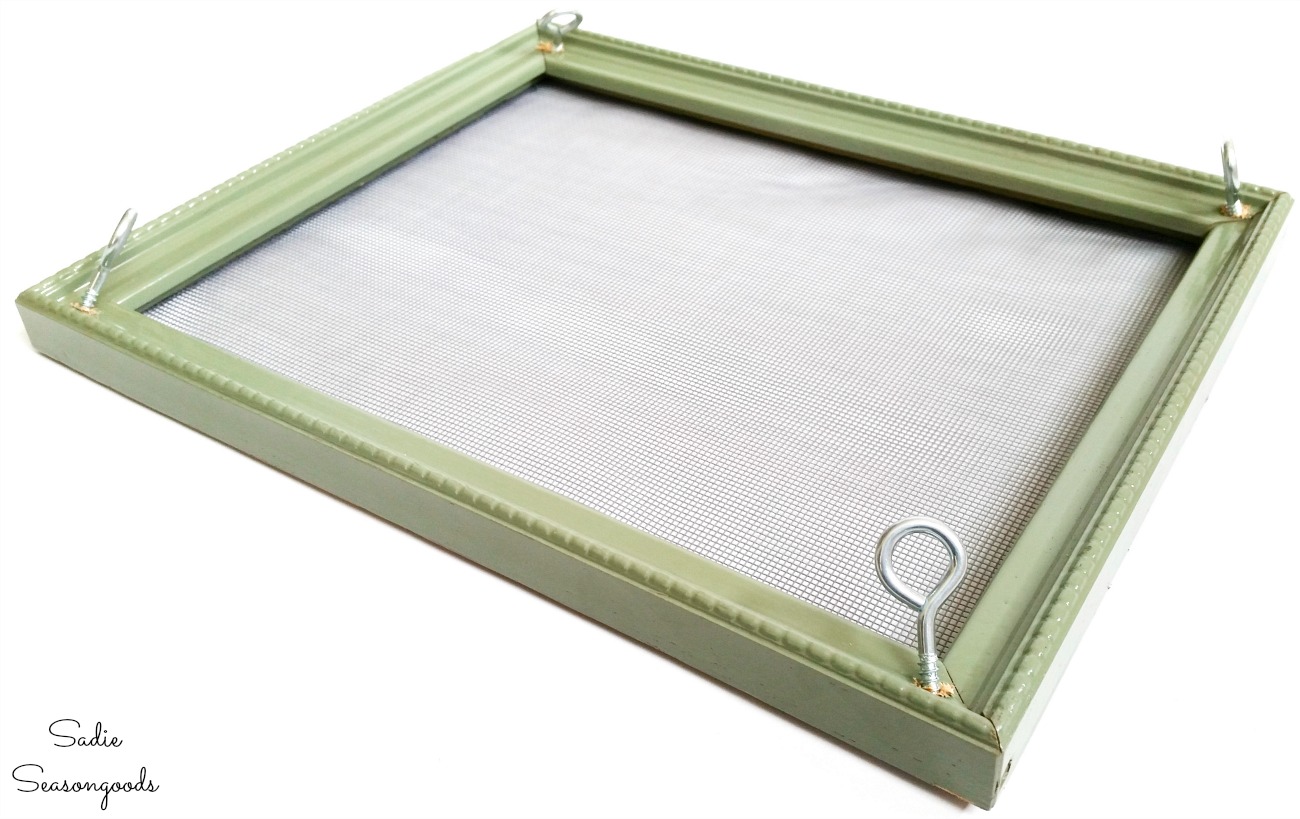
I fitted each eye screw with an S-hook and two shorter lengths of chain, overlapping crosswise from corner to corner, like a large “X”.
Then, I used a larger S-hook to gather the “X” chains in the middle, hooking them a longer length on that same S-hook for hanging from the porch ceiling beams. Now I officially had a DIY herb drying rack!
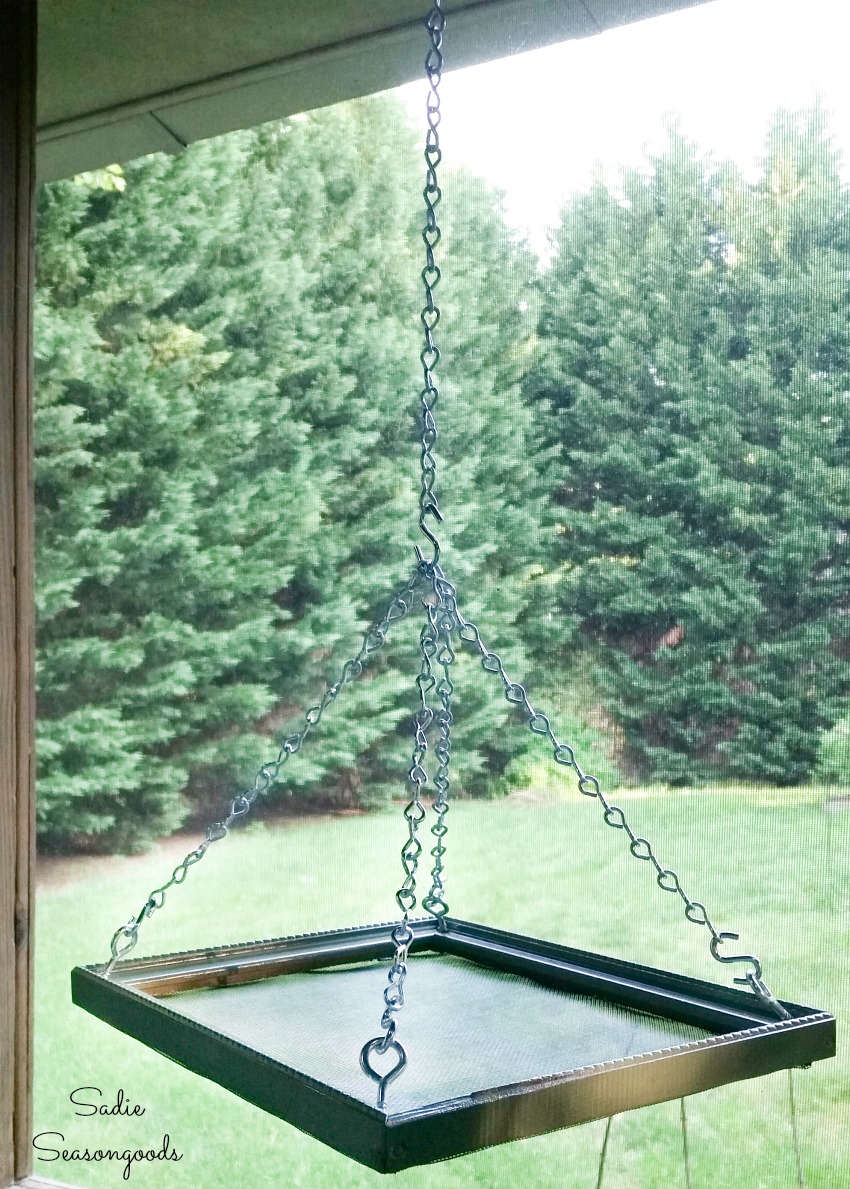
DIY Herb Drying Rack from a Repurposed Picture Frame
It worked like a charm and I couldn’t wait to begin dehydrating herbs from my garden.
We have an out-of-control rosemary busy and I’ve always wondered about drying some of it. And now I can actually do it!
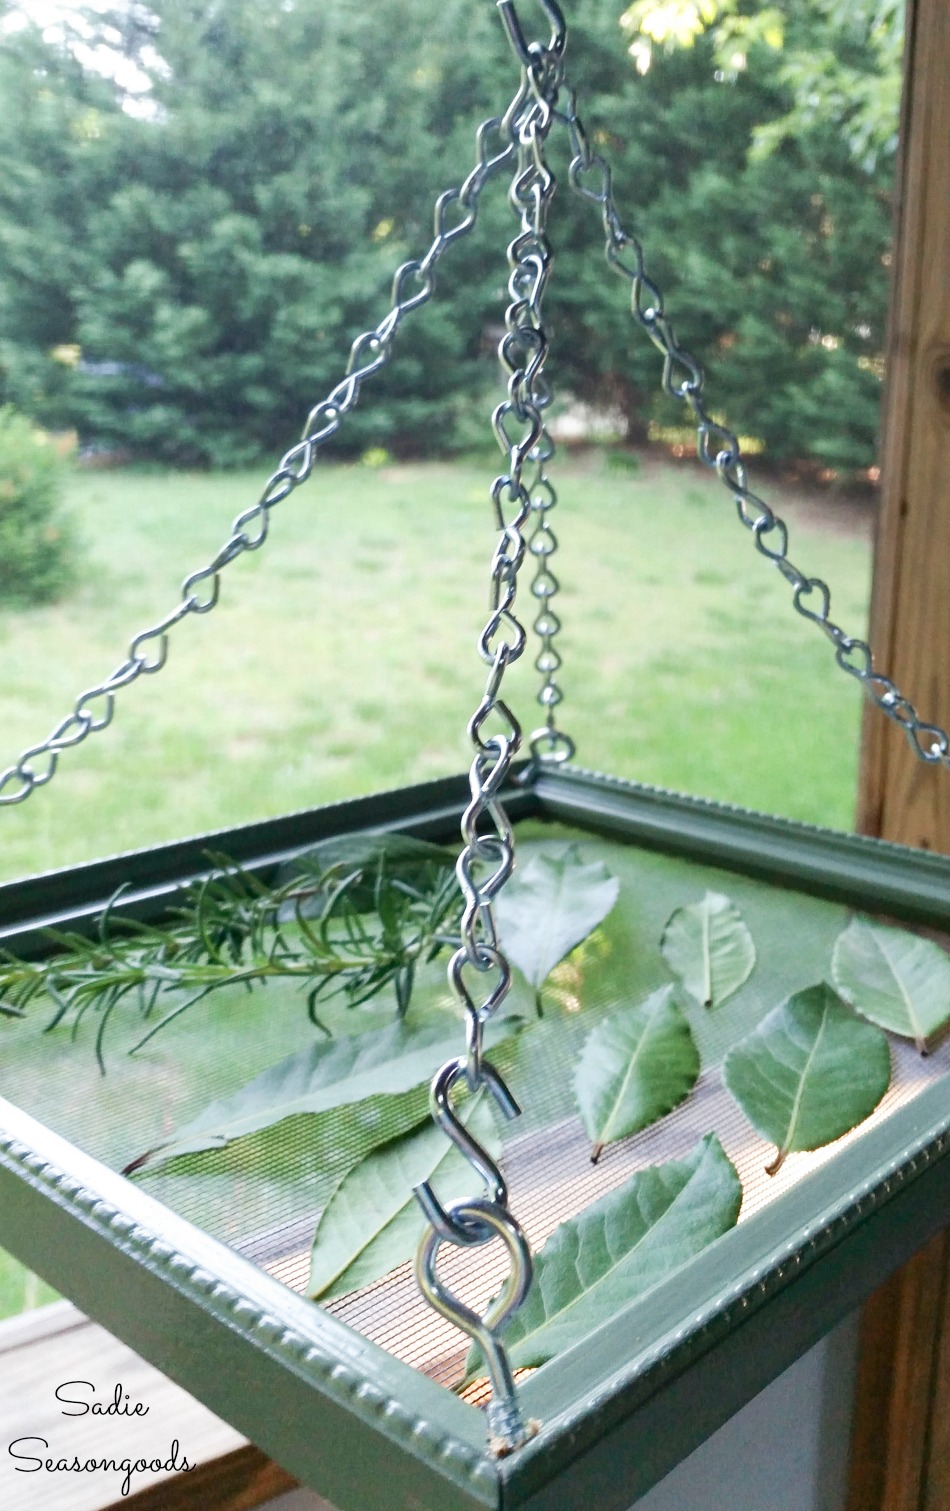
I also found some fresh bay leaves at the store and decided to dry those, too! I love that I won’t be wasting any of the fresh herb I get at the grocery store now.
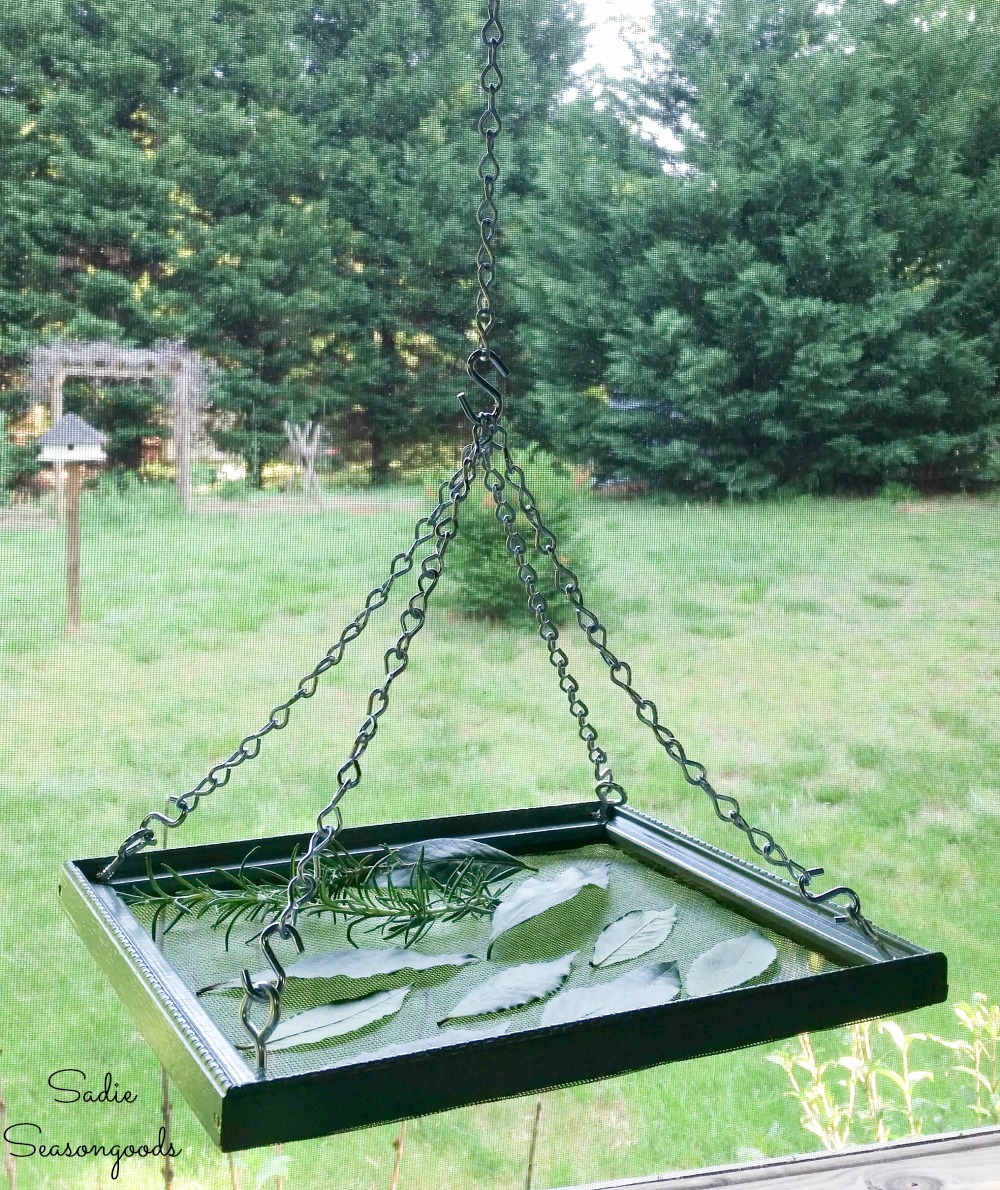
How fun and easy is that? A DIY herb drying rack with a repurposed picture frame!
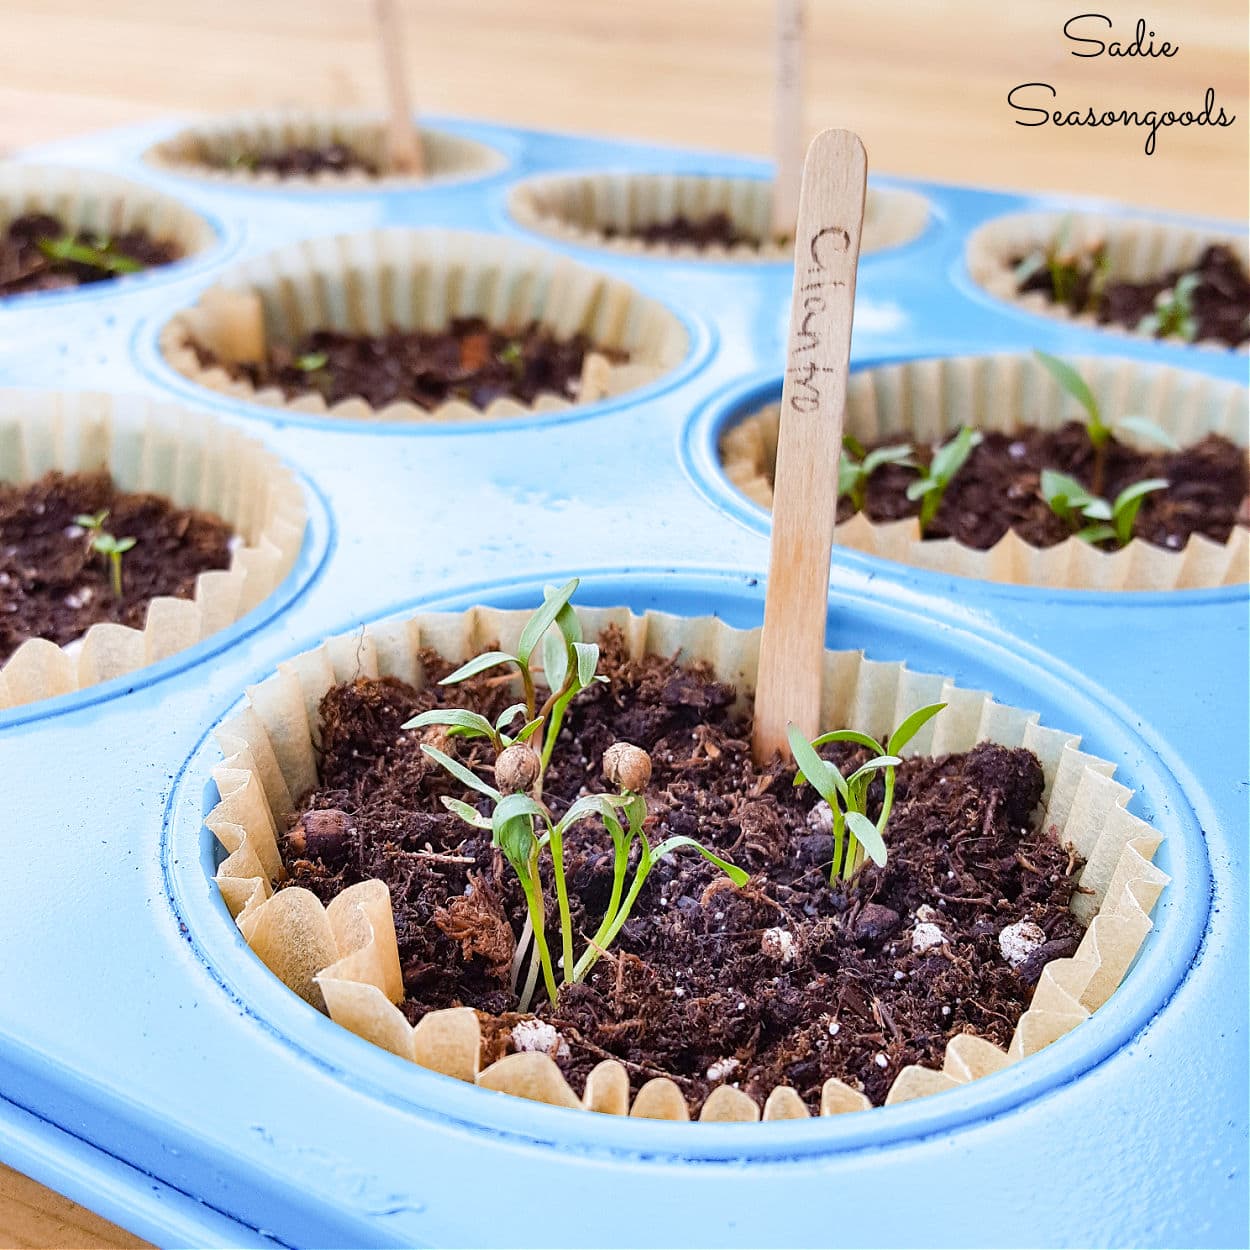
If you enjoyed this upcycling idea for drying herbs, then you may also enjoy this upcycling idea for growing herb plants from seed!
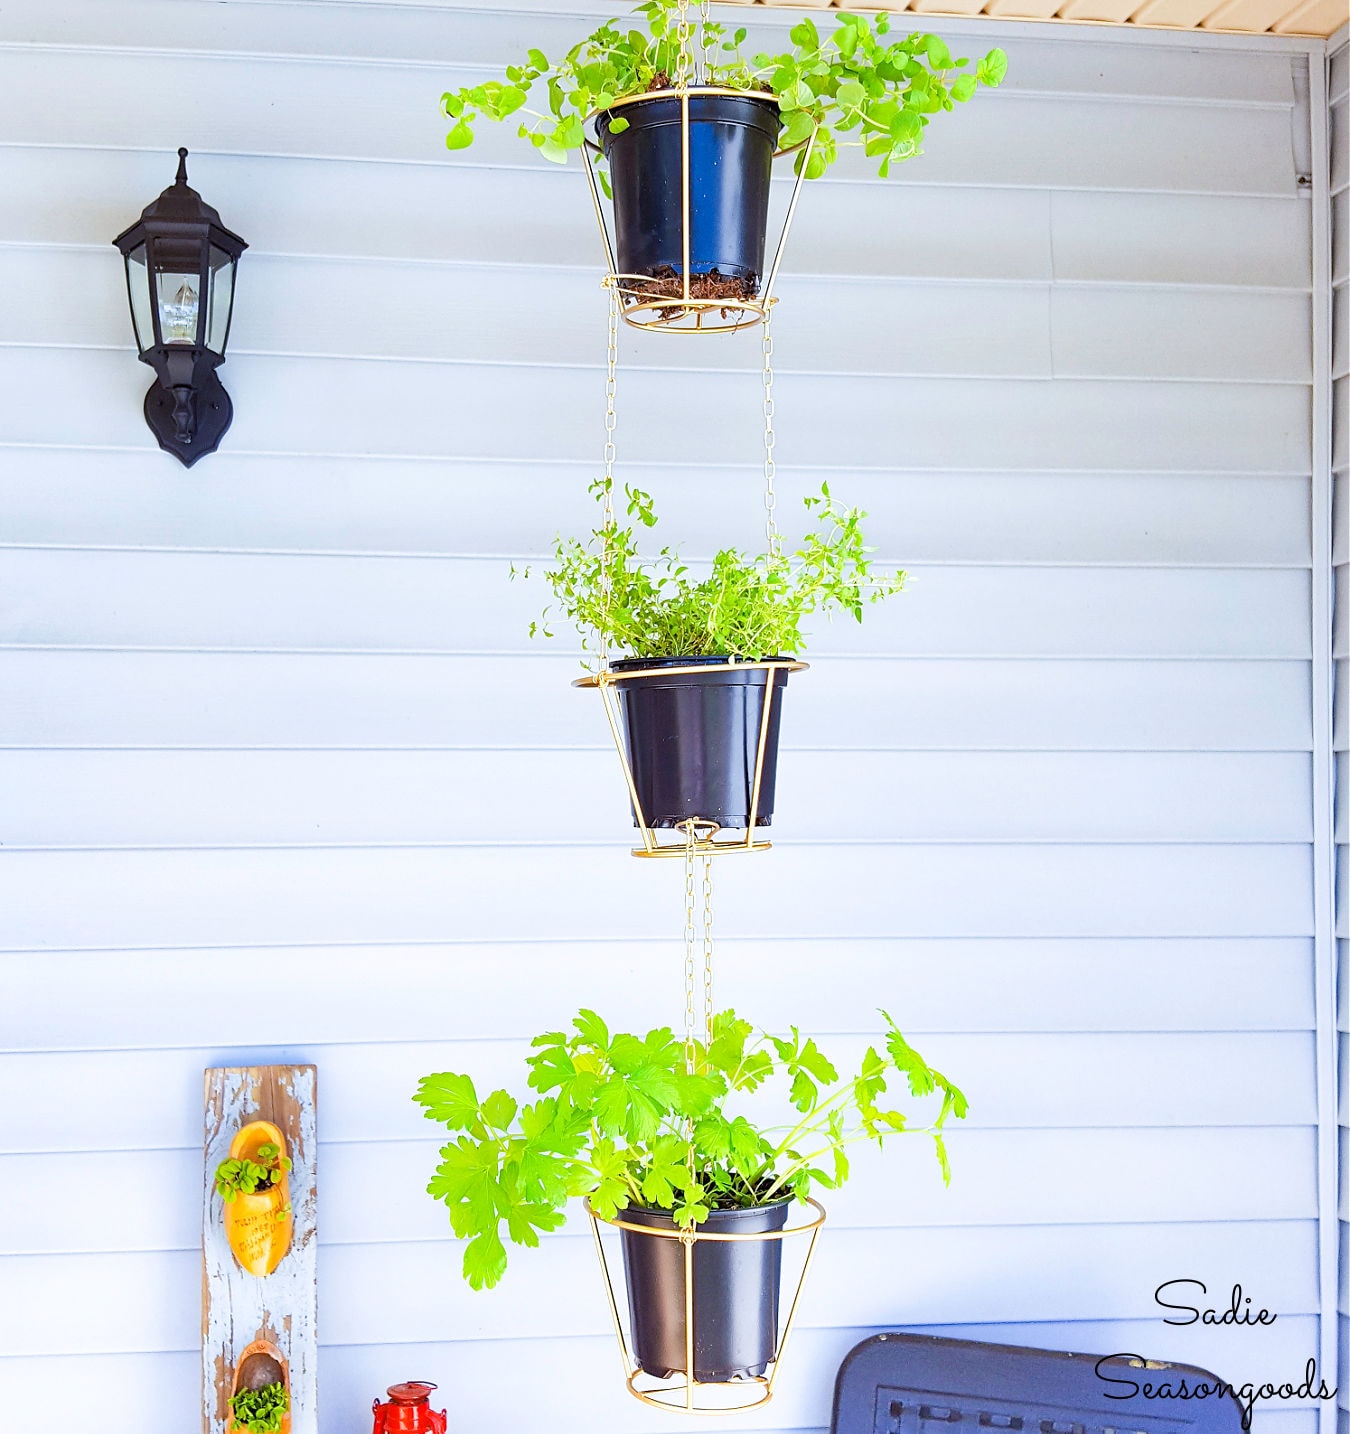
Want another upcycling idea for your summer herbs? This hanging herb garden made with mini lampshades is a PERFECT addition to your porch!
Craft on!
S
Want to be notified when I publish my next upcycling project tutorial?
Join me on Social Media:
PIN ME!
Sarah Ramberg is the owner of Sadie Seasongoods, a website that celebrates all things secondhand. From upcycling ideas and thrifted decor to vintage-centric travel itineraries, Sadie Seasongoods is a one-stop shop for anyone who loves thrifting and approachable repurposing ideas. Sarah is also the author of “Crafting with Flannel” and has been featured in numerous media outlets and magazines.



Sadie, this is genius. I have just begun “herbing” seriously. I have to make one.
Awesome, Val! Let me know how yours turns out!
Thank you so much for stopping by The WeekendSocial Link Party over at KitchenDreaming. Hope to see you next time!
What a great repurpose! I too have a “stash” of thrift store frames and now I know what to do with at least one of them! Thanks for the idea!
Thanks, Mary! Yes, I love mine and it is so easy to do!! Let me know how yours turns out!!
Great idea and so pretty too. I love re-purposing thrift store finds.
Thank you so much! YES, same here- love upcrafting thrift store treasures. Definitely a Sadie Seasongoods staple. 🙂
This is awesome last summer I ad bunches of basil hung all over the laundry room and kitchen . I’m sure I have an old picture frame floating around.
And if you don’t have an old frame, you should be able to score one cheaply ($1-$2) at a thrift store!!! Let me know how it turns out for you!!
That is too darn cute! Hope you don’t mind if I copy that!
Not at all- copy away! It’s a great remix of an old picture frame…and perfect for our summer gardening bounties!!
Just wanted to stop my and let you know that I loved your drying rack (and will most likely be making one of my own in the near future) and am featuring it on The Weekend Social #21. Please feel free to stop by and grab a button http://thequestionablehomesteader.com/weekend-social-21/
Can’t wait to see what you share this week.
Thanks, Ricki!!! I tried to use the code for the “I was featured” button on my page, but it didn’t work. Maybe it’s me?
This is just so awesome! What a great idea! Pinned! Found at Showlicious linky. Have a great weekend.
Thanks, Rachel!! It’s super-easy to do and ridiculously functional…good luck and let me know how yours turns out!
Poor little kiddies! But good for you for rescuing the frame! Thanks so much for sharing at Show-Licious Craft & Recipe Party! Pinning to our Party Board!
~ Ashley
Got to love all those frames from Goodwill! I love how this one’s been transformed into a drying rack for herbs! It’s being featured on my Show-Licious Craft & Recipe Party this morning!
Awesome, Ashley- thanks! Do you have an “I was featured” button code I could add to my page?
We just planted a bunch of basil–my favorite herb–and this would be awesome to have when the basil is ready! I kinda feel sorry for the grand kids, though. 😉 Thanks for sharing at Snickerdoodle Sunday! 🙂
I love this, especially nice for smaller herbs! Very creative. Thank you for sharing with us at Snickerdoodle Sunday!
Robin
Great idea! I have a couple frames hanging out waiting for a craft project 🙂 Thanks for sharing with us!
Great way to use an old frame and make something functional/useful out of it. Thanks for sharing on Merry Monday.
Thanks, Erlene!!
I love this idea! Thank you for sharing this post at City of Creative Dream’s City of Links last Friday! I appreciate you taking the time to party with me. Hope to see you again this week 🙂
What a great way to repurpose! Sharing this!
Super cool idea! I love drying our own herbs. 🙂
Another fun idea! I love drying herbs. I just bundle them and hang them, but this is another fun way. Thanks for sharing with SYC.
hugs,
Jann
I absolutely love this idea! Thank you so much for linking up to Friday Favorites. We hope you will join us again this week. Michelle OurCraftyMom
Brilliant idea! My cat would not be able to get to them here, which would be good LOL Thanks so much for taking the time to link up with us over at the #HomeMattersParty – we hope to see you again on Friday 🙂 Feel free to bring a friend or two!
Thanks, Kristen!
This is a great project. Perfect for this time of year. Pinned & shared. Thanks for sharing at the party.
You always have the best ideas! This looks like a piece of artwork and it’s functional! Bravo! Thanks so much for linking up!
luv this idea!! If you don’t paint the frames what would you suggest sealing them with??
Any polyurethane would work, Kathy!
Super thanks for the reply!!!
Such a nifty idea! I now have a way to dry my magnolia leaves ?
Yes!!! Perfect for leaf wreath making! 🙂
That’s a great idea!
Thank you!