Last year, I was on one of my regular thrifting “adventures” when I came across a brass trivet of a turkey. It didn’t look very old and was missing a few rubber feet on the underside. But, I picked him up because I thought he might be the perfect centerpiece for a Thanksgiving wreath.
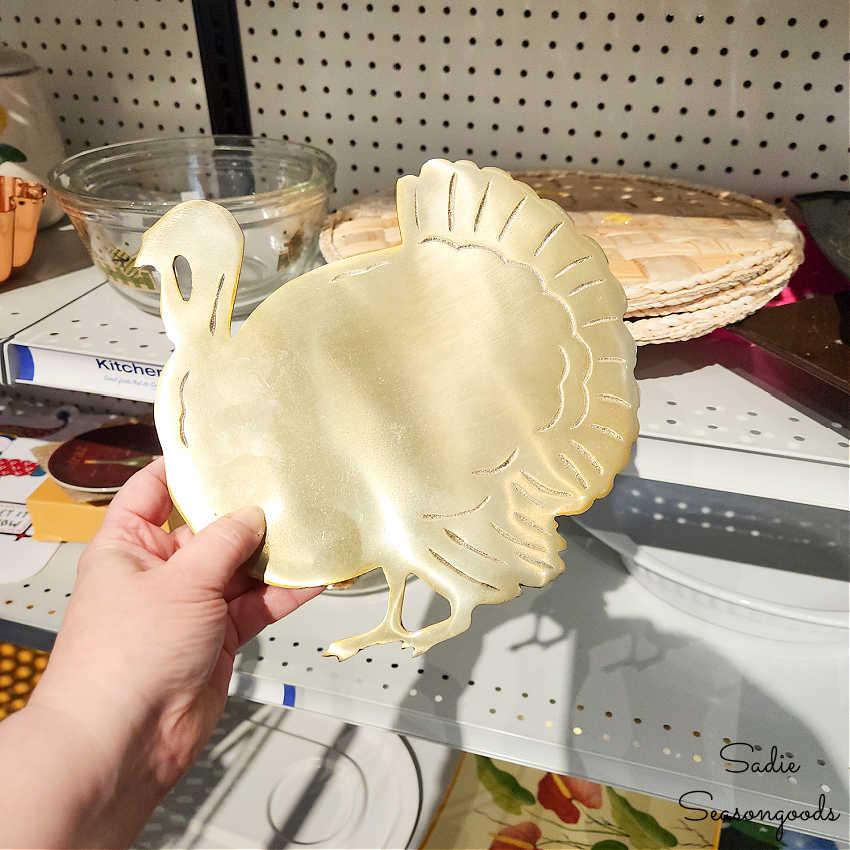
Image credit: Sadie Seasongoods.
Now, truth be told, a wreath might not have come to mind so quickly had it not been for what else was on that same shelf. Behind my hand as I held the brass trivet…
A stack of round woven placemats (or chargers?)!
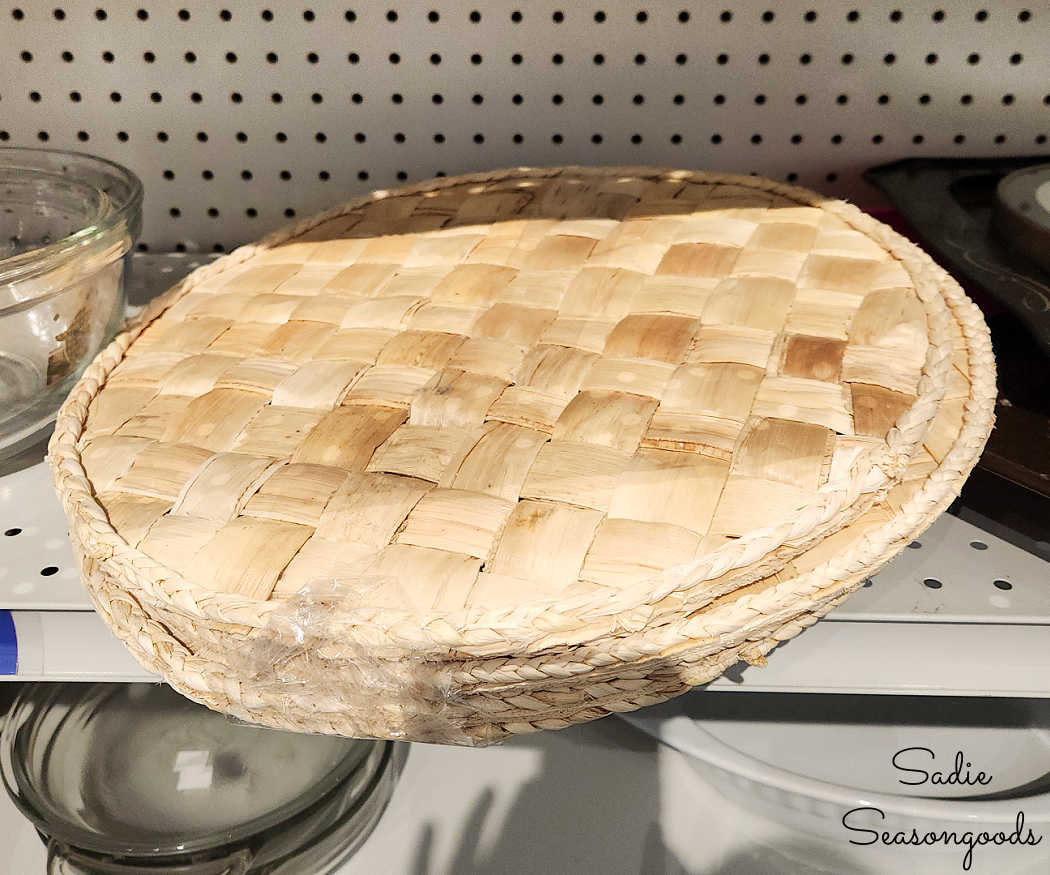
Image credit: Sadie Seasongoods.
They were the perfect size for a front door wreath and the texture/color reminded me of dried corn husks. And, well, the brass turkey trivet was a good size to pair up with one of the placemats/chargers.
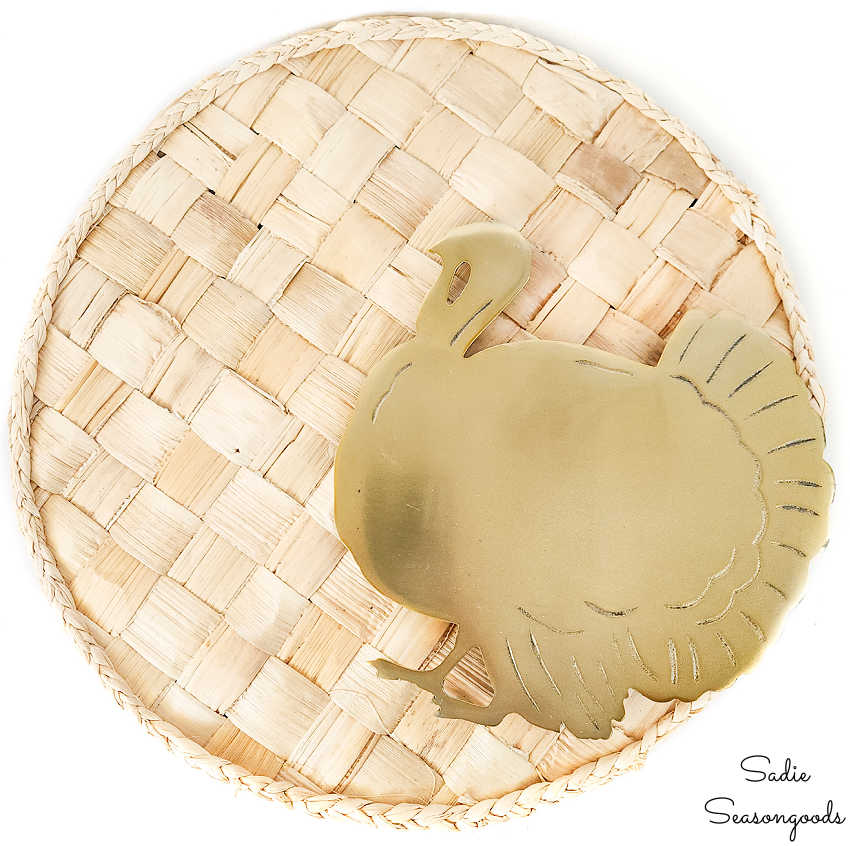
Image credit: Sadie Seasongoods.
So, I brought them both home and stowed them away until now. I literally set a calendar reminder a year in advance, reminding me of my idea and where I was storing them!
Ok- Ready to marry them together with me into a lovely wreath for Thanksgiving? Let’s see if my idea has any merit…
This post contains affiliate links for your crafting convenience. As an Amazon Associate, I earn from qualifying purchases. All blue, bold, and underlined text is a clickable link, either to a product or to a related post.
Attaching a Brass Trivet to a Thanksgiving Wreath
I really wanted the brass trivet to sit flush against the woven placemat, but I had those little trivet feet to deal with.
Here’s the underside of the brass trivet, so you can see what I’m talking about. I had zero desire to try and cut them off with a Dremel.
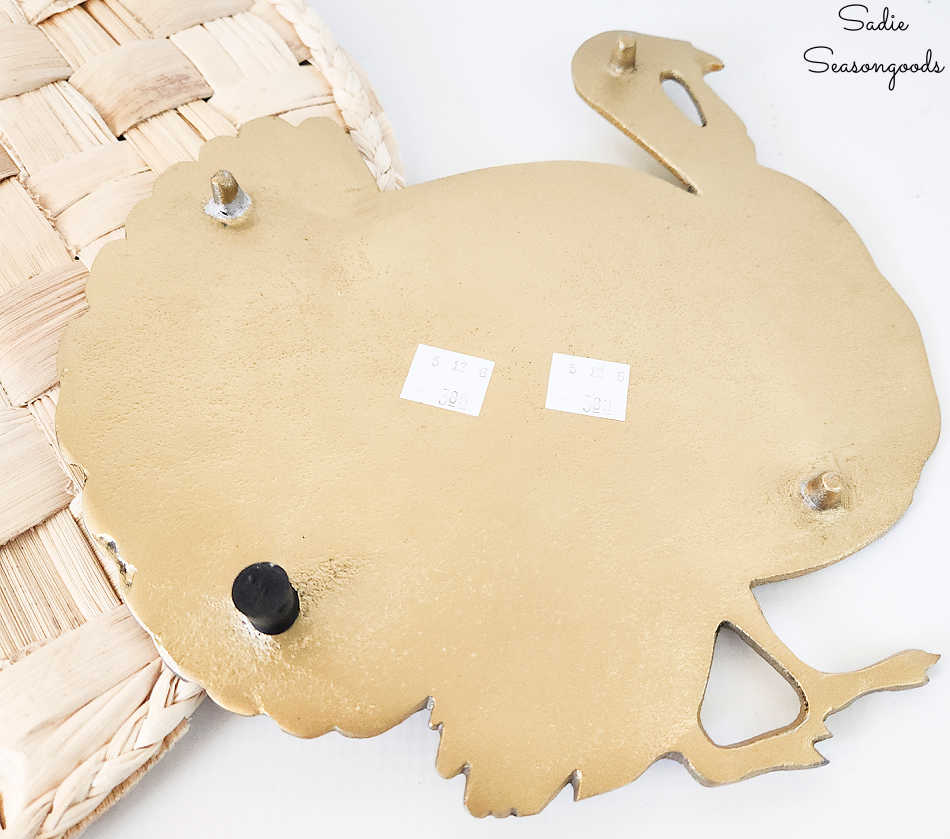
Image credit: Sadie Seasongoods.
If I couldn’t go over the mat, I needed to go through the mat! Basically, I needed to “drill” four little holes in the woven mat- without drilling, of course.
Popping holes in the mat was more like it.
First, I removed the sole rubber foot using a pair of pliers. It left a bit of residue, but otherwise came off. Then, I gathered some black craft paint and a coffee stirrer (small brush or toothpick would have worked as well).
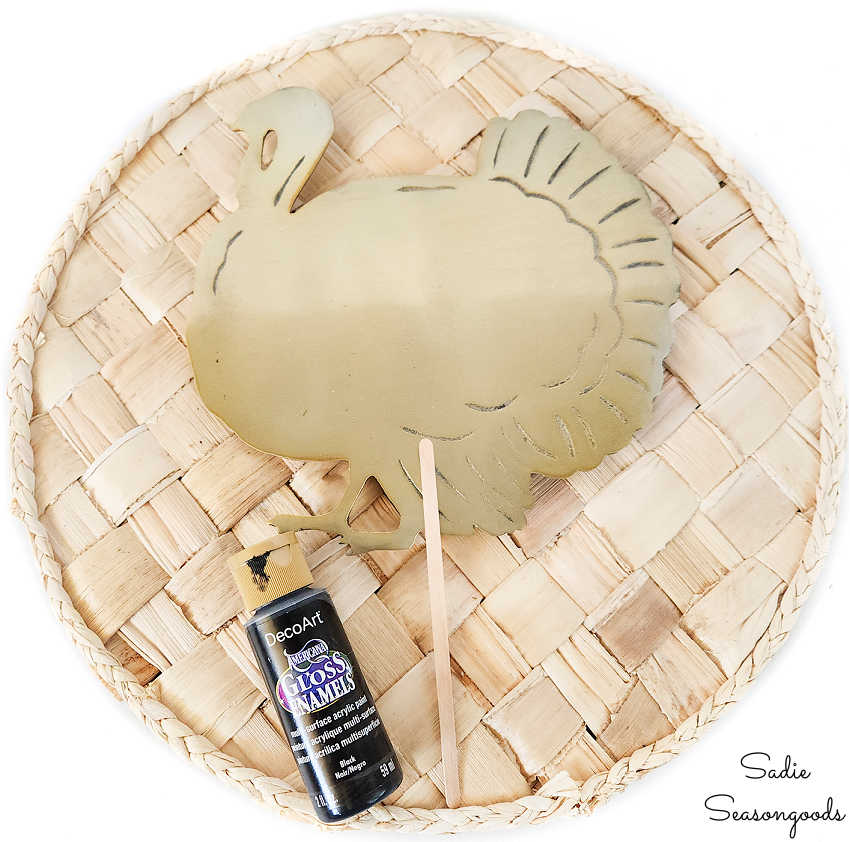
Image credit: Sadie Seasongoods.
Why? To mark the feet with black paint, place the trivet on the mat where I wanted it, and effectively mark the spots on the mat where I’d pop holes in.
So, I did just that…dabbed a bit of paint on the tips of each brass foot…
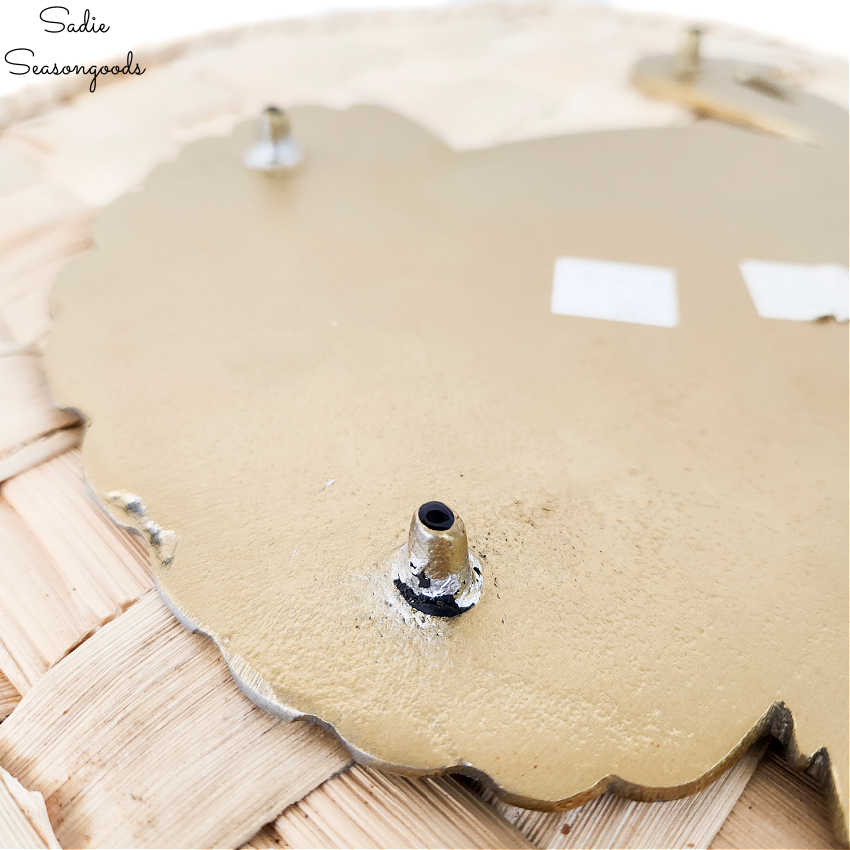
Image credit: Sadie Seasongoods.
And carefully set the trivet on the mat to mark the spots that needed to become holes.
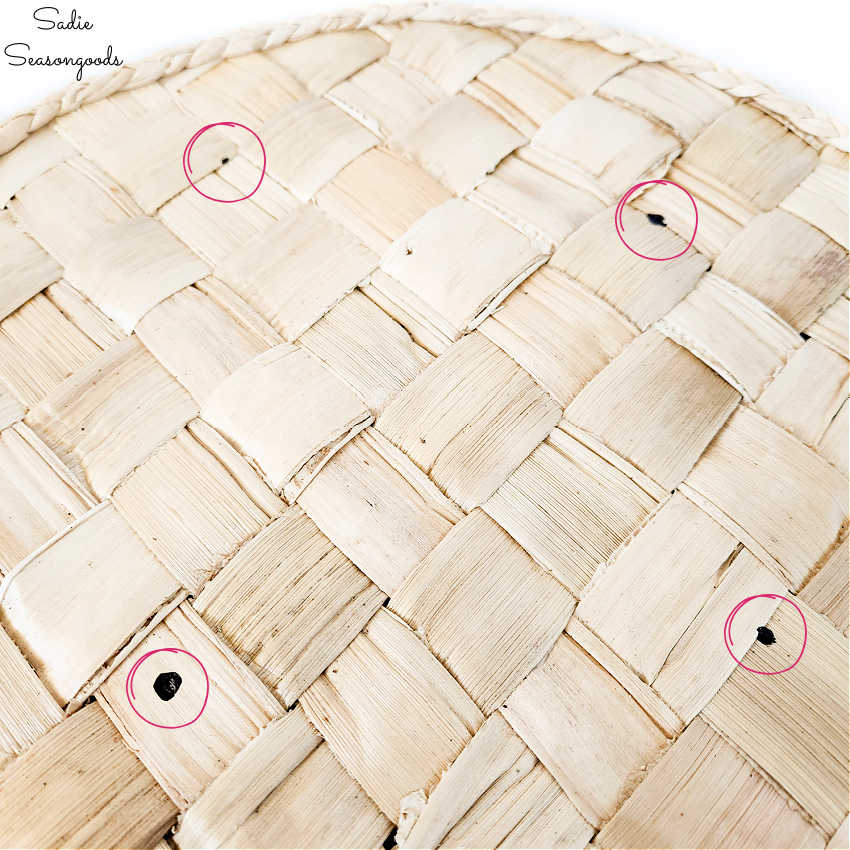
Image credit: Sadie Seasongoods.
Once the four paint spots had dried on the woven mat, I used a large nail (picked up in the street while our neighborhood was under construction!) to pop holes in. As well as a piece of scrap wood and my craft hammer to do it.
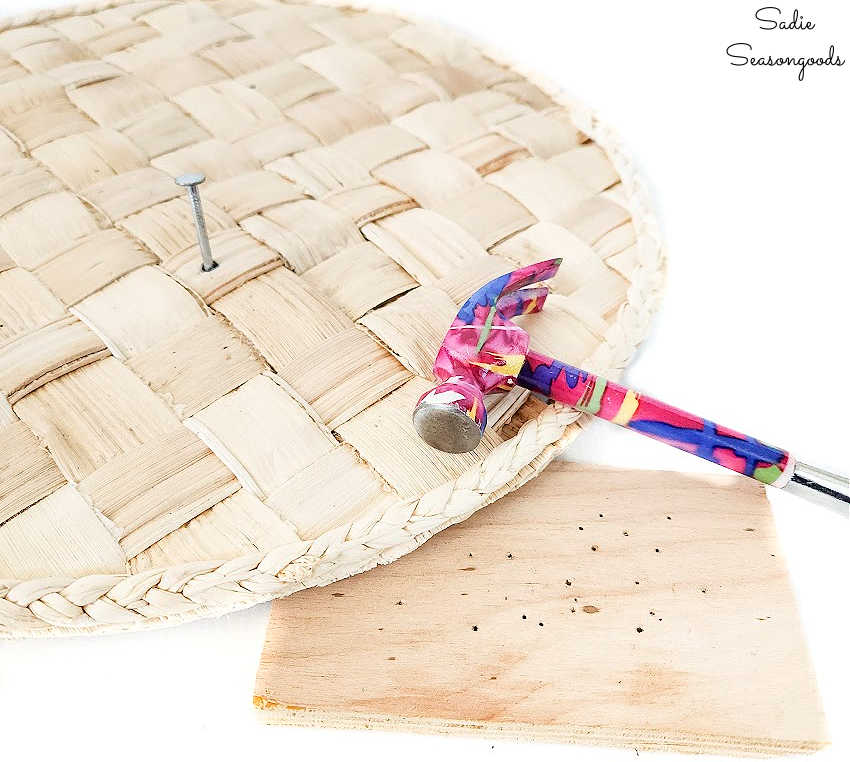
Image credit: Sadie Seasongoods.
When everything was said and done, I had 4 holes that lined up perfectly with the feet under the brass trivet!
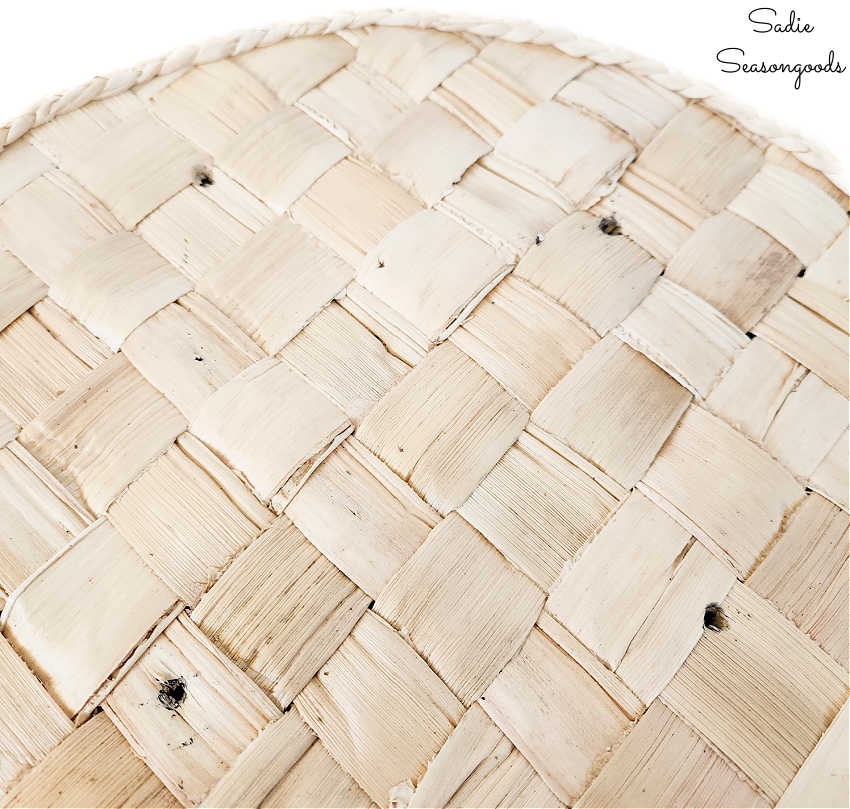
Image credit: Sadie Seasongoods.
Decorating a Thanksgiving Wreath
I double-checked that the turkey trivet “sat” in the holes and it did! So, I dabbed a bit of my favorite superglue across the underside and feet of the trivet and pressed it into the woven mat.
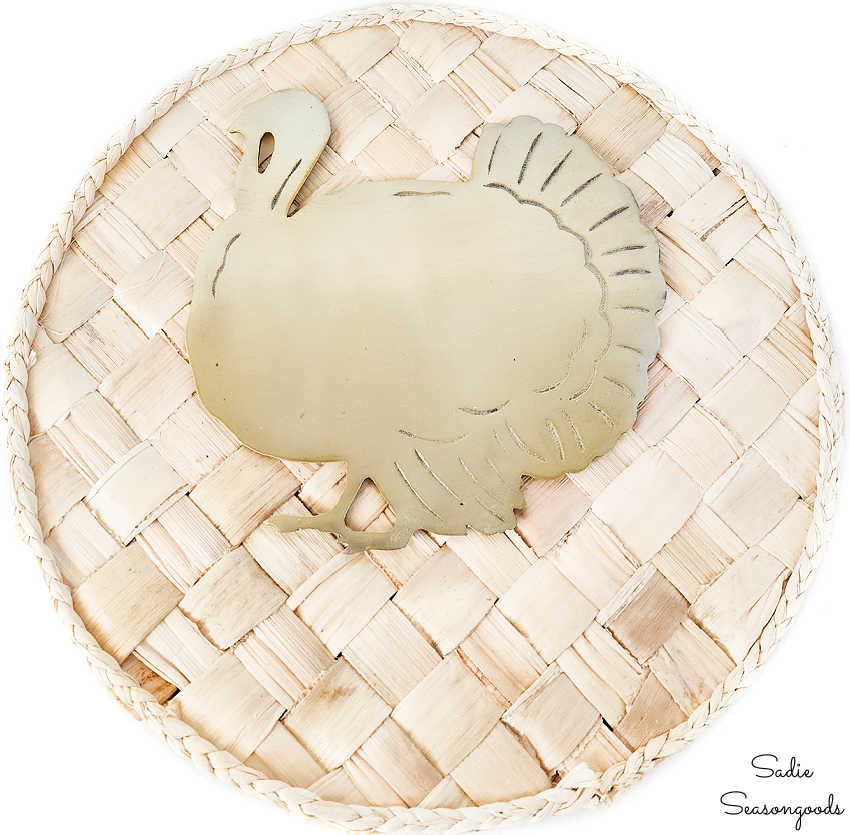
Image credit: Sadie Seasongoods.
The mat sat on a canvas drop cloth (just in case) and I gently laid heavy books atop the turkey to ensure a snug fit as the glue dried.
And yes, I did place the turkey in the upper center of the woven mat- that was on purpose. Because I had a slew of chic late-Fall floral stems to attach to the bottom of my Thanksgiving wreath.
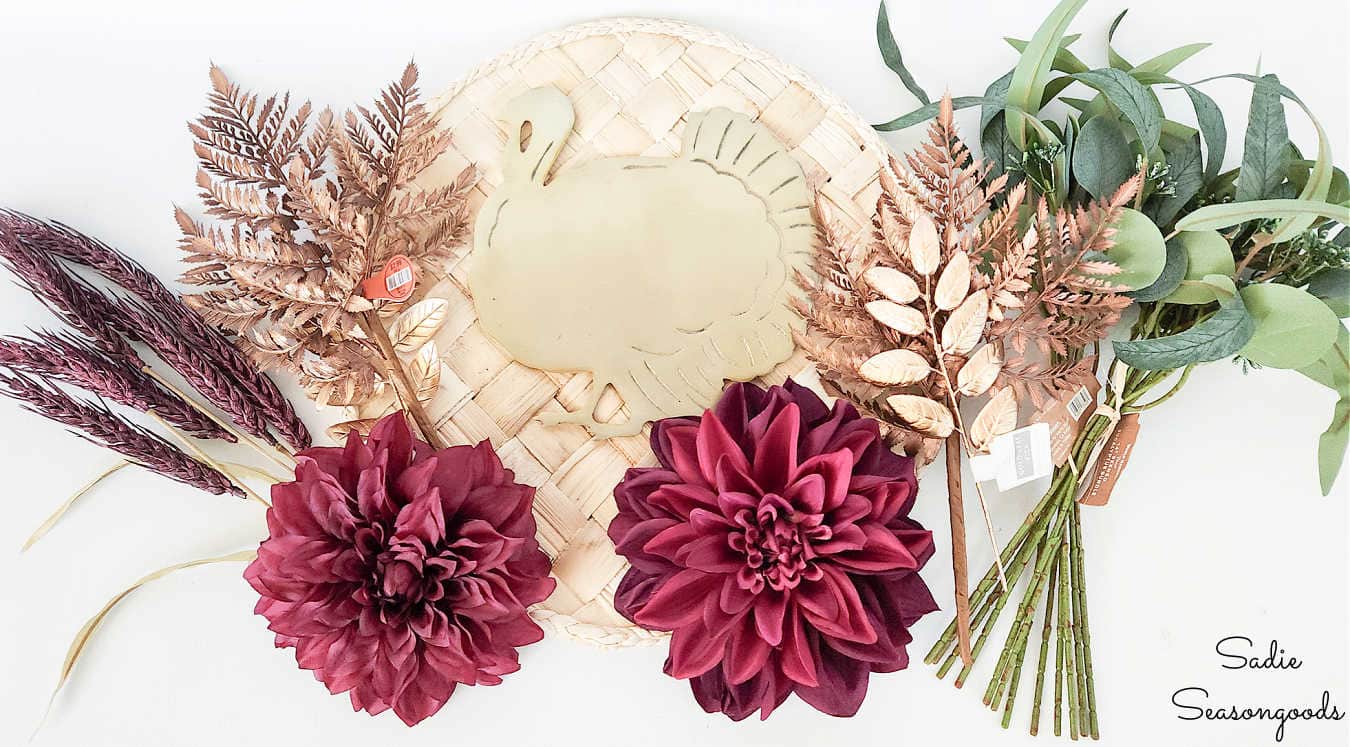
Image credit: Sadie Seasongoods.
I envisioned a “cradle” of florals underneath the turkey on my wreath, almost like the wheat sheaves on an old wheat penny. So, I began to play with the stems that I had, cutting them to fit with a pair of wire cutters.
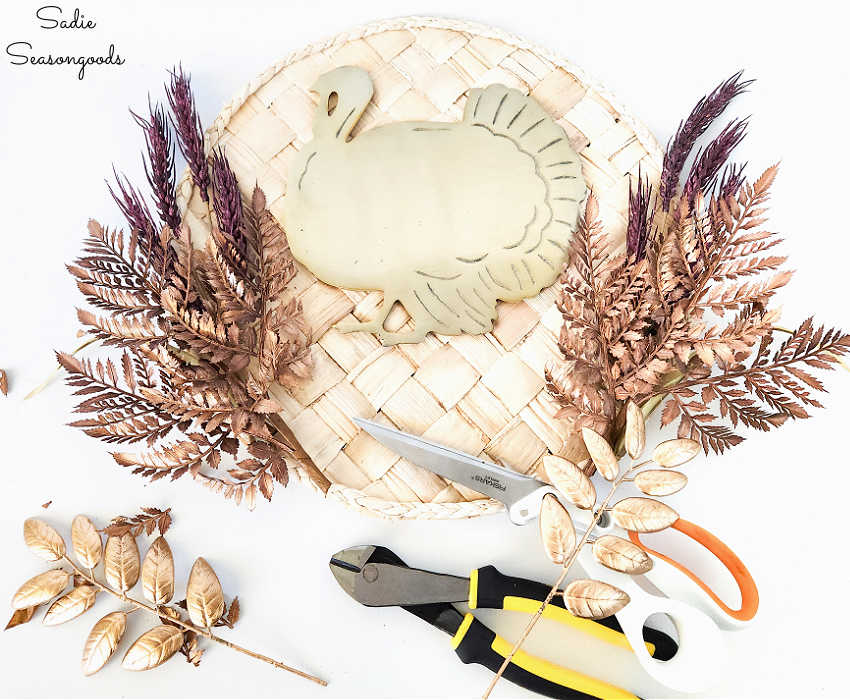
Image credit: Sadie Seasongoods.
Next, I layered faux purple wheat sheaves and metallic leaf picks around the bottom, attaching them with my hot glue gun. In the center, I placed a large faux dahlia that I thought was just gorgeous.
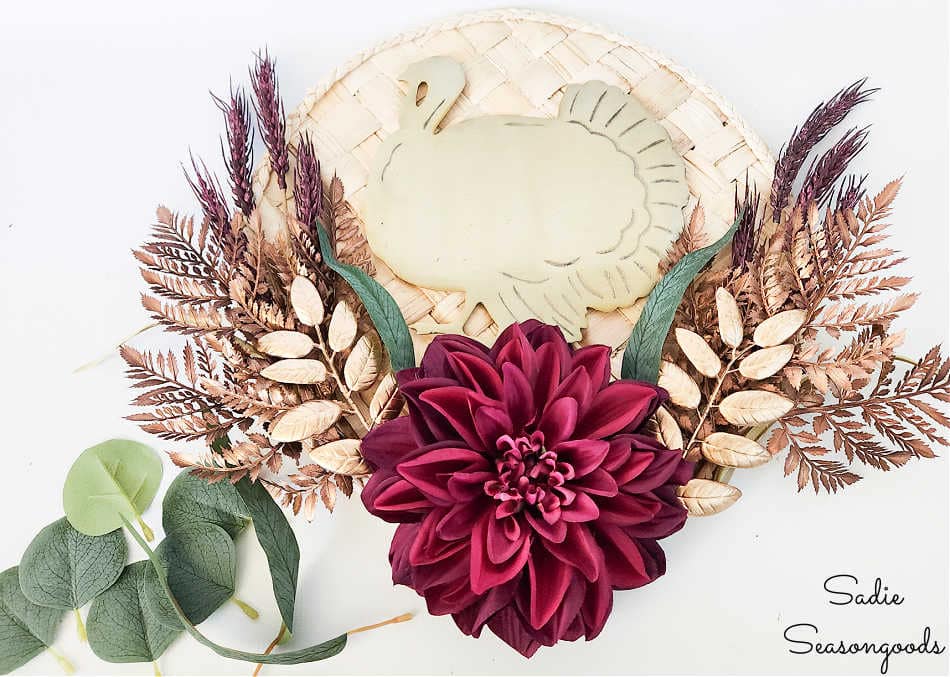
Image credit: Sadie Seasongoods.
In the end, this is the floral design I went with. I’ll be the first to admit that putting together florals on a wreath isn’t my forte- I mean, I usually use something kooky and offbeat to make a wreath! But I was quite happy with how it turned out.
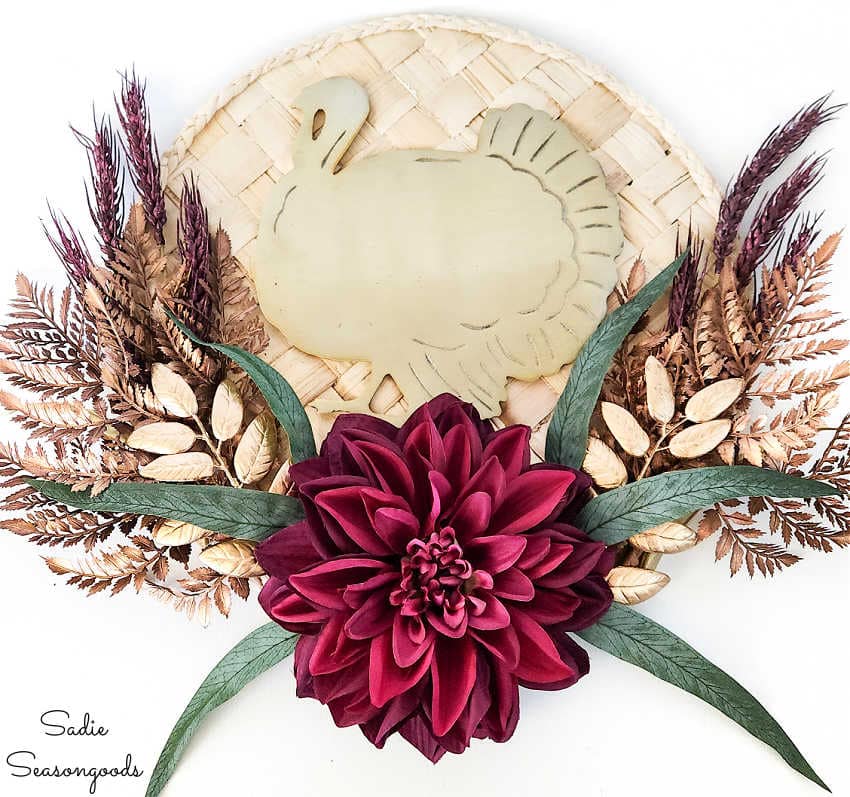
Image credit: Sadie Seasongoods.
Lastly, I held up my Thanksgiving wreath to determine the center where a hole would go for a hanging string. I popped the hole in the woven mat and strung some jute twine through it to make a loop.
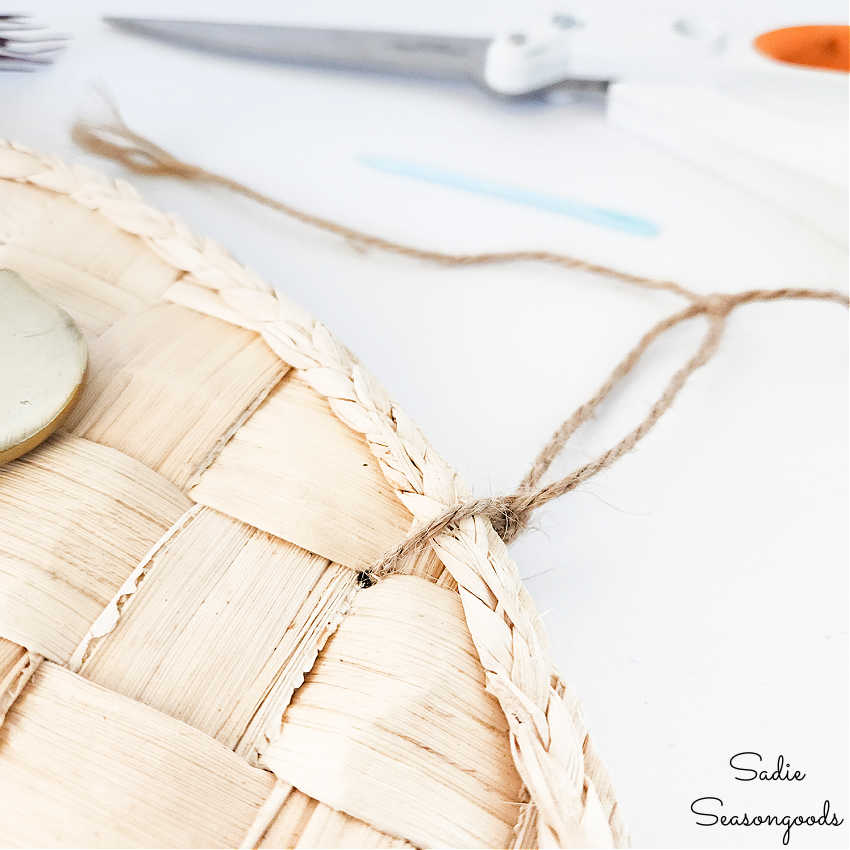
Image credit: Sadie Seasongoods.
Thanksgiving Wreath with a Brass Trivet
With the jute twine tied firmly in a loop, I hung my Thanksgiving wreath on our front door, stepped back, and just swooned.
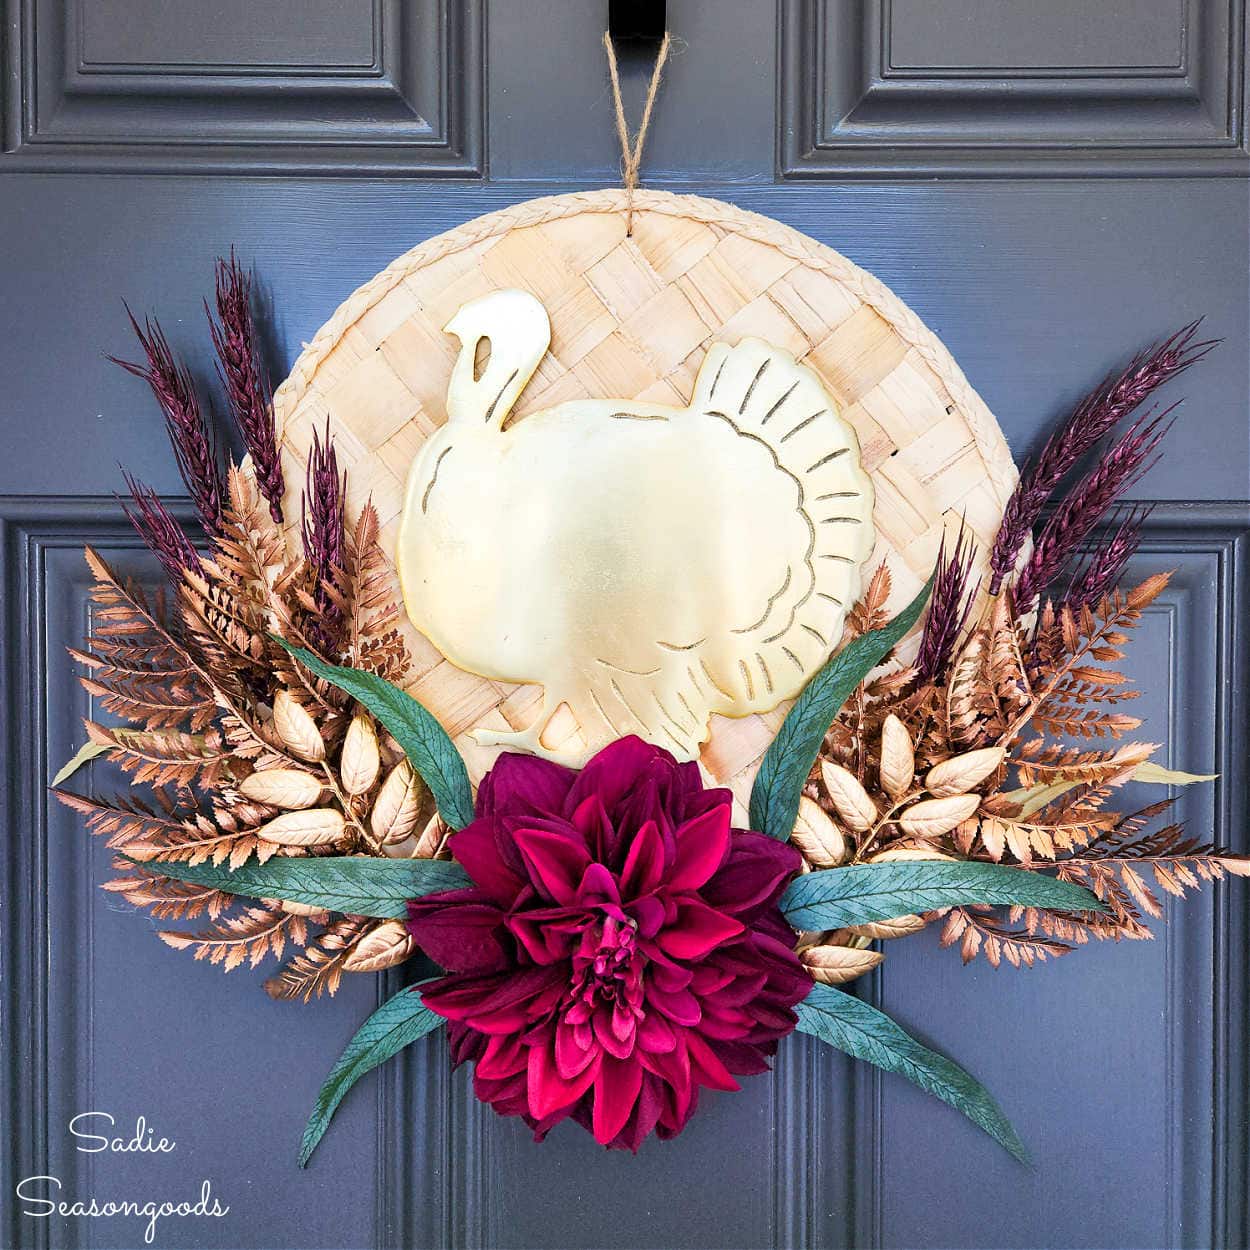
Image credit: Sadie Seasongoods.
I had a sneaking suspicion that the color combo with our not-quite-black door would look striking. And I wasn’t wrong!
The door isn’t blue- just sometimes the way the light hits it gives it a blueish hue. But either way, I just adored how the wreath turned out!
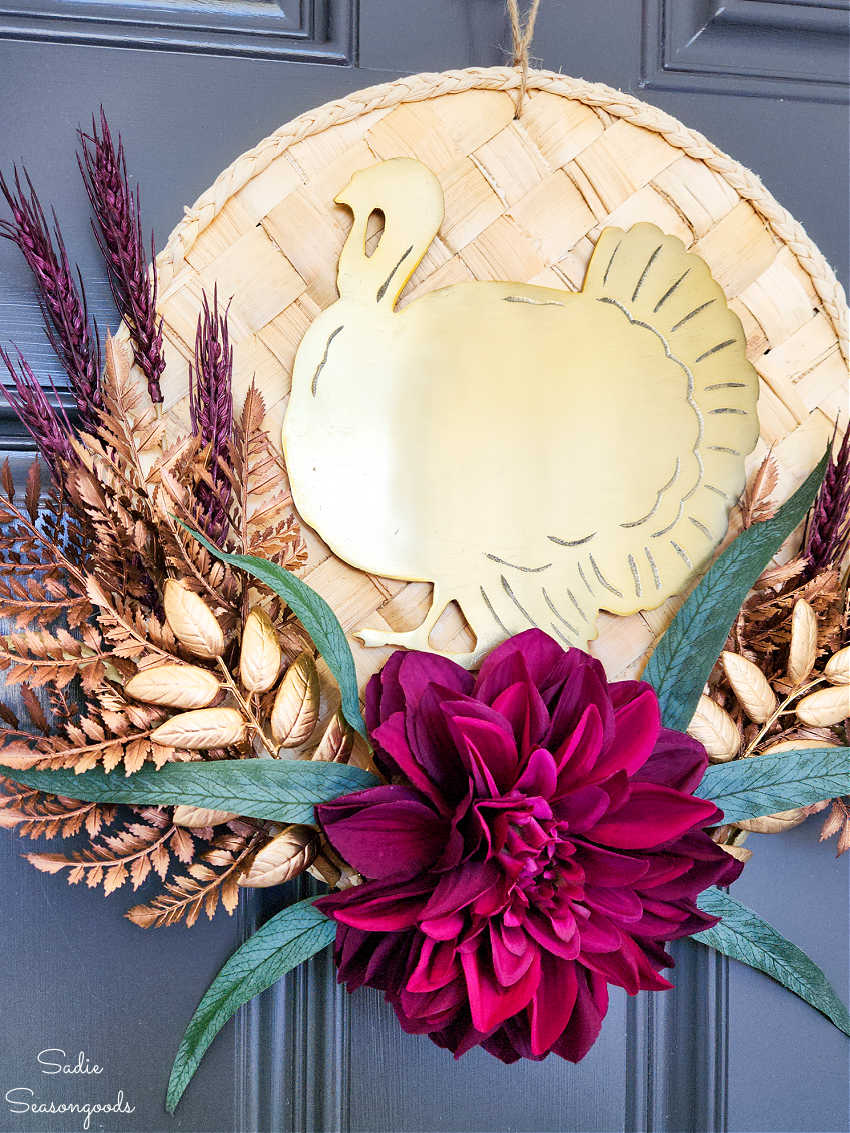
Image credit: Sadie Seasongoods.
And just think- had the woven mats not been *RIGHT THERE* next to the trivet on the thrift store shelf, this wreath would have never come to fruition. There might have been some magical thrifting kismet involved here, I’ll never know…
Bonus! Today is the second Wednesday of the month which means it’s Thrift Store Decor Team Day and my bloggy gal pals have been upcycling a storm. Check out their projects below!
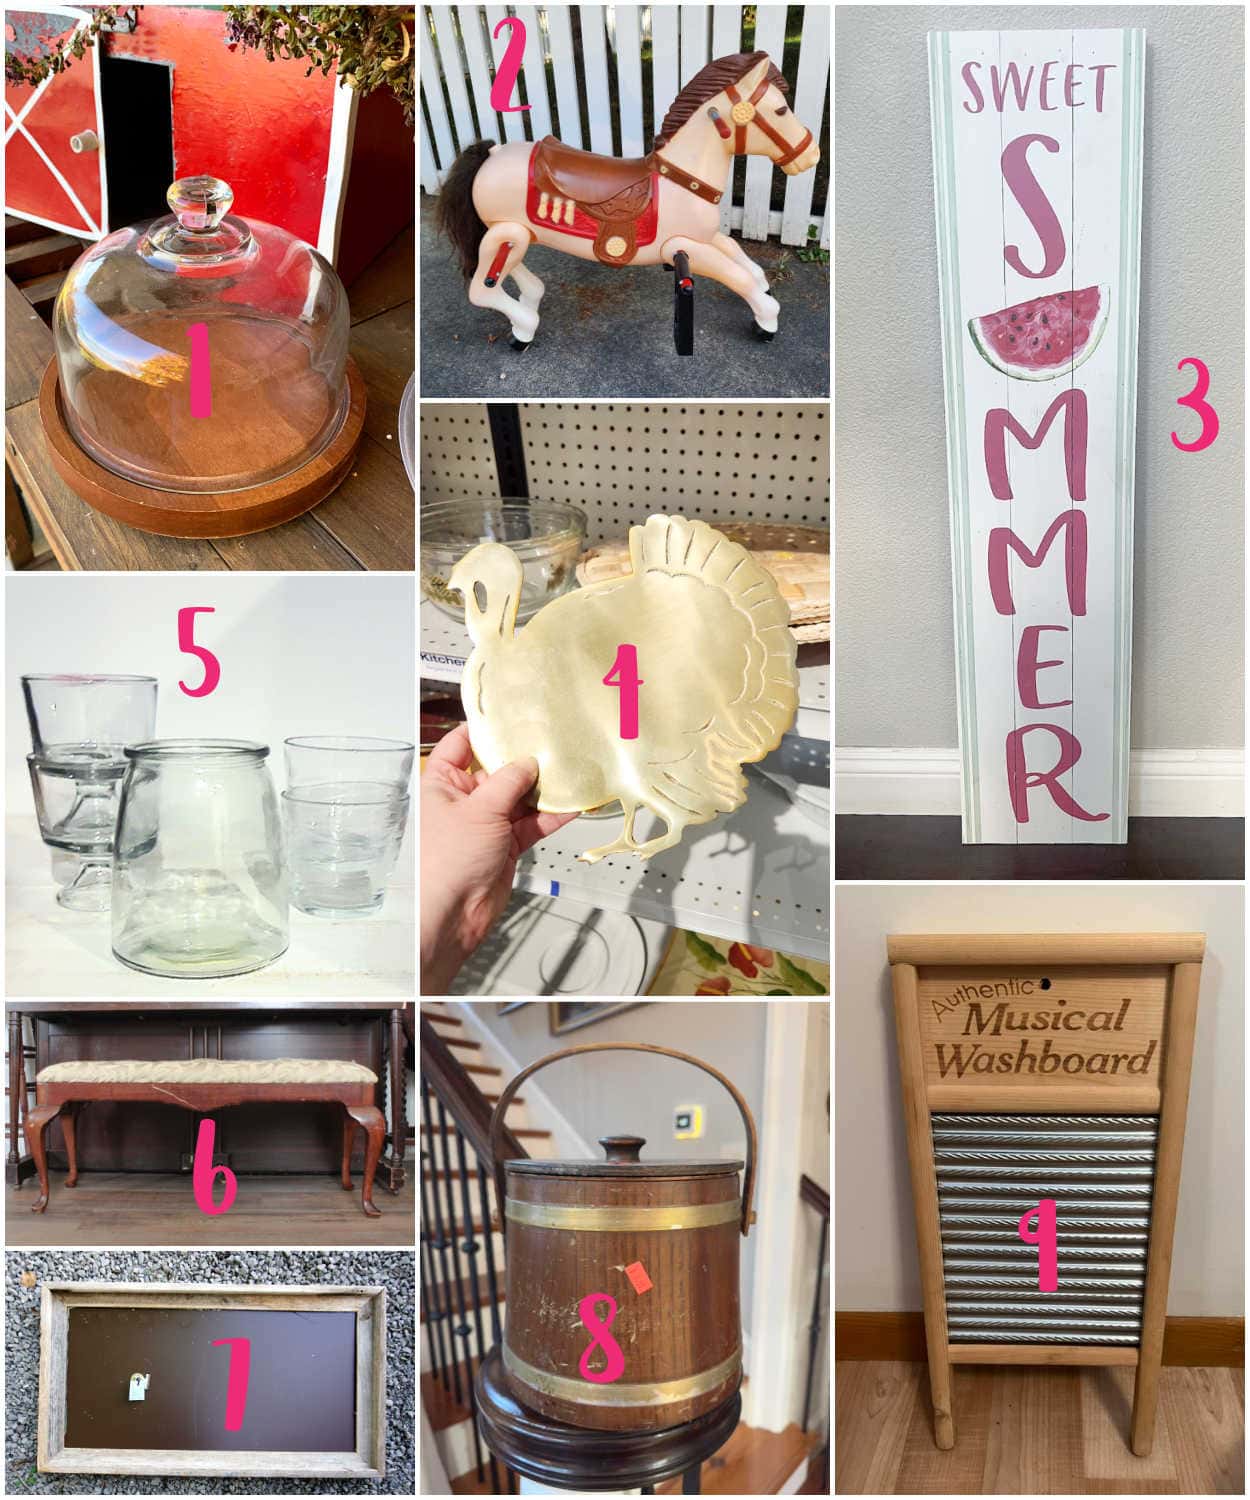
1. Cheese Dome Repurposed for Christmas – House of Hawthornes
2. Christmas Carousel Horse – My Repurposed Life
3. DIY Christmas JOY Sign – My Uncommon Slice of Suburbia
4. Thanksgiving Wreath with a Brass Trivet – Sadie Seasongoods
5. How to Make Snowy Votives – Domestically Speaking
6. DIY Upcycled Piano Bench – Shop at Blu
7. Magnetic Board Paint Makeover – Petticoat Junktion
8. Ice Bucket Christmas Tree Stand – Our Southern Home
9. Musical Washboard Christmas Decoration – Organized Clutter
Thank you for coming along with me on another upcycled tutorial ride! And who knows, maybe you’ll be inspired to pair up a couple of unrelated neighbors on a thrift store shelf, too.
Craft on!
S
Want to be notified when I publish my next upcycling project tutorial?
Join me on Social Media:
PIN ME!
Image credit: Sadie Seasongoods.
Sarah Ramberg is the owner of Sadie Seasongoods, a website that celebrates all things secondhand. From upcycling ideas and thrifted decor to vintage-centric travel itineraries, Sadie Seasongoods is a one-stop shop for anyone who loves thrifting and approachable repurposing ideas. Sarah is also the author of “Crafting with Flannel” and has been featured in numerous media outlets and magazines.


This turned out so cute! I was wondering what you were going to do with the turkey! You always find the best things while thrifting! Those chargers are awesome too!
Thank you so much, Kristin!
Sarah,
Your floral choices are spot on with your oh so adorable Thanksgiving wreath with the turkey trivet. It’s beautiful on your door.
Pinned!
gail
Thank you, Gail!
It turned out beautiful – love the colors – so welcoming!!!
Thank you so much, Maryann!!
Wow! You blow me away each and every month! I love this wreath ideas for fall especially with the punch of fuschia!
Thank you so very much, Christy! I felt like I was channeling your elegance with this one- most of my wreaths are quirky. It was fun to take a more sophisticated approach with this one.