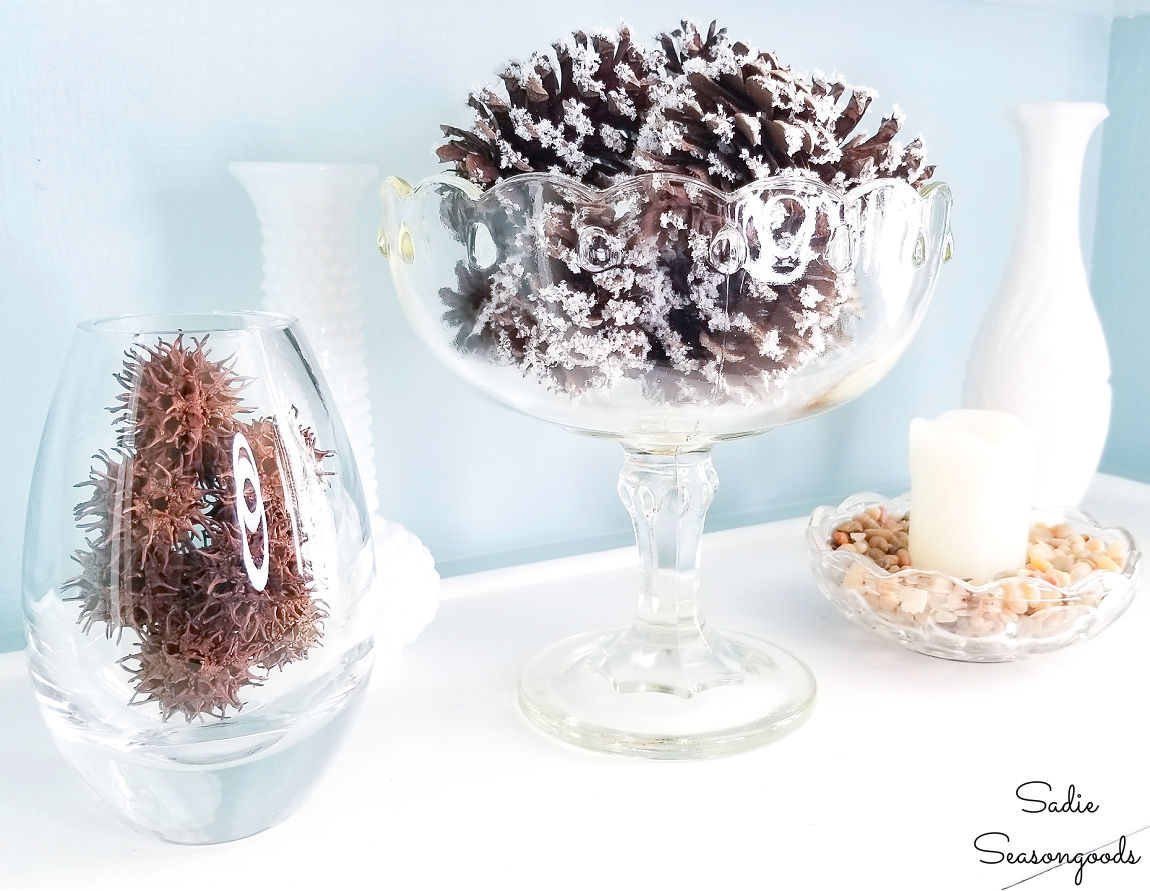
Back in February, I created a nature craft project post for the Charlotte Region Habitat ReStore blog. As part of that post, I added some sweet gum tree balls to a glass vase that I’d thrifted from the ReStore. But even though it was a winter project, I couldn’t help but see the gum tree balls as something else entirely.
For some reason, the sweet gum balls (as spiky as they were) reminded me of chive blossoms. We used to grow some chives in a garden at my childhood home, and I always, always loved their poofy purple flowers.
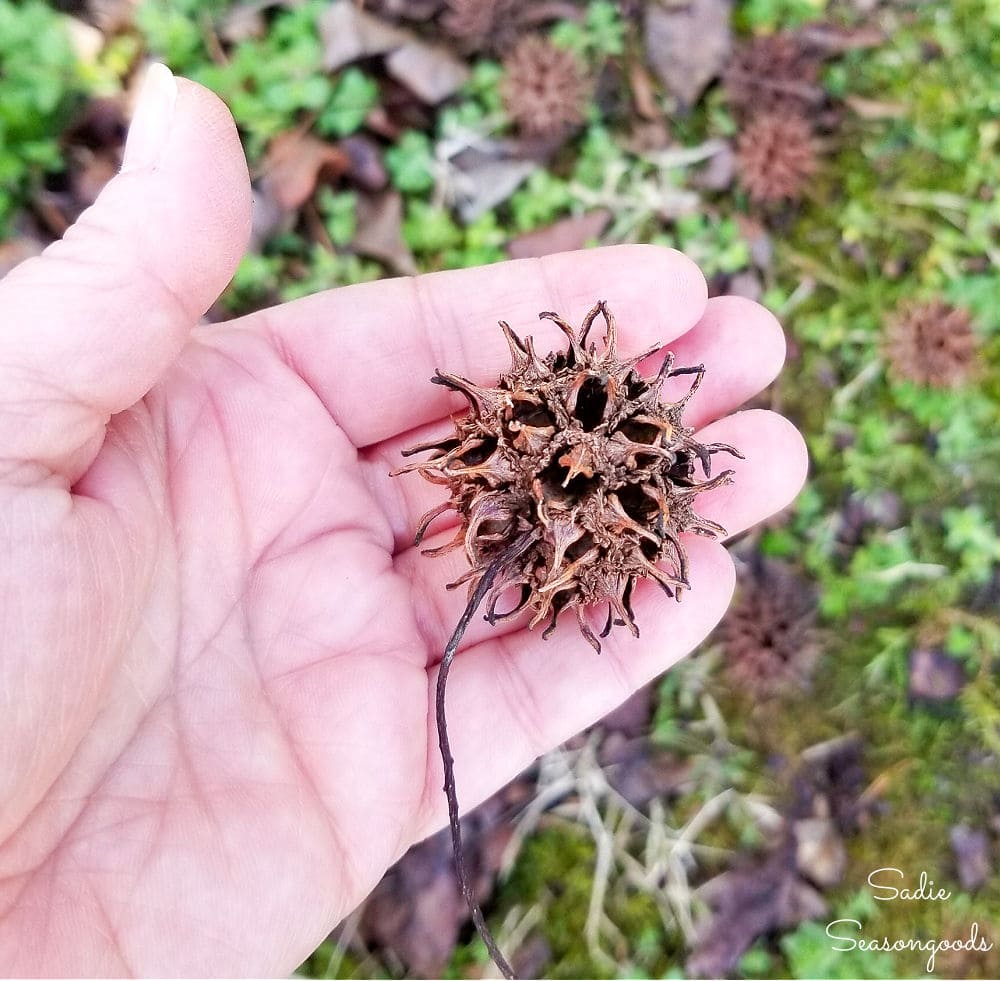
Image credit: Sadie Seasongoods.
Not familiar with what chive blossoms look like? There’s a great inspiration photo in this recipe blog post.
So, I headed back into our current yard and gathered a few more sweet gum balls. Nature crafts aren’t normally what I do, but it seemed like a fun experiment to try.
This post contains affiliate links for your crafting convenience. As an Amazon Affiliate, I earn from qualifying purchases. All blue, bold, and underlined text is a clickable link, either to a product or to a related post.
Painting the Sweet Gum Tree Balls
First, in addition to a handful of gum tree balls, I also grabbed a pack of bamboo skewers from the grocery store. These would become my stems, or “chives”, as the case may be.
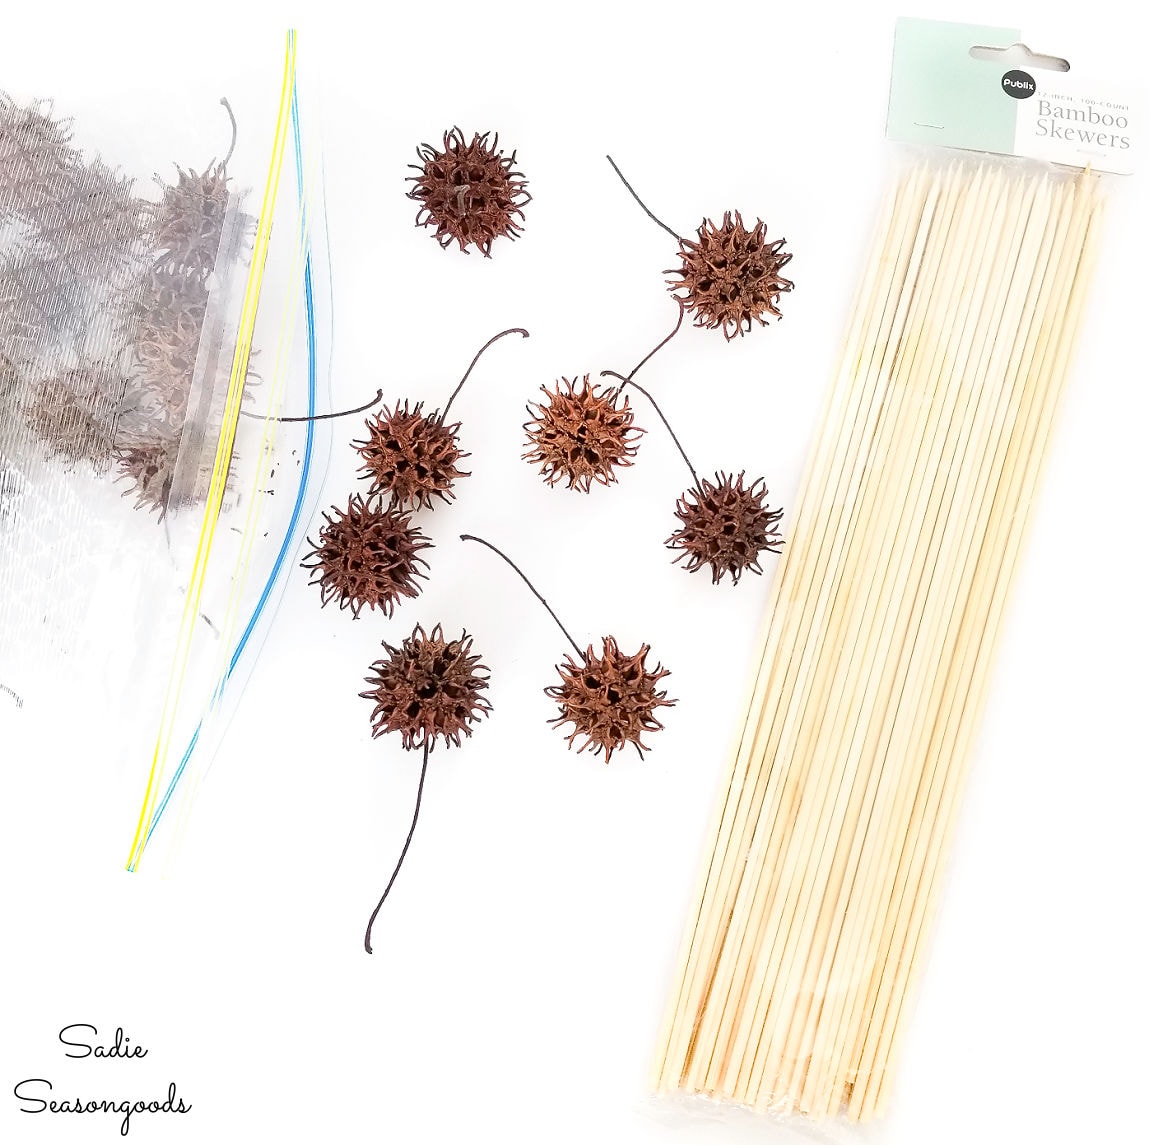
Image credit: Sadie Seasongoods.
Don’t have access to a sweet gum tree? You can buy the seed pods on Etsy for pretty cheap!
I also assembled some other supplies, such as a few shades of pink-purple paint; brushes (if I needed them- I wasn’t sure yet); and a tin can full of dried beans (more on that later).
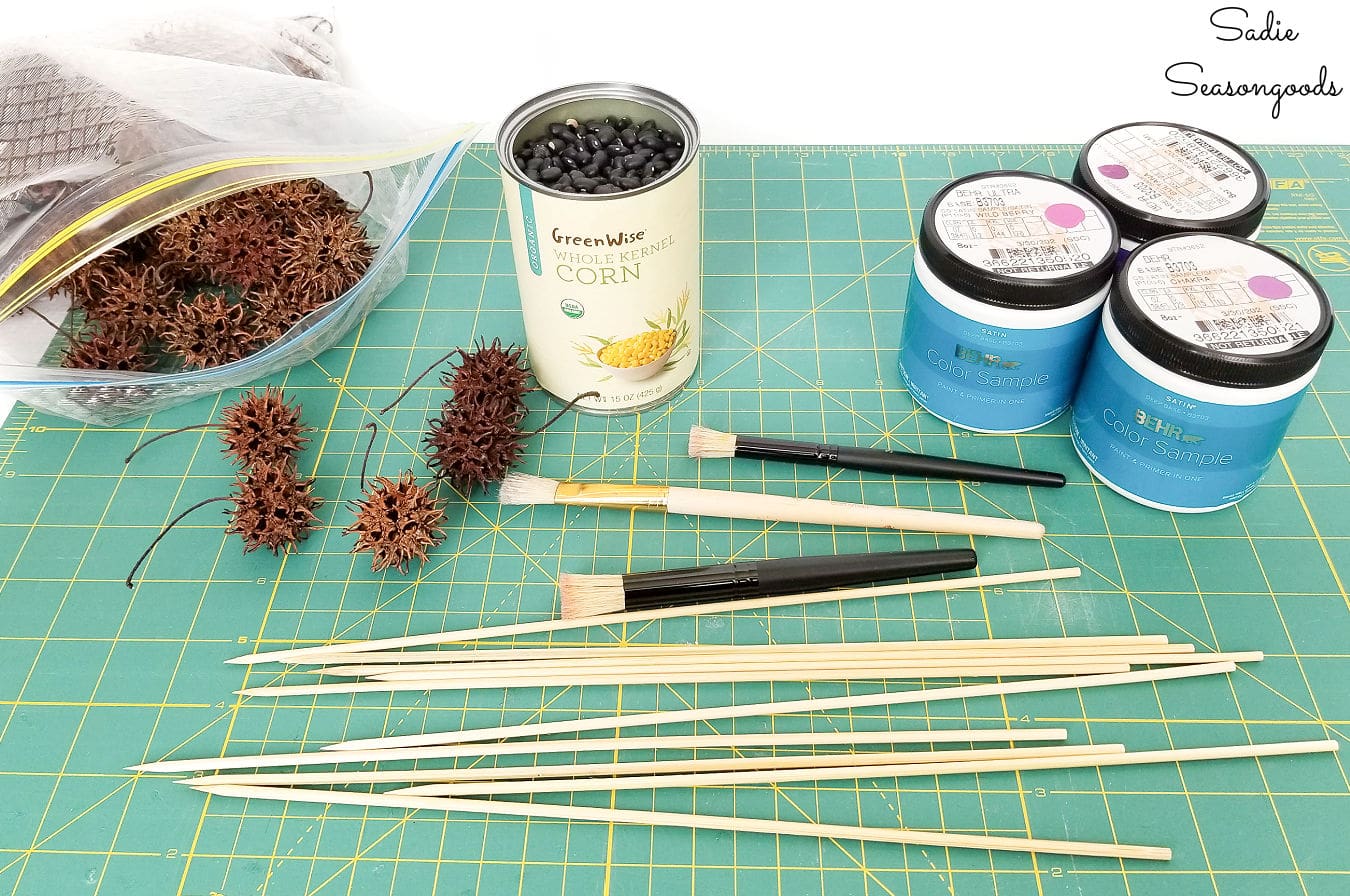
Image credit: Sadie Seasongoods.
The best way to paint the balls was to dunk them in the paint. Hallelujah for latex paint sample bottles with wide openings!
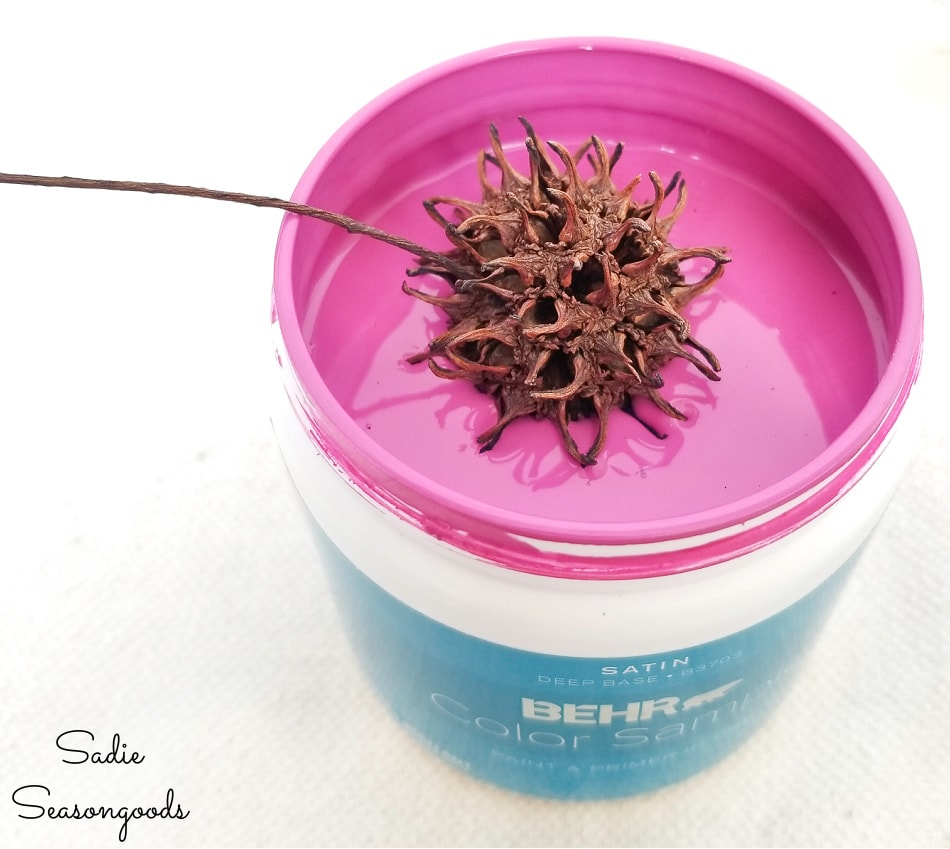
Image credit: Sadie Seasongoods.
I selected sweet gum balls with their stems still attached so that I had something to hold onto while dunking.
Then, dunk I did! I immersed a gum tree ball into the paint and pulled it up quickly. I held it over the paint sample to let as much excess paint flow out as possible.
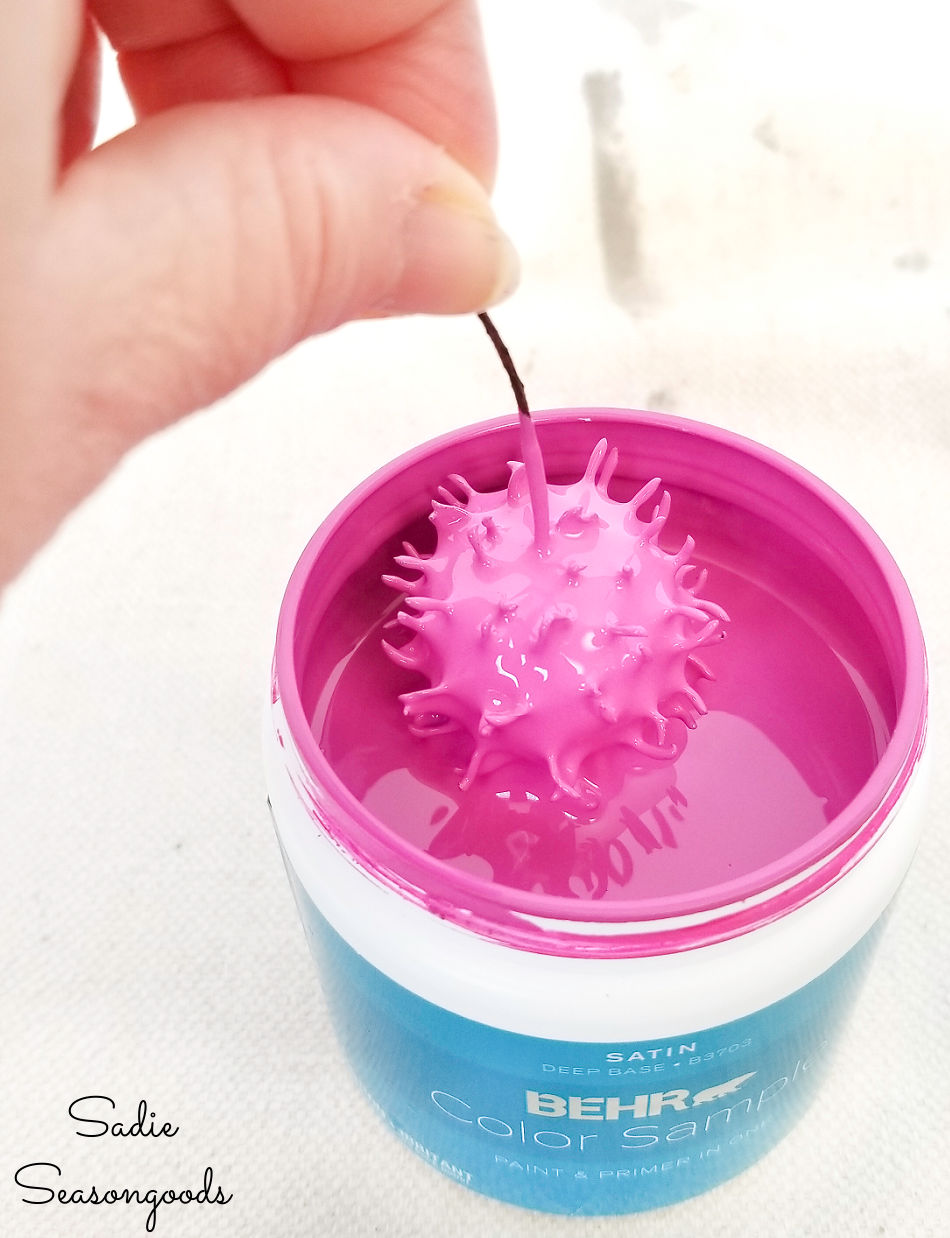
Image credit: Sadie Seasongoods.
Next, I simply placed it on a piece of parchment paper to begin to dry. I did this over and over again until I had an entire set of “chive blossoms”.
Here they are on a fresh paper towel after drying for a bit.
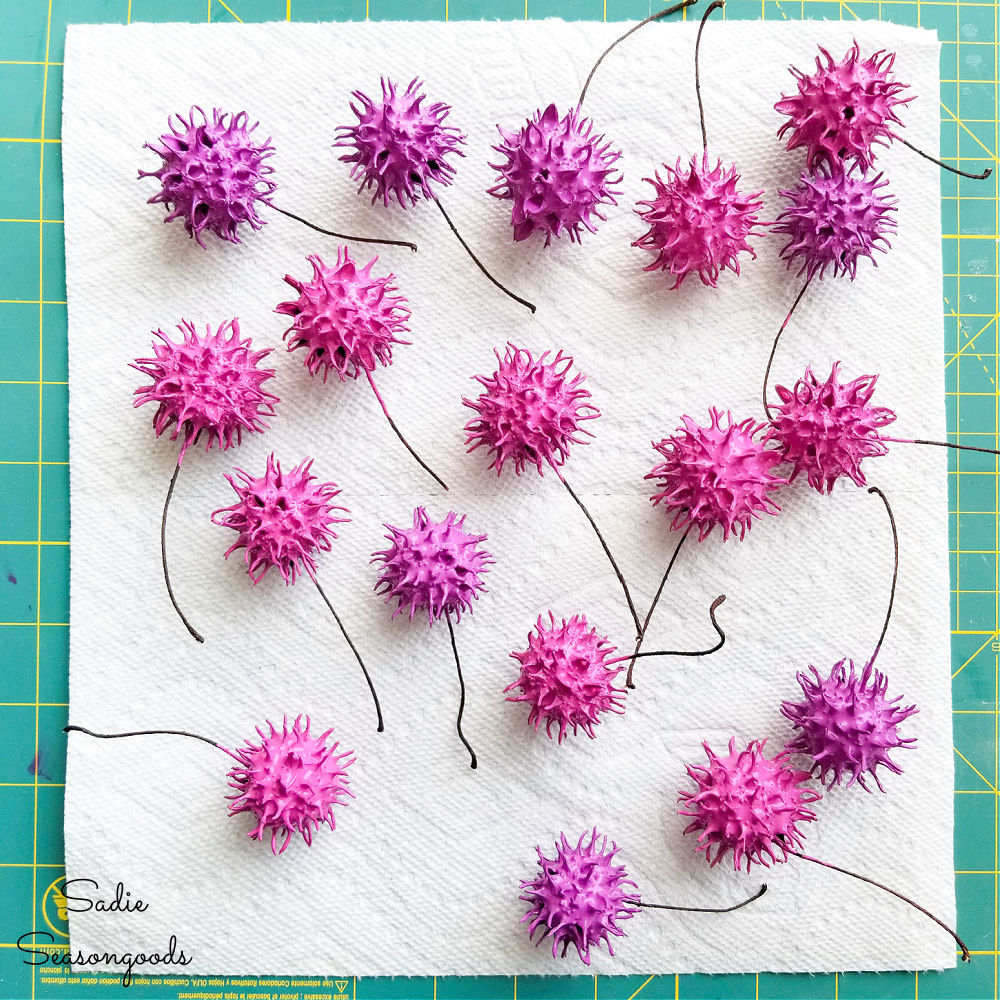
Image credit: Sadie Seasongoods.
As the sweet gum balls dried, I turned them periodically to keep paint from building up on any one side. They took approximately two days to fully dry.
Creating Chive Blossoms with Sweet Gum Balls
Next, I turned my attention to the bamboo skewers. THIS is where the can(s) of dried beans came in handy.
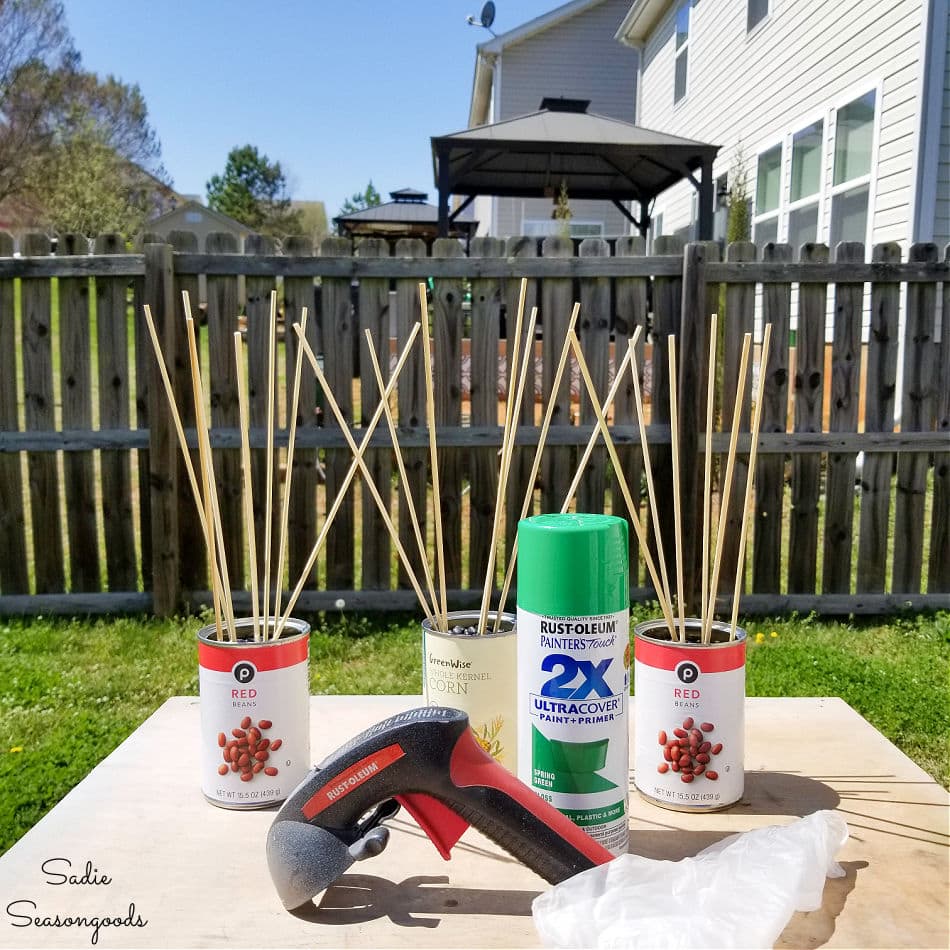
Image credit: Sadie Seasongoods.
I used them to hold the skewers in place during the spray painting process!
Wearing a glove, I held the skewers as I painted them. Then, I stuck the unpainted portion (where I held it) in the beans to dry!
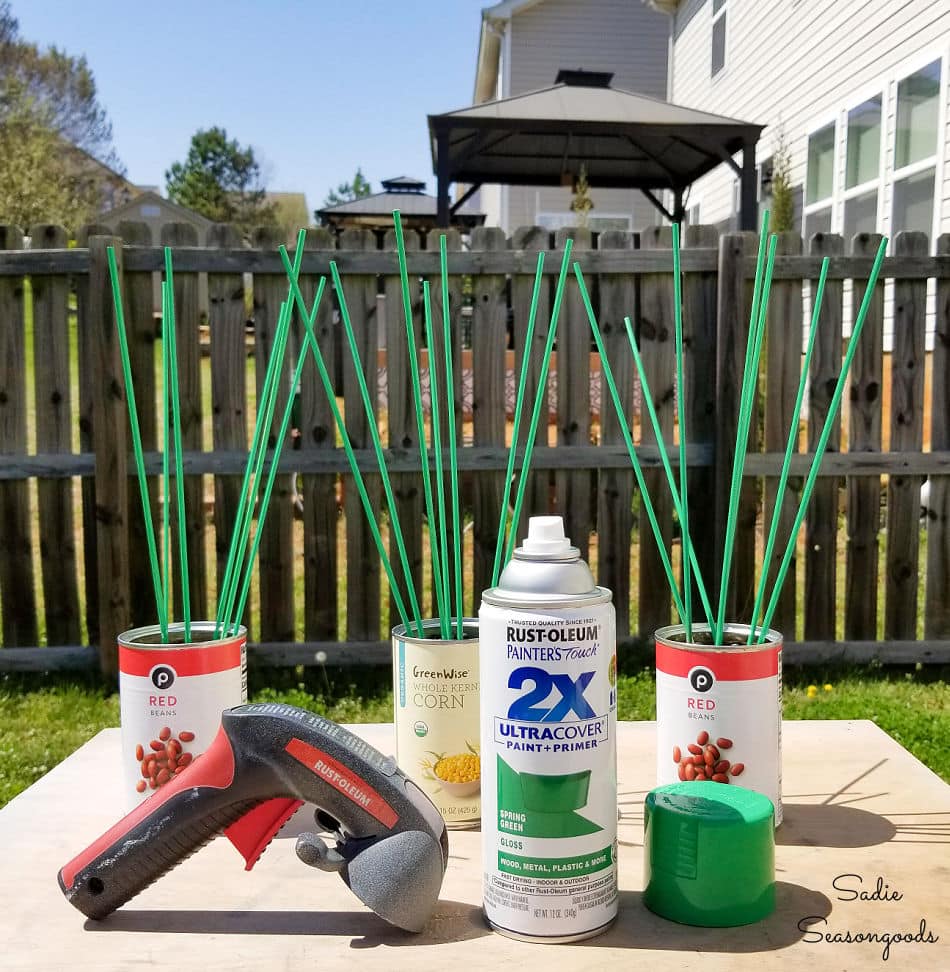
Image credit: Sadie Seasongoods.
After the first part dried, I flipped the skewers and painted the other end. Those cans of beans worked like a charm!
Finally, I had all my components for creating chive blossoms from the sweet gum tree balls!
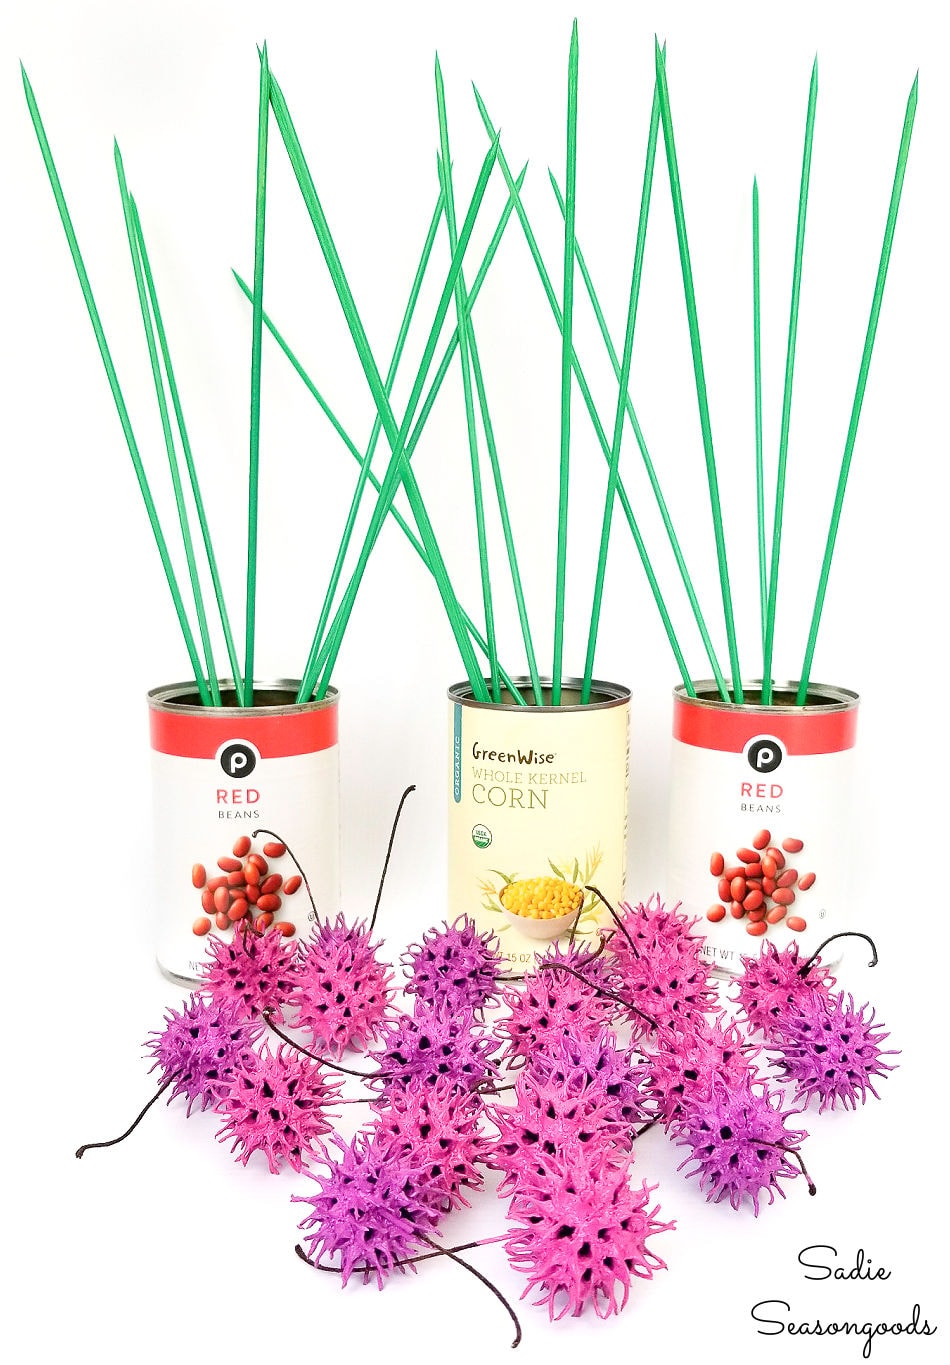
Image credit: Sadie Seasongoods.
First, I snipped off the stems of the gum tree balls with craft scissors. Then, I used pruning shears to cut my skewers down to size to fit the vase I planned on using.
Yes, I could have/should have done this before painting the skewers, but oh well!
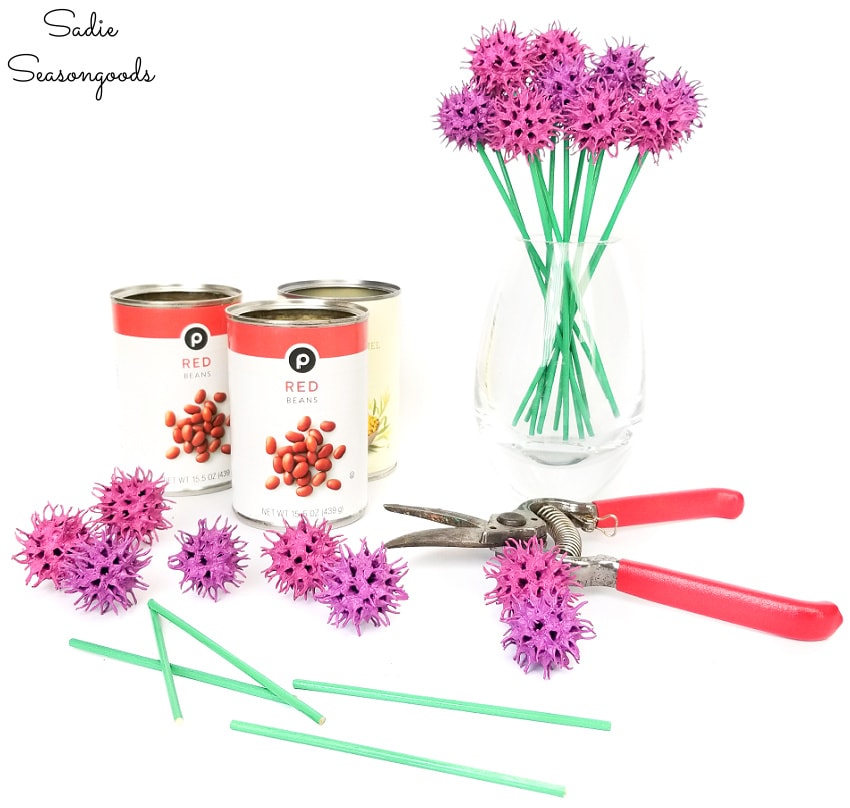
Image credit: Sadie Seasongoods.
Lastly, I fitted each stem to a sweet gum tree ball and used a drop of super glue to hold everything in place!
Chive Blossoms from Sweet Gum Tree Balls
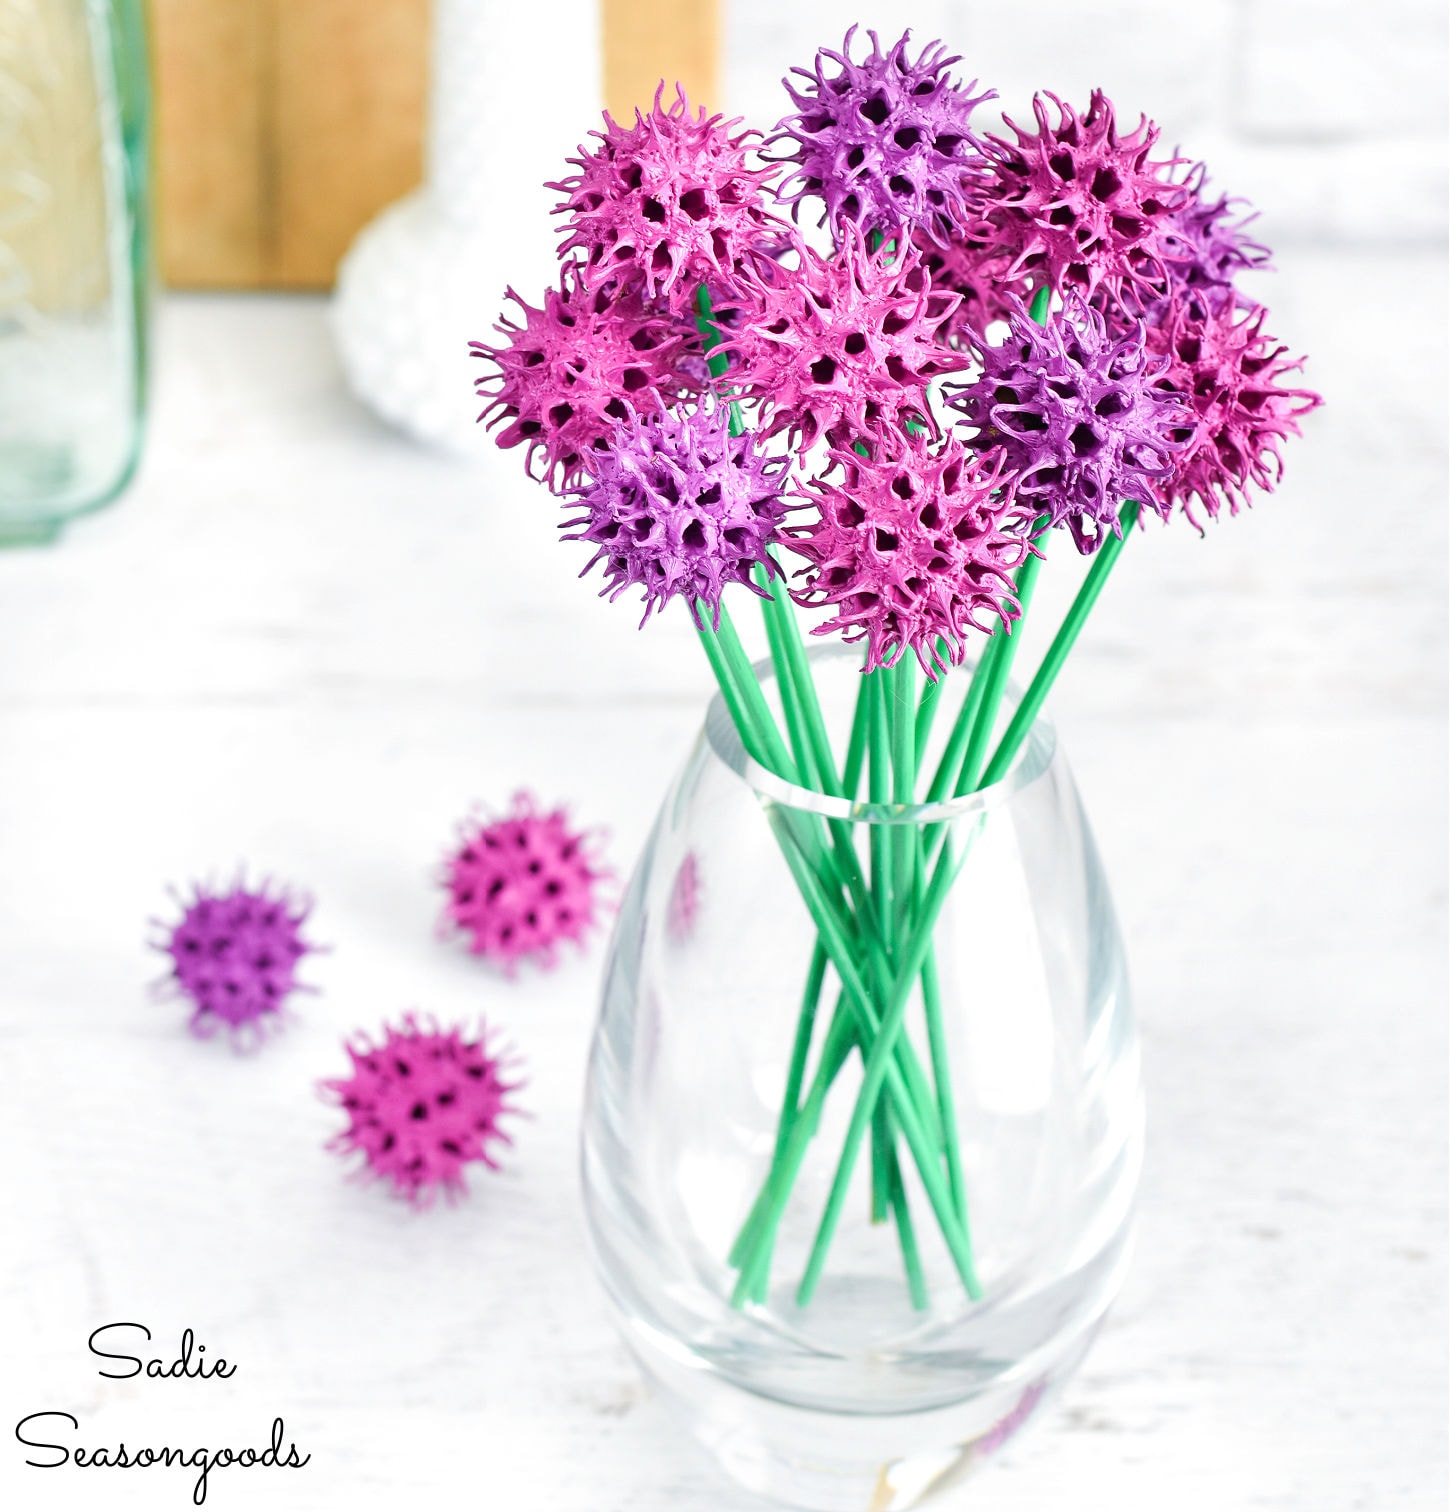
And this is what I ended up with. HOW FUN IS THAT? Chive blossoms from sweet gum tree balls!
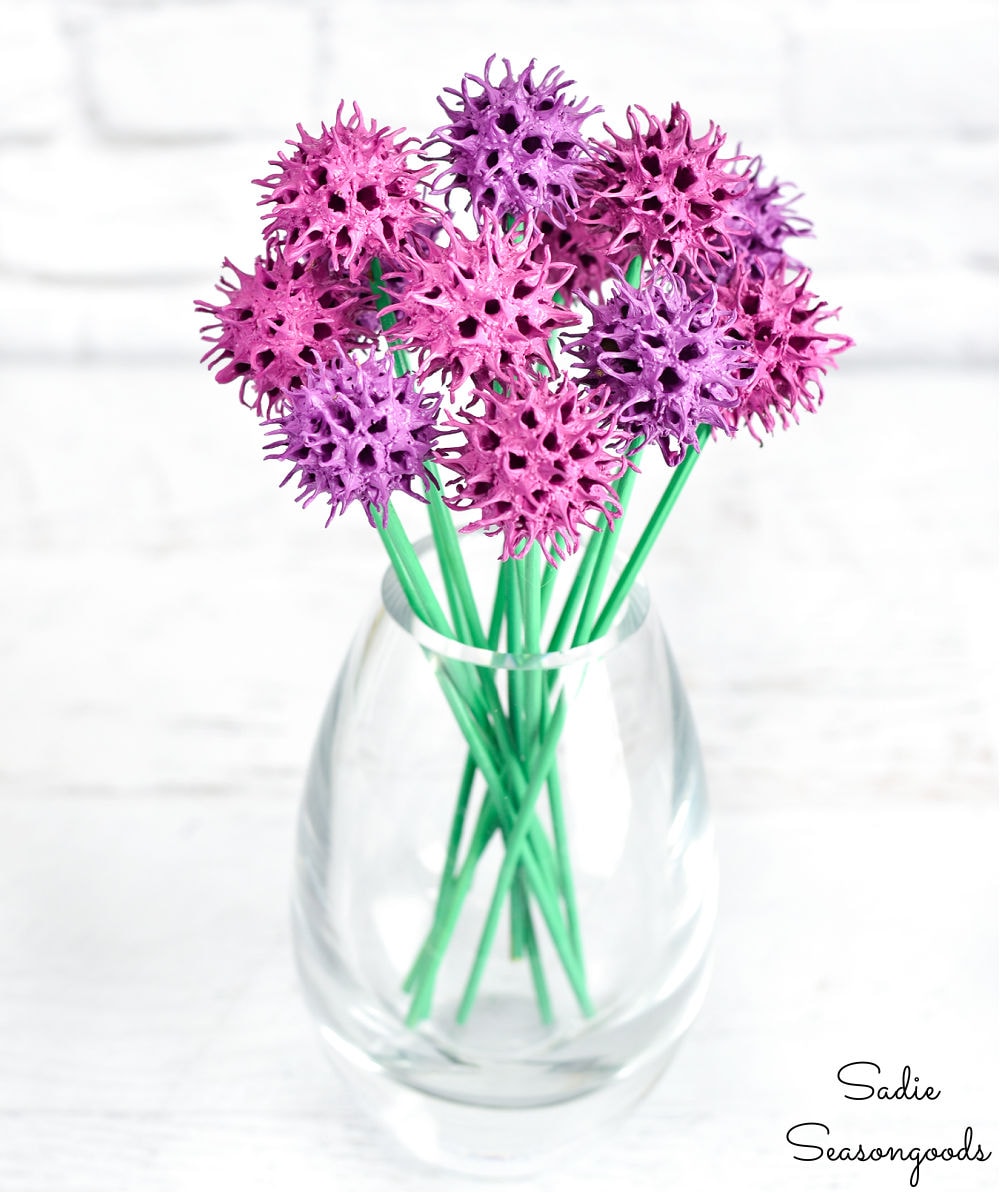
Image credit: Sadie Seasongoods.
As you can see, I used two similar shades of paint, which I think made it look even more realistic. The pinker paint is Wild Berry by Behr and the purple paint is Chakra by Behr.
I just LOVE how they turned out. And it makes me want to go forage for some actual chive blossoms to use in cooking.
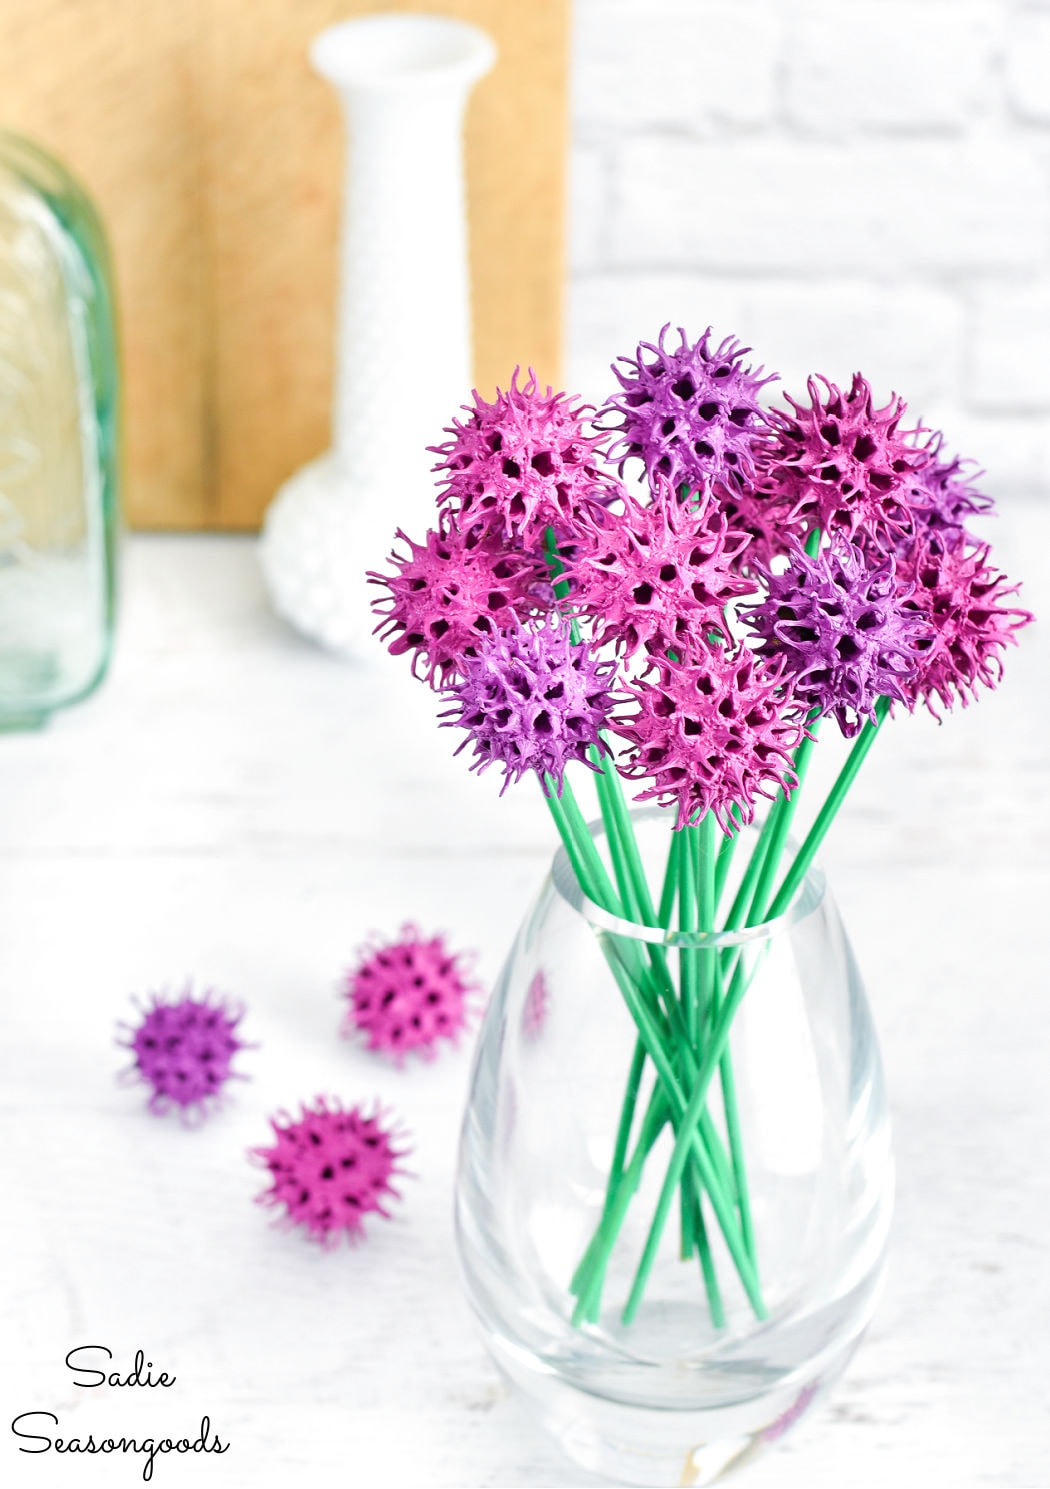
Image credit: Sadie Seasongoods.
And yes, I even used the same vase that held the unpainted sweet gum tree balls in my Habitat ReStore blog post!
I hope you enjoyed this brief departure from my typical upcycling project! It was fun to transform something from the yard into something pretty for the house.
If you enjoyed this upcycling idea for chive blossoms from sweet gum tree balls, then you may also be interested in how I upcycled these cheese shakers, too.
And for even more nature craft ideas, please check out this post for some au natural inspiration!
Craft on!
S
Want to be notified when I publish my next upcycling project tutorial?
Join me on Social Media:
PIN ME!
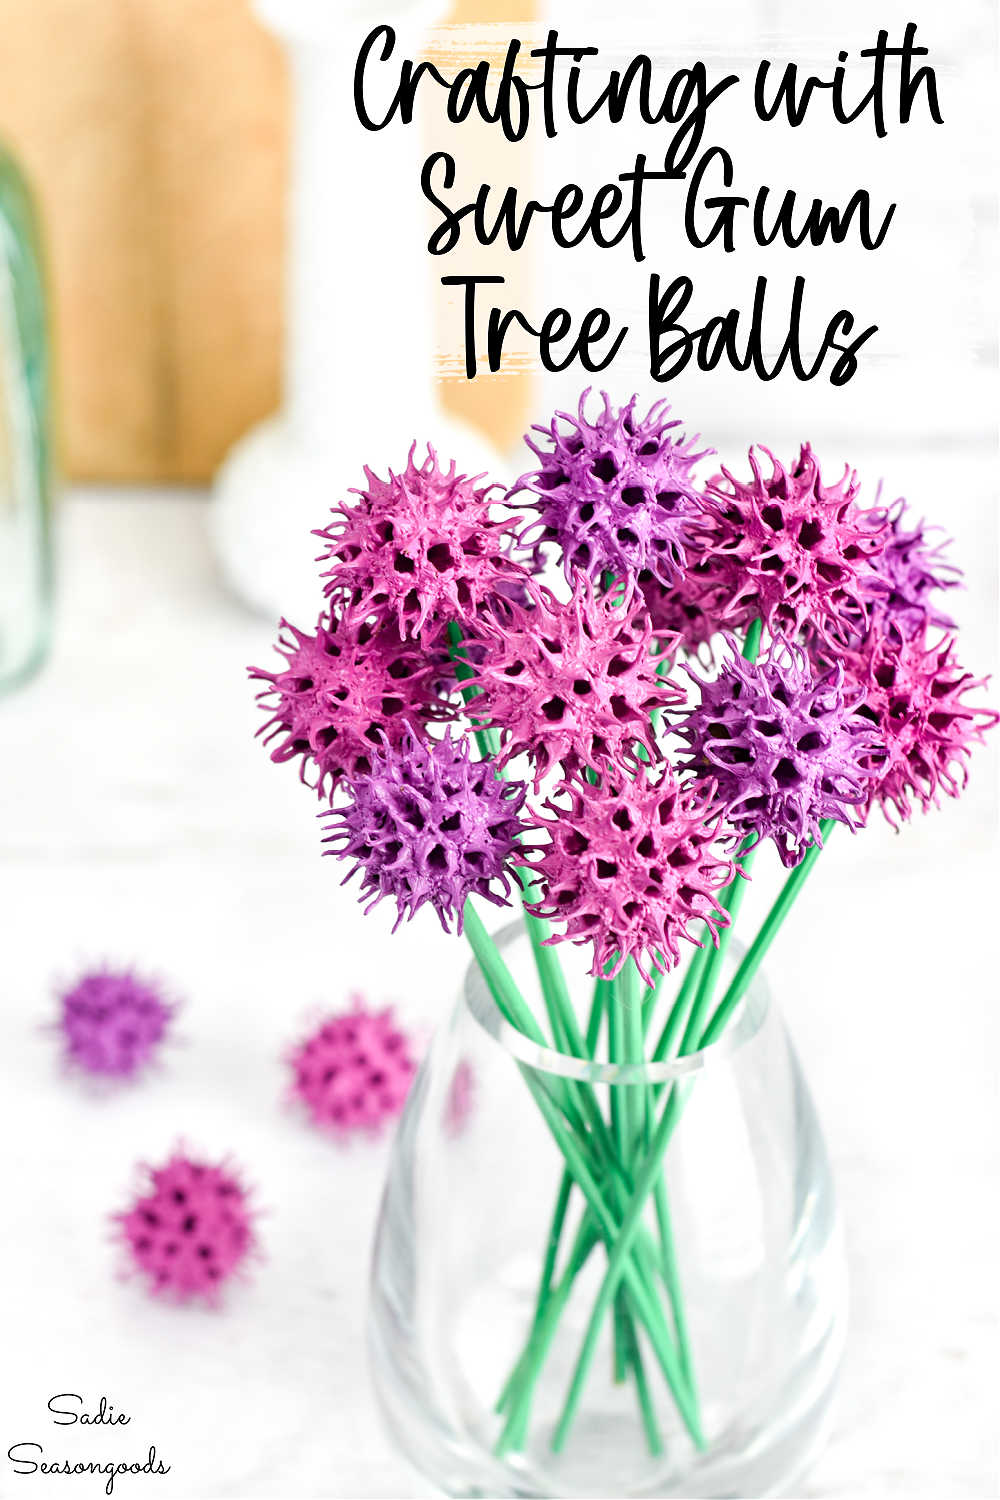
Image credit: Sadie Seasongoods.
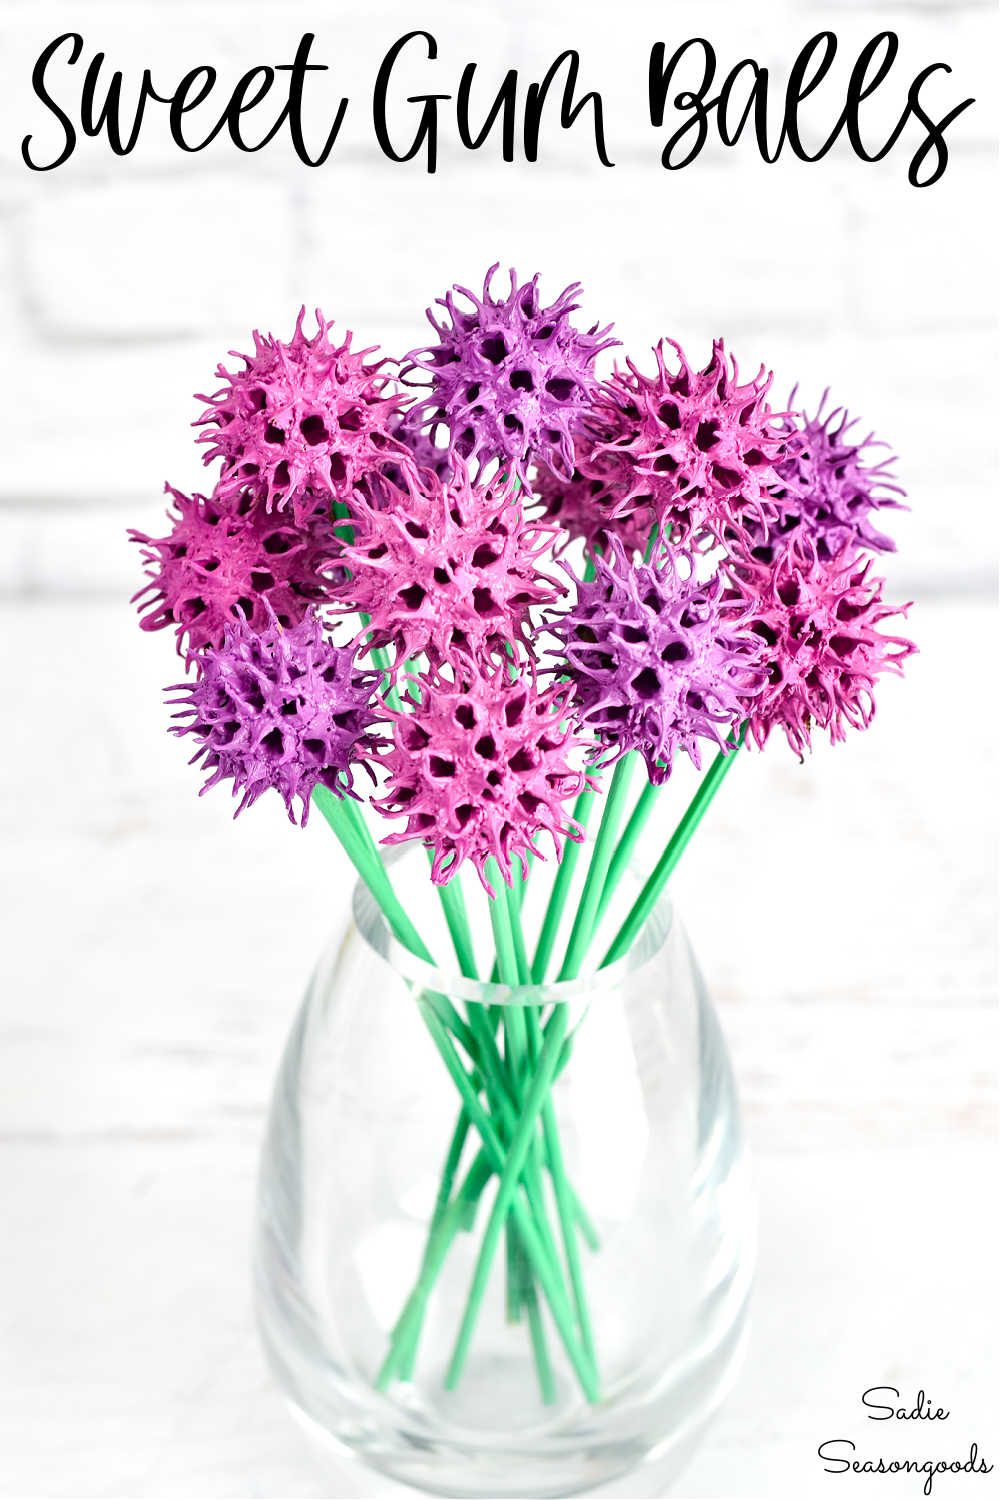
Image credit: Sadie Seasongoods.
Sarah Ramberg is the owner of Sadie Seasongoods, a website that celebrates all things secondhand. From upcycling ideas and thrifted decor to vintage-centric travel itineraries, Sadie Seasongoods is a one-stop shop for anyone who loves thrifting and approachable repurposing ideas. Sarah is also the author of “Crafting with Flannel” and has been featured in numerous media outlets and magazines.







When I first saw your colorful painted gum ball craft it reminded me of thistles they are more dusty purple. Your vision is outside of the box. Love your posts.
I love thistle flowers, too- I guess I have a thing for poofy, purply flowers!
Cute!! I have several sweet gum trees at the edge of the forest so we always have a bunch in the fall.
We’re pretty lucky in that the tree near us is not on our property, but hangs over enough so that we get SOME dropped inside our yard, but not zillions!
I love these. I have been collecting these sweet gum tree balls for years not knowing what they are. I display them in a dish. I’m so happy to know the name of the tree now. I couldn’t think of a project so I was really happy to see this project. Thanks again for another great,easy project.
Isn’t it so exciting when you finally have a plant thing identified?? I know that feeling very well!
My Randy has a sweet gum tree in his yard that drives him nuts. Maybe I will do ths craft with him.
Yay!!
I love this idea.
Thank you so much, Rebecca!
I love these chive flowers. Can’t wait to go foraging for sweet gum balls. Thanks so much for sharing. I really enjoy your blog. 😊
Thank you so, so much, Lori!! That makes my heart sing.
Finally, someone has an idea on what to do with those awful gumtree balls! And it’s such a cute idea. I plan on making this and possibly use this as gift-giving, since I have so many of them. I didn’t know that they are sold on Etsy??? I could make a fortune with as many as we have! 🙂 Living in GA, they grow all over the place. Hate is not a strong enough word for my loathing of these trees. We have a couple in our front yard and would have cut them down if they weren’t so close to the house. The balls sometimes get stuck in our doggie’s paws.
You are definitely not alone in your feelings about these things, Tina!!
It’s so nice to see them as a pretty decoration! We had 2 in our yard at a previous home and when my boys were younger, they would rake them into a pile and then wrestle each other into the pricker-y, painful pile of sweet gum balls. Needless to say, there were quite a few sore, red backs as a result. They’re in their 30s and STILL wrestling each other like little boys. Oh well. It keeps them young, right?
And I’m going to go grab some (they’re all over where I live), paint them, and give them as Christmas gifts as painful reminders! Lol.
Ha!! LOVE that fun idea, Teri!
Oh my gosh Sarah! These make me smile so big!!! I LOVE the colors.
gail
Thank you, Gail! And another huge thanks for sharing it on FB the other day!! XOXO
Sarah, this is such a BRILLIANT idea! I used to collect these when I was a kid! We will be featuring it this week over at the Creative Crafts Linky Party! Thanks for joining in the FUN!
Creatively, Beth
Thank you so very much, Beth! And thank you again for letting me know about your awesome linky!
What a cute project! We don’t have these in Maine; I would love to have some! I think they would make great garlands, too. I had a WWII vet (before I retired from the VA) who took cockleburrs, spray painted them white, and put them in a jar labeled “porcupine eggs.” Such a great gag!
Dunking them in paint is perfect! I have brushed them with glue, added glitter and they look like disco balls! Perfect on my Christmas tree. I always love your creativity!