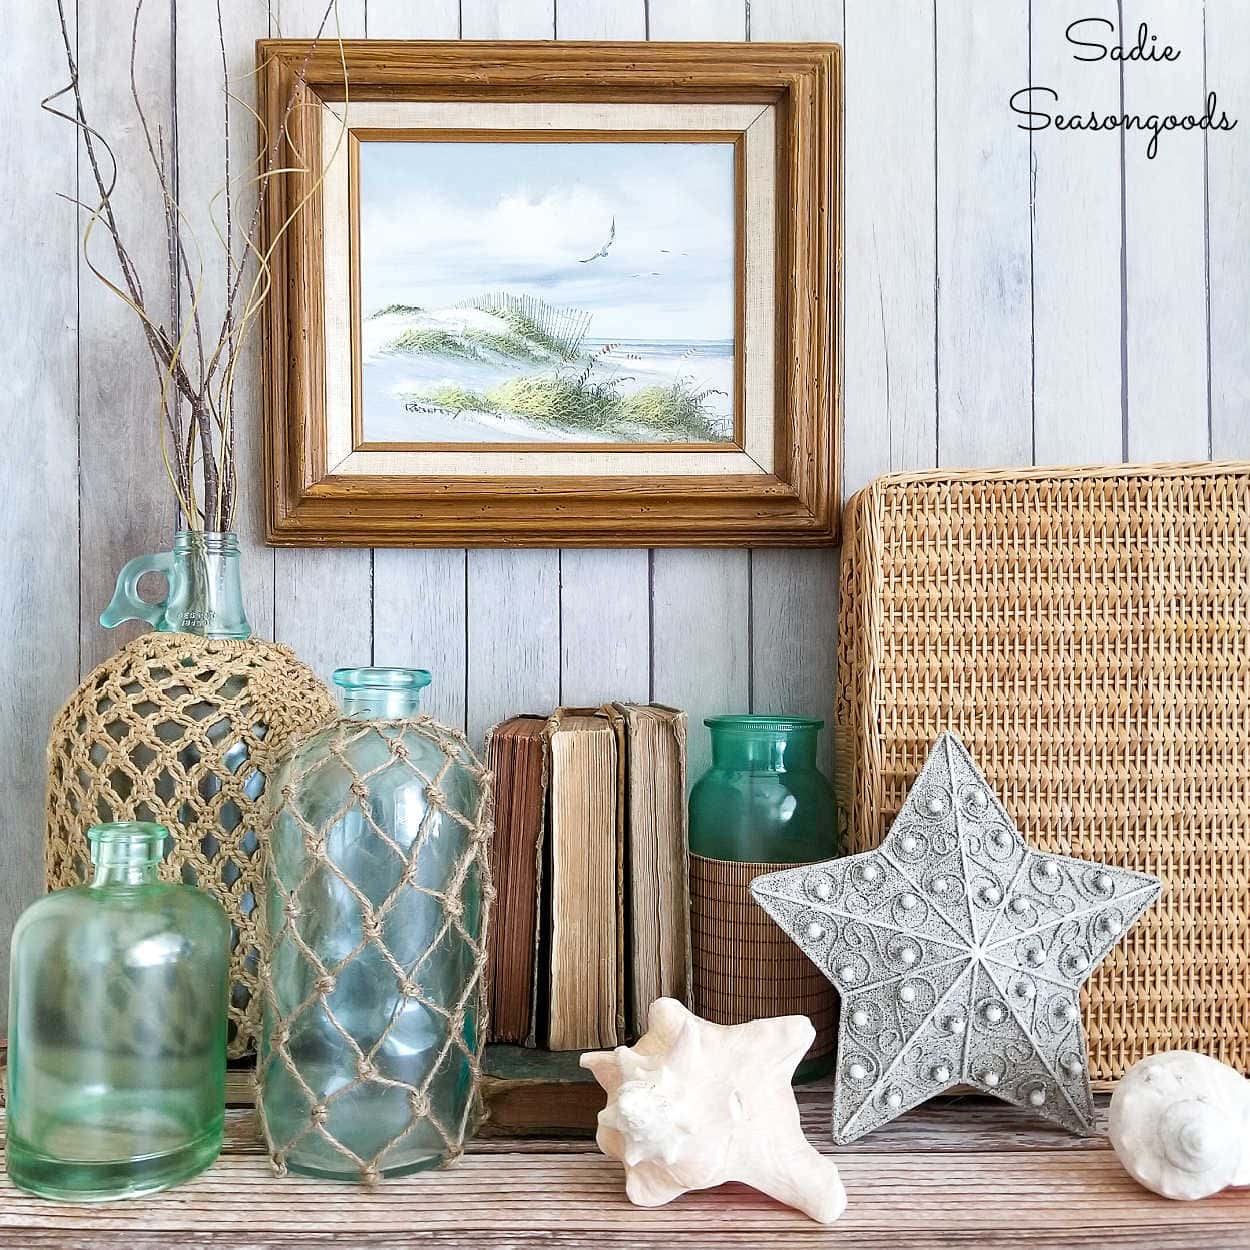
While working on my recent Thrift the Look: Beach Cottage blog post, one of the most challenging elements to find was a large starfish. I didn’t want to buy a real/dried one from a craft store, so upcycling one was my best bet. I just wasn’t sure what I’d find that could become the starfish decor that I needed.
It all came together when I found this lighted star Christmas tree topper. Could I upcycle this into a starfish?
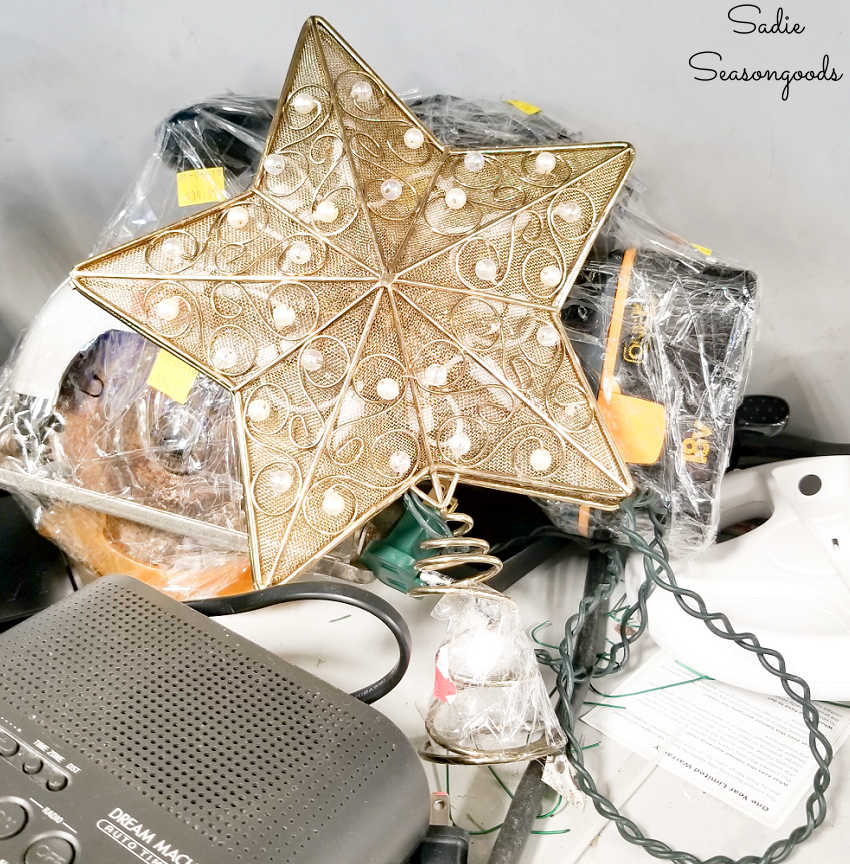
It was a good size with a great shape (i.e., thicker in the center). It even had faux pearl beads on it like the bumpy nubs on a starfish.
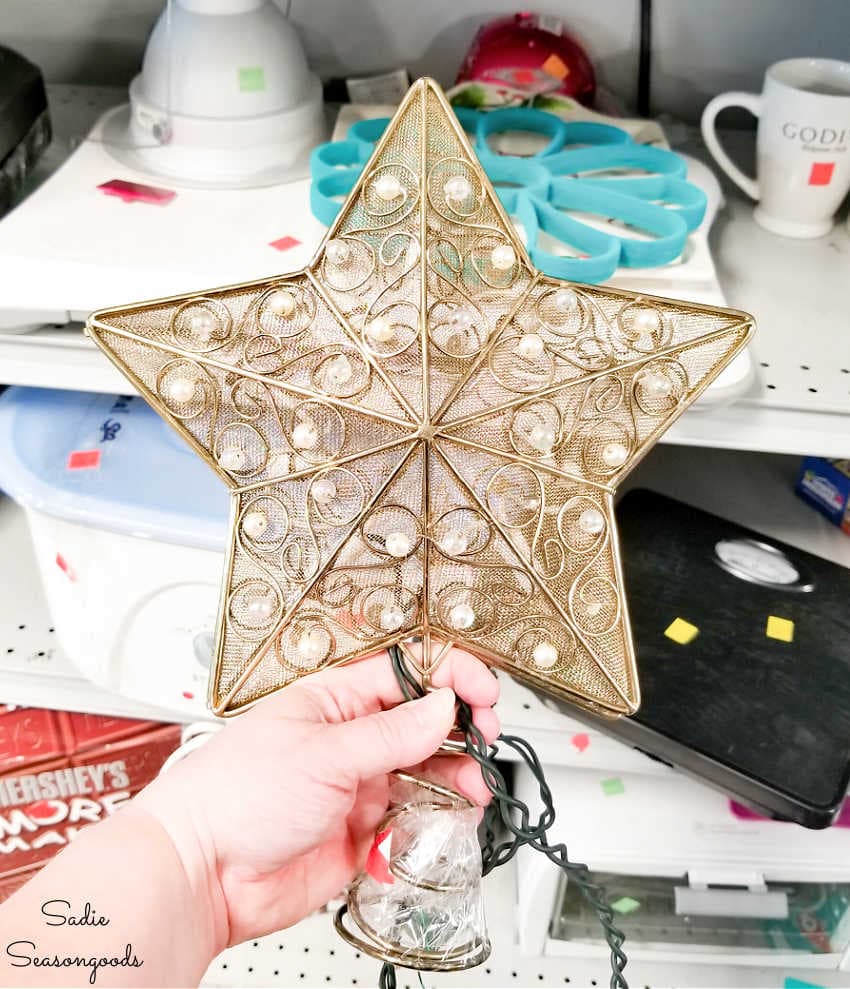
All I needed to do was remove the actual Christmas tree elements and give it a somewhat realistic makeover! Then it would work as the starfish decor that I needed for my thrifted version of beach cottage decor.
This post contains affiliate links for your crafting convenience. As an Amazon Affiliate, I earn from qualifying purchases. All blue, bold, and underlined text is a clickable link, either to a product or to a related post.
Upcycling a Lighted Star Christmas Tree Topper
At first, I wasn’t sure if this upcycling idea was going to be easy or not. I’ve never played around with a Christmas tree topper before!
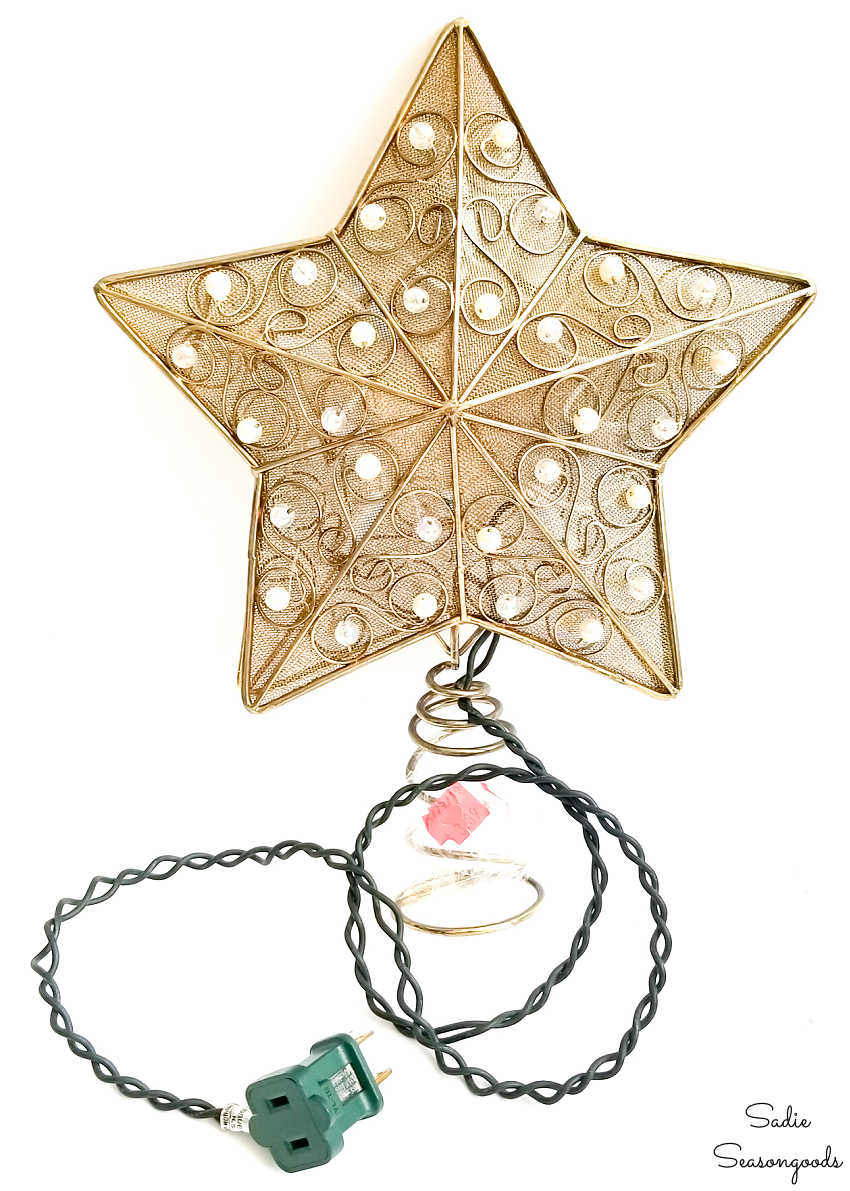
But I was pleased to discover that it opened up! I didn’t realize that when I found it at Goodwill.
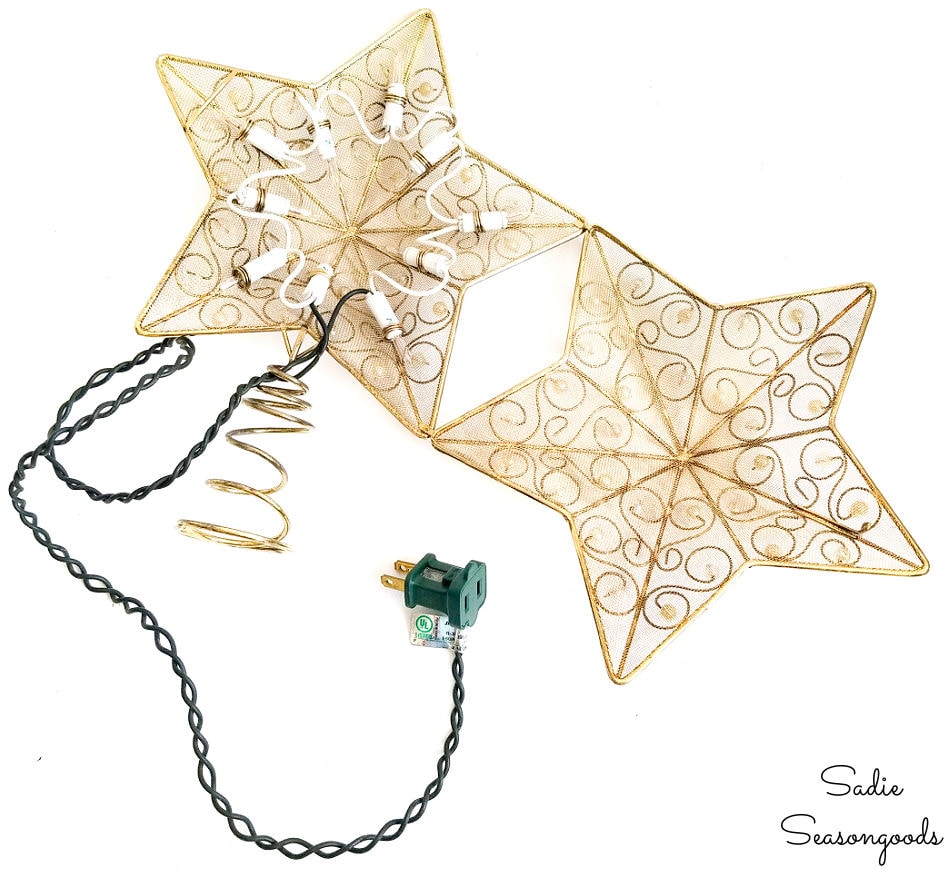
That made it really easy to remove the Christmas lights (which didn’t work anyway).
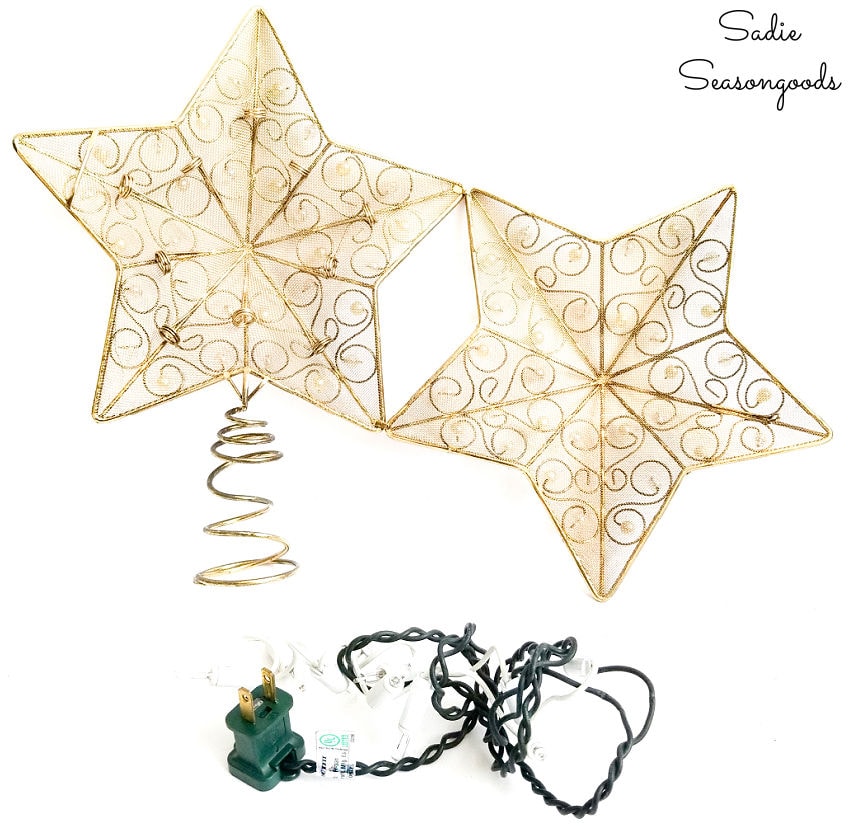
Next, I used our Dremel tool to remove the coil at the bottom. In other words, the part that attaches to the top of the tree.
I also used our wire cutters to also remove the clips from inside that had previously held the light bulbs in place.
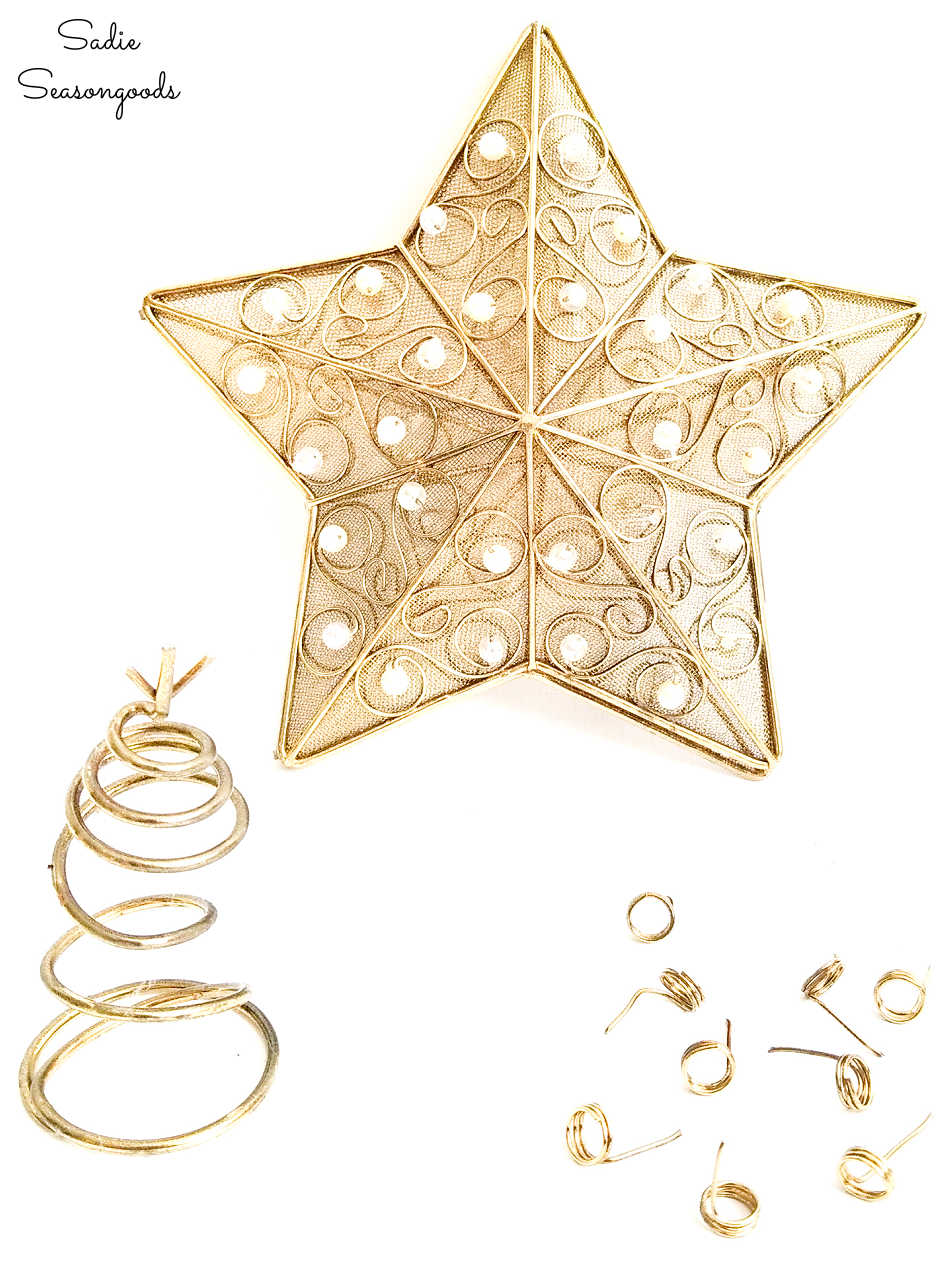
And just like that, the gold star tree topper was ready for the next phase of its makeover as starfish decor!
Painting a Faux Finish on Starfish Decor
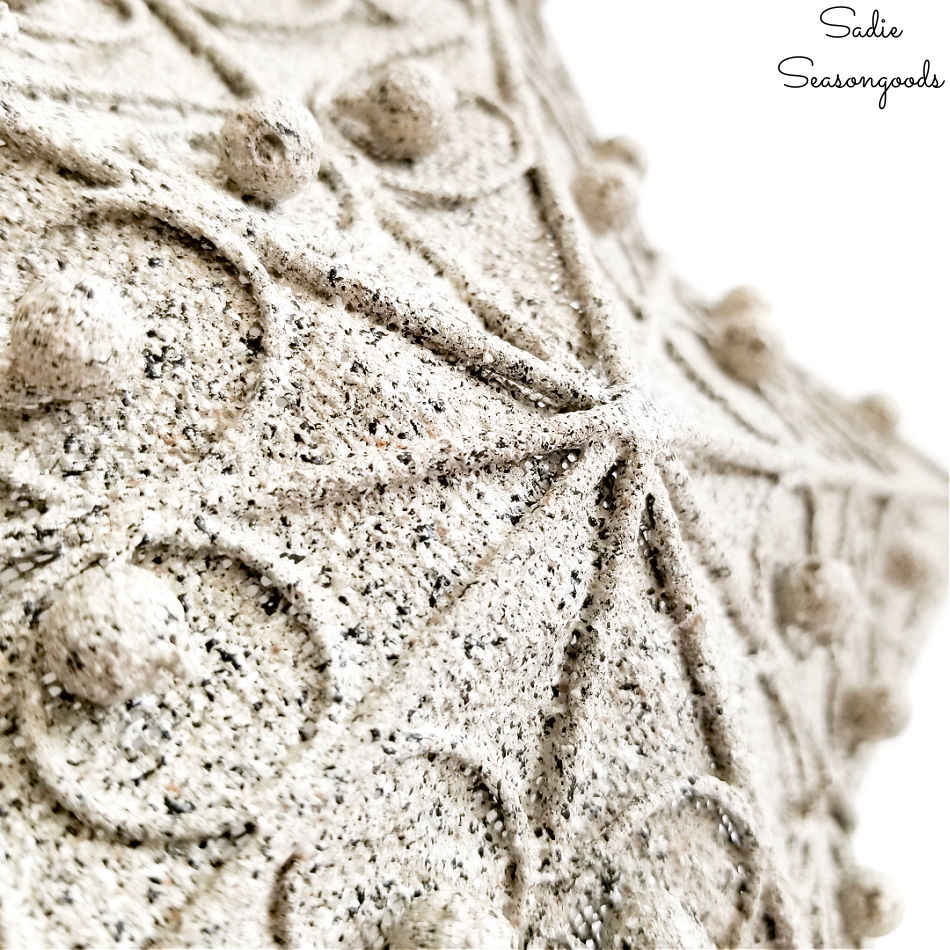
I decided that transforming the Christamas tree topper into something that looked “sandy” would be the best bet.
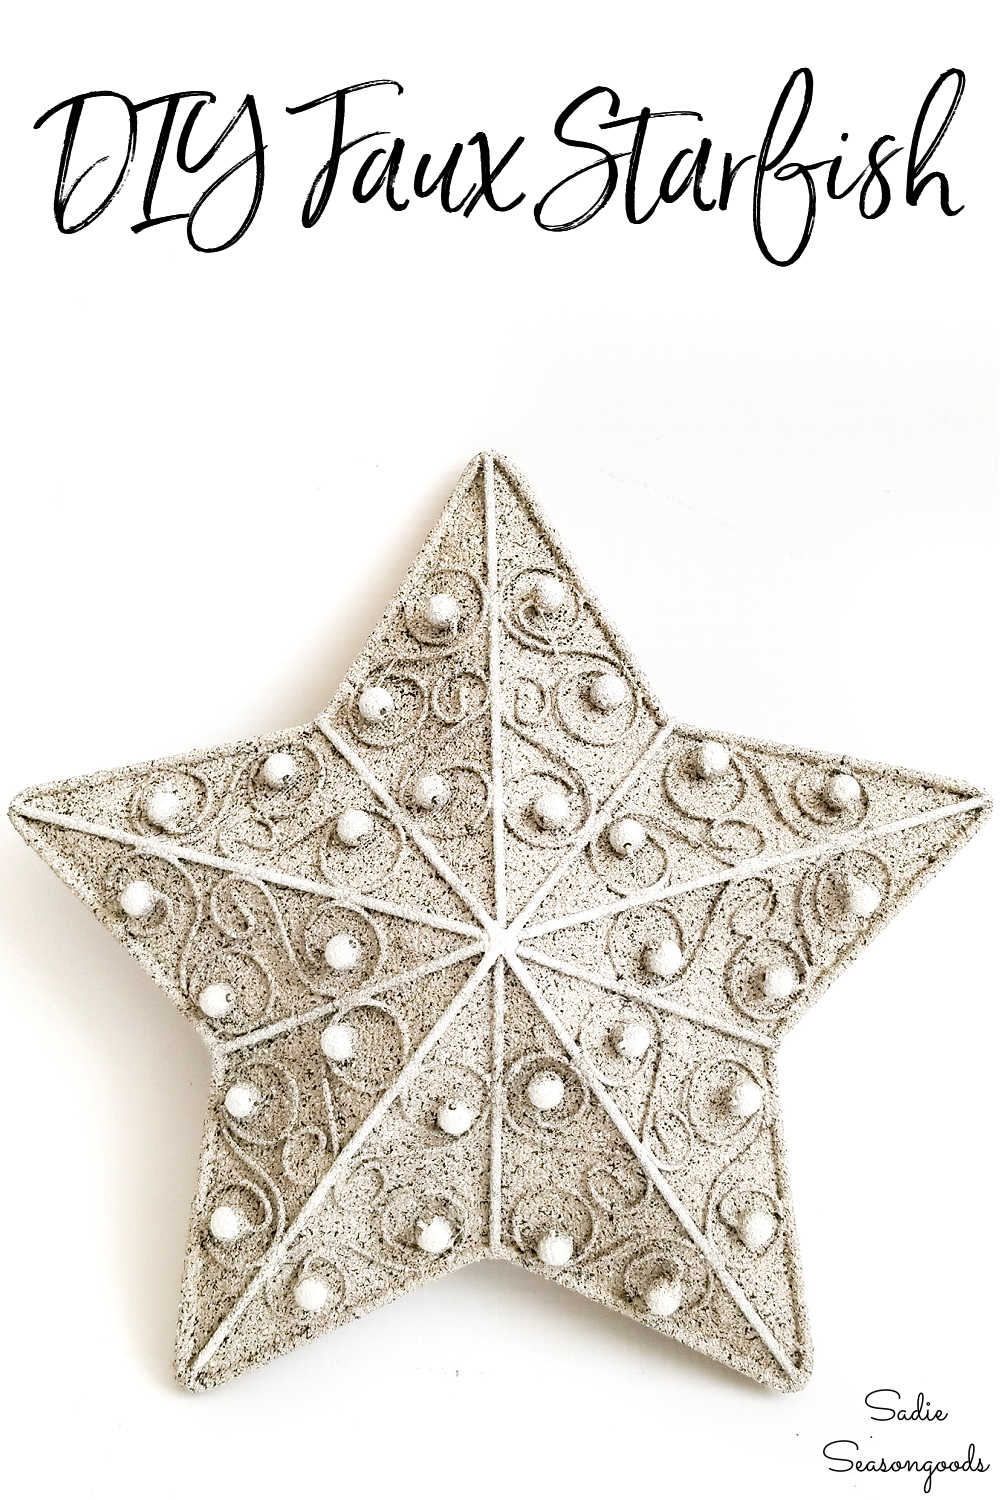
So, I used this stone spray paint to get the sandy look I was going for with the starfish decor.
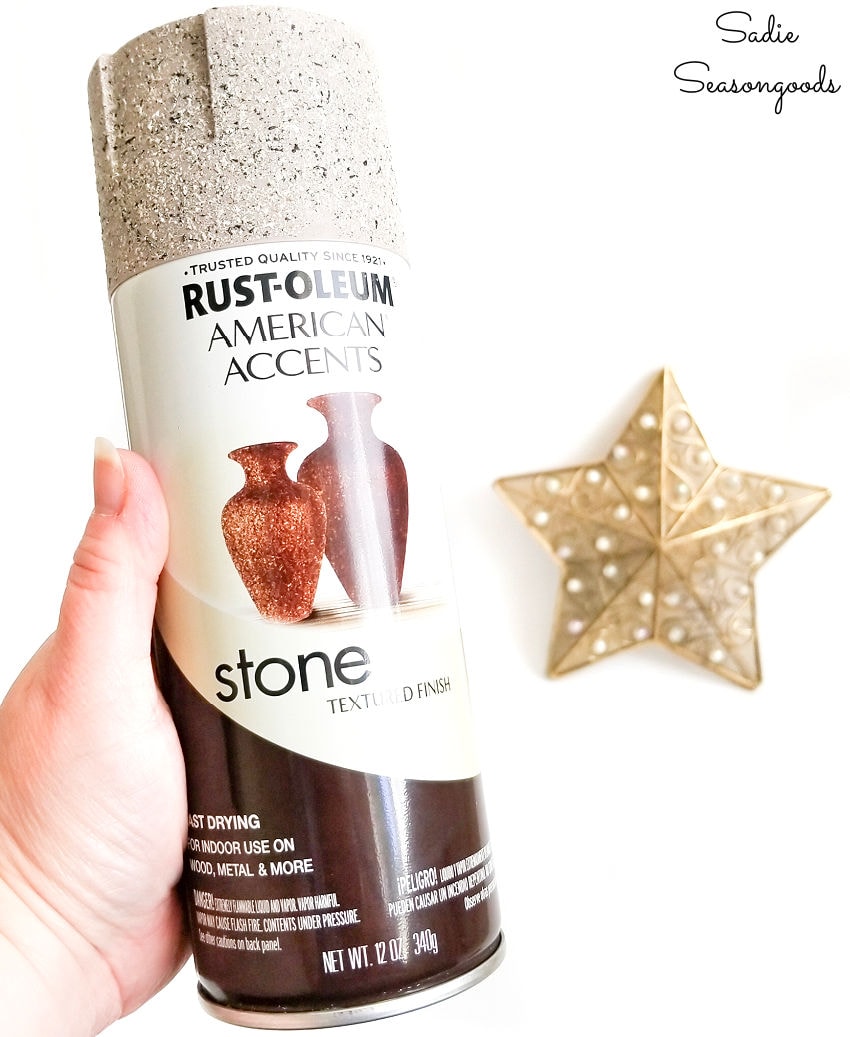
Admittedly, I used SEVERAL coats of this stone spray paint.
I suspect it was because the star tree topper was mostly a metal mesh. And that made opaque coverage with the stone effect paint a little more challenging.
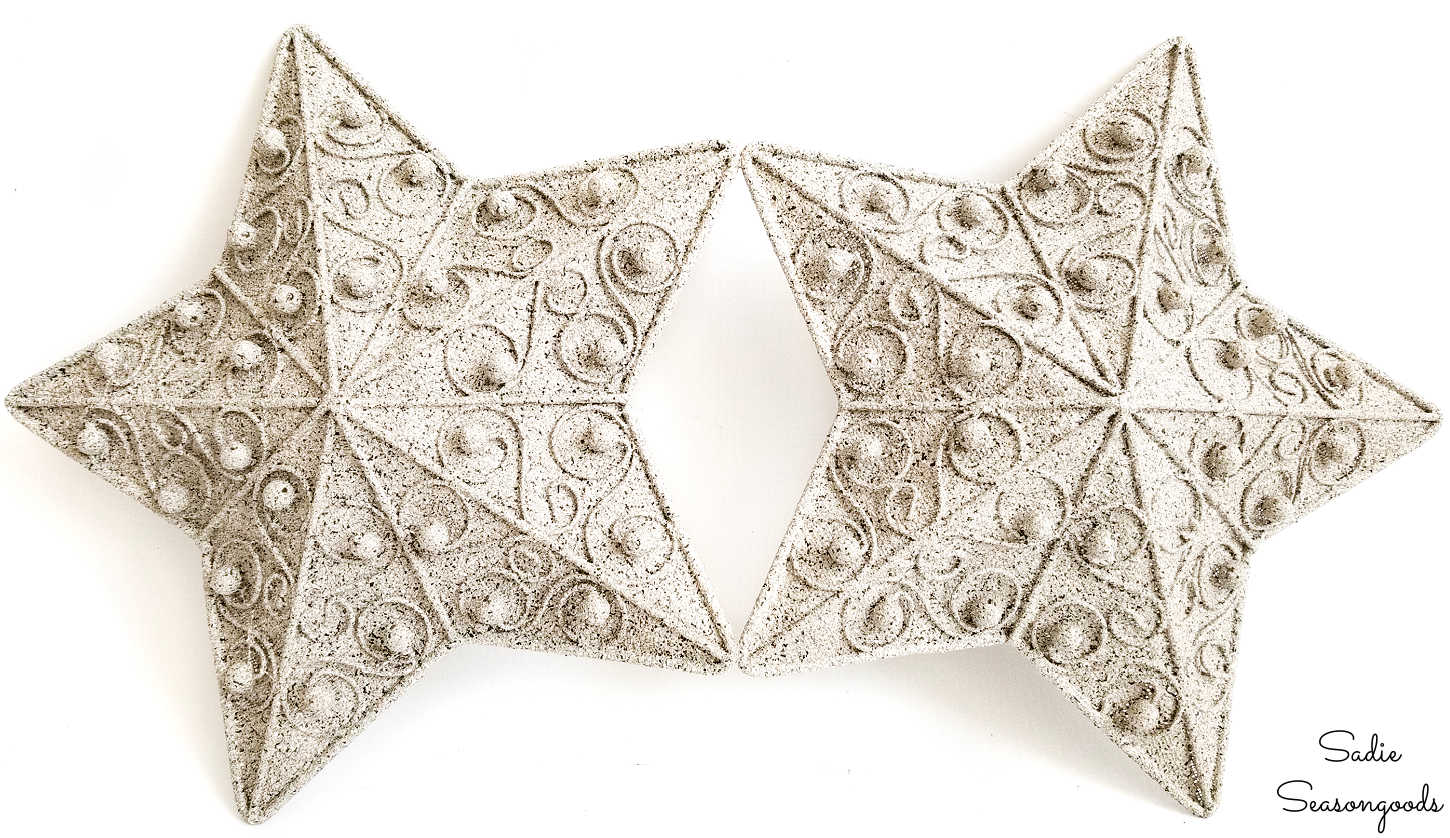
In the end, though, I was thrilled with the result. The starfish decor was coming together nicely and more easily than I could have hoped.
Finally, I dabbed on some off-white paint (leftover from this jewelry box makeover) to the pearl beads. I used a small stencil brush to dab on the paint.
This just added a little more dimension to the “nubs” of my starfish decor.
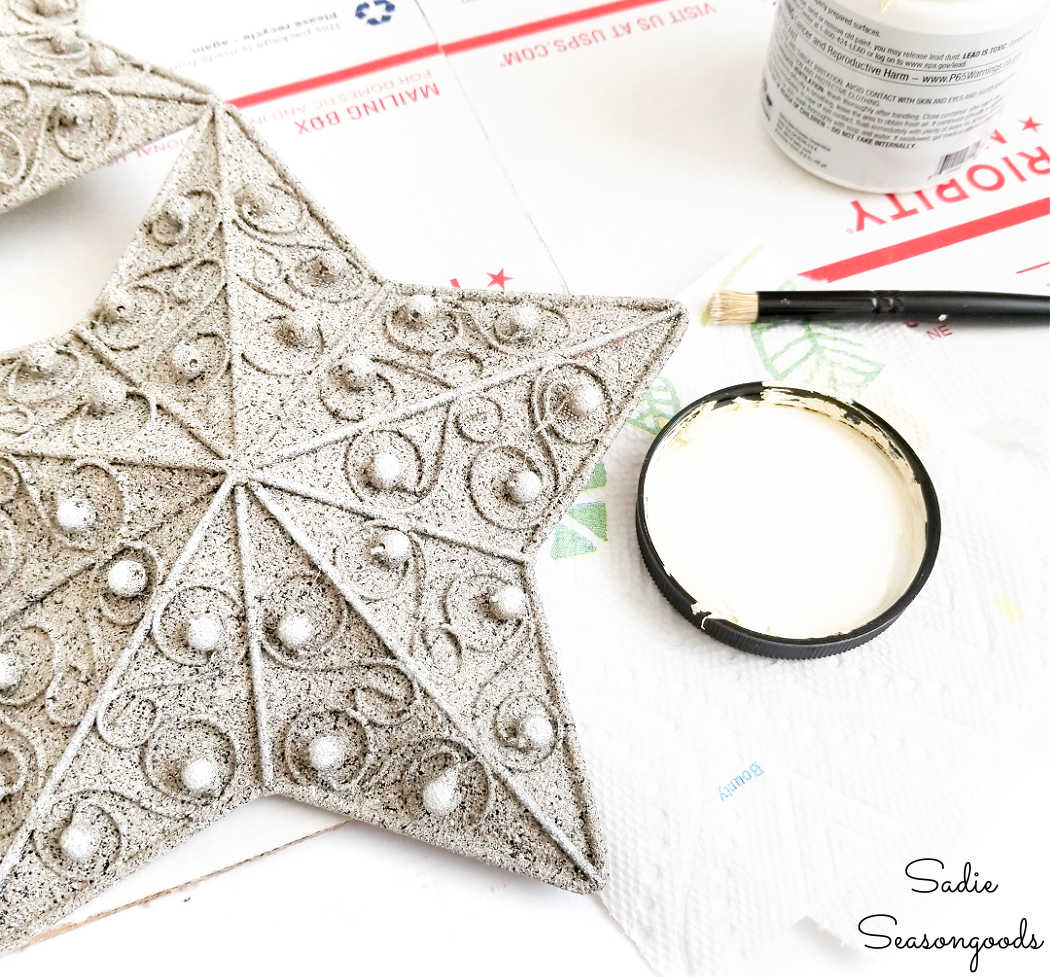
I also lightly painted the “interior skeleton” of my starfish decor with the same paint. Just to give it a little more contrast and depth.
And that, as they say, was all she wrote. Or upcycled, as the case may be.
Starfish Decor from a Lighted Star Christmas Tree Topper
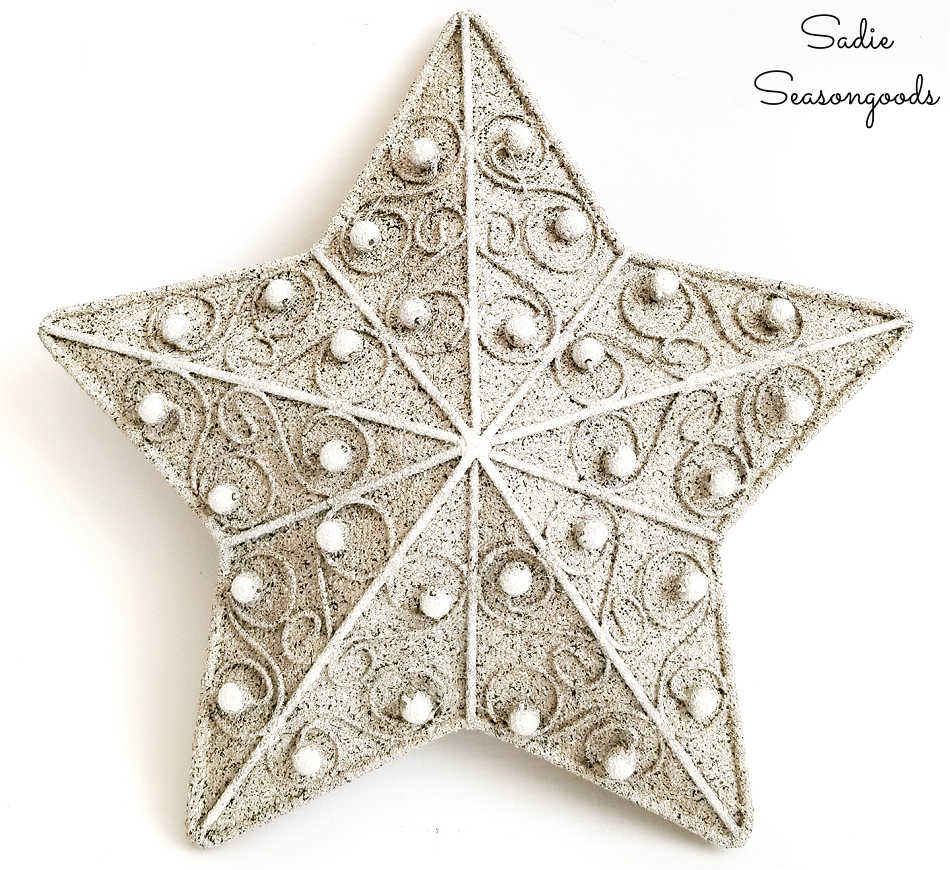
In no time at all, I transformed a gold star tree topper into a starfish. And it was PERFECT for the beach cottage look that I was going for.
If you read my Thrift the Look: Beach Cottage blog post, did you pay attention to the starfish decor?
Did it look… “fishy” to you? (pun intended!)
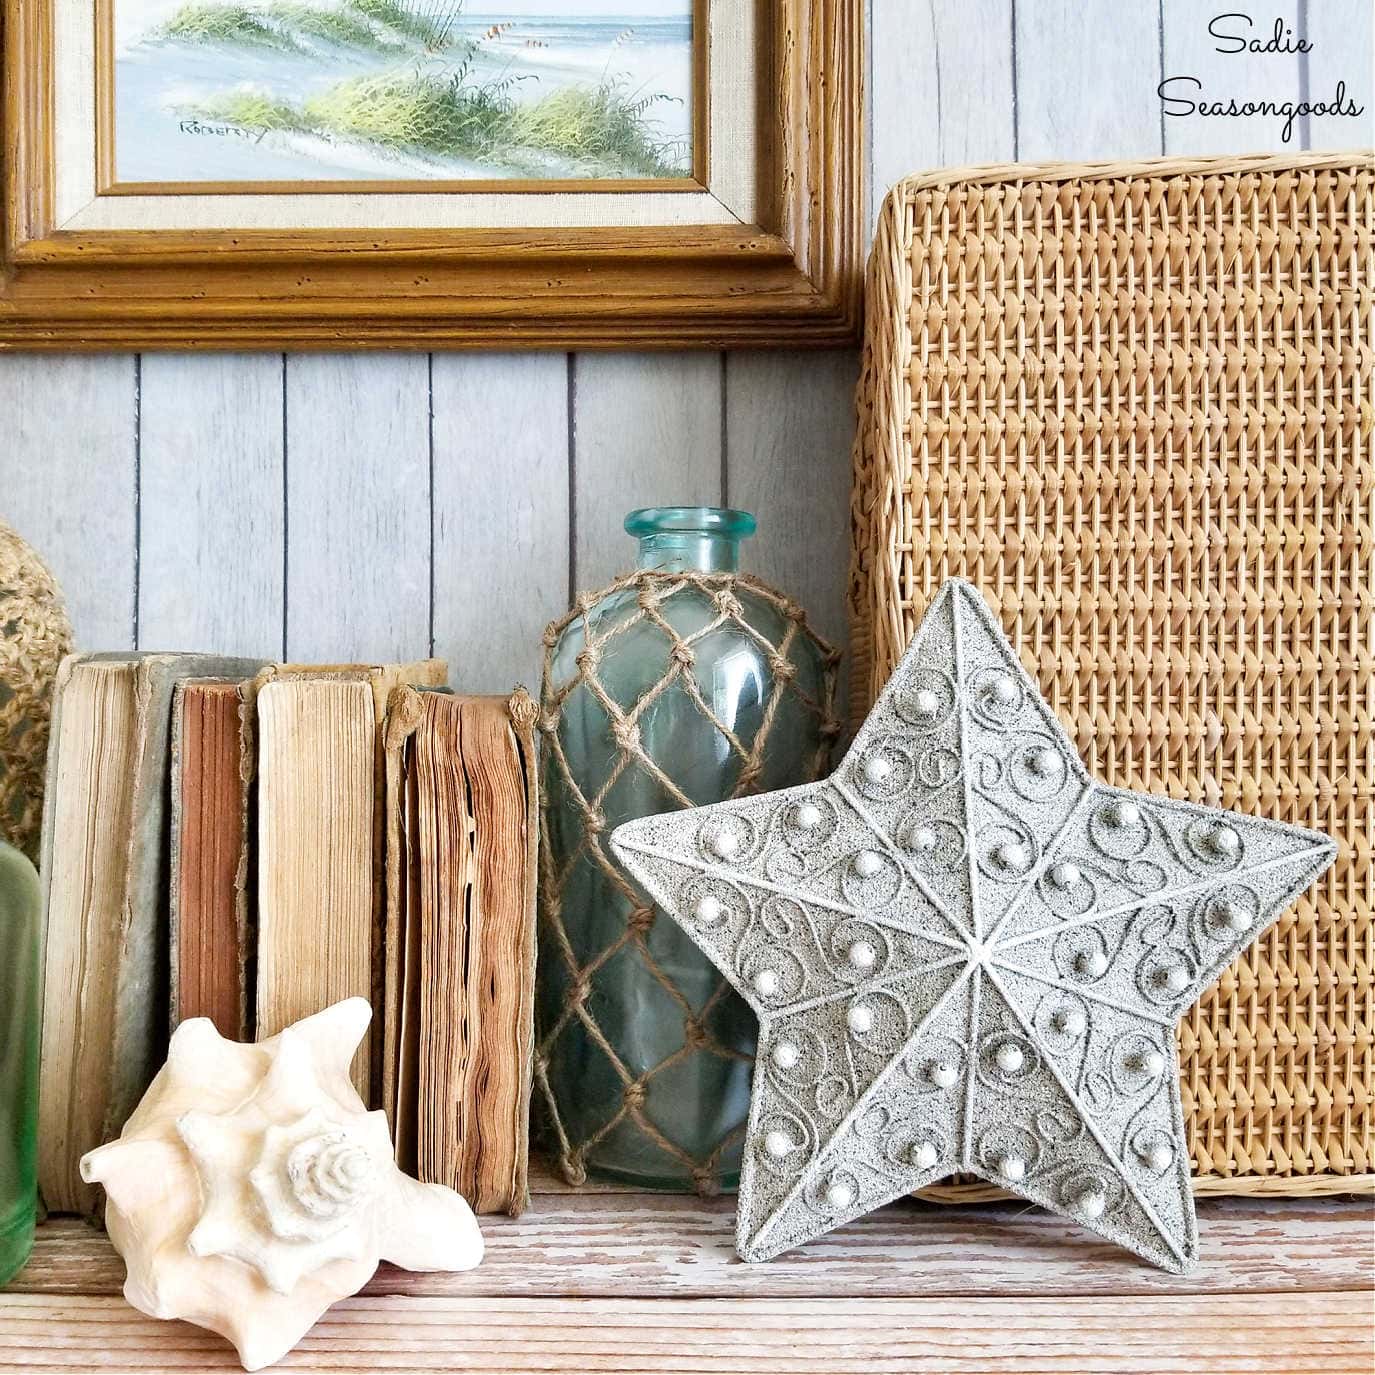
The best part, though, is that you could TOTALLY do this to a working tree topper if you wanted a coastal Christmas tree. You would just skip the part with the Dremel and wire cutters.
Otherwise, the entire tutorial applies!
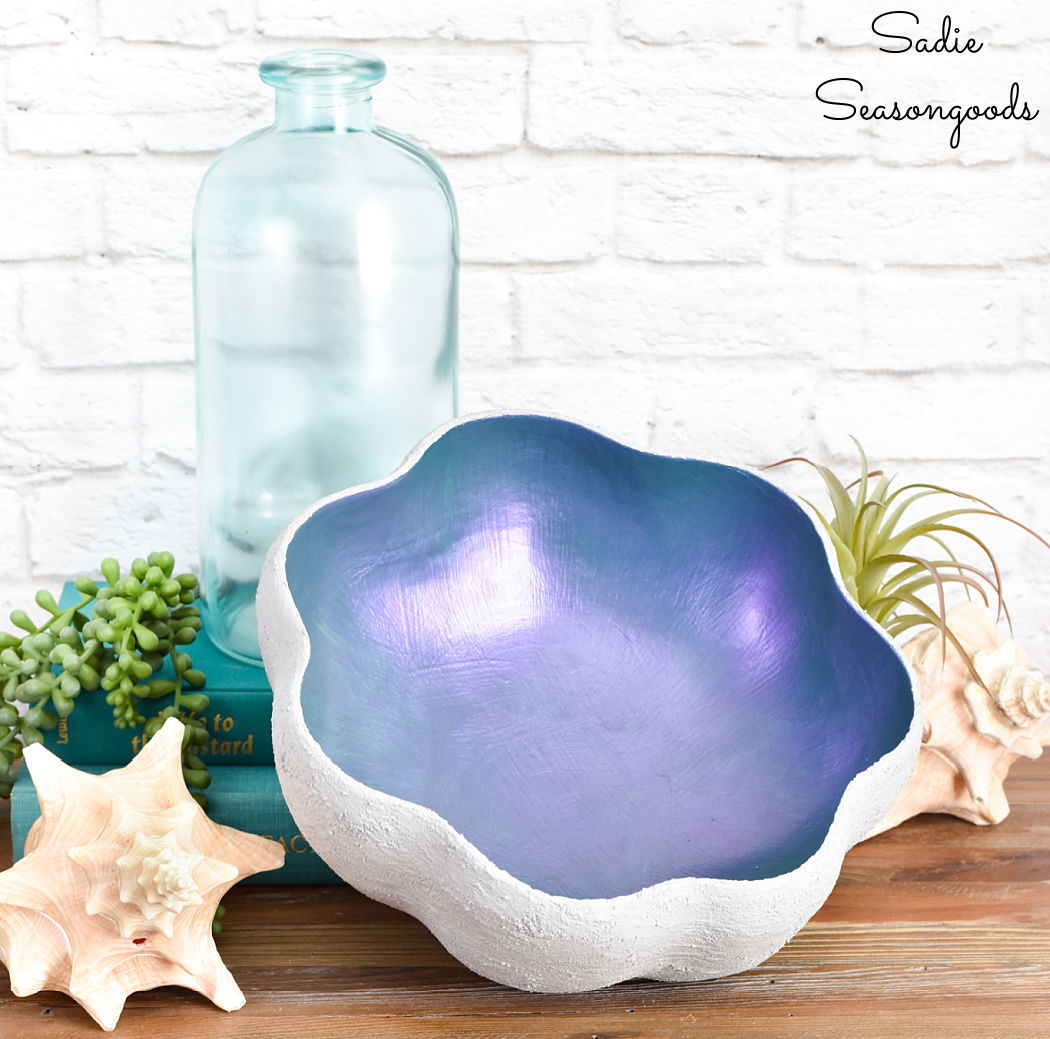
And if you enjoyed this upcycling idea for ocean decor, then you may also enjoy how I created this clam bowl from a thrift store find, too!
Craft on!
S
Want to be notified when I publish my next upcycling project tutorial?
Join me on Social Media:
PIN ME!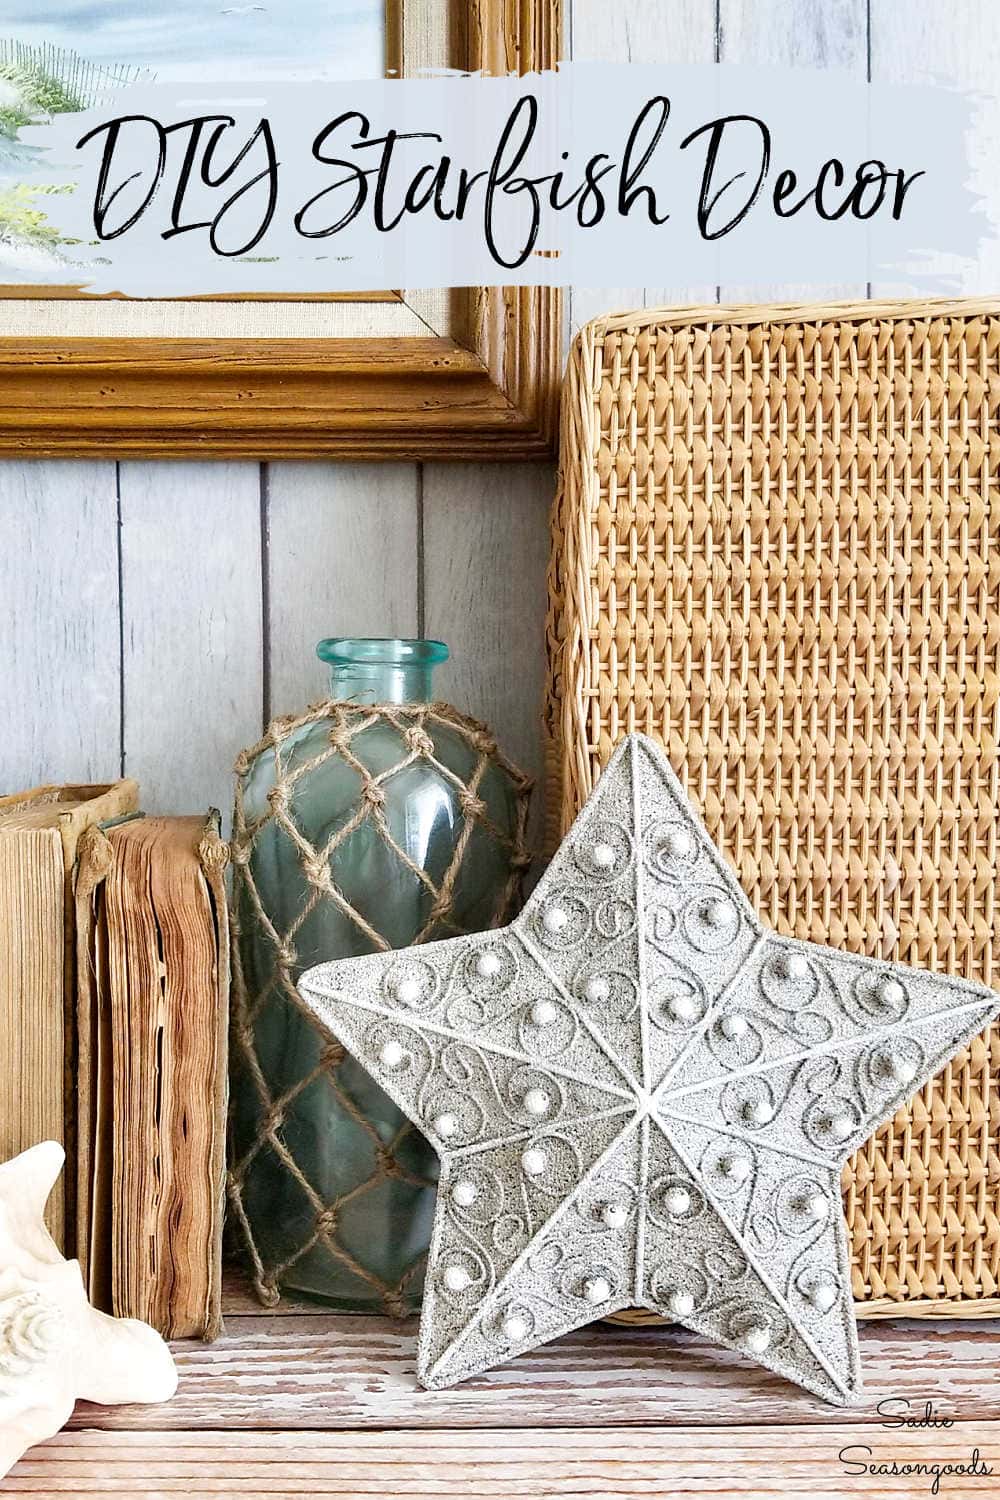
Sarah Ramberg is the owner of Sadie Seasongoods, a website that celebrates all things secondhand. From upcycling ideas and thrifted decor to vintage-centric travel itineraries, Sadie Seasongoods is a one-stop shop for anyone who loves thrifting and approachable repurposing ideas. Sarah is also the author of “Crafting with Flannel” and has been featured in numerous media outlets and magazines.






A fantastic repurpose especially using stone paint. Your creative juices are always flowing.
Thanks, Rita!!
As always, your projects are beautiful. I love this starfish idea.
Thank you so much, Amanda!
It’s just lovely—awesome job! xxoo
Thanks, Cheryl!
Hi Sadie, cute and not too difficult. I wanted to tell you I have dried coffee grounds saved up and toilet tubes & lint, I will be trying out a couple of projects from your last project listing, they were awesome. Thanks
That’s terrific, Mary – let me know how those work out for you!
Hi Sarah! I am not even going to say it..well maybe I will….I have seen so many of these at my local thrift store, and you guess it! Left them sitting on the shelf. I am so bummed now. This turned out gorgeous! 🙂
Thank you!!! I know, I see them ALL THE TIME, too!!