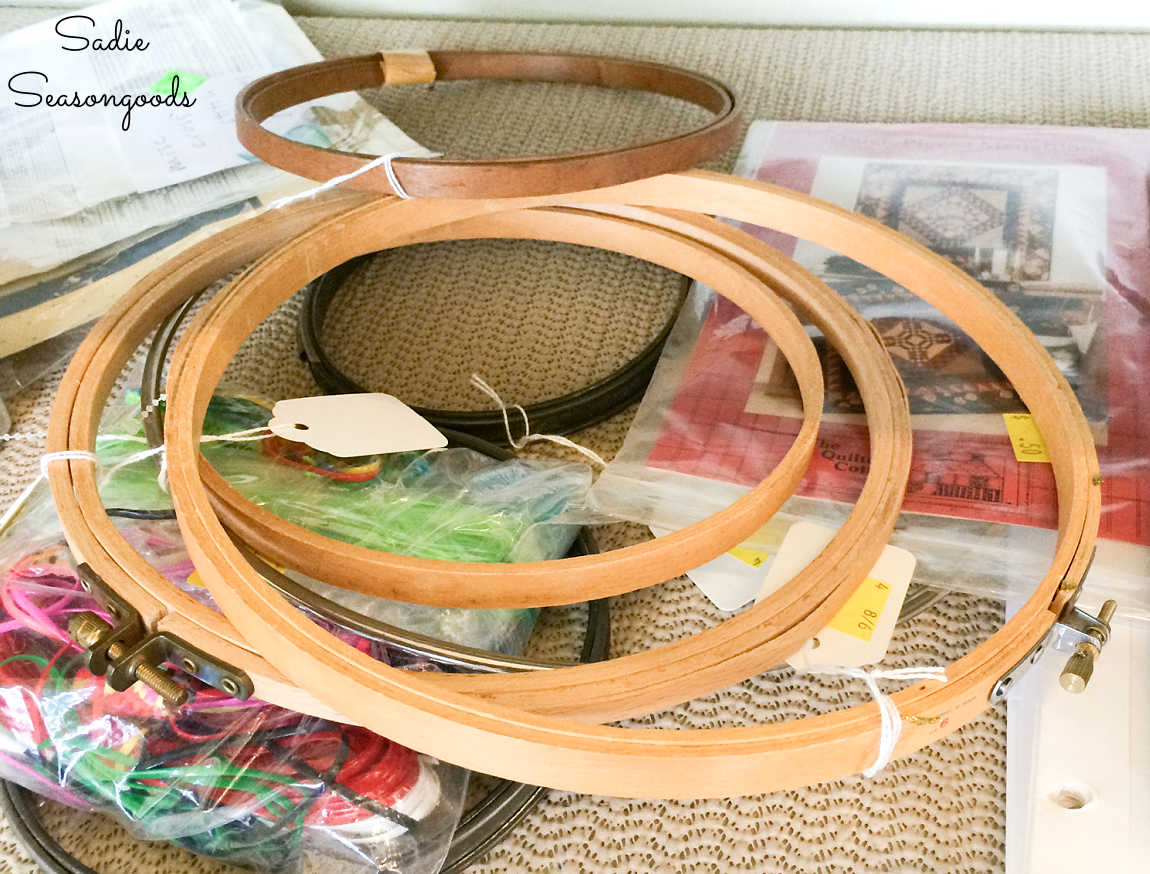
Vintage embroidery hoops are one of those things that you can almost always find in thrift stores. And I like them SO much better than modern-made hoops. But either way, they are the perfect thing to use for this upcycling idea for Halloween window decor. More specifically, I wanted to upcycle them into spooky silhouettes.
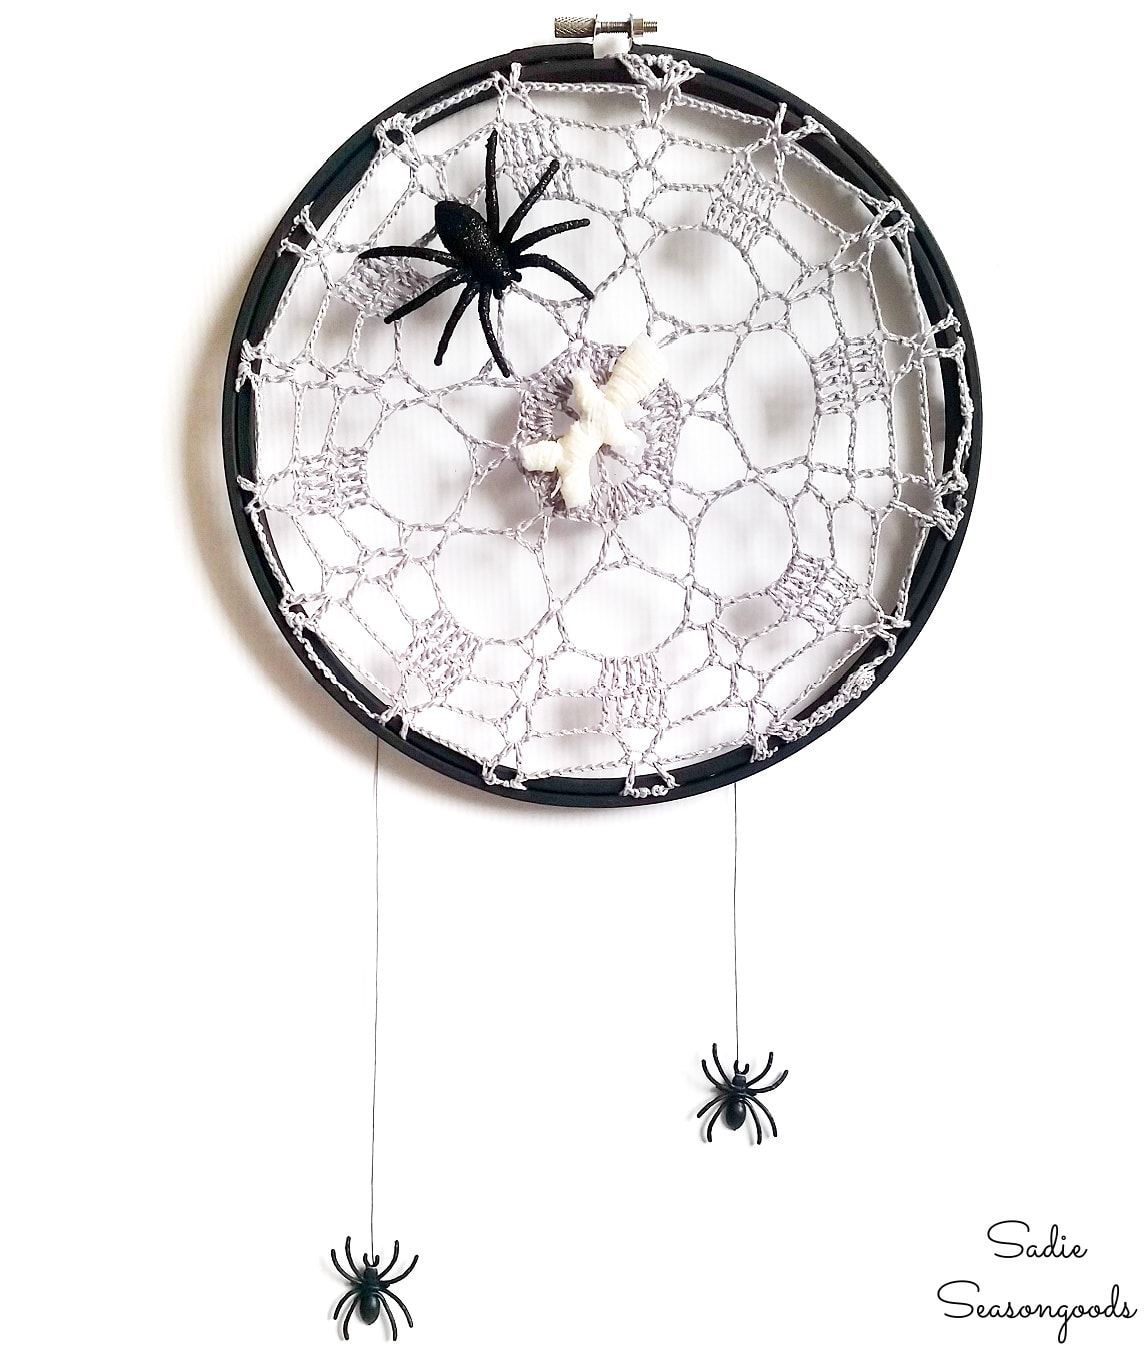
And, yes- this isn’t the first time I’ve used thrifted embroidery hoops for a Halloween project! Remember these spider webs that I made?
Anyway, I loved the idea of taking a classic decor piece (the silhouette) but creating some for Halloween, using basic crafting materials. So, that’s what I set out to do with these!
This post contains affiliate links for your crafting convenience. As an Amazon Affiliate, I earn from qualifying purchases. All blue, bold, and underlined text is a clickable link, either to a product or to a related blog post.
Halloween Window Silhouettes
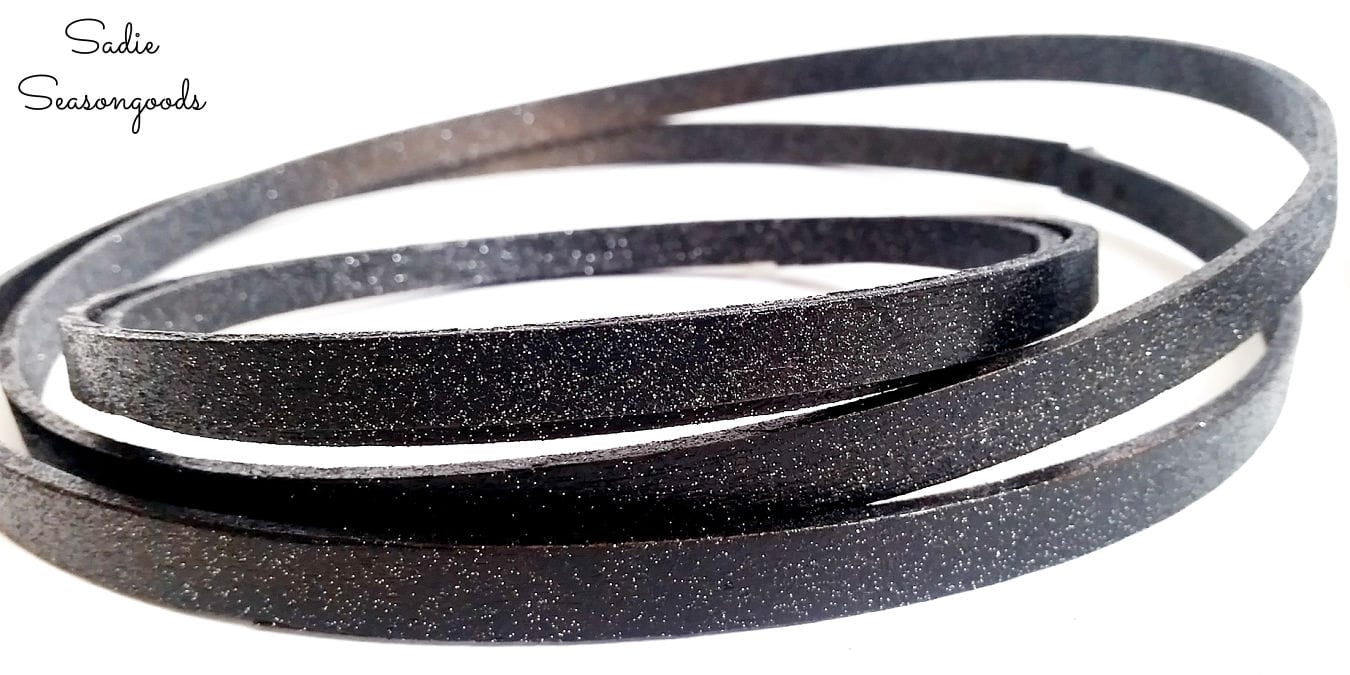
First, I needed (or rather, wanted) to paint the vintage embroidery hoops black. So I wrapped the tightening screw on the outside hoop of each pair with painter’s tape, and spray-painted them.
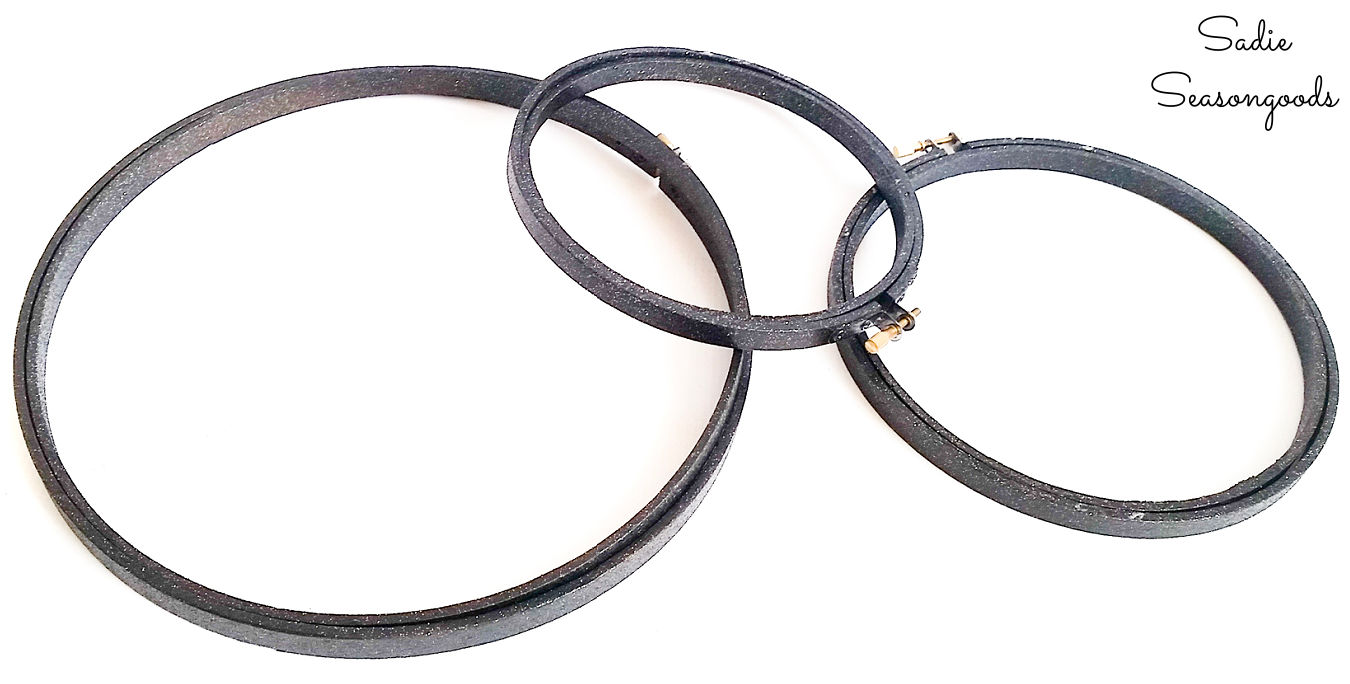
But not just any black…SPARKLY BLACK!
Now- a bit of truth. I had originally planned on using thrifted lace (curtains, tablecloths, etc.) dyed purple as the “canvas” for this project. So, I bought some pieces of a lace from Goodwill and dunked them in RIT-brand purple dye.
But they came out pink. Since the bits of lace didn’t have a tag, I have no idea what kind of fiber they were…but whatever they were made of, they weren’t taking on color very well.
So, I scrapped the lace idea for my spooky silhouettes.
I then decided to hunt for something in lavender at the thrift store- but when I perused the linens, I came away empty-handed. While I had resigned myself to another trip at another time, I strolled past the children’s clothing department…and saw a pretty little dress. It was on clearance and it stopped me in my tracks.
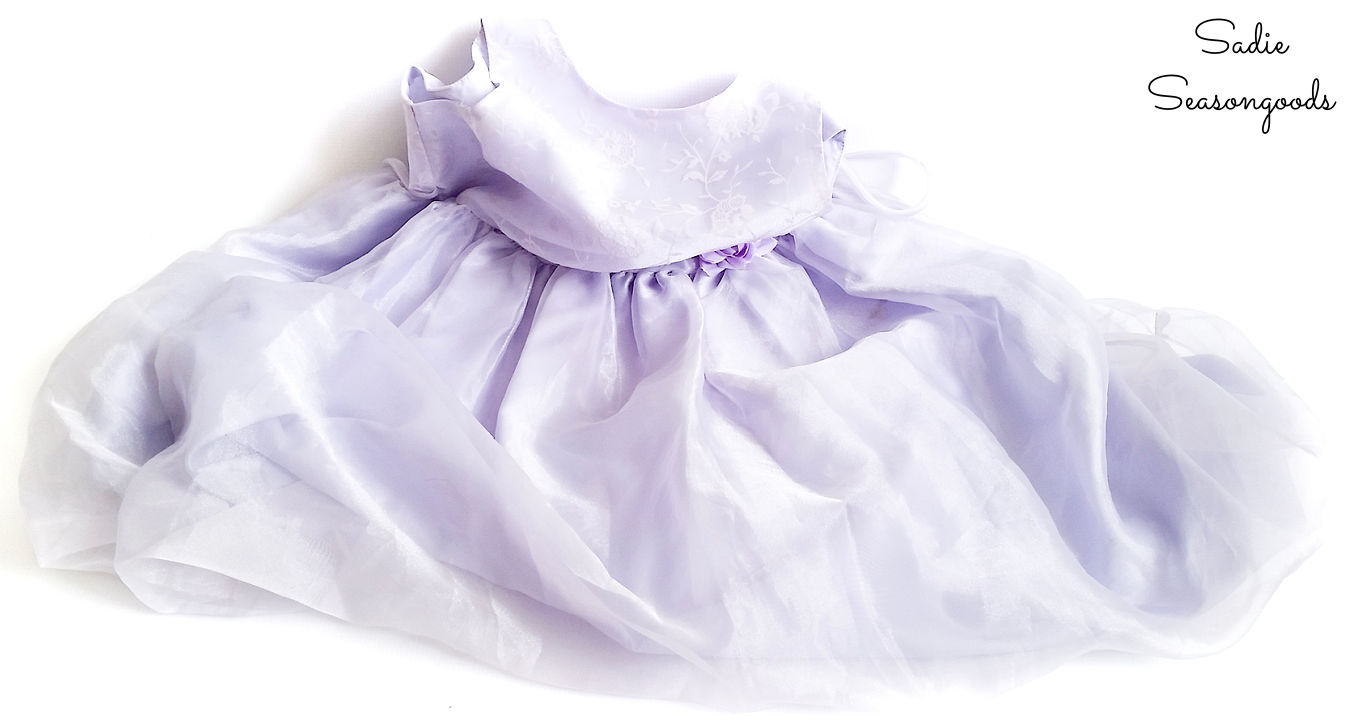
Despite other flaws on the dress, the gossamer skirt layer was in pretty good shape. So I decided to grab it and go.
I hoped the gossamer fabric would allow the Halloween silhouettes to “float” in the embroidery hoops…
Crafting the Spooky Silhouettes
Oddly enough, Cottonball really took a liking to the dress. First he laid on it…then he burrowed under it…and with a little help from me, he eventually wore it.
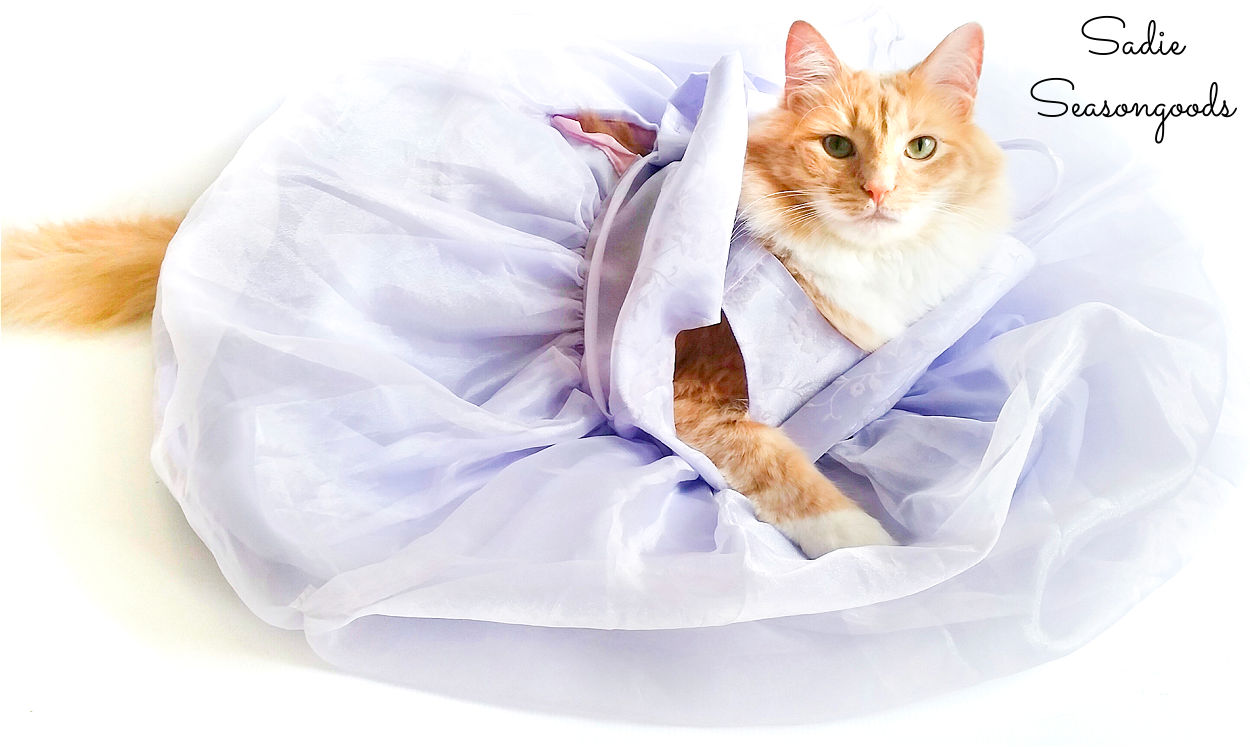
Isn’t he a nut? But such a tolerant nut.
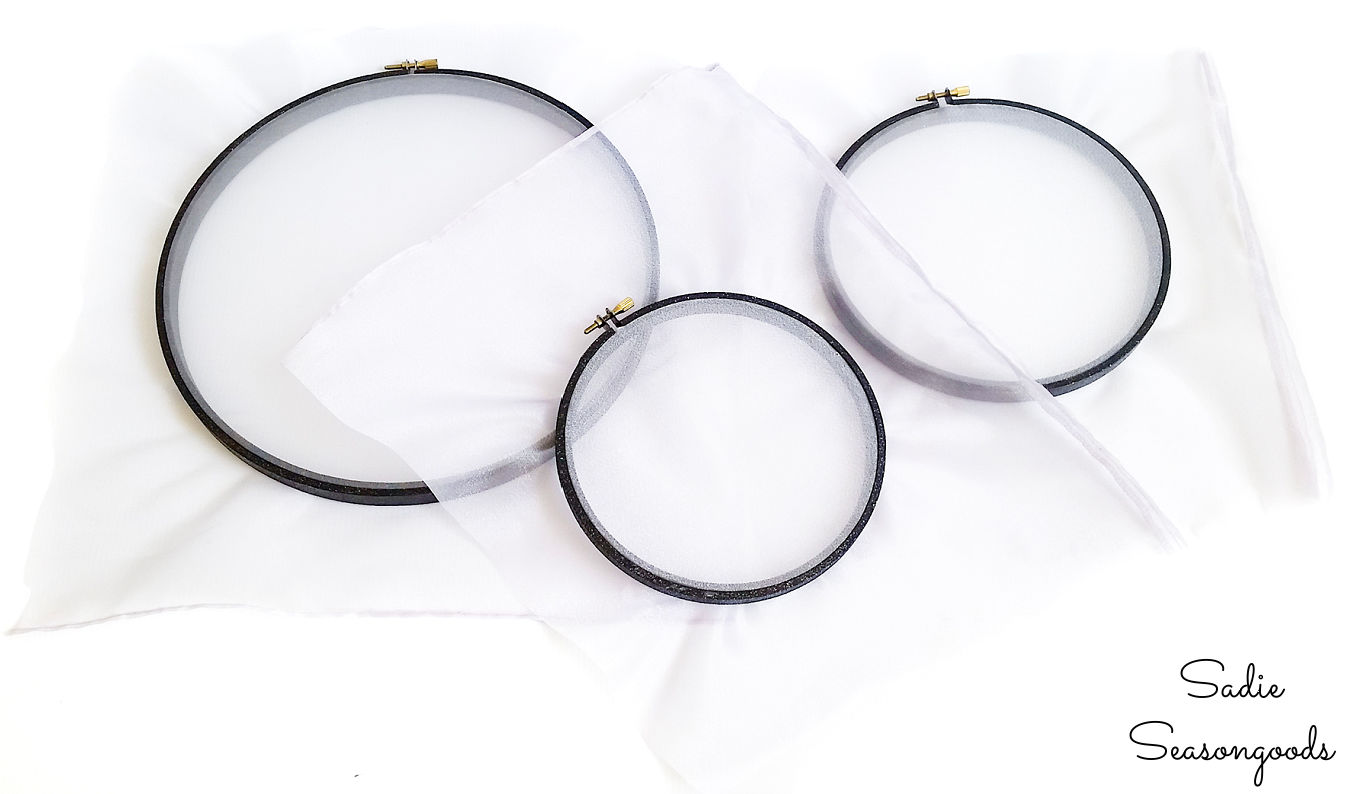
Anyway, back to my Halloween window decor! After trimming off the shimmery top layer of the skirt, I inserted pieces of the shimmery fabric into each of my vintage embroidery hoops.
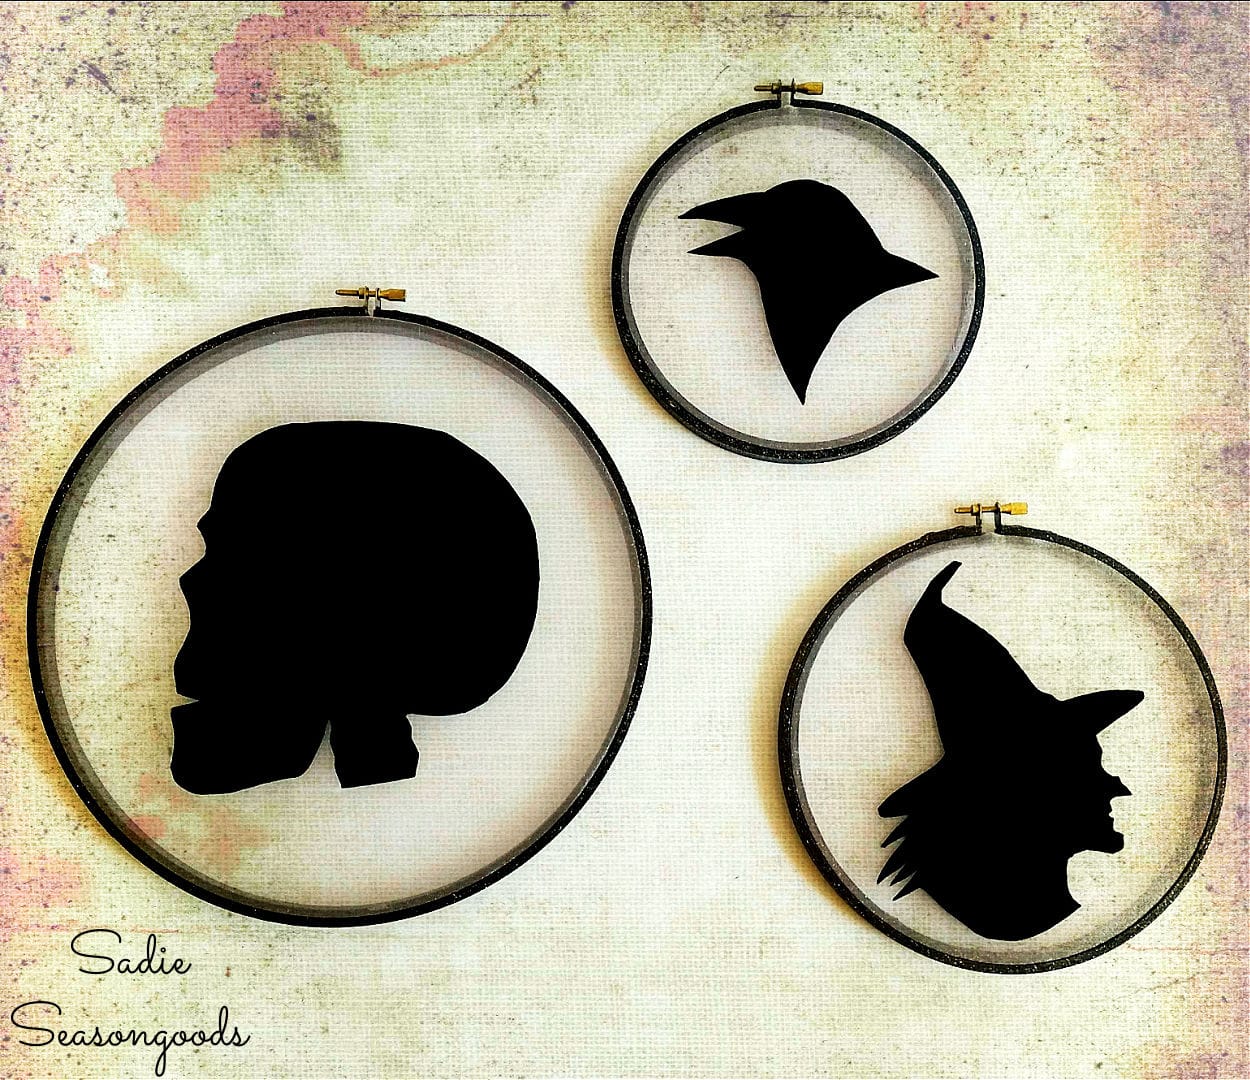
Next, I went online and searched for some Halloween silhouettes. In the end, I found a silhouette of a witch, a raven, and a skull.
I printed them as close to size as I could guesstimate (based on my embroidery hoops) and gathered up some black felt.
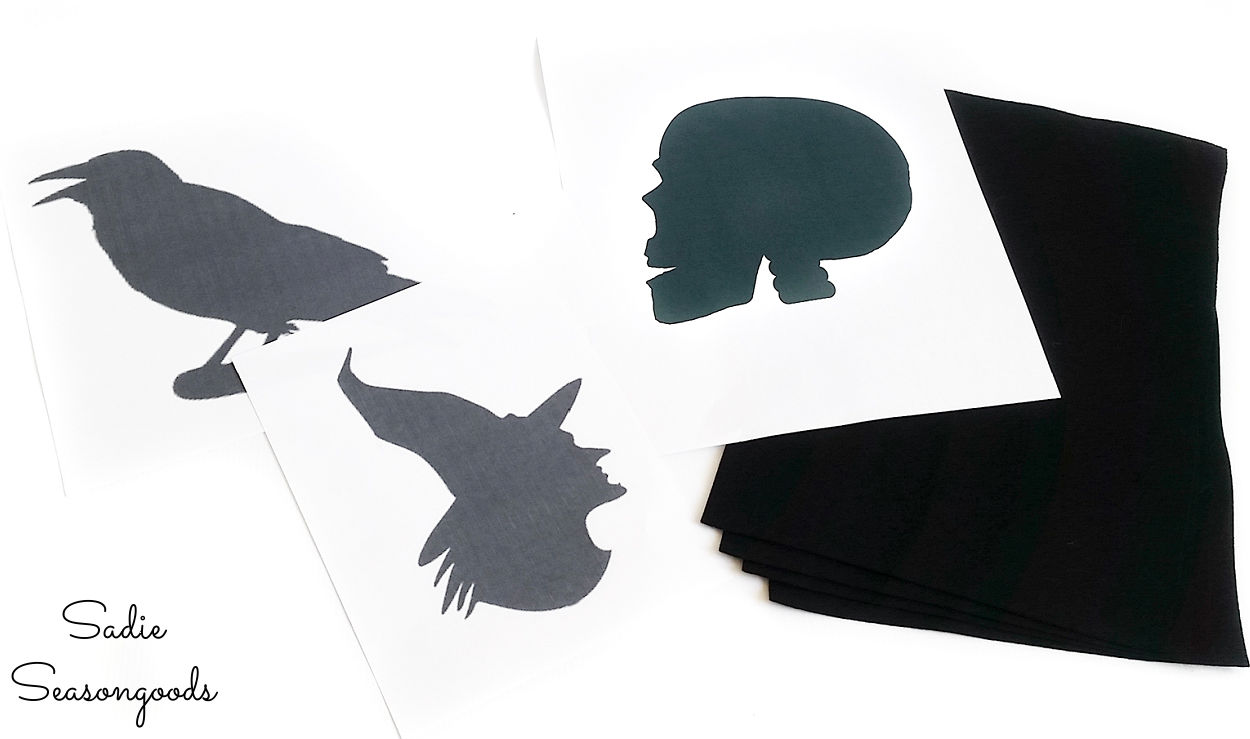
Then, I simply cut out the silhouettes and pinned them to the felt. Finally, I cut around the paper templates so that I had my Halloween silhouettes in black felt!
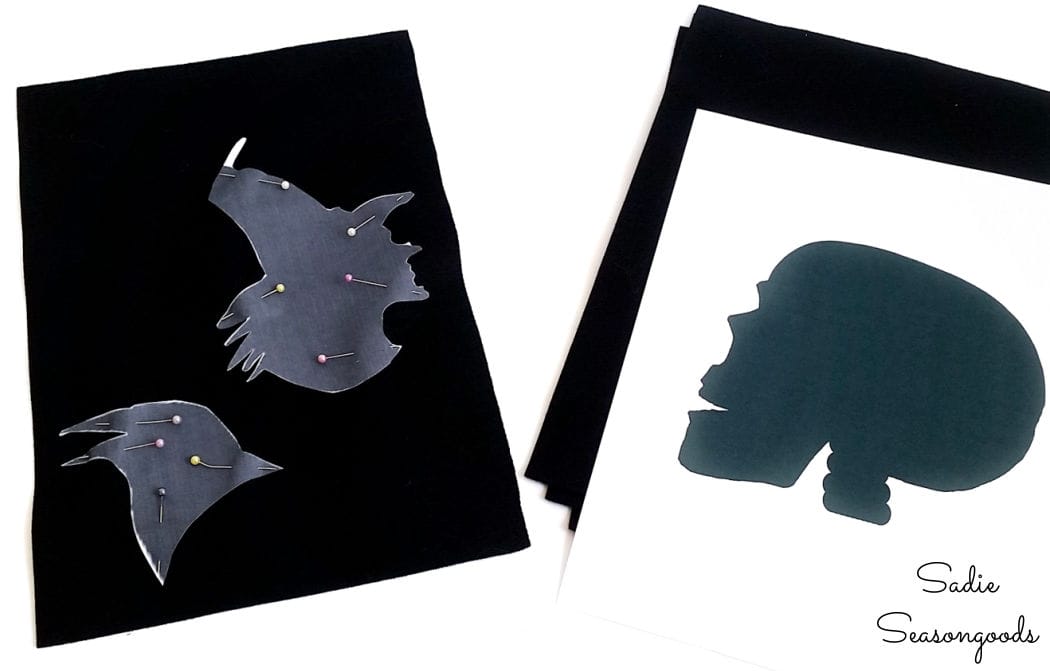
Finally, I attached the Halloween silhouettes in black felt to the shimmery fabric with fabric glue.
Spooky Silhouettes as Halloween Window Decor
To finish them off, I trimmed off the excess gossamer fabric on the back of the hoop. And that was it, my spooky silhouettes were done and ready to hang!
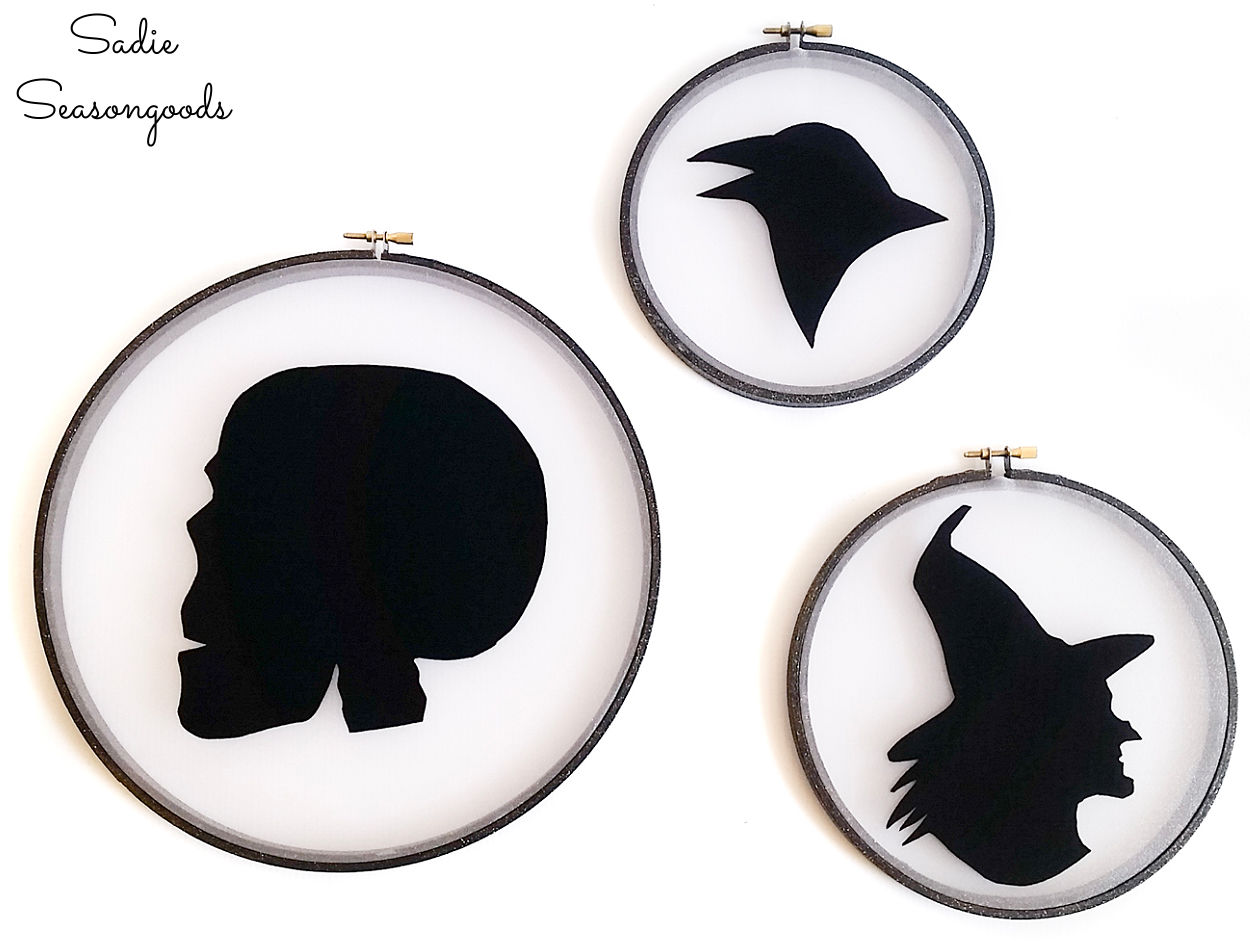
Super simple and they’ll be perfect to hang in our bay window throughout October! After having my pretty scarf suncatchers there all summer long, I was ready for a seasonal change.
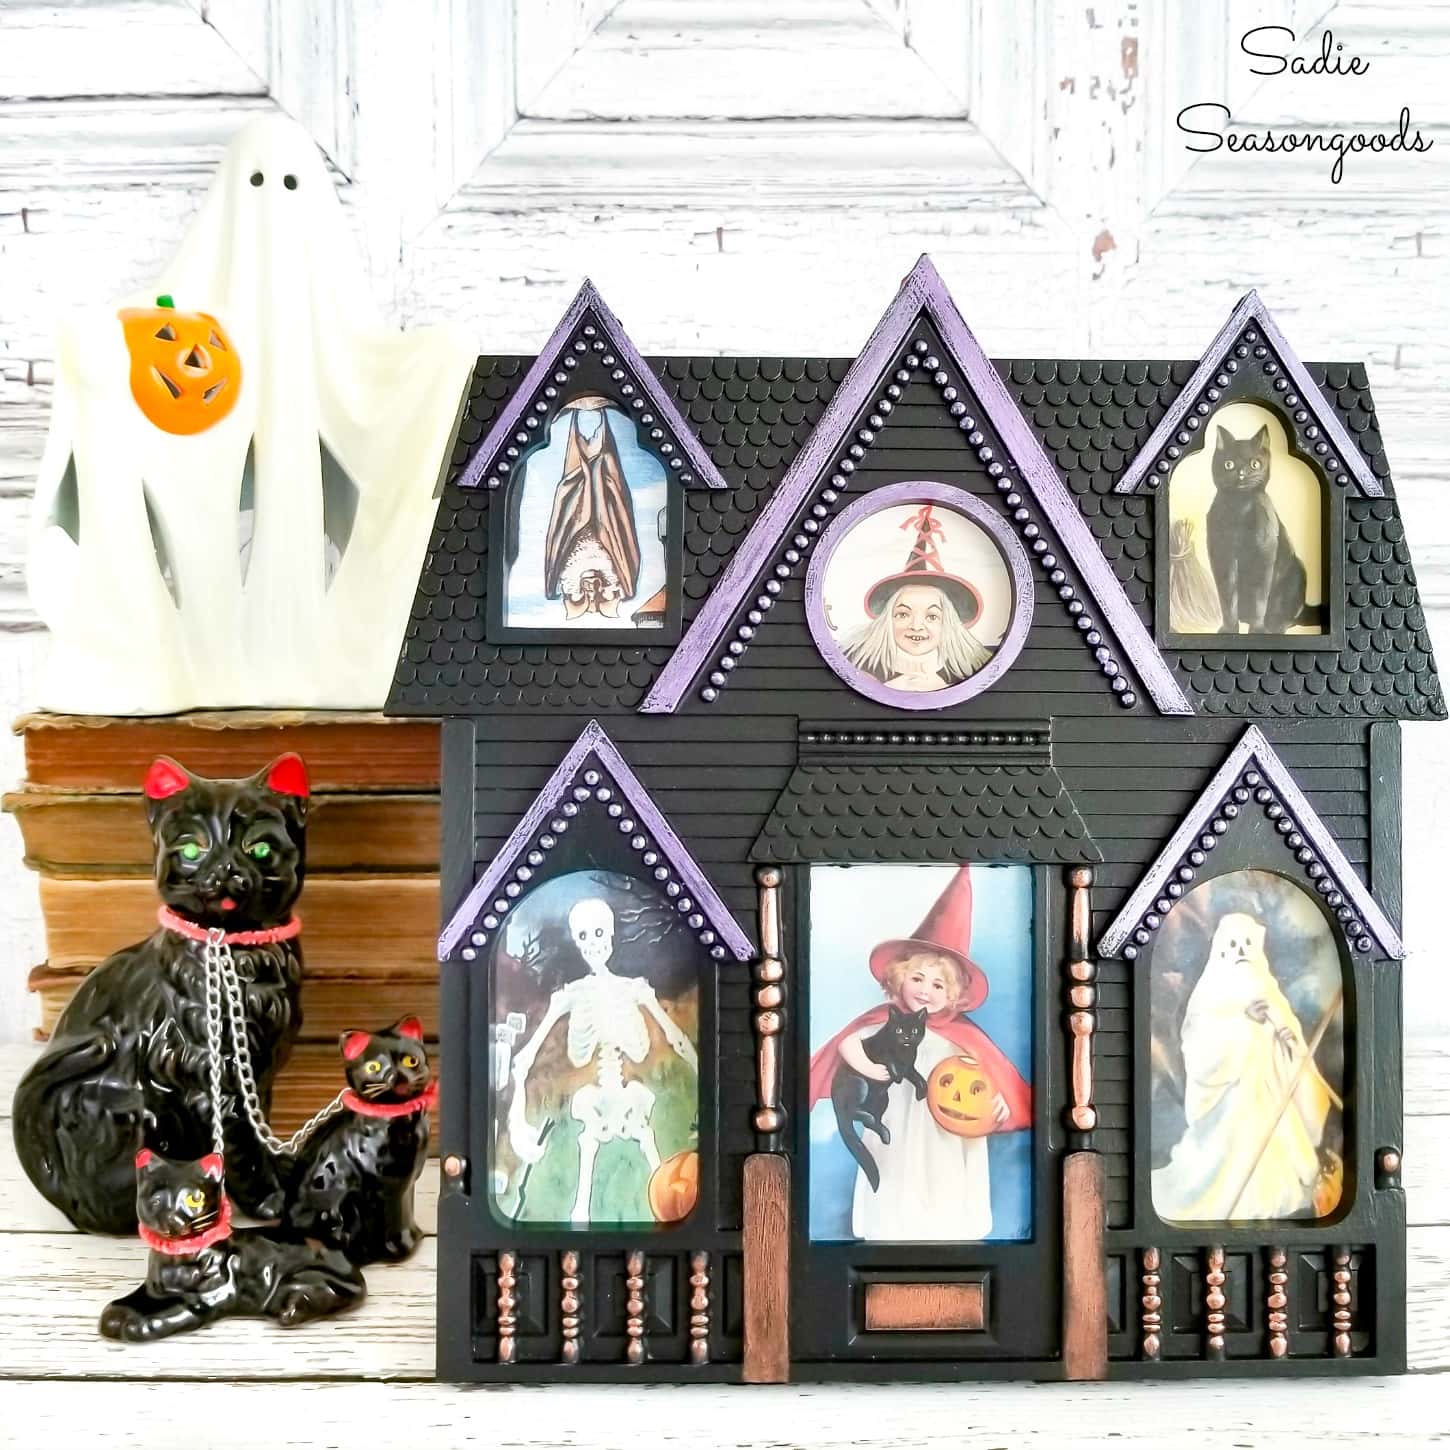
If you enjoyed this upcycling idea for easy Halloween decorations, then you’ll love this DIY haunted house project from a multi photo frame!
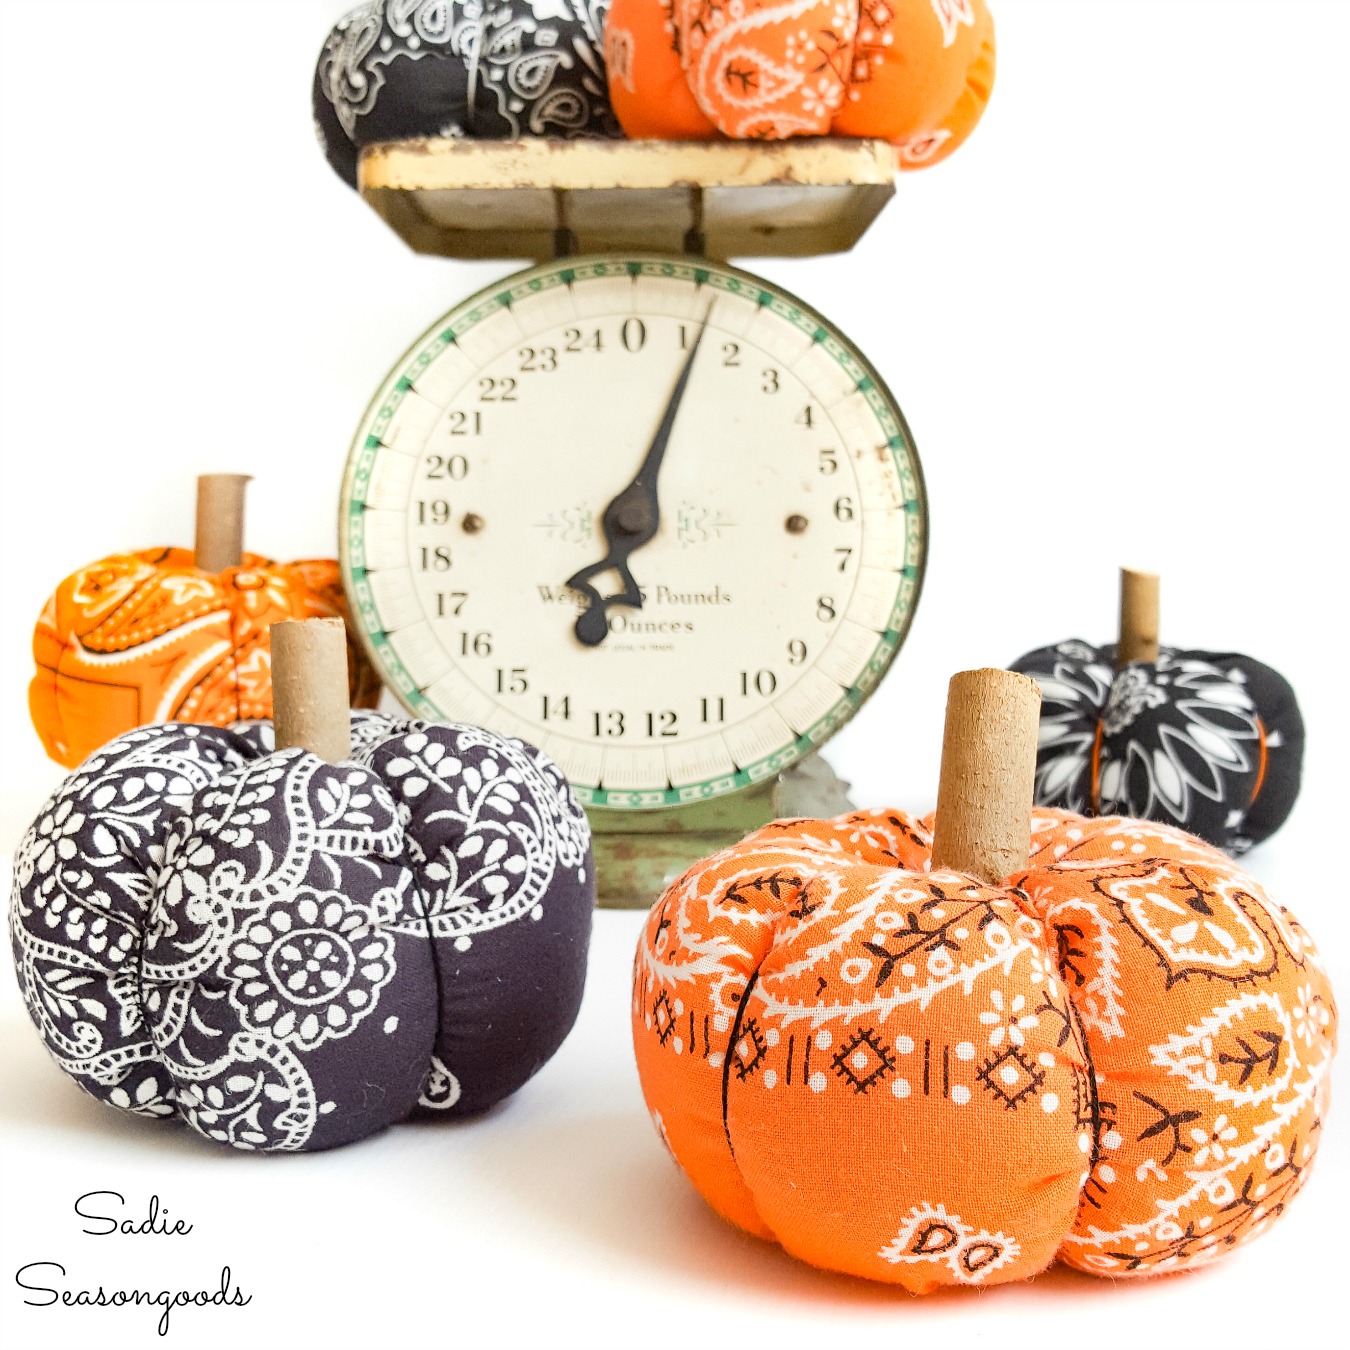
And these fabric pumpkins that are made with bandana fabric are too cute to miss, too!
Craft on!
S
Want to be notified when I publish my next upcycling project tutorial?
Join me on Social Media:
PIN ME!
Sarah Ramberg is the owner of Sadie Seasongoods, a website that celebrates all things secondhand. From upcycling ideas and thrifted decor to vintage-centric travel itineraries, Sadie Seasongoods is a one-stop shop for anyone who loves thrifting and approachable repurposing ideas. Sarah is also the author of “Crafting with Flannel” and has been featured in numerous media outlets and magazines.






These are seriously SOOOO cool! I’ve pinned to my fall/halloween board, hope it drives traffic your way! Just genius! 🙂
Thank you, Dawn!! I really appreciate that!
So creative and so cute! I love these 🙂 Thanks for sharing!
Thank you, Angeline!
I just love stumbling on your blog over and over again. I’m like, of course its her! Ha You are one of my favs. BTDubs, lol, i love the idea! p.s. cottonball is adorable
Oh my gosh, and the award for Best Comment of the Day/Week/Month goes to… YOU! Thank you so much for your kindness and support- we all need those every now and again. 🙂 And yes, our Cottonball is way too cute for his own good…and I’m pretty sure he knows it. 😉
I love this idea, they turned out wonderful!!
Thank you so much!
Loving, pinning and sharing! Quite the classy Halloween decor. Horror Monster is so glad he donated to the cause.
Thank YOU for having such a generous Horror Monster. 😉 And let me know if you have any black/white/red handkerchiefs for sale- random question, I know, but I’m looking for a handful for a project!
Horror Monster says he is fresh out of black, red, and white hankies. So sorry!
I love how you used the fabric from clothing as fabric – it reminds me that a friend gave me some old drapes to use for sewing – a la Sound of Music play clothes style!
LOL, I love that Sound of Music reference!! 🙂
I was hoping that might give you a chuckle!
Very Cute Sarah!!!!
Thank you so much!
Blog question…do you use a plugin to notify people by email when you respond to their comment?
I do! It’s called “Comment Reply by Admins Notifier”. I didn’t use it for a long time, simply because I didn’t think to add something like that. But so far, it has worked out pretty well (at least I think it has!).
I like that it does that! I will check it out! Thank you for the advice!
No problem- I was happy that I could figure out how to respond. The website-side of blogging is still murky for me. Projects & crafting? No problem. Speaking HTML and WordPress questions? Definitely much harder! LOL
Very cu te, I’m sharing with my daughter who wants to get into the tim burton spirit!
Awesome, thank you!
Cute, cute, cute….and so clever too. Thanks for sharing your tutorial at VIParty.
Thanks, Betsy!
This is such a great idea. I love how they still look classy even though they are Halloween decorations. Most Halloween decor starts to look a little cheesy but these are great! Thanks for sharing at Inspiration Thursday! Happy first day of fall!
Thanks, Lela!!
This might be ‘super simple’ but it is SUPER CUTE! I love it that they appear to be floating!
Thank you for linking up with the Welcome Home Wednesday at Mid Michigan Mom – that’s how I found your amazing silhouettes 🙂
Thanks, Sarah!! (I’m a Sarah, too). YES, the gossamer fabric worked out because I like the floating effect…and didn’t plan on it at the beginning!
Cute idea! I love silhouettes for Halloween. Thanks for sharing with SYC.
hugs,
Jann
These are adorable! I love that they are not the typical orange and black Halloween colors. I wonder how they would look hanging on a storm door or sliding glass door.
Thanks, Lauree!! It’s funny you should say that- I’ve been waiting for the leaves to change color to hang them on our kitchen bay window to see what they look like. 🙂
I love that you used the bottom of the dress for the backdrop. I would have never thought to do that. You’ve got my mind spinning on other things to do like this.
Thanks, Erlene!
Such a clever Halloween decor idea! Guess what?!? I’m selecting your project as my feature for Welcome Home Wednesdays. Be sure to come check out your work in the spotlight on Wednesday and link up another great idea!
Awesome, thanks, Tracy- I’ll be there!
Sarah, they look FABULOUS! I love that you see possibilities in every little thing. Love the kitty’s ensemble too 😉 Thanks for sharing at Five Star Frugal this week. Love, Mimi xxx
Thank you!!
How awesome are these!!! Love them!
Thanks, Christine!!
I love that these are so unique! Pinning this.
Thank you so much!!
These are seriously so perfect! They’re the greatest mix of Halloween while still maintaining some sophistication! Thanks for sharing at the Welcome Home Wednesday link party…we really hope to see you again this week!
http://www.diyjustcuz.com
Thank you so much- that’s what I was trying to achieve!!
Ha! These are SO cute!
Thanks for joining Cooking and Crafting with J & J!
Good Evening Sarah!! Just popping in to let you know your post has been picked as a feature at the Welcome Home Wednesday Link Party! Stop by tomorrow morning to see your feature and link up! Don’t forget to grab your “Featured Button” too!
Thank you so much, Lisa- will do!!
I can’t tell how much I love these! So cute and that cat is hilarious! Stopping by to let you know I am featuring your silhouettes at this weeks Halloween Spooktacular Linky Party! Thank so much for linking up! Have a great week!
Kim
Thanks, Kim!!
So awesome! And even quite creepy looking, I’d like to try this beyond just Halloween! Seriously the cat is way too adorable – love it. Thanks for linking up with Welcome Home Wednesday!
These are great! Pinning them on my Halloween board now.
Thank you so much!
What a creative way to use some embroidery hoops and I love that the hoops have a little sparkle to them.
Carrie
curlycraftymom.com
Thanks, Carrie!
What a cute idea – so simple yet soooooooo fun! Thanks for sharing!
Thanks, Katie!
What a fun way to decorate for Halloween! Thanks for linking up with Creative Spark! I’m featuring your Spooky Silhouettes at this week’s party. The party begins at 6am EST tomorrow – hope you’ll stop by to grab a “featured” button and link up again 😀
Thank you so much!!
Such a super cute and simple project! Thanks so much for sharing it 🙂
Thank you so very much. 🙂
I like my Halloween Martha Stuart style and these would fit right in! I love them. Great idea!
Very cool and oh so creative!!
Thank you!!
How much on the top, bottom and sides should I leave for empty space? One silhouette I found is 7×5. Should I get 8,9 or 10 inch hoop?
I thought I had seen all of your Halloween projects as I have enjoyed seeing them all so much/ My daughter is a Halloween nut! ! I think 5 or 6 of these made into a mobile would be awesome, too. With a little care, they can just about be reversible.
Found these while looking for Vintage Halloween ideas and LOVE LOVE LOVE them! Pinned.
Every project you do is enchanting. I love how you present your projects…simple, easy, clear directions
without pages of babble to scroll through to get to the project.
Your style and tone is engaging and fun! I look forward to each post. Thank you!
Thank you so very much for the kindest of compliments, Kim! I really do try to balance user experience with earning enough money from this to call it a career. So I sincerely appreciate your feedback!