I’m not sure if I keep finding the lanterns or if the lanterns keep finding me. But here we are again, with another thrifted lantern project. Given that it’s still October, I’m going with a spooky lantern theme- even though I’ve made a couple of Halloween lantern projects already. Because lanterns keep crossing my path while I’m thrifting, including this recent acquisition from Habitat ReStore.
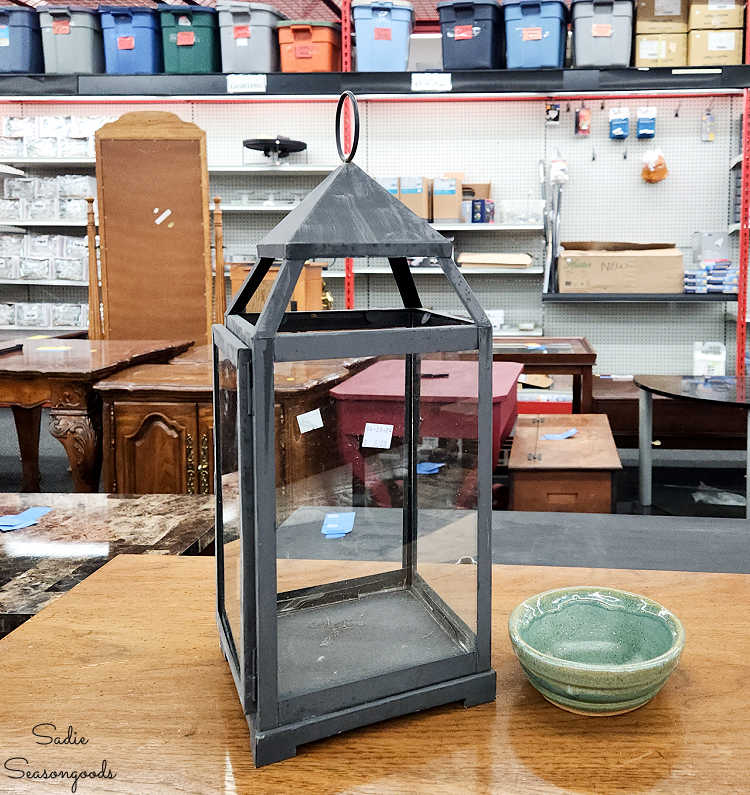
Image credit: Sadie Seasongoods.
So, the first Halloween lantern project that I made incorporated a wooden candle lantern. Which, in and of itself makes that project a little different from this one.
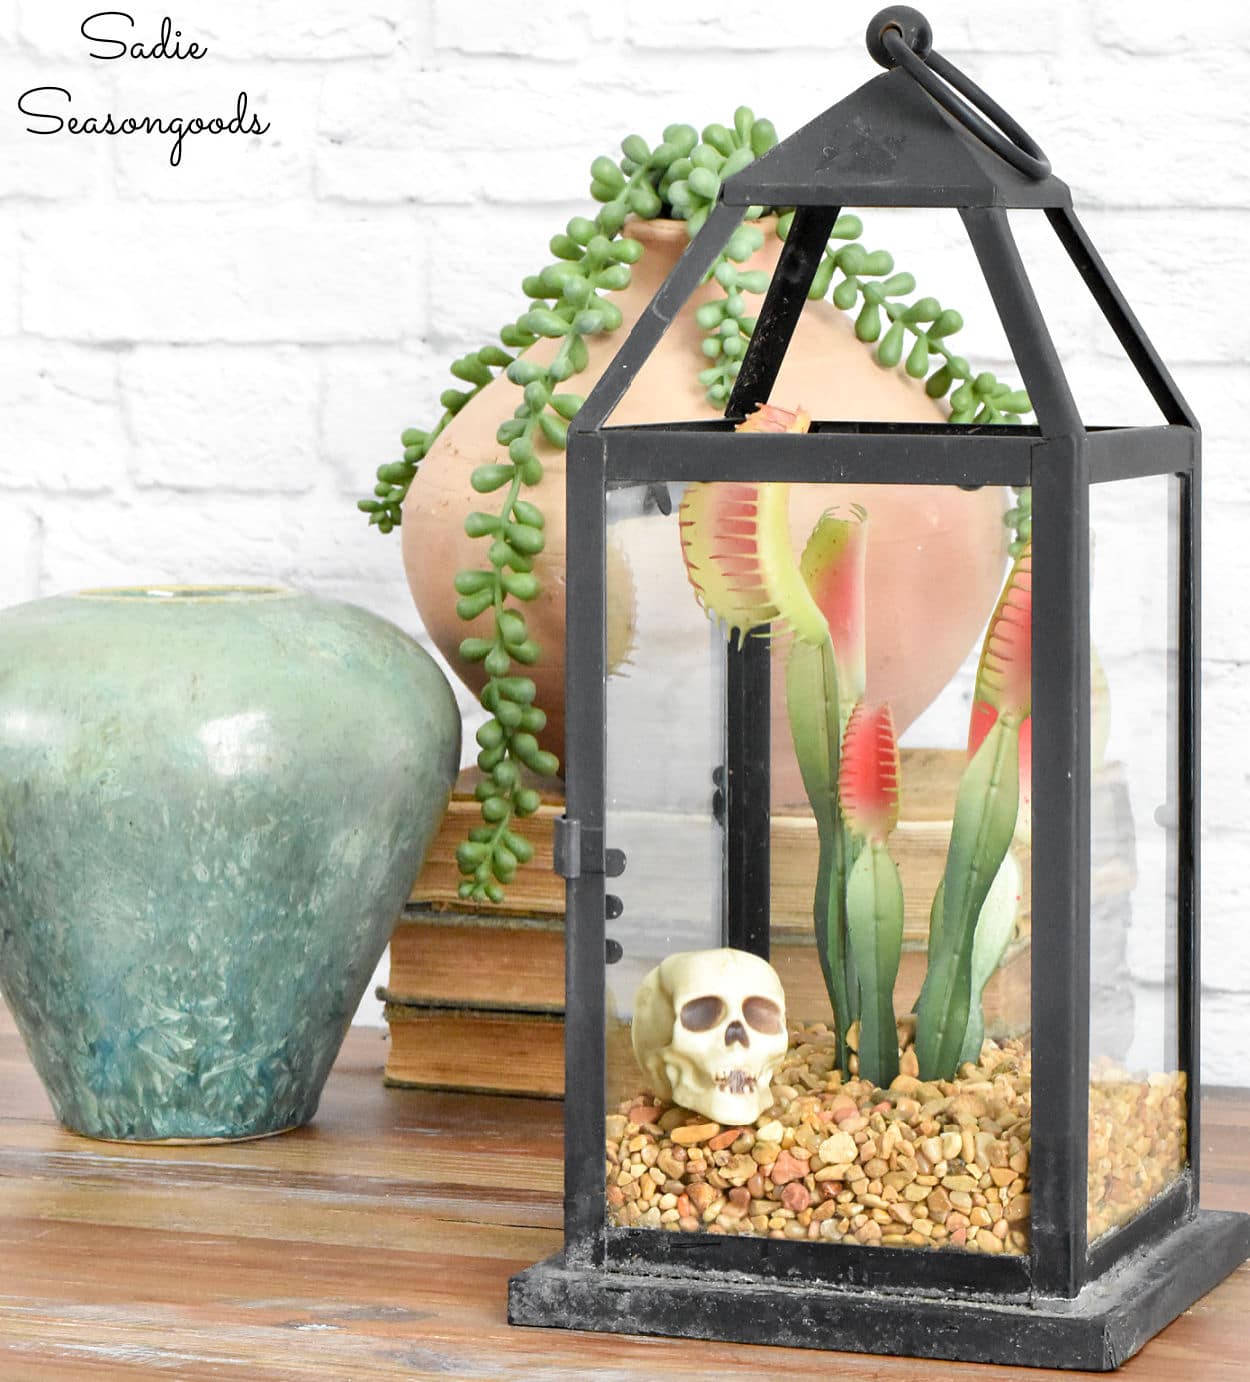
And the second lantern project wasn’t actually a light-up project. But it used almost the exact same black metal lantern that I found this time!
But I upcycled that lantern into a Halloween terrarium, complete with faux carnivorous plants and the bones of their victims!
This time, I’m sticking closer to a traditional lantern use but turning it into a spooky spider web decoration at the same time! So, let’s get right to it.
This post contains affiliate links for your crafting convenience. As an Amazon Affiliate, I earn from qualifying purchases. All blue, bold, and underlined text is a clickable link, either to a product or to a related post.
Cleaning Up the Spooky Lantern
While I appreciate that someone donated this lantern so that I could thrift it, I didn’t love that they taped the glass inside. With strong, stubborn foam tape.
So, my husband offered to work on getting the glass panes out. First, he used a heat gun to soften the adhesive and loosen it up. Then, he used a plastic razor blade as a lever between the glass and the metal lantern frame.
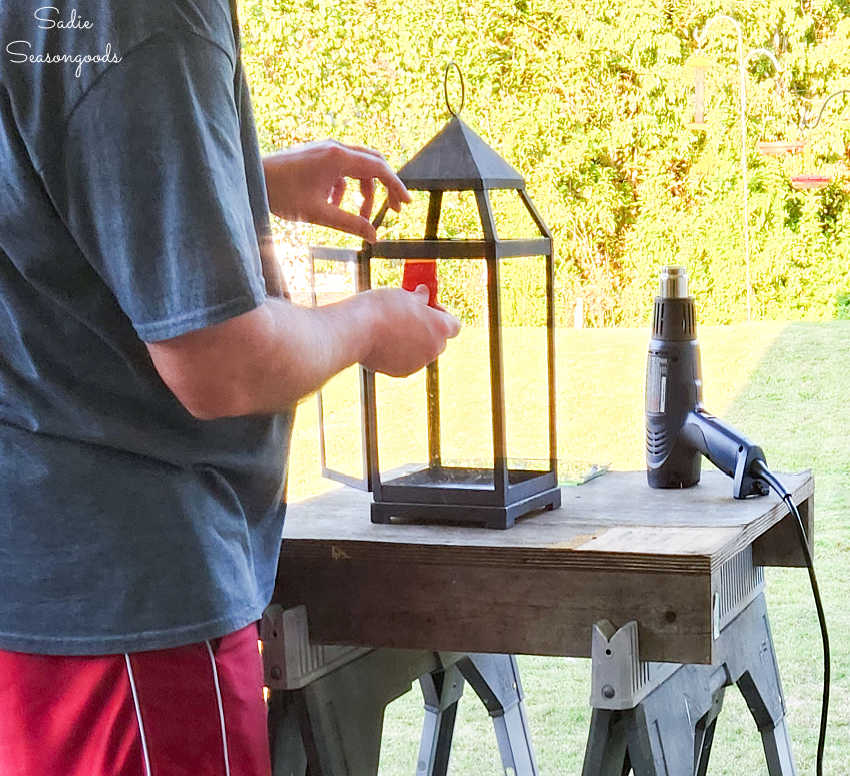
Image credit: Sadie Seasongoods.
Eventually, all the glass panes were removed and I set forth to clean everything up!
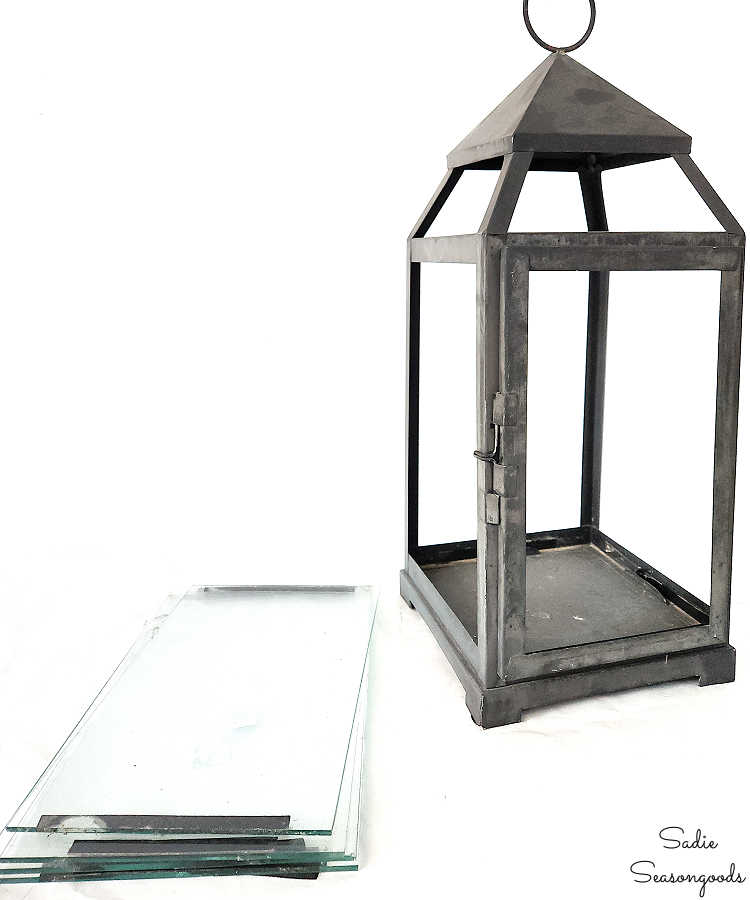
Image credit: Sadie Seasongoods.
I used the same plastic razor blade to remove as much as the foam tape as I could. I followed that up with some Goof-off to remove any remaining stickum.
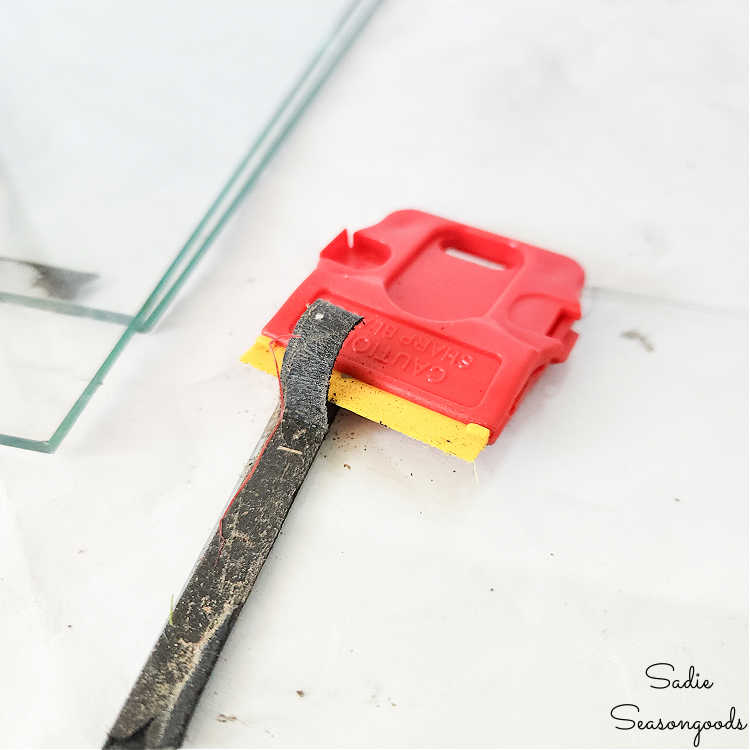
Image credit: Sadie Seasongoods.
By the way, these plastic razor blades are EXCELLENT at removing price tags!
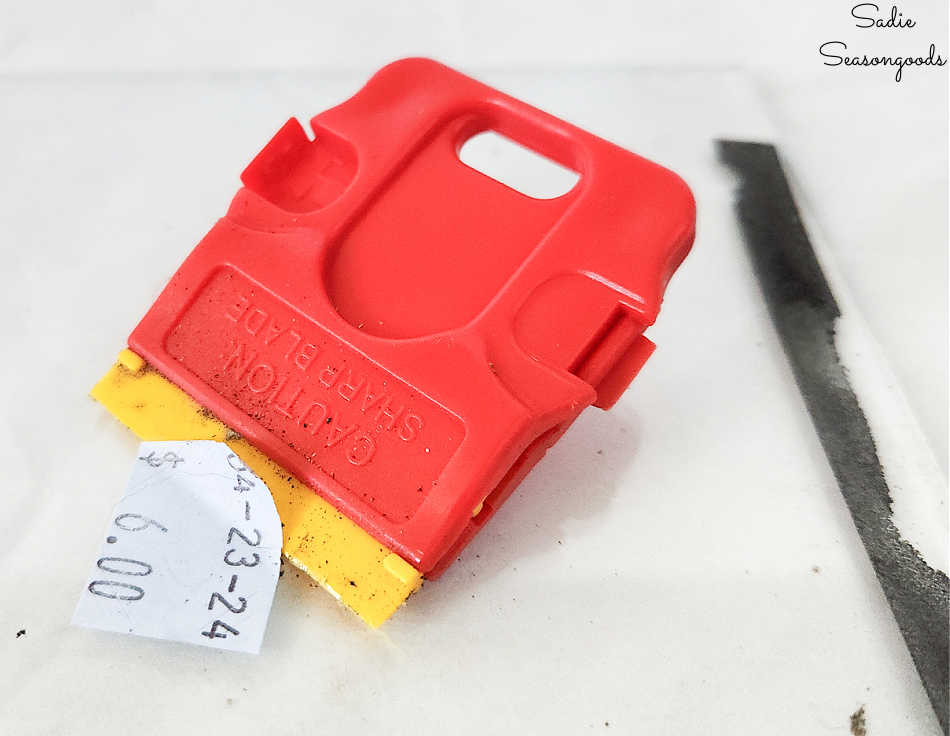
Image credit: Sadie Seasongoods.
Anyway, after I was done cleaning the glass panes, I wiped down the metal lantern with a damp cloth. Then, I took it outside to spray paint it black because it had faded so badly over time.
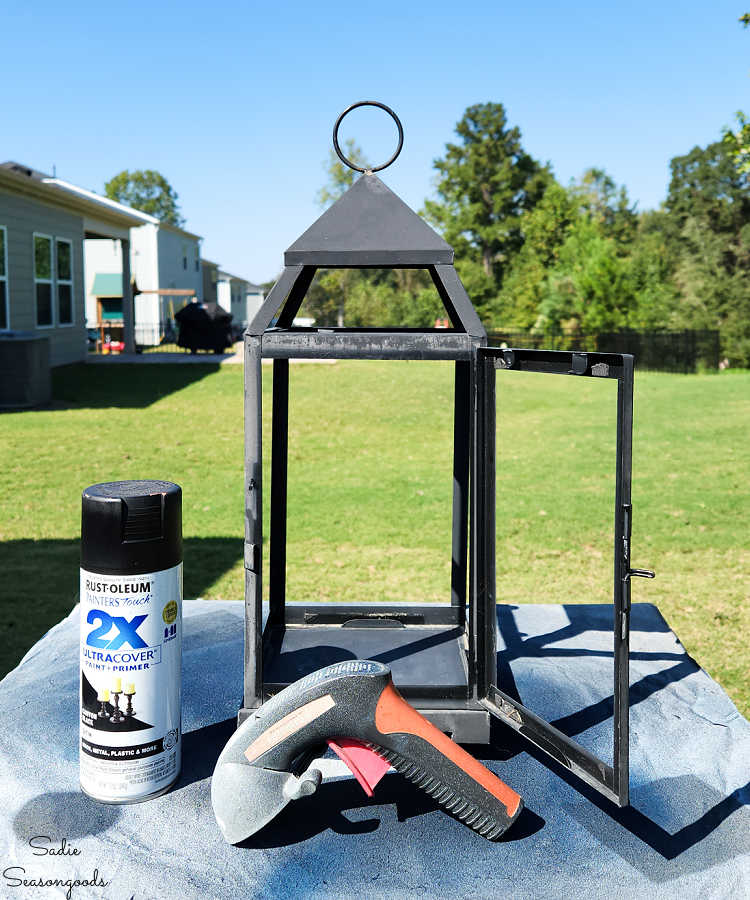
Image credit: Sadie Seasongoods.
Adding the Spider Web Decoration
Two light coats of a satin black spray paint and freshly Windexed glass panes later, my spooky lantern was ready to get spider-webbed!
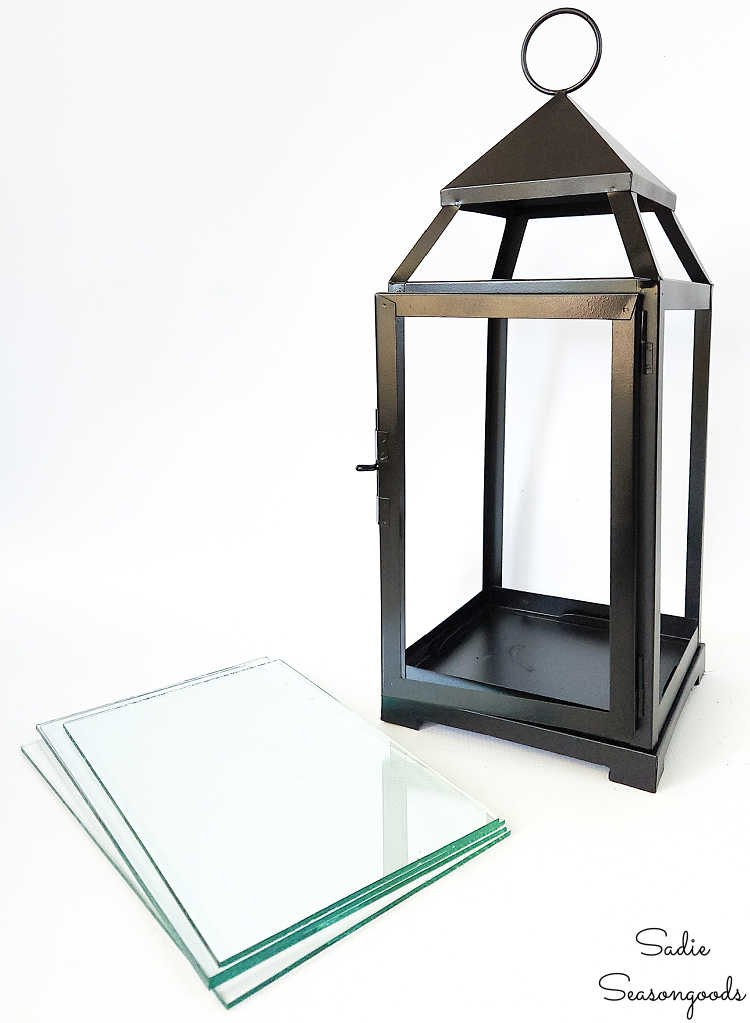
Image credit: Sadie Seasongoods.
But, probably not in the way you’re thinking.
In my original Halloween lantern project, I made panel inserts (of sorts) so that the decoration was removable. And I planned to do something similar here, but with Halloween fabric instead.
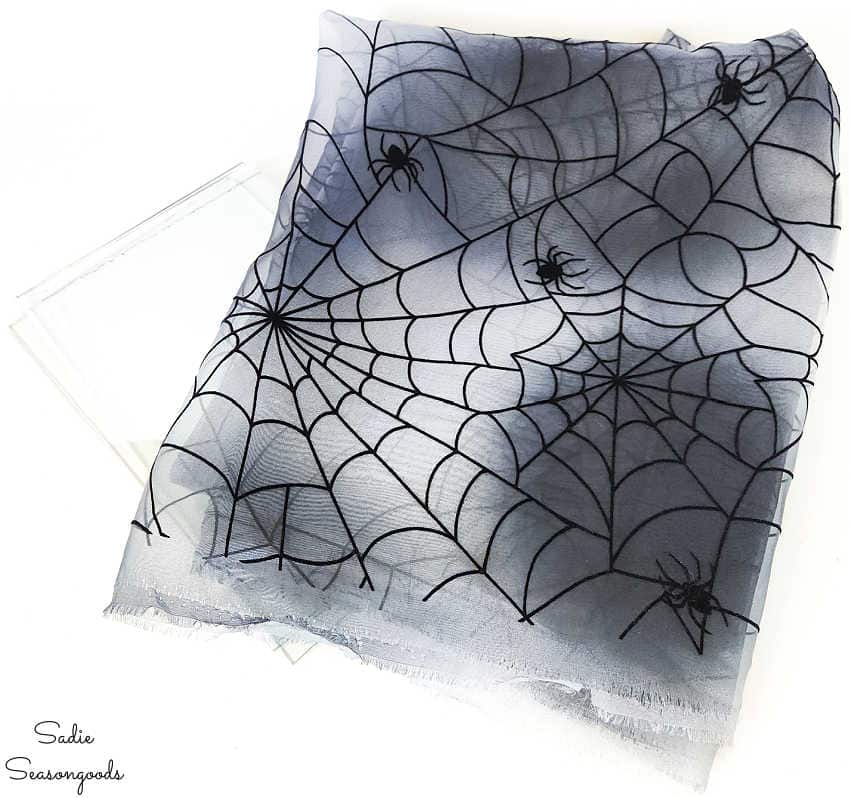
Image credit: Sadie Seasongoods.
The spider web fabric was sheer (which I wanted) but almost gossamer. In other words, soft and collapsible- not ideal for lantern panels. So, I also purchased some thin fusible interfacing, as well.
First, I cut out rectangles of Halloween fabric and interfacing that were slightly larger than the glass panes (about ½” larger on each side). Then, I followed the product instructions to fuse the interfacing to the wrong sides of the fabric using my iron. After that, I trimmed the oversized panels to the same size as the glass panes using my rotary cutter and cutting mat.
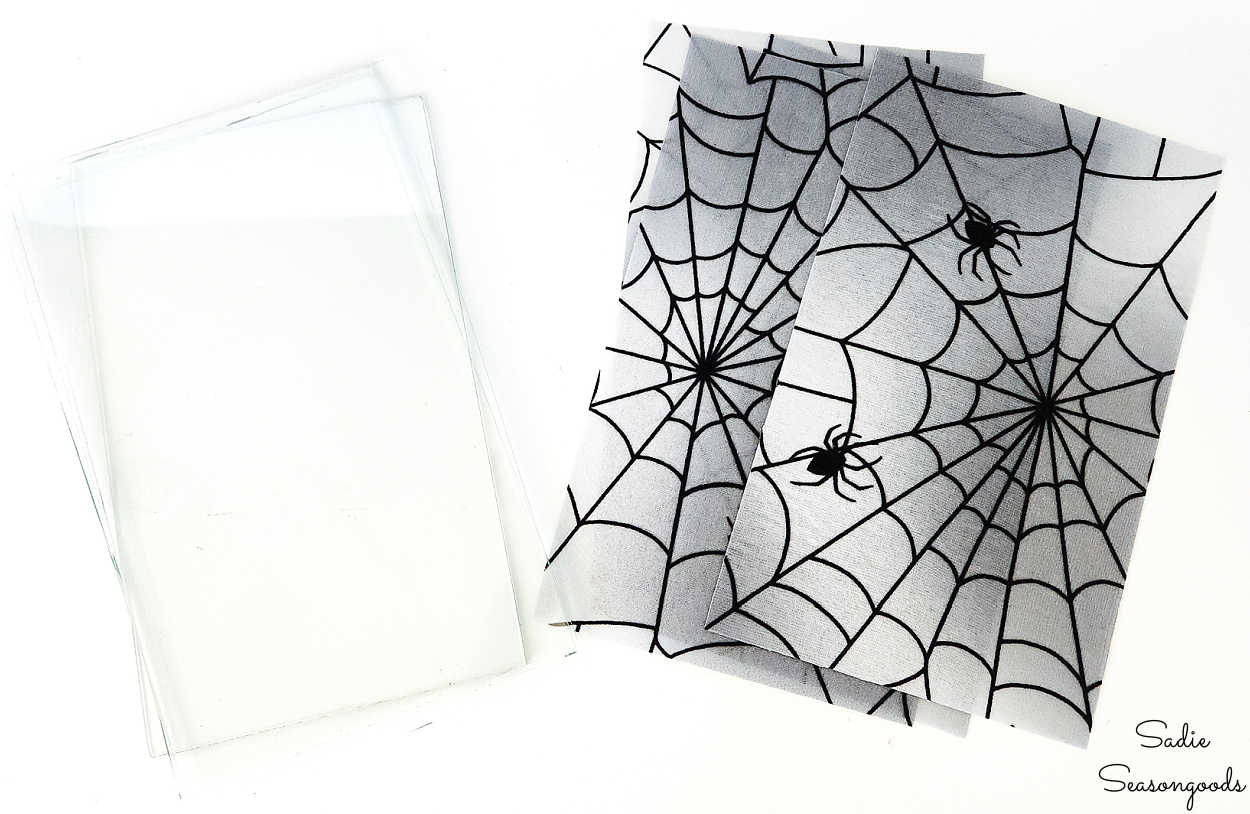
Image credit: Sadie Seasongoods.
Lastly, it was time to assemble my spooky lantern and spider web decoration. So, I simply slid the glass panes and fabric panels back into the slots.
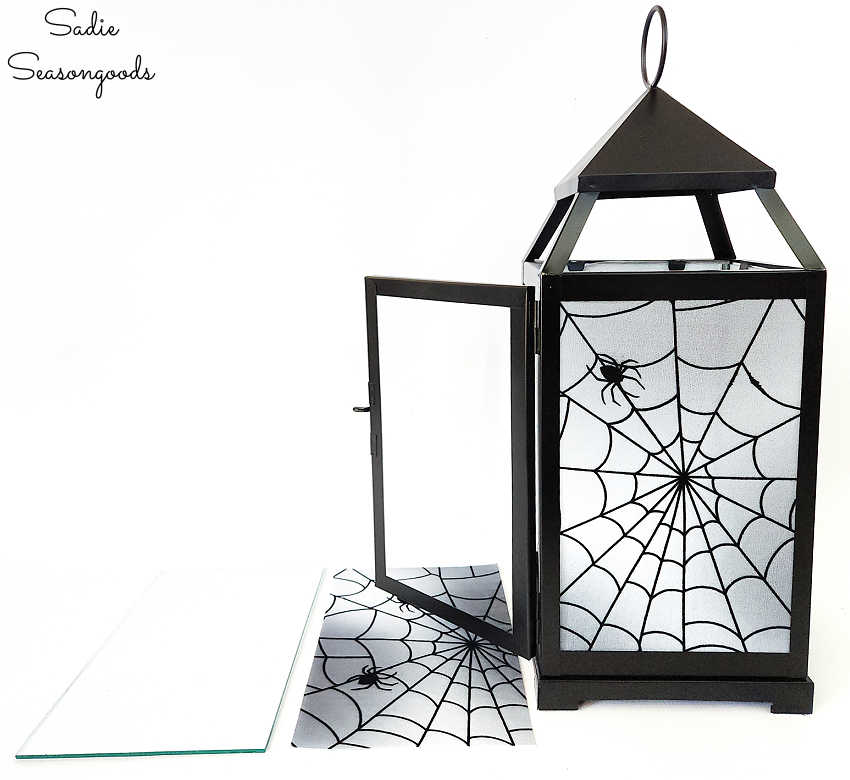
Image credit: Sadie Seasongoods.
Ready to see how it looks…especially after dark?
Spider Web Decoration in a Spooky Lantern
Here it is, all assembled and ready to go once the sun goes down. Doesn’t it look great, even in the daylight?
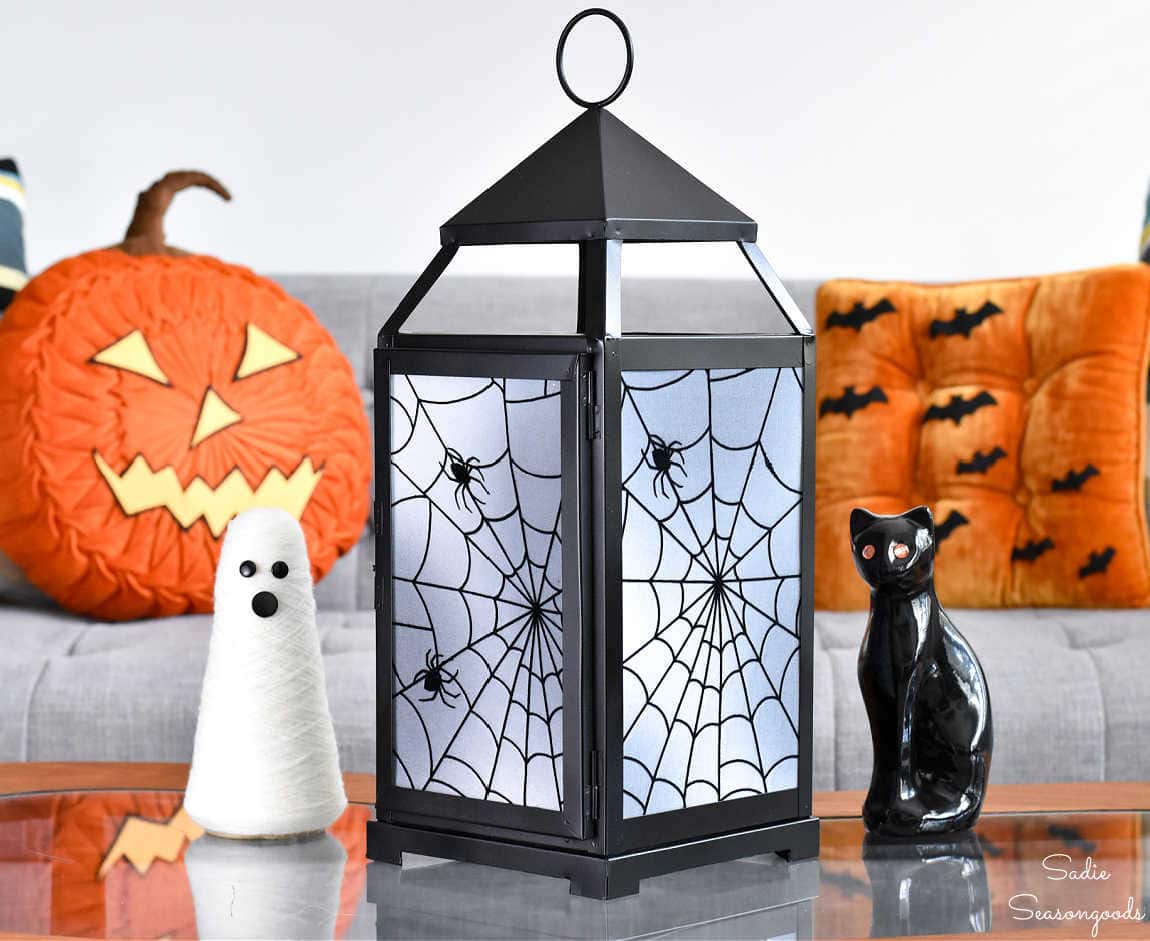
Image credit: Sadie Seasongoods.
Before it got too dark, I slipped my favorite rechargeable lantern inside my spooky lantern. Finally, it started getting dark enough to turn it on.
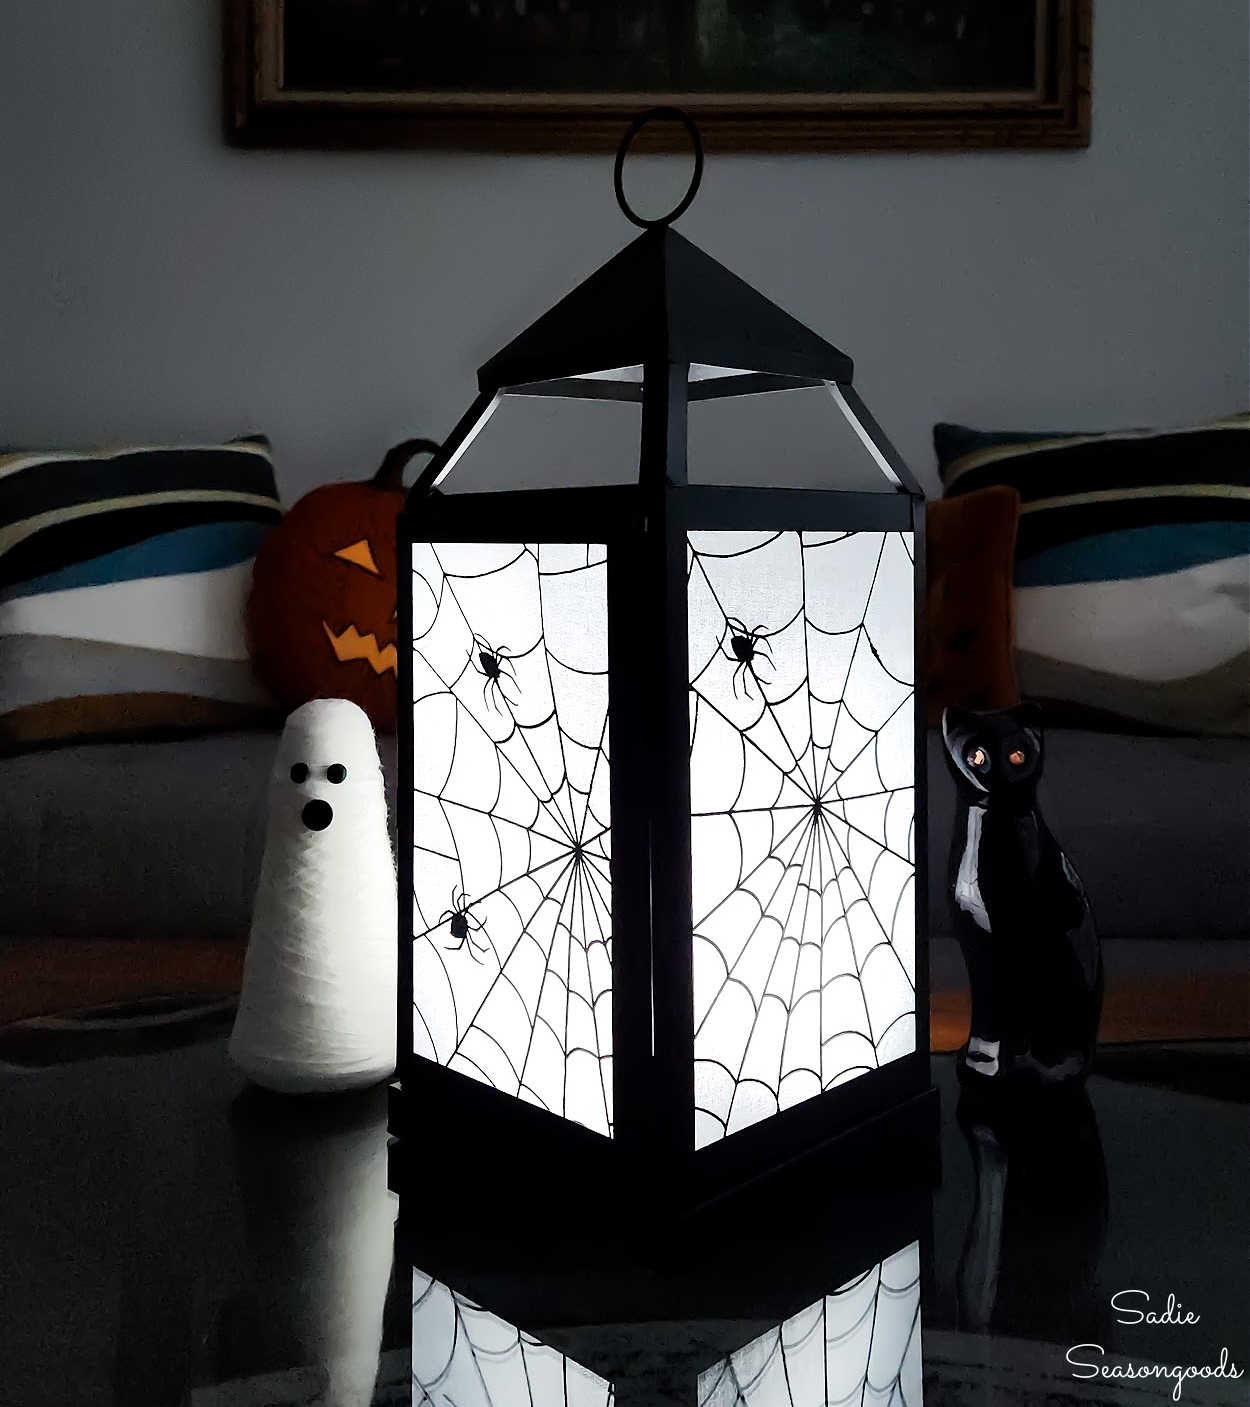
Image credit: Sadie Seasongoods.
SO GOOD, right?? I love the spider web look without using stringy faux webs or creepy plastic spiders. One-dimensional spiders sewn into fabric are good enough for me, thank you very much.
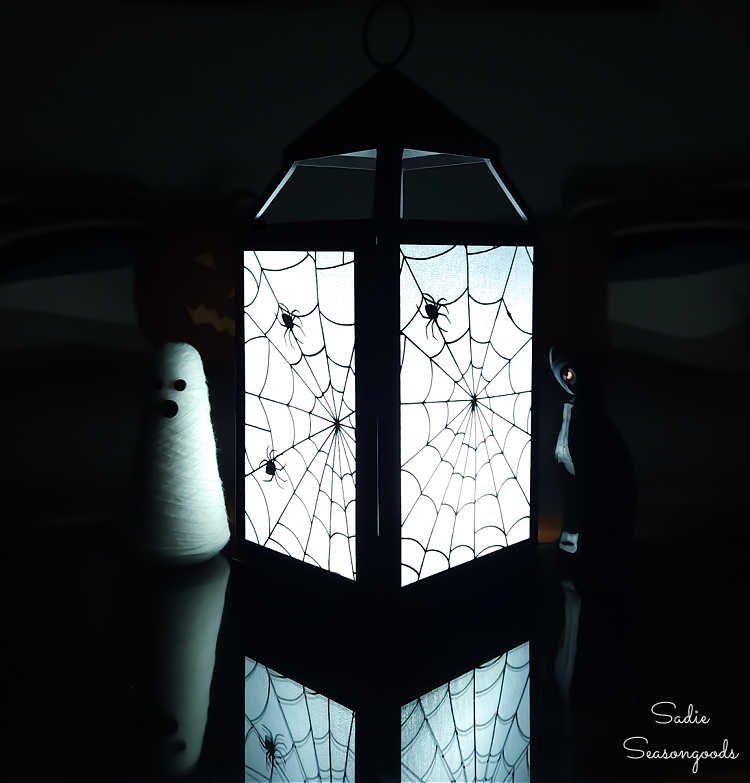
Image credit: Sadie Seasongoods.
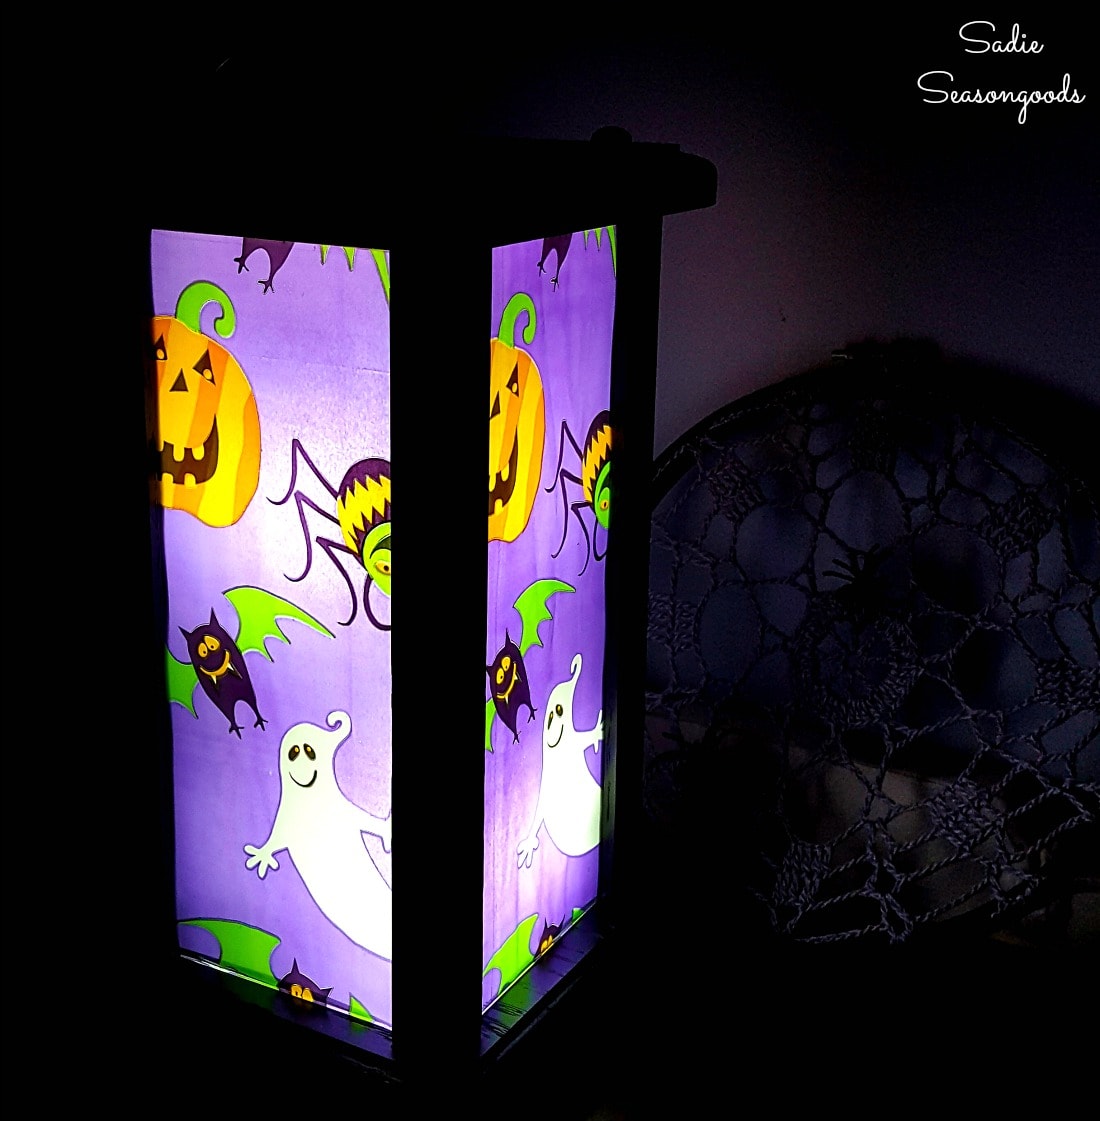
And because these are removable fabric panels, my spooky lantern is quite easily de-spookified for the rest of the year! Just think of how many fabric panels you could make to switch and swap out throughout the year.
For some more lantern-esque Halloween inspiration, check out this porch decor I made with outdoor candle lanterns! An old neighbor of ours put them out by the curb and we snapped them up for this project.
Thank you for humoring me with one more upcycled Halloween project this year! But I promise this is the last one…until next year, of course…
Craft on!
S
Want to be notified when I publish my next upcycling project tutorial?
Join me on Social Media:
PIN ME!
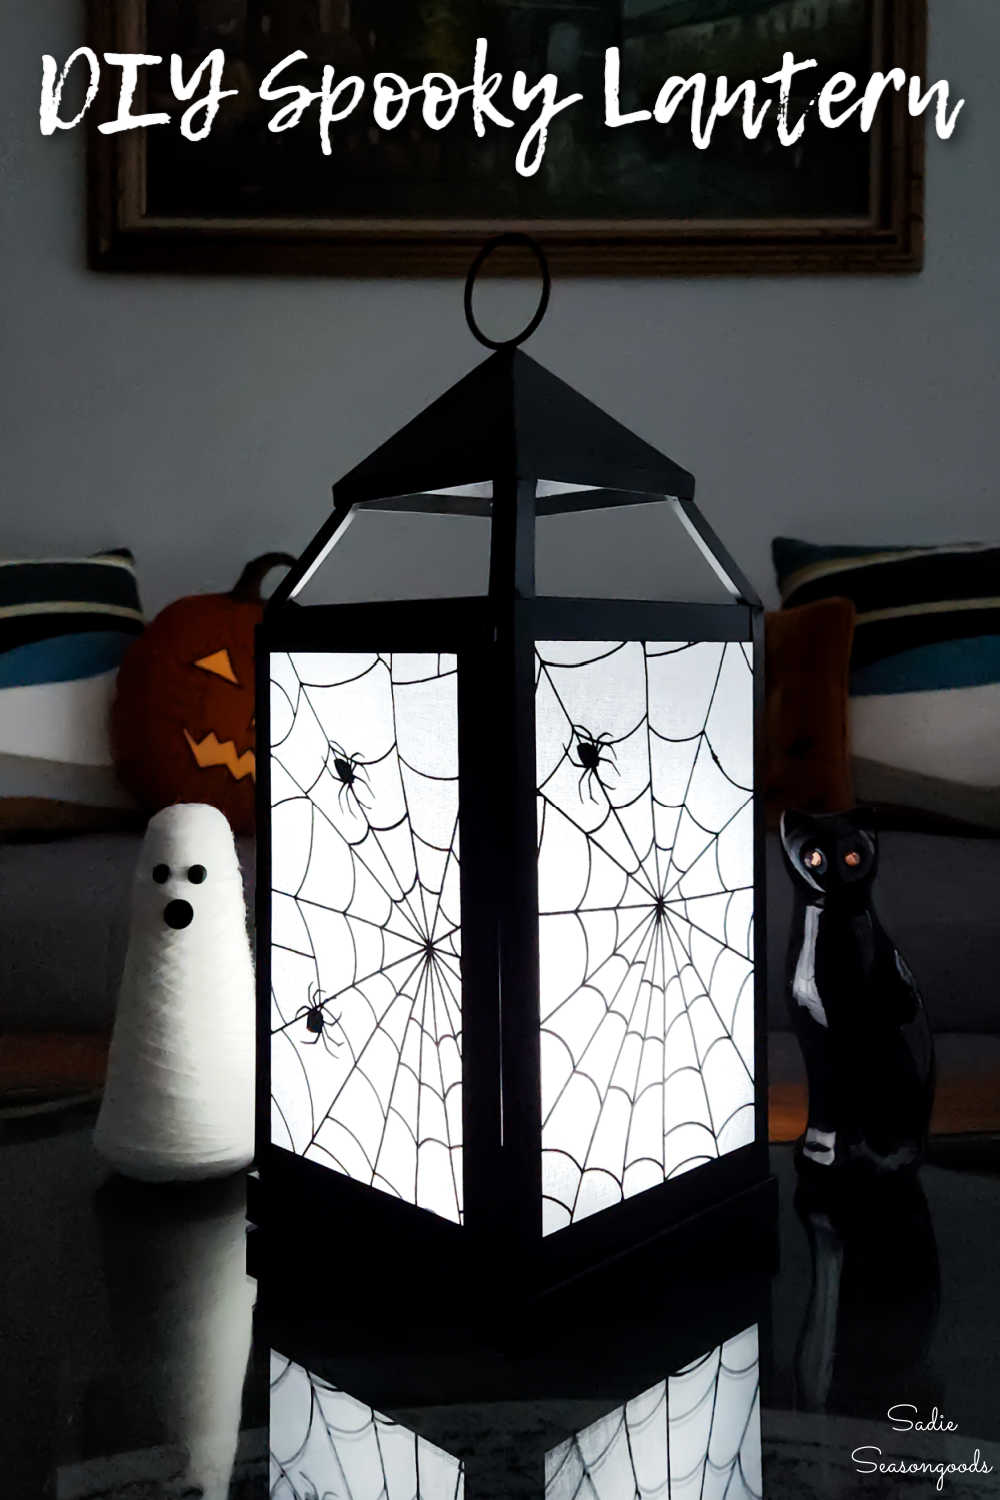
Image credit: Sadie Seasongoods.
Sarah Ramberg is the owner of Sadie Seasongoods, a website that celebrates all things secondhand. From upcycling ideas and thrifted decor to vintage-centric travel itineraries, Sadie Seasongoods is a one-stop shop for anyone who loves thrifting and approachable repurposing ideas. Sarah is also the author of “Crafting with Flannel” and has been featured in numerous media outlets and magazines.





Have a question or like what you see? Please let me know!