I know I’m not the only one who flocks to all things “wood” at the thrift store. Shelves, boxes, cutting boards- they all lend themselves to upcycling. And this country-style vintage salt box was no exception. I didn’t care for its current look, but knew it would be easy to convert into a seed storage box that could also double as Spring decor.
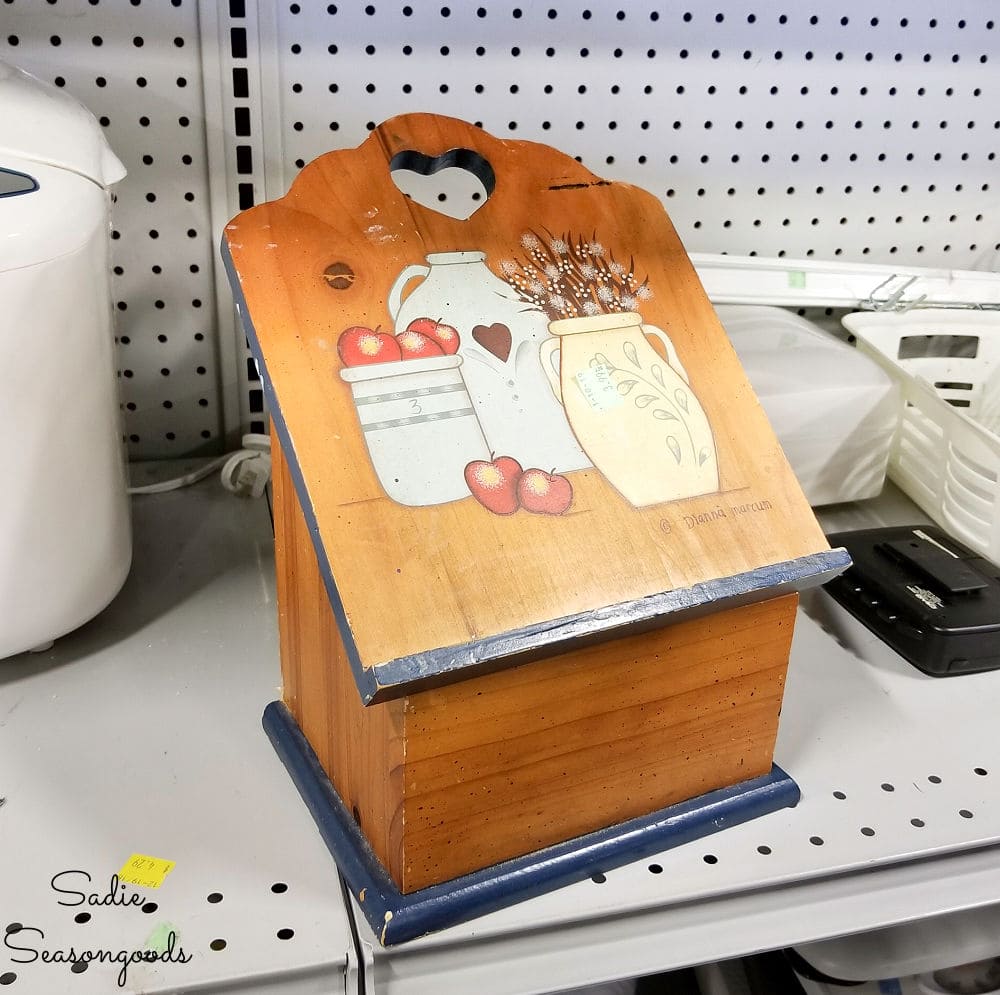
Image credit: Sadie Seasongoods.
It was also an ideal piece to finally try my hand a specific craft technique: paper napkin decoupage. I see other crafters do this all the time, and I thought that this piece, with its flat surfaces, would be a good one for experimenting on.
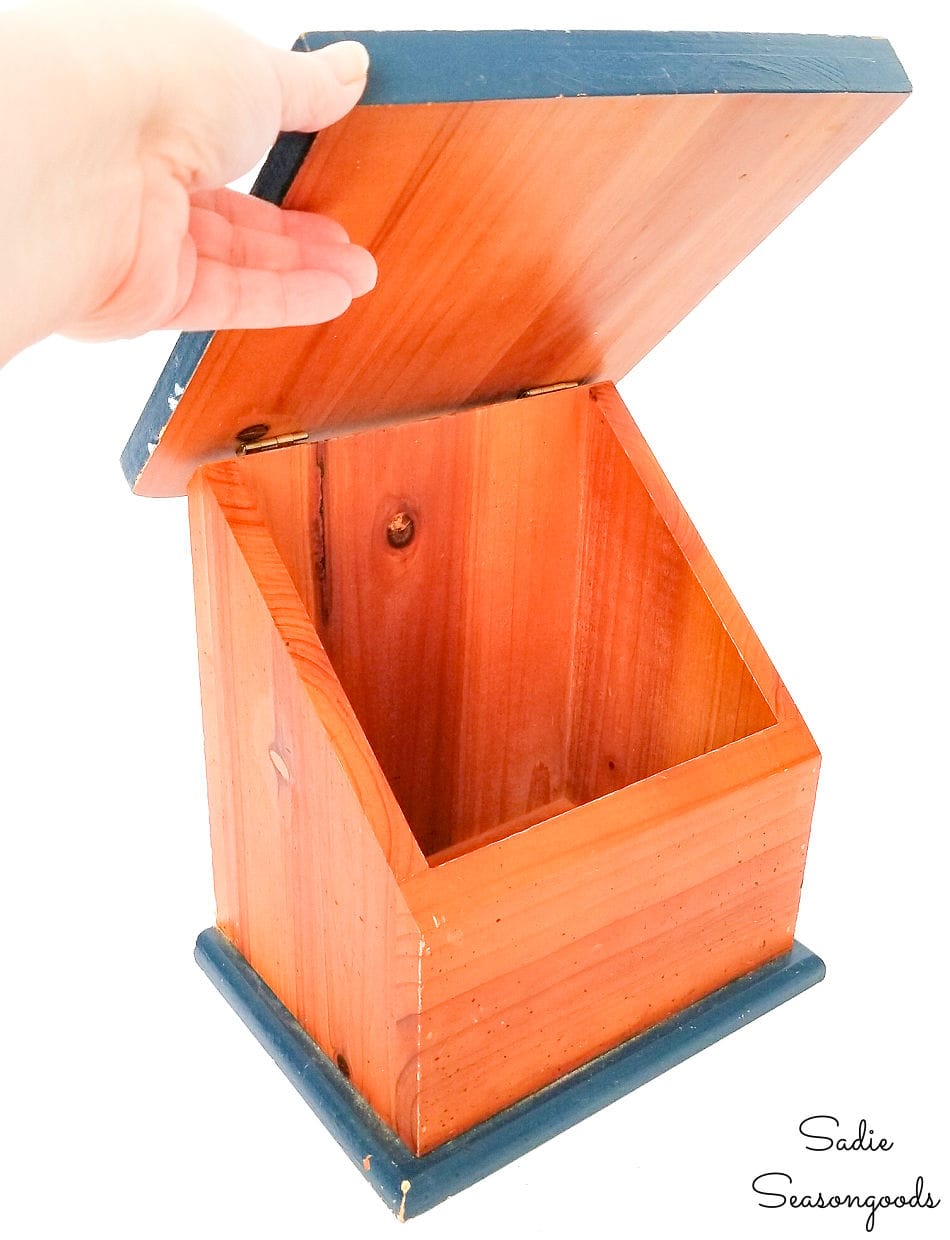
Image credit: Sadie Seasongoods.
Since I’m not a prolific gardener, I didn’t need some complicated system for seed organization. So this wooden salt box would do just fine!
This post contains affiliate links for your crafting convenience. As an Amazon Affiliate, I earn from qualifying purchases. All blue, bold, and underlined text is a clickable link, either to a product or to a related post.
Paper Napkin Decoupage on a Salt Box
First, I carefully removed the hinges and top from the wooden salt box. I also grabbed some white spray paint to coat the entire thing.
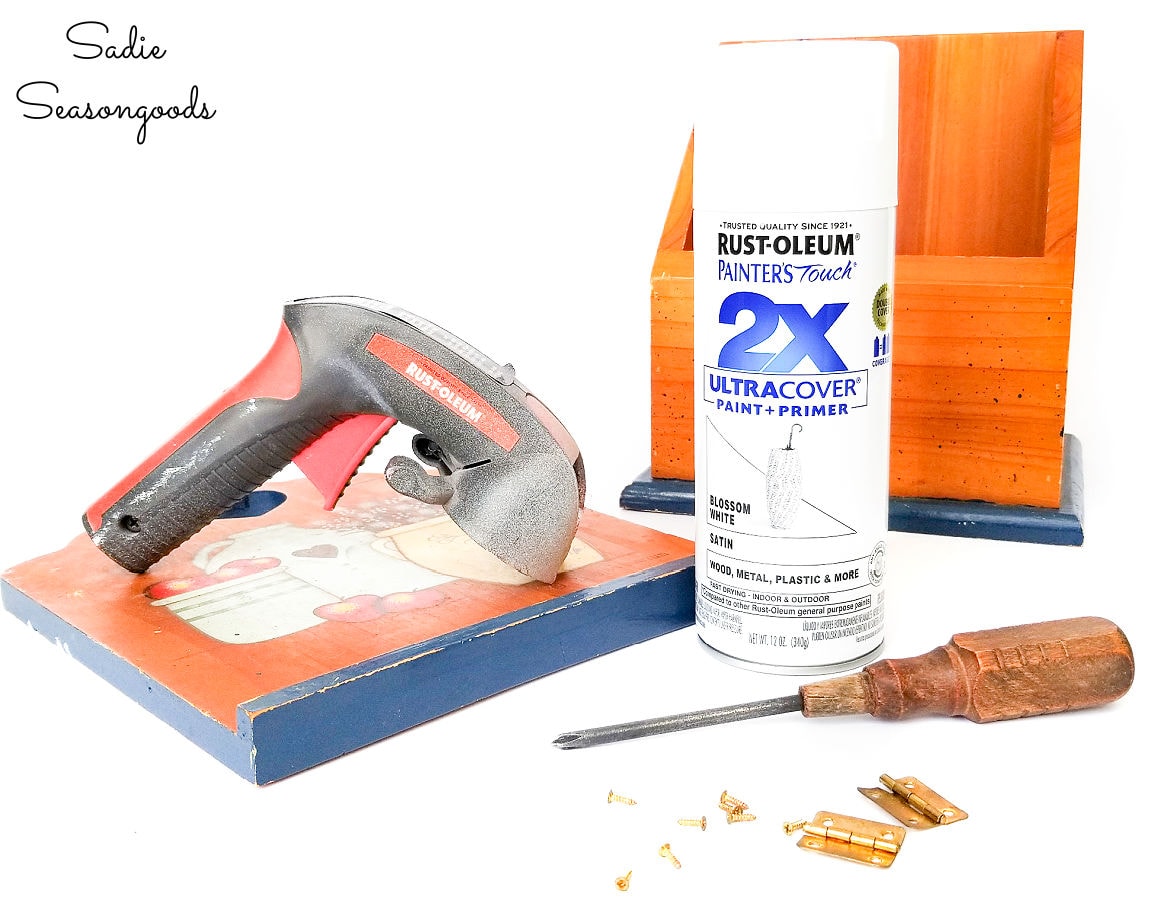
Image credit: Sadie Seasongoods.
Once the box was painted and dry, I could move onto the paper napkin decoupage!
To do this, I gathered these paper napkins, some decoupage glue, and a craft paint brush.
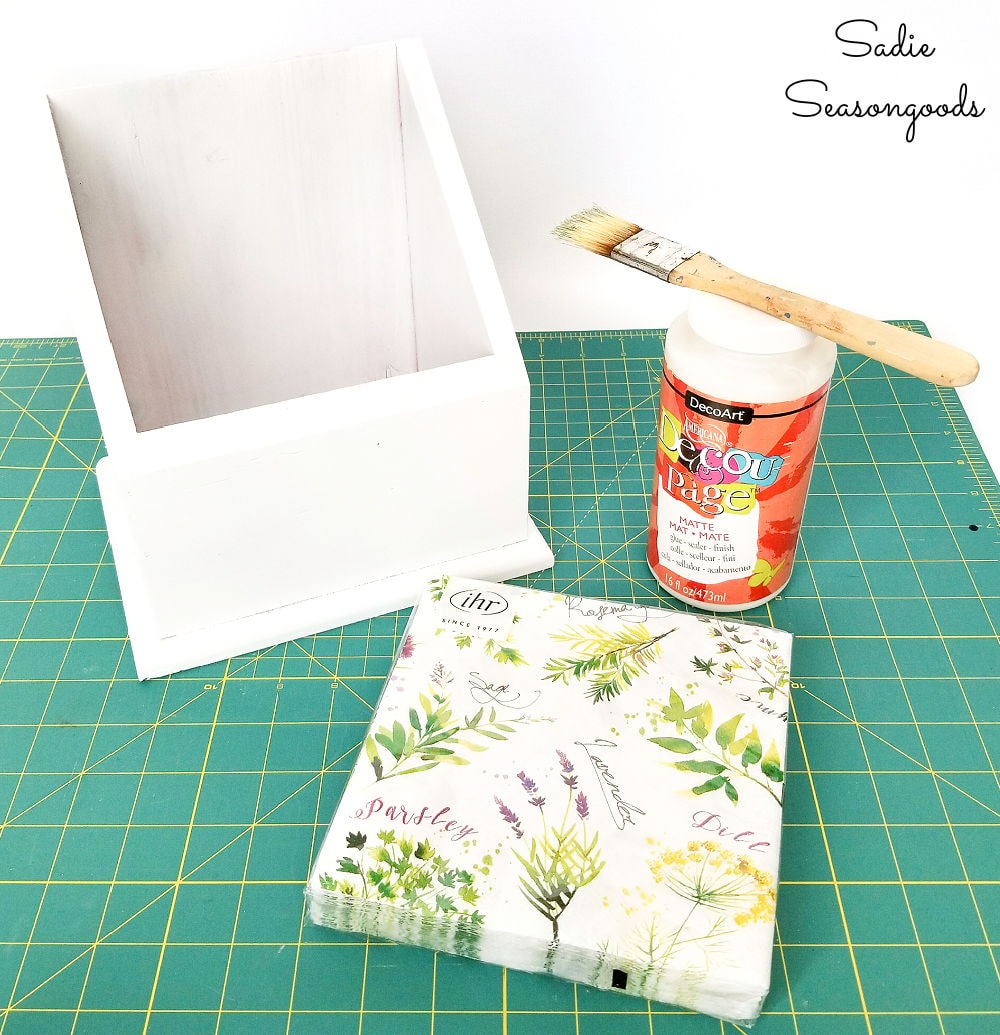
Image credit: Sadie Seasongoods.
To start, I opened up a paper napkin to separate the layers. Now, by sheer accident, I only separated it into two layers when there were, in fact, three layers. And the rule of thumb in paper napkin decoupage is to fully separate your napkin.
So, I had already “goofed up” but I didn’t realize it. Thankfully, though, it ended up just fine.
With my napkin (mistakenly) partially separated, I layered on a thorough coat of decoupage glue to one side of the wooden box. Then, I laid the napkin onto the glue and began to carefully press and smooth it with my fingertips.
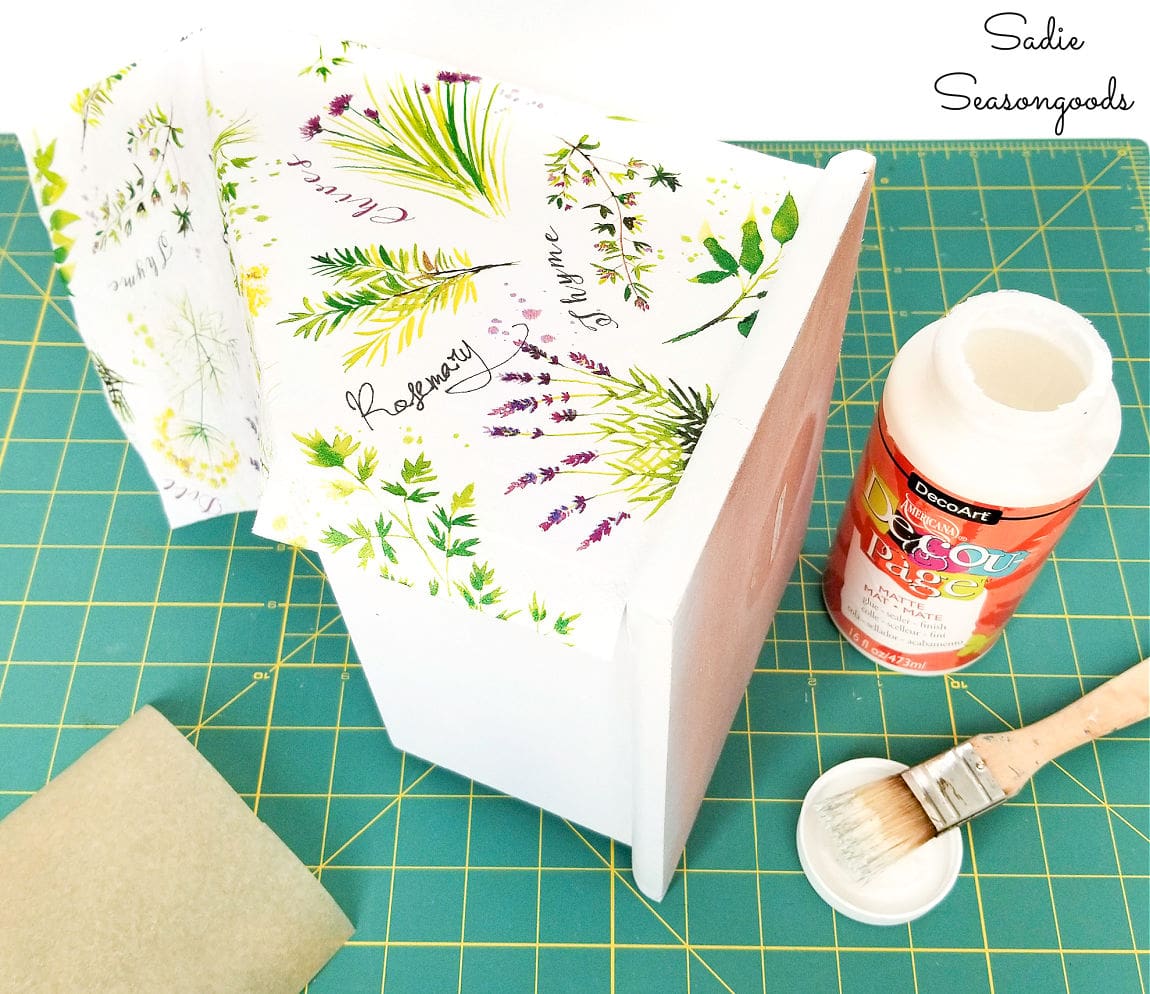
Image credit: Sadie Seasongoods.
I used a spent gift card to help me smooth out bubbles and wrinkles. It did a decent job, I must say!
To “cut off” the edges of the napkin that hung off the sides, I used super fine-grit sandpaper to gently slough off the napkin at the corners. I didn’t want to shred the paper, just gently detach it at those edges.
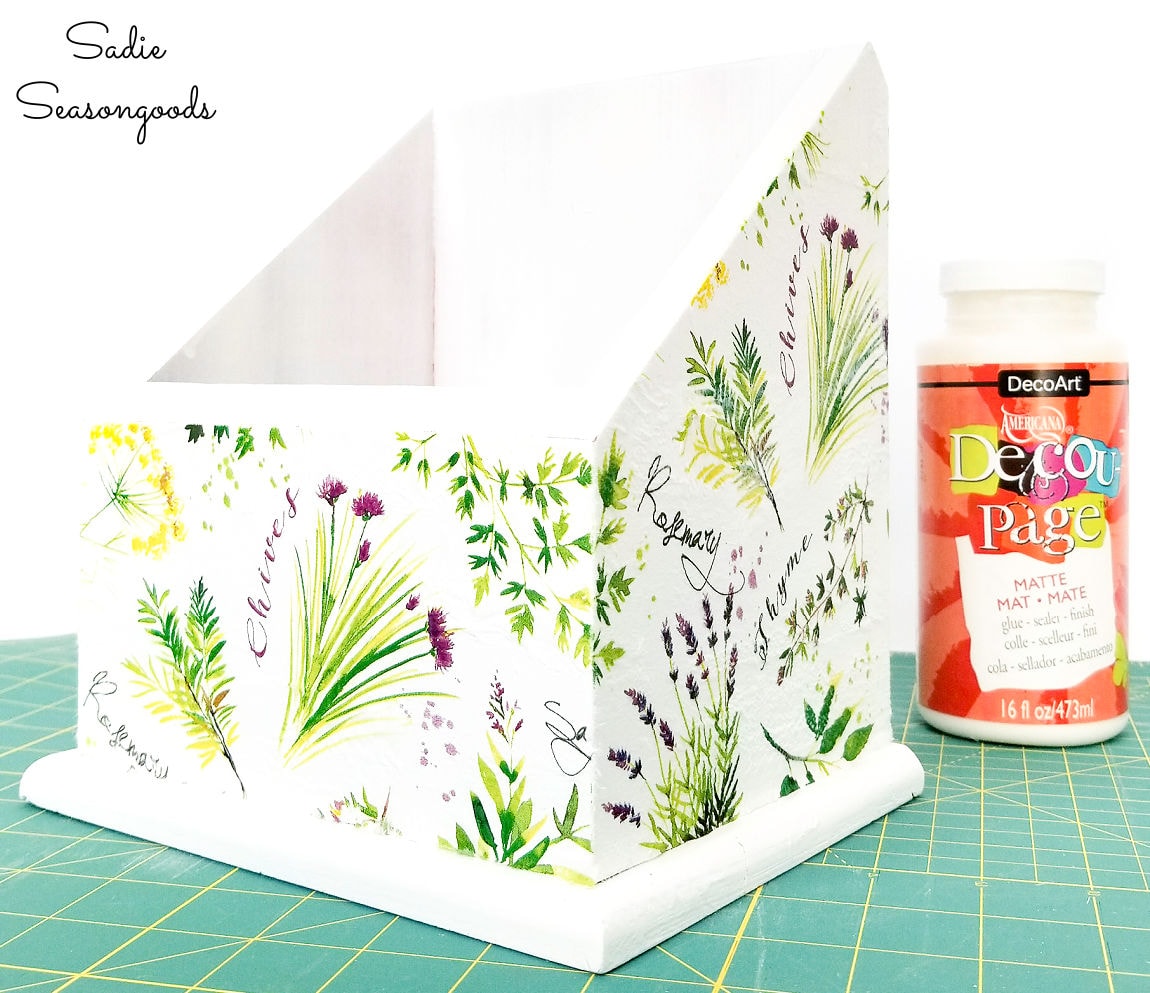
Image credit: Sadie Seasongoods.
I continued to work around each side of the wooden salt box. When I was all done and the underlayer of decoupage glue had dried, I sealed the top with another layer of glue.
Seed Organizer and Cottage Garden Decor
Now, I could have continued decoupaging the slanted top, but worried that might look too busy.
So, I decided to just quickly stencil the top to indicate that this was, in fact, a seed storage box now!
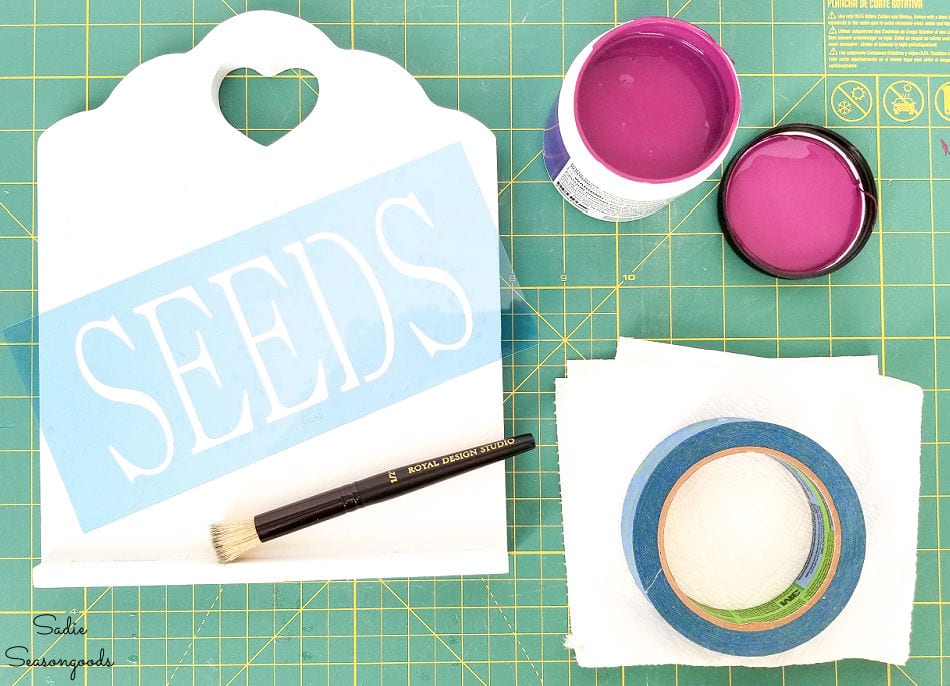
Image credit: Sadie Seasongoods.
I had some purple paint on hand that coordinated well with the touches of purple in my napkins. So, I centered the stencil, taped it in place, and stippled the word “Seeds” across the top.
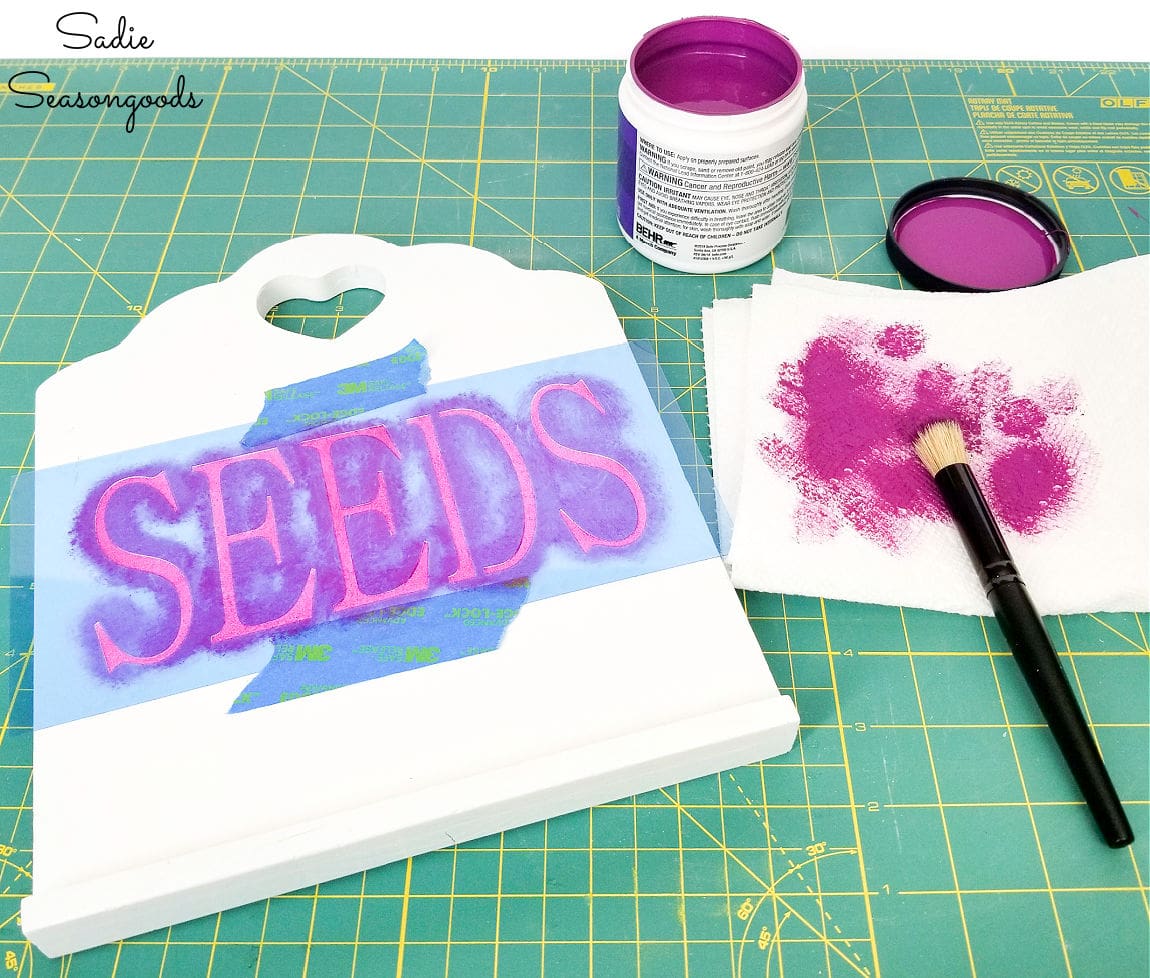
Image credit: Sadie Seasongoods.
Next, I lightly sanded the stenciled word when I was done. Not enough to make it look overly distressed, but to lighten some of the parts that looked darker or more opaque than I wanted.
Then, I used the same decoupage glue to seal the top of my seed storage box!
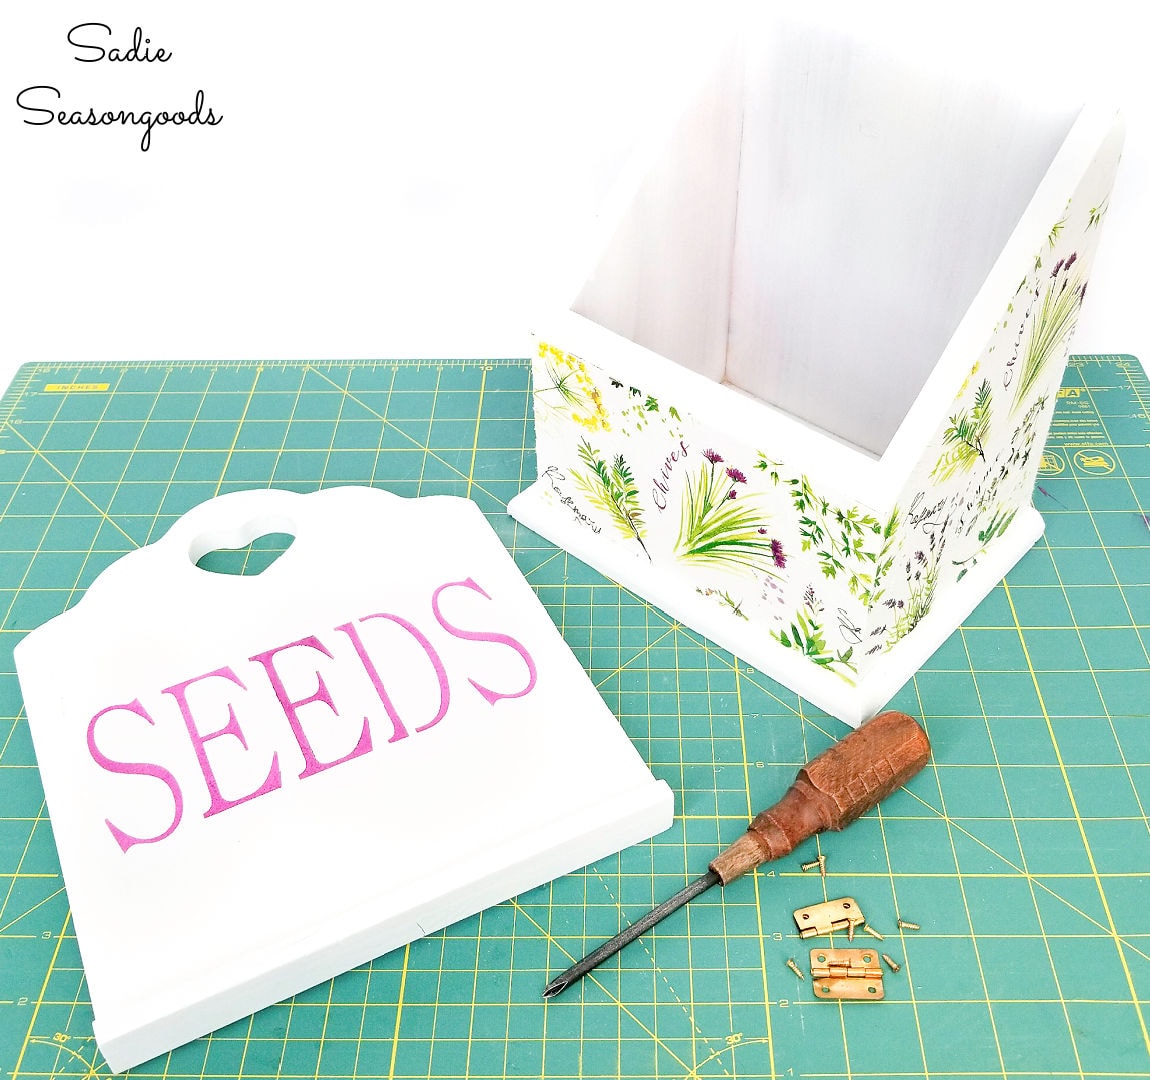
Lastly, I reassembled everything, making sure that I reattached the hinges the correct way.
I tell you this because clearly I’ve learned that hinges can be tricky, as I’ve flipped them over before on previous projects!
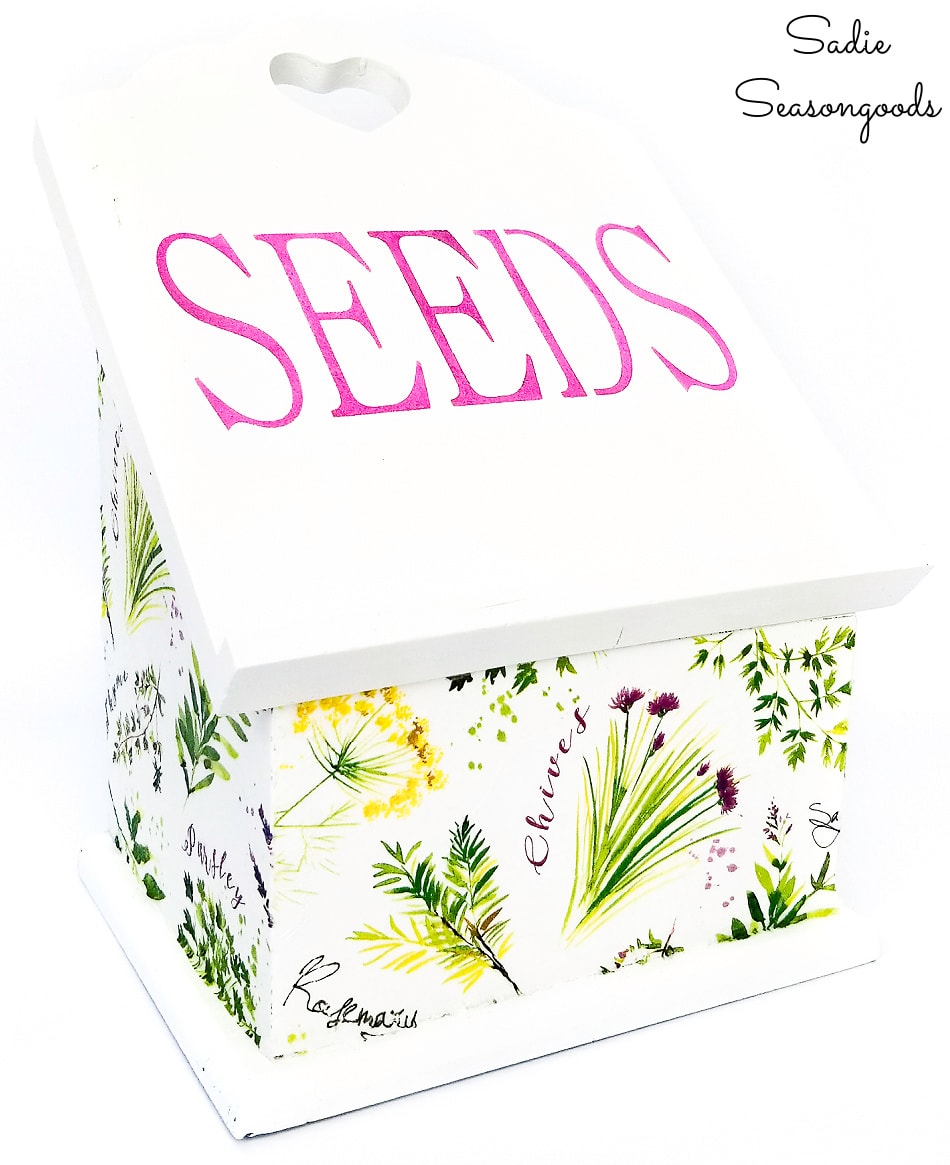
Image credit: Sadie Seasongoods.
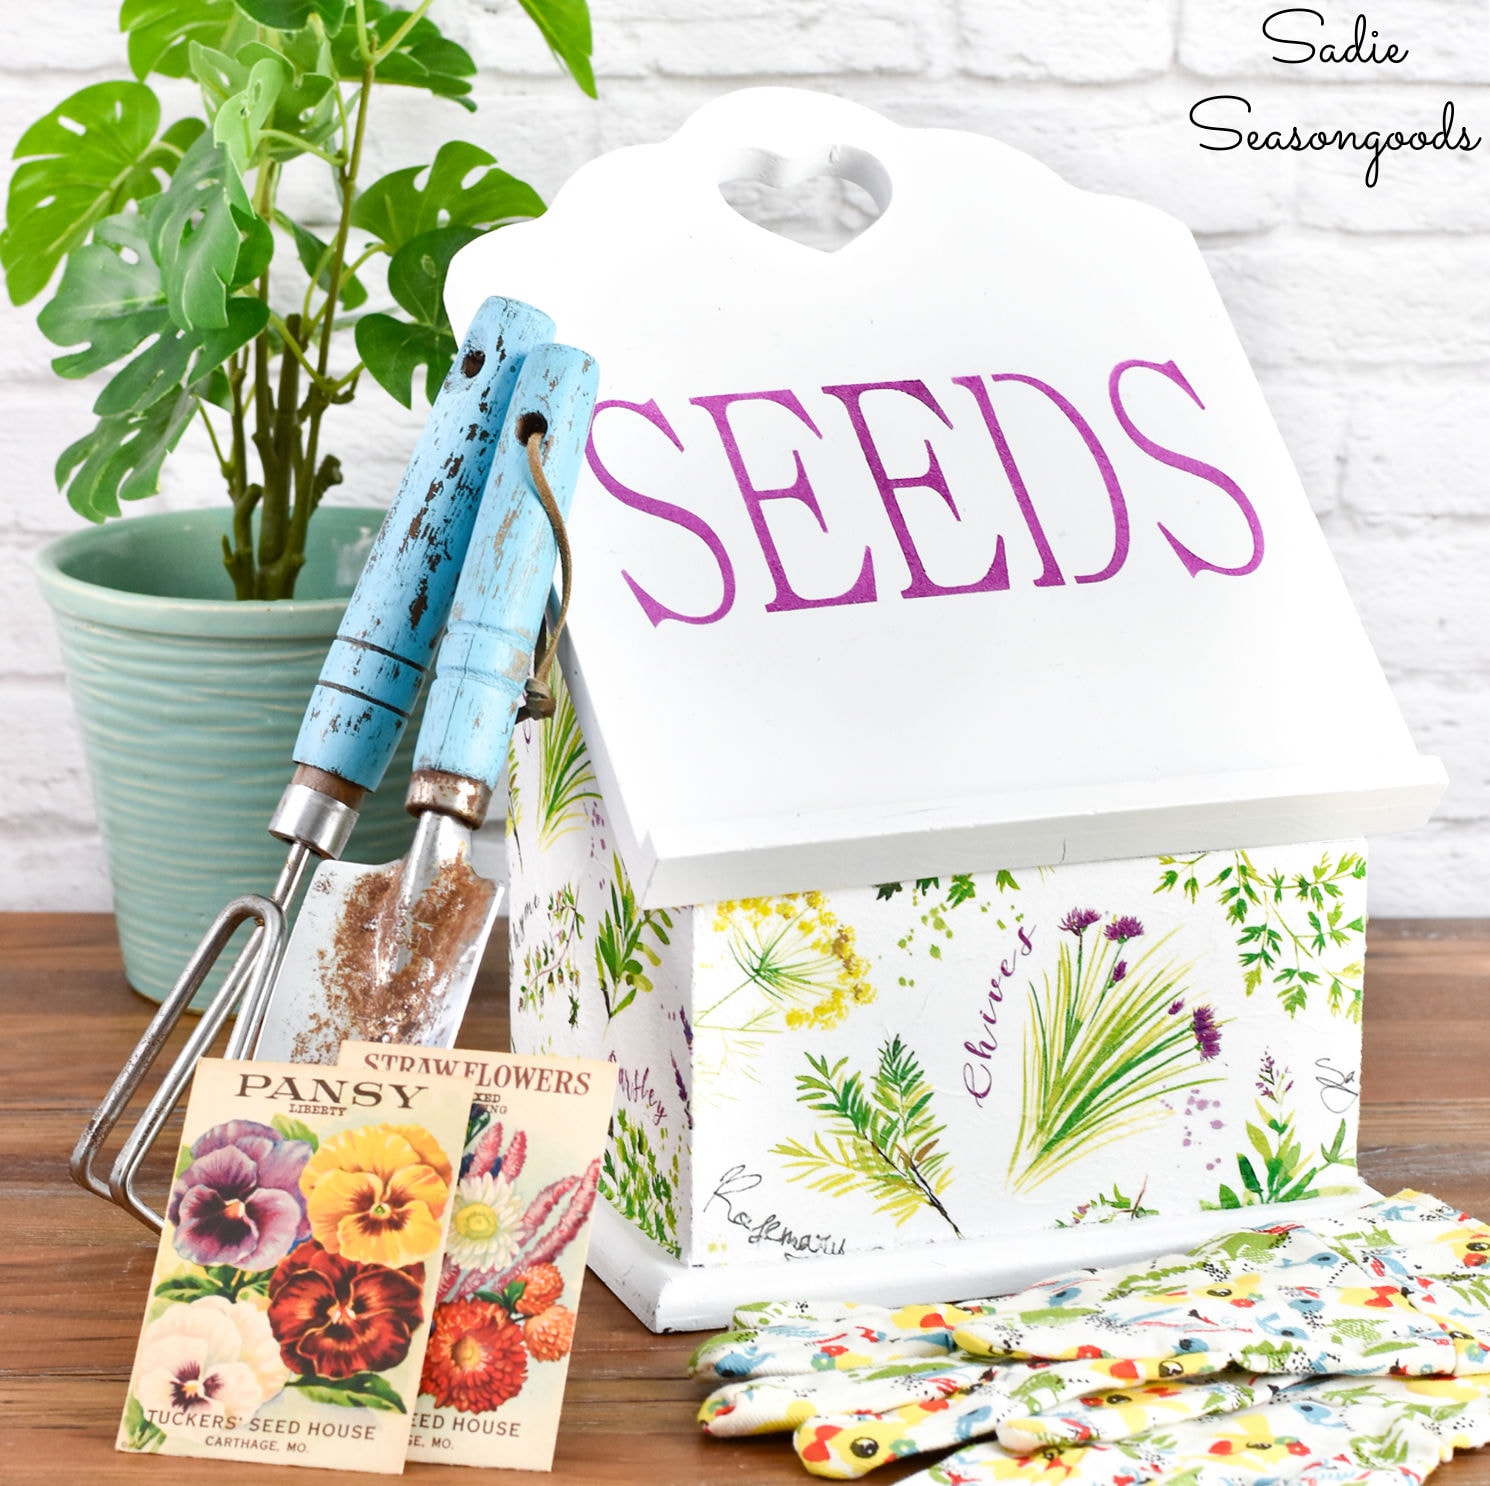
How cute is that? Such an improvement over the dowdiness of its original look.
Seed Storage Box from a Wooden Salt Box
To make it a functional seed storage box, I trimmed down some file folders to make dividers. Thankfully, I still had plenty on hand from this project for my craft room.
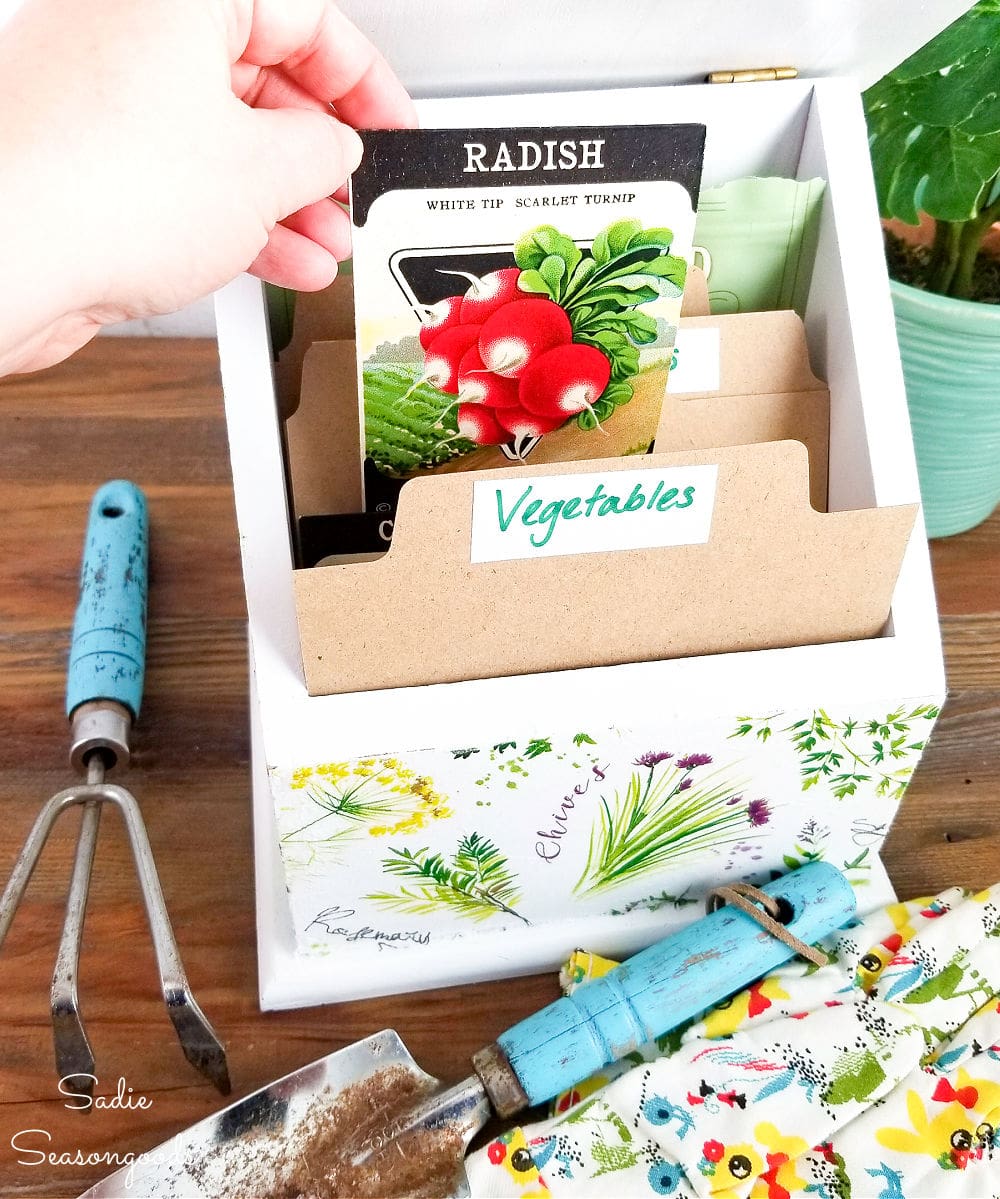
Image credit: Sadie Seasongoods.
But I must say, I really do love how it turned out! I had so many doubts about paper napkin decoupage. And despite a few wrinkles in the paper, I love how my seed storage box looks now.
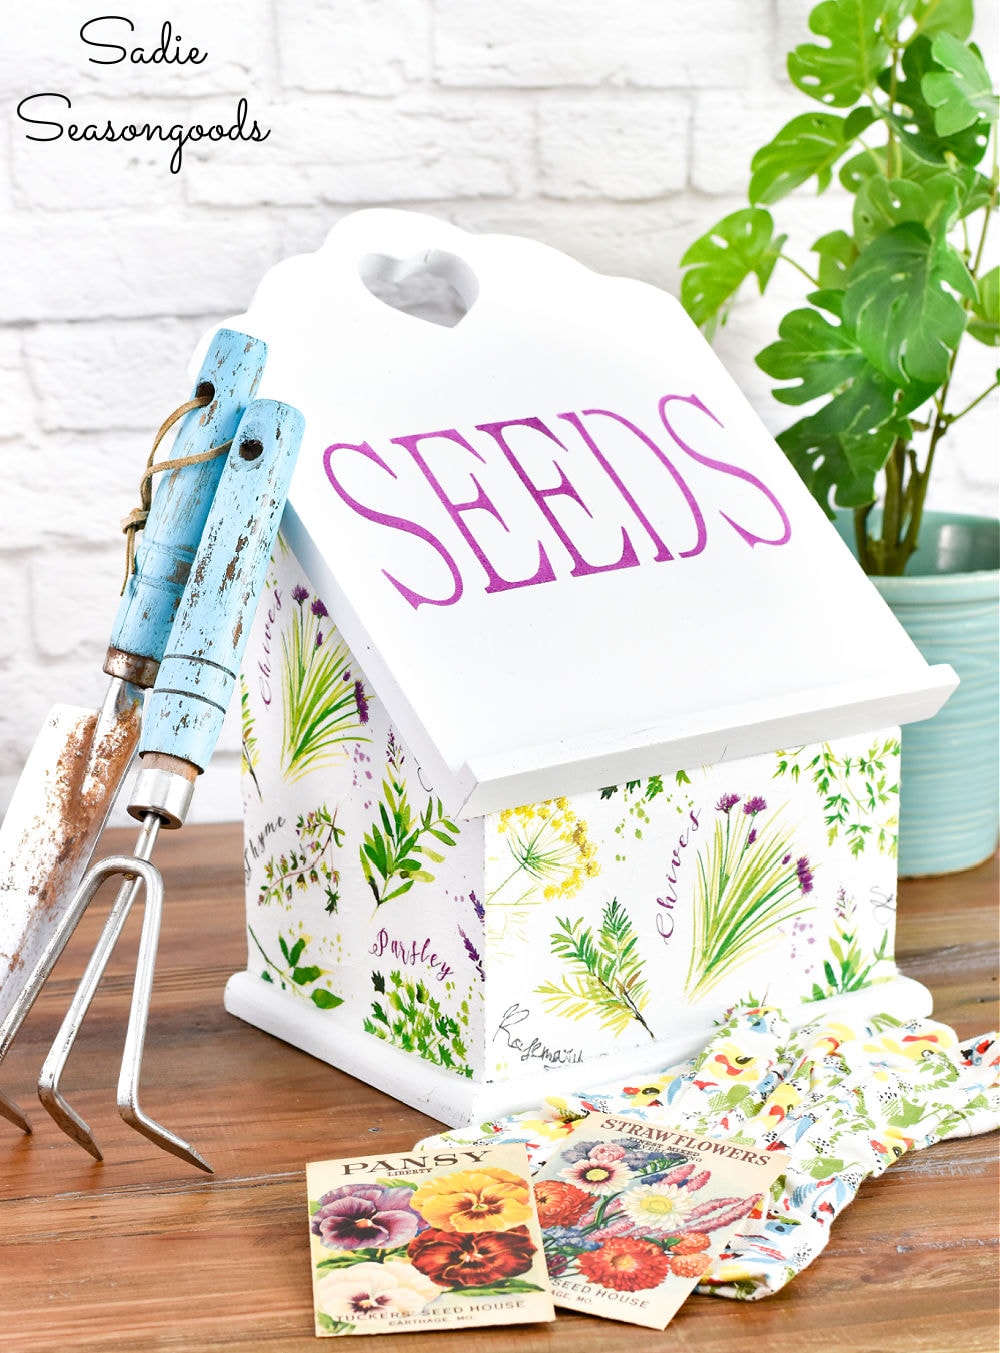
Image credit: Sadie Seasongoods.
And it’s charming enough to use in any garden-inspired Spring decorating, as well. Don’t you agree?
*****
Guess what today is? Thrift Store Decor Team Day! That means, my blogging friends have new upcycling projects to share with you, too. Check out what they’ve been up to!
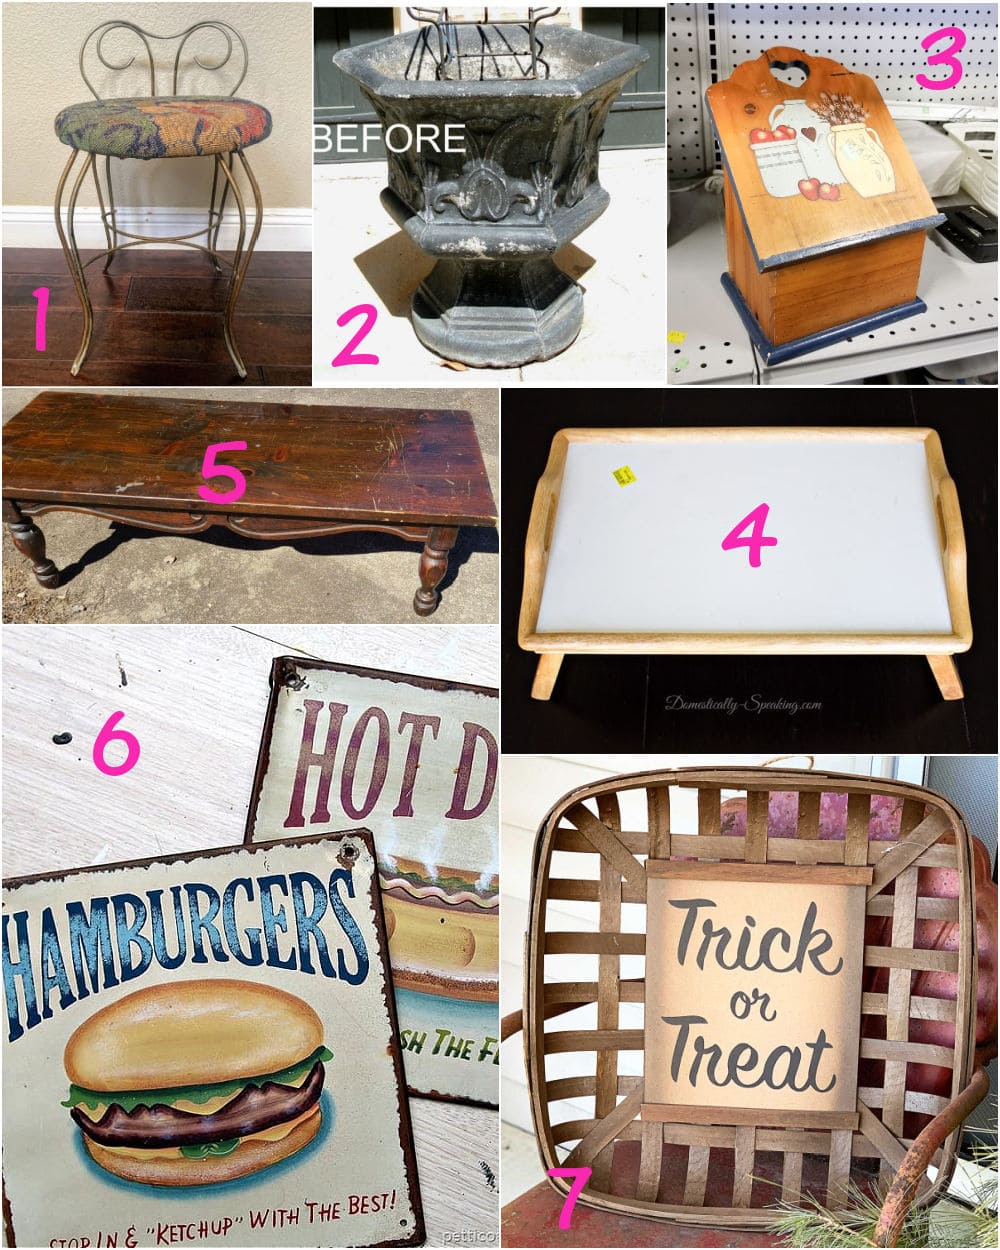
1. Vintage Vanity Stool Makeover – My Uncommon Slice of Suburbia
2. Concrete Planter Makeover – Our Southern Home
3. Seed Storage Box from a Wooden Recipe Card Holder – Sadie Seasongoods
4. TV Tray Makeover – Domestically Speaking
5. Thrift Store Coffee Table Makeover – My Repurposed Life
6. Inexpensive Kitchen Wall Decor – Petticoat Junktion
7. Repurposed Tobacco Basket Project – House of Hawthornes
*****
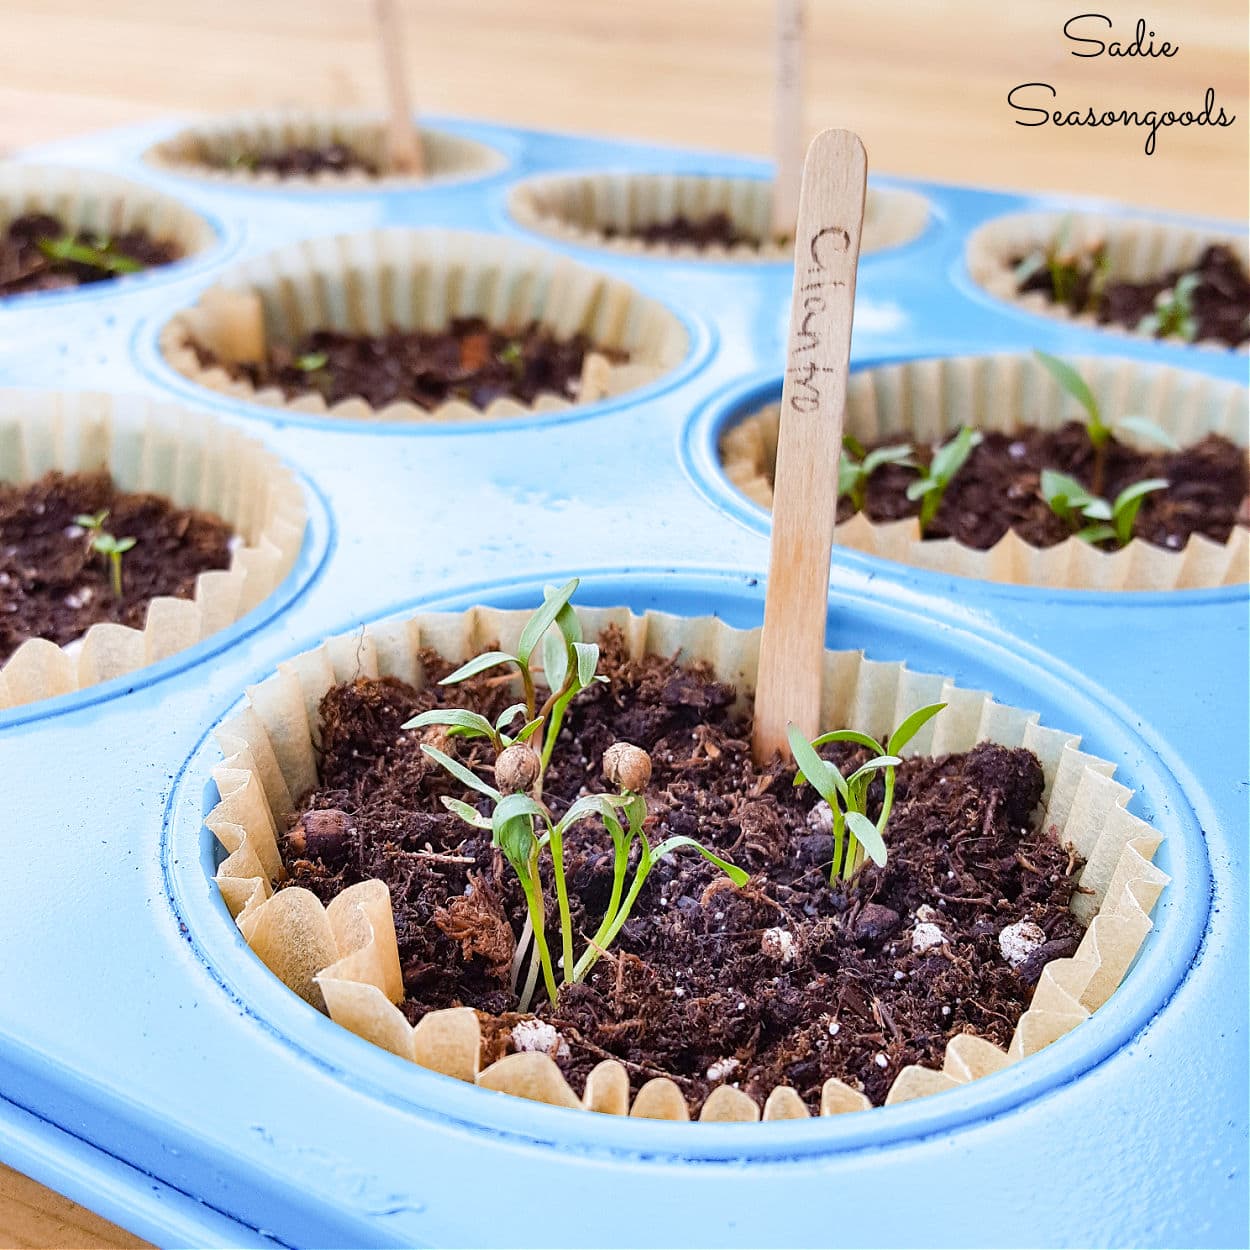
Speaking of seeds and gardening, if you enjoyed my idea for a seed organizer, then you may also be interested in my upcycled seedling tray, as well!
Craft on!
S
Want to be notified when I publish my next upcycling project tutorial?
Join me on Social Media:
PIN ME!
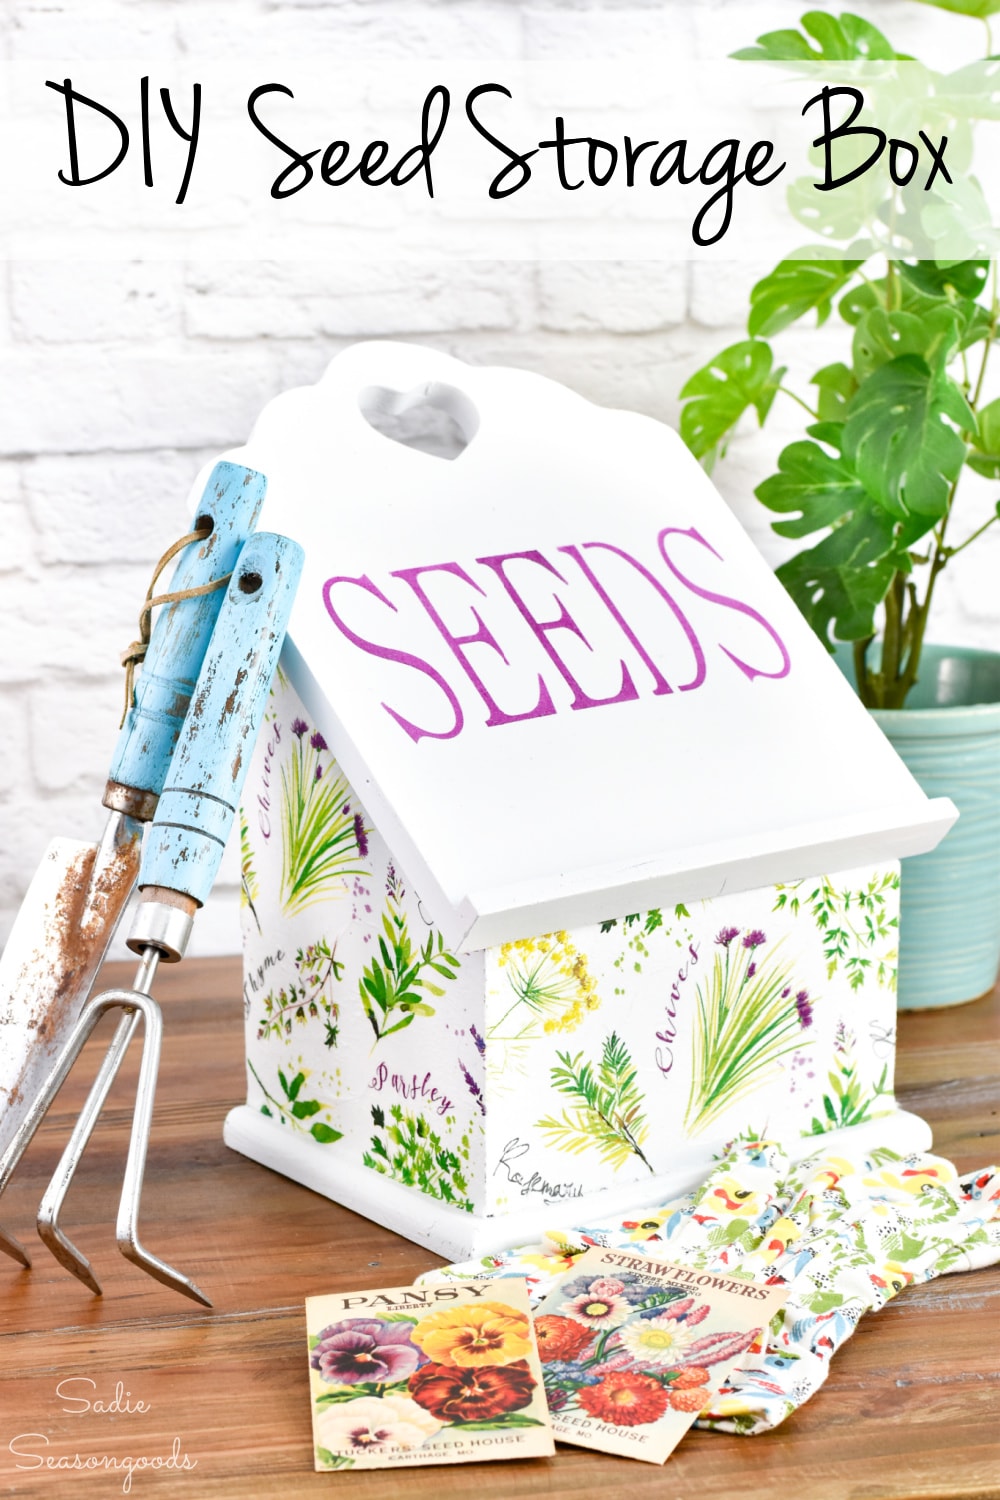
Image credit: Sadie Seasongoods.
Sarah Ramberg is the owner of Sadie Seasongoods, a website that celebrates all things secondhand. From upcycling ideas and thrifted decor to vintage-centric travel itineraries, Sadie Seasongoods is a one-stop shop for anyone who loves thrifting and approachable repurposing ideas. Sarah is also the author of “Crafting with Flannel” and has been featured in numerous media outlets and magazines.





Very pretty spring decor!
Thanks, Fonda!
What a cute way to organize your seeds! Great idea!!
Thank you, Carmen!!
Cute, cute, cute!!!! Now I need to look for more wood boxes at the thrift shop!
Thanks, Carole!
This is so pretty!
Thank you!
I simply love the makeover. Great job as always.
Thanks so much, Rebecca!
WOW! What a fabulous job!! Love your work! Your inspiring me!
Thank you, Natalie!
That is so sweet! Absolutely love it!
Thank you!!
This charming! Bright and Spring-y.we need all the spring we can get,wouldn’t you agree? Love your ideas and can do ingenuity. Have a blessed day
I agree, Spring is such a breath of fresh air this year! Thank you so much!
This doesn’t even look like the same box, such a great makeover! I’m ready for Spring!!! Have a great week!
Thanks, Kristin!!
What a beautiful makeover and perfect for Spring!
Thanks, Maryann!
omg’sh I love this! I have an old bread box that is of course larger but same type of opening- it is rectangle and the top pulls up from the front- not down. and I never knew what to do with it! I will fill it with a plastic container and put my “spent” marigold seeds in it for next year. You have the patience and cutest ideas!! Thank you. When I see you name come up in my email, I get so exited.
Yay!! Sounds like a perfect reuse for your bread box!! And thank you so much, XOXO.
Sarah,
What a clever use of the wooden box!!! I love napkin decoupage. I started my own project today!
I hear ya about the hinges–I am definitely hinge challenged!
pinned
gail
I can’t tell you the number of times I’ve reattached them in the wrong direction, LOL. Thanks, Gail!
This is darling, Sarah!
Thank you, Marilyn!
This is so sweet! The napkin decoupage is so pretty, love!
Tania
Thank you so much, Tania!
Who would have thought that was a nasty old recipe box! Very cute transformation!
What a great idea! I love the pattern for the decoupage. Such a fun makeover!
Thanks, Christy!