This upcycling idea has been rattling around in my head for nearly a year now, but up until recently, I wasn’t sure how to fully execute it. You see, I have coveted a hardware organizer for a while now. You know the kind I’m talking about, right? One of those spinning organizers for small parts or nuts and bolts that you would find in a General Store? Anyway, I couldn’t pull the trigger on an authentic one (too pricey) and I didn’t want to purchase a reproduction (like this one below).
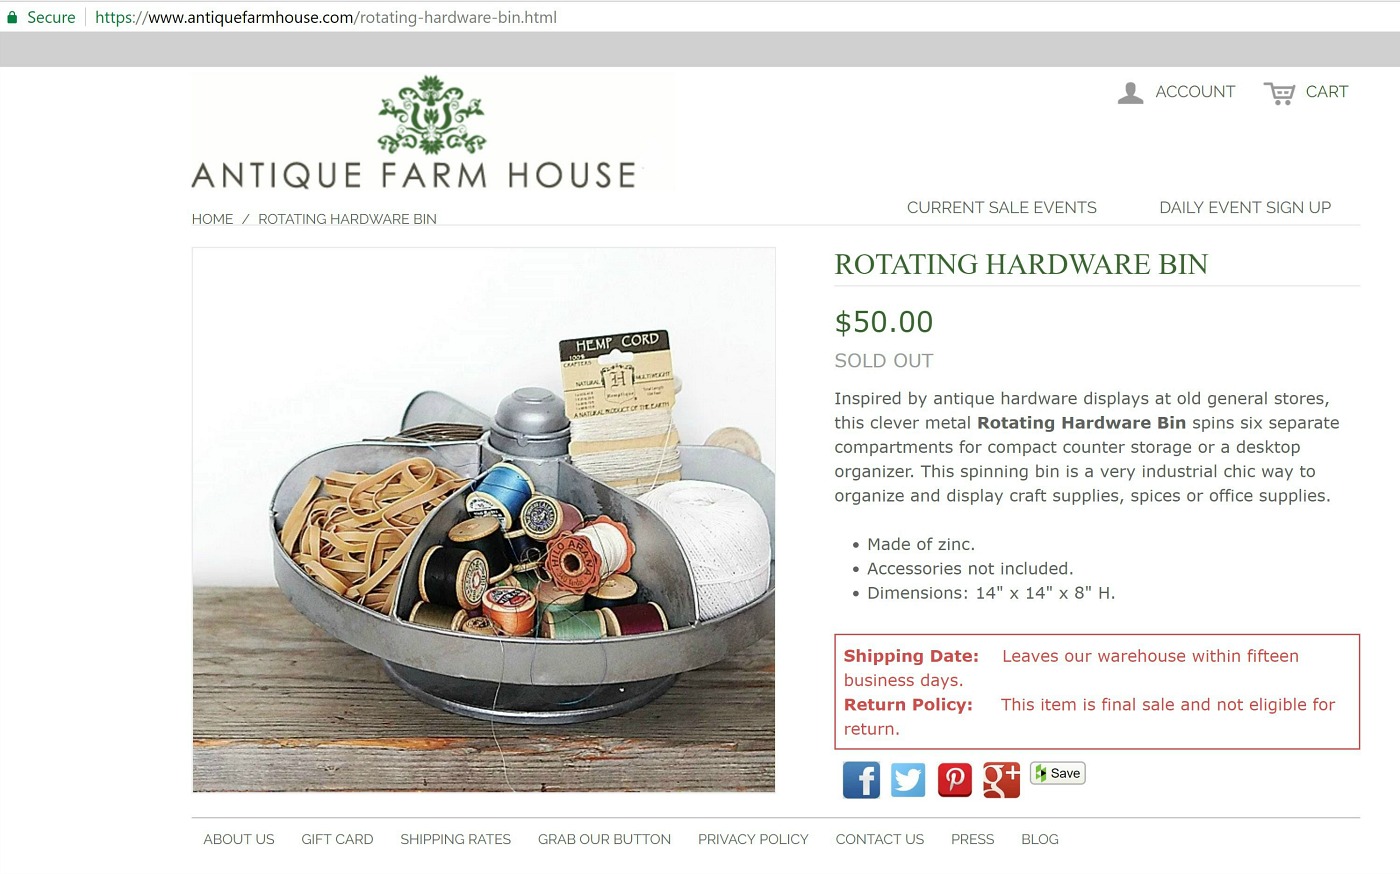
Heck, even the reproductions are pricey!
So, when I found this Tupperware Serving Center or veggie tray at the thrift store, I wondered if I could recreate the look of a hardware organizer.
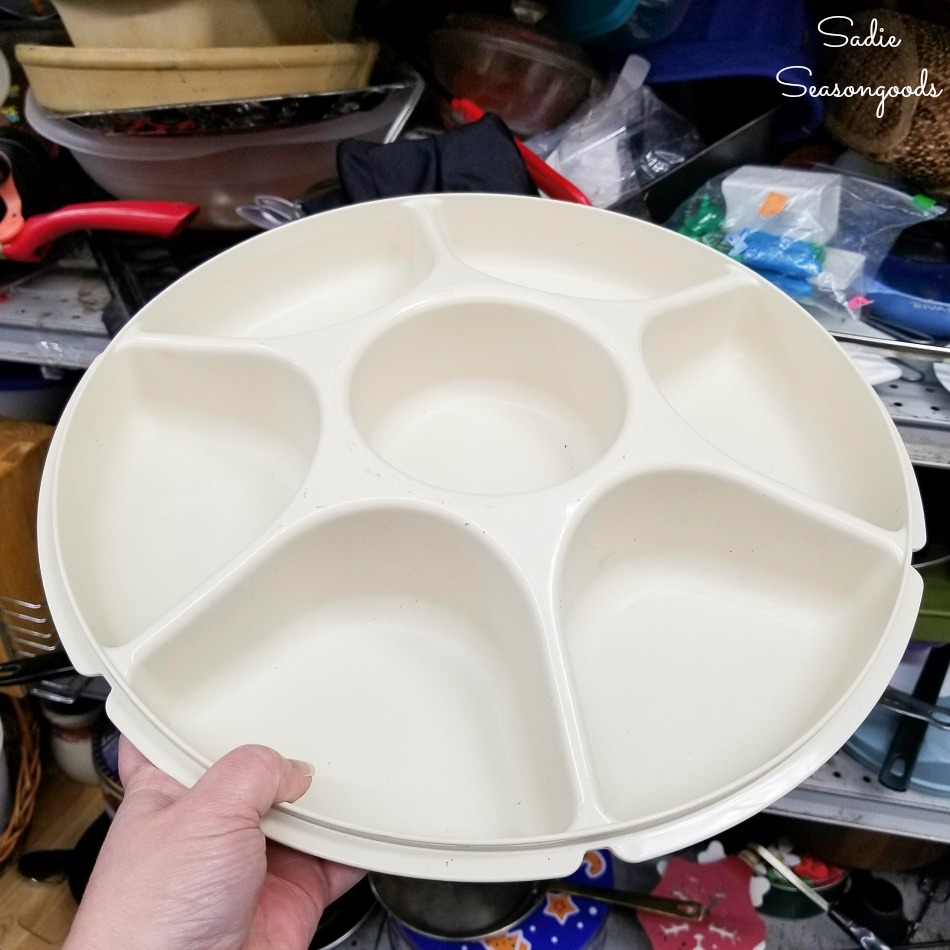
My mom used one of these for her crudites platters when I was growing up- in fact, she probably still has it! But this one came from Goodwill, sans top and/or carrying handle.
And if you squint your eyes and pretend it’s made of galvanized metal, it kind-of-sort-of looks like a hardware bin!
But. BUT. From there, I was stuck.
I couldn’t figure out a simple way to give it a platform, a lazy Susan, and a handle to use for spinning/turning (and I really do try to keep my projects simple). Sure, I could purchase a wooden base (or pillar style candle holder), lazy Susan hardware, and a finial sort of handle, but like I said- I really try and keep things simple!
However, fast forward a few months when I found this small wooden lazy Susan. I’m assuming it was once part of a cruet set.
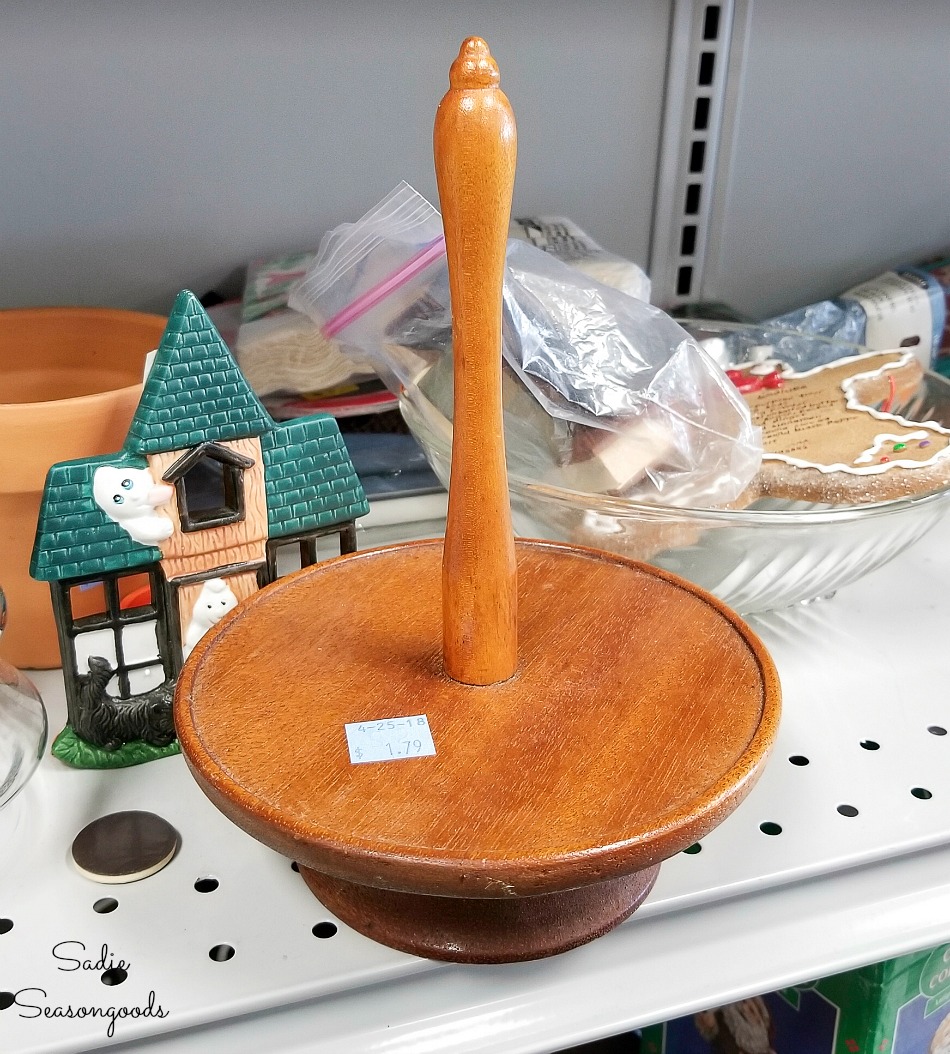
NOW I had everything I needed to create my own version of a hardware bin or small parts organizer! What do you think- is this a crazy idea or what?
This post contains affiliate links for your crafting convenience. As an Amazon Affiliate, I earn from qualifying purchases. All blue, bold, and underlined text is a clickable link, either to a product or to a related post.
Building a Hardware Organizer
Ok- let’s find out if I’m a genius or an idiot…
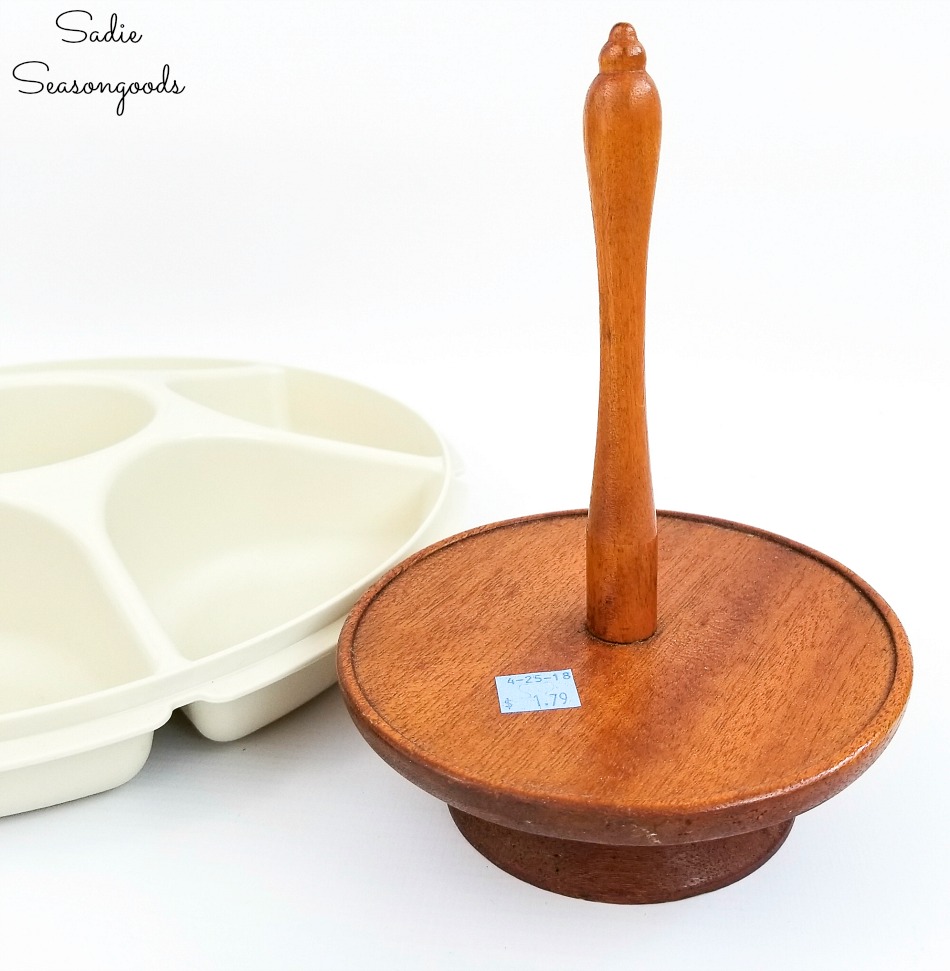
First, I needed to cut a hole in the veggie tray that was big enough to slip over the handle of the cruet set, so that it could sit on the wooden platform.
As if the Tupperware people had already thought of this, they provided me a perfectly round circle I could trace with my handy utility knife.
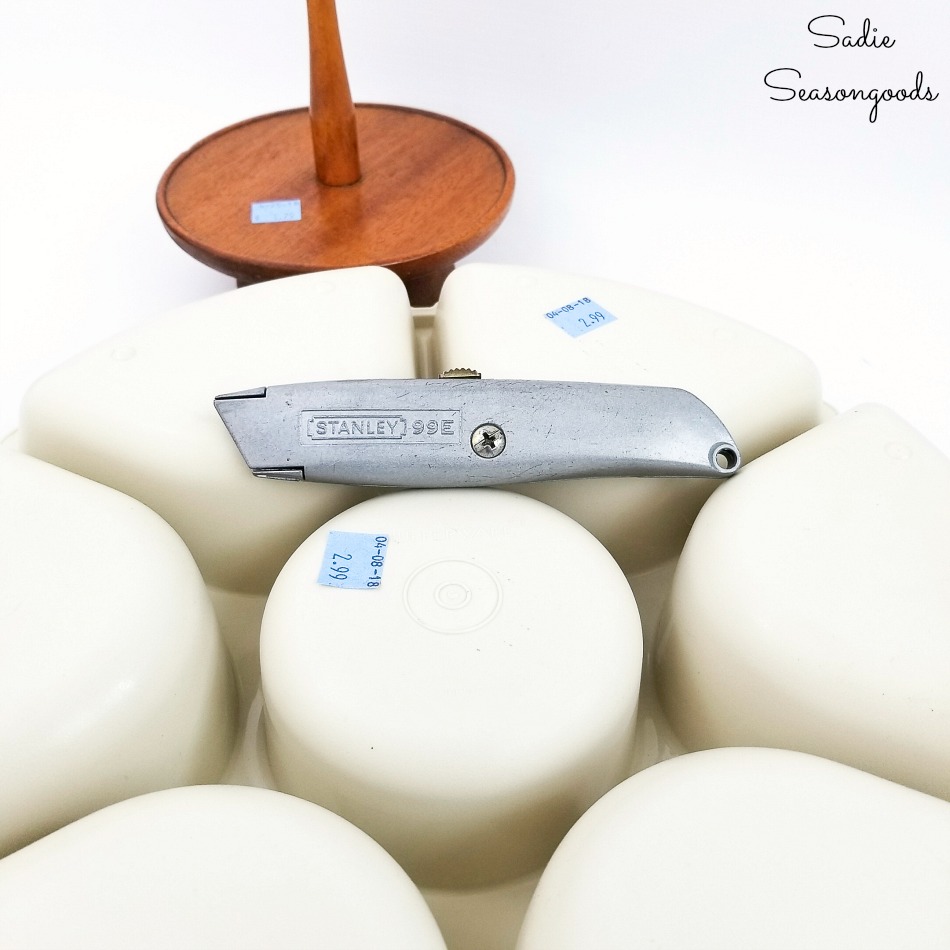
Thank you, Tupperware people- that was very thoughtful!
And…you guys…it was the perfect size. I didn’t even bother trying to slice out a perfect circle- an octagon was good enough for me.
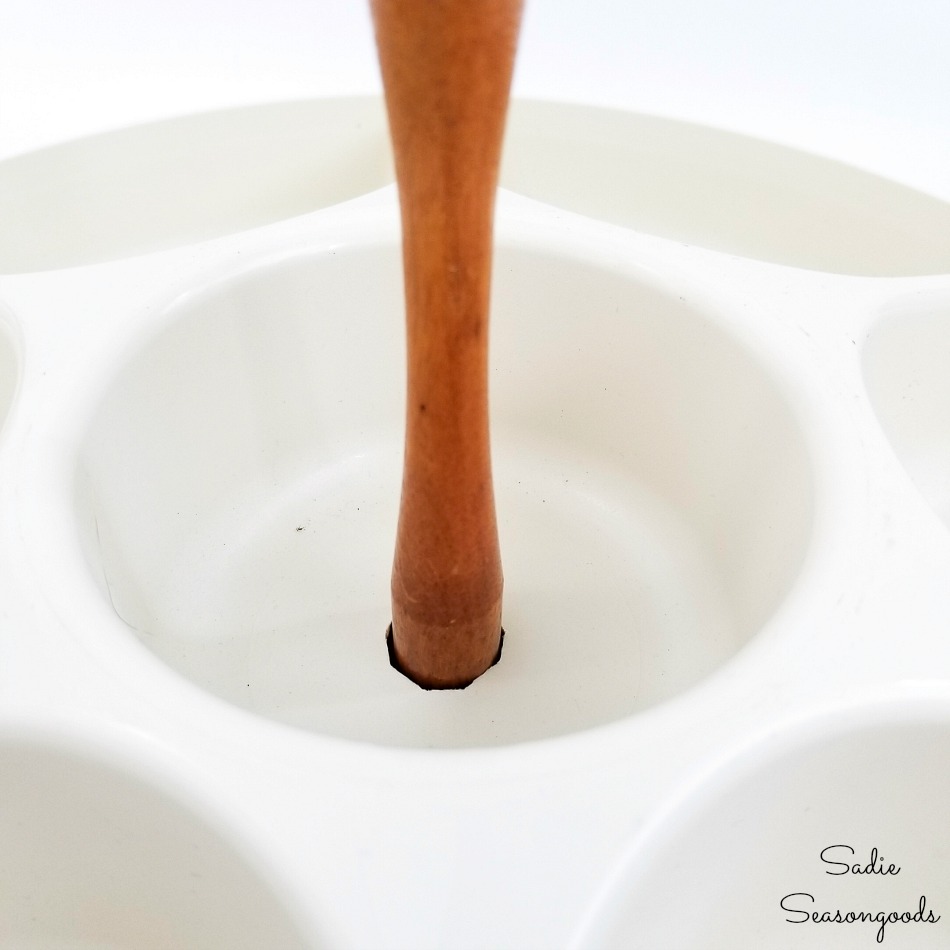
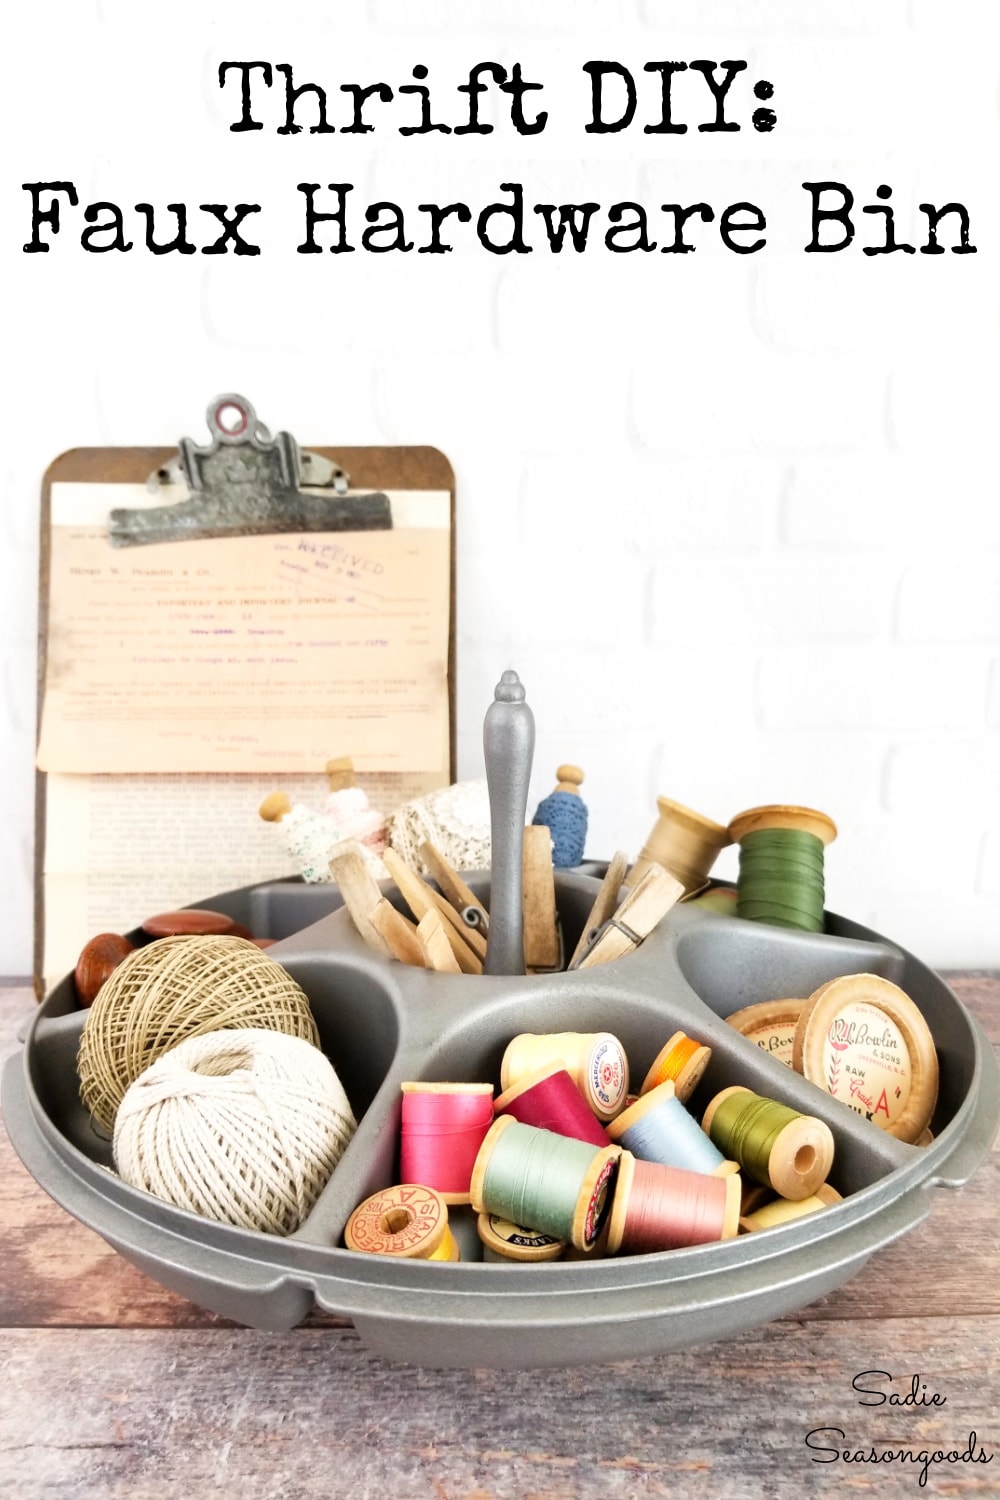
So, yeah…it was PERFECT. Made for each other perfect. My hardware organizer or small parts organizer was coming together better than I had hoped.
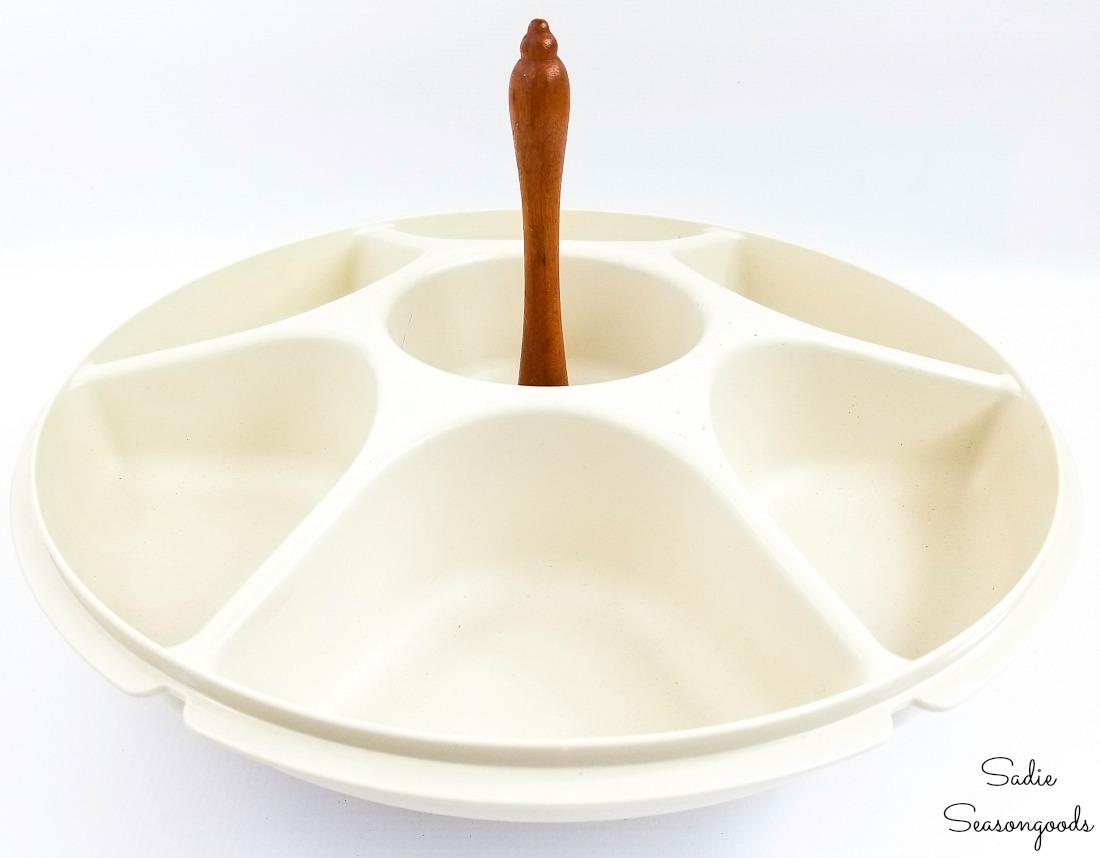
Now I just needed to make it look a little more authentic!
DIY Hardware Organizer for Craft Storage
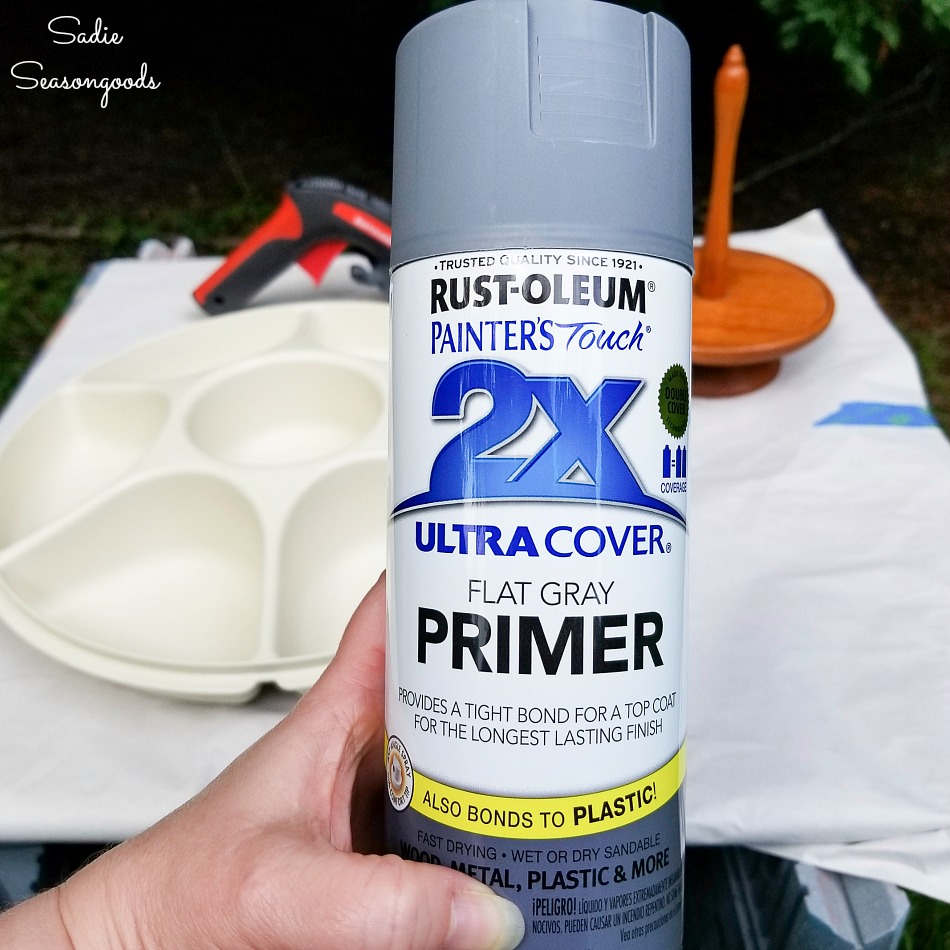
Because the Tupperware serving center and wooden lazy Susan had smooth surfaces, I gave each one a light dusting of gray primer.
Not opaque, flawless coverage- just enough to give my paint something to grab onto.
Next, I used my favorite farmhouse project paint on both pieces. It really is the best galvanized spray paint that I know of!
Of note, I didn’t paint the wooden platform of the lazy Susan (since it’ll be covered by the Tupperware veggie tray). And I also use a thin strip of painter’s tape around the lazy Susan hardware to keep paint from potentially causing rotation problems.
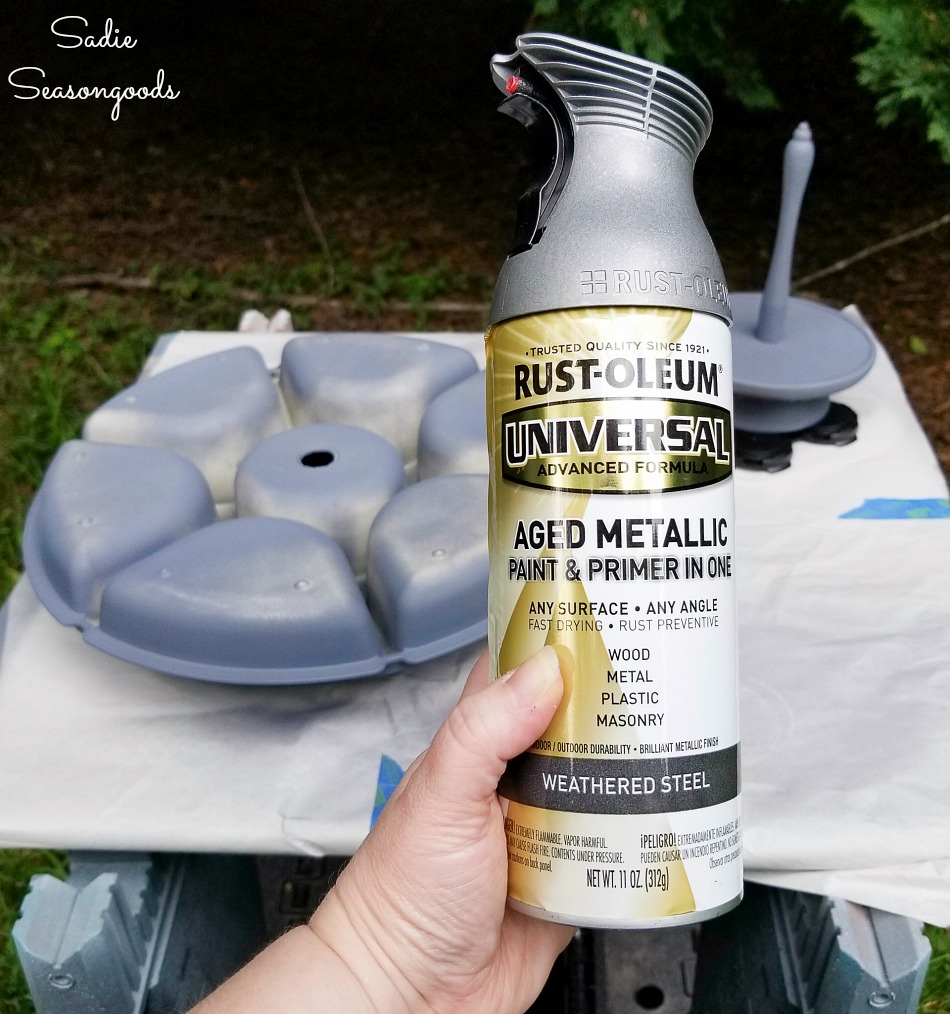
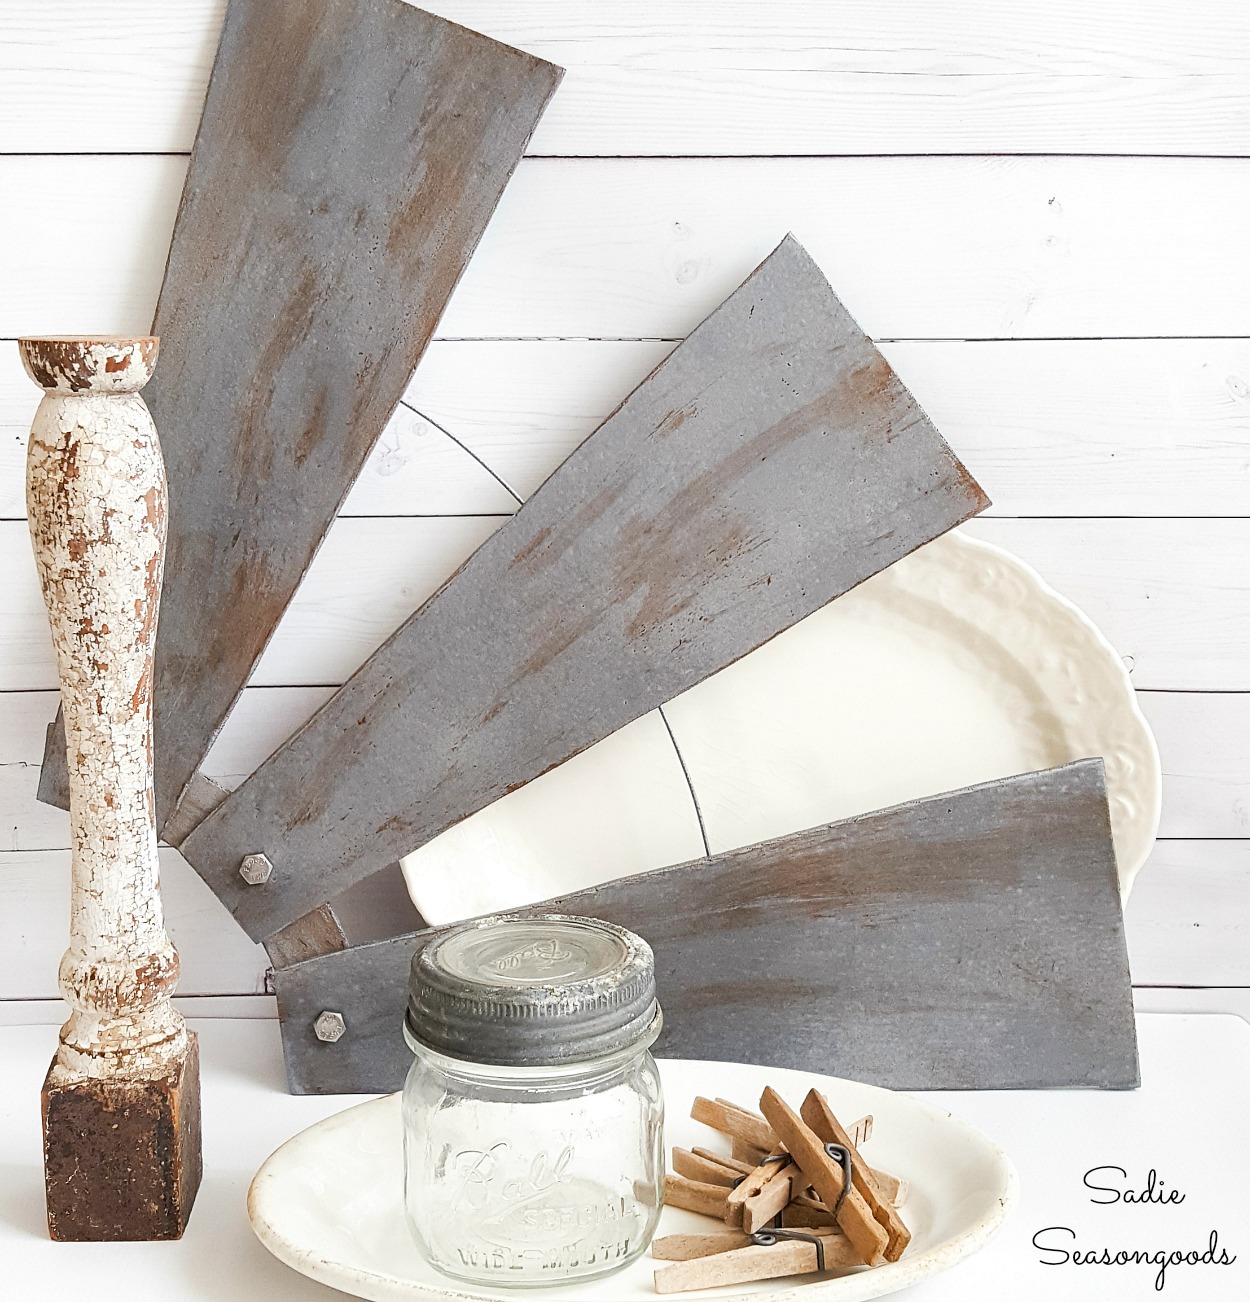
You’ve seen me use that paint before on my DIY faux windmill wall decor and on my bread basket farmhouse bowls!
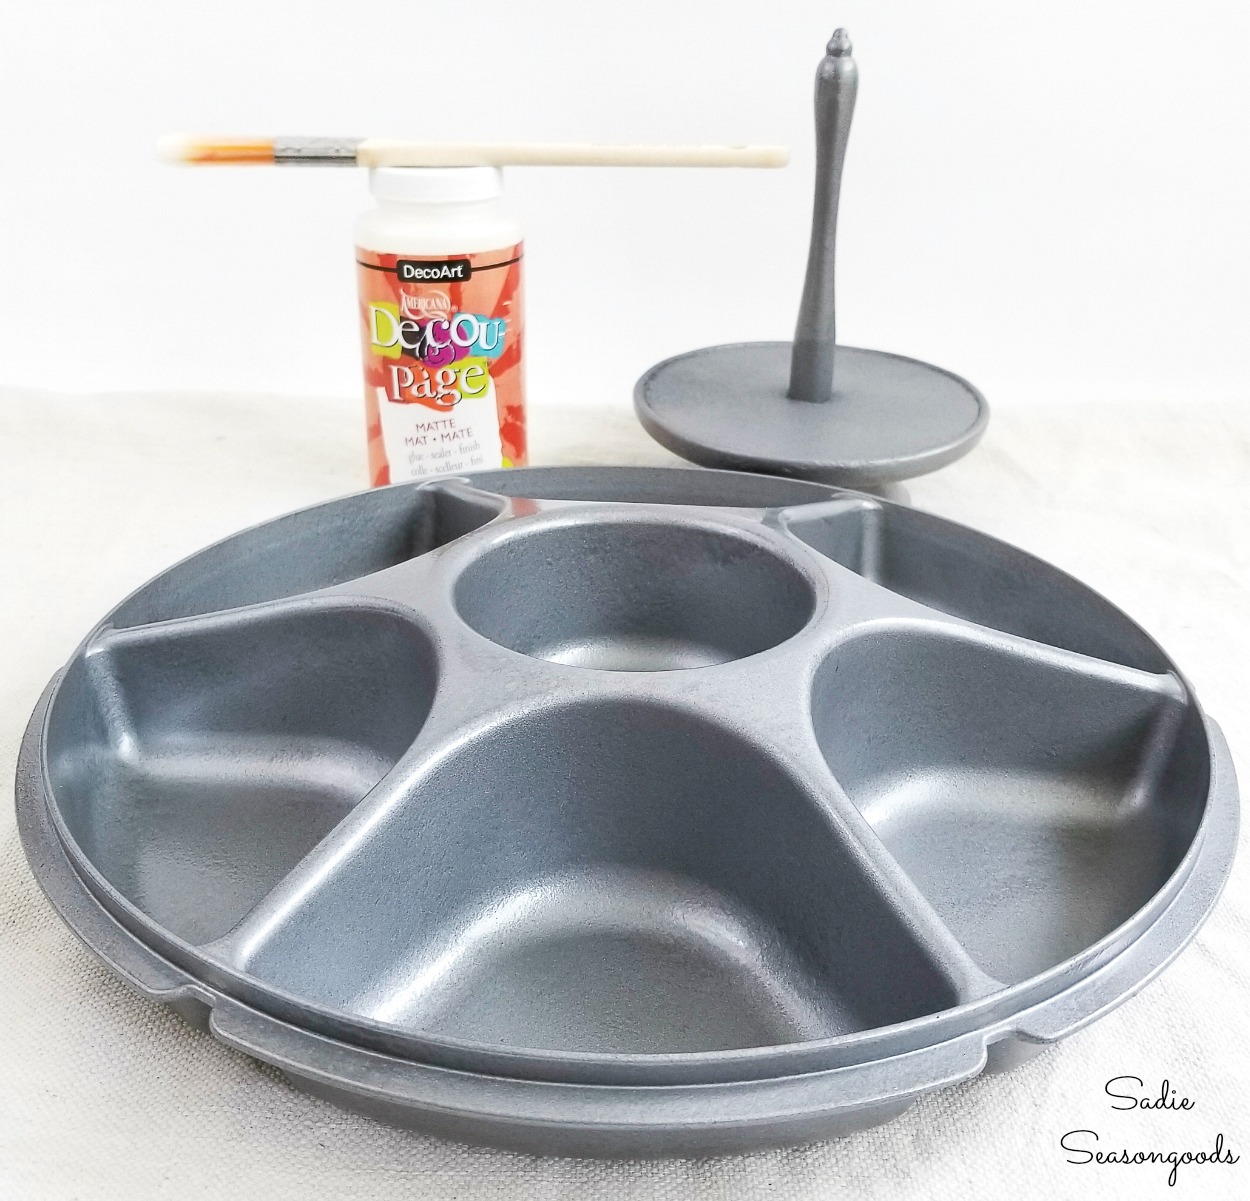
Since I’ve used this paint before, I know it likes to chip and rub off easier than some. And with my desire to actually use my rotating hardware bin to store bits in…well, I need a paint finish that can take a beating!
So, I brushed on a single coat of matte decoupage medium, which worked like a charm!
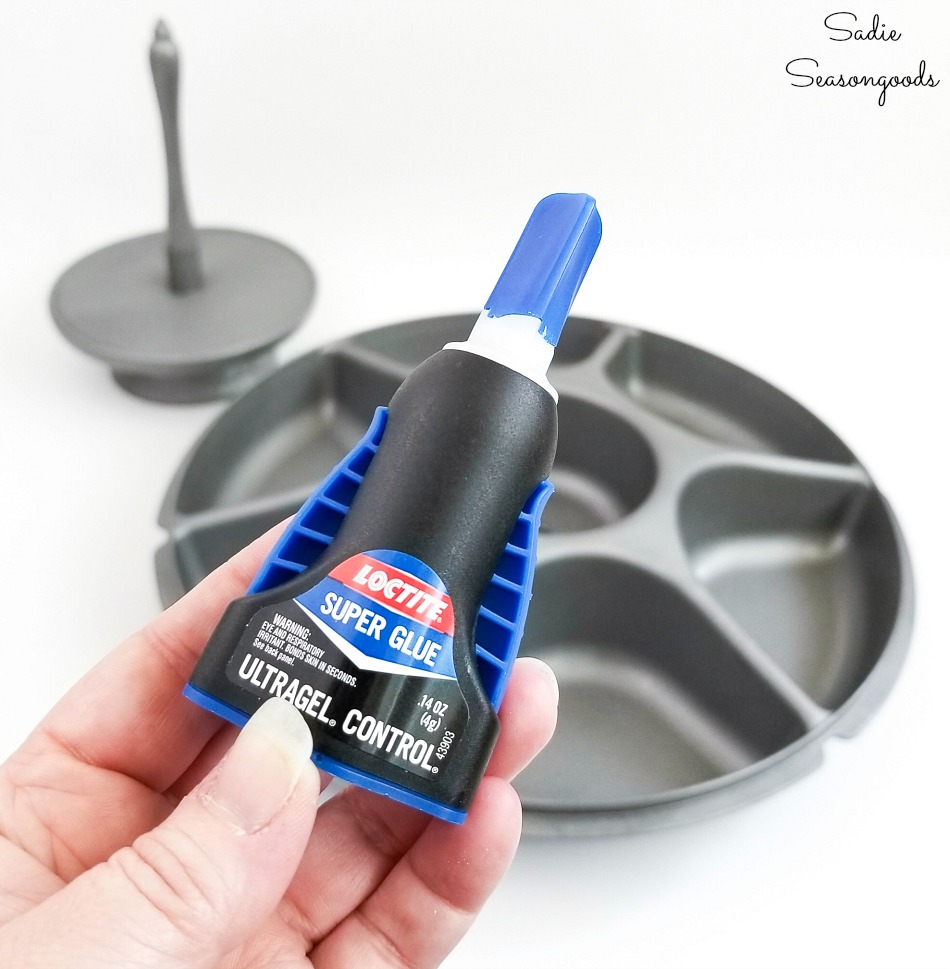
Last but not least, I needed to bond the two pieces of the hardware bin as one!
I used my go-to super glue to attach the bottom of the Tupperware veggie tray to the platform of the wooden lazy susan or cruet set.
Ready to see the final project and find out if my upcycling idea for a hardware bin worked out?
Hardware Organizer from a Tupperware Veggie Tray
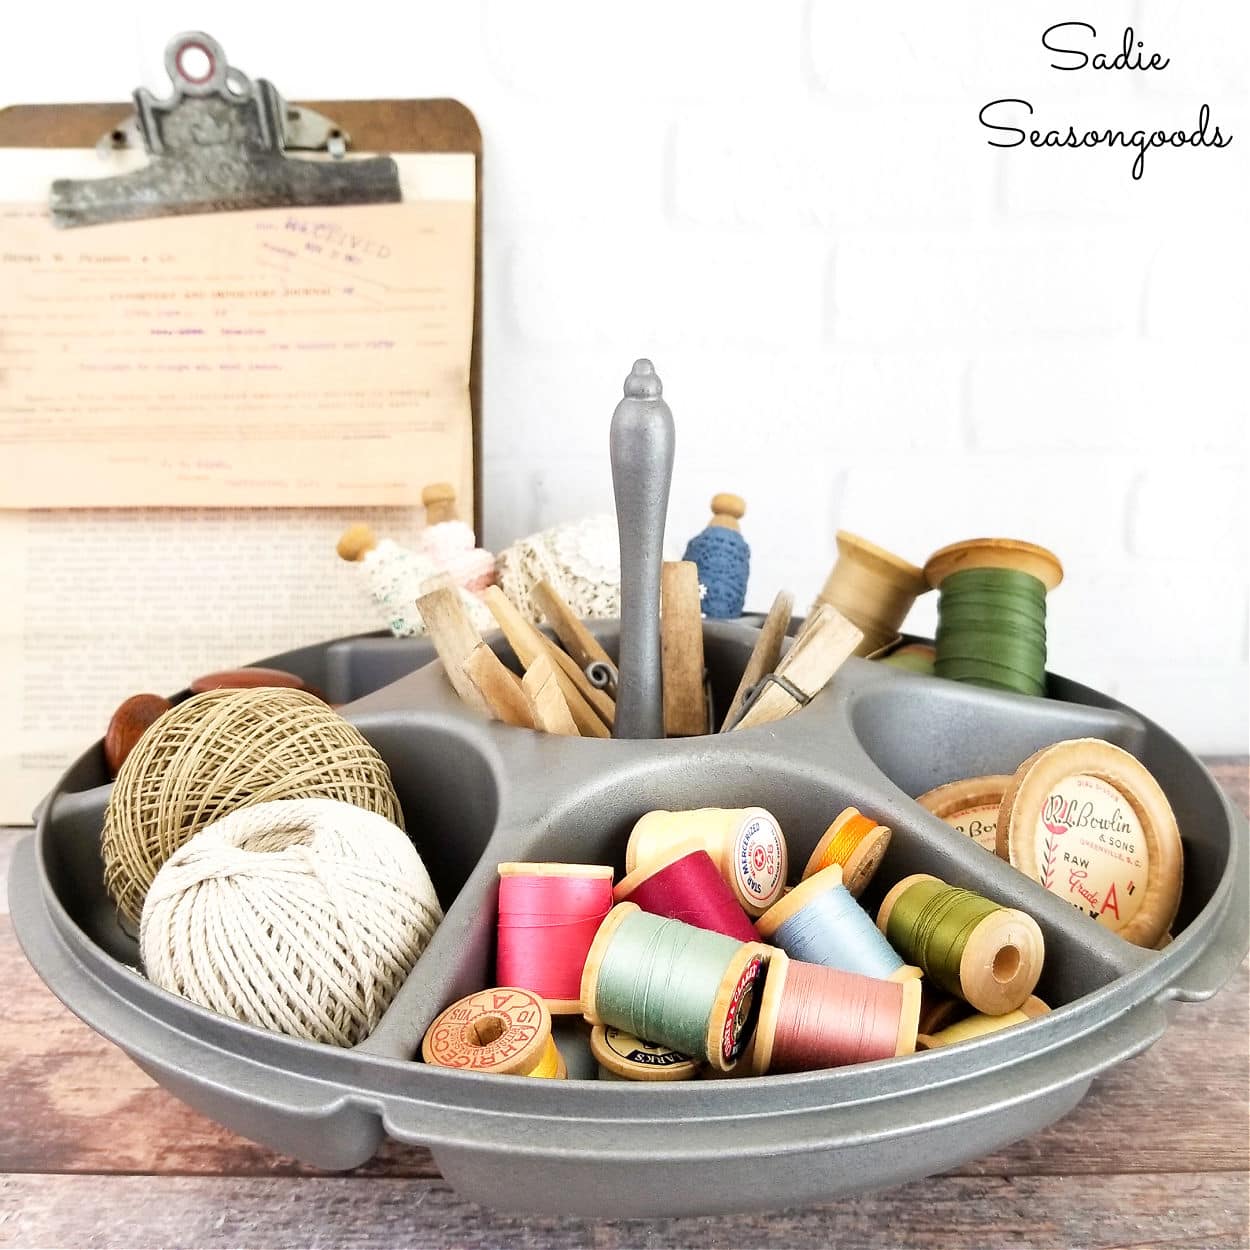
DONE. Crazy idea DONE. And it worked out brilliantly, if I do say so myself.
I am OVER THE MOON about how well this project turned out, you guys…
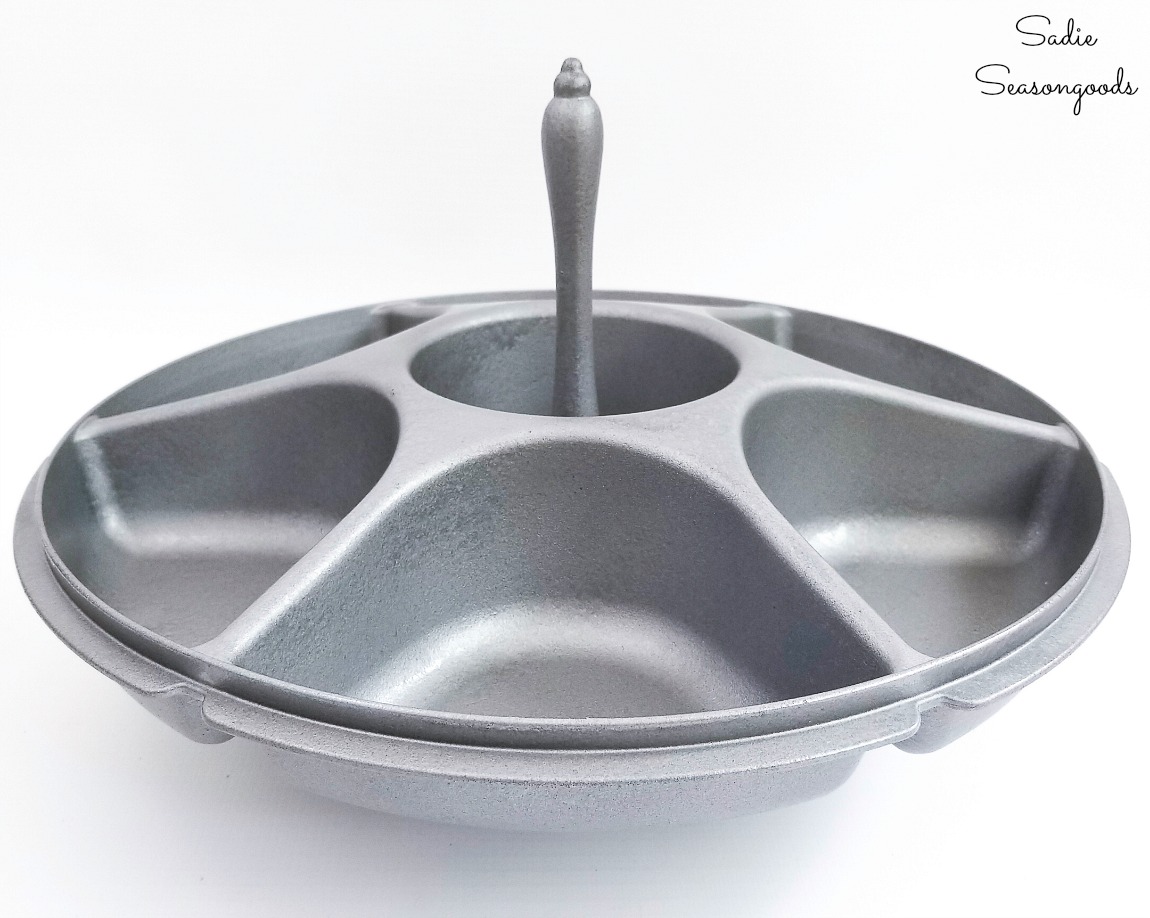
I can use my hardware organizer for SO MANY THINGS in my craft room. And basically, I may never pass up another Tupperware veggie tray again.
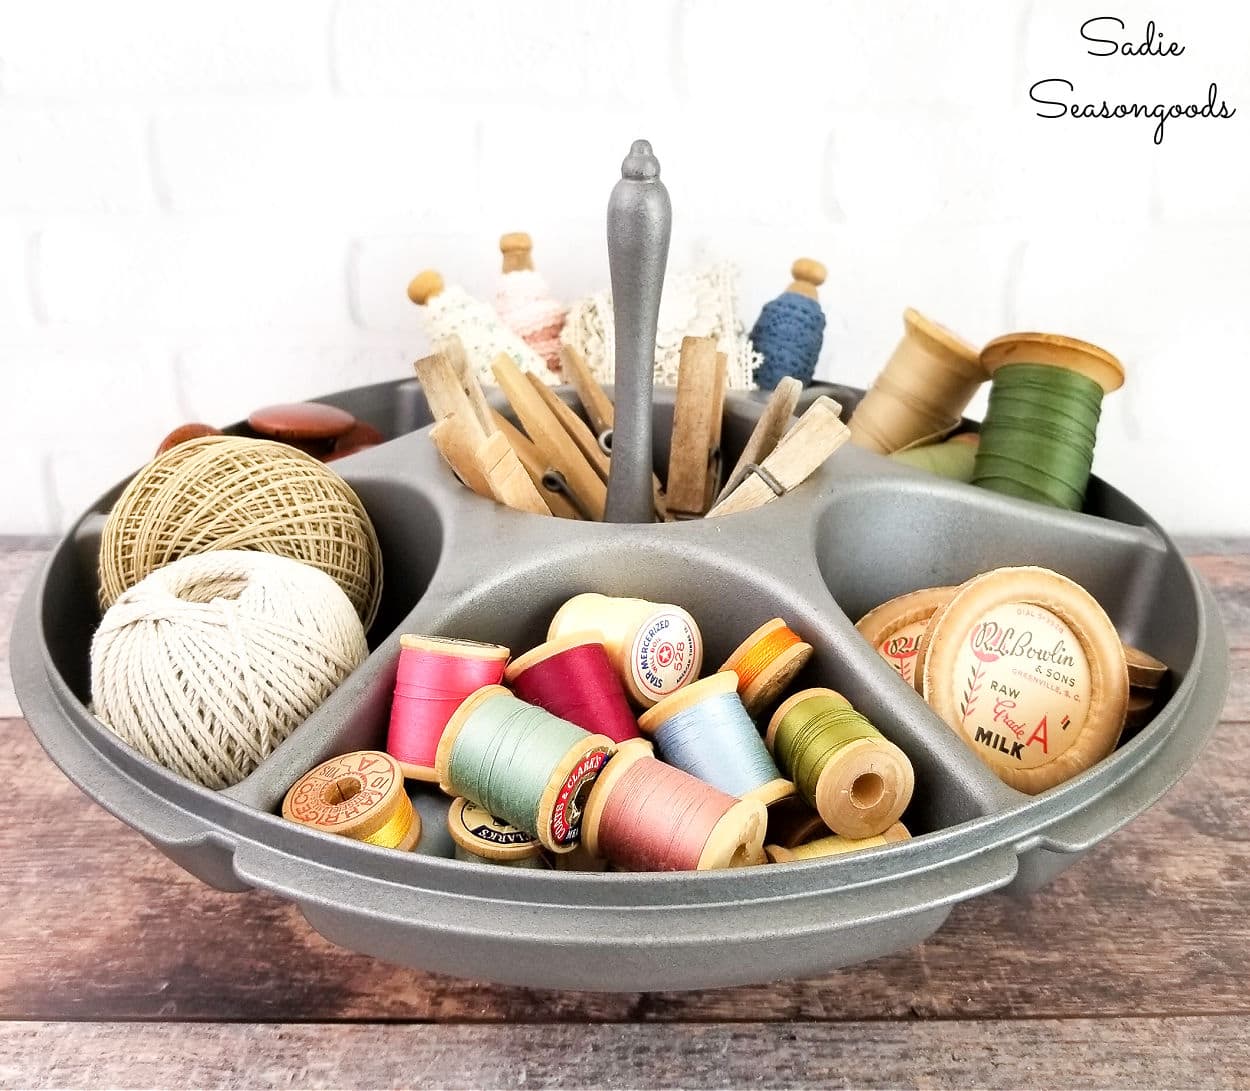
Plus, it has that rustic industrial look that I just can’t get enough of.
*****
AND, guess what today is? It’s Thrift Store Decor Team Day! Check out what my fellow upcycling bloggers have been up to.
Small Stool Makeover – My Repurposed Life
Striped Stool Makeover – Our Southern Home
Farmhouse Basket Makeover – My Uncommon Slice of Suburbia
DIY Go Jump In A Lake Sign – Refresh Restyle
Vintage Industrial Style Rotating Hardware Bin – Sadie Seasongoods (mine!)
DIY Wall Mounted Coat Rack: Boho Style – House of Hawthornes
Wooden Ruler Flag – Petticoat Junktion
*****
I’m also excited to announce that my first book is now available! If you love crafting with fabric, especially flannel, then you will love my book, “Crafting with Flannel”!
And if you enjoyed this upcycling idea, then you’ll also love this upcycling idea for windmill decor from ceiling fan blades!
Craft on!
S
Want to be notified when I publish my next upcycling project tutorial?
Join me on Social Media:
PIN ME!
Sarah Ramberg is the owner of Sadie Seasongoods, a website that celebrates all things secondhand. From upcycling ideas and thrifted decor to vintage-centric travel itineraries, Sadie Seasongoods is a one-stop shop for anyone who loves thrifting and approachable repurposing ideas. Sarah is also the author of “Crafting with Flannel” and has been featured in numerous media outlets and magazines.






Well, well, well…how smart is that? That is just amazing. Great idea and upcycle!
Thank you so very much, Cecilia!
Love it!
Thank you, Teresa!
love it! thanks for sharing.
Thank you!
Wow, you have created another amazing project with a combination of two totally unrelated castoffs! This organizer really looks great!!!
Thank you so very much, Kaycee!
This is so creative, I could use one of these in every room of the house lol
RIGHT?? Same…
Brilliant! Want 🙂
Thank you, my friend!
Love it. You’ve done it again! Another thing to add to my look-for list! Even with just a handle, it would be adorable–and so useful! A plastic Rubbermaid turntable would work well, too, but I love the elevation of yours. P.S.: I finallt found a $2 stool aat the American Legion yard sale (and $4 casters at Restore) to make my wrapping paper organizer. I am SO pumpted!
I literally just gave one of these away last week! You are so freaking creative!!!
LOL, Upcycling Murphy’s Law!!! (and thank you so much!)
awesome……..
Thank you, Scotty!!
LOVE IT! I would love one of these thanks for the inspiration.
Thank you, Lisa!!
I am amazed at your creativity, Sarah! What a fun idea! You brought your idea together beautifully!
Thank you so very much, Linda- it’s always so exciting (and relieving, LOL) when I project I have high hopes for actually works out so well! Am I right or am I right… 😉
Love your idea, it is good for many things, especially food and sewing. Personally I bought an old dresser and each drawer holds my hardware stuff. If I need to use items outside of the house I use my tool box which I carry to the site.
Thanks, Deborah!
Wow That paint really transformed the Tupperware!! Also: Why do you prefer Decou-page Matte sealer over ModPodge?? I have it but haven’t made the comparison to MP ever.
Well, I generally prefer DecoArt products over Plaid products because I am part of their Art Room team. But I’ve had better luck with Decou-page (the DecoArt product) for actual decoupaging projects. I don’t dislike Mod Podge, though- they’re very, very similar and Mod Podge is better known, that’s for sure.
As if this doesn’t look cool enough, it spins?? !!! Woah! I love this and can’t wait to find one of those tupperware thingys at the thrift store! Nice work Sarah!
Thank you so very much, Susan!
Love how you think!
Thanks, Nancy!!
I am new to here and absolutely love this idea, for sure going to use this in my workshop and enjoy looking through your other stuff.
Thank you, and welcome, Bonnie! I hope you found other projects of mine to be inspired by. 🙂
I happened to find a plastic container somewhat like yours, at Goodwill, the day after reading your post. Mine did have a top. What I did was put larger marbles in the lid and the container on top. It rotates just fine, but I’ll have to leave it in one spot because it’s now heavy! Plus, if I drop it, I’ll be chasing marbles all over the place. Thanks for your great idea!
What a great solution, Hilary- I love it! And yes, don’t move it in case of marbles all over the place, LOL.
I wouldn’t have thought to combine the two. Genius!
Thank you so much, Janean!
Genius! Argh! I just spotted one of these at a garage sale but it didn’t have a cover, now I know why! I should have seen this first.
Upcycling Murphy’s Law in action, right there!!