When I was a teenager, I had grand plans that involved collecting snippets of vintage jacquard ribbon (and non-vintage, if pretty enough) to decorate “all the things”, such as handbags, headbands, and t-shirts. But I quickly found out that the gorgeous ribbon I coveted so much was expensive…and my plans fizzled out. Fast forward a couple of decades, and I’m back at it with an alternative (and thrifty) plan: What if I used some ribbon belts from the thrift store to embellish different accessories?
Whether you’ve ever noticed or not, the fact is most thrift stores carry an abundance of ribbon belts.
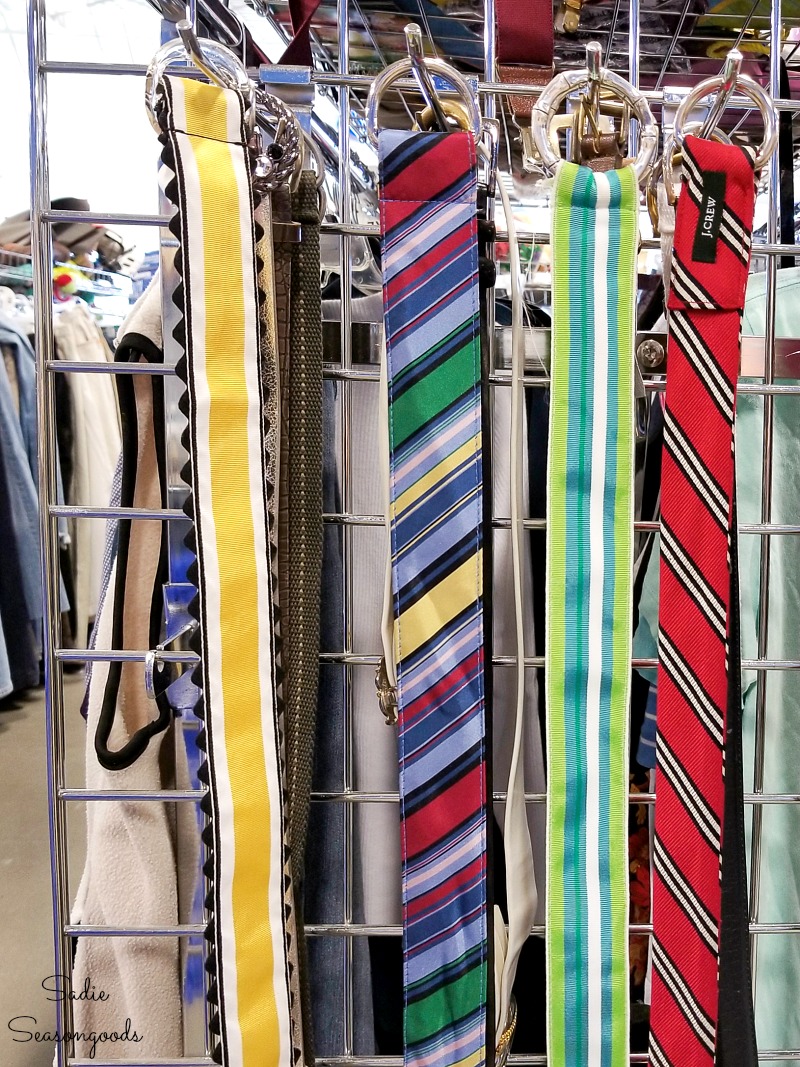
I’m guessing it’s because leather belts are considered more valuable?
In fact, I’ve even upcycled a ribbon belt once before in this project for a half apron. Even though you can’t see it in the final photos.
Ribbon belts or fabric belts are as common as picture frames at thrifts. At about $1 each, and with a single belt running approximately 1-yard long, well. It’s a pretty amazing deal as far as “fancy” ribbon is concerned.
And yes, they usually aren’t as gorgeous as embroidered jacquard ribbon. But even the colorful striped version of ribbon belts can be gorgeous.
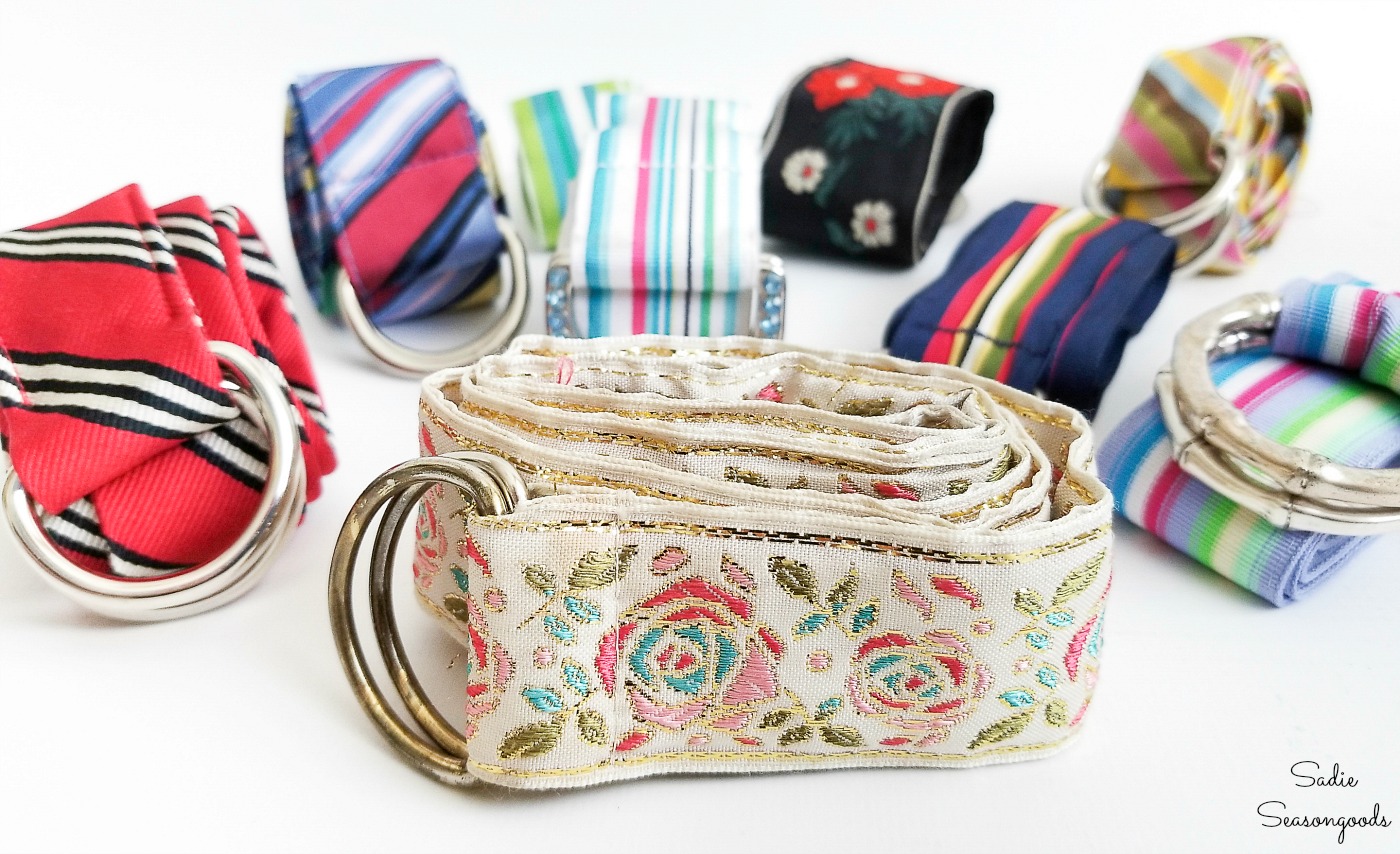
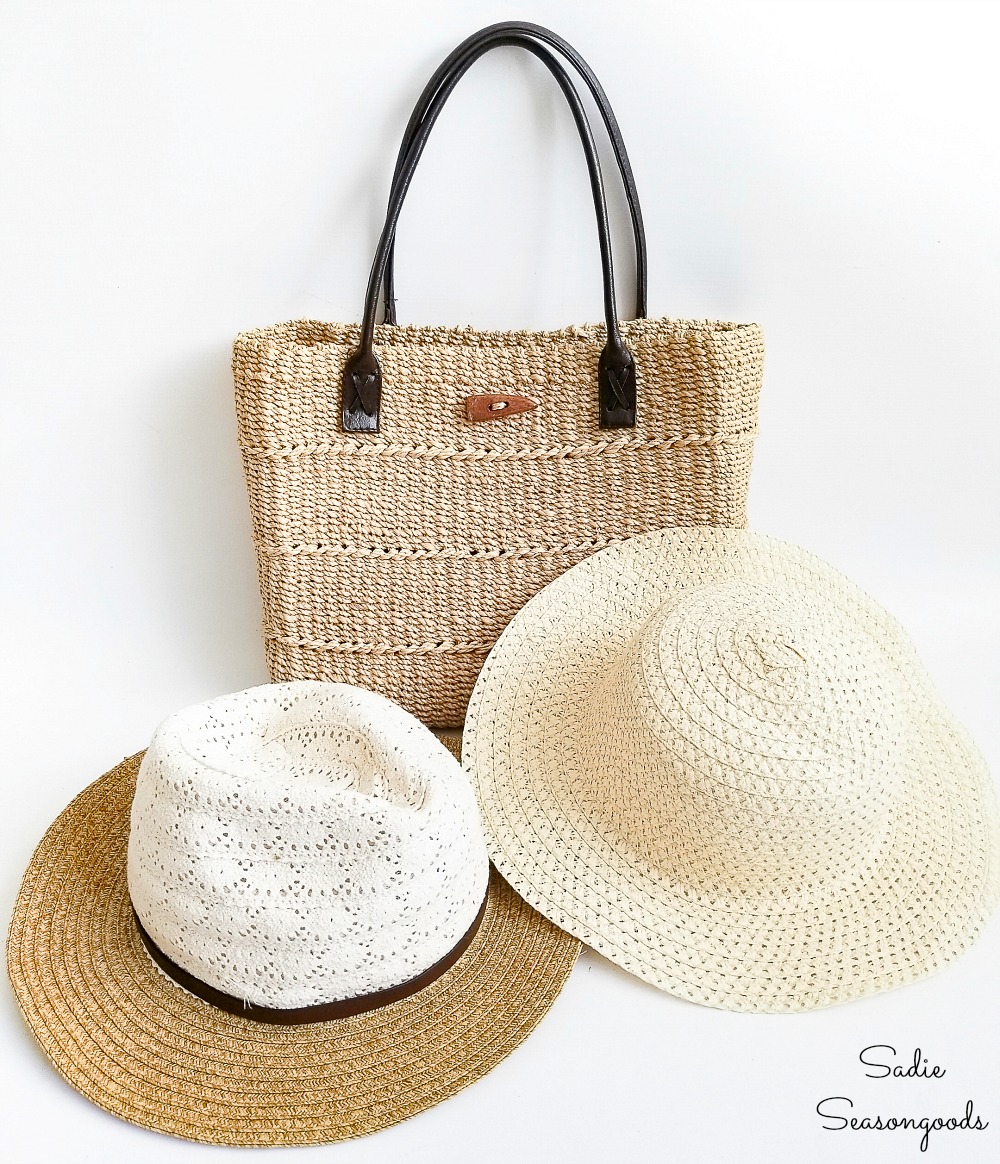
So, I decided to give it a go to see what happened when I paired up the ribbon belts with other thrifted accessories, such as sun hats and a woven tote bag. I had a distinct feeling that I could marry them as unique accessories for just a couple of dollars each!
This post contains affiliate links for your crafting convenience. As an Amazon Affiliate, I earn from qualifying purchases. All blue, bold, and underlined text is a clickable link, either to a product or to a related post.
Making a Hat Band with Ribbon Belts
First, I decided that washing the ribbon belts should be my first priority. All I did was fill a bowl with hot, soapy water, soaked them for just a few moments, and then rinsed them out, squeezing as much rinse water out as I could.
Then, I hung them from clip hangers in my laundry room to dry overnight.
Once they were dry, it was time to play with my upcycling ideas for them! First, I focused on making a hat band for one of the sun hats.
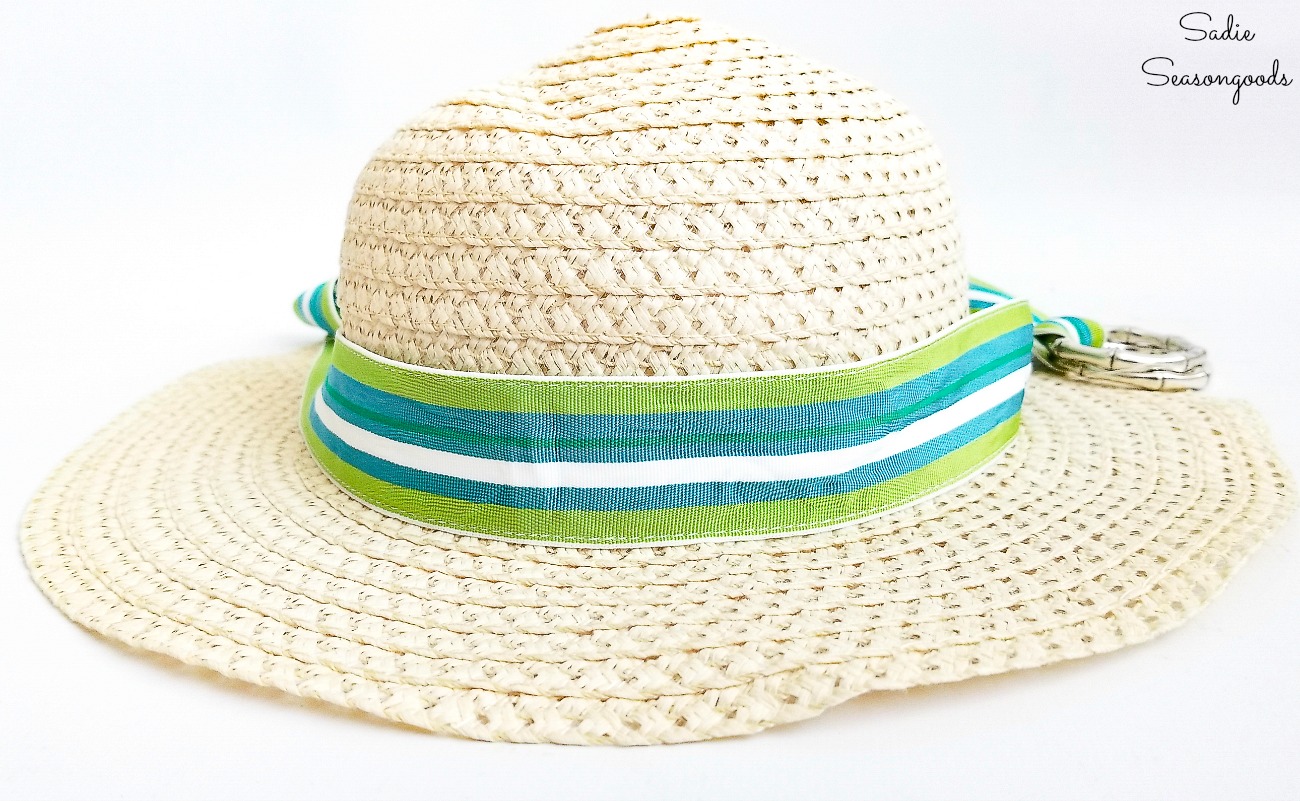
I wrapped the belt around the hat, snipped off the excess from the buckle end, and ironed out the wrinkles. Next, I applied strips of permanent press-down fabric tape to the entire length.
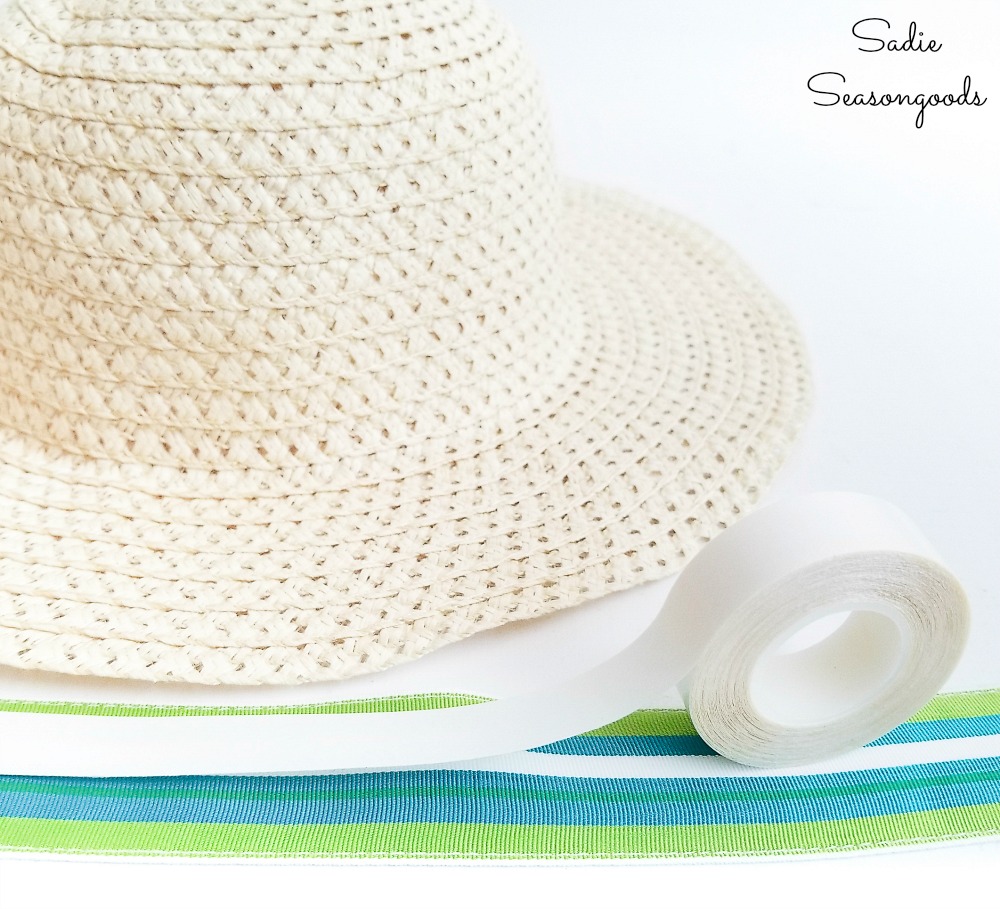
I carefully wrapped it around the hat, removing the paper backing from the tape strips as I went.
And just like that, I had created a hat band with a ribbon belt. Honest to Pete, it looked like it had been purchased from a store just like that!
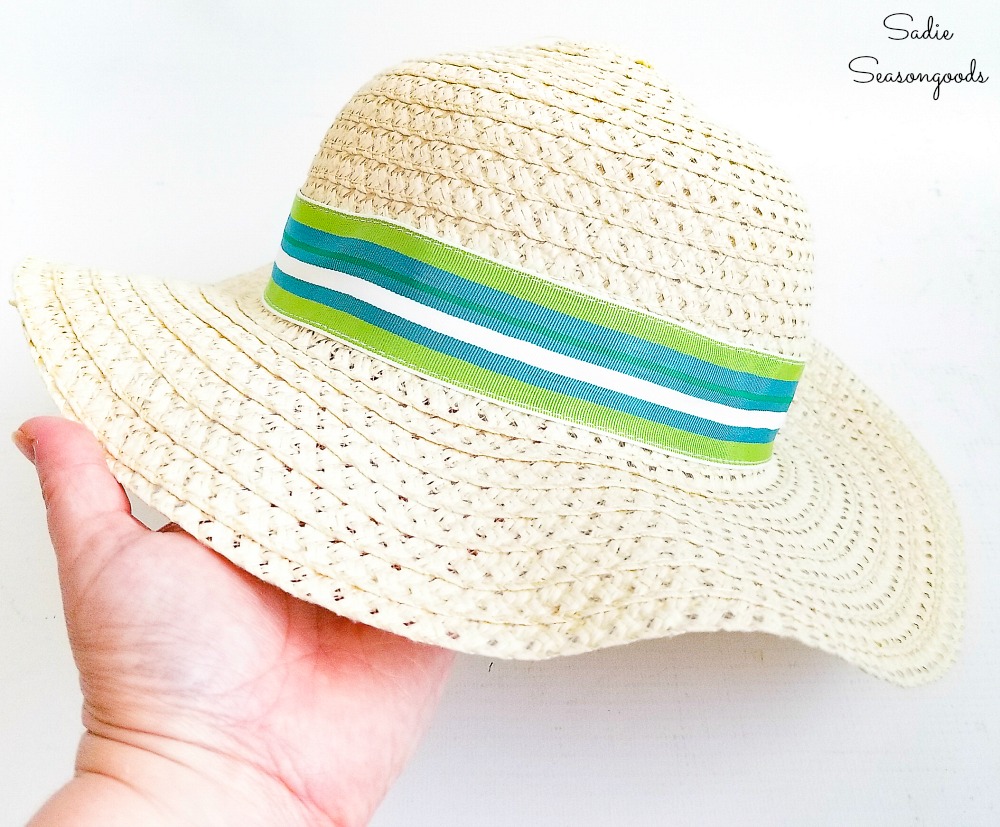
I did the same thing with another straw sun hat and a ribbon belt from the stash I had collected.
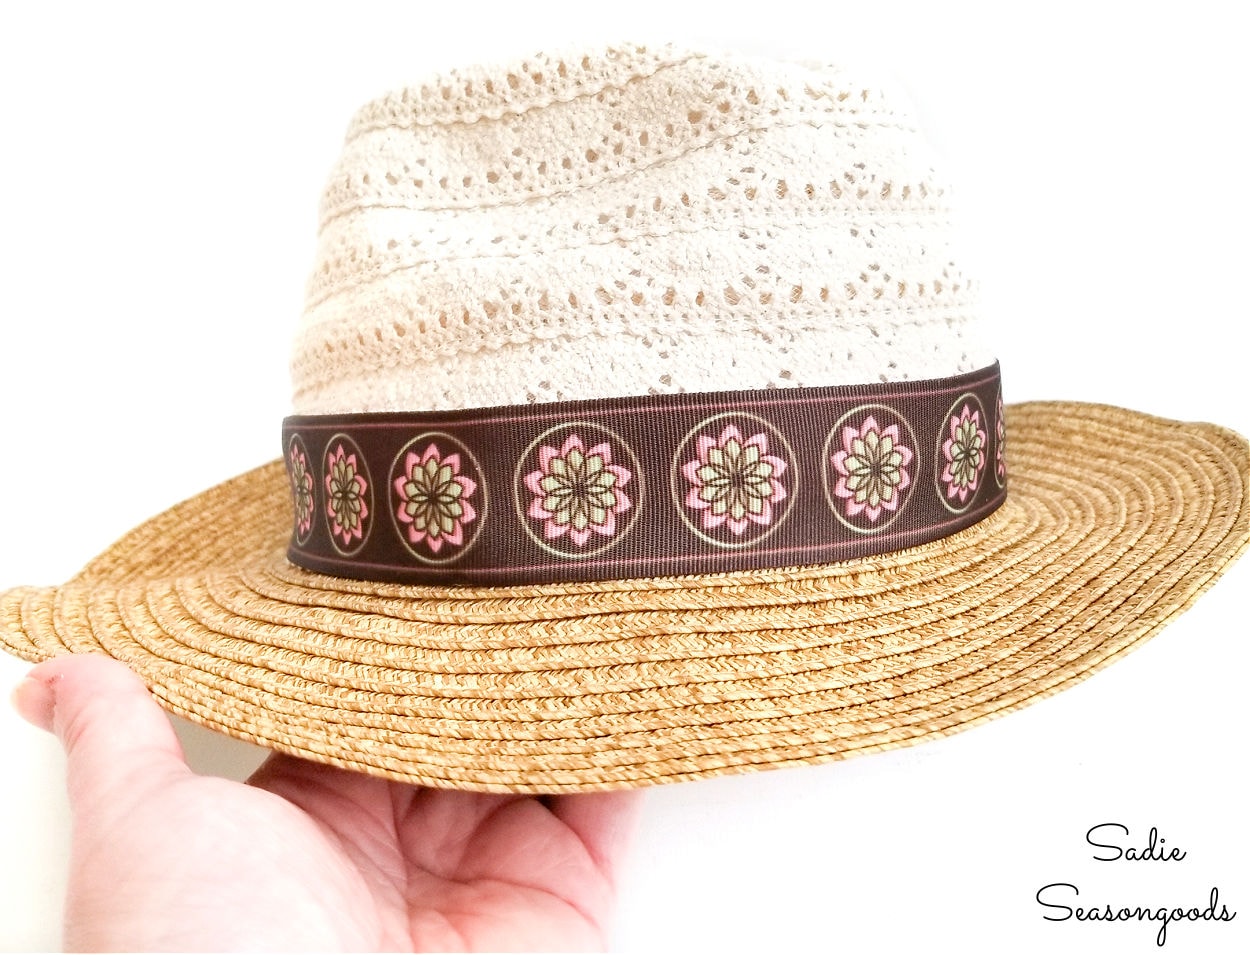
Worth noting- once I trimmed off the buckle-end excess, I attach the ribbon to the hat starting with the raw/cut edge.
That way, I overlapped the clean, hemmed end of the ribbon belt over the raw edge to make my life easier (no hemming) and keep it looking as neat and tidy as possible.
Making a Ribbon Rosette
Next, I decided to upcycle one of the ribbon belts into a flower brooch. I created a ribbon rosette by following a video tutorial.
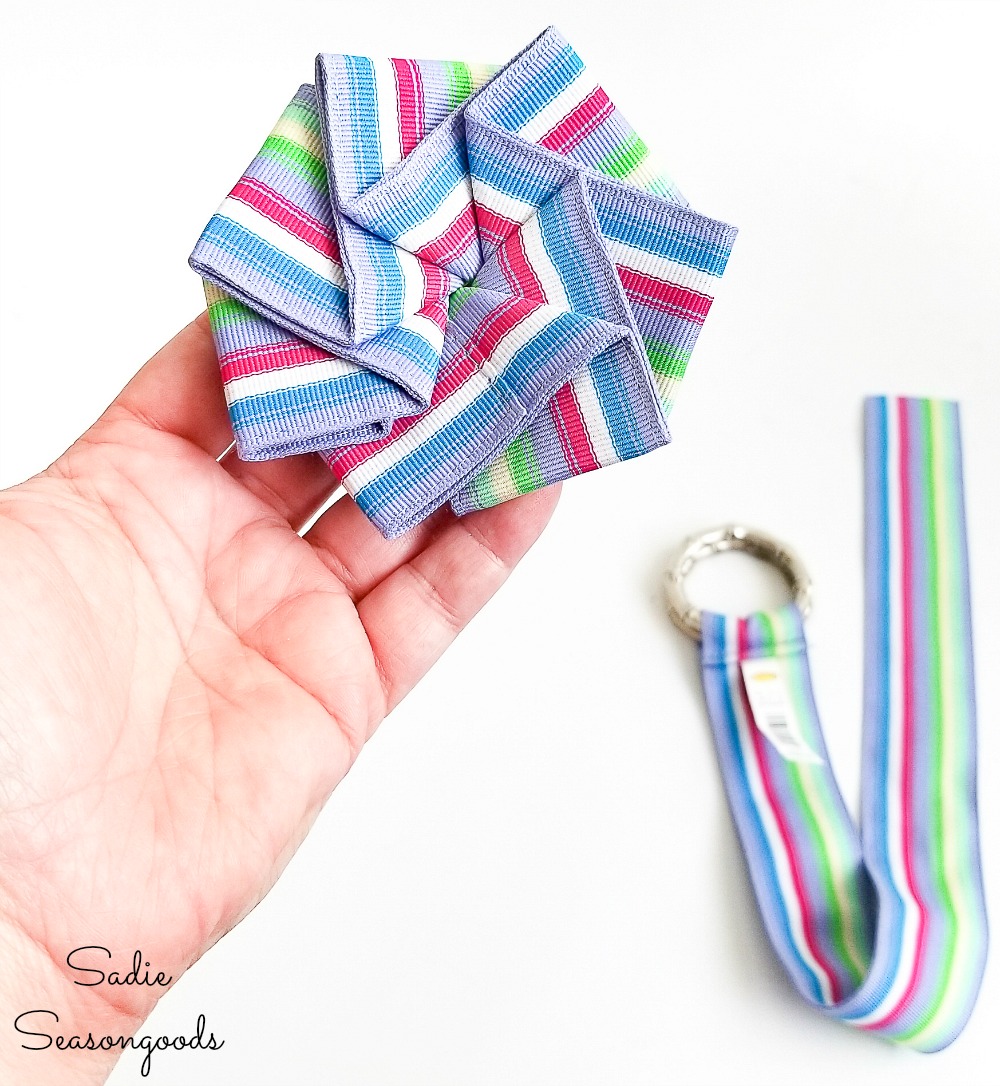
Unfortunately, the video is no longer available and I’m still looking for a replacement link. But there are other versions of ribbon rosettes out there that would work just fine!
For this flower brooch, I selected a ribbon belt that was thinner (not to be confused with narrower) and more flexible. That made it much more easy to create the folds of the rosette.
I finished up my ribbon flower by super-gluing a vintage button to the center and stitching on a bar pin to the back.
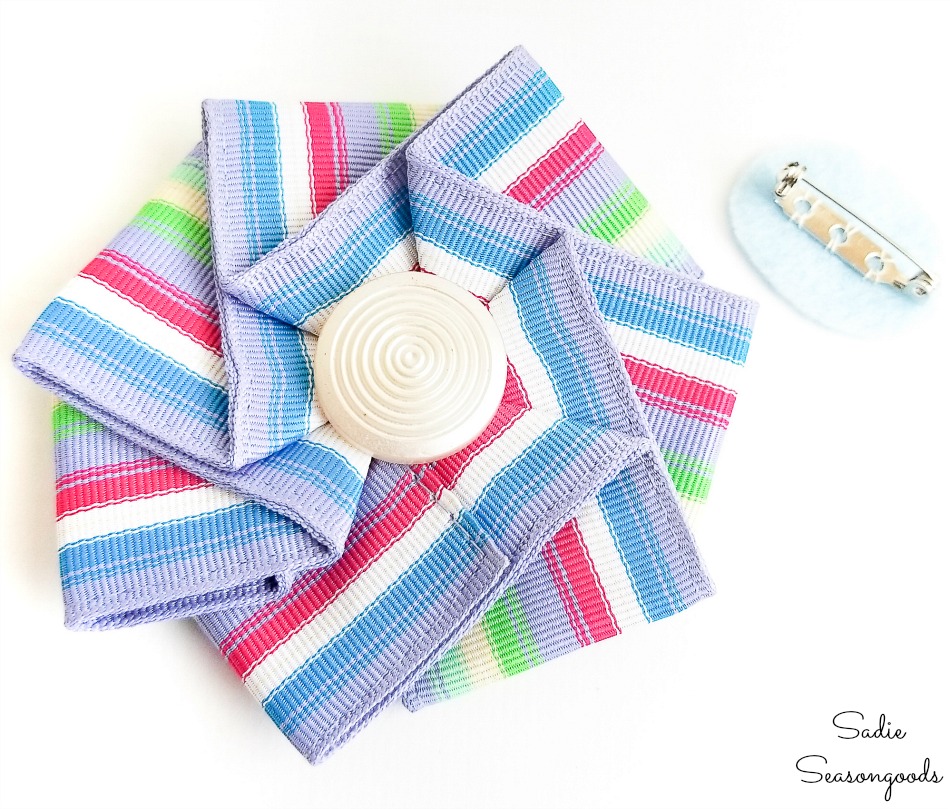
There- isn’t that adorable? Perfect for pinning onto a coat, blazer, or even another hat or tote bag!
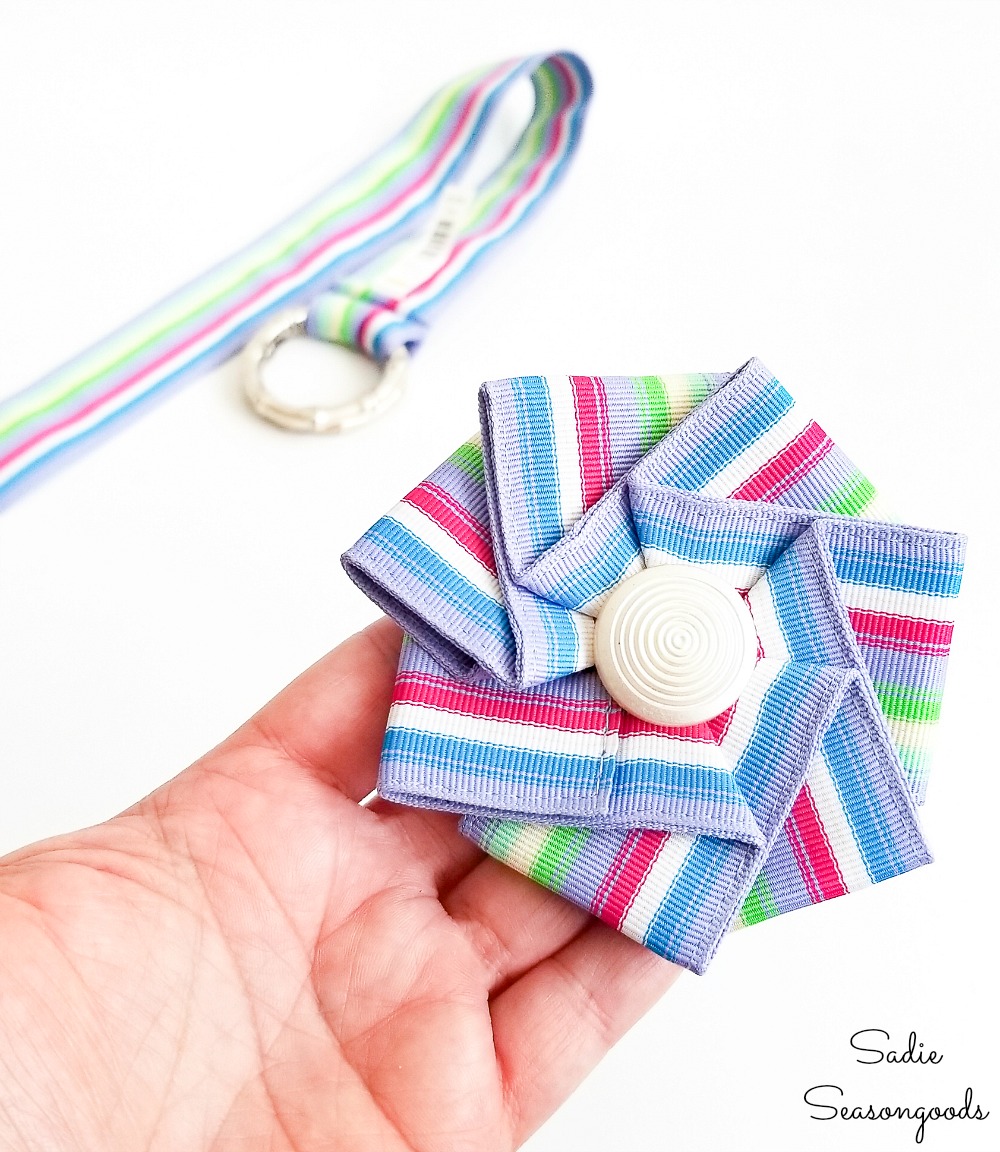
Embellishing a Straw Tote Bag with Ribbon Belts
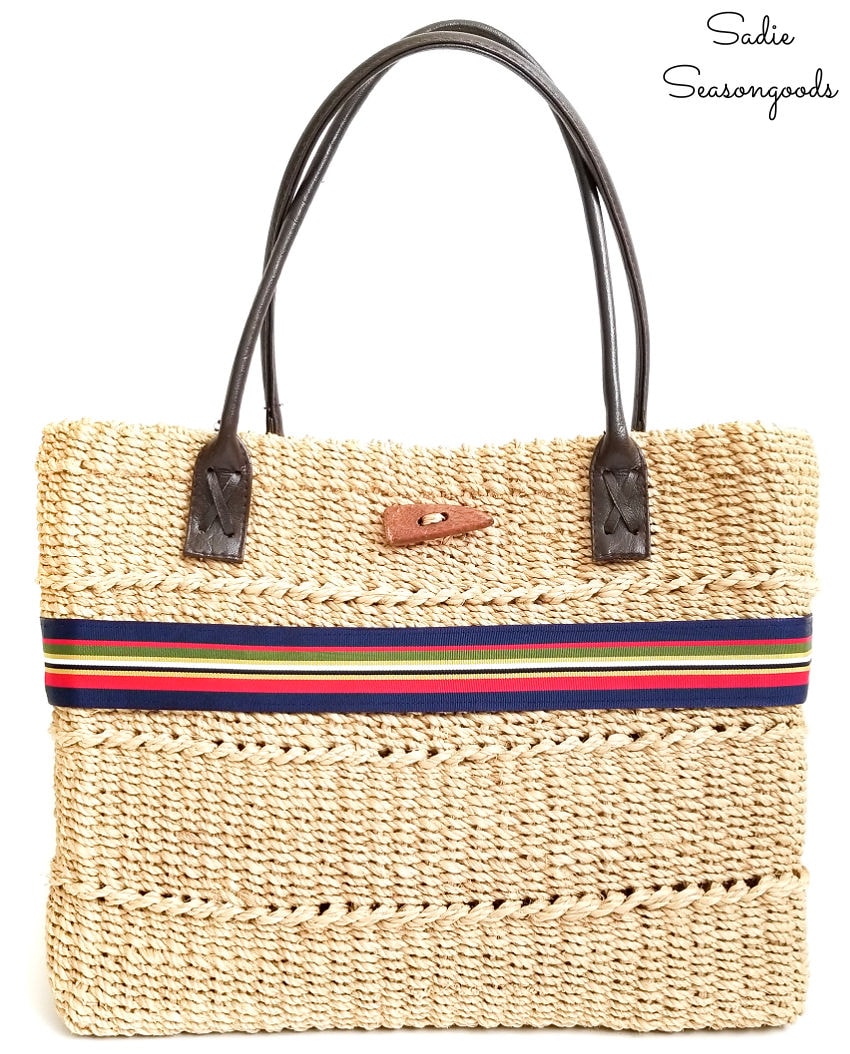
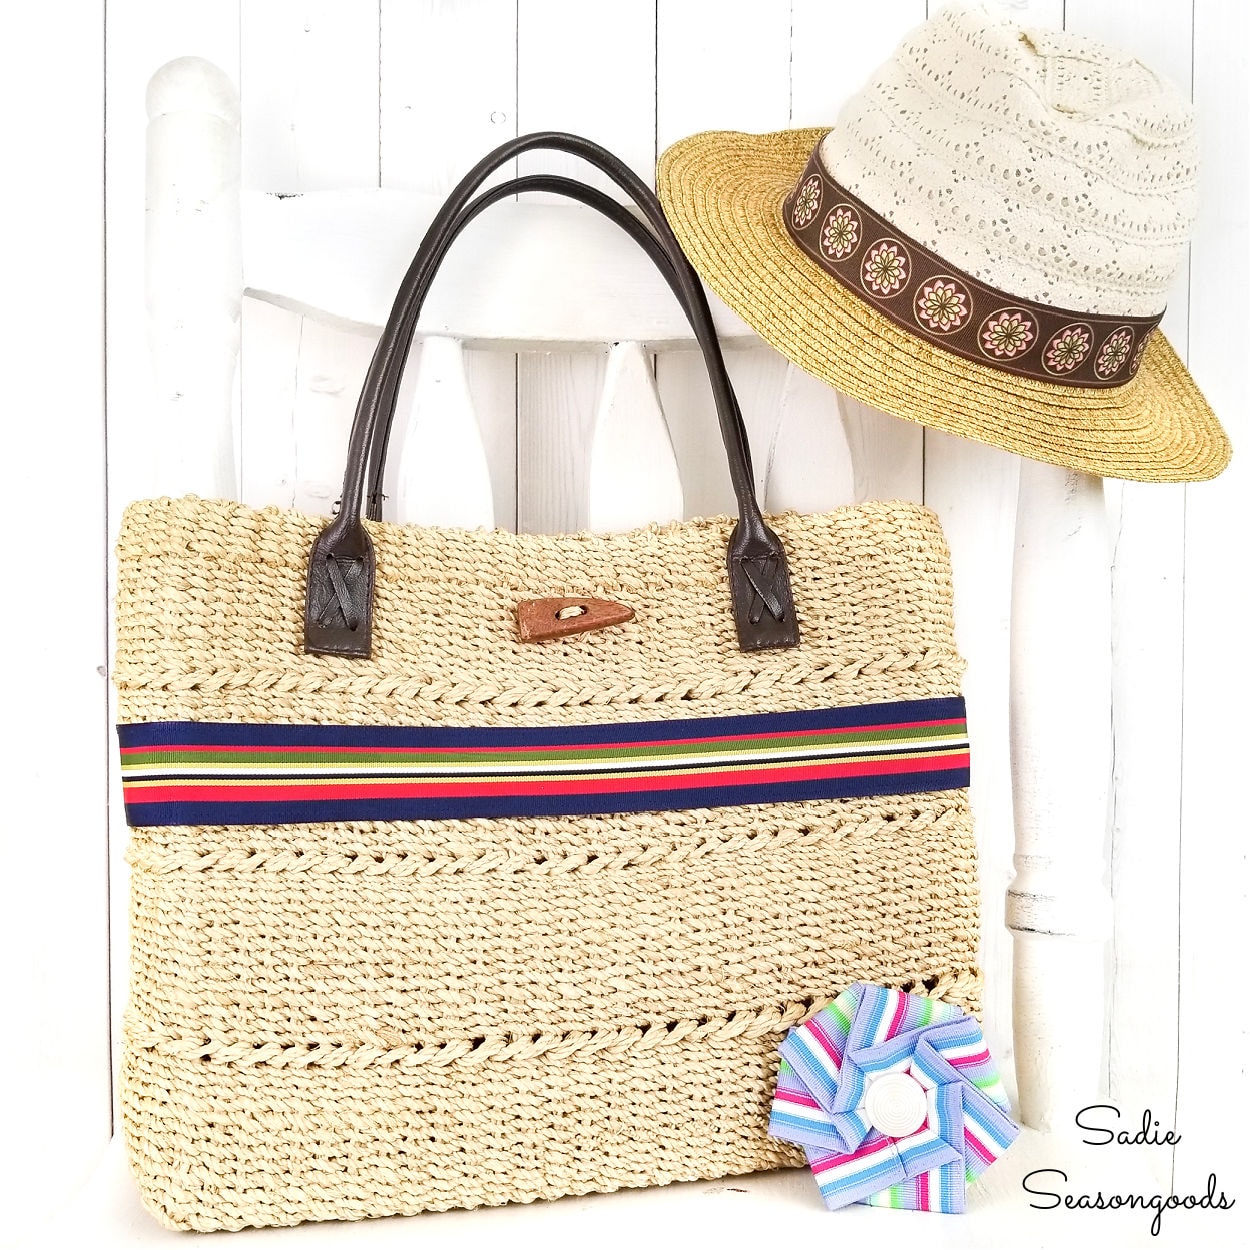
For my final upcycling idea, I decided to embellish a woven tote bag with a ribbon belt.
Because the straw bag was bulkier than the hats, I figured that fabric tape wouldn’t be enough. So, a needle and thread would also be required.
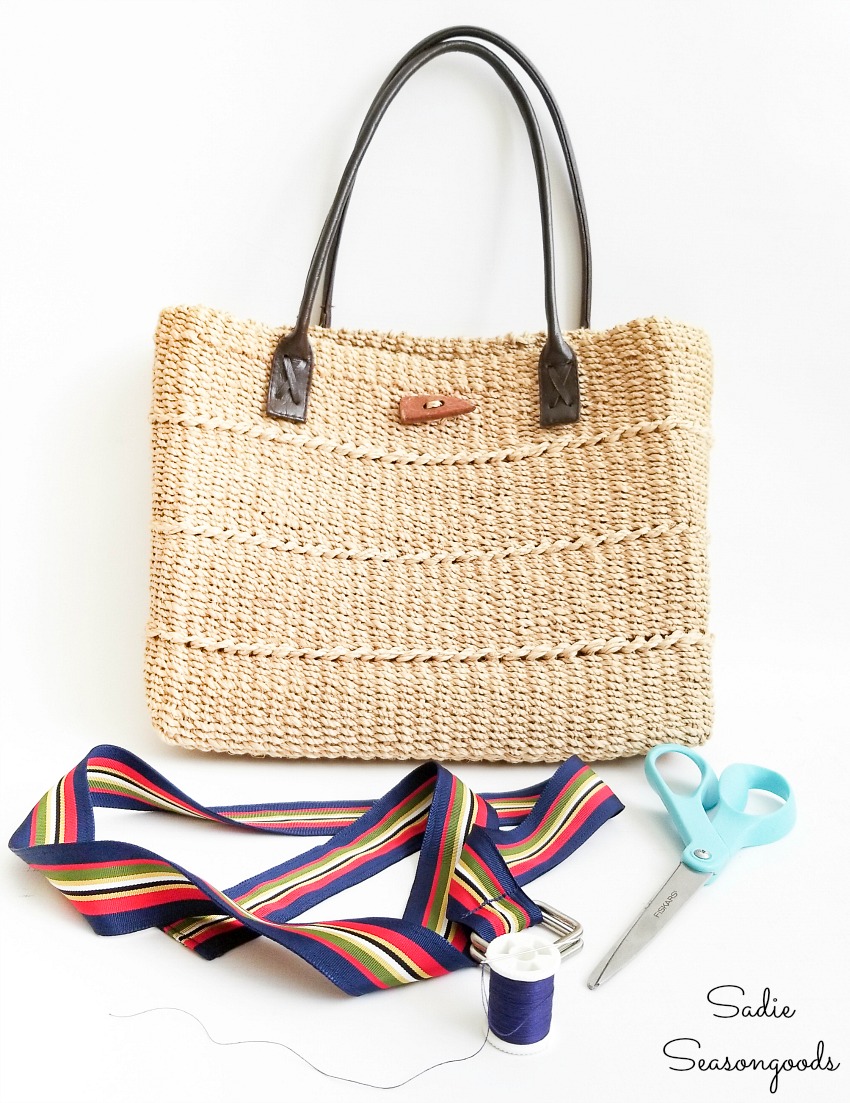
I *did* use fabric tape, too, though! After measuring and snipping off the buckle end, I used fabric tape to hold it in place on the bag- no pin holes!
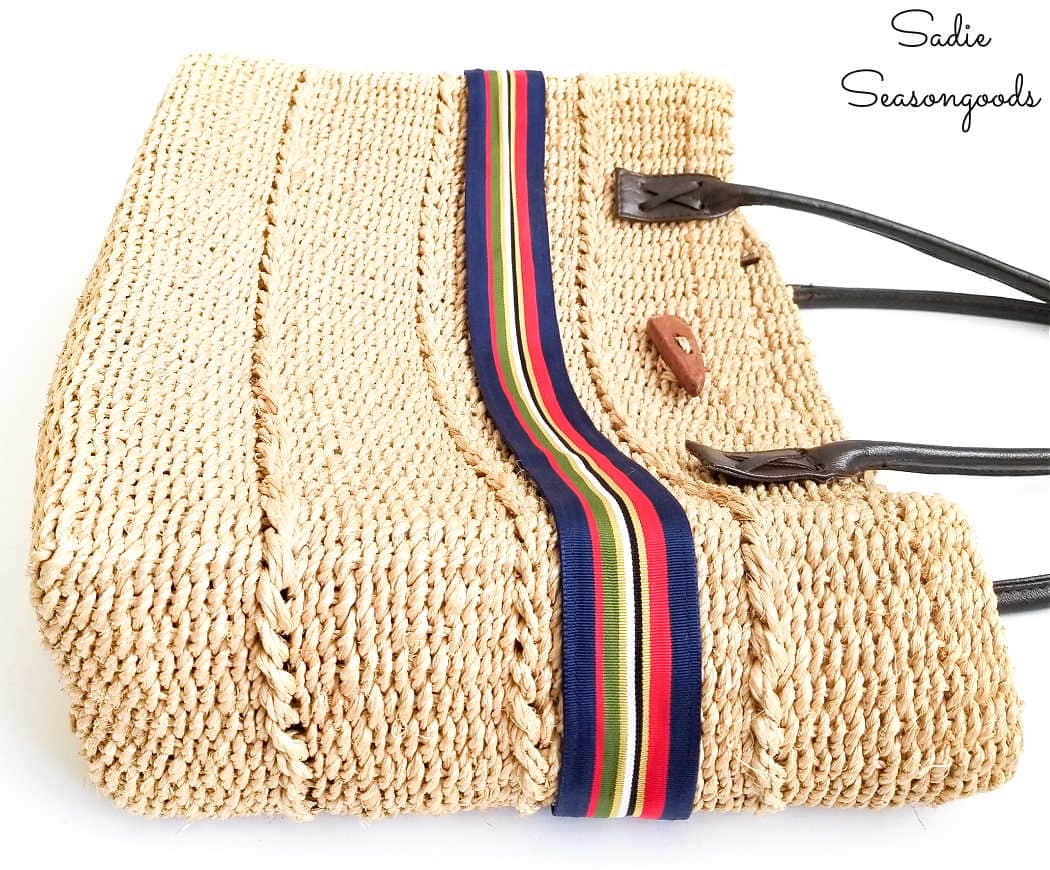
Then, I gave it a few stitches here and there to make sure it was perfectly secure.
When all was said and done, the woven tote bag had been embellished with the ribbon belt.
Refashioning with Ribbon Belts
Thanks to upcycling those ribbon belts, I had an entire collection of unique accessories. And they all came from thrift stores!
I’d be surprised if I spent more than $10 on the lot of them!
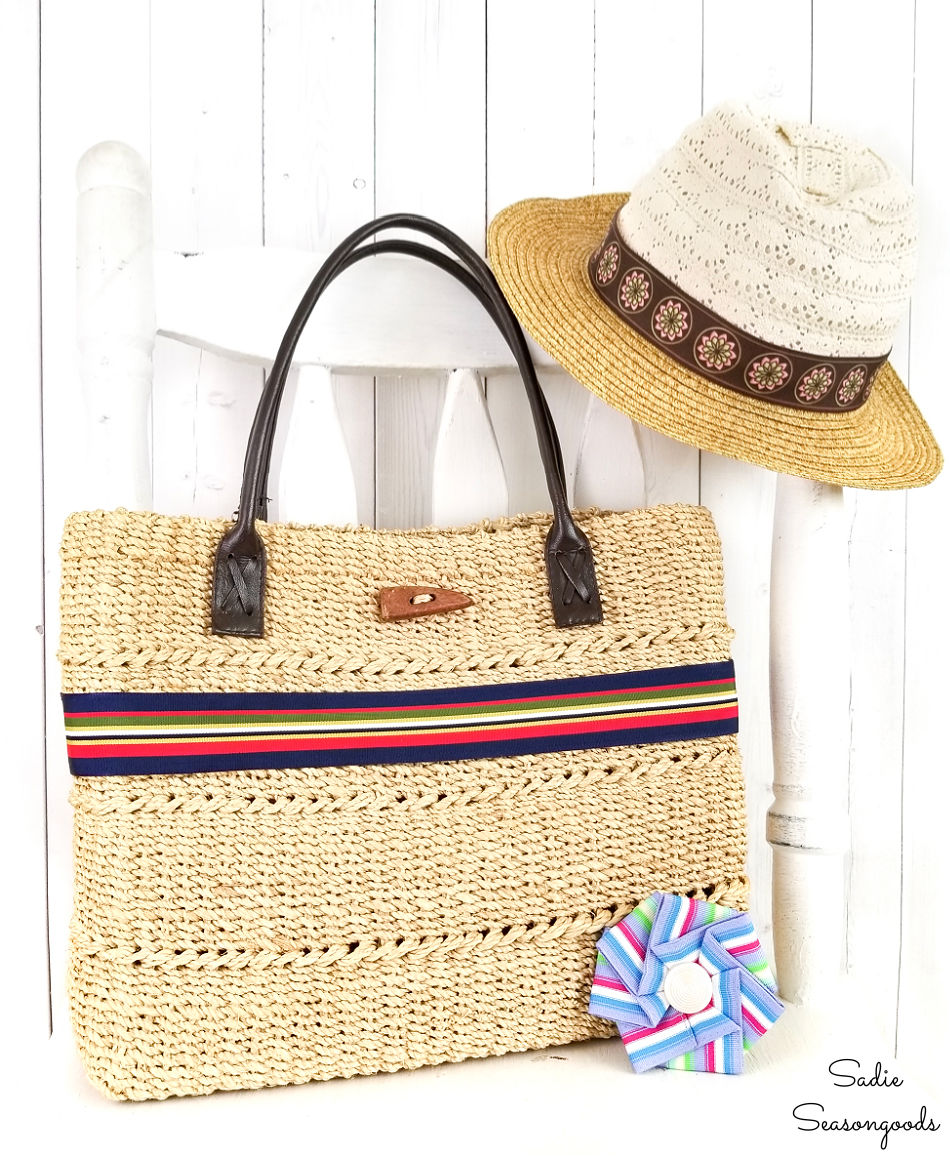
And I’m completely obsessed with creating more. I’m a total accessory junkie and absolutely LOVE the idea of creating an entirely new look that is one-of-a-kind like this.
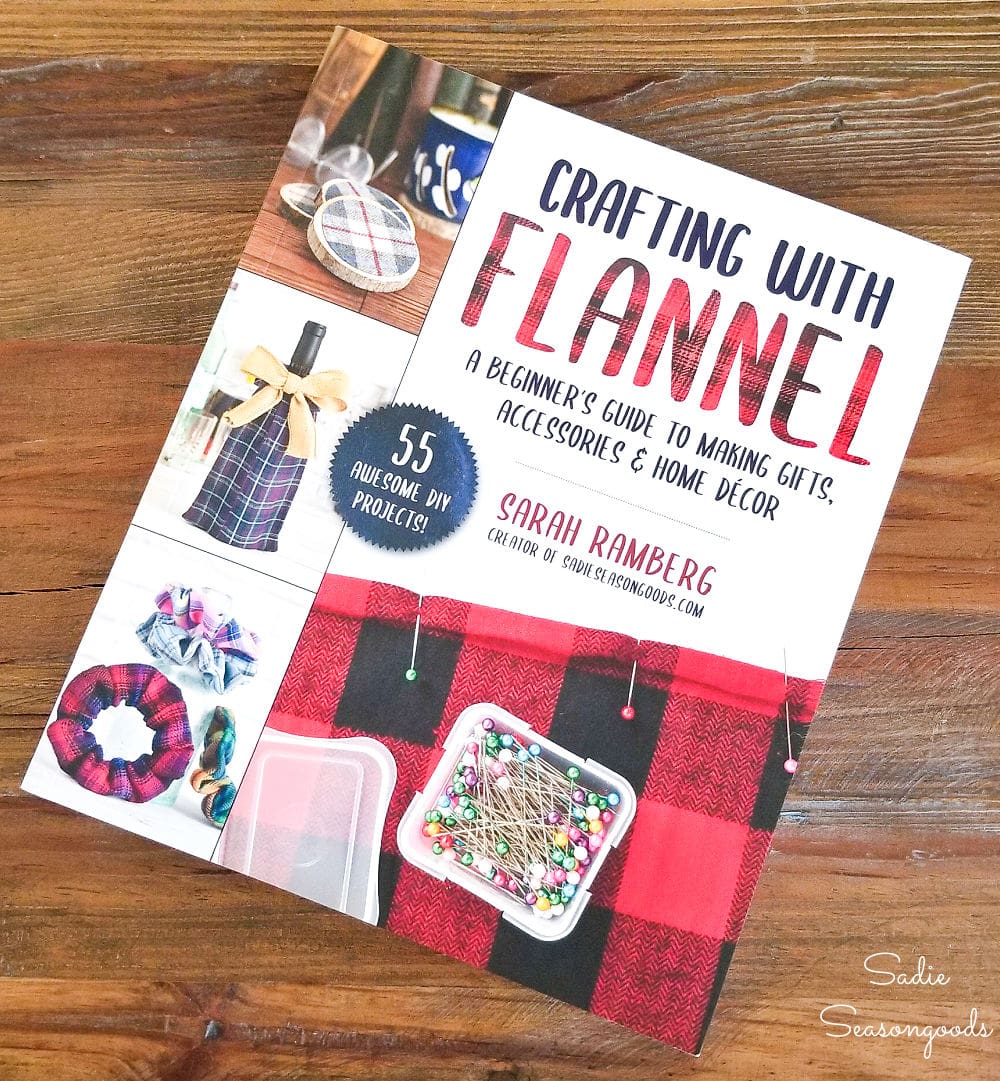
I’m also excited to announce that my first book is now available! If you love working with flannel or fabric crafts in general (sewing and non-sewing), then you will LOVE “Crafting with Flannel”!
If you enjoyed these upcycling ideas for ribbon belts as new accessories, then you’ll love this project with thrifted finds for a reusable grocery bag!
Craft on!
S
Want to be notified when I publish my next upcycling project tutorial?
Join me on Social Media:
PIN ME!
Sarah Ramberg is the owner of Sadie Seasongoods, a website that celebrates all things secondhand. From upcycling ideas and thrifted decor to vintage-centric travel itineraries, Sadie Seasongoods is a one-stop shop for anyone who loves thrifting and approachable repurposing ideas. Sarah is also the author of “Crafting with Flannel” and has been featured in numerous media outlets and magazines.





So clever and fashionable!
Thank you, Lisa!
Uh Oh….now I will be searching for ribbon belts……your imagination is amazing.
Thank you so much, Rita!!
I loved your projects and Martha’s rosettes! I often find ribbon on clearance, at GW, etc and have a HOARD! And fool that I am, have been cutting up belts for years to make back door mats for the dollhouse people; their dogs like them, too! Want to try those rosettes!
I love what you did here. Very creative, talent, and creative. Thanks for sharing.
Thank you so much!
So good. Yes, yes! Who would have though what a HUGE difference it makes on that bag. Brilliant as usual!!
Thank you!