Let’s face it, summer is NOT my favorite season in the South. Between a constant case of “humidity hair” to a melted make-up sweaty glow, it just leaves much to be desired. But, I still love sitting out back and listening to the summer yard sounds as the sun goes down. So, I desperately needed to make some mosquito candles that would keep the bugs away.
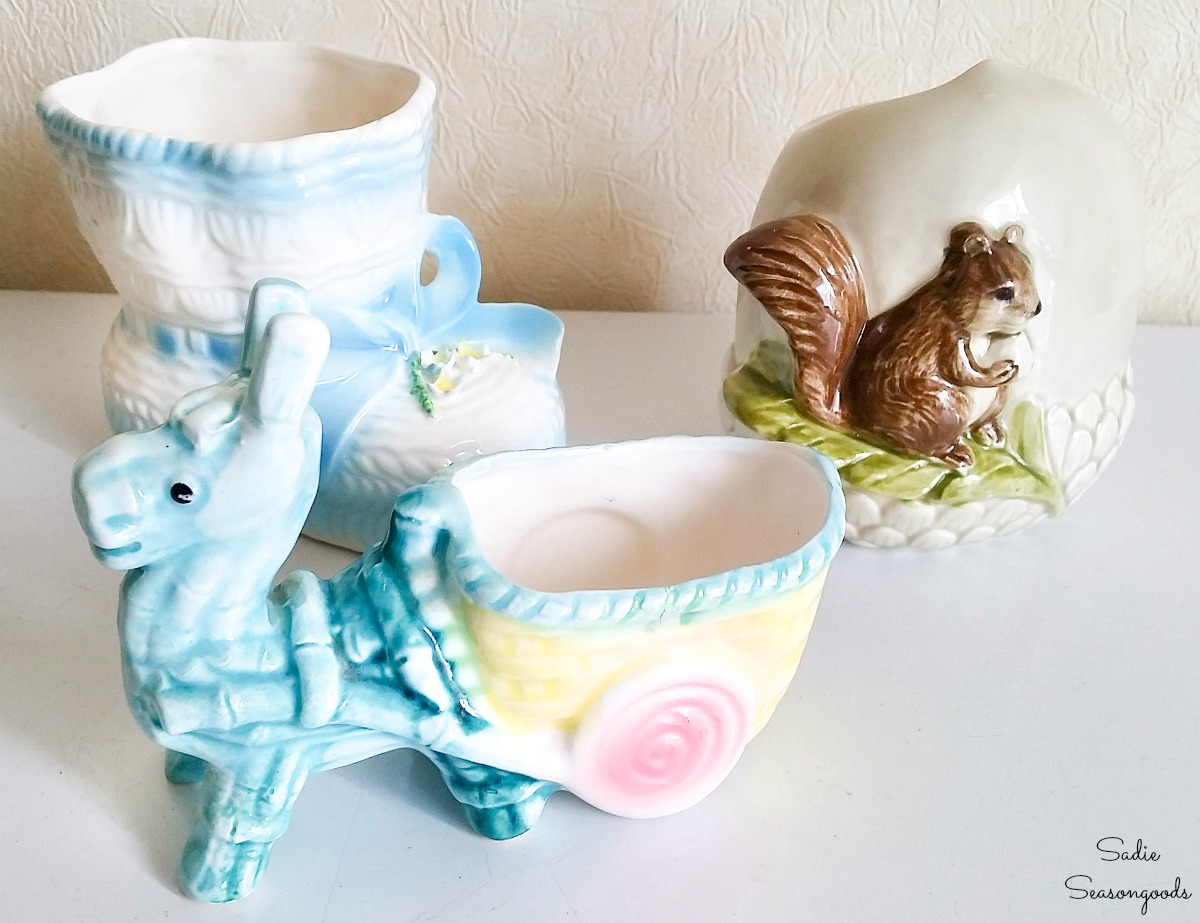
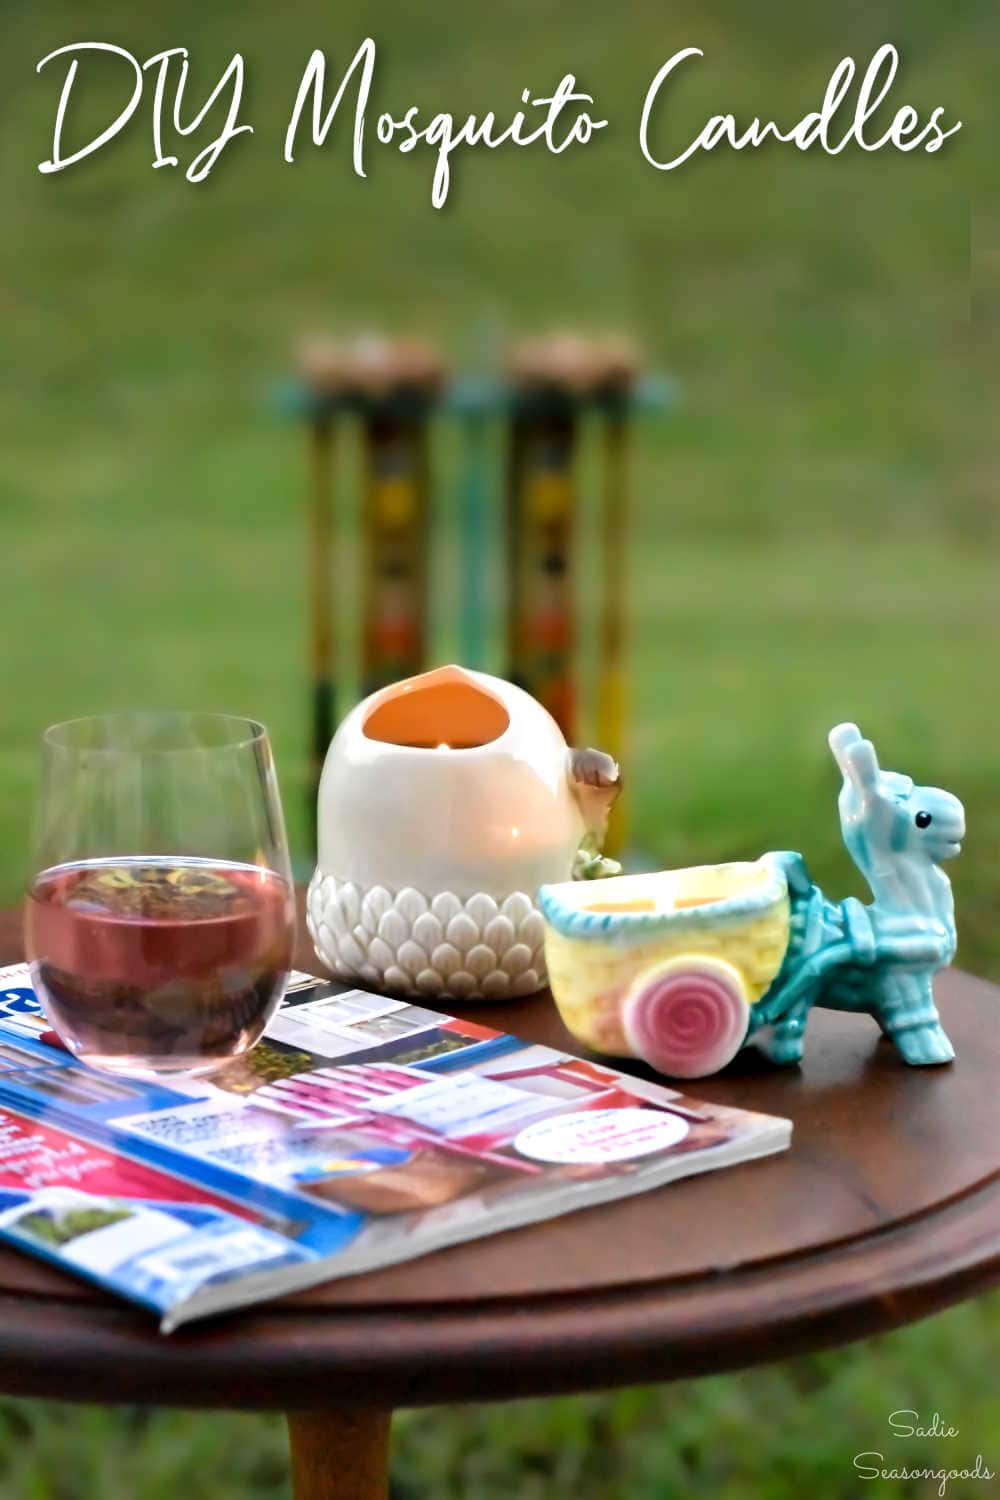
And I decided that vintage planters and vases from the thrift store would be PERFECT for this upcycling idea.
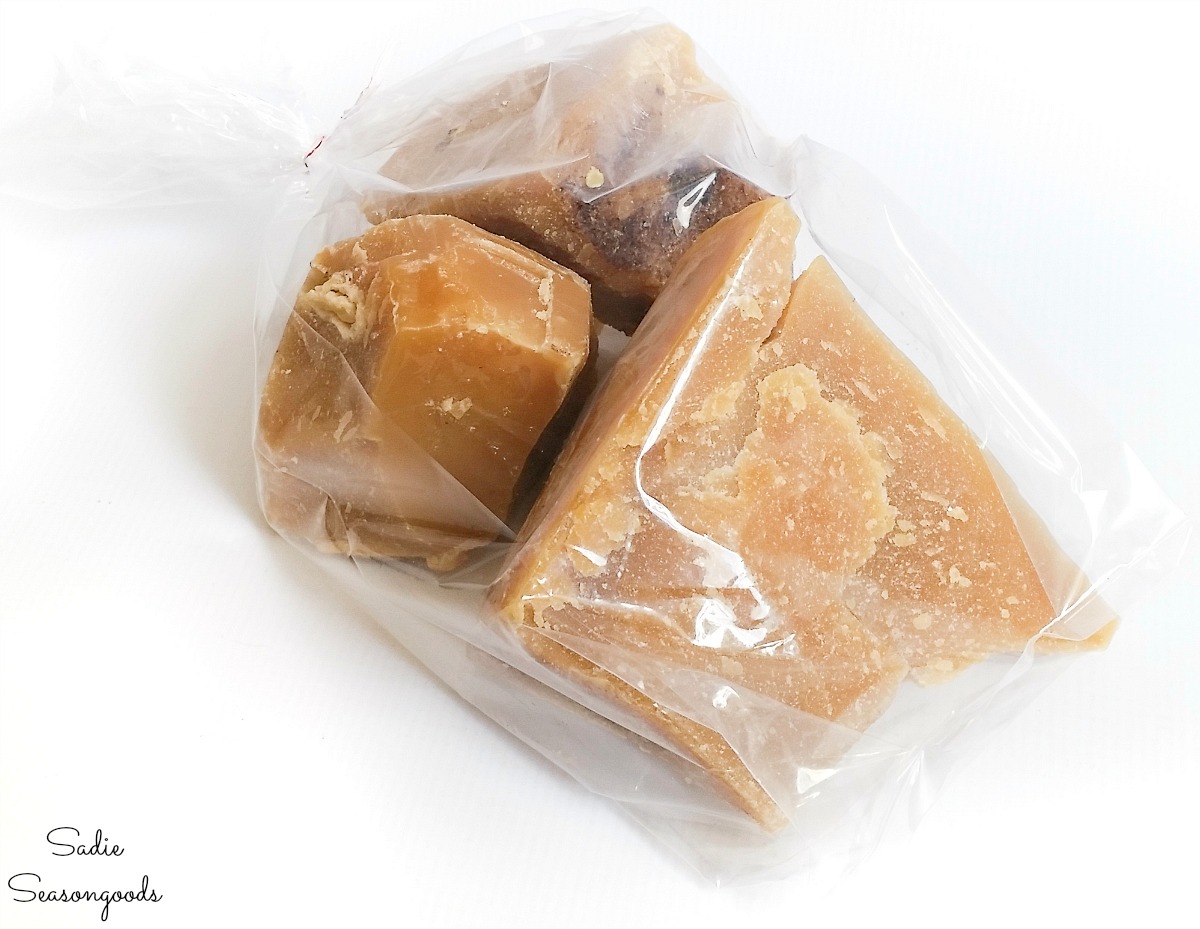
To make these mosquito repellent candles, I also purchased some local beeswax from a honey shop in town. It was raw and unfiltered, but I knew I could clean it up before making a few DIY beeswax candles!
With vintage planters and local beeswax in hand, I gathered a few more items and was ready to make some mosquito candles!
This post contains affiliate links for your crafting convenience. As an Amazon Affiliate, I earn from qualifying purchases. All blue, bold, and underlined text is a clickable link, either to a product or to a related post.
DIY Beeswax Candles for Mosquito Candles
Because it was raw wax, I needed to filter it before making my candles. Raw beeswax is filled with…well, any number of things…including bee parts.
Not pretty in a candle!
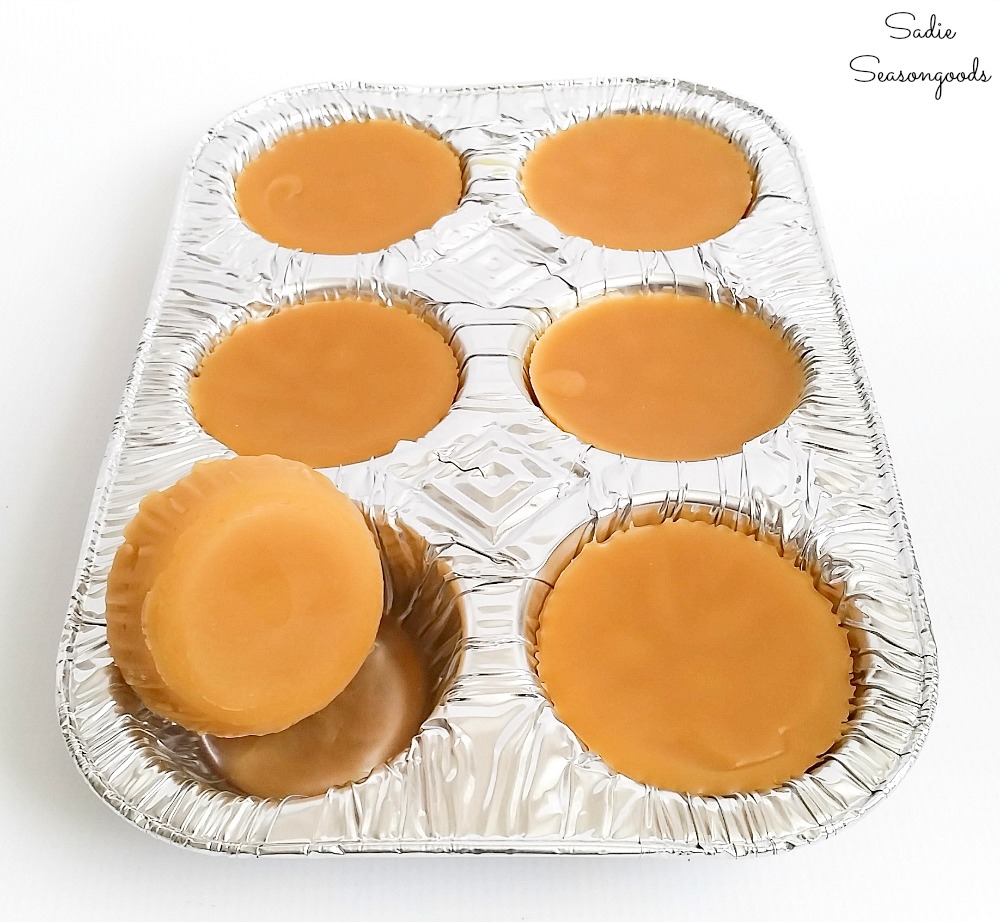
So, to filter the wax, I melted it down (keep reading to find out my melting method), and poured it through clean rags/t-shirts.
I didn’t need fancy molds, so I simply used a recyclable aluminum pan from the grocery store.
If you don’t have a local supplier that has beeswax for sale, you could use this cosmetic-grade beeswax instead. And if you buy it pre-filtered, then you won’t have to worry about the step I just talked about!
Next, I also gathered a roll of wick and some wick clips. Essential tools for candle making!
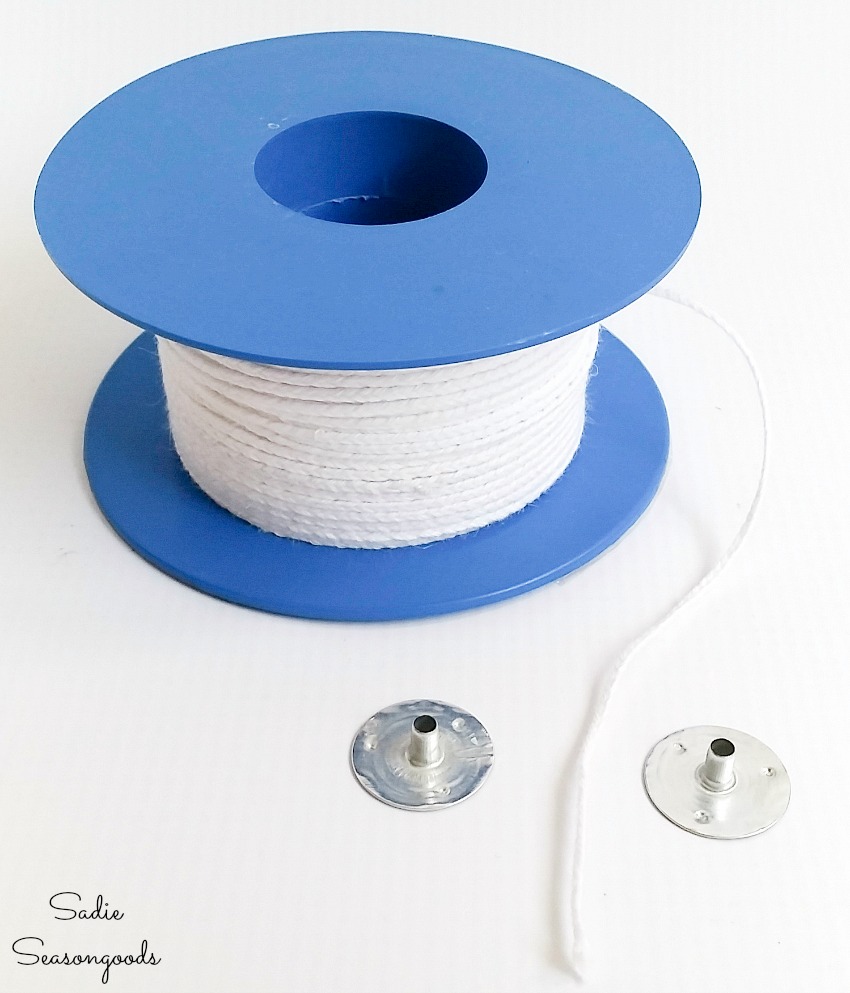
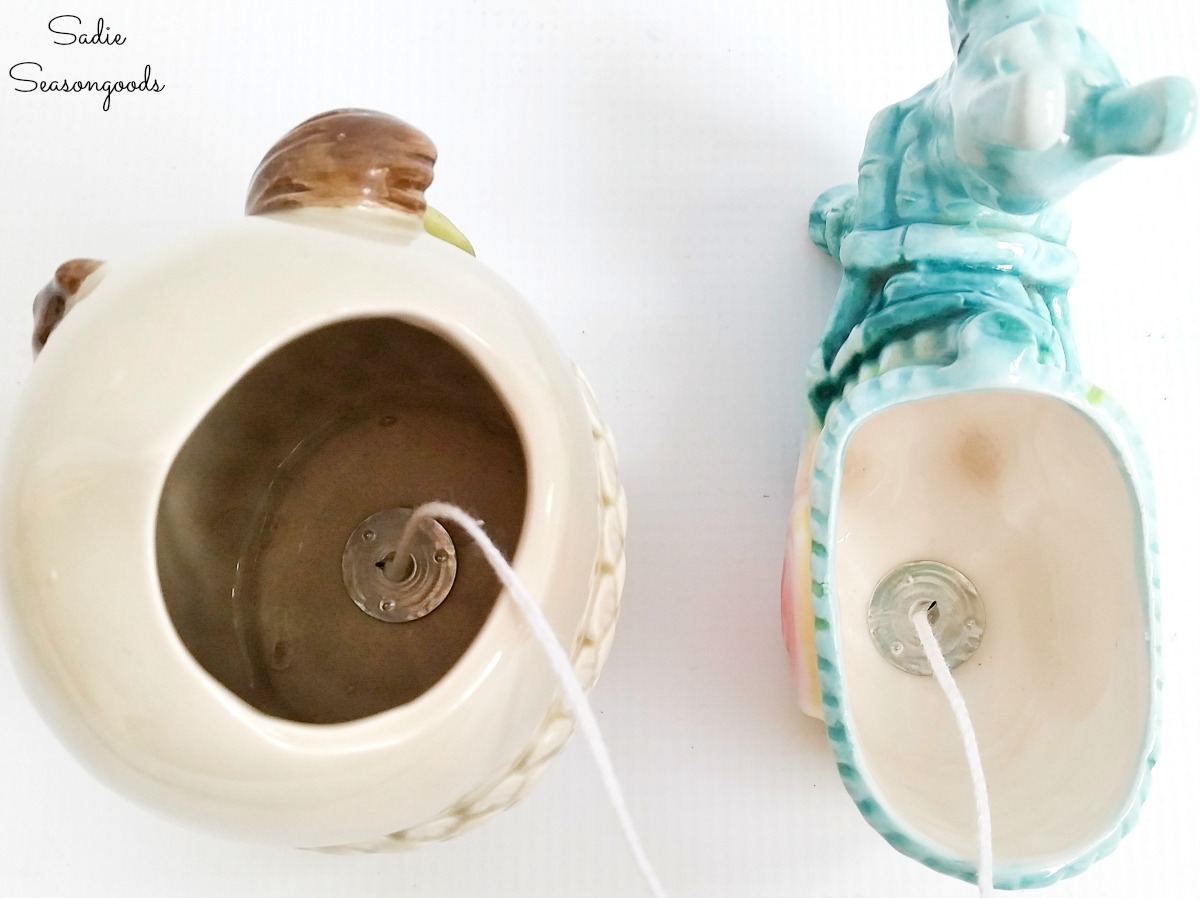
First, I threaded wick into each clip, pinched the end with pliers, and used a bead of glue to hold the clip in place at the bottom of the vintage planters.
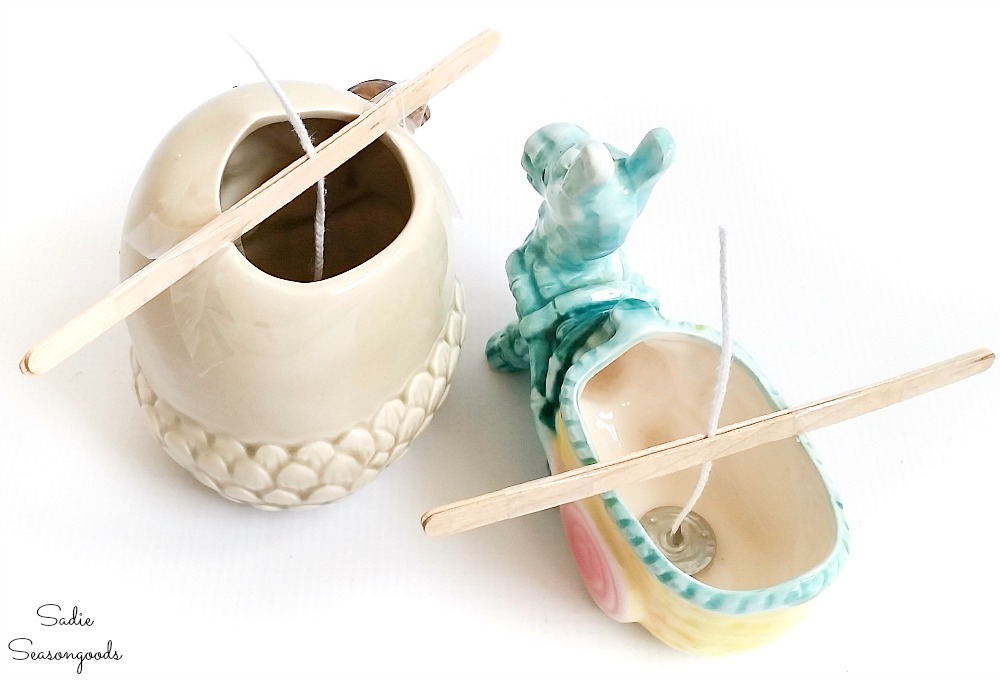
To keep the wicks in place (straight and up), I sandwiched them between coffee stirrers and taped the stirrer ends together.
And because the vintage planters aren’t perfectly smooth/even, I then taped the stirrers to the edges to keep them from sliding off.
Making the Mosquito Candles with Citronella Oil
Next, it was time to melt the beeswax for my mosquito candles!
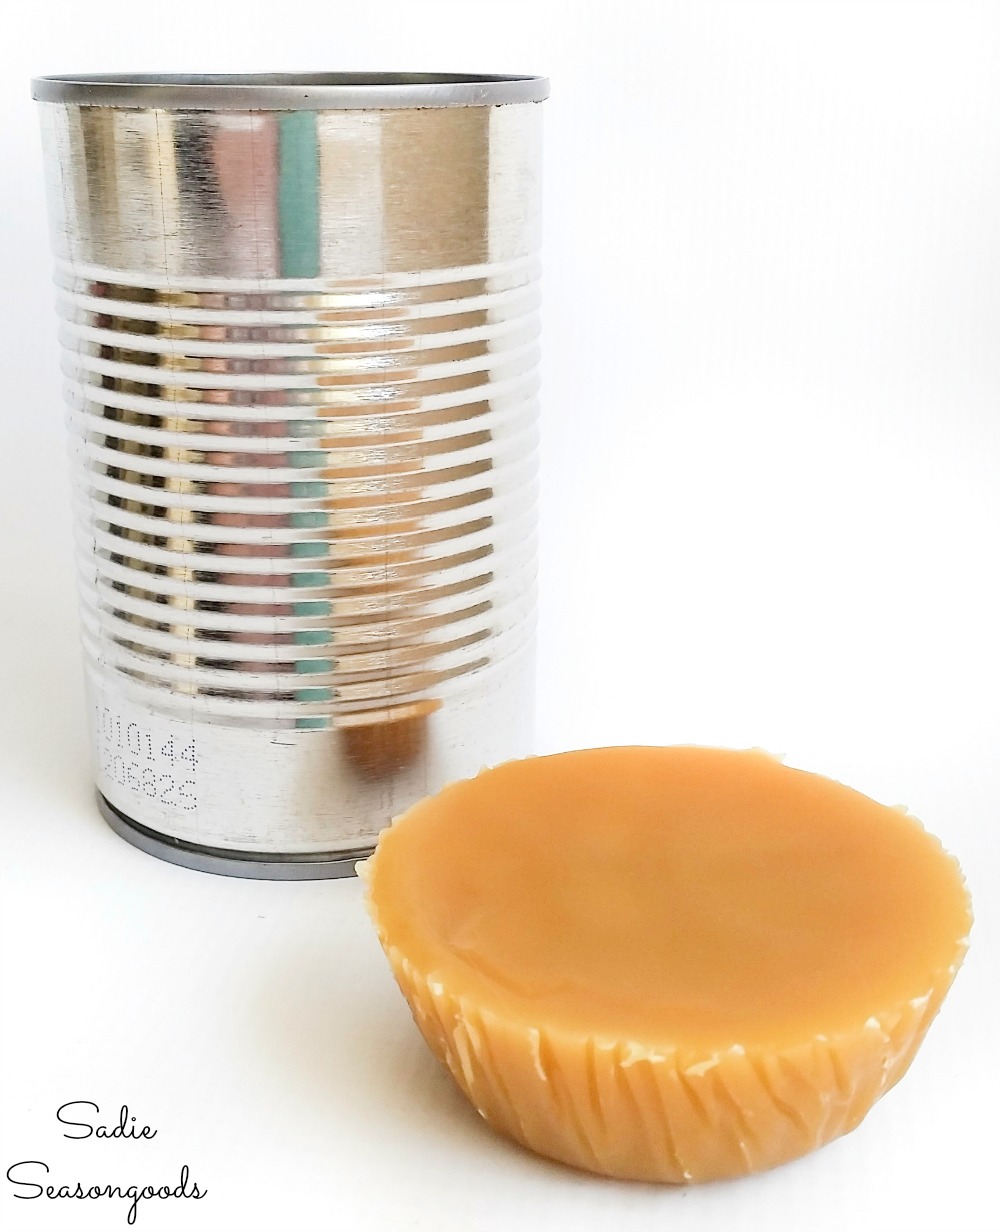
To do so, I used a very simple double boiler using a clean aluminum can. I filled a sauce pan with an inch of water and turned the burner to high.
Then, I placed the filtered beeswax in the can, which I set down in the water.
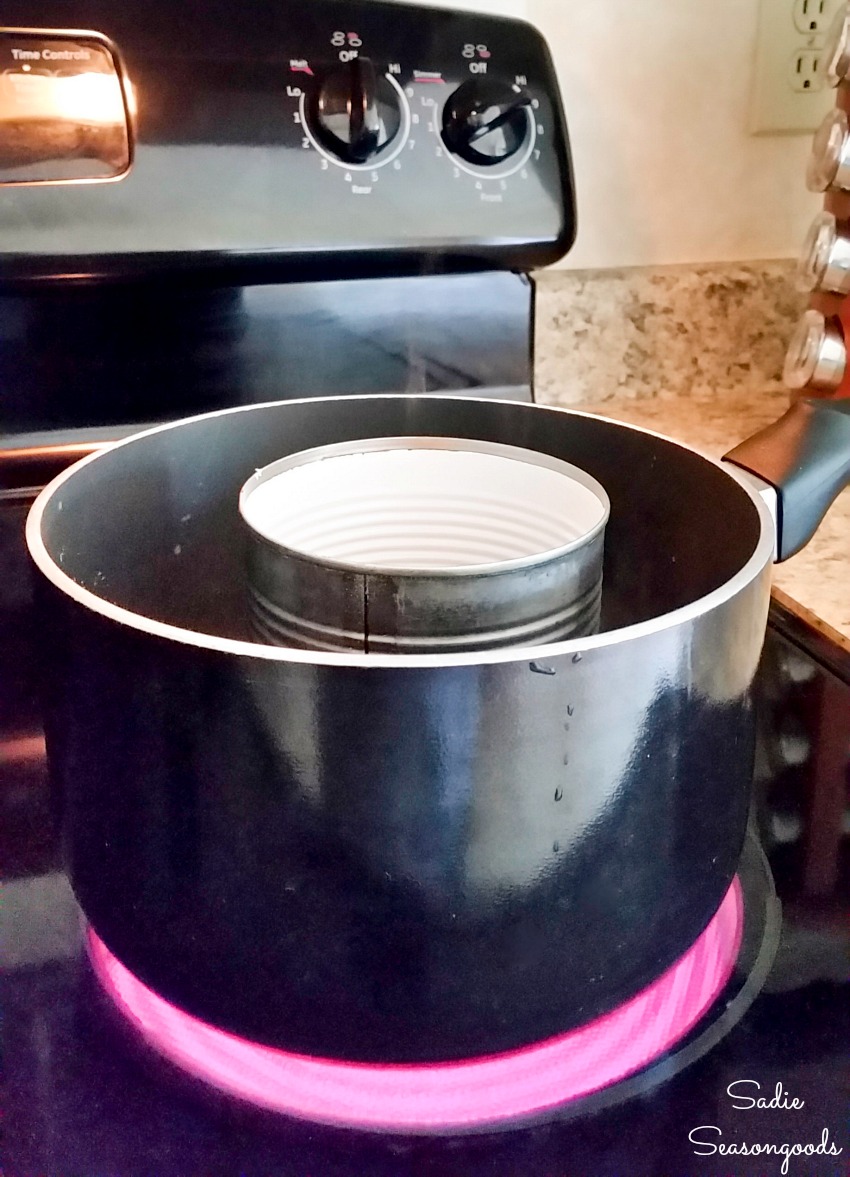
**Note/hint: Keep a measuring cup of water nearby to add periodically to the pan. The shallow amount of boiling water (which is all you can have at a time to keep the can from floating/tipping over) will try and boil away on you! So add water periodically to keep a constant depth.**
Once the wax melted, I gathered up the oils I would use: citronella essential oil and tea tree essential oil.
After the filtered beeswax had melted, I removed the can from the double-boiler (wearing an oven mitt!); added many, many drops of tea tree and citronella oils; and once I could really catch the aroma of the oils in the wax, I stopped and carefully poured the wax into each of the vintage planters.
Once the oils were swirled into the melted beeswax, I placed the mosquito candles on a cooling rack and let them sit for a few hours.
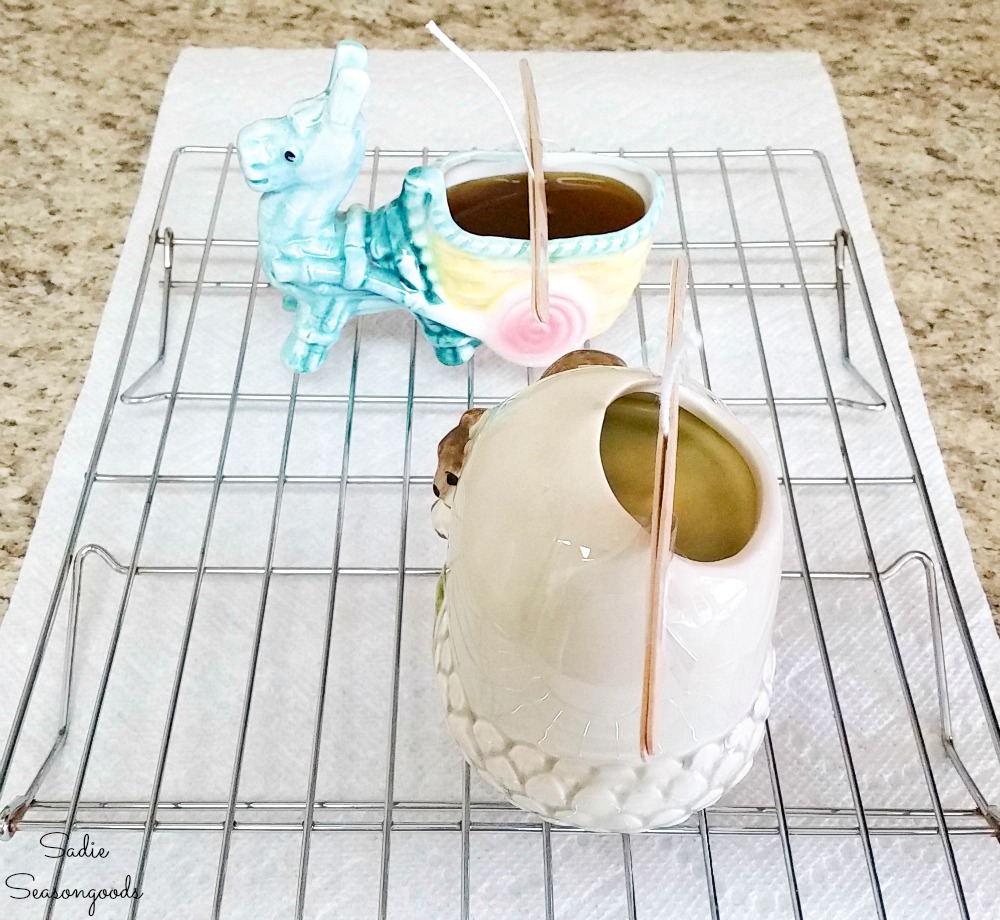
Finally, after a few hours of cooling/hardening, I snipped off the wick just beneath the coffee stirrers.
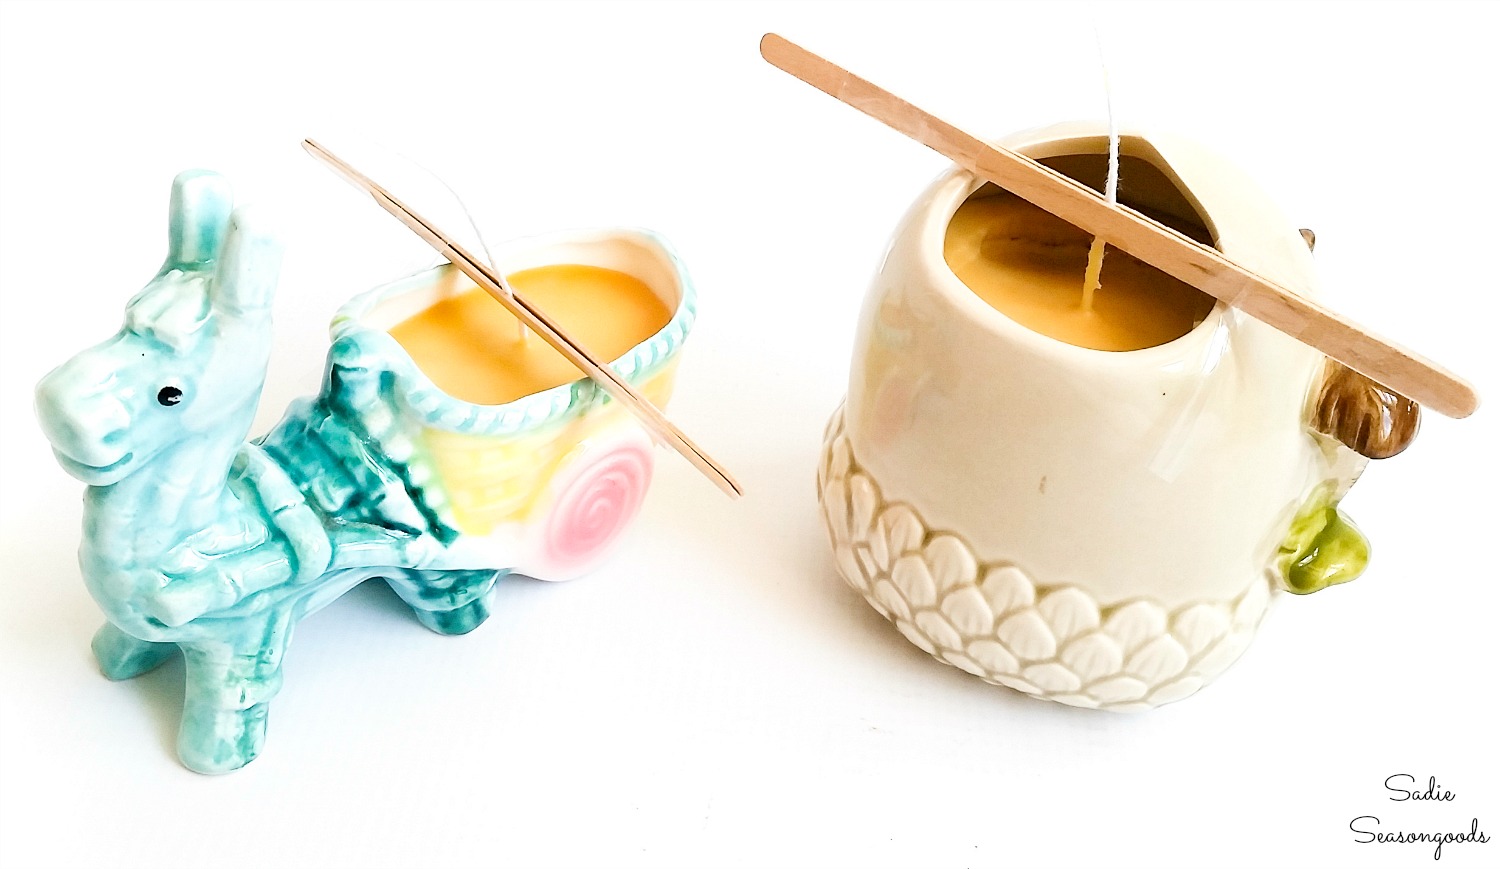
Mosquito Candles with Local Beeswax in Vintage Planters
And just like that, the mosquito candles with local beeswax were done! Aren’t those vintage planters just PERFECT to hold a candle?
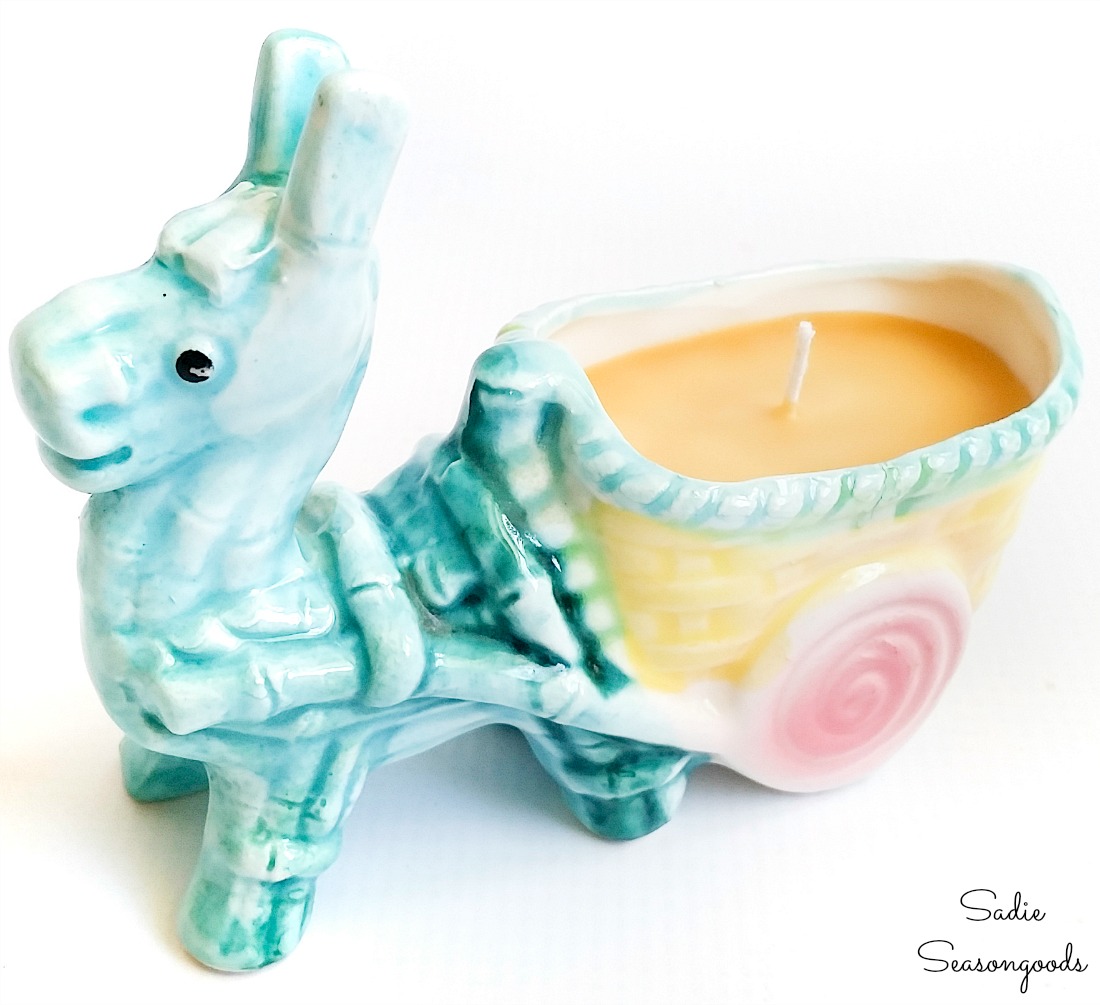
And you could totally make aroma candles that weren’t citronella based using this same method and idea!
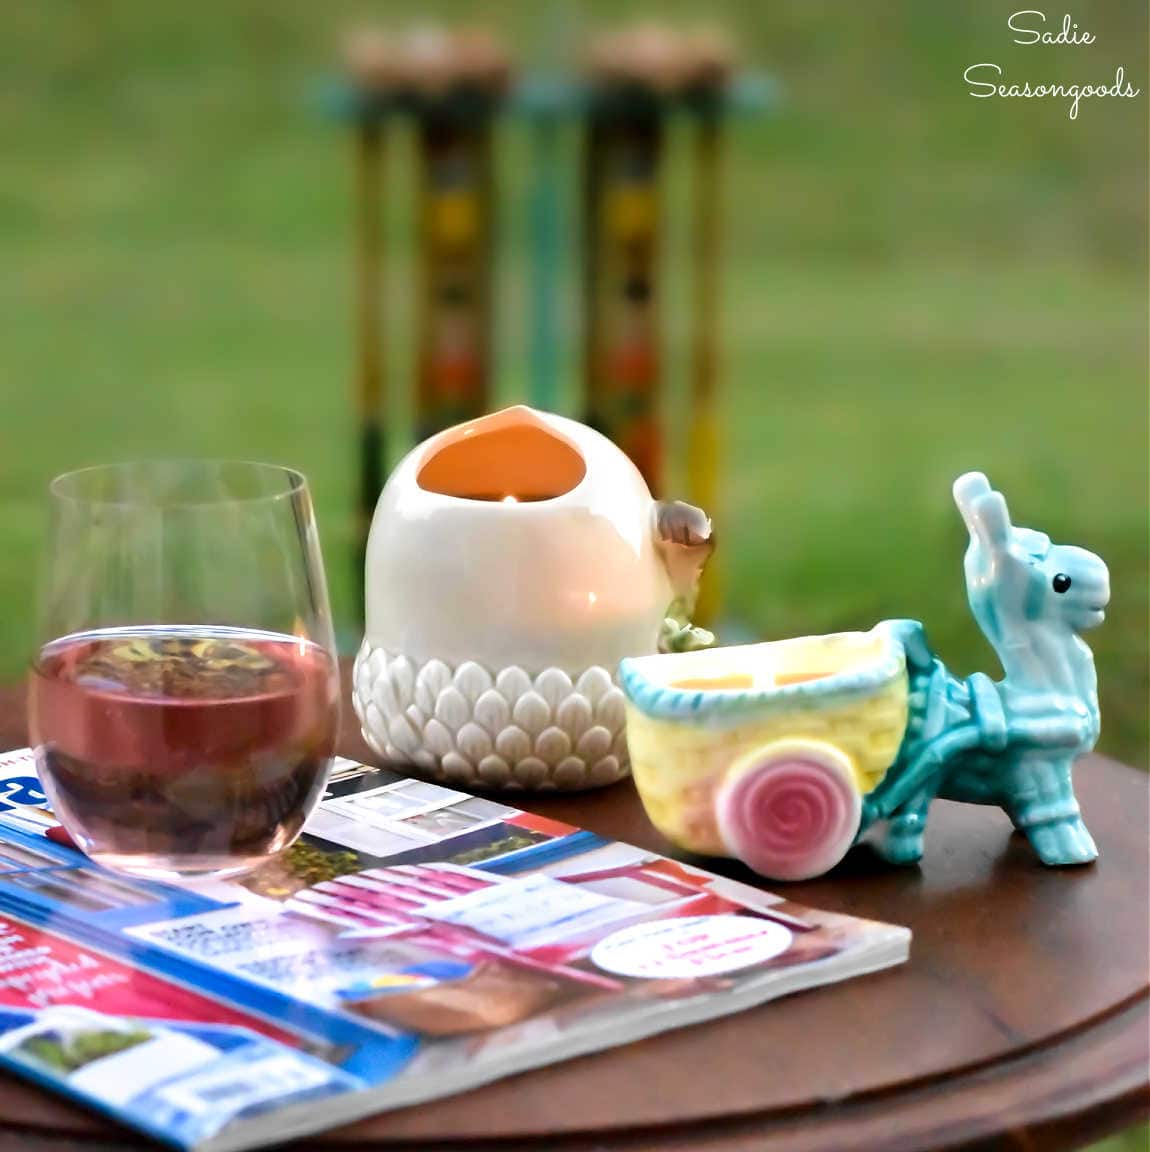
But for now, I’ll keep mine as mosquito candles that I can use and re-fill (if needed) all summer long. Functional AND decorative outdoor candles, how great is that?
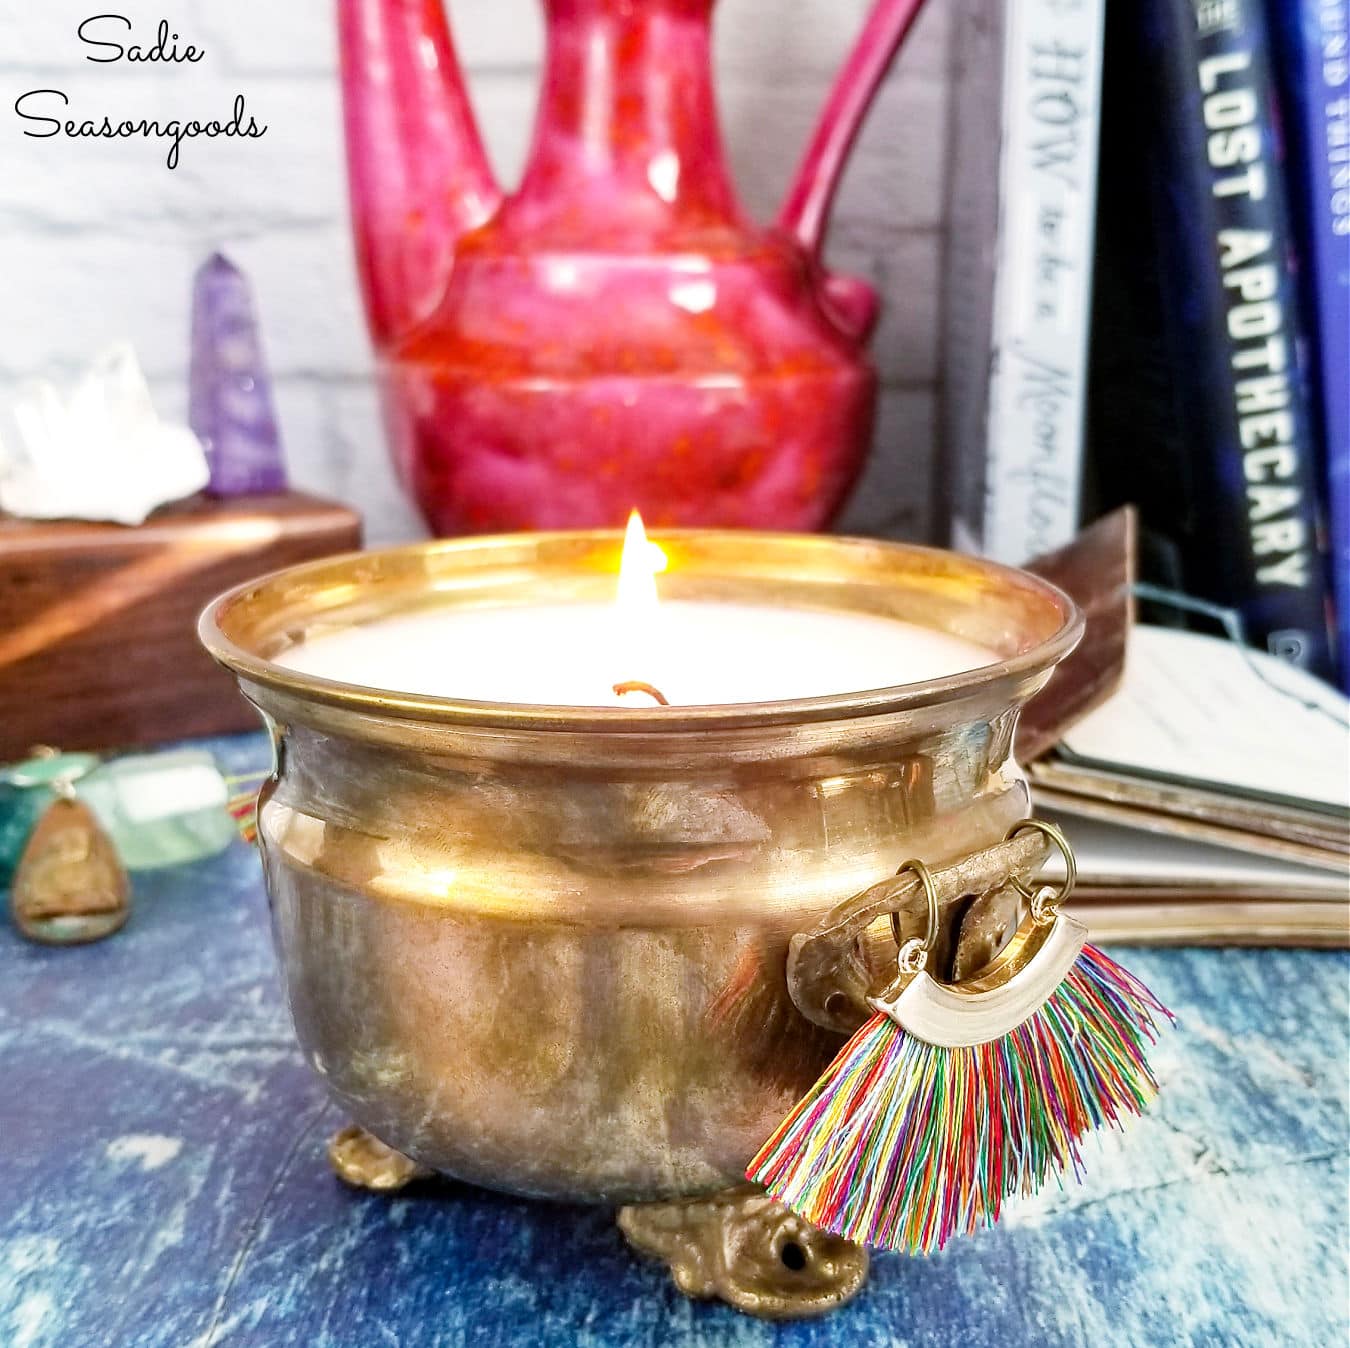
I’ve also made candles in other thrift store finds, as well. You wouldn’t BELIEVE how I was able to clean up this brass bowl before upcycling it into a boho candle.
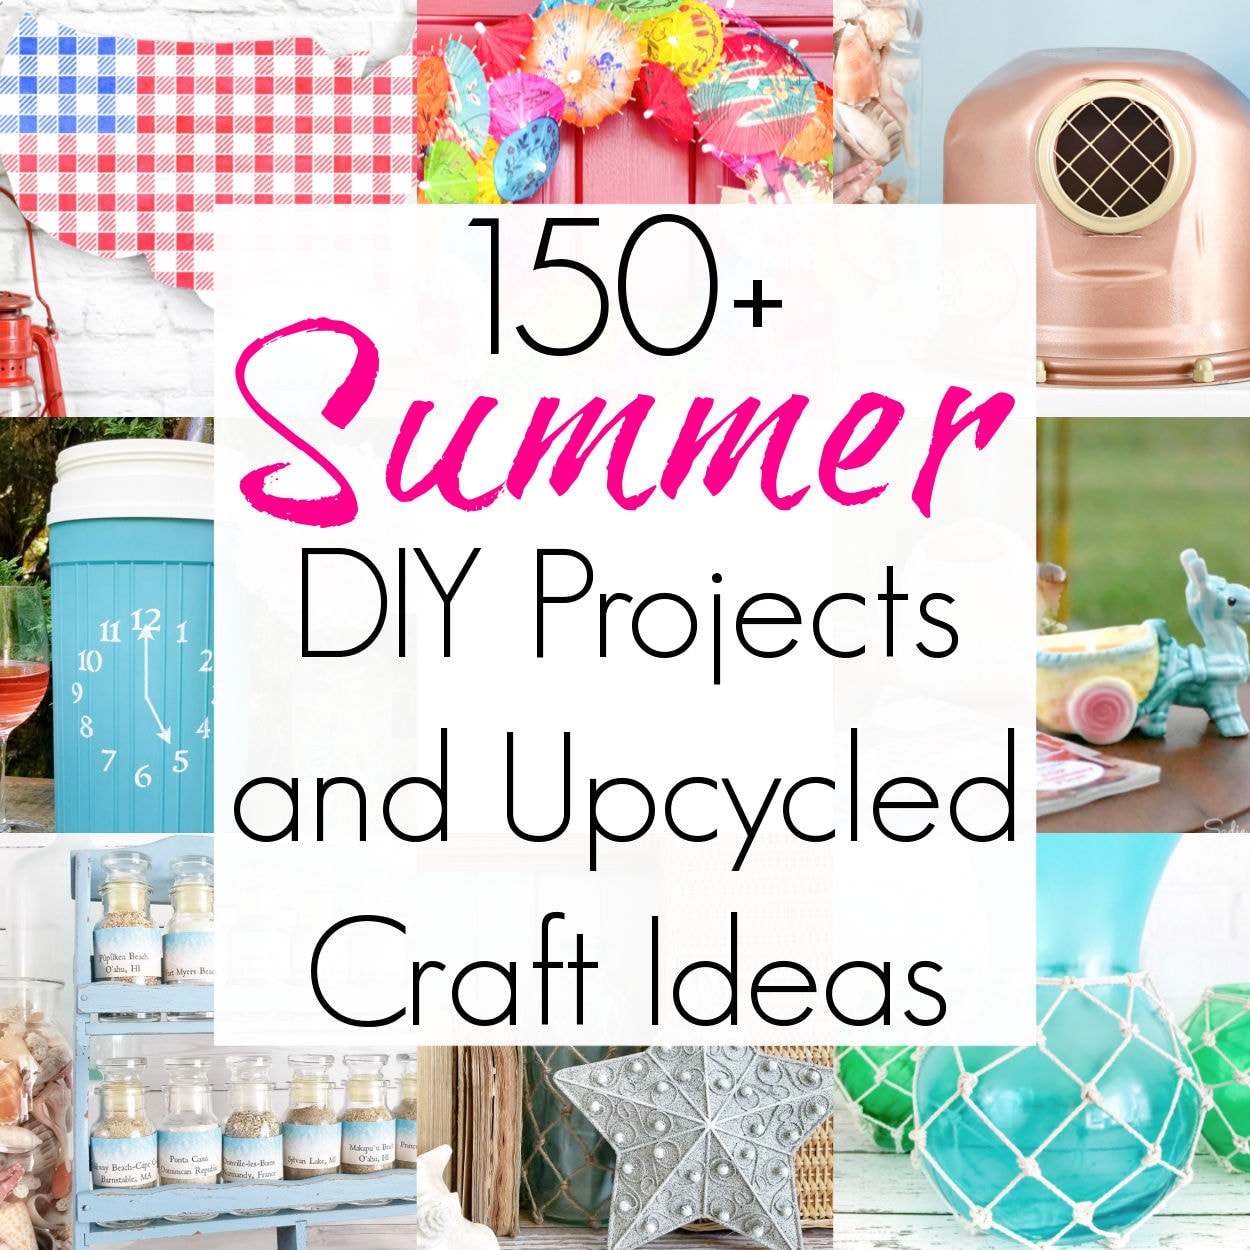
And for even more summer DIY ideas, this collection is chock full of inspiration!
Craft on!
S
Want to be notified when I publish my next upcycling project tutorial?
Join me on Social Media:
PIN ME!
Sarah Ramberg is the owner of Sadie Seasongoods, a website that celebrates all things secondhand. From upcycling ideas and thrifted decor to vintage-centric travel itineraries, Sadie Seasongoods is a one-stop shop for anyone who loves thrifting and approachable repurposing ideas. Sarah is also the author of “Crafting with Flannel” and has been featured in numerous media outlets and magazines.






i pinned the cuteness i am in love with this xx
Well those are just adorable! What a great idea!
Tania
I love this idea. What a great way to repurpose all those adorable vintage planters. Thanks so much for sharing at Vintage Inspiration Party.
Thanks, Betsy!
Adorable and oh so fun. What a great way to use such fun and pretty planters.
Thanks, Robin!
Love this crafty idea! And they are super cute! Thanks so much for sharing on Dream. Create. Inspire. Link. Pinning:)
Thanks, Tara!
These are great!!!
These are so cute! You have officially sold me on needing to get some essential oils! (And given me an excuse to go thrifting! lol)
Thanks!! Yes, they can come in handy for projects here and there. I don’t plan on going over board on my collection, but I do like having a few on hand!
You’re right, these are super quirky, but adorable! I love tea tree oil, and was wondering where to get inexpensive essential oils so thanks for sharing!
Thanks, Meredith!
These are so sweet! Thanks for sharing. 🙂
Thanks, Rebeckah!
Great idea and it’s so fun to use the vintage planters! thanks for sharing with SYC.
hugs,
Jann
Both my partner and my Grandmothers had these donkey’s. What a good revamp for them!!
Thank you so much! They’re just so darling, aren’t they?
Sarah,
I love that little donkey citronella candle. It’s just too darn cute.
catching you!
gail
Thanks, Gail!!
Thanks SO MUCH for dropping by and sharing this at my Grandma Ideas Sharing Time link party. I really appreciate your participation. (I needed to have made one of these for sitting on our patio tonight!)
Nina
Those are the cutest candles! And I love using planters in unexpected ways!
Thanks, Sharon! I just can’t get over the donkey cuteness. 🙂
I am willing to admit that I have purchased those same adorable vintage flower holders from thrift stores just waiting for a fun way to use them! Now I found it! I’m featuring this post at the new Merry Monday party beginning tonight! Thanks for sharing your creativity!
Love these homemade candles! And the addition of citronella makes it even better! Thanks for sharing at Inspiration Thursday!
I seriously cannot get over HOW CUTE these are — and how practical they are!
Thanks, Heather! And half the fun is finding something funky from the thrift store to use as your candleholder!
This is definitely a neat idea!
Thanks for joining Cooking and Crafting with J & J!
I love the idea of using the vintage planters! So kitsch! Those pesky mosquitoes keep me in during the summer up here in the northeast, as well.
So cute, right? Thank you so much!
Sarah, these a both adorable and very useful here in the south. Thank you for sharing at Vintage Charm. Tweeted, pinned, and shared on FB. sb
How adorable! I absolutely love the vintage thrift store finds! And this is such an awesome and creative way to re-purpose them! I’m definitely adding this to my list of ideas! I’m so glad I came across your post at #welcomehomewednesdays!
Thank you, Brittany!! My little donkey cart is seriously my cutest candle, ever. 😀
Such a fun and cute way to repurpose those knicky knacks of questionable taste, lol! They’re darling!
Thanks for sharing with us at Throwback Thursday!
Mollie
This takes me back to my aromatherapy days thanks for the memories!
What a great idea!
Thanks, Maria!
Love this idea! Need to try it
Would we ever use these citronella candles this summer. We’re quacking like ducks over here with so much rain and when we finally do get sunshine, the mosquitos are enjoying an all you can eat buffet.