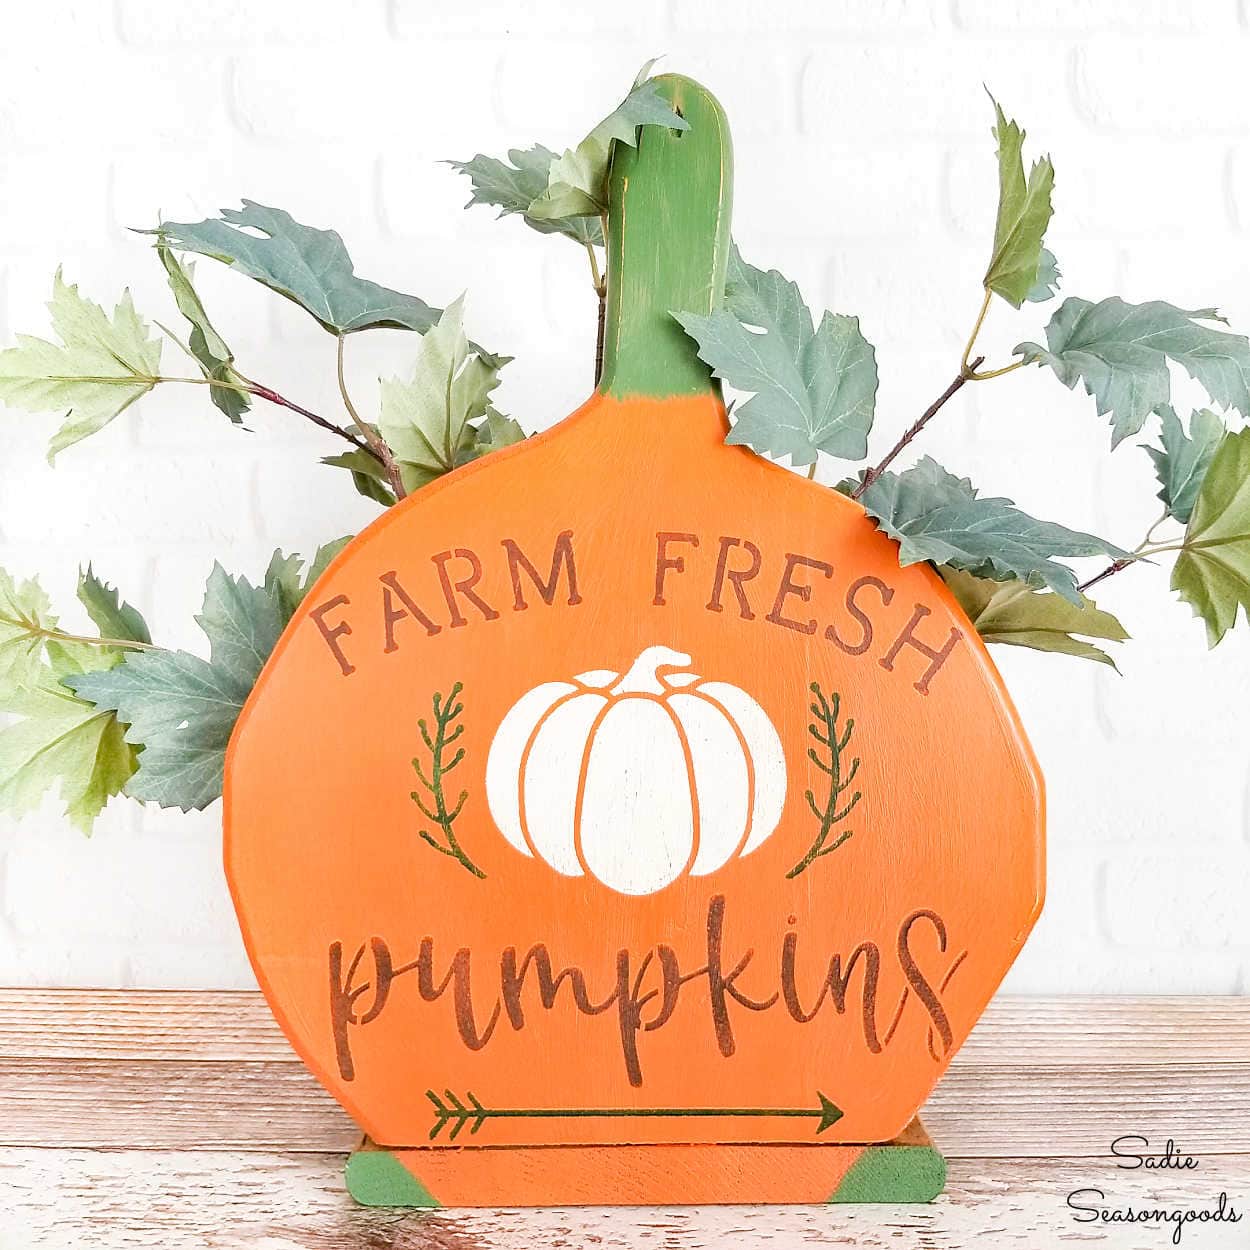
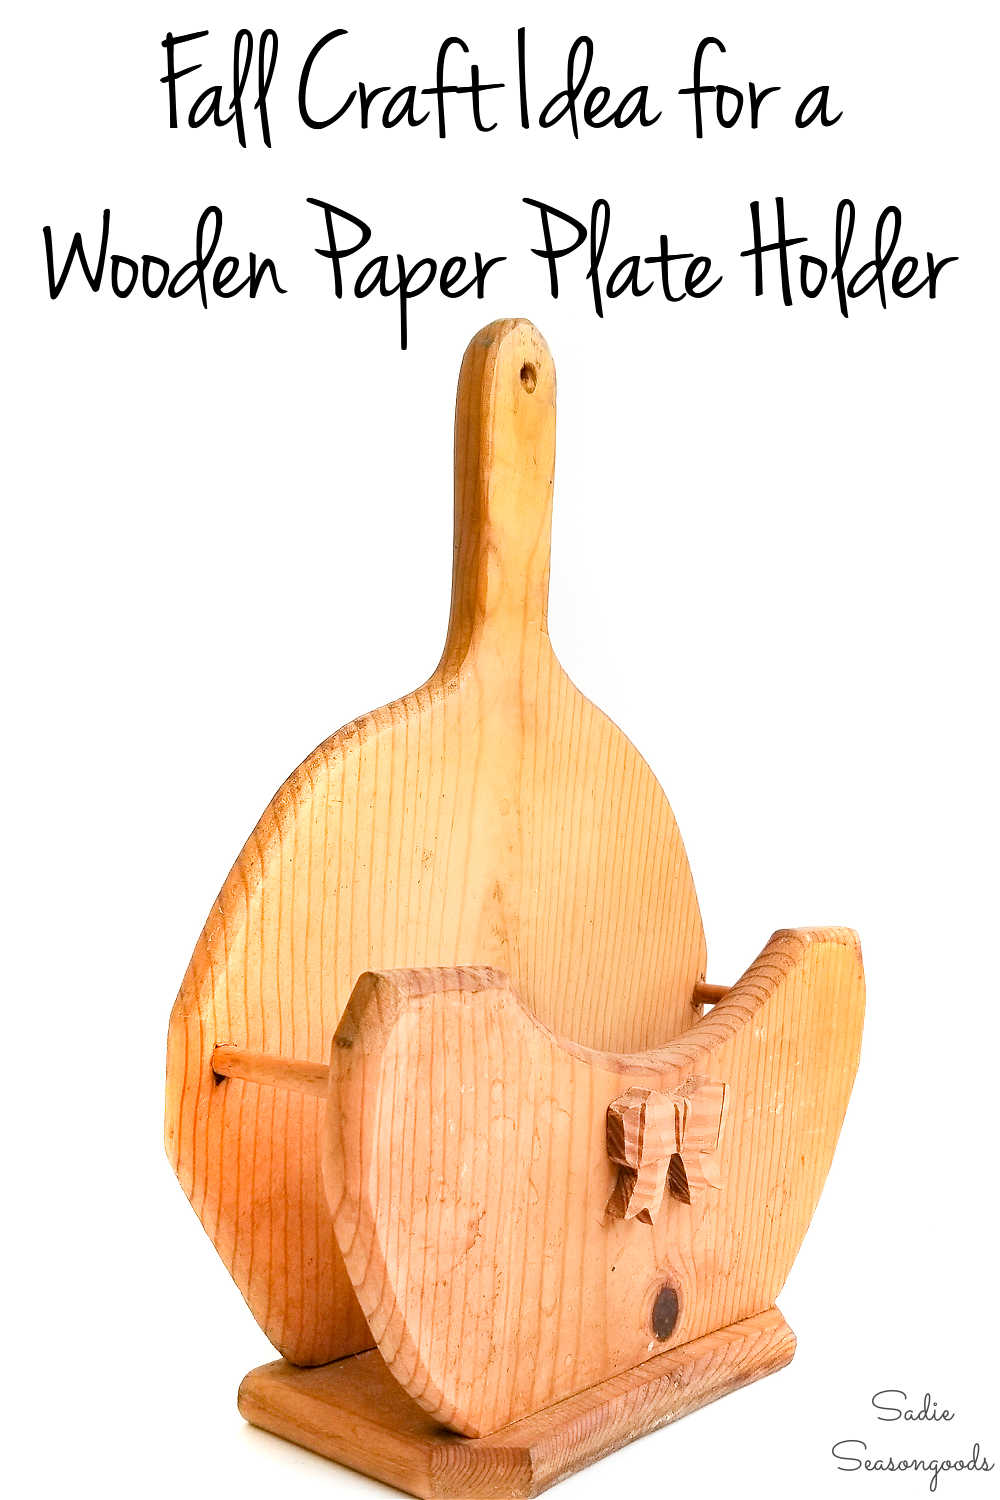
I’ll be honest with you- a wooden paper plate holder was not something I grew up with. Paper plates, yes, but designated wooden holders for them? Nope, not at all. There wasn’t much primitive country decor in my childhood home, so that’s probably why. Fast forward to my days as an upcycling blogger, though, and I couldn’t snap this one up fast enough! Because I had an upcycling idea to transform it into a pumpkin patch sign for Fall.
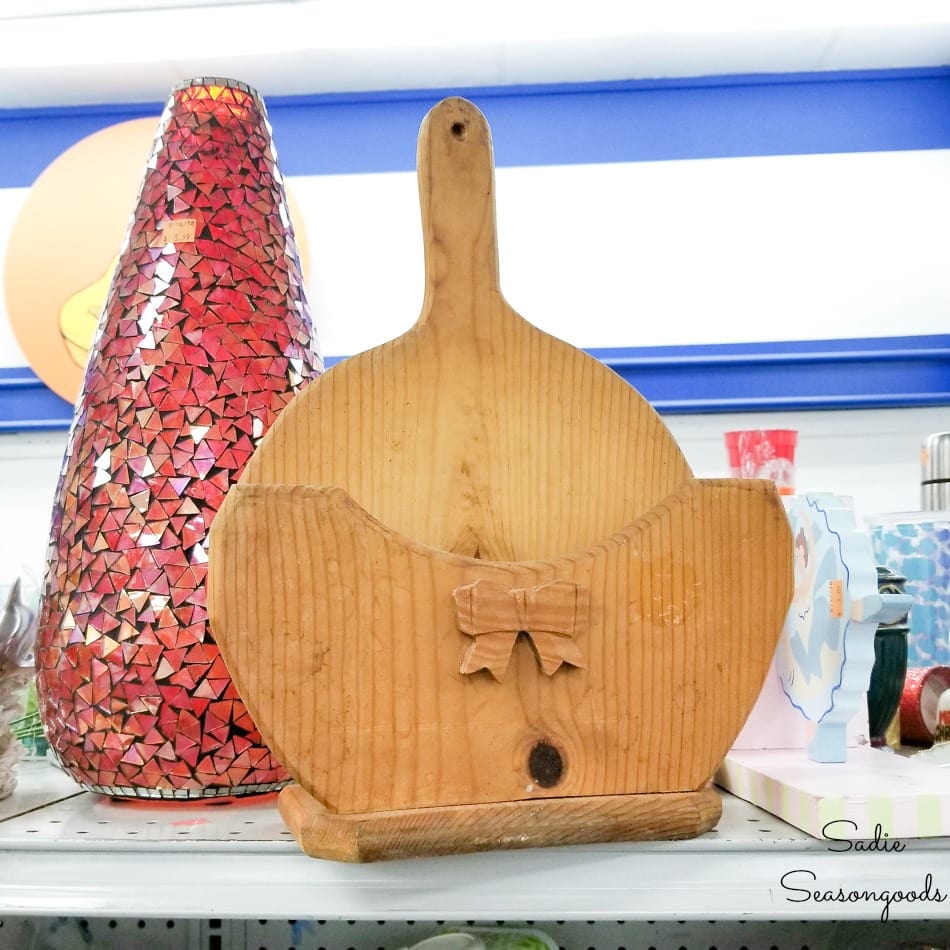
Now, you may be thinking. HOW WILL THIS EVER BECOME FALL DECOR?
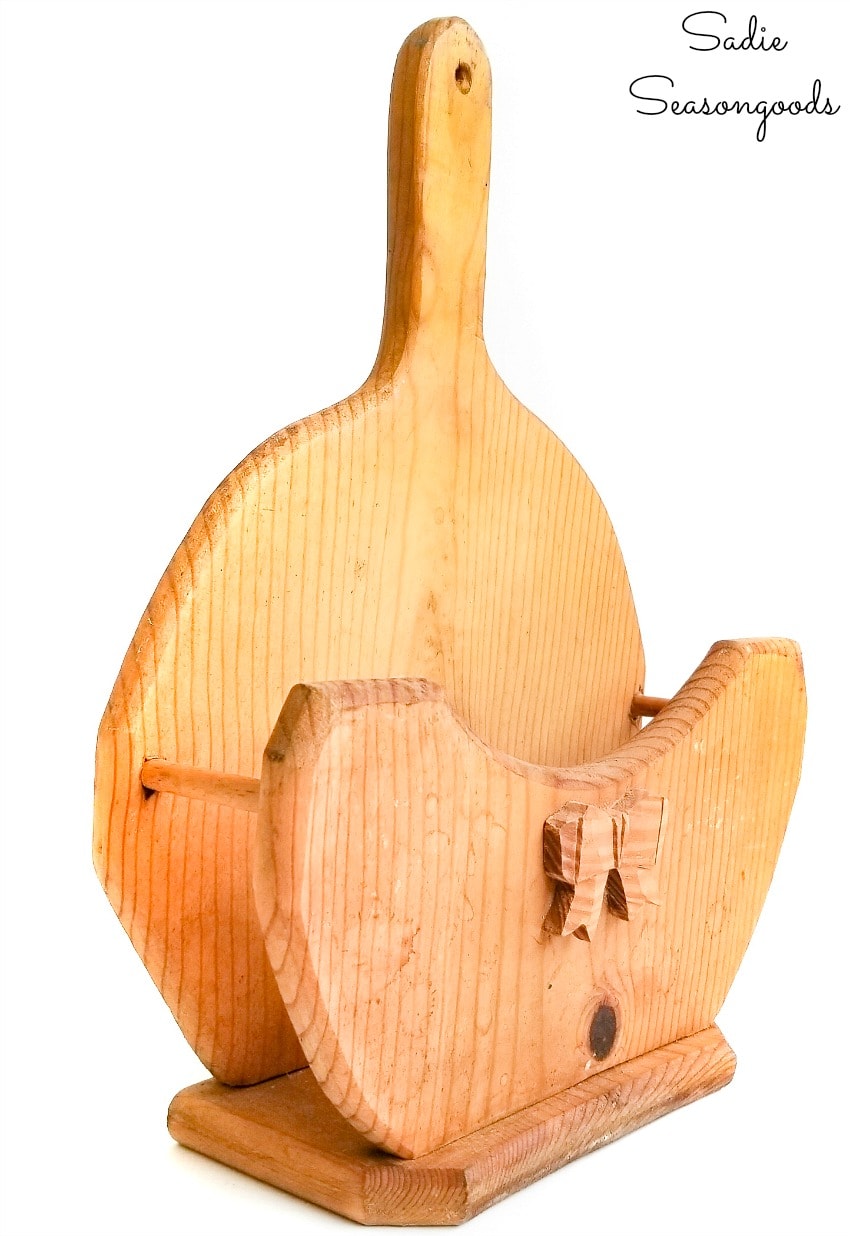
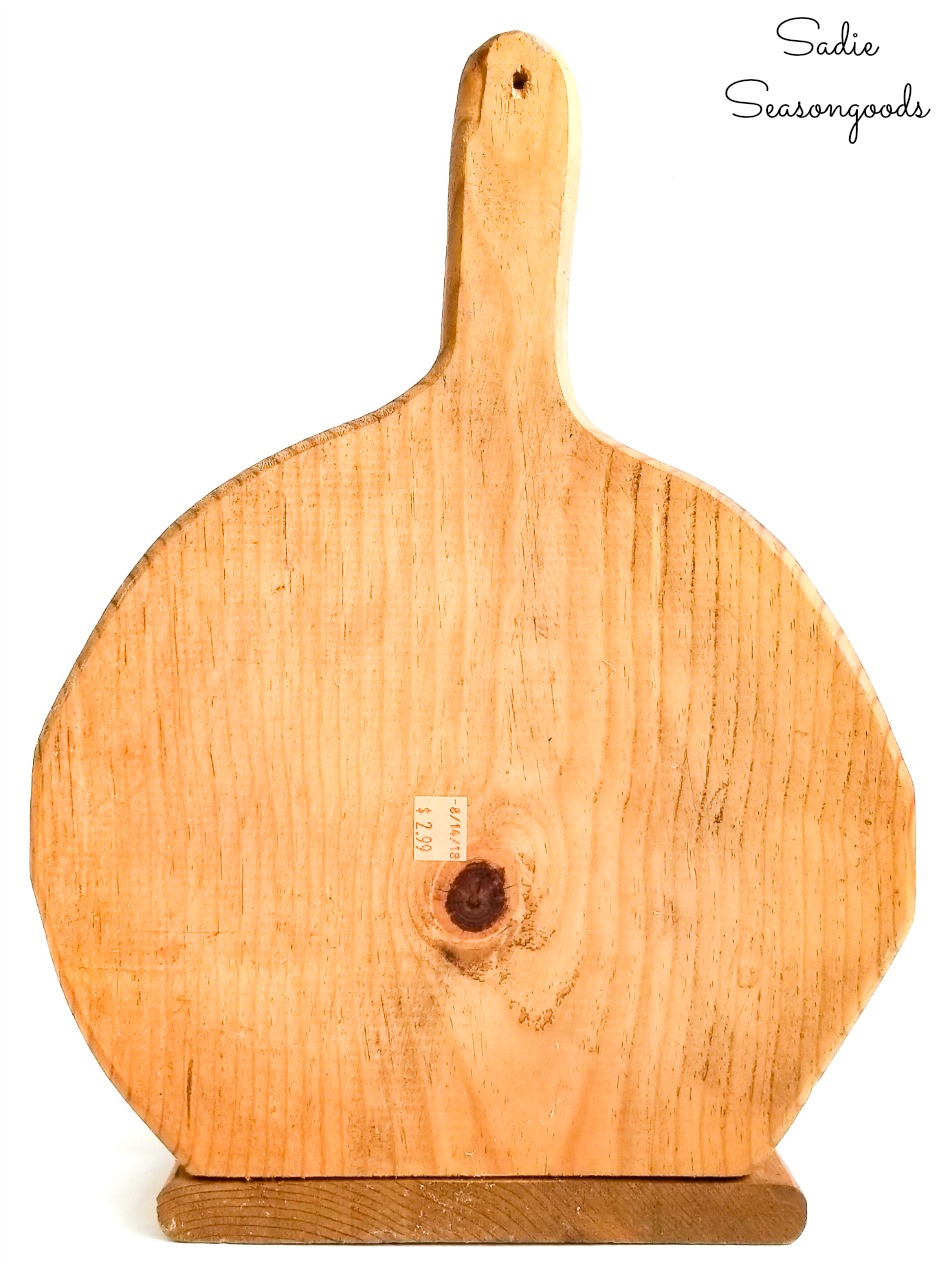
But when you turn it around to the “back”, it had a very pumpkin-esque shape!
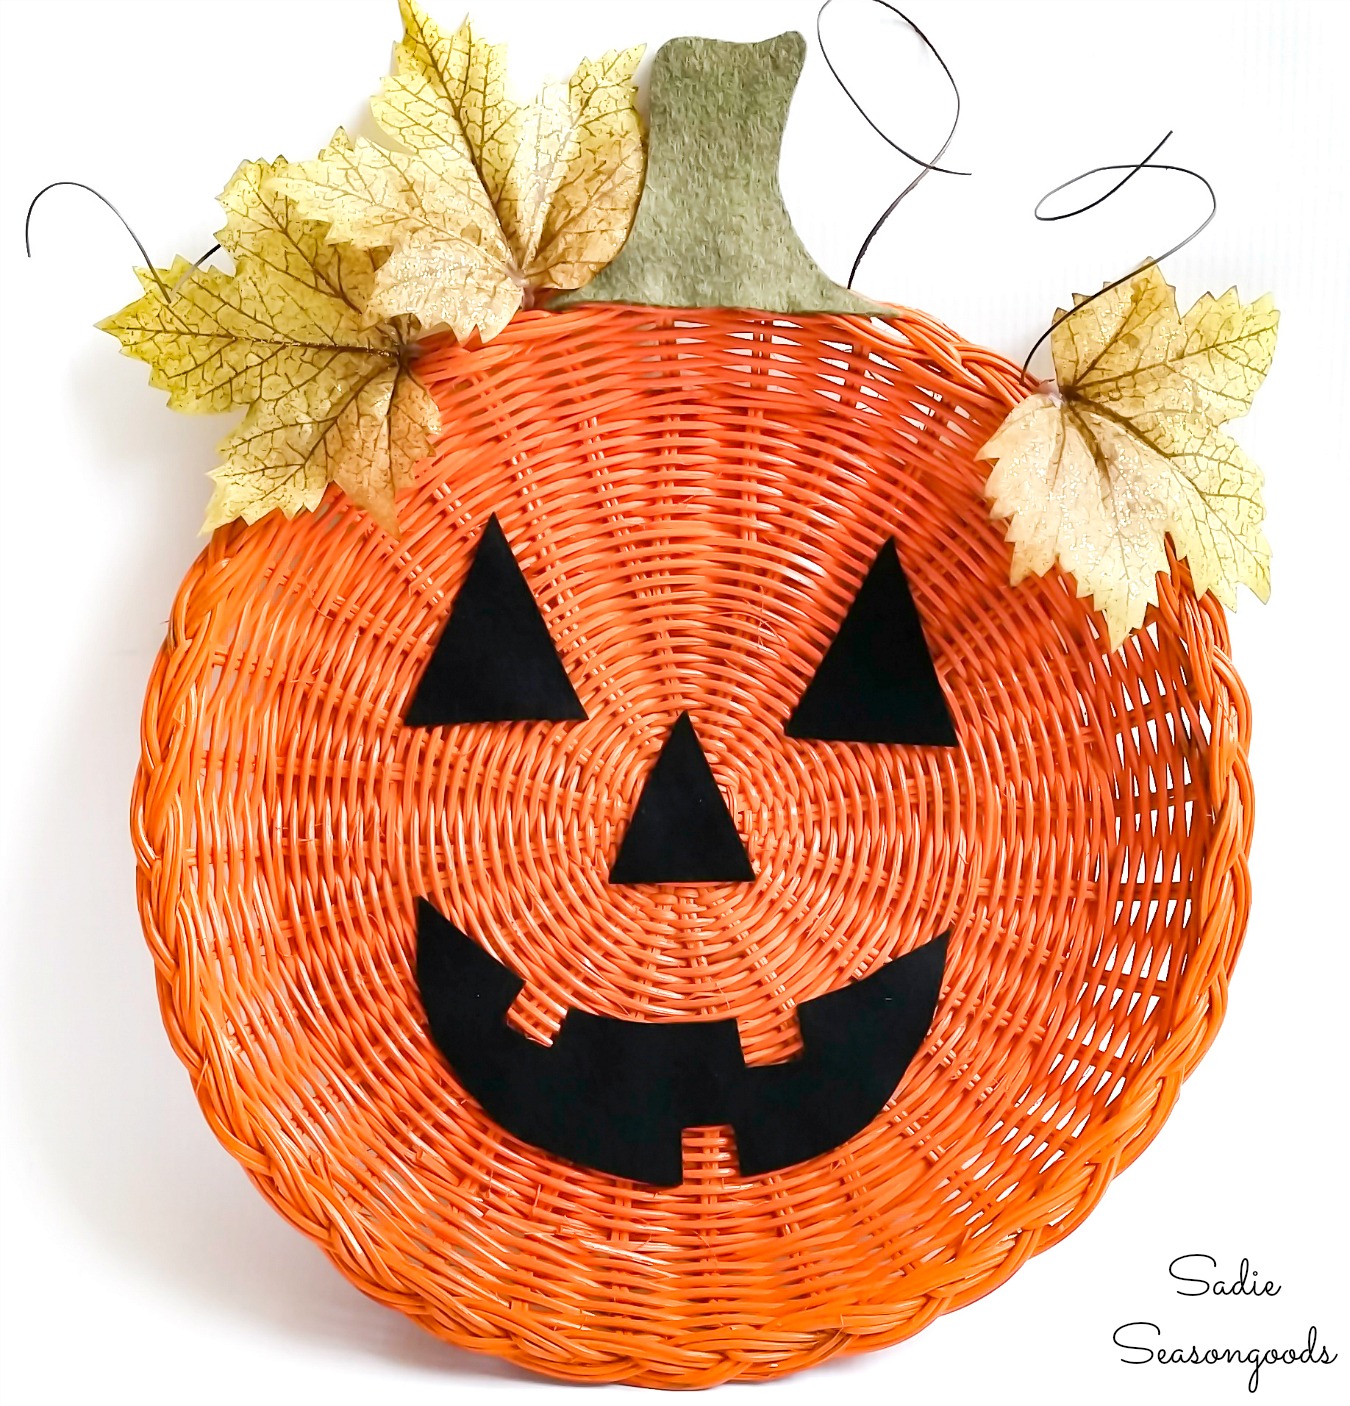
Ironically, I’ve made another pumpkin project with a different type of paper plate holder, but it was for Halloween!
But, of course, that one was more of a liner or charger.
Either way, back to the wooden version- it seemed like an inexpensive experiment to try! And, well, you know how much I love autumn and simply can’t say “no” to a potential pumpkin project…
This post contains affiliate links for your crafting convenience. As an Amazon Affiliate, I earn from qualifying purchases. All blue, bold, and underlined text is a clickable link, either to a product or to a related post.
Upcycling a Wooden Paper Plate Holder for Fall
First, I gave it a pumpkin makeover, using orange chalk paint.
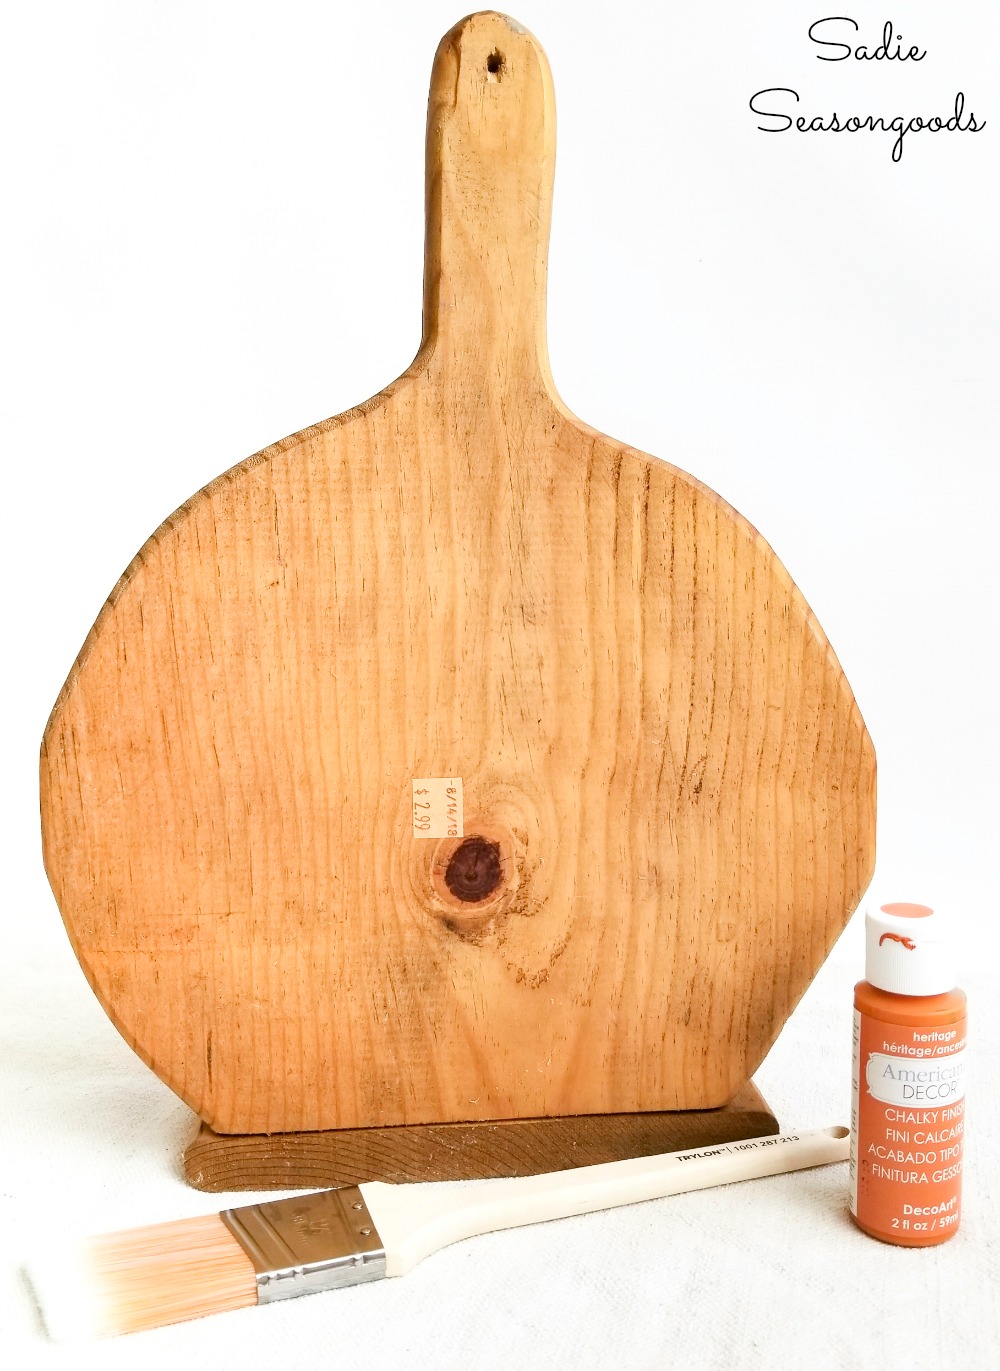
It’s the same color I used last year for my pumpkin tray project that turned out so well.
Next, I gathered a leafy green and a caramel brown craft paint for the stems.
And yes, somewhere along the way, I found a SECOND paper plate holder at a thrift store.
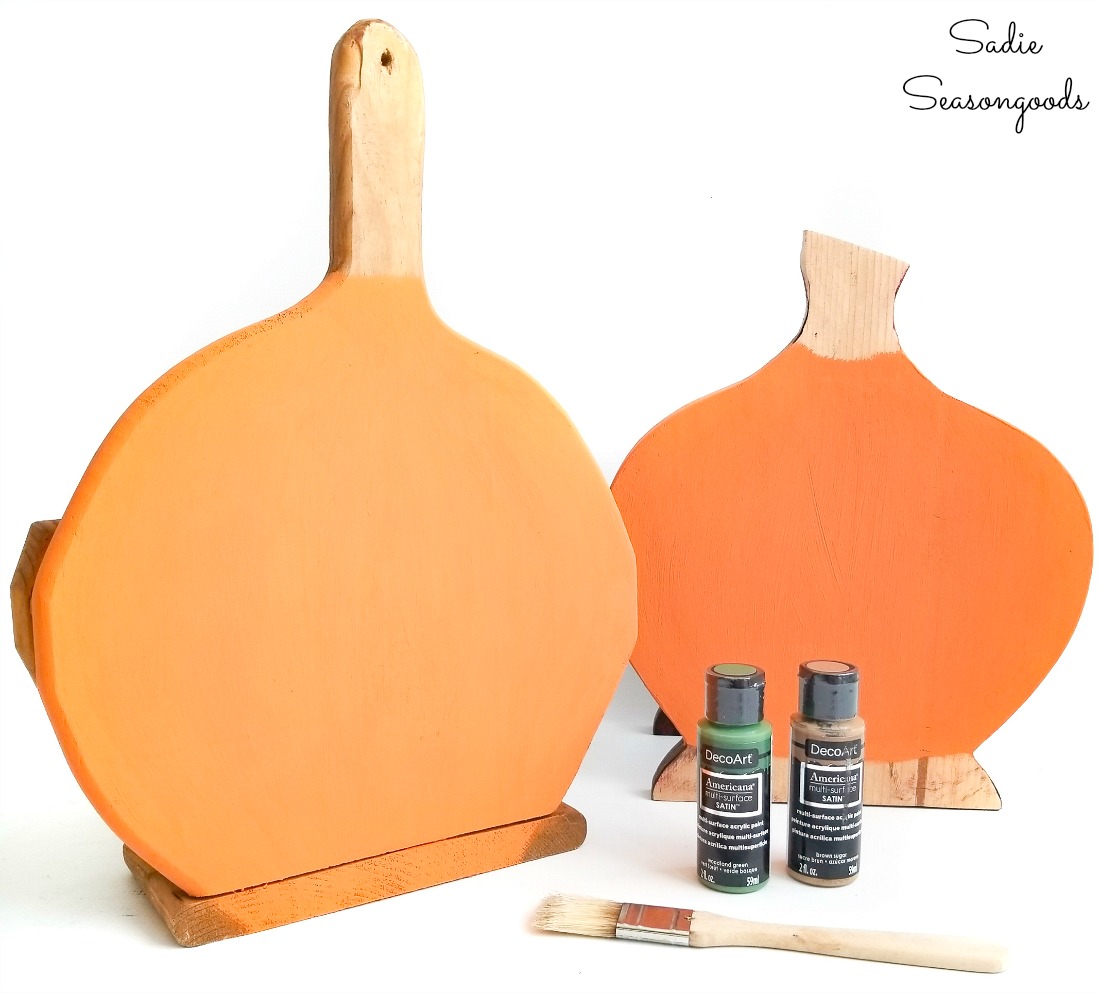
As you can see, I cut off the top of the “stem” from the second paper plate holder before painting, as well.
All of a sudden, the wooden paper plate holders were looking much more pumpkin-esque, post makeover.
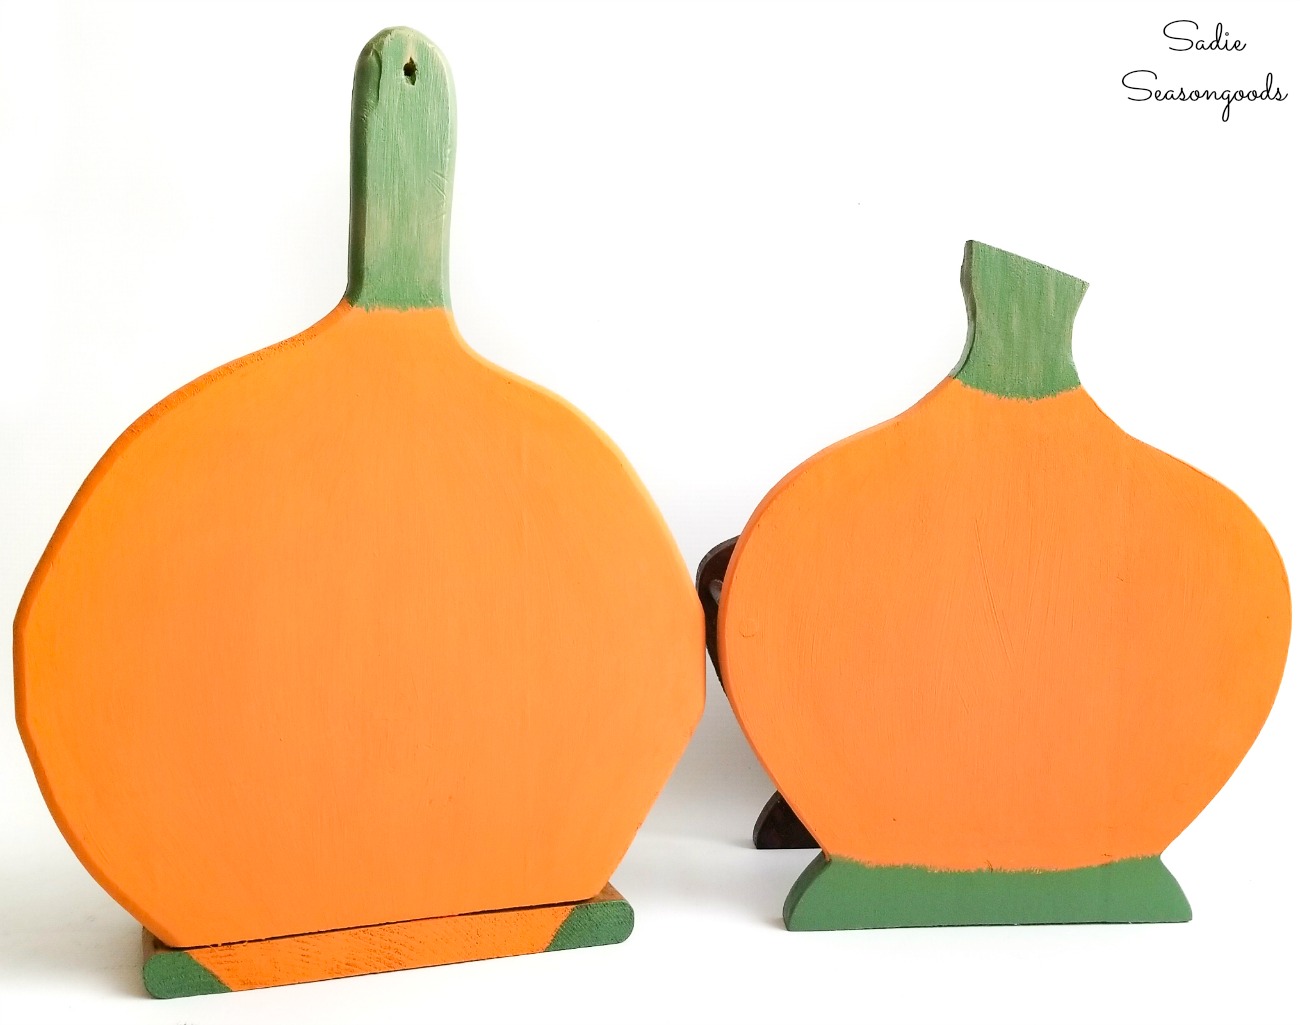
Now that my wooden paper plate holders (and future pumpkin patch signs) were painted, I wanted to put the actual holders (other side) to use!
Making a Pumpkin Patch Sign
So, my plan was to add a brick of wet floral foam in the holder from which leafy stems could be inserted. This would give my pumpkins a more still-on-the-vine pumpkin patch look.
I purchased two bricks of floral wet foam– even though I wasn’t going to use it for real flowers, I like the “mold-ability” of wet foam. I figured that I could crunch and press (i.e., mold) it to fit each wooden paper plate holder.
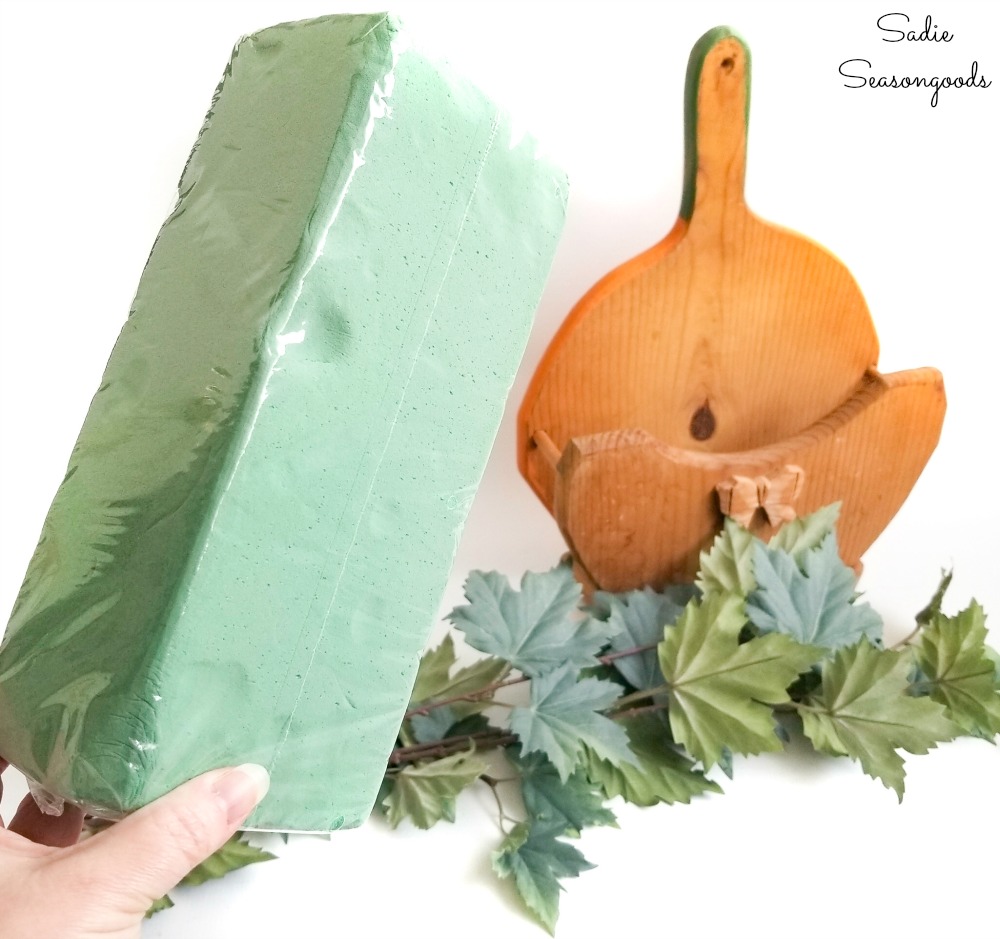
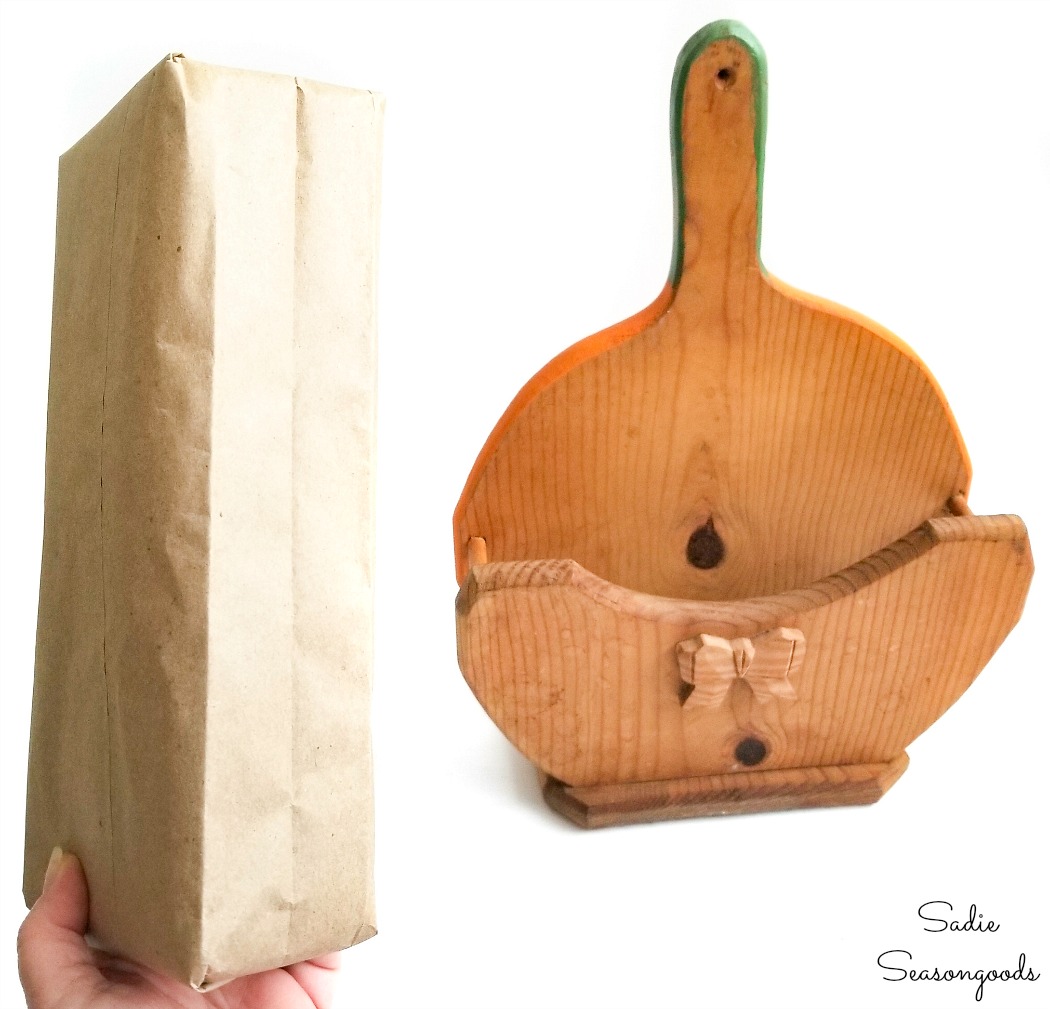
First, however, I took one additional step that is totally optional. After I molded the foam bricks to fit each wooden paper plate holder, I wrapped them in brown paper bags.
I thought it would look a little neater, and keep that dreaded “floral foam dust” from getting everywhere.
Now to give it a pumpkin patch look!
I used some green maple leaves from Michaels as my greenery, cutting them to size with my wire cutters. Doesn’t that look cute?
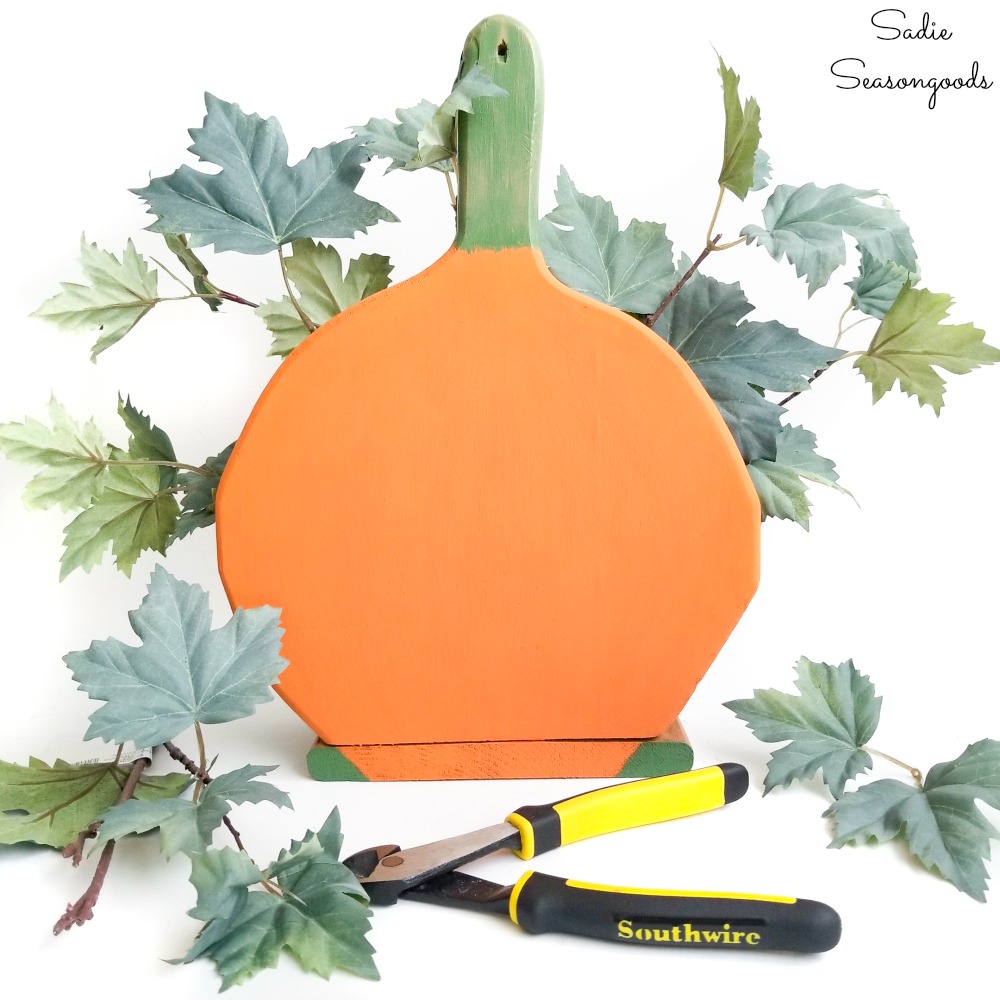
Even though I liked how it looked just as it was, I knew a little stenciling would put it over the top.
And let’s face it, what’s cuter than a pumpkin sign this time of year?
So, I found the perfect stencil to transform it into a pumpkin patch sign, and got to work.
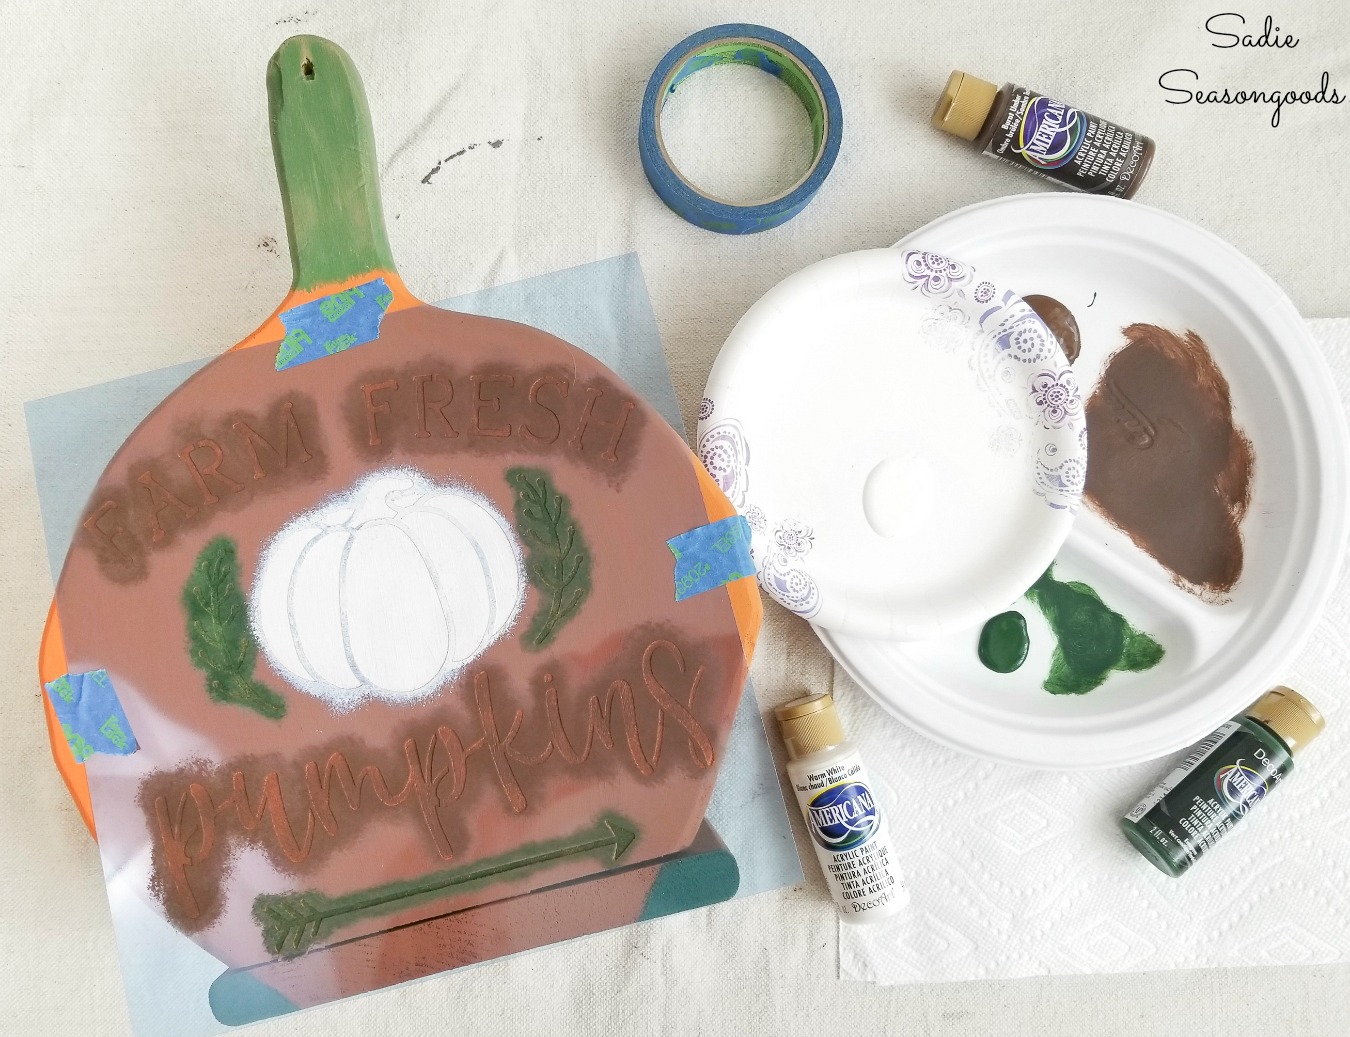
Note- the paper bag-wrapped foam block and pumpkin leaves slides in and out with ease, making it easy to stencil even after I had cut all the greenery!
After I carefully stippled and swirled on my paint, I lightly sanded the entire thing to “rough it up” a bit, aging the lettering and the wooden edges.
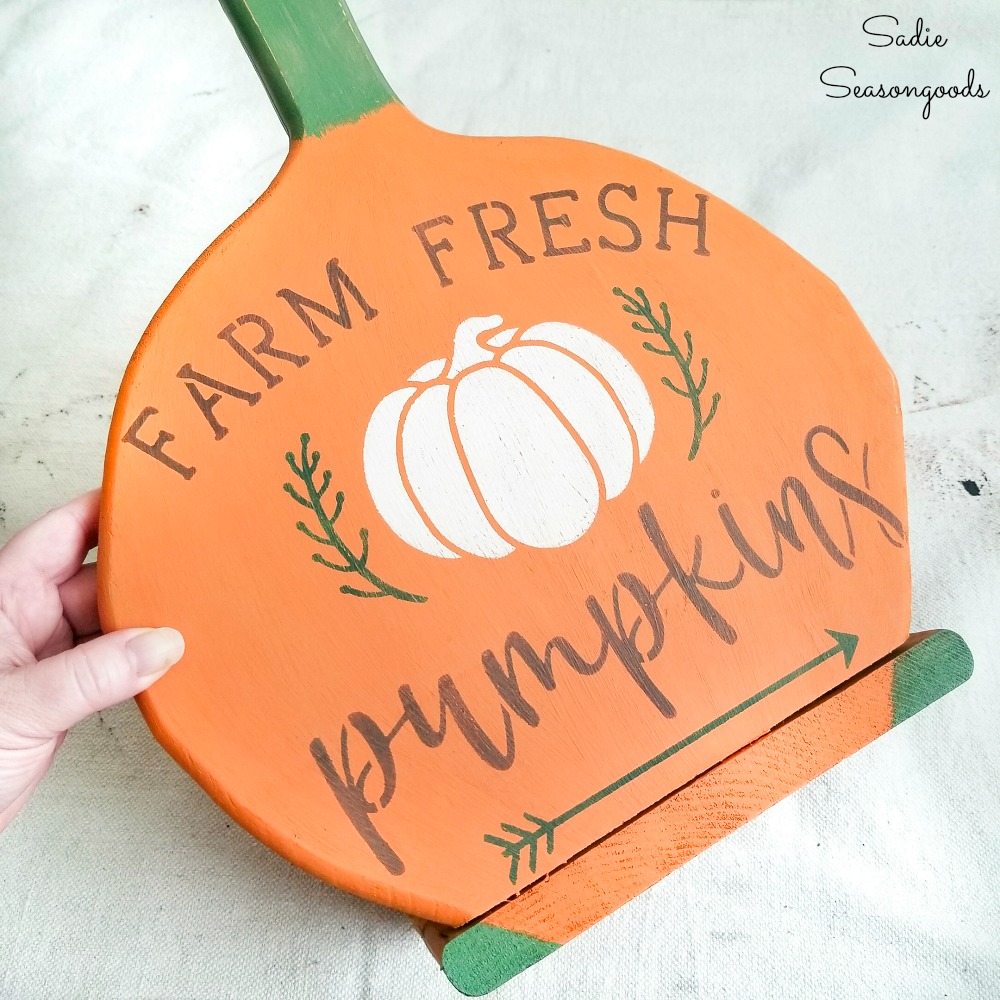
Pumpkin Patch Sign from a Wooden Paper Plate Holder
Finally, I buffed on some clear wax to seal it and make the colors a little richer and that was it! I placed the floral foam bag and greenery back inside and my pumpkin patch sign was done.
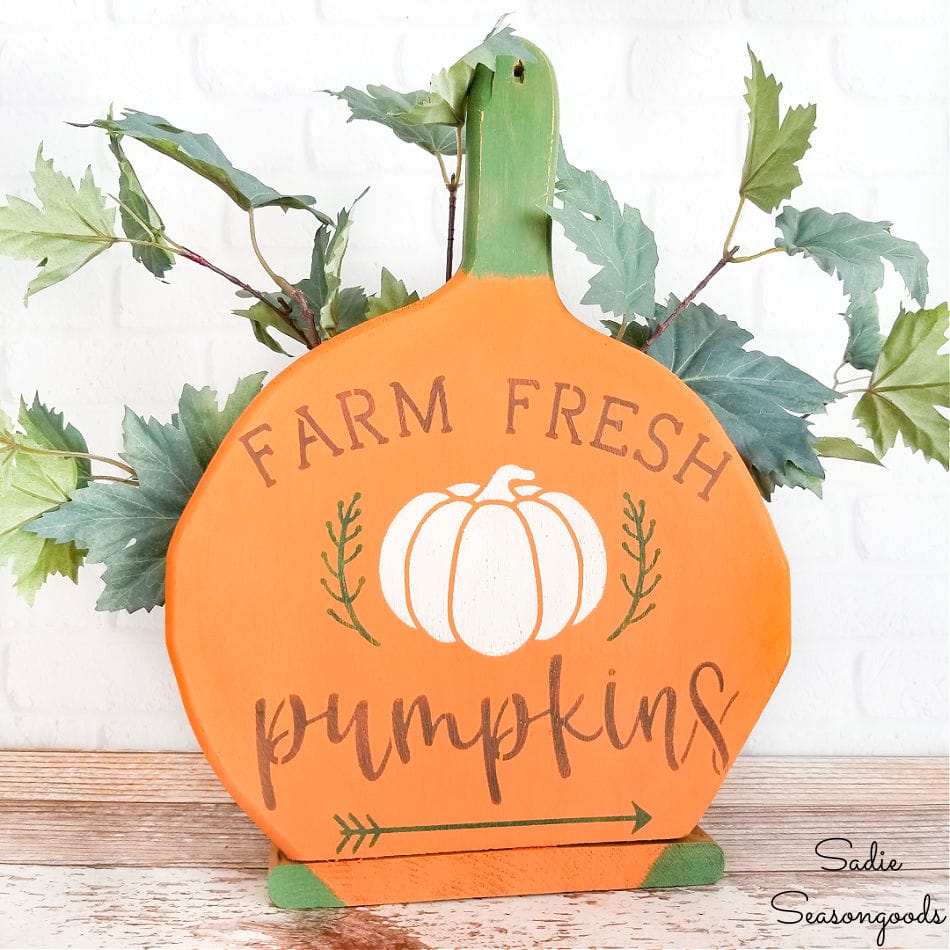
Perfect pumpkin decorations for Fall that had a primitive country decor feel.
Isn’t that wild? My pumpkin patch sign turned out delightfully and the best part is, it could still be a paper plate holder year-round!
I just love turning things into pumpkins at this time of year; I just can’t get enough of them. In fact, I even made a few versions in my book, “Crafting with Flannel”, too!
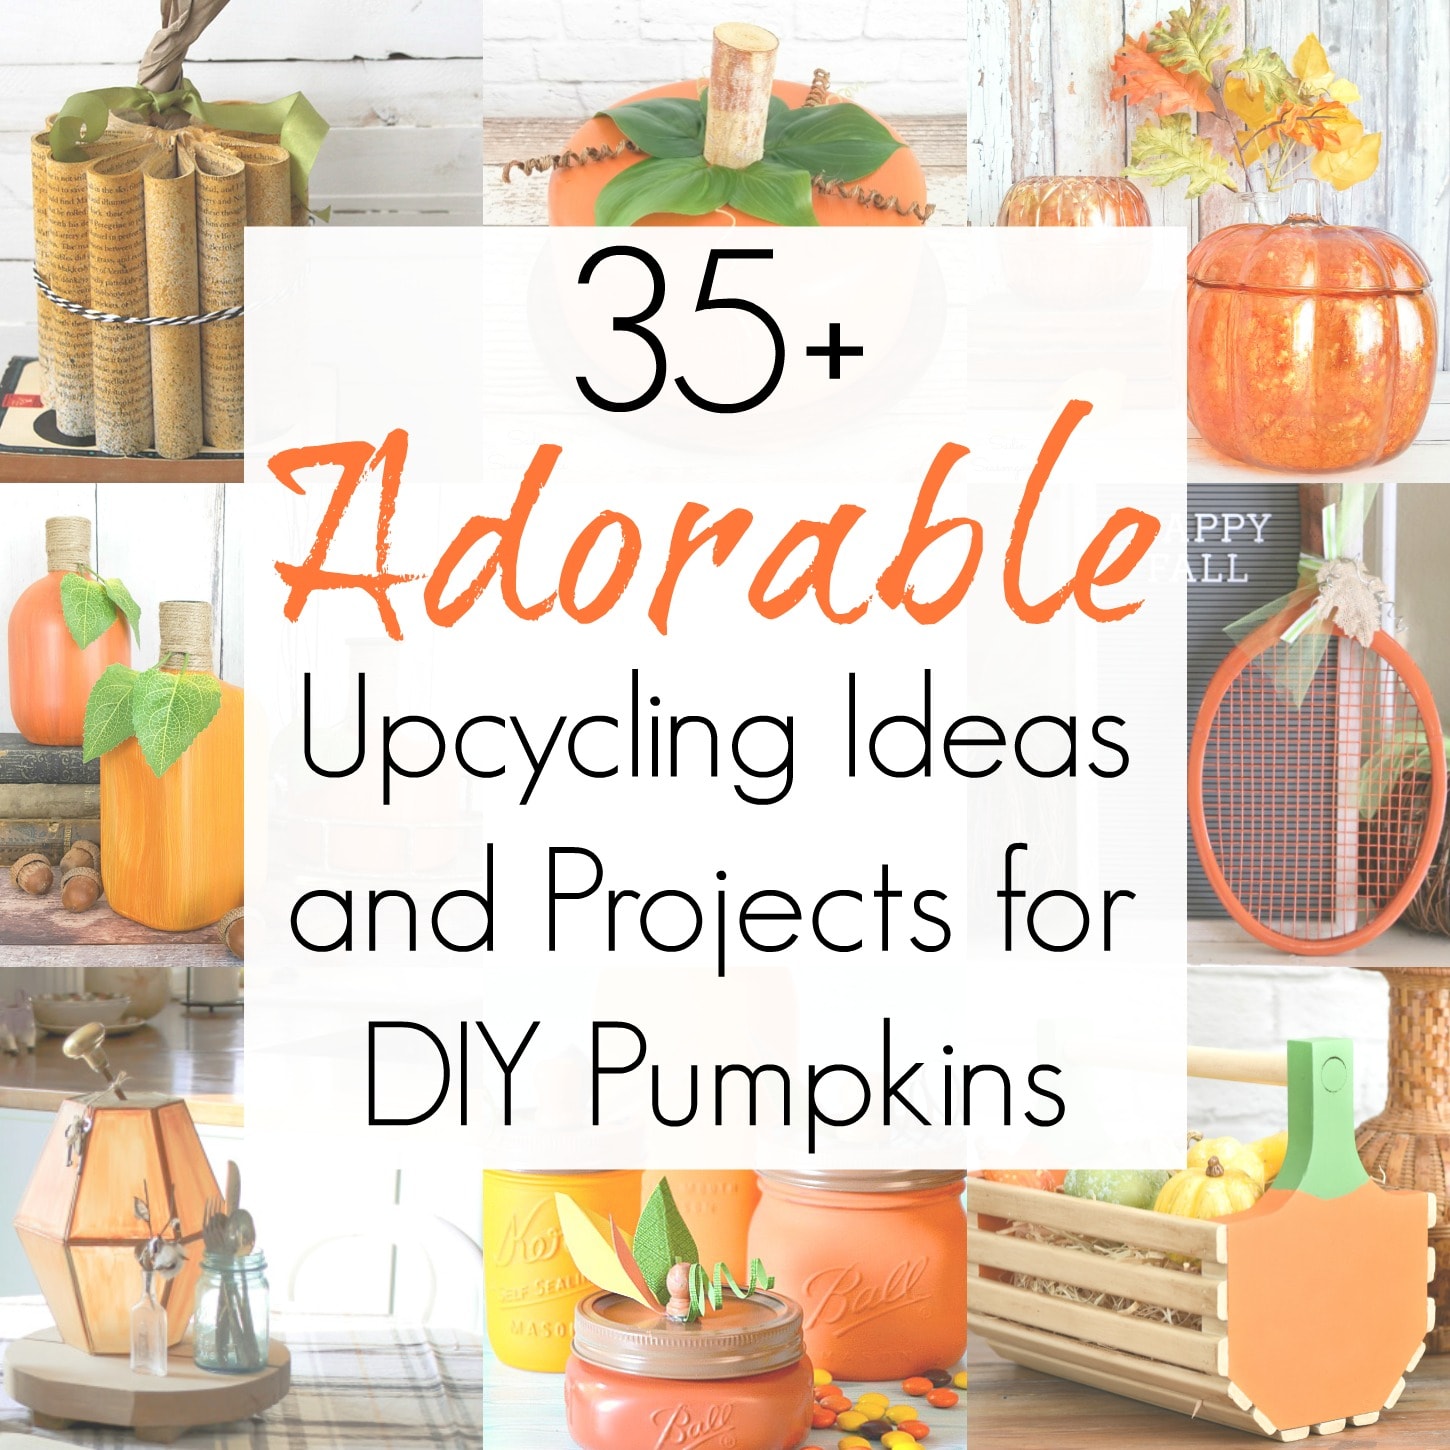
And if you enjoyed this upcycling idea for fall pumpkins, then you’ll love this collection of upcycling ideas for upcycled pumpkins!
Craft on!
S
Want to be notified when I publish my next upcycling project tutorial?
Join me on Social Media:
PIN ME!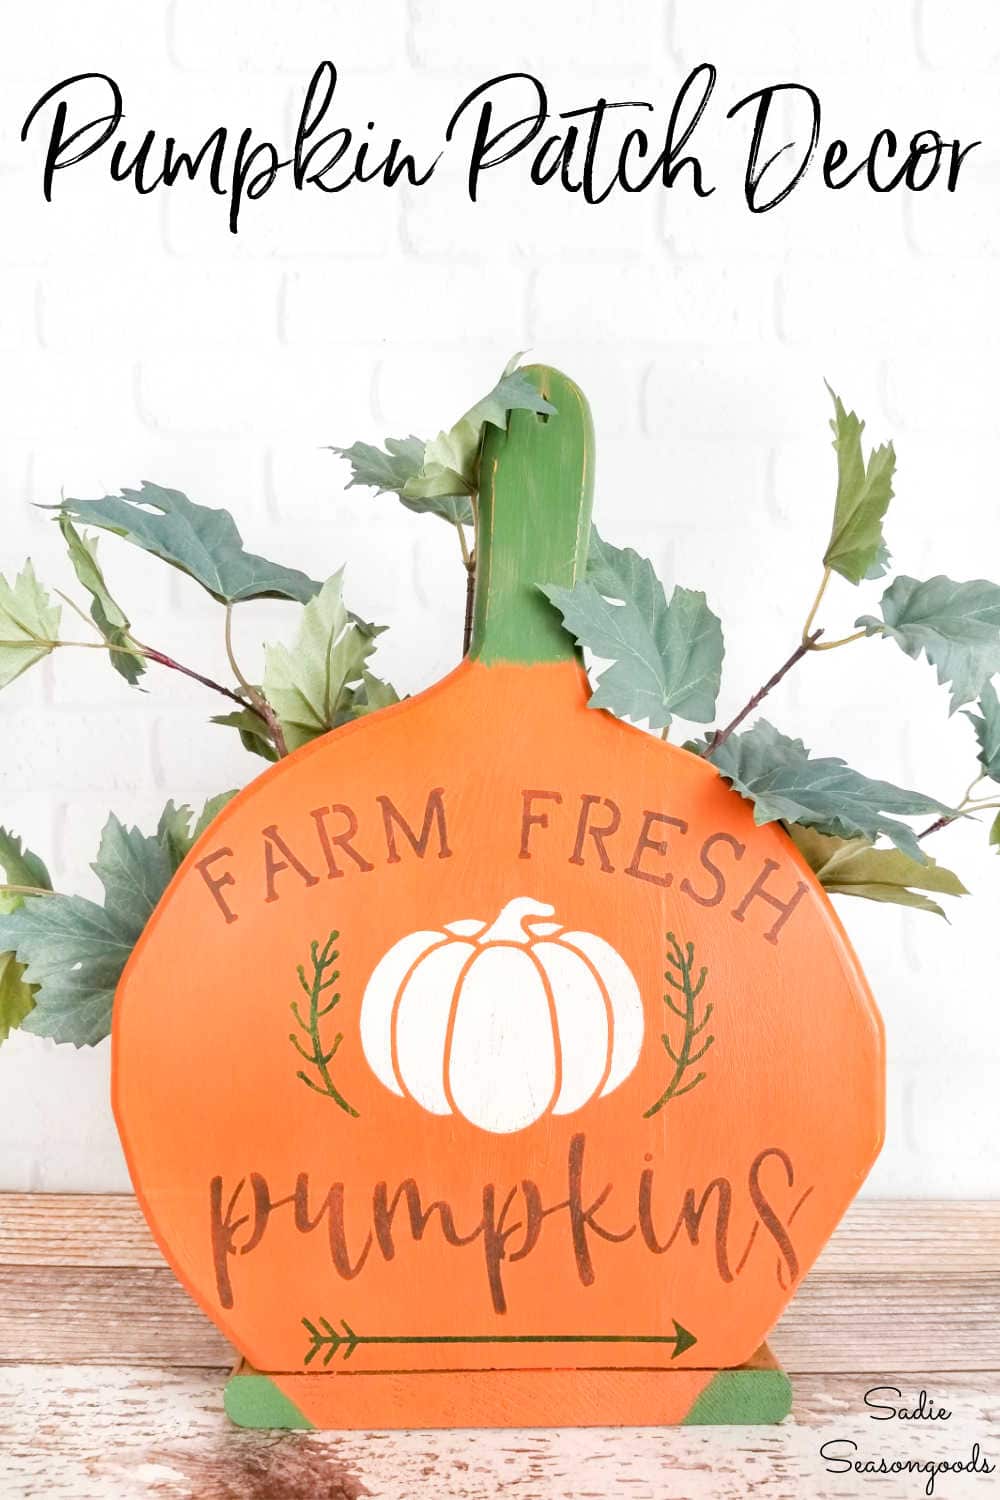
Sarah Ramberg is the owner of Sadie Seasongoods, a website that celebrates all things secondhand. From upcycling ideas and thrifted decor to vintage-centric travel itineraries, Sadie Seasongoods is a one-stop shop for anyone who loves thrifting and approachable repurposing ideas. Sarah is also the author of “Crafting with Flannel” and has been featured in numerous media outlets and magazines.






Adorable!!
Thank you, Karen!
That is so adorable! You are so creative! I am so happy I found your blog! You inspire me
Thank you, Lisa- I’m glad you found me, too!
Wow! If I saw that wooden piece at the thrift store, I’d walk right on by it. But you turned it into something so creative and cute! Genius and awesome and TFS!
Thank you so much!
LOVE IT!!!
Thank you, Robyn!
I must live under a rock,I have never seen anything like these before, and made to hold paper plates no less, I never would have guessed that! What a great vision on this pumpkin upcycle Sarah!!
Thank you!!!
Imagination…so cute…pumpkins…pumpkins…every where
Thank you so much, Rita!
Love these! I have never thought about looking at the “back” of an item, will have to totally keep that in mind! <3
😉
ABSOLUTELY FABULOUS! Thanks again for something easy and fun!
Thank you, Angie!
Great upcycles. I’m like you, my paper plates stay in the plastic wrapper; not enough counter or wall space for the wooden holder! The stenciling just “made” the project in my book. Well done!
Thanks, Kathy!
Cute!! I saw it as a turkey with folded cloth napkins as the feathers – functional centerpiece. Who knew a paper plate holder could be so versatile?!
Ohhhh I can see that, too! Someone on my Facebook page mentioned a Halloween black cat- CRAZY versatility, right?
So cute. I guess i better start thinking about fall decorating. I sometimes procrastinate on decorating when the seasons change. Up until today we were still in full summer heat. Can’t wait for cooler weather. You are inspiring me tonight.
It’s still blisteringly hot here, too…but blogging is a lot like magazines in that we’re always thinking a couple of seasons ahead of reality! 😉
So very cute!
Thank you, Lisa!
That is a very clever idea for an old paper plate holder! I never would of thought of using it like that. Love it!
Thanks, Linda!
Love it! I am so sorry to say I couldn’t find a plain straw bag to make a door hanging. I ordered some beautiful peonies from Amazon. Ill wait to closer to spring to try to make it again.
my favorite season for decorations…am loving your ideas!!!!
Me, too, Scotty- I wait all year for fall to come along!
My mind is blown! I LOVE this! You never stop amazing me with the wonderful “remakes” you think of.
Thank you so very much, Amy!!
The second one you found really made me think of a turkey with the design cut into the wooden front. I liked the other comment by Charlie about storing napkins folded to look like feathers. Very inspiring post.
Yes!! Several people saw the turkey shape, and someone on my Facebook page saw a crouching Halloween cat, too. Loads of possibilities!
I have been searching for one to use for Thanksgiving on my new farm table
What a fun and clever way to reuse a paper plate holder. I will have to remember this the next time I see one at Goodwill. Love it!
Thanks, Linda!
You have such a gift of looking at something ordinary and turning into a treasure!
Thank you so much, Edith!