Even though I’m not a faux flowers kind of person, I decided to try my hand at DIY tissue paper flowers. Why, you might ask? Well, I’m always looking for projects to make from things that are ubiquitous (and wildly cheap) at thrift shops. I kept seeing vintage sewing patterns at thrifts, but when I say “vintage”, I mean ugly patterns for 80s and 90s clothing.
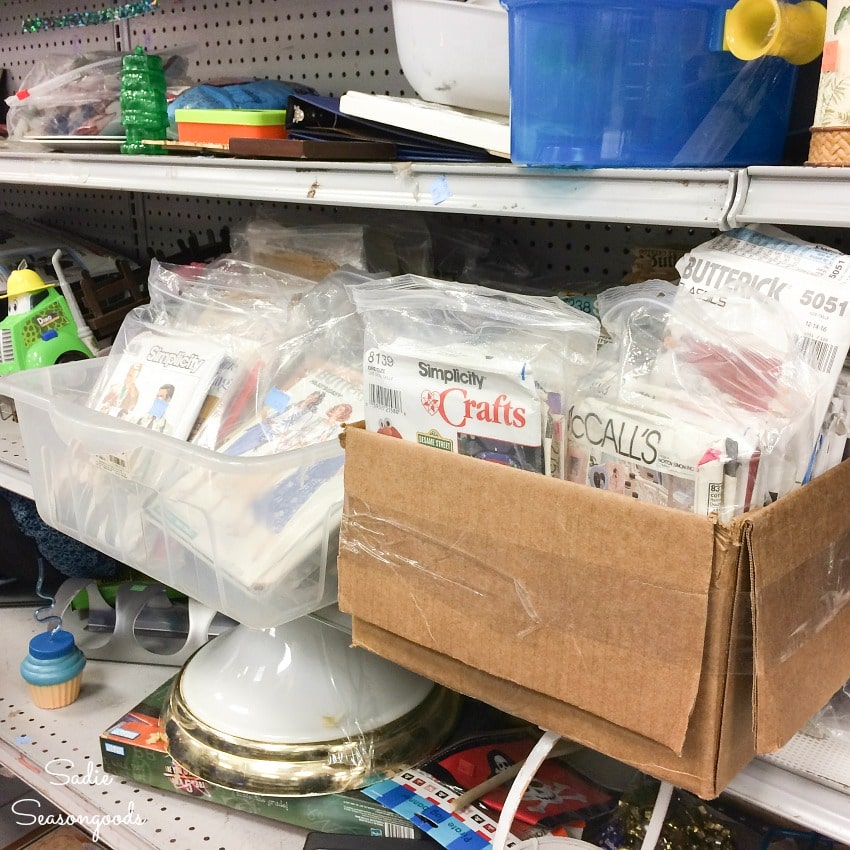
And making DIY tissue paper flowers from the sewing pattern paper seemed like a great way to put those shoulder pad patterns to rest.
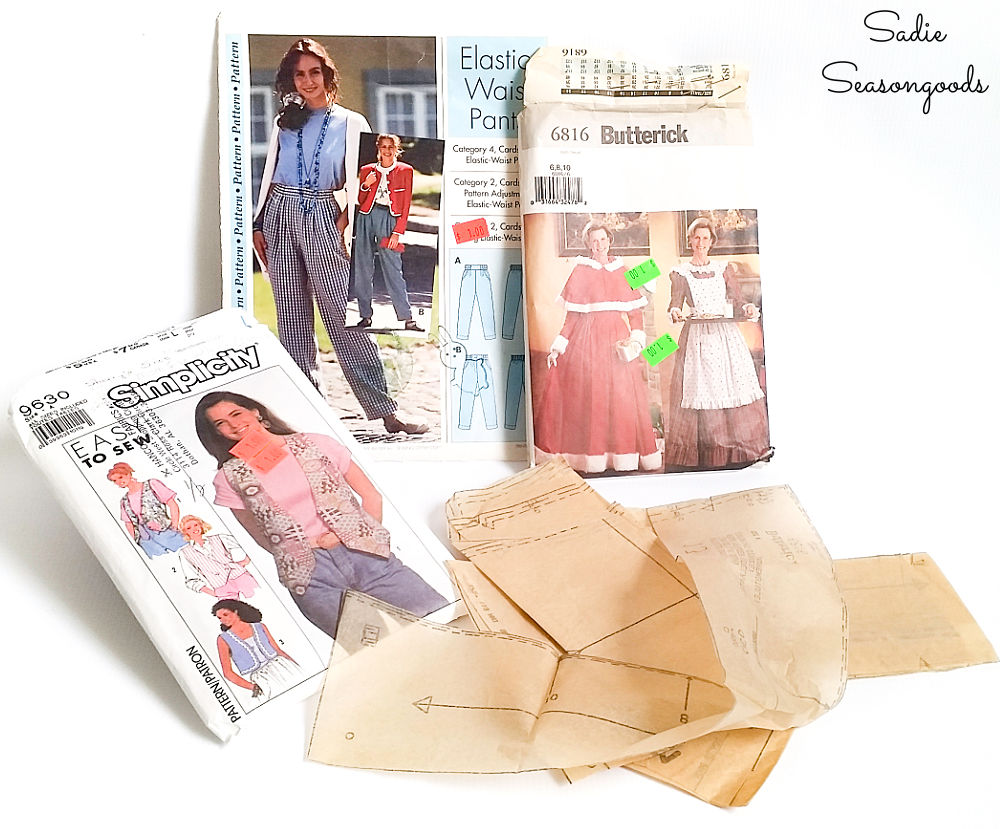
I would never do this with the really nice vintage sewing patterns. But 1990s skorts and jumpers are things that should never come back in style.
And upcycling those types of patterns is a great way to KEEP those awful styles from ever coming back!
This post contains affiliate links for your crafting convenience. As an Amazon Affiliate, I earn from qualifying purchases. All blue, bold, and underlined text is a clickable link, either to a product or to a related post.
Sewing Pattern Paper for DIY Tissue Paper Flowers
First, I cut 8-10 rectangles from my sewing pattern paper, all roughly the same size. Then, I stacked them on top of each other as neatly as possible.
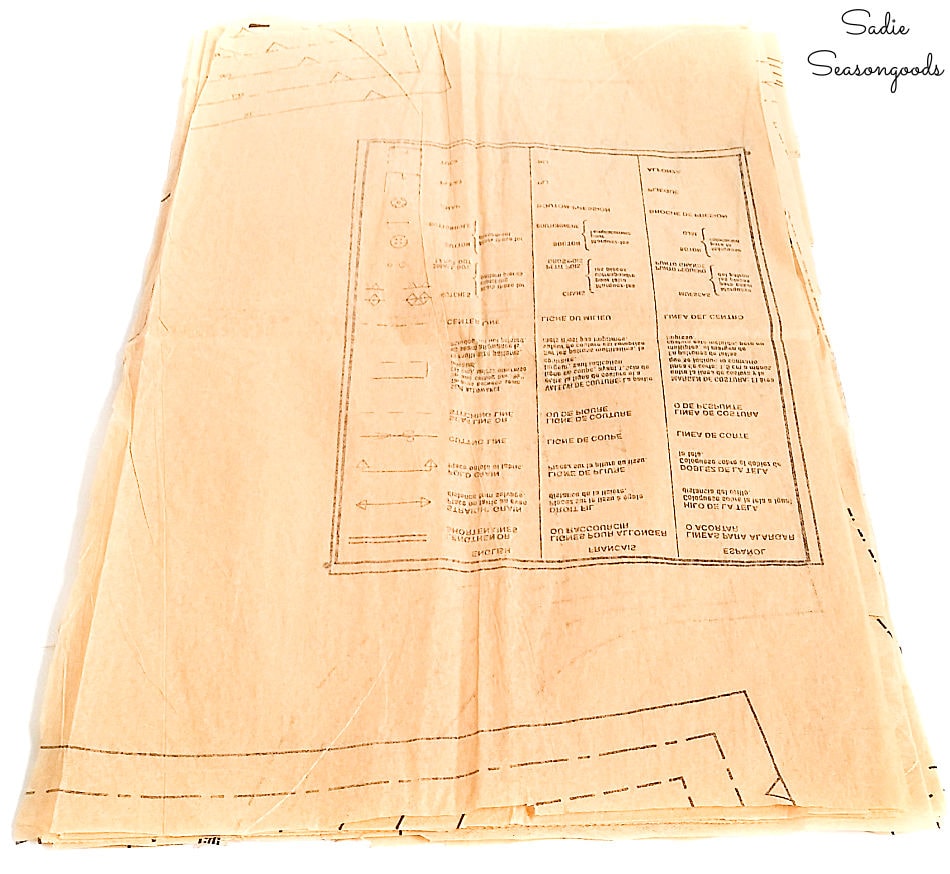
I cut my vintage sewing patterns into rectangles that were roughly the size of a standard sheet of paper, as a guide.
Next, I folded the sewing pattern paper in an accordion-style fold. When I was done, I rounded off the ends so that it looked like an accordion cigar.

Now I needed something to pinch the center of my “cigar” that would also serve as a flower stem! I used some natural-looking floral wire to wrap around the middle of the sewing pattern paper, leaving a nice length for stem.
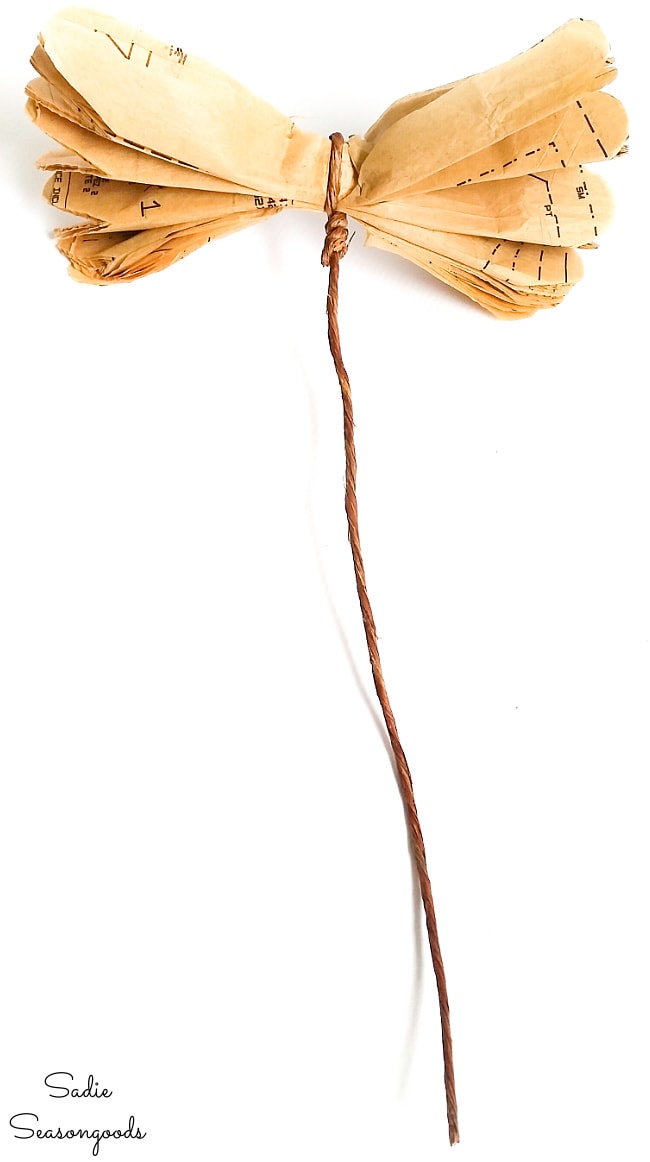
If it just me or does it look like a dragonfly now?
Finally, it was time to transform my “dragonfly” into big paper flowers! And to do so, pretended to be a bustier.
Why? Because to form the DIY tissue paper flowers, I had to lift and separate the petals. Just like a bustier!
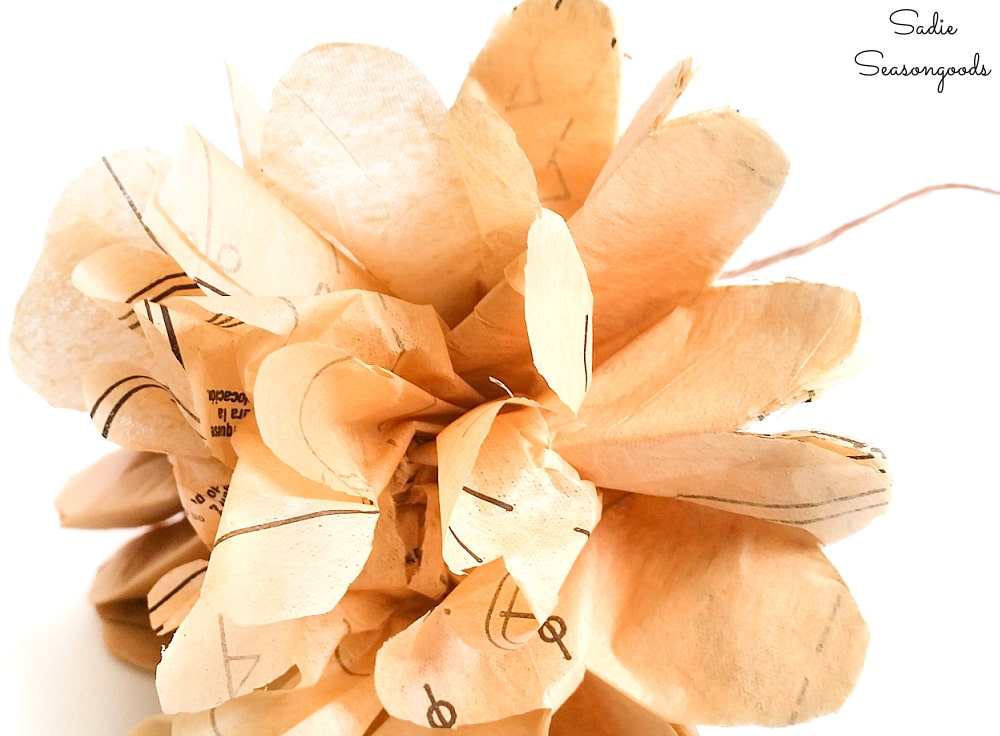
I gently formed my big paper flowers by carefully separating apart the layers of tissue- truly lifting and separating.
I fluffed and crunched the “petals” on both sides of the floral wire center, and made sure the entire thing was fairly uniform all around.
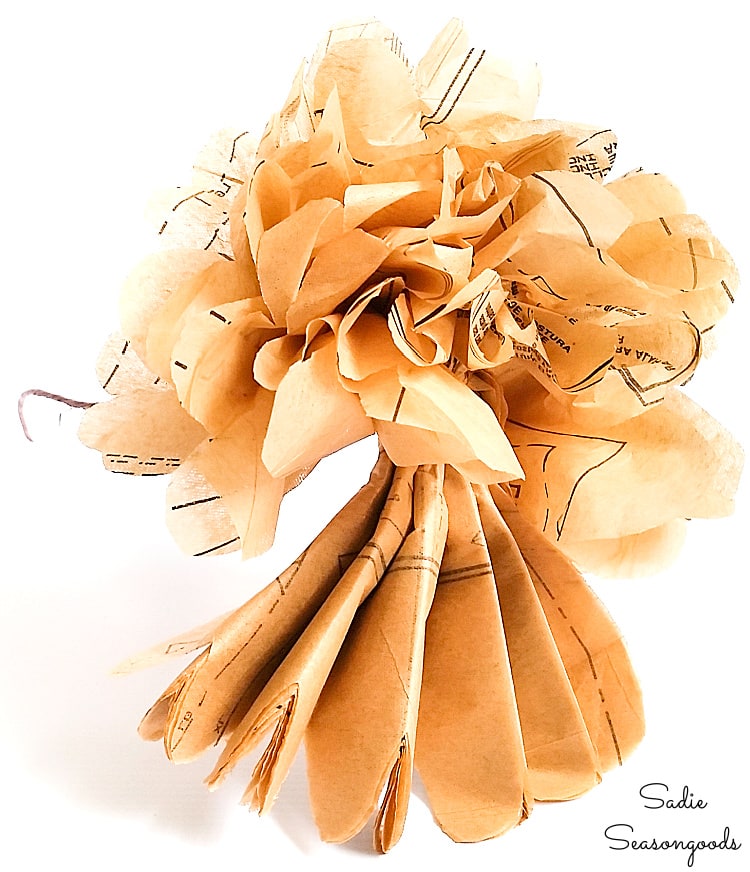
DIY Tissue Paper Flowers from Vintage Sewing Patterns
When all was said and done and I was happy with it, I had a full and fluffy paper flower that resembled dried hydrangeas.
I popped it in a vase (well, a vintage bottle) and admired my work.
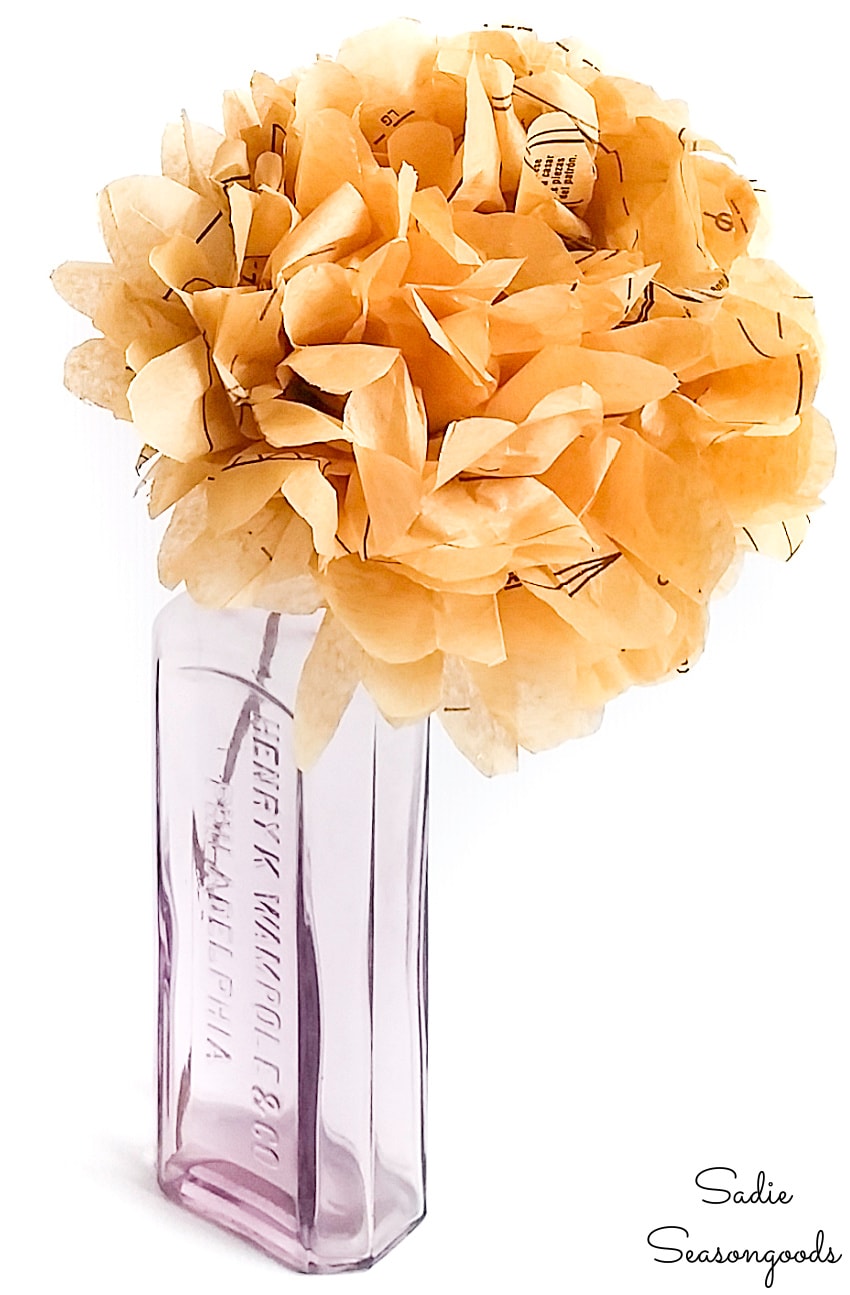
Isn’t that so sweet? I love how the bits of black from the sewing pattern paper show through here and there. That gives them a very interesting look, I think.
Even more so than basic colorful tissue paper!
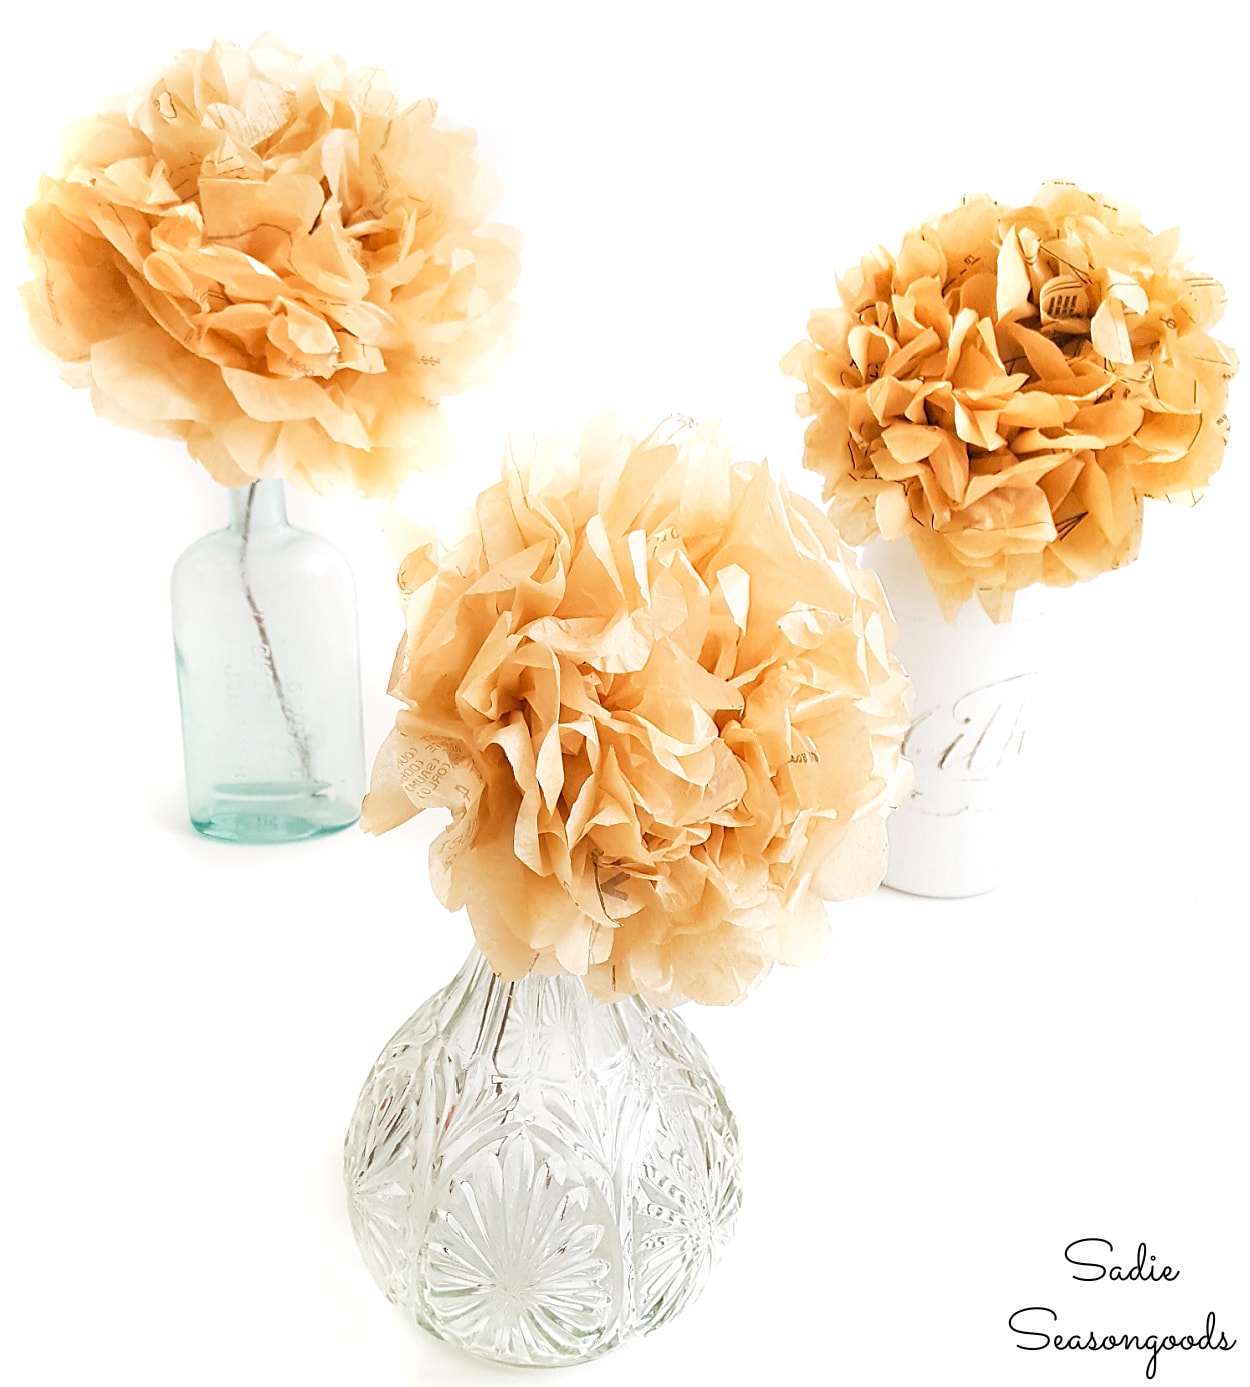
And these big paper flowers are so quick to make, you’ll have an arrangement of them in no time. And they’ll last as long as you want them to; no water or care required!
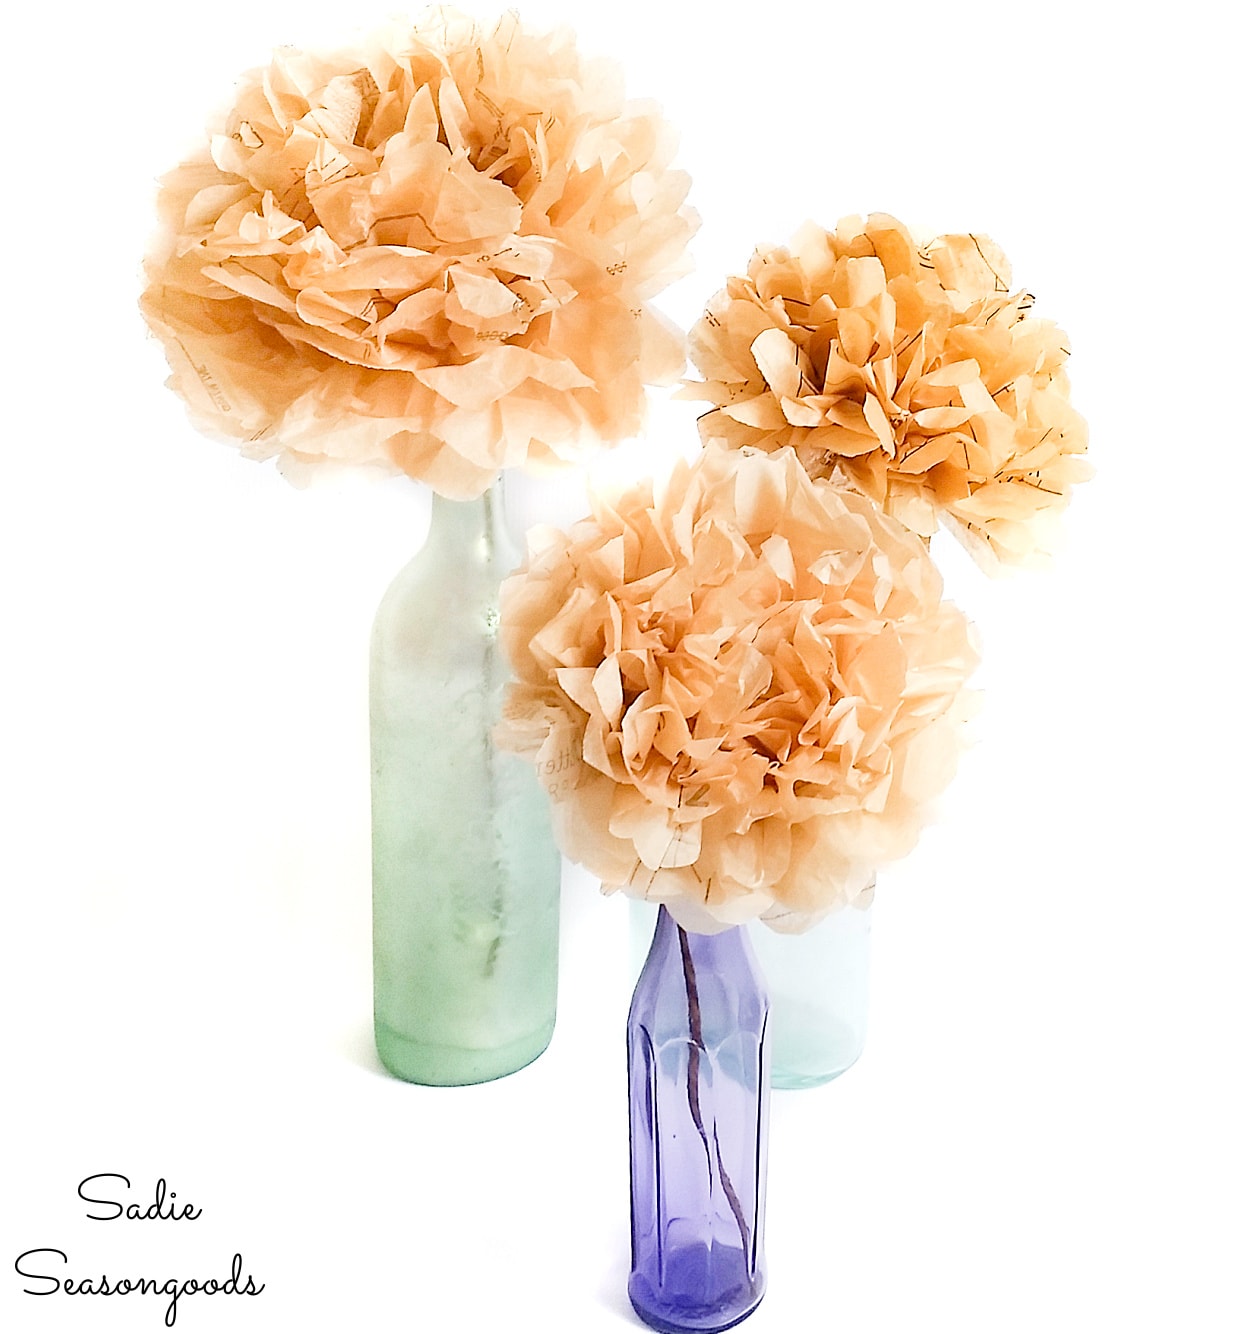
And there you go, easy tissue paper flowers that anyone could make. They’re perfect for parties, holiday centerpieces, and even weddings! Plus, they’re wonderfully cheap AND you can recycle your scraps, so it’s like a net-zero project.
The question is, though, what should I make next with my remaining sewing patterns? I mean, I have TONS OF THEM from the thrift store. Maybe decoupage with them?
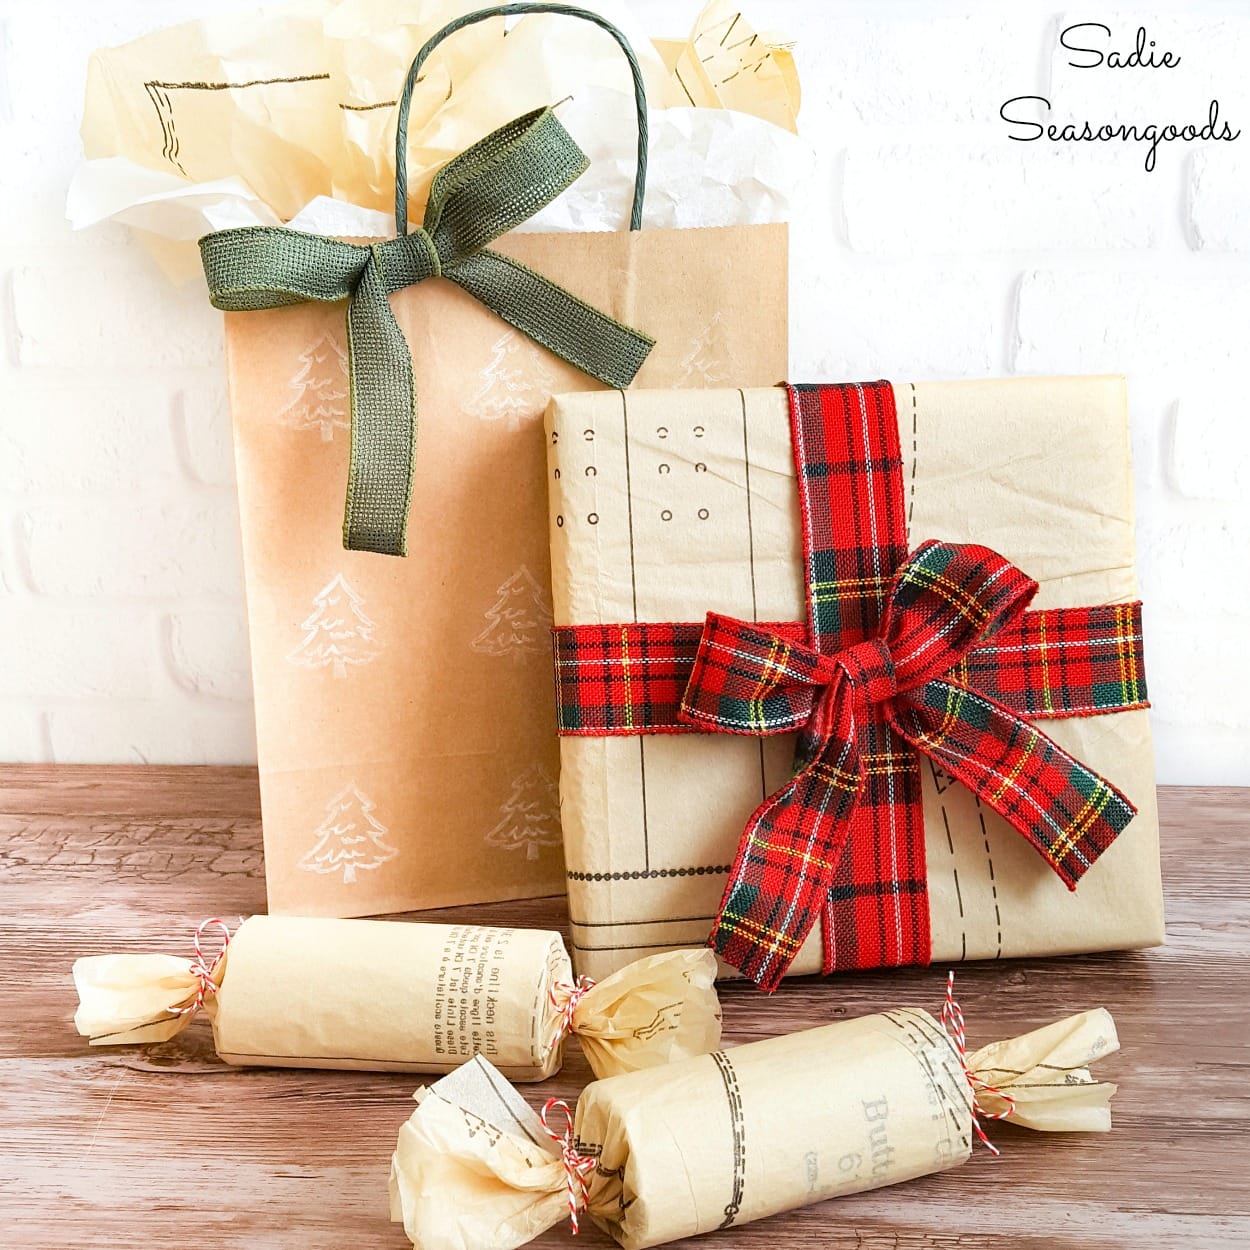
If you enjoyed this upcycling idea for vintage sewing patterns, then you’ll also love these ideas for Christmas gift wrap!
And for another paper flower project, check out how I made this paper flower bouquet, too, before you go!
Craft on!
S
Want to be notified when I publish my next upcycling project tutorial?
Join me on Social Media:
PIN ME!
Sarah Ramberg is the owner of Sadie Seasongoods, a website that celebrates all things secondhand. From upcycling ideas and thrifted decor to vintage-centric travel itineraries, Sadie Seasongoods is a one-stop shop for anyone who loves thrifting and approachable repurposing ideas. Sarah is also the author of “Crafting with Flannel” and has been featured in numerous media outlets and magazines.





Great project, Sadie. And easy, too. I’m already thinking of making them for wedding related events – maybe from tissue the colors of the wedding. You did such a nice job “lifting and separating” that they almost look like hydrangea – which I love.
Thanks, Val!!
Great idea!! I have dozens of old patterns. Thank you!!
Be careful, Dana- they’re addictive!!
Wow, these turned out so pretty! I would love for you to share this post at my Create & Share Link Party tonight (7:00 PM MST)! Hope to see you there http://designsbymissmandee.blogspot.com/
Thanks, Mandee! I’ve added it to my calendar!
LOVE this! Thanks for sharing it at the VIP party at Knick of Time! I’m giving you a shout out on my FB page here – https://www.facebook.com/KnickofTime
Thanks, Angie- you know I LOVE that!!
Great use for old patterns! Can’t wait to try this. Pinning!
Thank you, Kelly- and so easy to make!
What a great way to use old patterns!
Thanks, Melissa!
So pretty! Love the sewing pattern paper, it gives them an old vintage look and feel. Pinning!
I love this. So classically beautiful. Would love if you linked up with us at Mommy Needs a Timeout Thursday! We party until Saturday at 8 PM EST! See you there!
Lauren
Twin Tested, Pin Approved
http://twintestedpinapproved.wordpress.com/2014/10/01/mommy-needs-a-timeout-thursday-4-happy-halloween/
I love these! I made several a few years ago and they’ve been on my “to do” list for ages. Thanks for the inspiration and thanks for sharing them and the tutorial at Vintage Inspiration Party.
i find it soooo relaxing to make tissue flowers, and these look amazing! bravo.
Thank you!
I love these in so many ways – the pattern paper, the shape – I’m definitely going to add these to my fall mantle. Thanks so much for sharing at Project Inspire{d}! Hope to see you again next time.
Thank you, Steph! And they’re so easy to make…watch out, they’re addictive!!
Just a quick hi, to say I LOVE these!!! Julia
Thanks, Julia! I do, too- and they are addictive to make.
Thanks for coming and linking up at #TheWeekend Social. Please be sure to come back next week starting Thursdays at 9PM EST on KitchenDreaming.com ! I hope to see you there!
http://www.kitchendreaming.com/
They totally remind me of hydrangeas- so clever! Thank you for sharing with the Clever Chicks Blog hop, I’ll be featuring you, so please feel free to grab my Featured Button! Have a great week!
Kathy Shea Mormino
The Chicken Chick®
I sure will, Kathy- thank you for making my night!!
These are soooo pretty! Found you on the Flamingo Toes link up =) Kyla @ http://houseofhipsters.com/
Thanks, Kyla!
I love real flowers best too, but these come to a close second! They are briliand, thanks for sharing!
akamatras.blogspot.com
Oh these are fantastic! I have tons of old patterns that I know I’ll never use again. Great way to use the cool vintage look pattern paper!
Thanks, Lauren!
Love this ucycled project!!
Thank you!
When I saw your link I originally thought they had to be made out of coffee filters. I love that you used old patterns! I passed up a whole bunch of patterns at Goodwill not too long ago and now I really wish I had bought them. Thanks so much for linking this project up at our party!
These are really lovely and a great way to use “never going to use again” patterns. Thanks for linking to the Craftastic Monday party at Sew Can Do!
So cute, I love this project. Pinning!
This is such a great project! Reminds me of hydrangeas. I have a box of old patterns that I use for packing. I’m definitely going to try this.
Thanks, Ann- be careful…they’re addictive!
Great tutorial. I have made these for many parties and I think they look terrific! They have a style all their own so it doesn’t feel like a substitute for real flowers- just a unique decoration. And so many different ways to use them, for so little money. Win-win-win, right?!
These turned out so stinking cute! Thanks for linking them up at Totally Terrific Tuesday!! Pinned
Jess
This is the best! Teaching a Flower Power summer class for elementary summer camp and plan to include this project as well~ Thank you~
Perfect!!! Thanks, Jamie!
This is a great idea to maybe use the patterns you bought and then don’t like, or never use. I personally like those old patterns in the antique stores. I have gotten some really nice craft patterns, and patterns that actually fit me (I’m a large person) for a little bit of nothing. They are usually not used, so you know all the pieces are there. I just want to caution that you watch what you are turning into flowers…example: I just bought a box of patterns for $3. There were clown patterns, halloween costume patterns, different crafts that I had never seen before. There are treasures to be found…
I would NEVER do this to truly old or special patterns, Beth. I hope you noticed the photo early on of the pattern envelopes- patterns from the 1980s and 1990s that aren’t special, unique or prized.
Love these! Who would have thought?
A fun way to reuse those old patterns, right? I highly recommend using ugly 1980s and 1990s patterns especially, so no one can make those horrendous clothes ever again! (wink, wink)
When my Mother in law passed and her home was being cleaned out, I just couldn’t let her patterns go by the wayside. Now, I know what to do with them. Thanks for inspiration and step by step!!