I first spotted these pillar candle holders at one of those “color-coding” thrift stores. You know the kind I mean, right? Where they group all the housewares by color, and these wooden fellas somehow ended up on the red shelf.
Which, to me, meant that someone had picked them up…carried them about…and then changed their mind before leaving. And so they migrated from the brown shelf to the red, by no fault of their own.
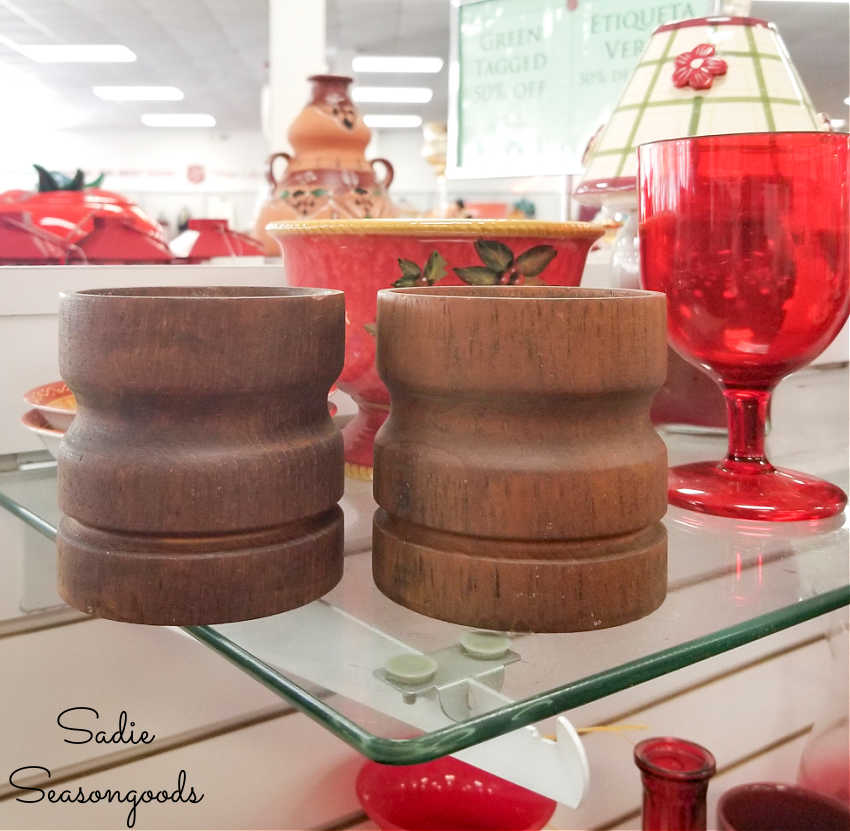
Image credit: Sadie Seasongoods.
So, they caught my eye, sticking out like that. And for some reason, they reminded me of pilings- the kind that stick out above water. Did that mean they were destined for a coastal makeover?
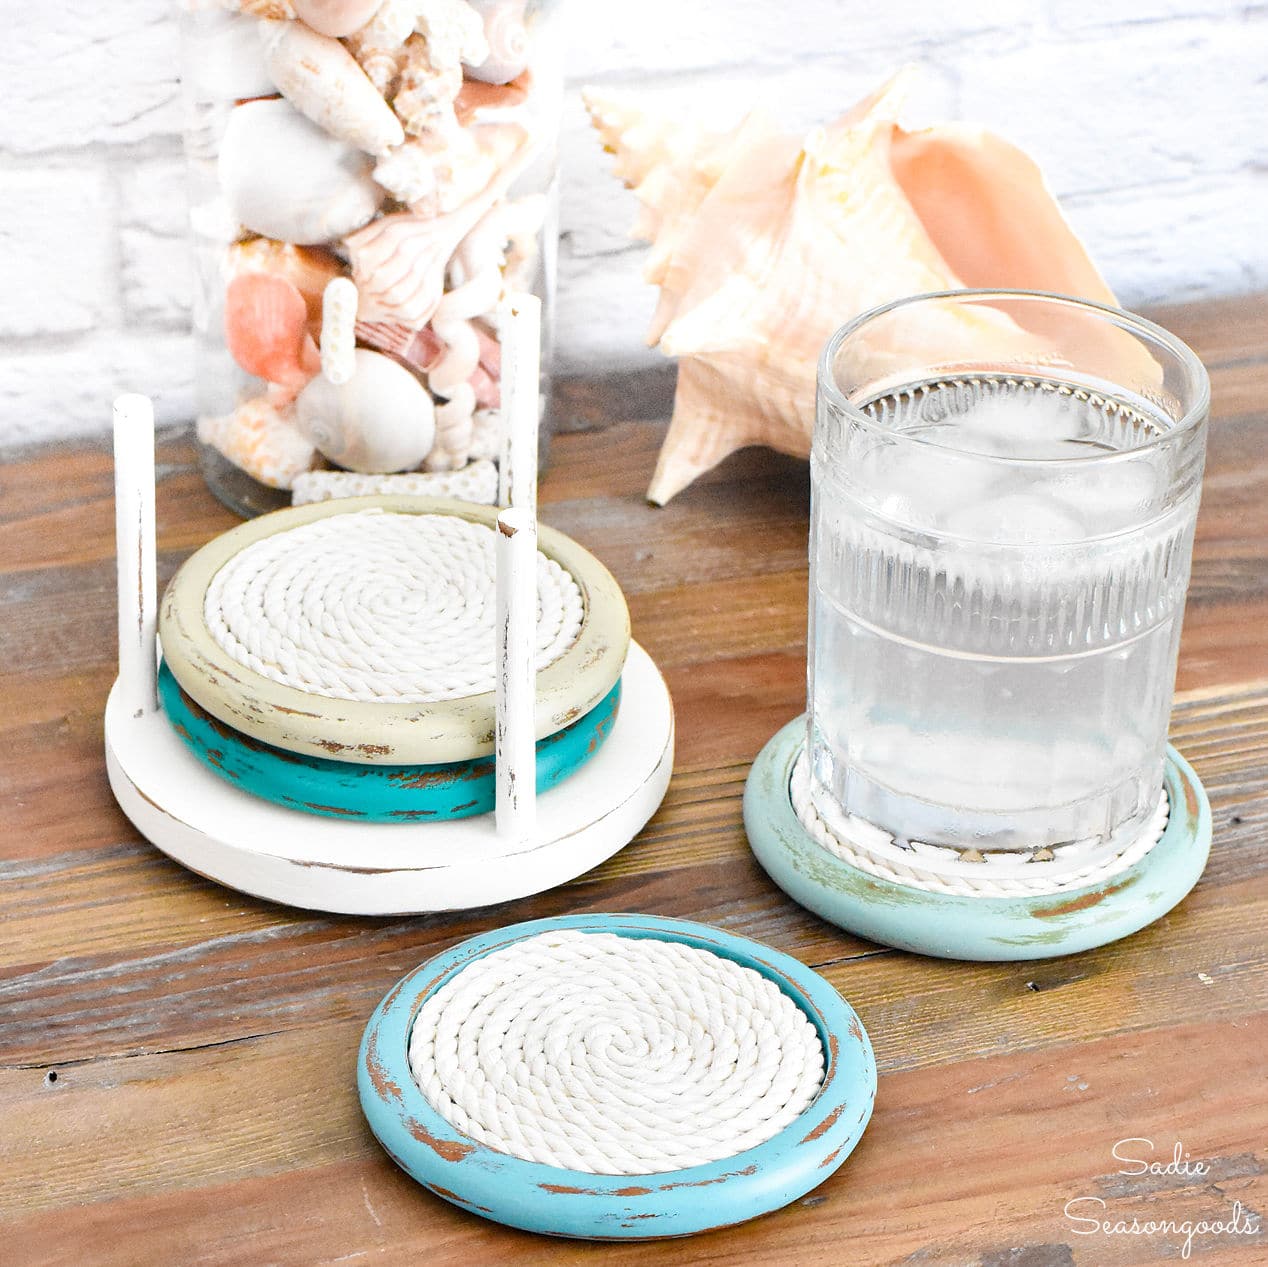
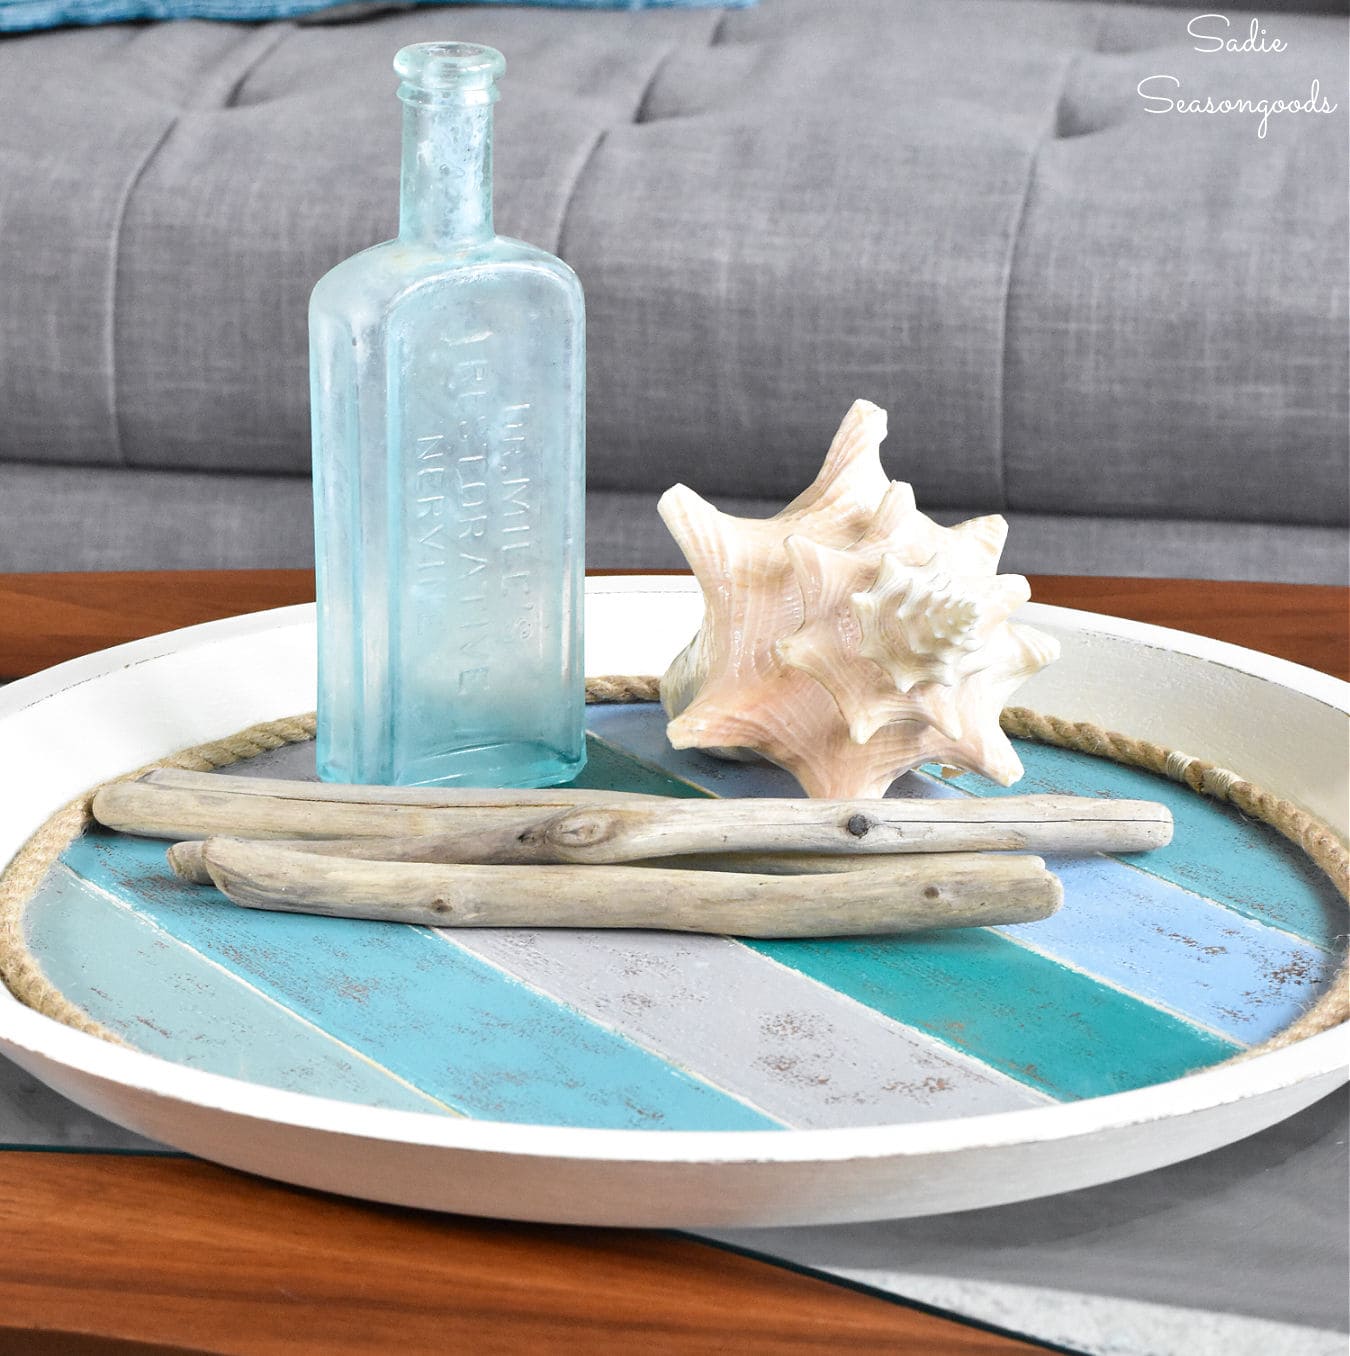
A coastal makeover like I gave to these coasters?
I mean, I still had leftover paints, even after reworking this tray
Yes. The answer was yes, and here we are today with another coastal makeover because I clearly can’t get enough of this color combo!
This post contains affiliate links for your crafting convenience. As an Amazon Affiliate, I earn from qualifying purchases. All blue, bold, and underlined text is a clickable link, either to a product or to a related post.
Transforming the Pillar Candle Holders
After loving the combination of twine and coastal-colored chalk paint on those two previous projects, I knew these wood candle holders were meant for the same. Why?
Because of the perfectly shaped channels that were meant for twine and rope.
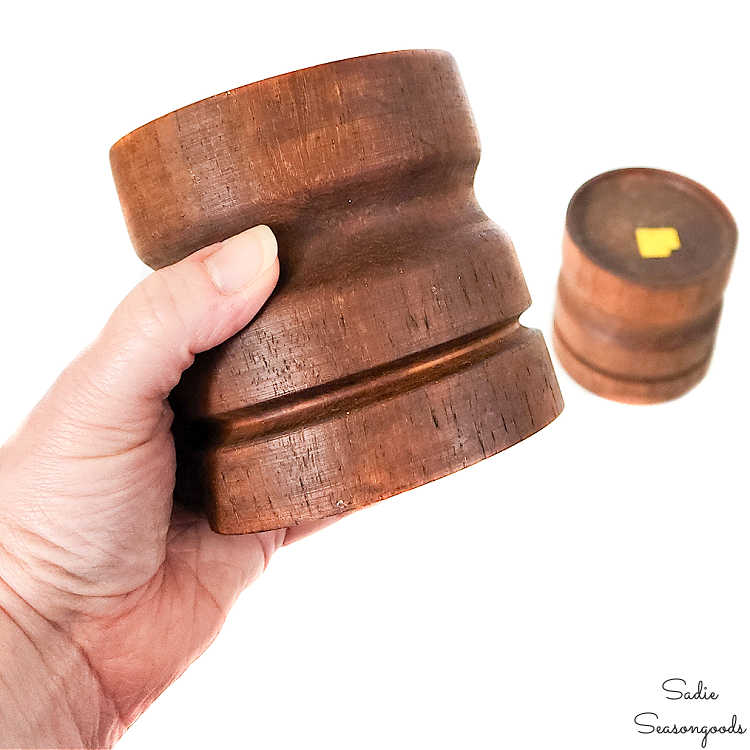
Image credit: Sadie Seasongoods.
So, I went into my stash and grabbed several shades of inexpensive chalk paint and some brushes. Between those coasters and tray, I had accumulated numerous beachy shades from that line of chalk paint!
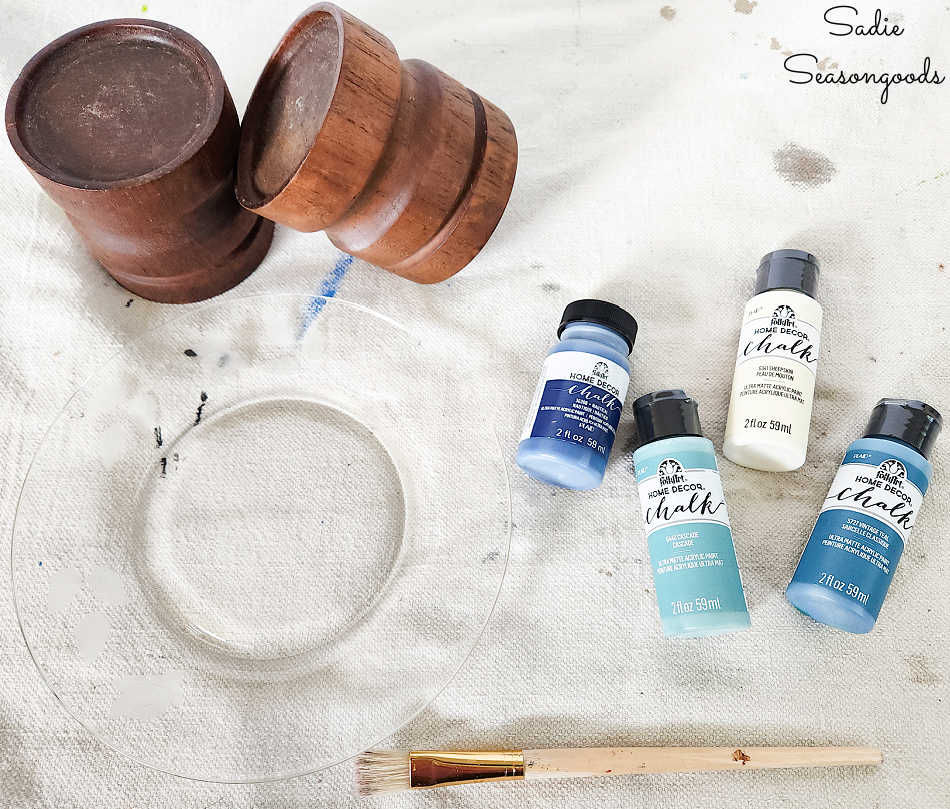
Image credit: Sadie Seasongoods.
Then, I started painting. I planned to use four different colors on each pillar candle holder, in (roughly) segmented stripes or color blocks.
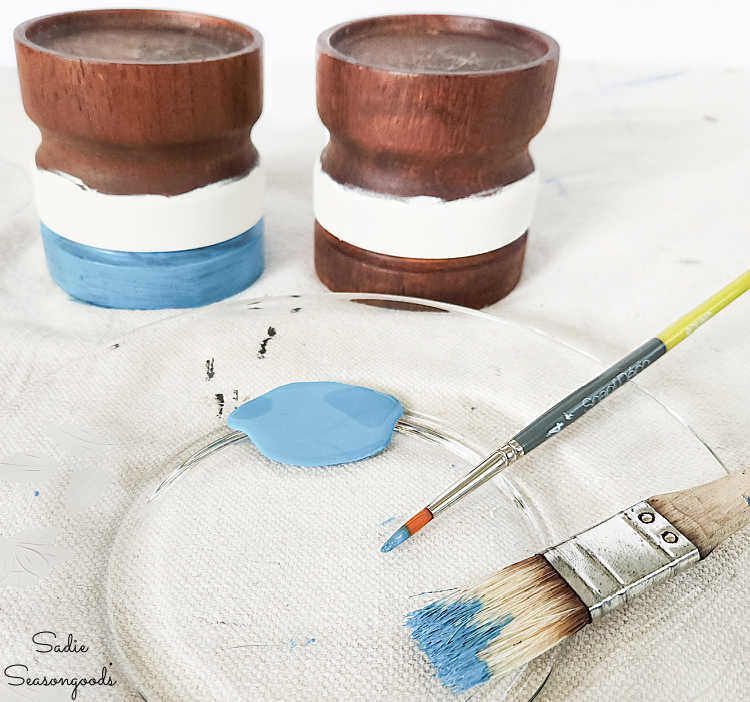
Image credit: Sadie Seasongoods.
But I didn’t tape anything off or worry about straight lines or uneven overlaps between shades. I really wanted them to have a weathered, imperfect look.
Ultimately, I used these four colors on the candle holders: Cascade; Sage; Sheepskin; and Vintage Teal.
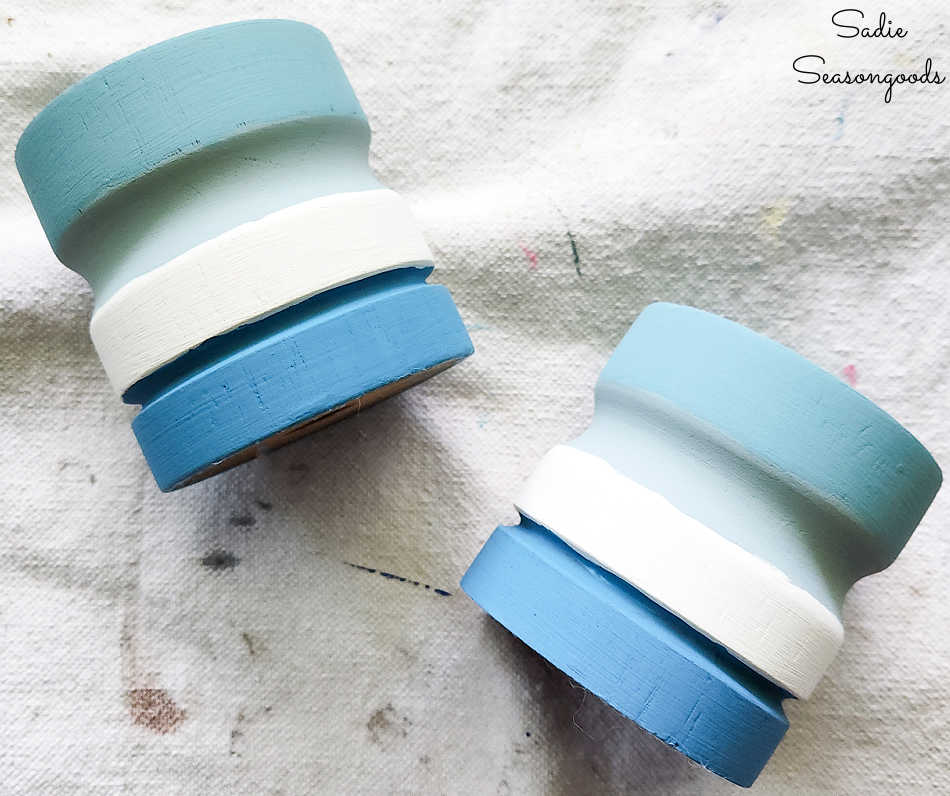
Image credit: Sadie Seasongoods.
I painted on two coats of each shade before moving on to the next steps.
Coastal Color Palette and Nautical Embellishments
Next came the time to sand the chalk paint; I really wanted them to look quite chippy. So, I (gently) used some 220-grit sandpaper first to heavily distress the paint and finished with 320-grit to make them smooth.
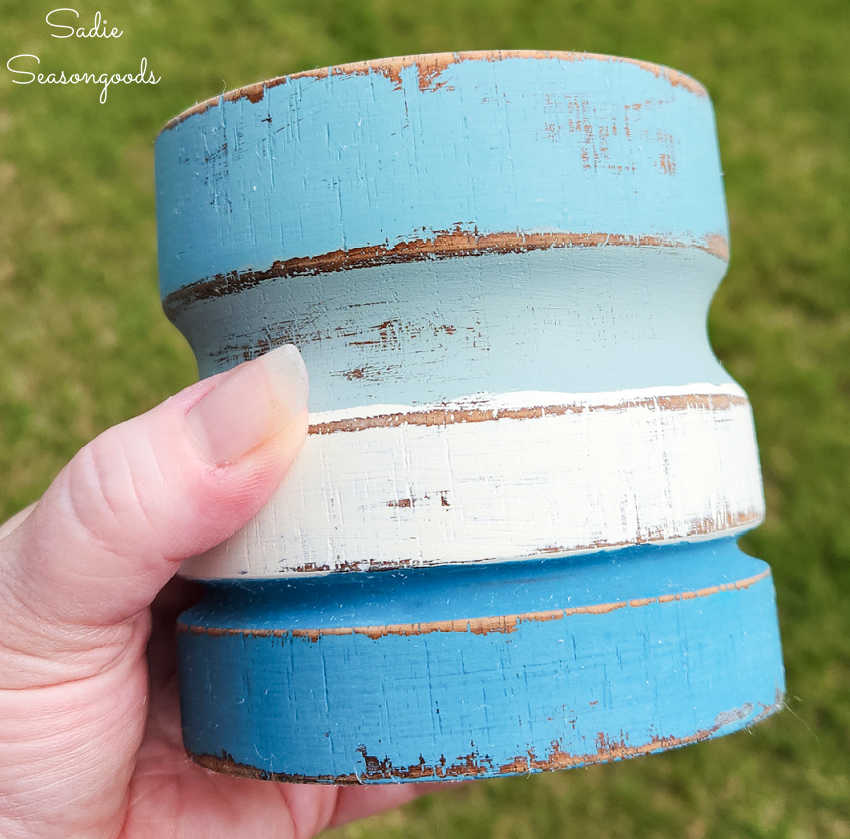
Image credit: Sadie Seasongoods.
Normally I don’t distress things this heavily. But with the idea of pilings in my mind, I really wanted them to look worn and weathered.
After I thoroughly wiped them down with a damp cloth to remove all the paint dust, I buffed on some clear wax to protect the paint finish.
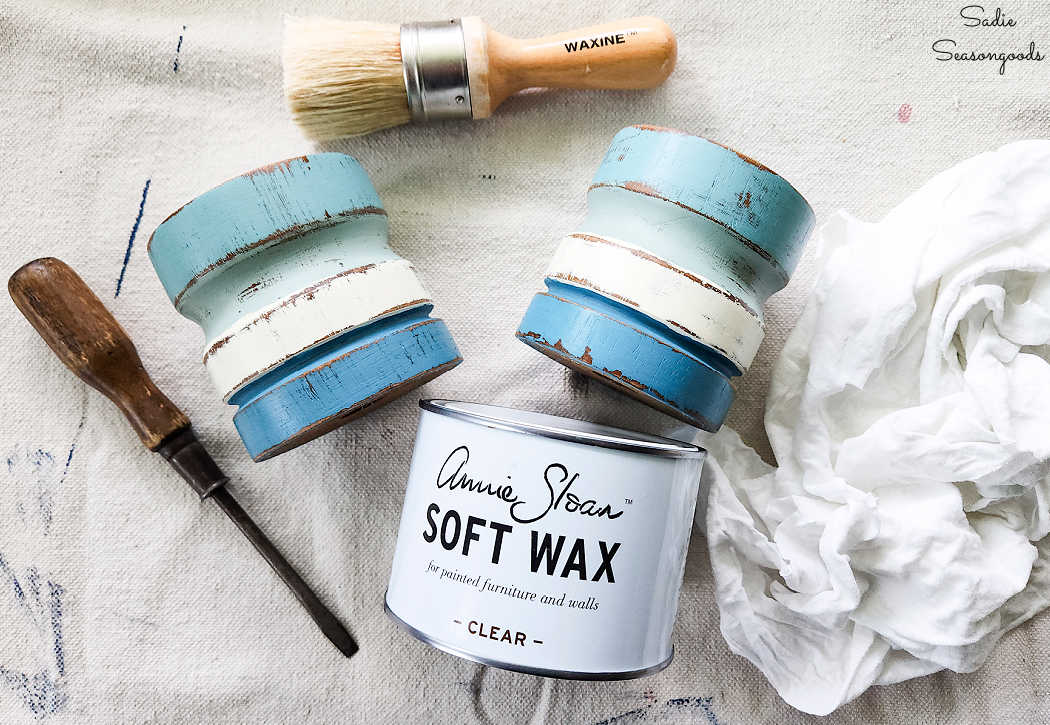
Image credit: Sadie Seasongoods.
Then, I hunted down two different sizes of rope/twine to finish up the pillar candle holders. I still had larger rope left over from this pirate-inspired project, and A LOT of smaller rope left over from this beehive project.
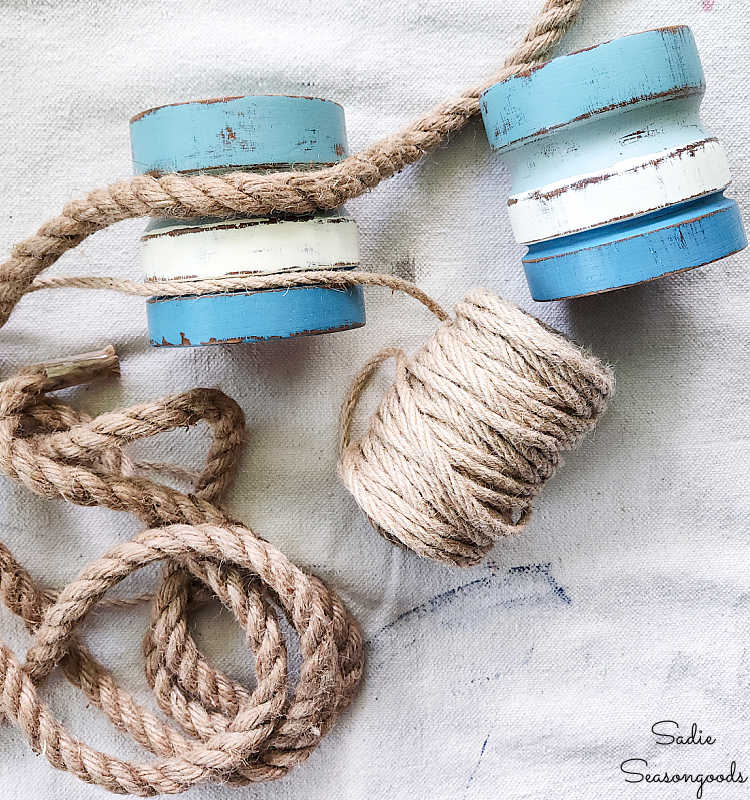
Image credit: Sadie Seasongoods.
Gosh, I love it when I already have supplies on hand like this. As a small business owner, it feels SO GOOD to use up things I purchased for previous projects!
I carefully measured out the lengths of each rope I’d need; added a thin smear of hot glue to the ends after I cut them; and then whipped the ends with hemp twine. Lastly, I used hot glue to attach them to the candle holders like this.
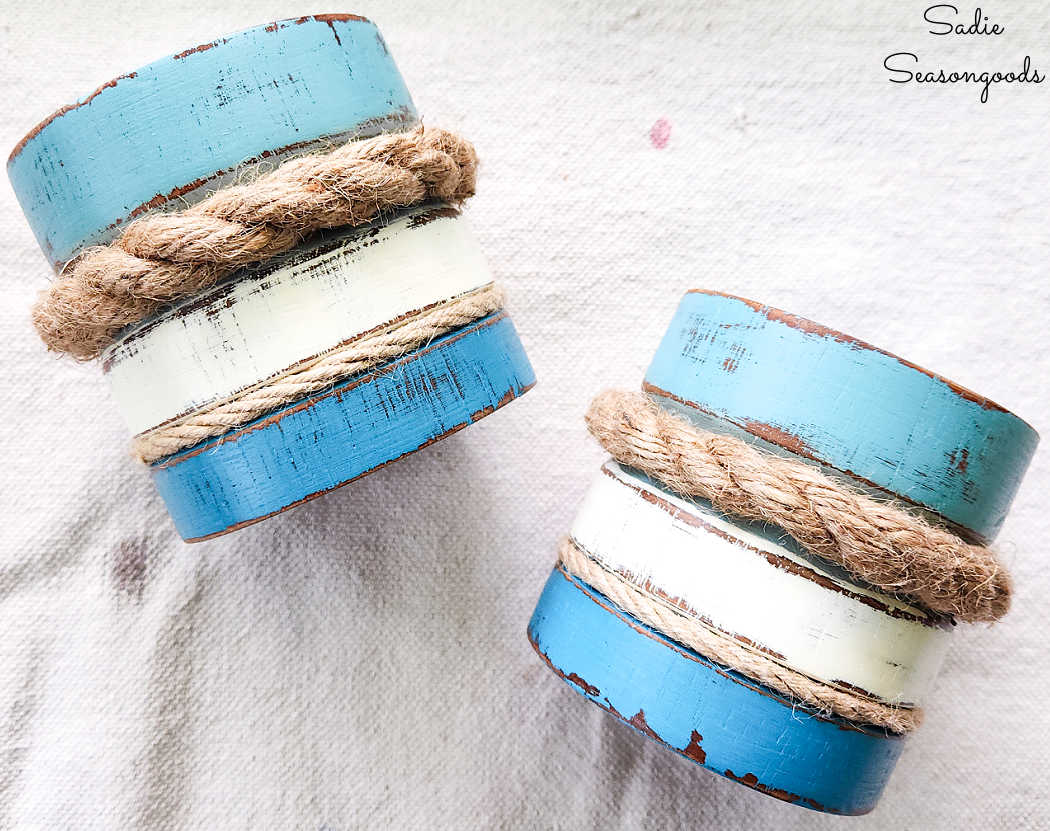
Image credit: Sadie Seasongoods.
Pillar Candle Holders with Coastal Style
And that was it- my makeover was done and I had the most beachy-beautiful pillar candle holders I’d ever seen! I plopped these flameless candles in each one and styled my coffee table with other coastal treasures.
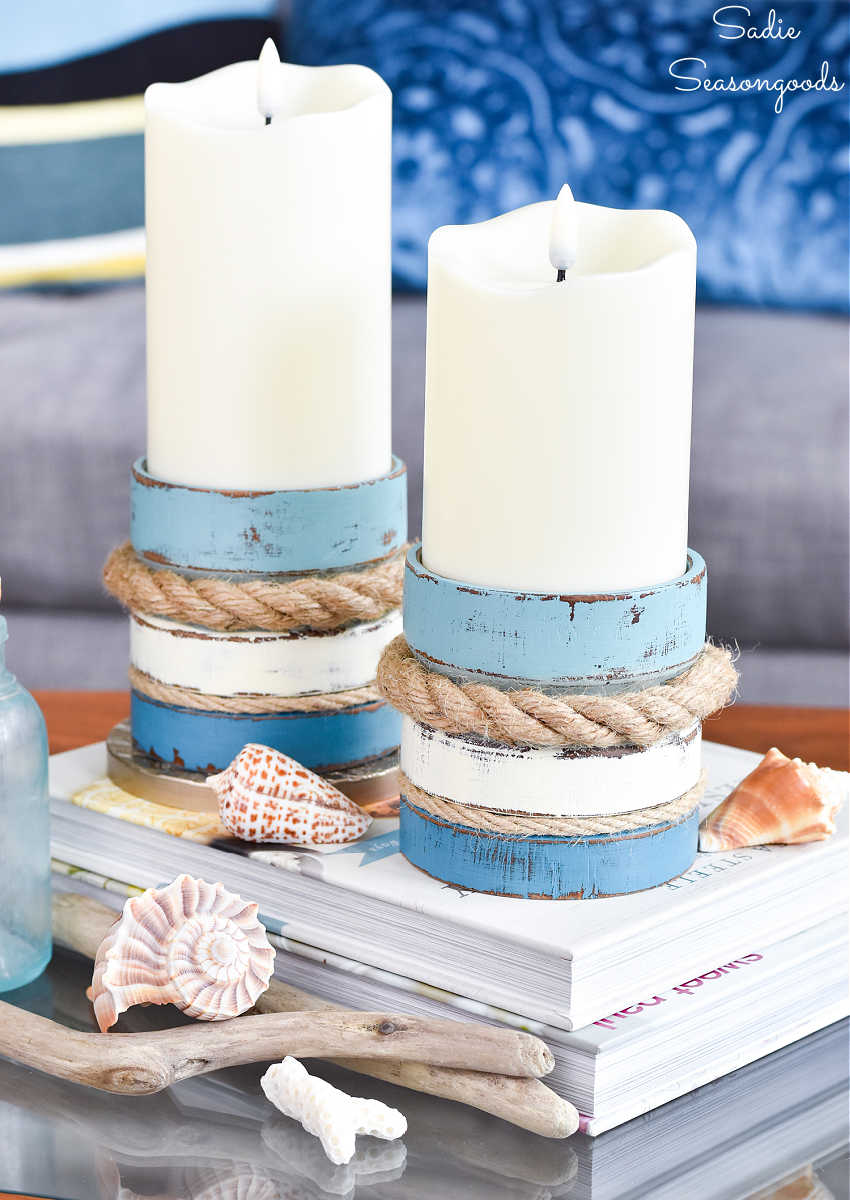
Image credit: Sadie Seasongoods.
I mean, you can hear waves lapping at the shore, right? It’s not just me?
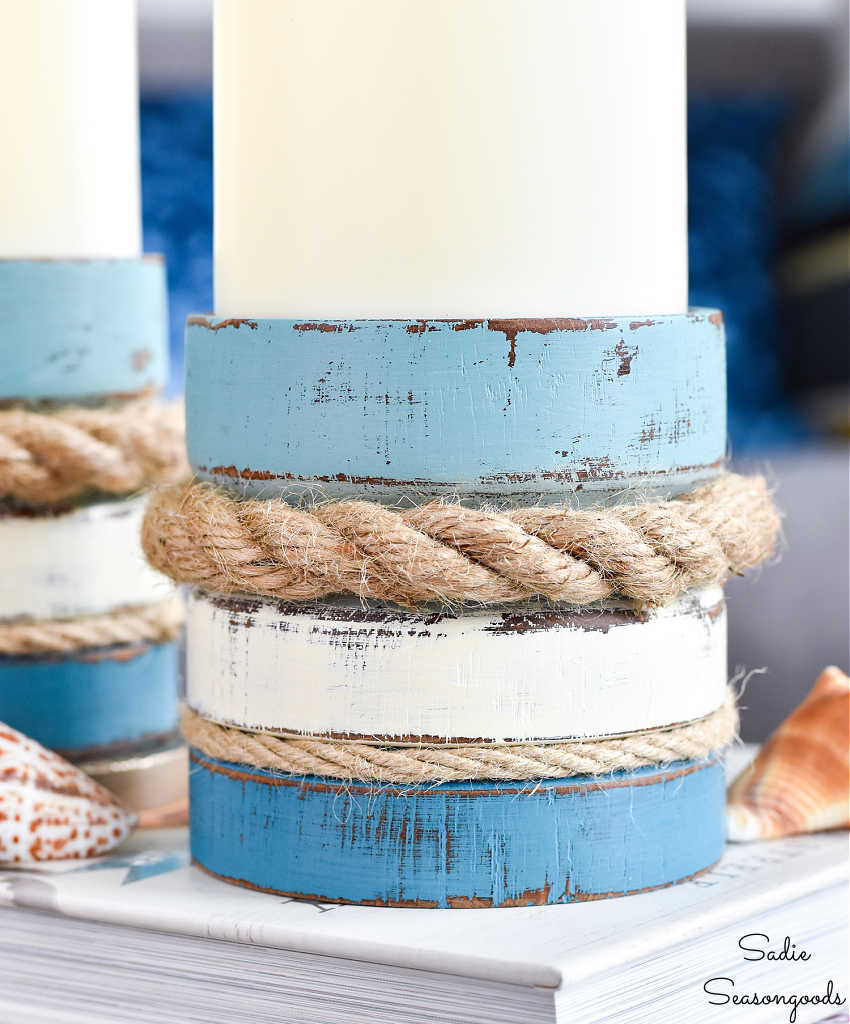
Image credit: Sadie Seasongoods.
They’re just so luscious- with the heavily weathered paint and the rough texture from both sizes of craft rope. I realize I am *extremely* biased, but they just give me such cool coastal vibes…
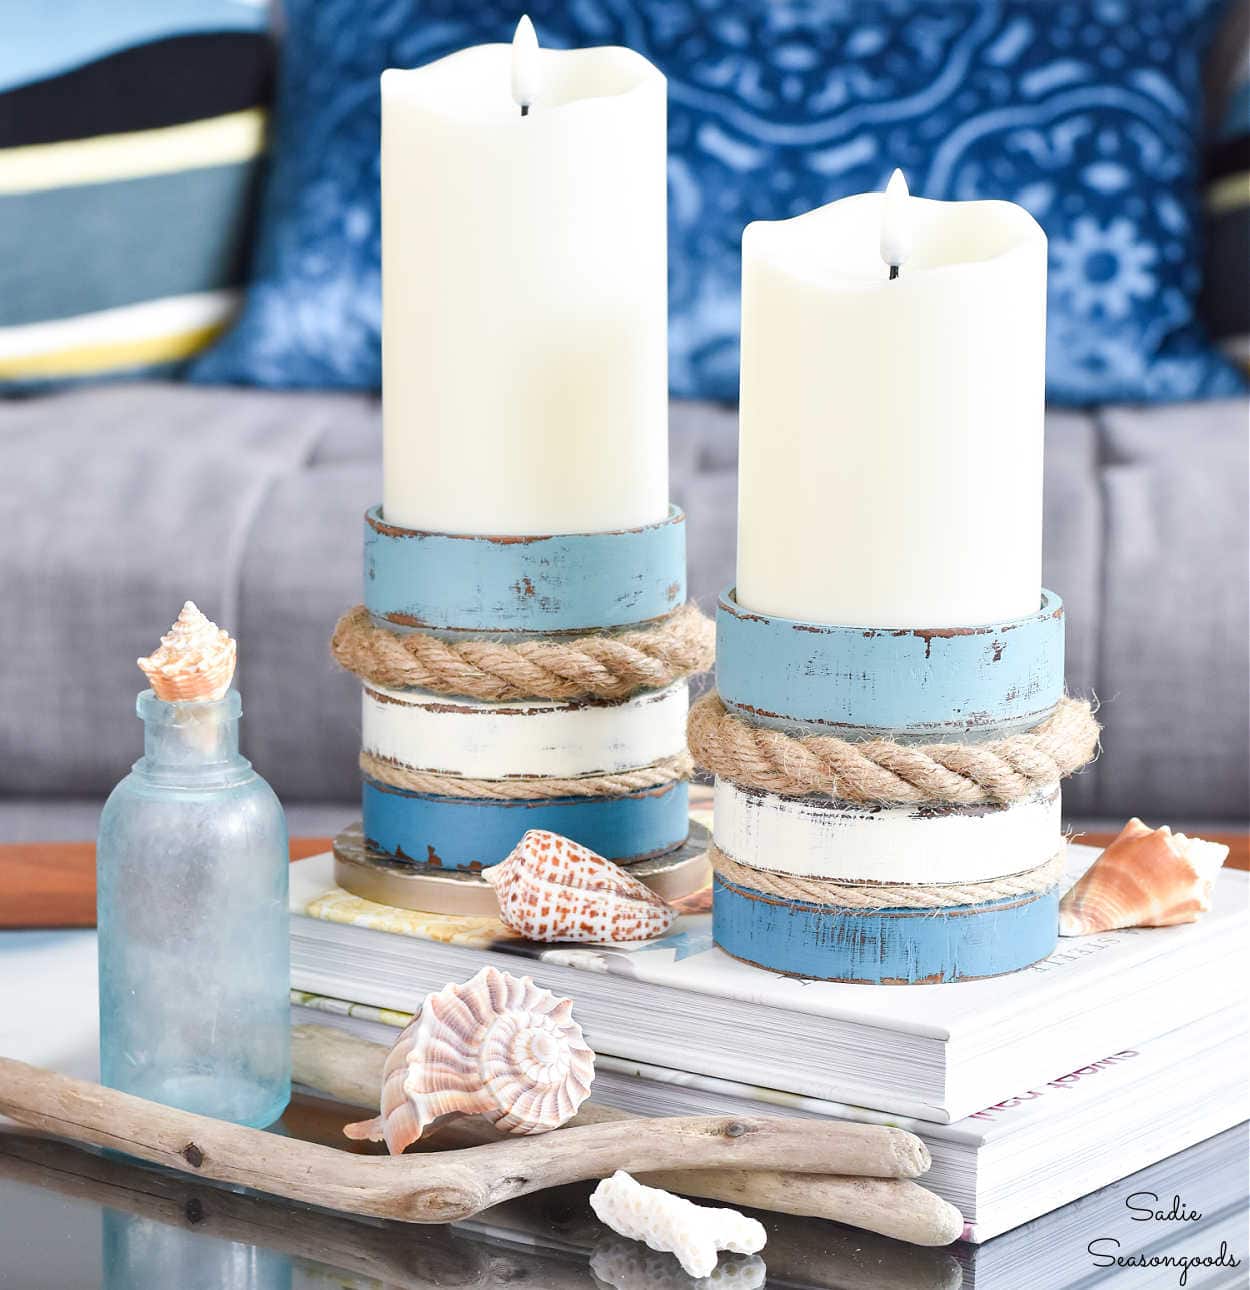
Image credit: Sadie Seasongoods.
Ok, I’ll stop swooning now. And fun fact: I collected these shells during my post-college internship! My job was to walk the entire Lee County, Florida coastline (Sanibel, Captiva, and all the other barrier islands) and measure sand compaction at each mile marker. These values were then compared to sea turtle nest locations at the end of the season to see if there was any correlation.
Needless to say, I collected a LOT of shells (and, of course, sand compaction data, LOL) that summer.
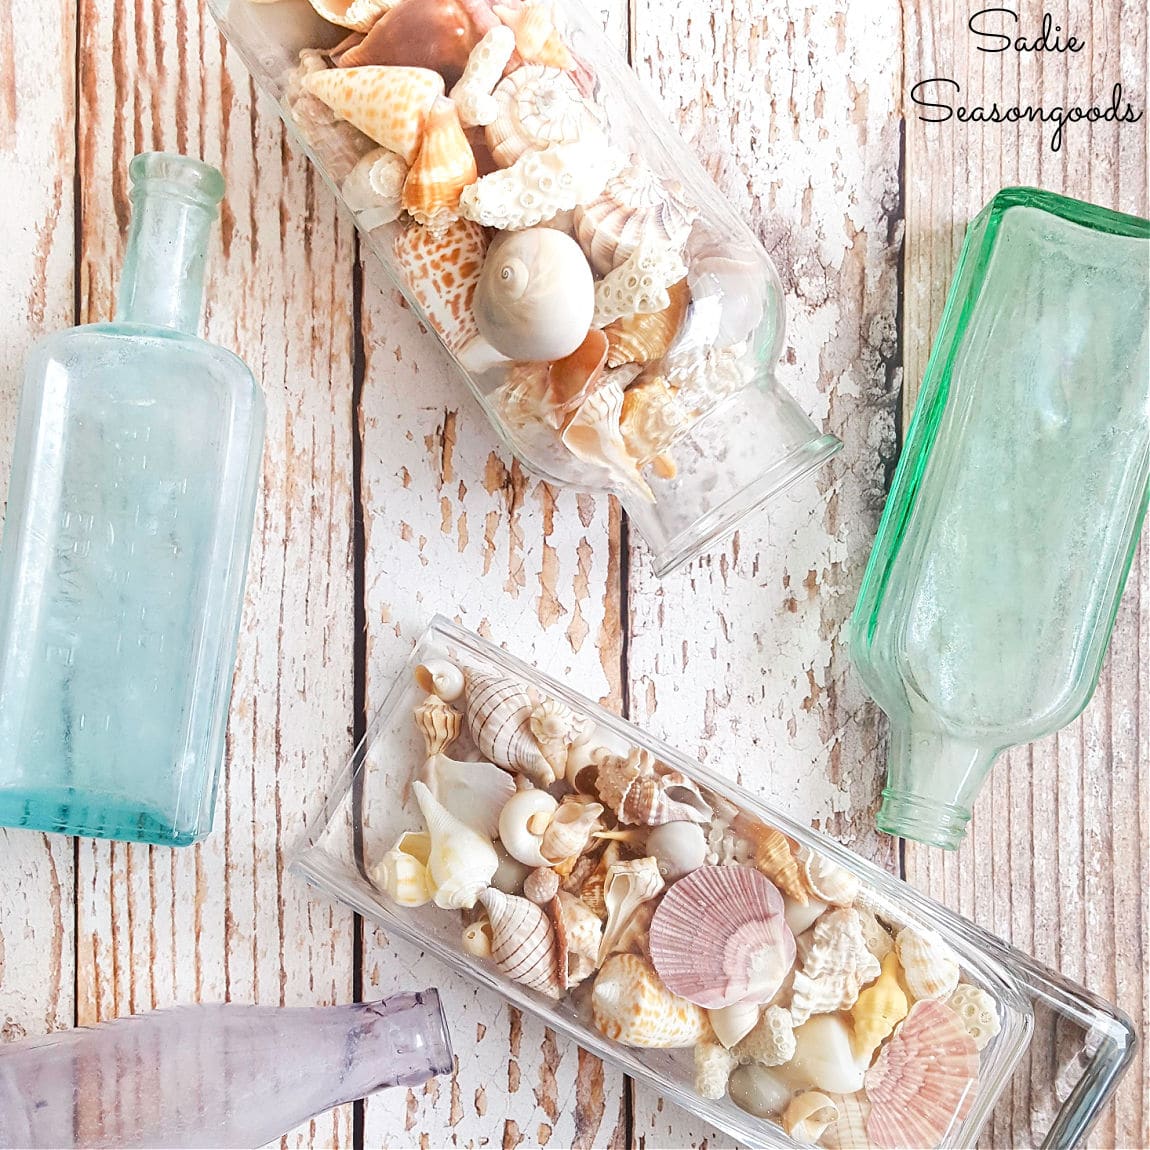
Image credit: Sadie Seasongoods.
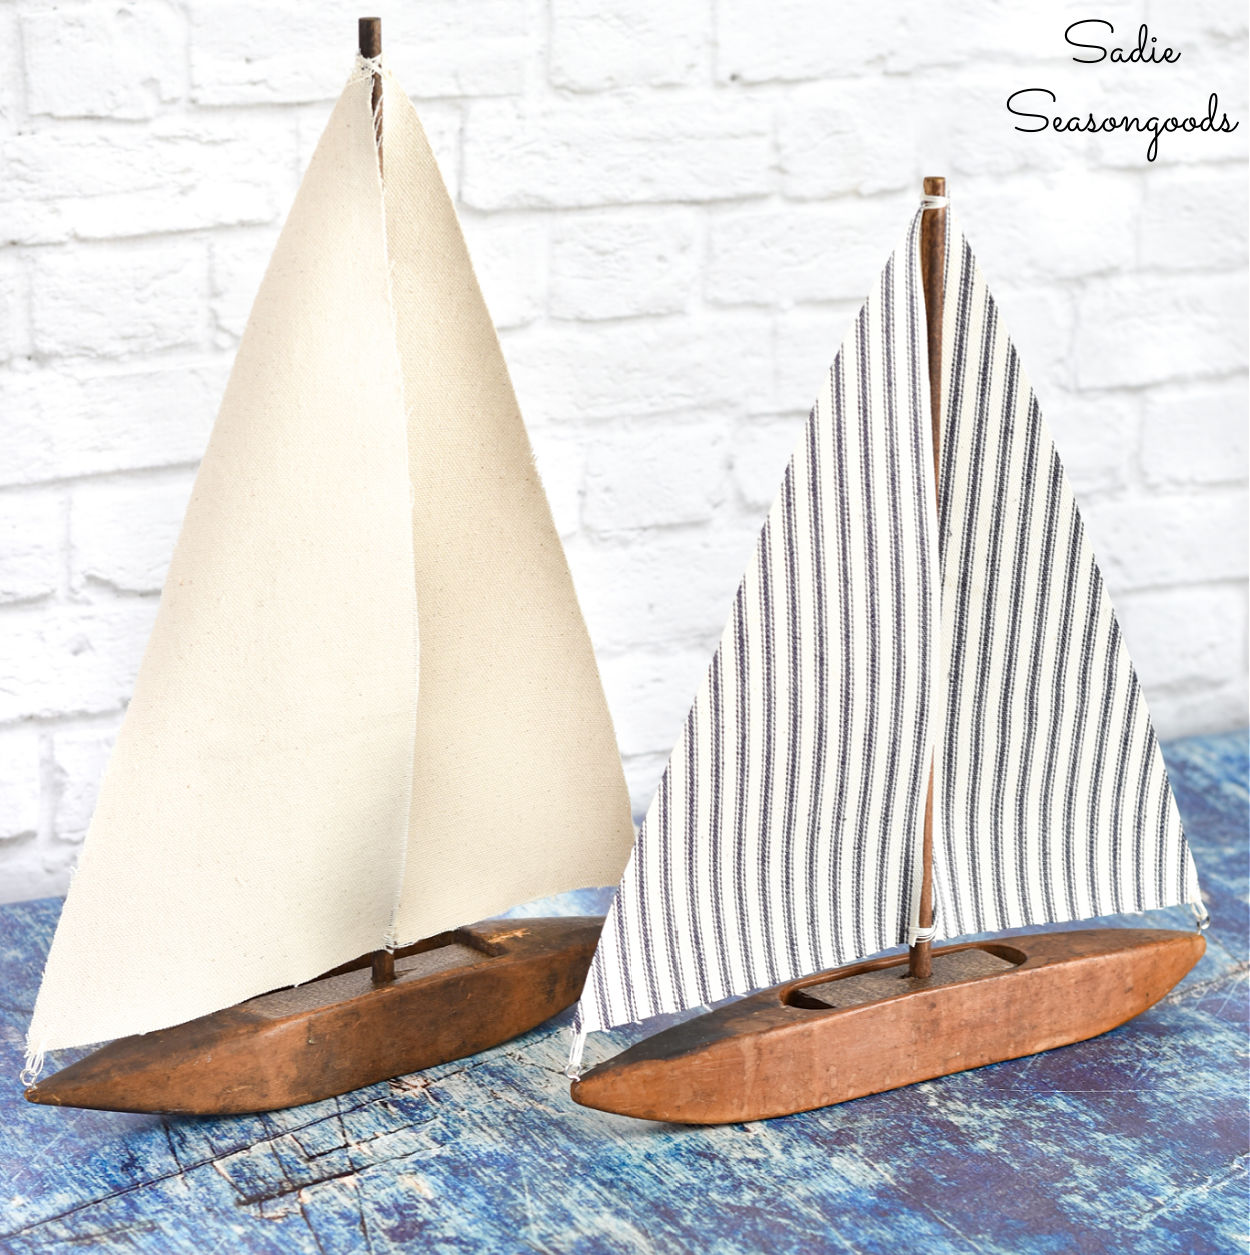
And if you enjoyed this upcycling idea for coastal decor, then you may also appreciate these decorative sailboats that I created from a very unexpected…”boat”.
Craft on!
S
Want to be notified when I publish my next upcycling project tutorial?
Join me on Social Media:
PIN ME!
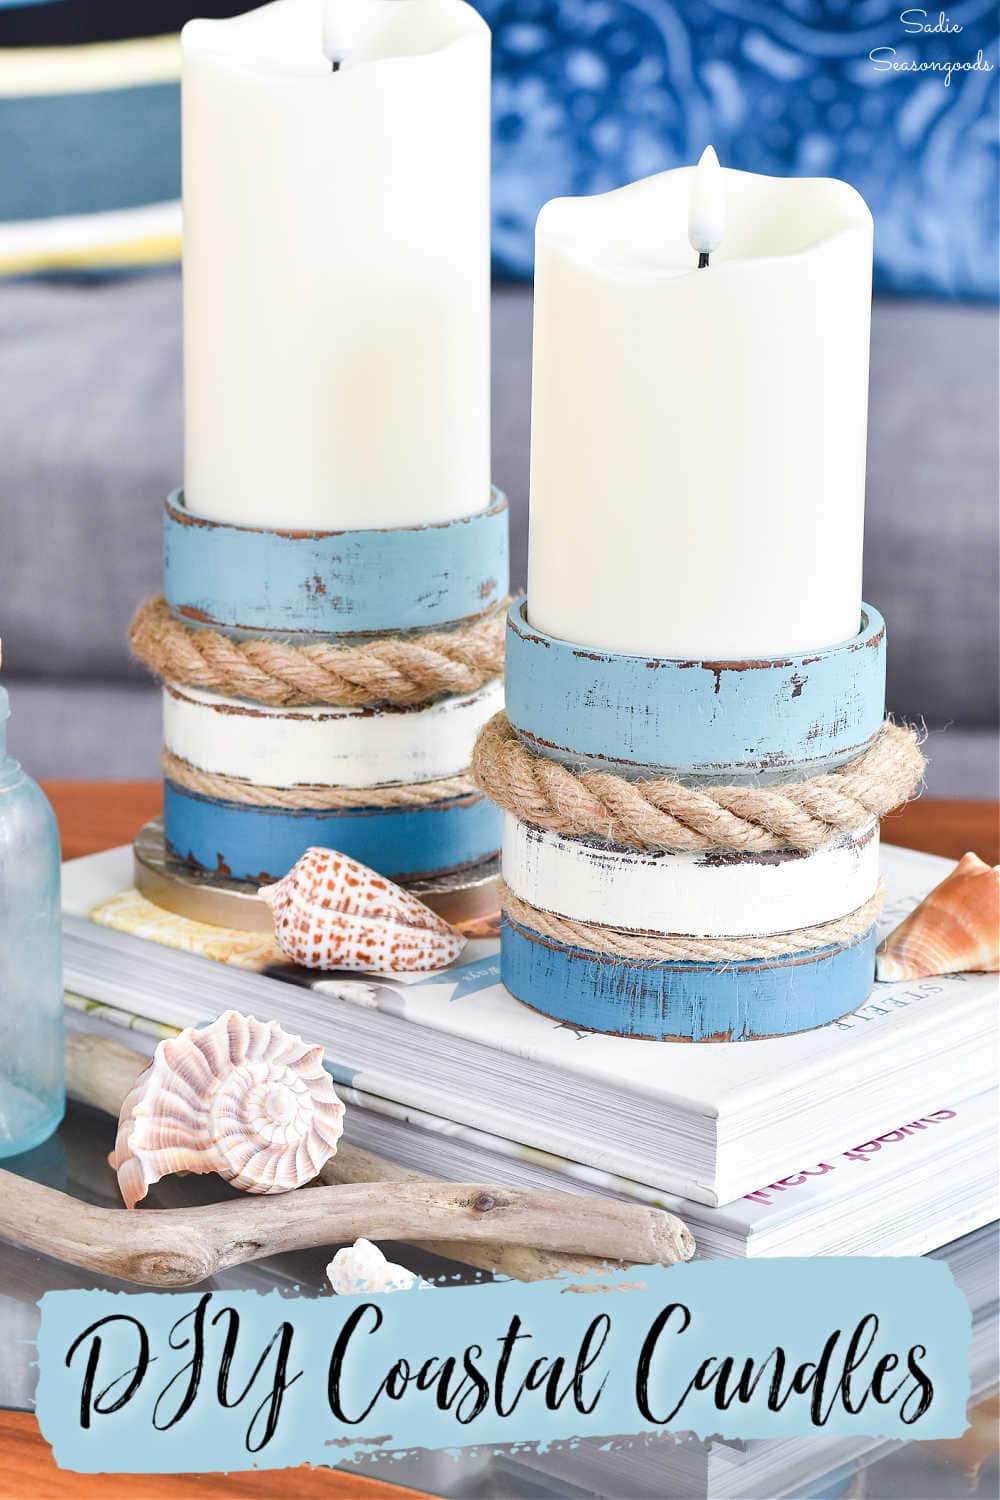
Image credit: Sadie Seasongoods.
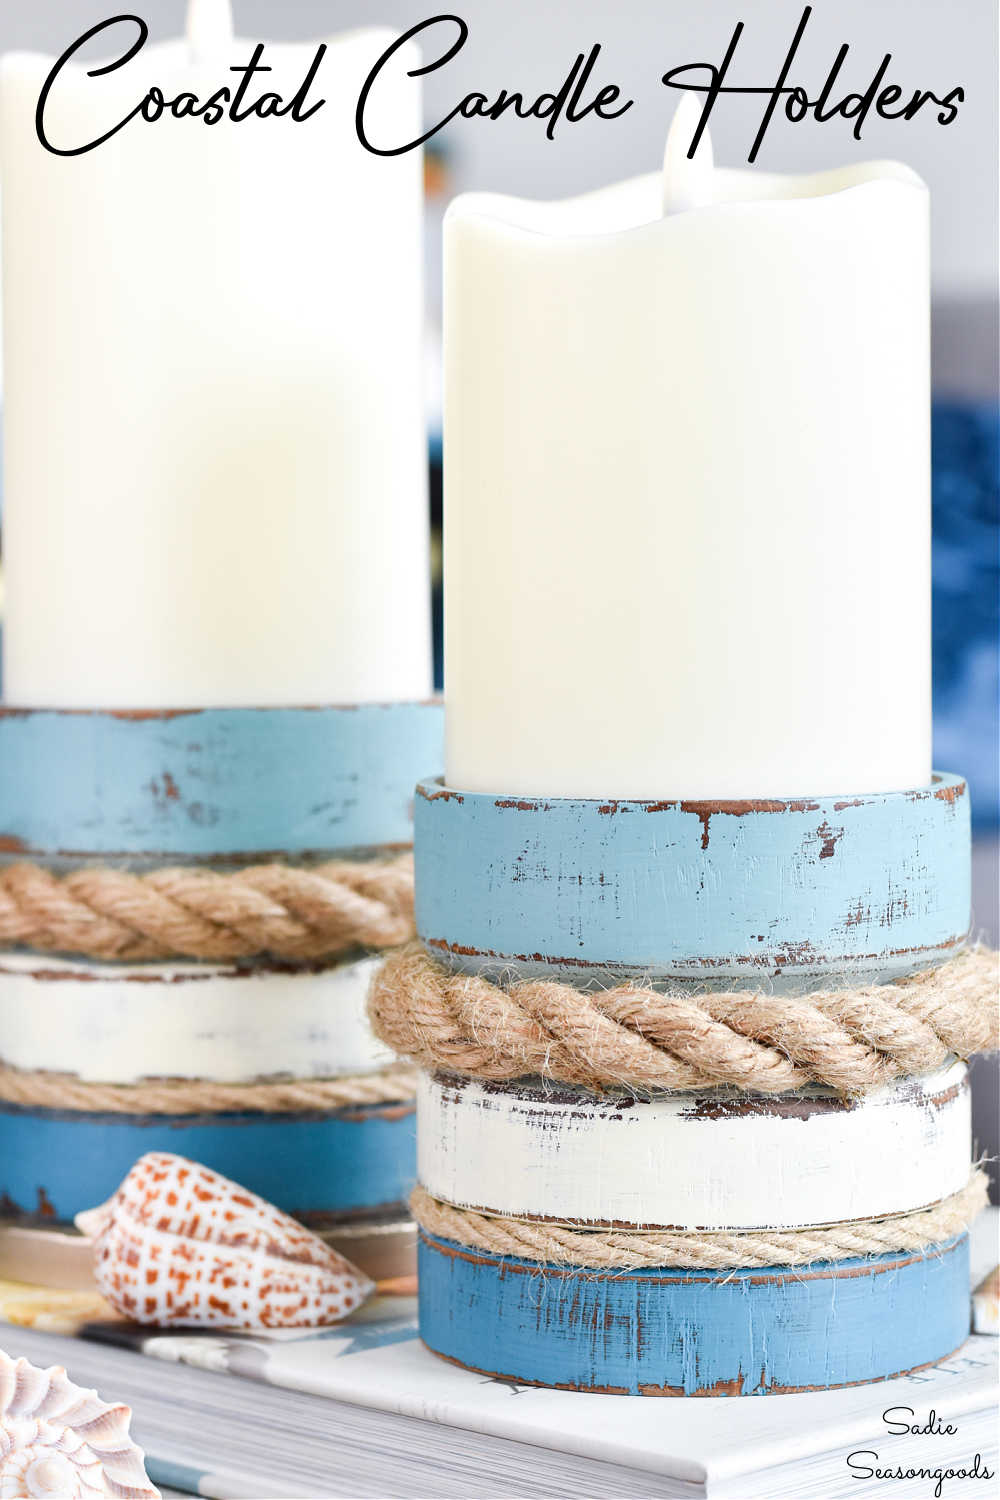
Image credit: Sadie Seasongoods.
Sarah Ramberg is the owner of Sadie Seasongoods, a website that celebrates all things secondhand. From upcycling ideas and thrifted decor to vintage-centric travel itineraries, Sadie Seasongoods is a one-stop shop for anyone who loves thrifting and approachable repurposing ideas. Sarah is also the author of “Crafting with Flannel” and has been featured in numerous media outlets and magazines.






Beautiful! You find/repurpose the most amazing things! And your internship job of walking the beach? I would have loved that (and would have gone through gallons of 50+ SPF sunscreen!!)
It really was an amazing internship! And YES, allllllll the sunblock that summer for sure!
These candleholders are perfect. I’m now on the hunt for some❤️
Thank you so much, Sheryl!
great job, love the beach look in all of those creative finds.
Thank you so much, Cindi!
Always AMAZING upcycles, Sarah, and impeccable staging!!
Don’t forget to join us over at the Creative Crafts Linky Party every Wednesday through Sunday
https://creativelybeth.com/team-creative-crafts-linky-party/
Followed and Pinned!
Creatively, Beth
Thank you so very much, Beth! I’m sorry I keep forgetting!
They were meant to be there just for you and I just love what you have done to them, that weathered look it awesome. Well done.
I visited you via A MORNING CUP OF JOE
My entries this week = 23+24.
If you have not joined us at SSPS yet, this is a personal invite to come and share your awesome post/s with us.
You will find the linkup information (1) In the Top bar under Blogging: Weekly Senior Salon Pit Stop OR 2nd image In the sidebar.
We hope to meet you there virtually..
These are fantastic Sarah! Love them. You had a great vision and executed it beautifully. I’ve pinned this for future inspiration. Thank you. Visiting thru The Cottage Market. XO- MaryJo @ masterpiecesofmylife.com
Thanks so very much, MaryJo!
Sara, really really clever and cute, well done!