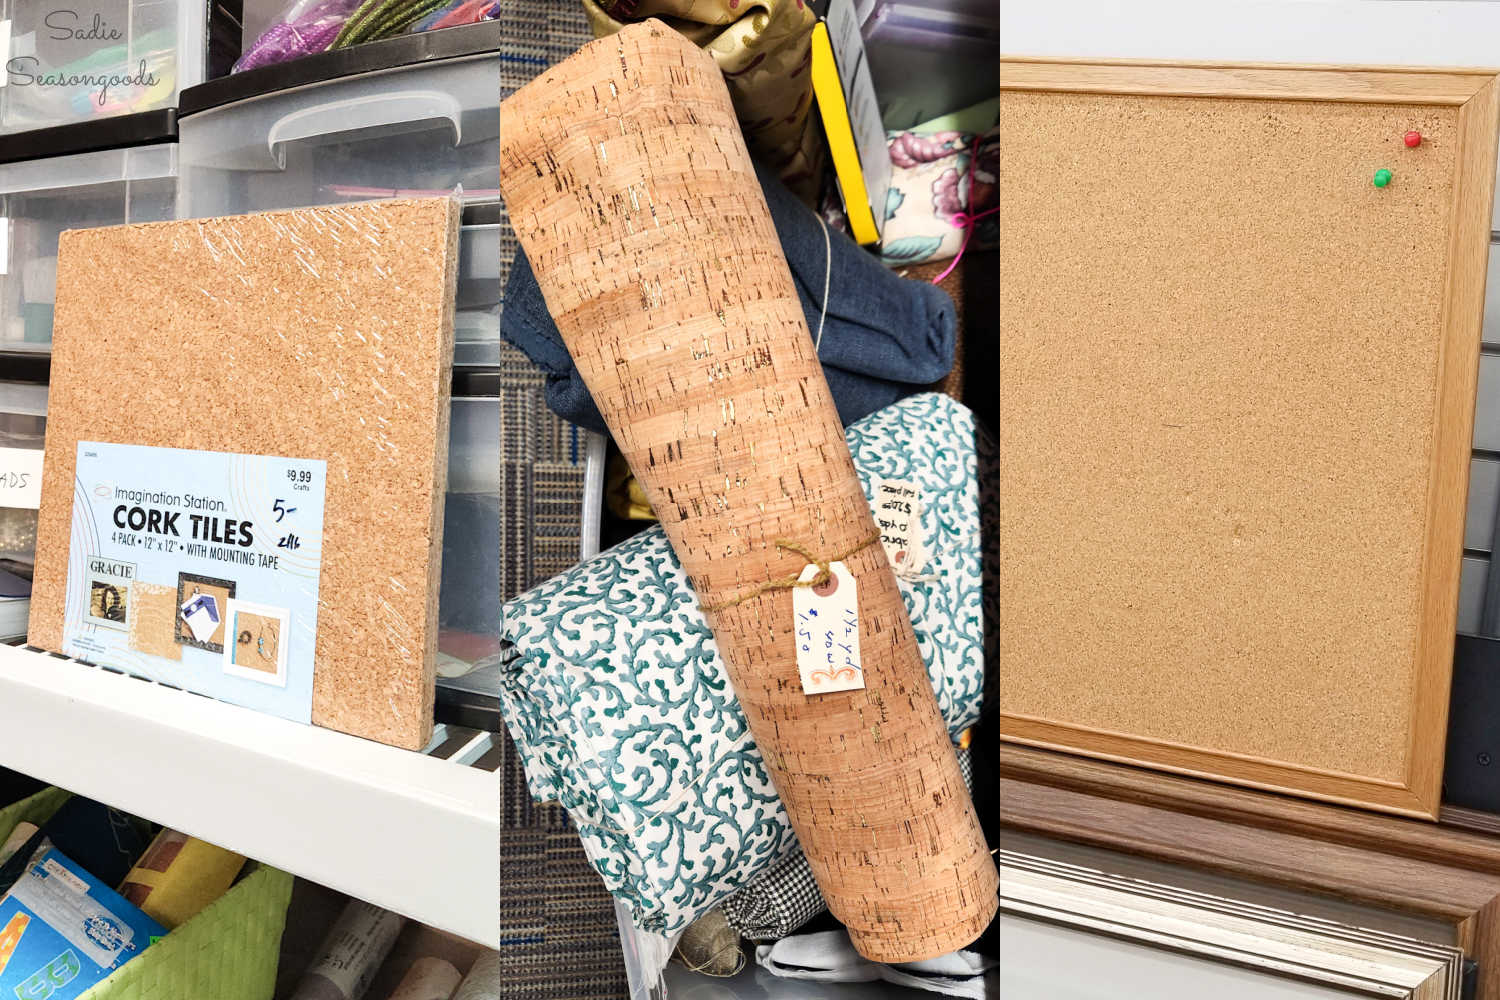
I was cleaning up my Craft Room a bit and found some cork board sheets that I had snagged on a thrifting adventure in the past. I was about to put them in the “re-donate” pile (which I am CONSTANTLY adding to), but thought better of it. If I found the picture frame, I could combine them into a framed cork board to use as home office decor!
I headed to Goodwill because I wasn’t thrilled with the vintage picture frames that I already had in my stash!
Insert shocked face here because HELLO, I always have loads of frames on hand.
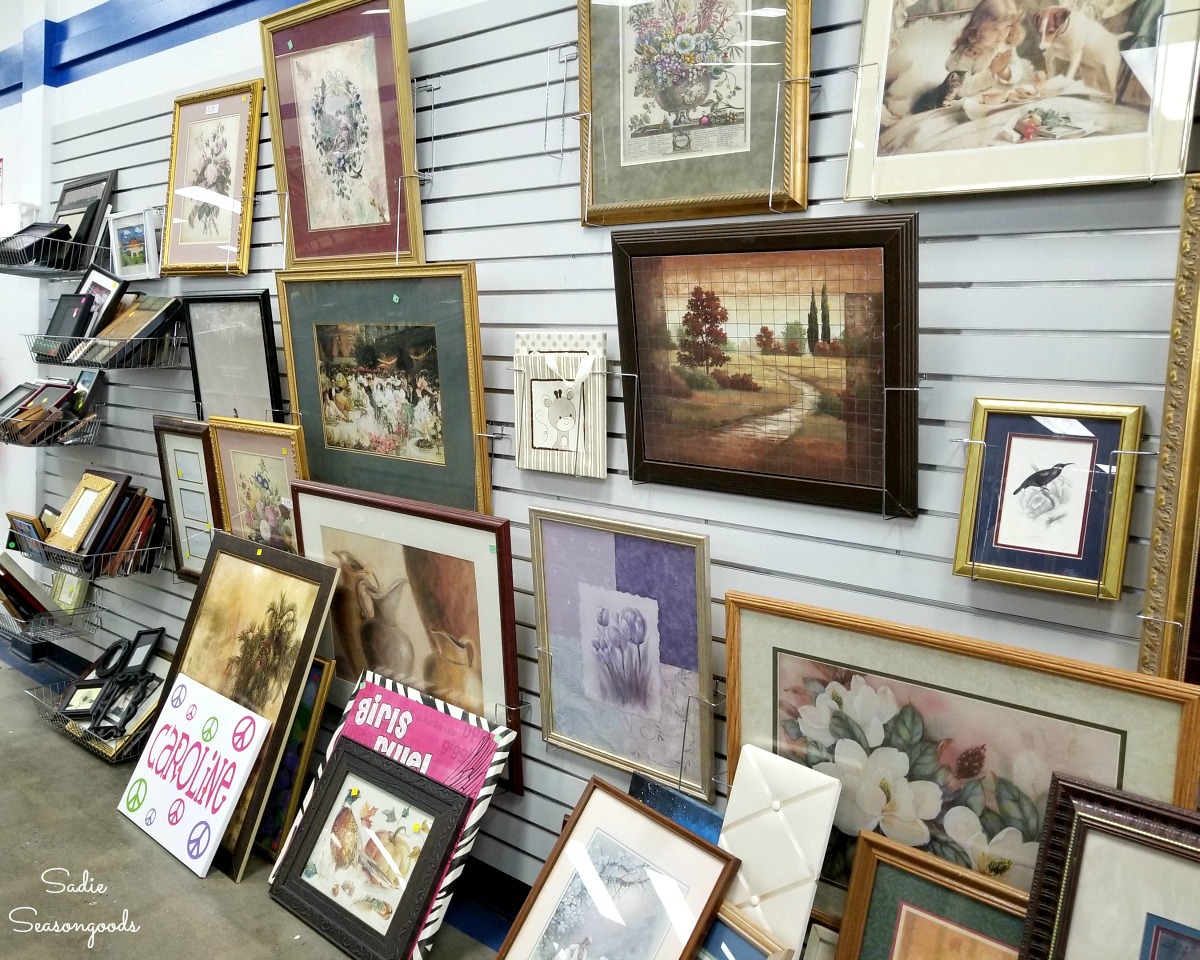
Image credit: Sadie Seasongoods.
Unfortunately, the picture frames I had weren’t the right size and didn’t have the right “character” that I had in mind, if that makes sense.
Thankfully, I found a couple of options at the thrift store that would work with the cork board sheets in my craft room.
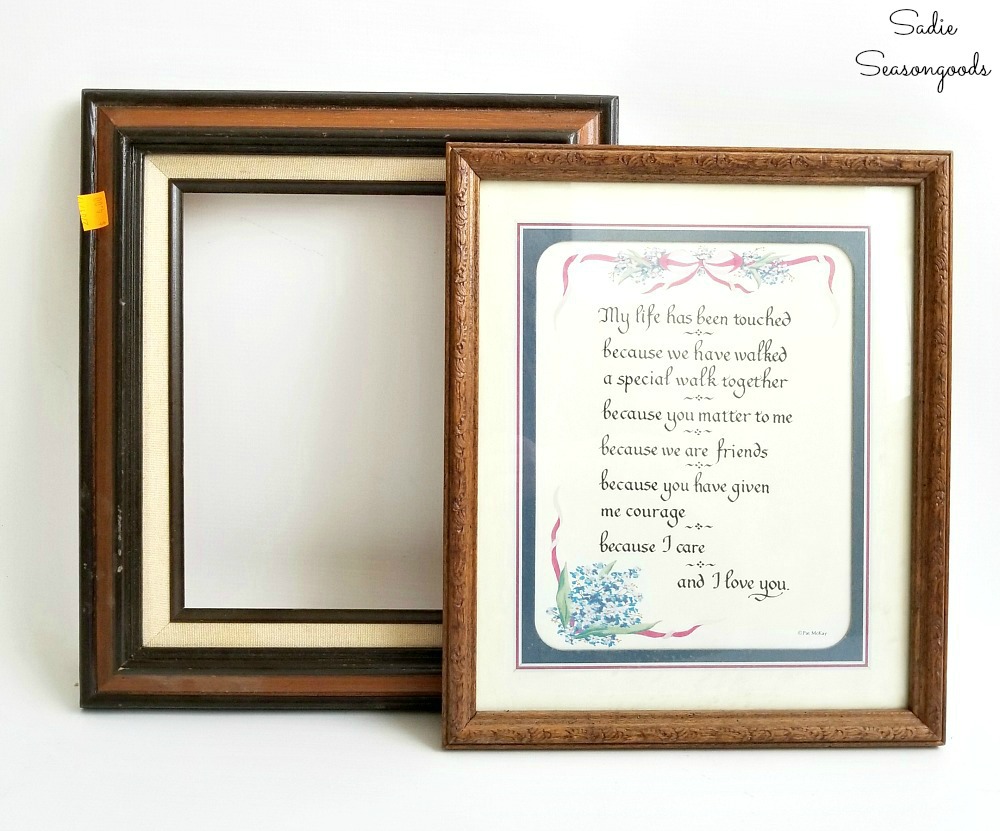
Image credit: Sadie Seasongoods.
With everything in hand, I gathered a few more craft supplies and got to work!
This post contains affiliate links for your crafting convenience. As an Amazon Affiliate, I earn from qualifying purchases. All blue, bold, and underlined text is a clickable link, either to a product or to a related post.
Upcycling a Picture Frame into a Framed Cork Board
Interestingly enough, I found some cork roll at the thrift store when I found the right picture frames! But I still wanted to use the cork board sheets in my stash first.
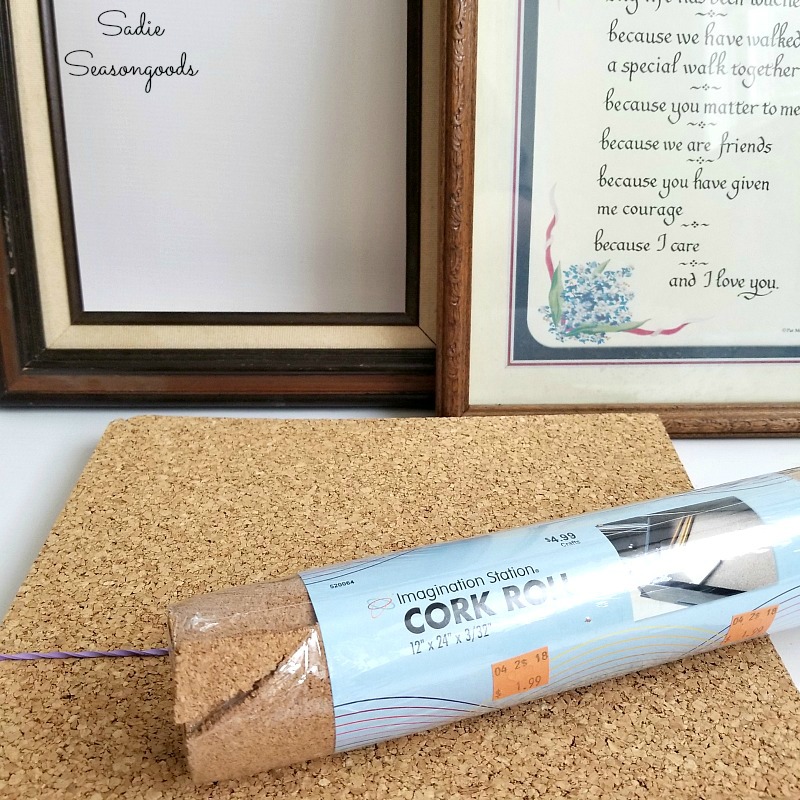
Image credit: Sadie Seasongoods.
Since I had a vision of what I wanted the framed cork board to look like, I used a specific Behr paint color (In the Moment) that I had a sample of.
It reminded me of the green patina on copper, like the Statue of Liberty.
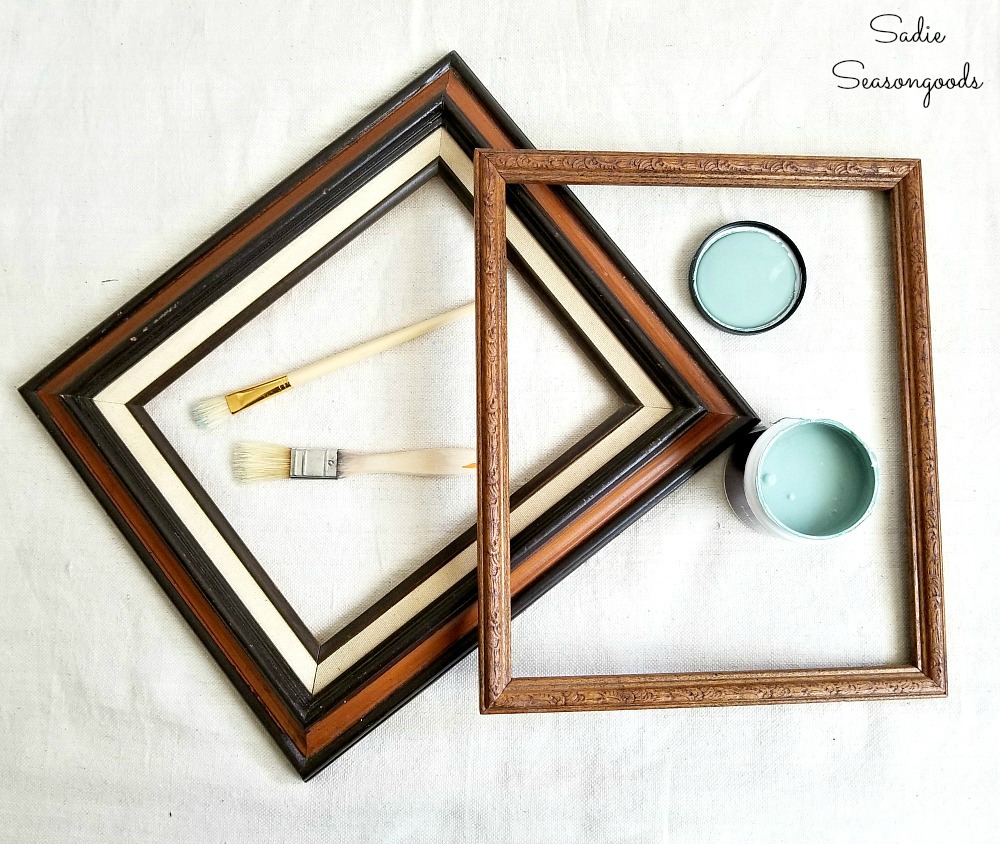
Image credit: Sadie Seasongoods.
After brushing on two coats of paint, I used my favorite flexible sanding paper to distress the frames ever so slightly.
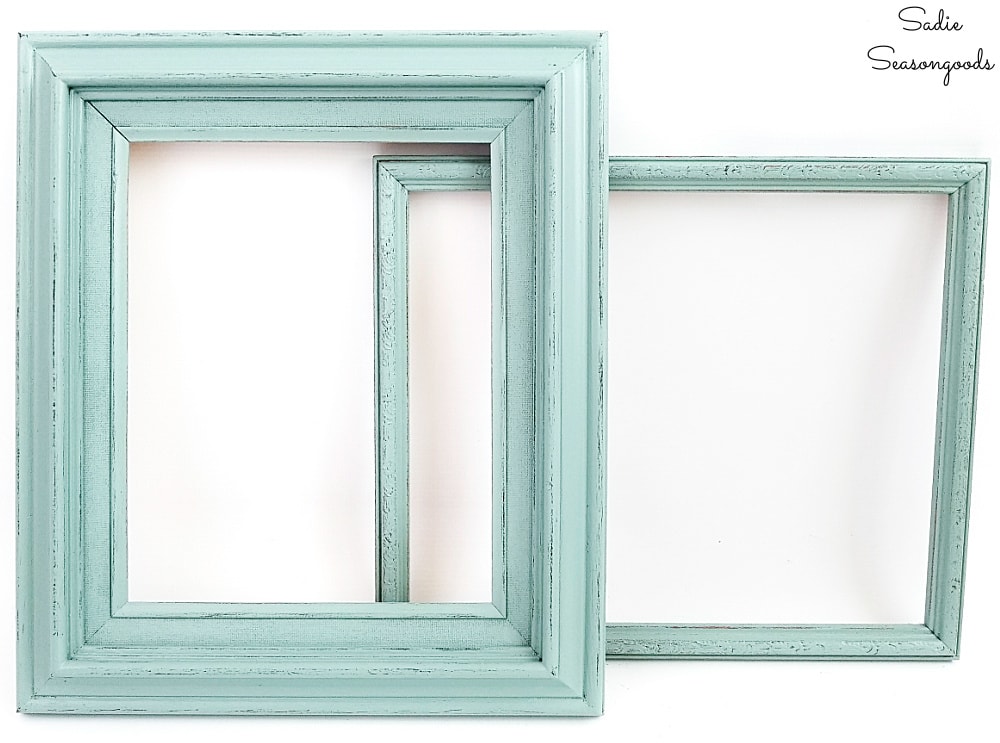
Image credit: Sadie Seasongoods.
Now, I could have just cut the cork to fit my frames and be done with it.
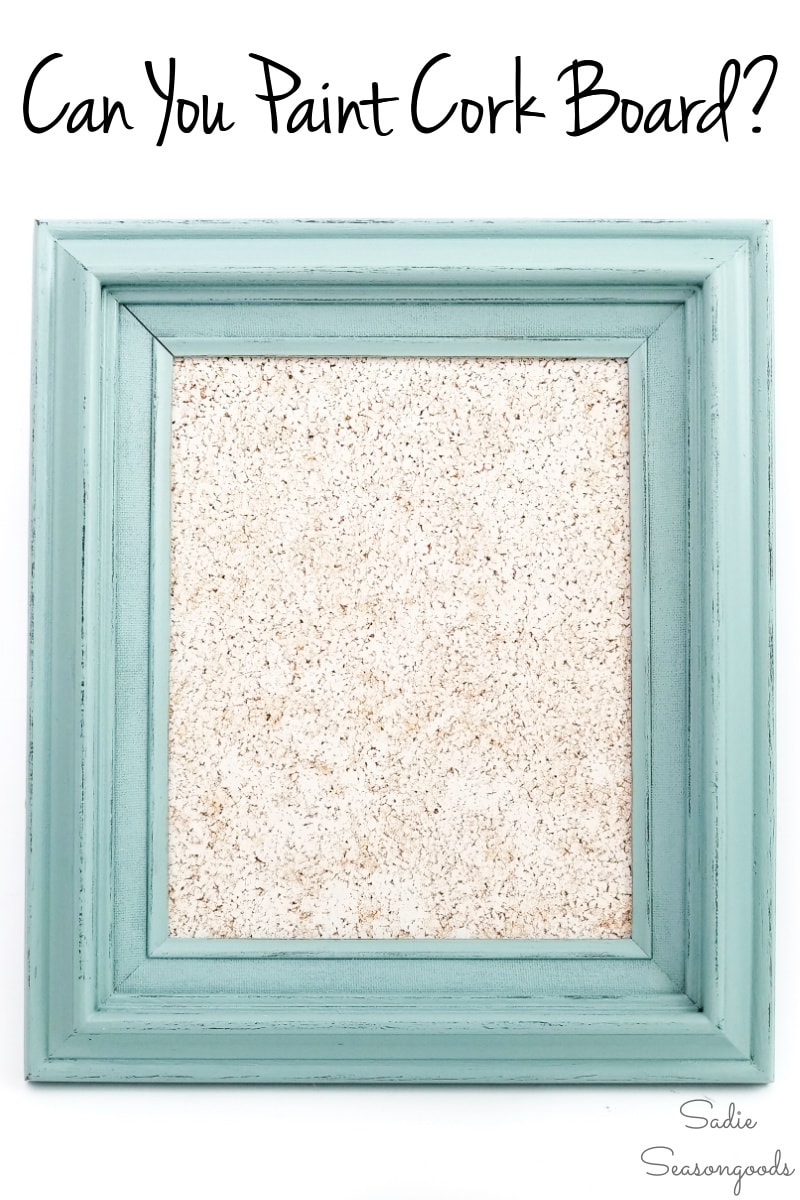
But, before I did that, I began to wonder: Can you paint cork board?
So, I decided to try to sponge paint it. And if it looked awful, I’d simply turn it over in my picture frame! No one would ever know.
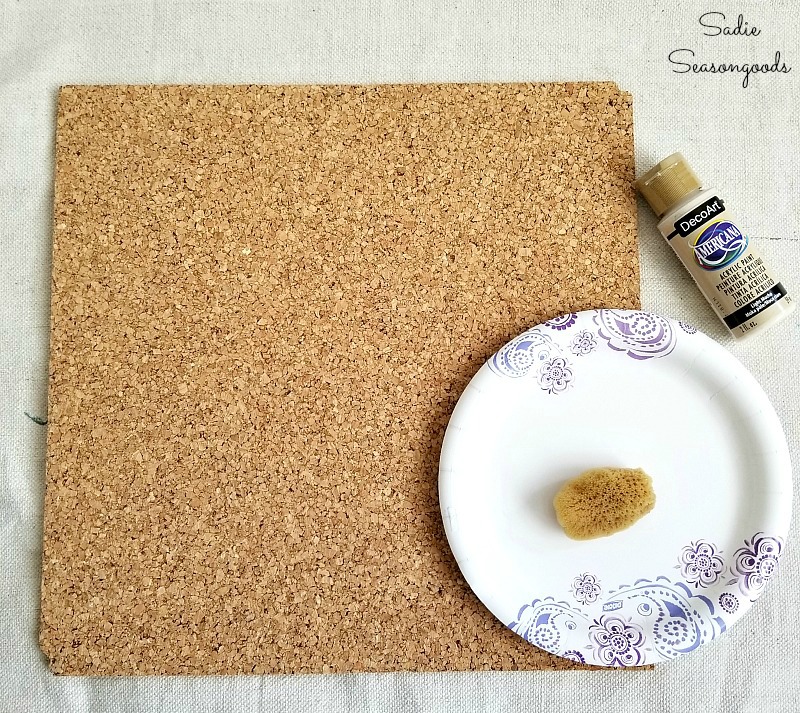
Image credit: Sadie Seasongoods.
Sound crazy? Maybe…but it was a satisfying process to pounce the paint with a sea sponge all over the cork.
Crafting can definitely be therapeutic when you have a lot on your mind…
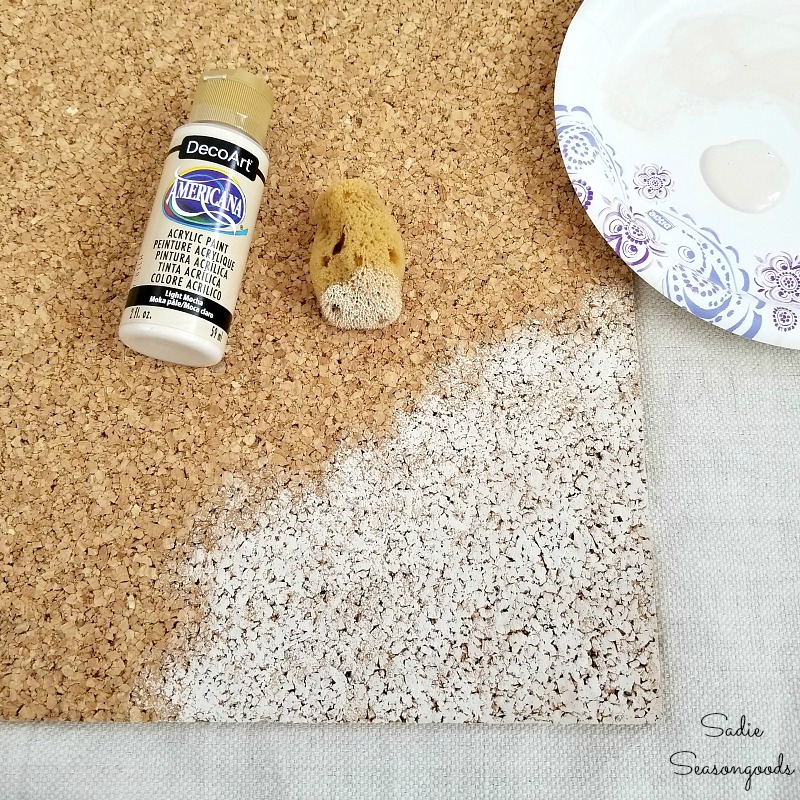
Image credit: Sadie Seasongoods.
And that was that- no more painting!
DIY Cork Board for a Home Office
When everything was dry, I trimmed down the cork board sheets to fit my frame. Next, I dotted the inner lip of the frame with my favorite super glue, and set two layers of cork inside.
Why two layers of cork? Well, my picture frame was deep enough for a canvas painting…but two layers of cork is actually ideal for a framed cork board! Deeper cork can more easily accommodate thumbtacks or push pins.
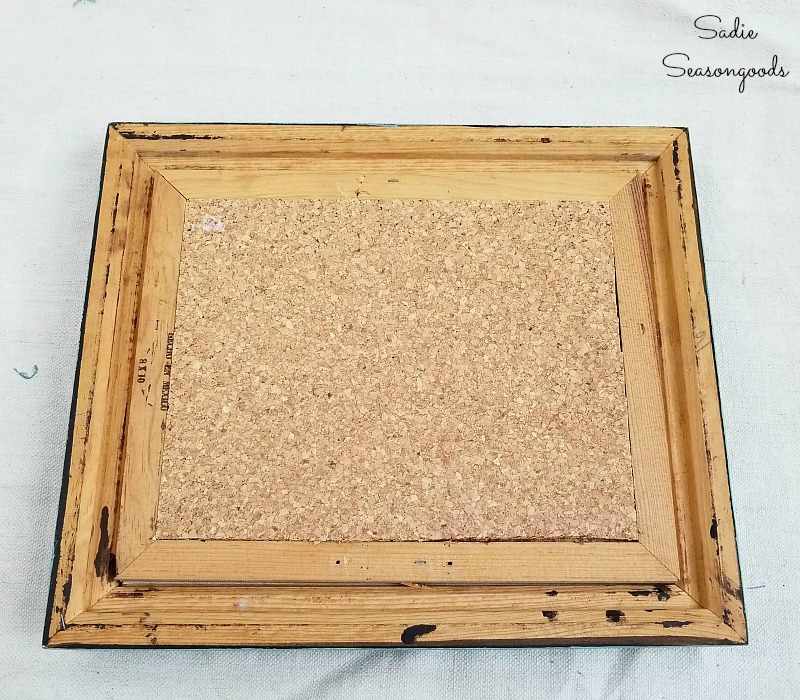
Image credit: Sadie Seasongoods.
I decided it need one more thing to make sure the cork was held firmly in place and to keep the cork from getting a convex shape over time.
So, I repurposed mat board from my other frame to use as backing for the framed cork board.
Then, I simply tapped in some small wire nails around the edge using my pretty craft hammer. You could just as easily use thin cardboard or foam board in the same capacity.
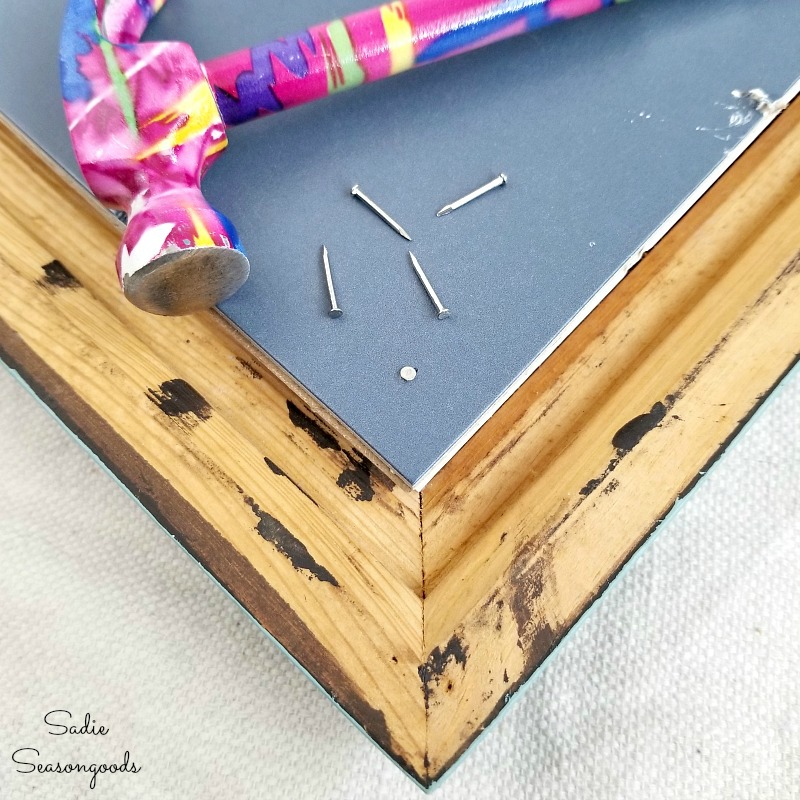
Image credit: Sadie Seasongoods.
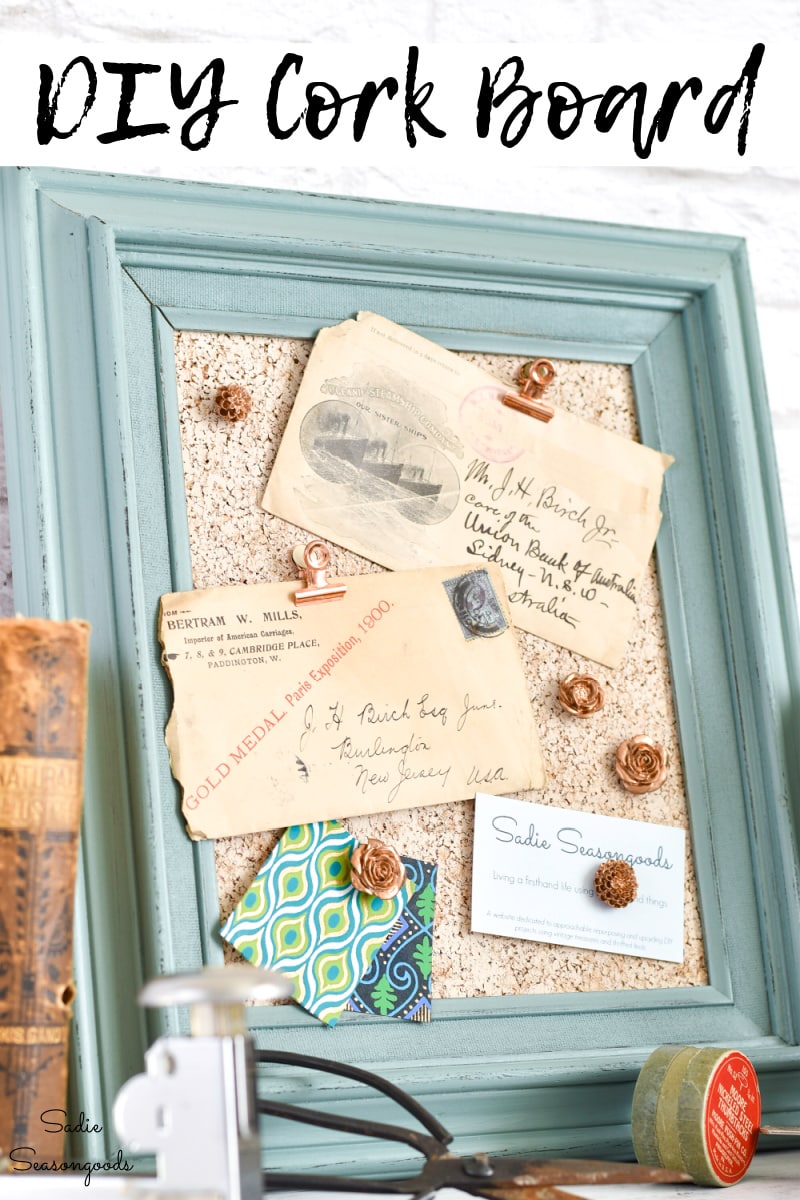
Ready to see what my DIY cork board or framed cork board looks like when it was all done?
Framed Cork Board from a Picture Frame
Ta-da! And you know what?
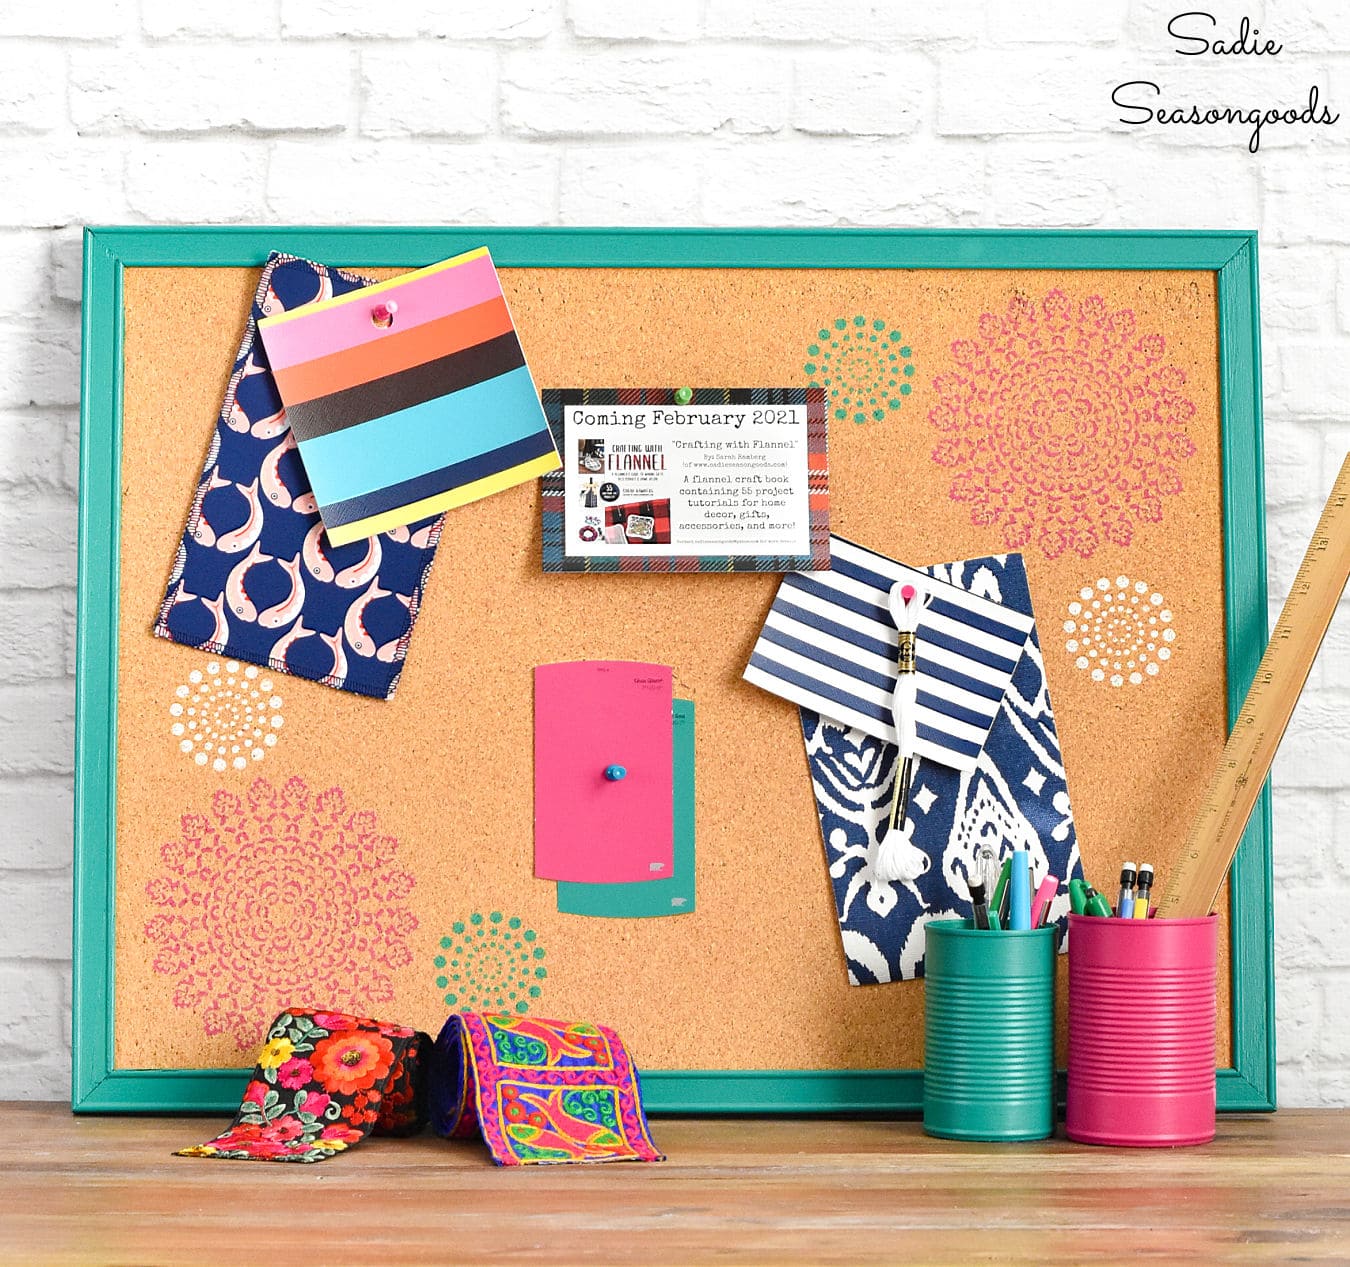
I think that’s the prettiest framed cork board I’ve ever seen.
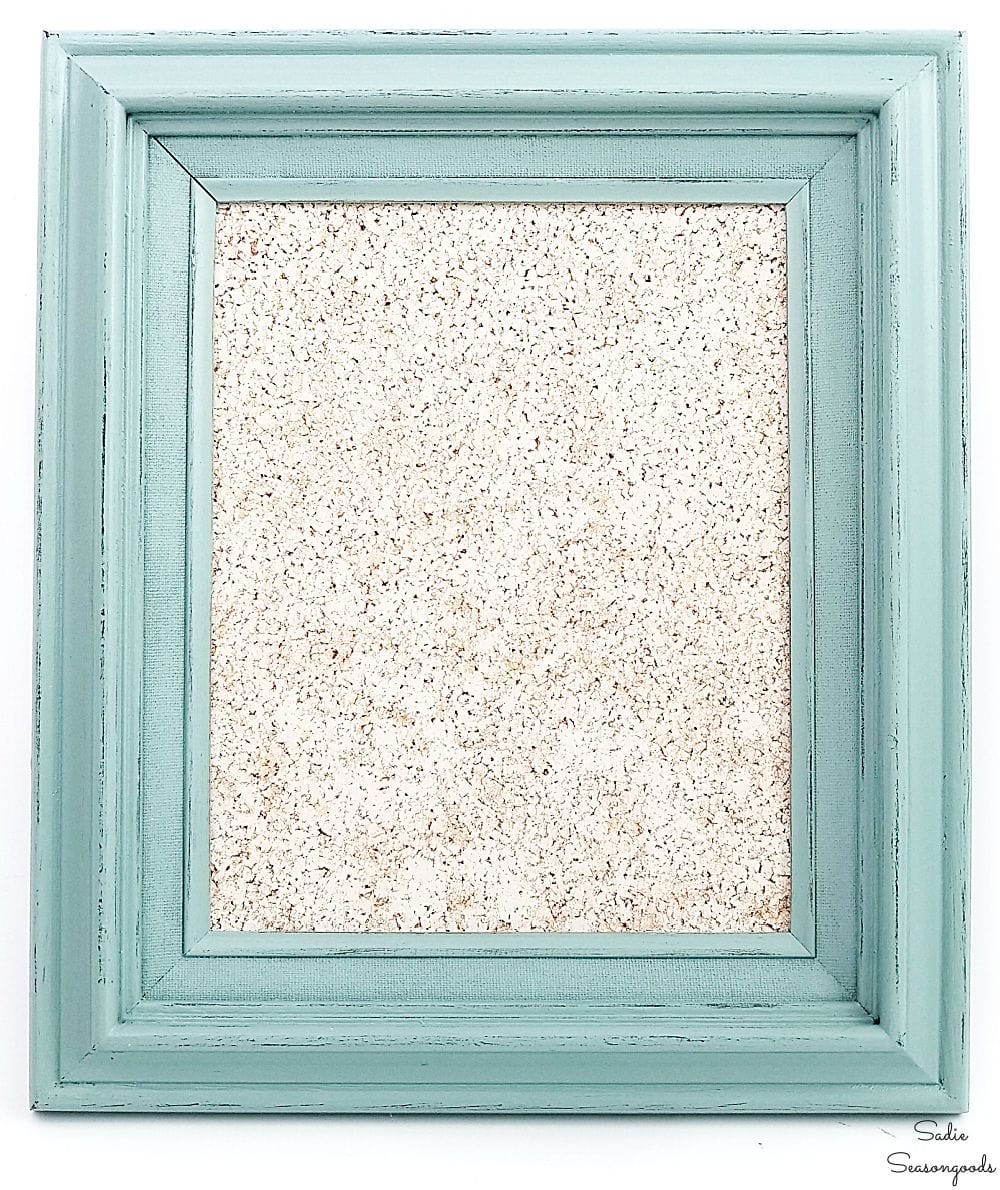
Image credit: Sadie Seasongoods.
I just love the combination of colors, with the slightly distressed painted frame and the mottled colors of the cork board sheets.
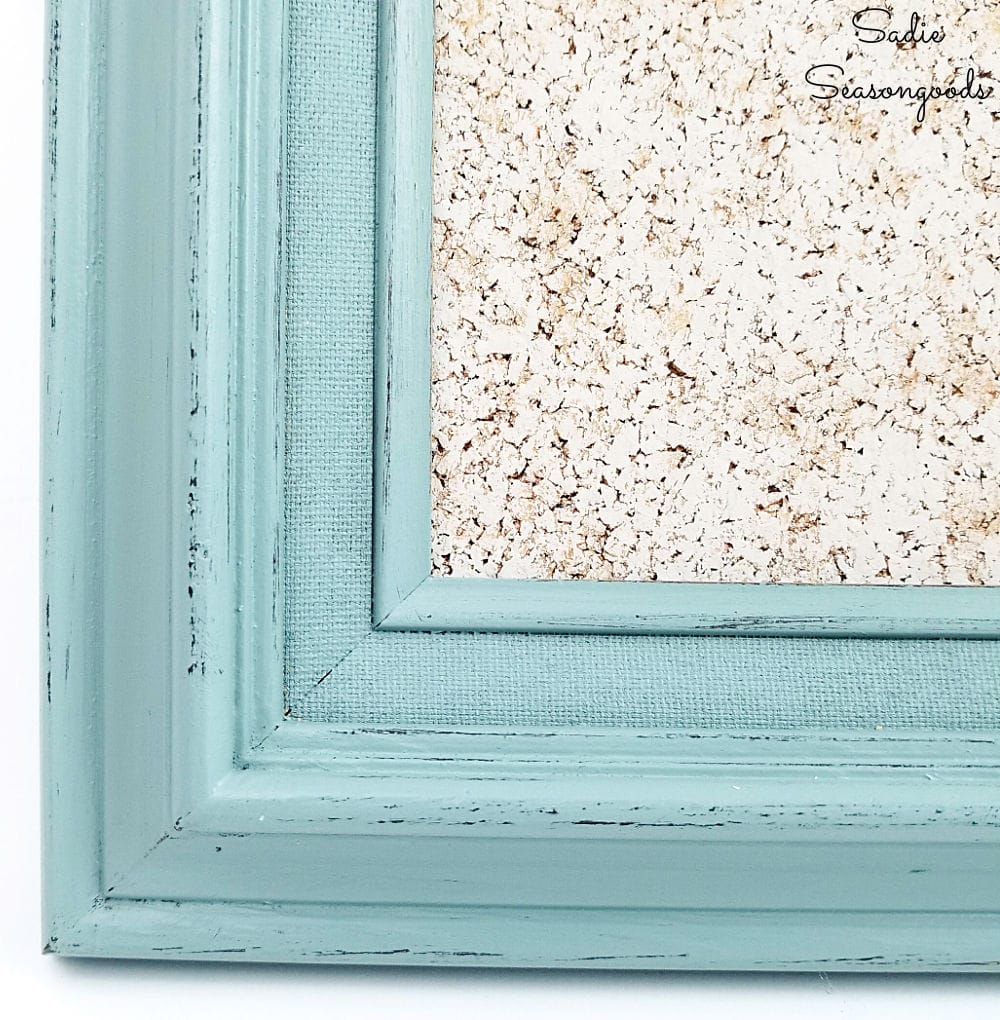
Image credit: Sadie Seasongoods.
A framed cork board can be hung on a wall or leaned against the wall on a work desk. I love it’s vintage farmhouse look; it REALLY spruces up a home office.
And let’s face it…home office decor has NEVER been more important than it is right now!
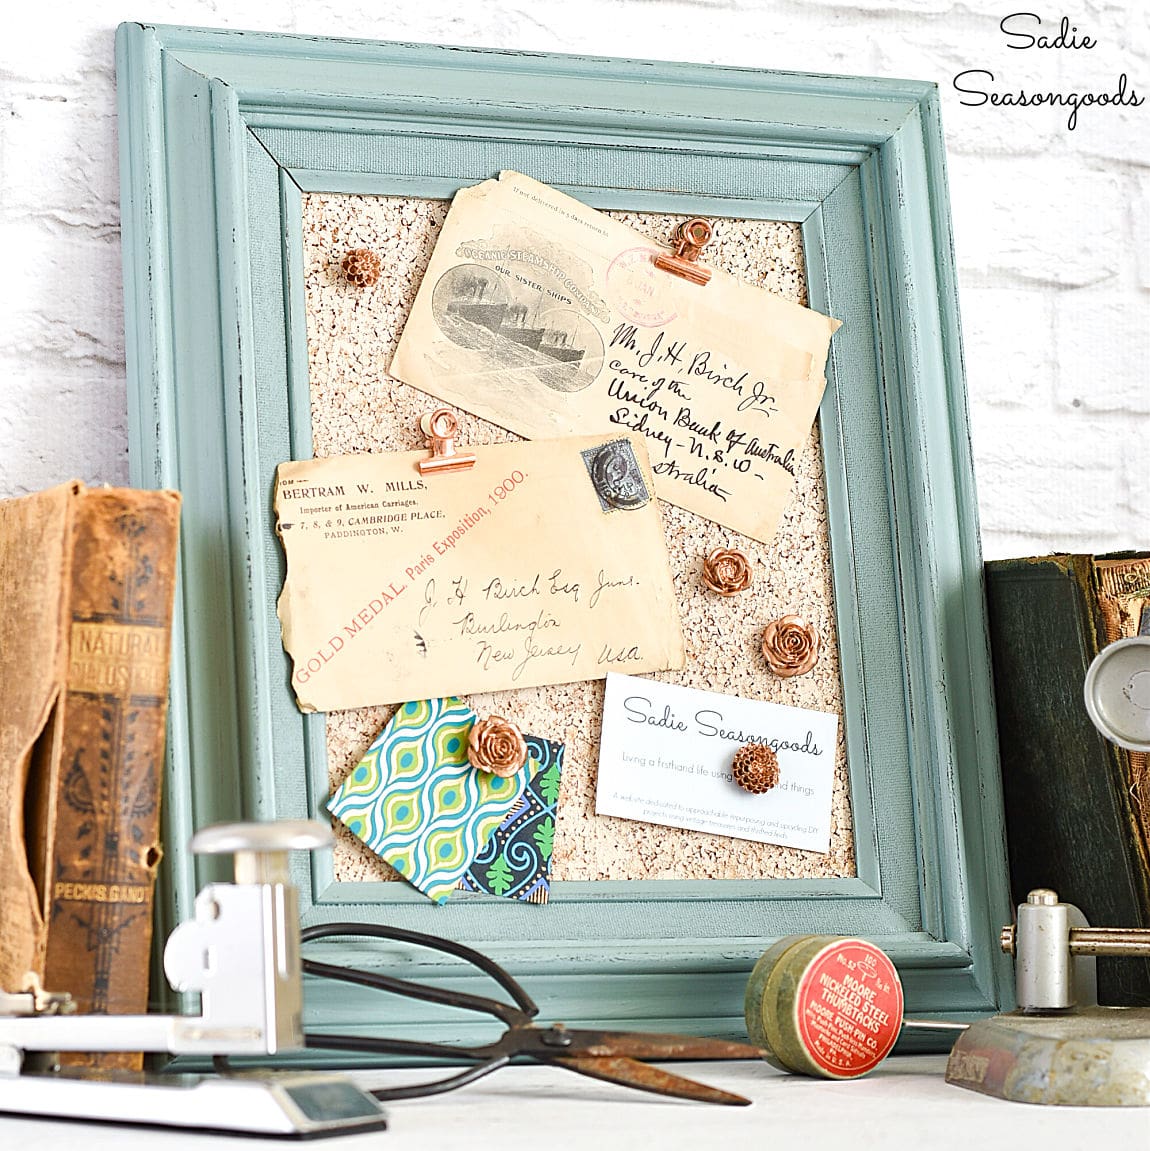
Image credit: Sadie Seasongoods.
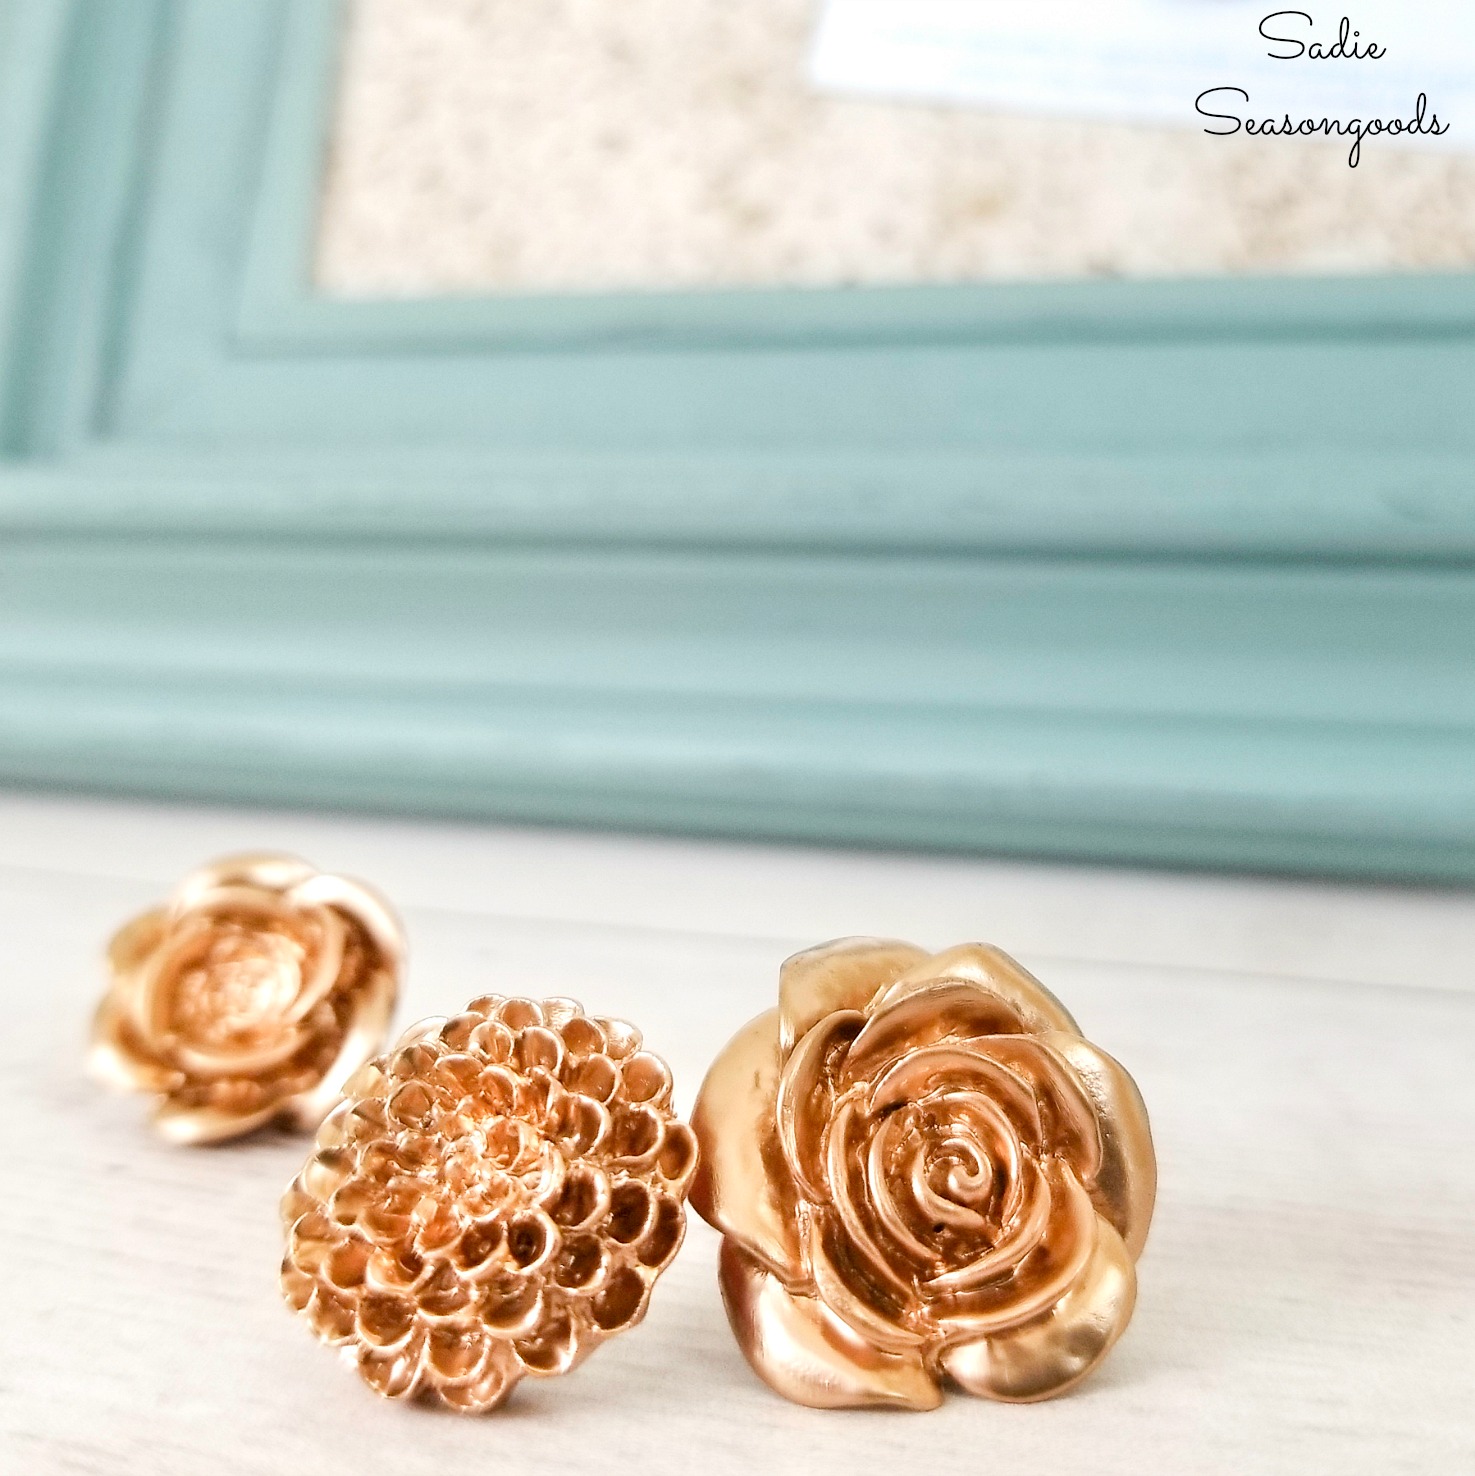
And if you were curious about my metallic flower thumbtacks, I made them, too, and their tutorial can be found here!
I’ve also stenciled on cork boards and it works BEAUTIFULLY. So, if you’ve wanted to jazz up a plain cork board that way, I highly recommend it.
There are truly loads of ways to jazz up cork AND jazz up other thrifted finds with cork. My friend, Kathy, at Petticoat Junktion added cork accents to several items and I just LOVE how they turned out.
And if you’re interested in more cork crafts, then this collection is exactly what you’ve been looking for:
Craft On!
S
Want to be notified when I publish my next upcycling project tutorial?
Join me on Social Media:
PIN ME!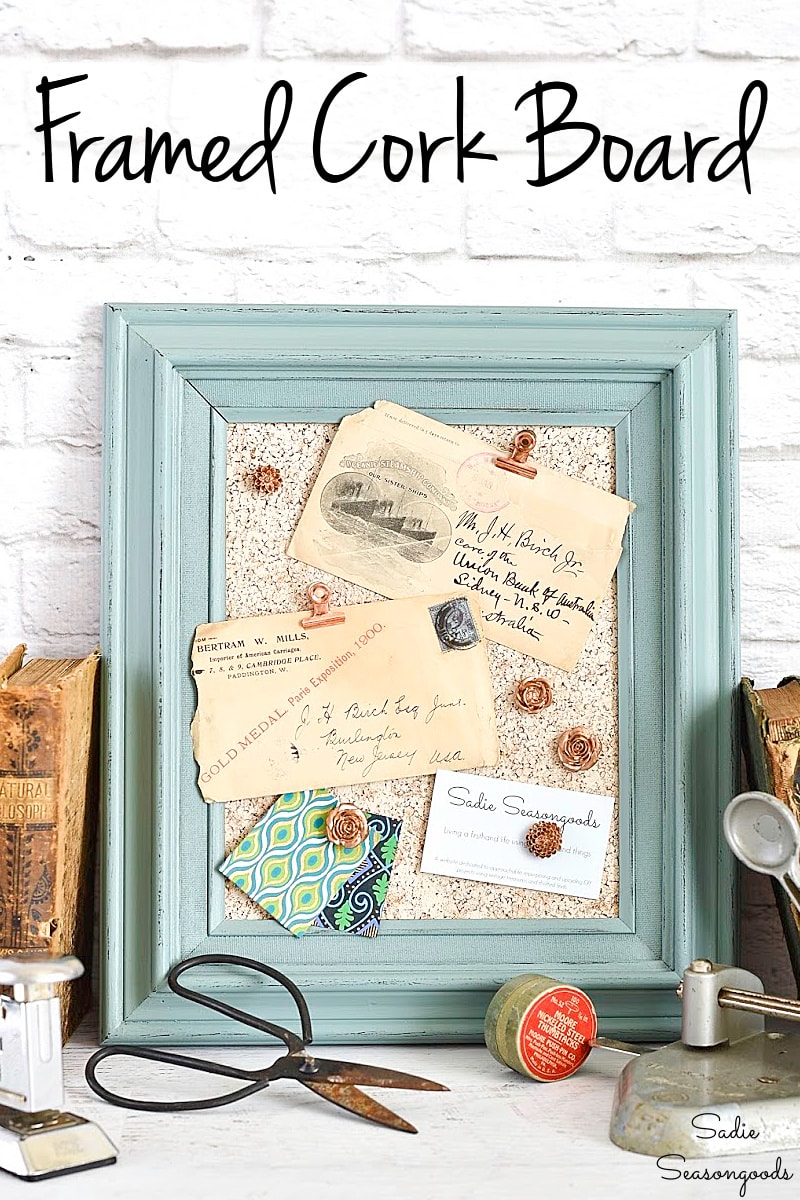
Sarah Ramberg is the owner of Sadie Seasongoods, a website that celebrates all things secondhand. From upcycling ideas and thrifted decor to vintage-centric travel itineraries, Sadie Seasongoods is a one-stop shop for anyone who loves thrifting and approachable repurposing ideas. Sarah is also the author of “Crafting with Flannel” and has been featured in numerous media outlets and magazines.








Perfect timing, I’m getting ready — after about a dozen other projects, to start making some of these for my new craft room. I have the thrifted frames and cork memo boards to cut to size, was wondering how to treat the surface and love the sponge paint idea. Thank you!
Woohoo!! And yes, I LOVE how it turned out- exactly how I had hoped, so I think you’ll feel the same way. 🙂
Very nice and practicle. I love your projects. Can’t wait to see how you made the thumbtacks. I need some of those.
Thank you, Amanda!
Now this is an idea I can get behind 100%!! Such a really cool idea! And could do it larger too!! Thanks Sadie
Yes, definitely!! I would have gone larger but I fell in love with the frame I used. But I might end up with a cork board gallery in my office which will allow for lots of varying sizes.
I love this!
Thank you!
What a fun project! What was the finish (matte, satin, gloss, chalk) of your paint?
Thanks Tracie- Eggshell! Since it’s a latex paint (the same kind you’d put on walls), I went with my favorite finish.
Awesome as usual! Interested in the pretty thumbtacks.
Thank you, Kathy!