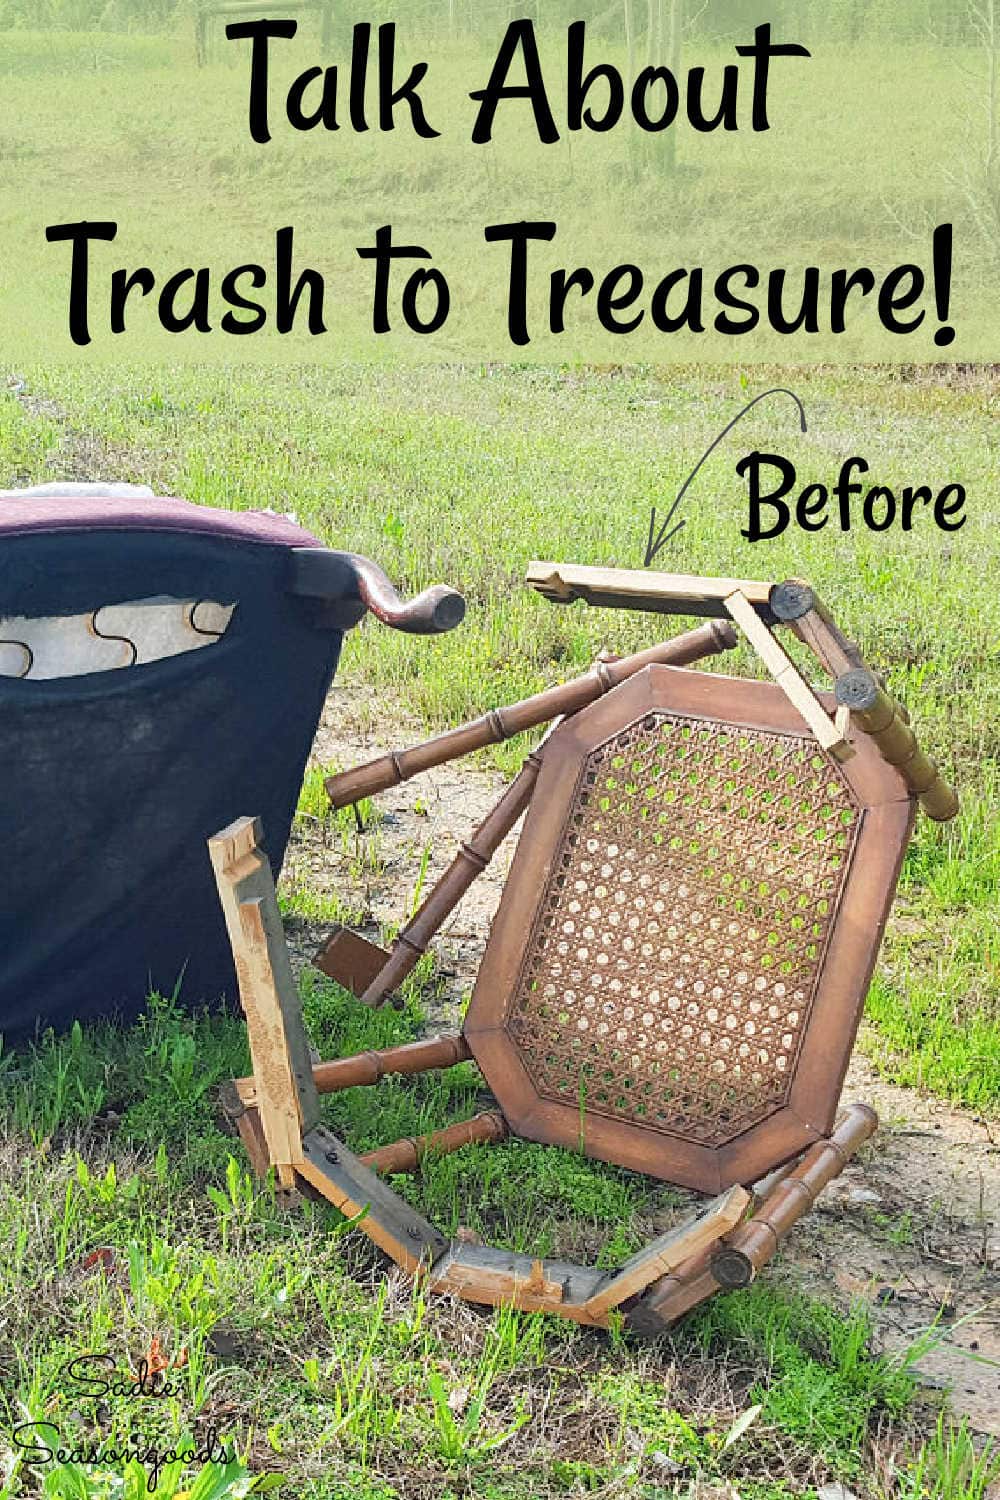
This, my friends, is an absolute first for me, truly a case of trash to treasure. Or, as I like to say: “Junkernecking”! There we were, just getting started on a Saturday road trip. The sun was rising, the dew was fresh, and we were in search of treasures and fun and adventure. As we merged onto the road, I spied a cane side table on the side of the road.
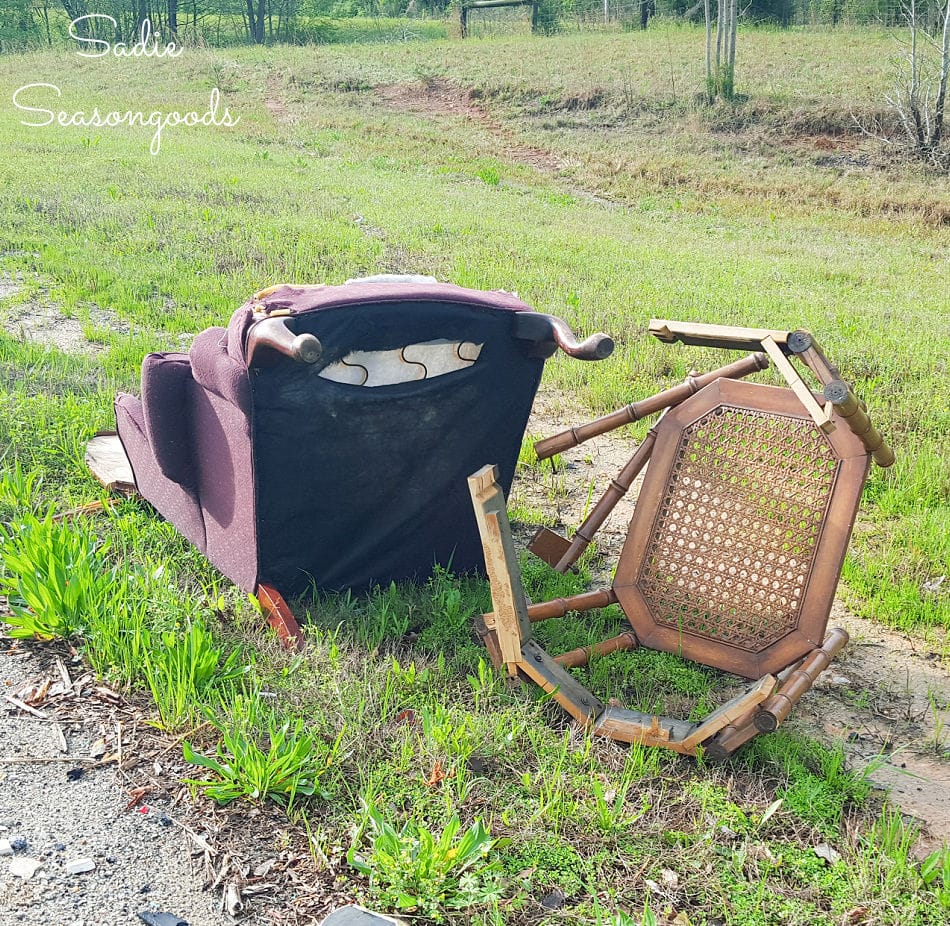
It was near an on-ramp on the highway. Our best guess was that someone had taken the ramp too quickly…or had to brake/accelerate unexpectedly. And some of their furniture must have toppled out the back.
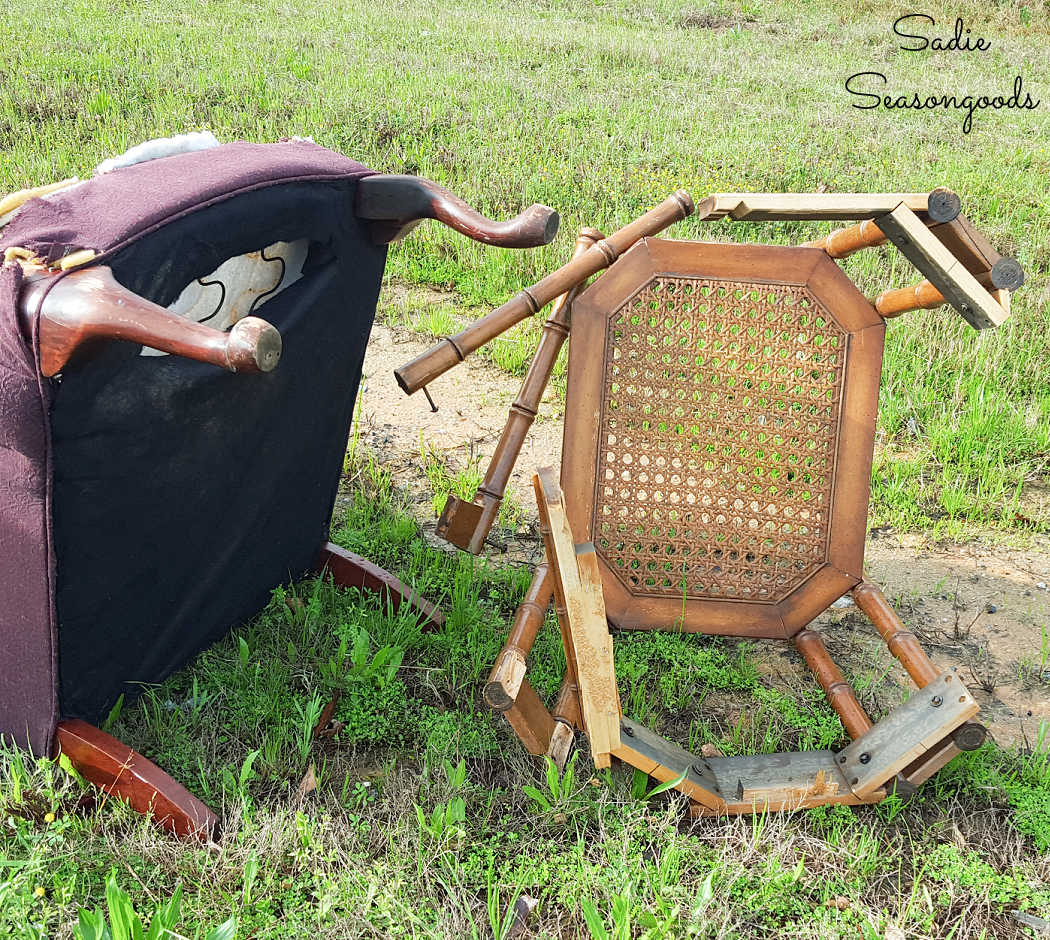
Rain had soaked the wingback chair overnight, but all I could look at was the cane side table that was now in a jumble.
Despite broken legs and a missing top, the cane webbing was in perfect condition. So, like good citizens, we loaded up some of the litter, with hopes of a project that was trash to treasure!
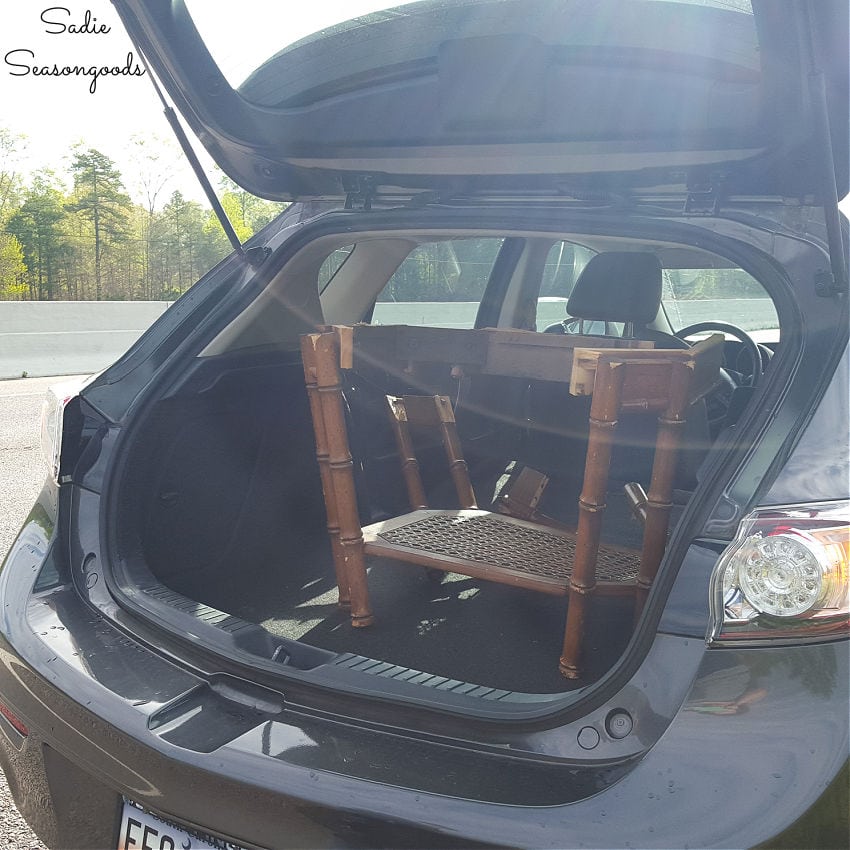
I couldn’t shake the idea of doing yarn cross stitch on the panel of cane webbing. And the rectangular shape was just begging to become an American flag. So, that’s what I decided to do- or, at least TRY to do!
This post contains affiliate links for your crafting convenience. As an Amazon Affiliate, I earn from qualifying purchases. All blue, bold, and underlined text is a clickable link, either to a product or to a related post.
Trash to Treasure from a Cane Table
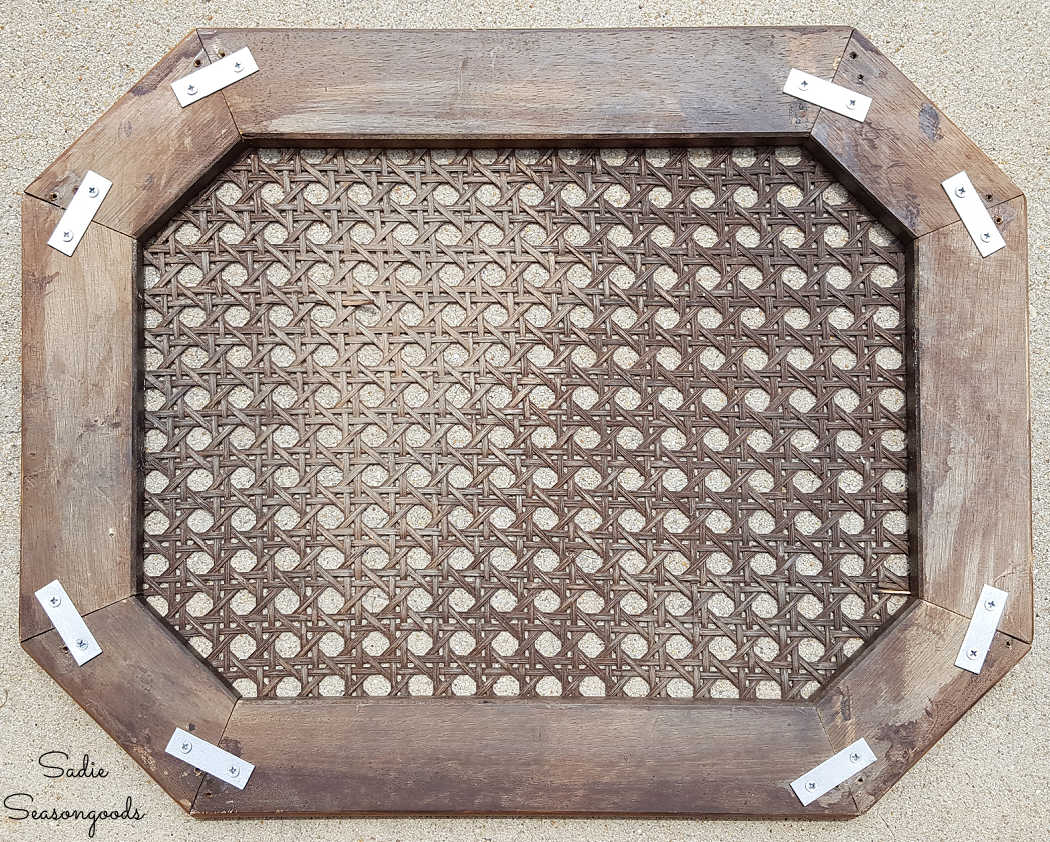
The next day, I dismantled the cane webbing from the rest of the broken table. But I quickly realized that the tightness of the cane was warping the frame without the legs attached.
It’s not easily visible in the photo but it was starting to twist and warp before my eyes.
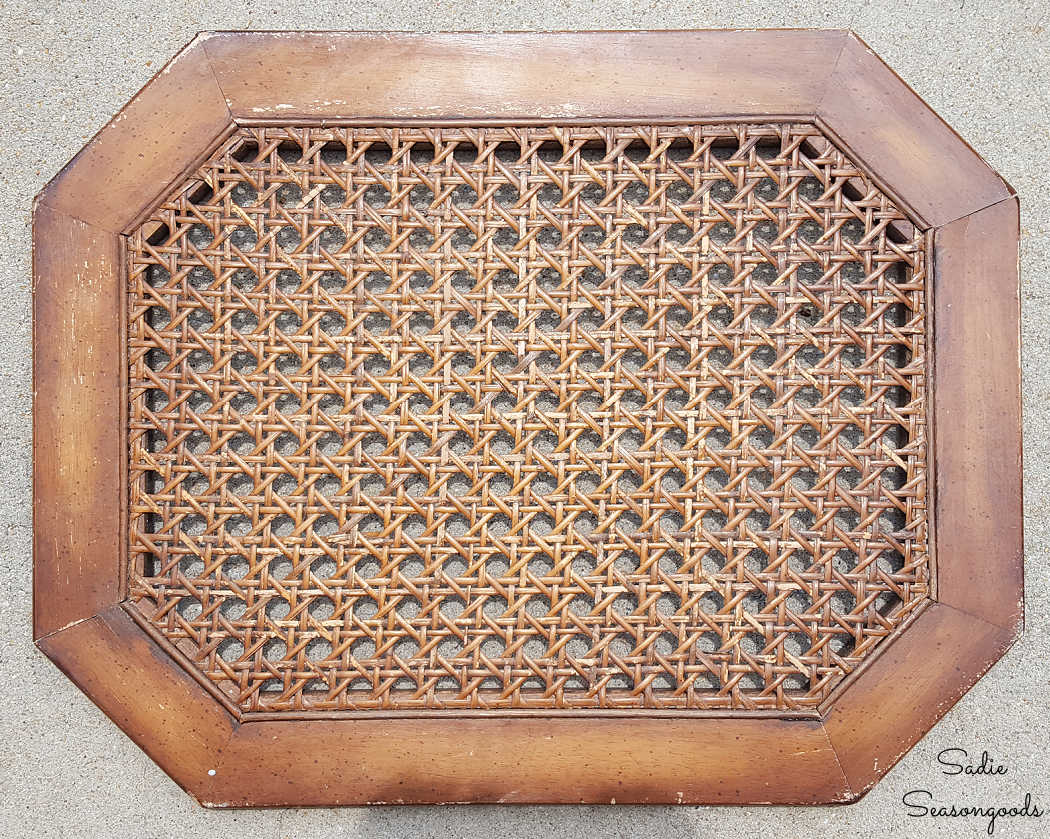
It very clearly needed to be stabilized. So, I turned it over and screwed in mending plates at each joint.
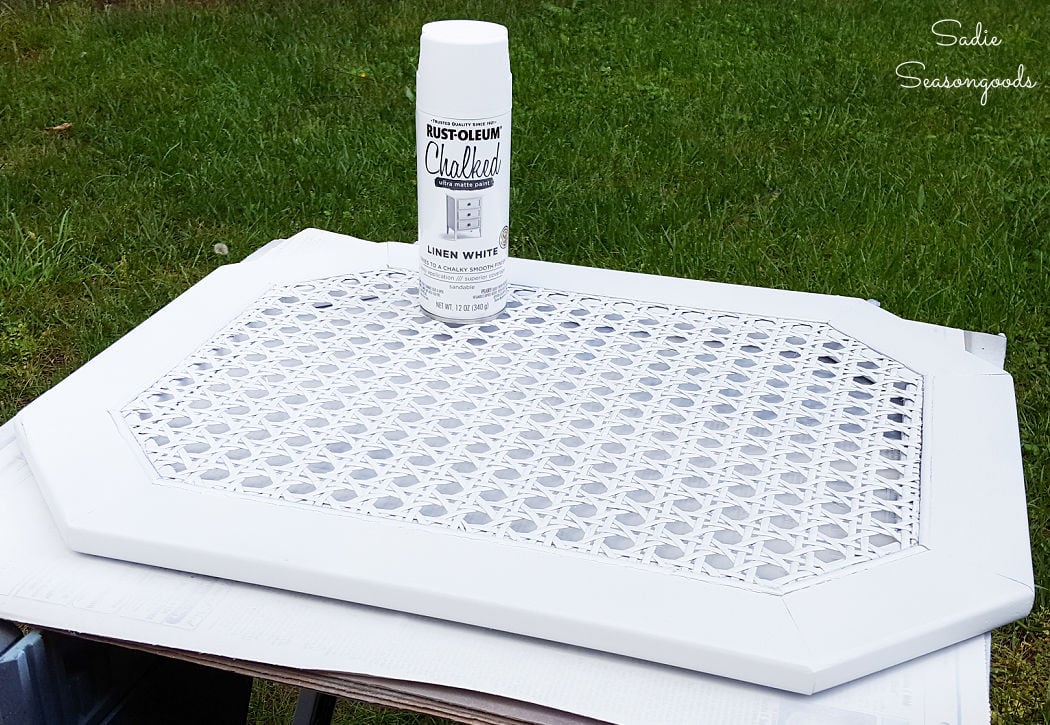
Next, I grabbed some spray chalk paint in white and gave the entire thing a fresh makeover. Because it was already scratched up from being on the roadside, I didn’t sand it first.
After the paint dried, I distressed it along the edges to give it some contrast and buffed it down with wax.
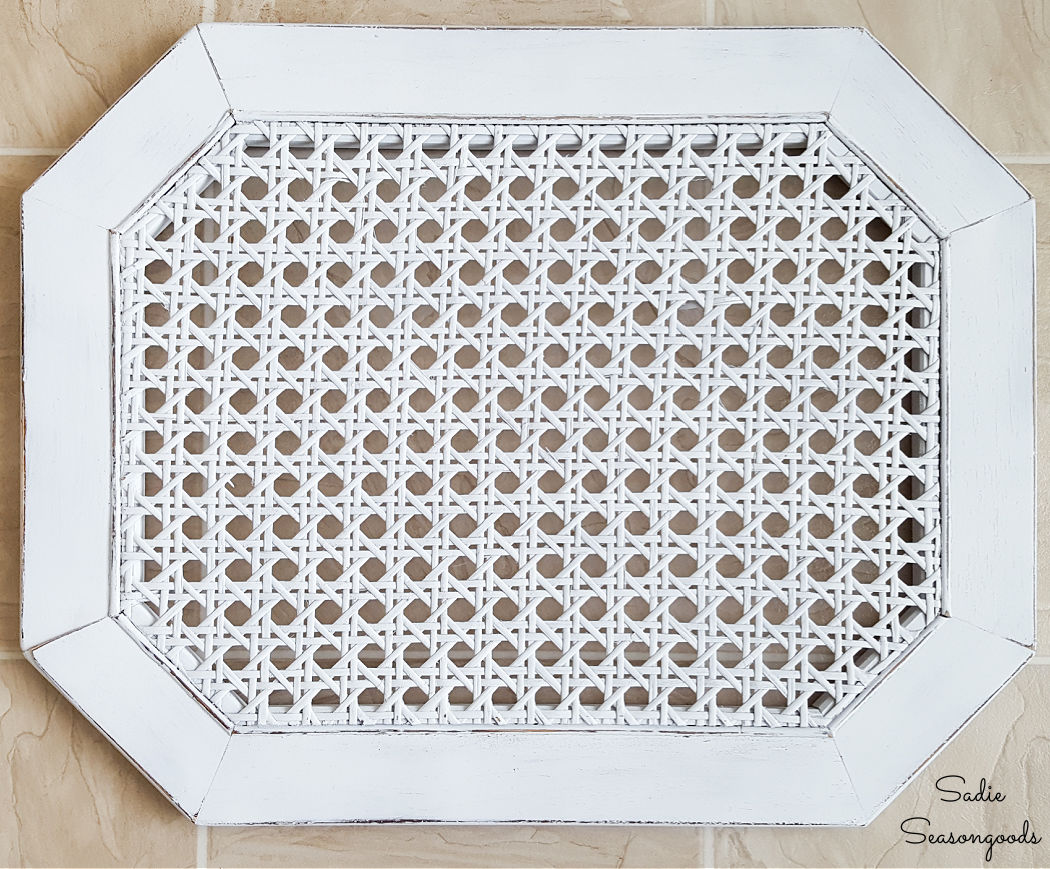
NOW I could start on the American flag cross stitch that I had envisioned in my mind.
American Flag Cross Stitch with Yarn
Then came the scary part: designing my own cross stitch pattern. The last time I did oversized cross stitch, I teamed up with Flamingo Toes! But this time, I was going at it solo.
I pulled out some graph paper, counted out the grid on the cane side table, and replicated on the paper. Then, I used colored pencils to create an American flag pattern!
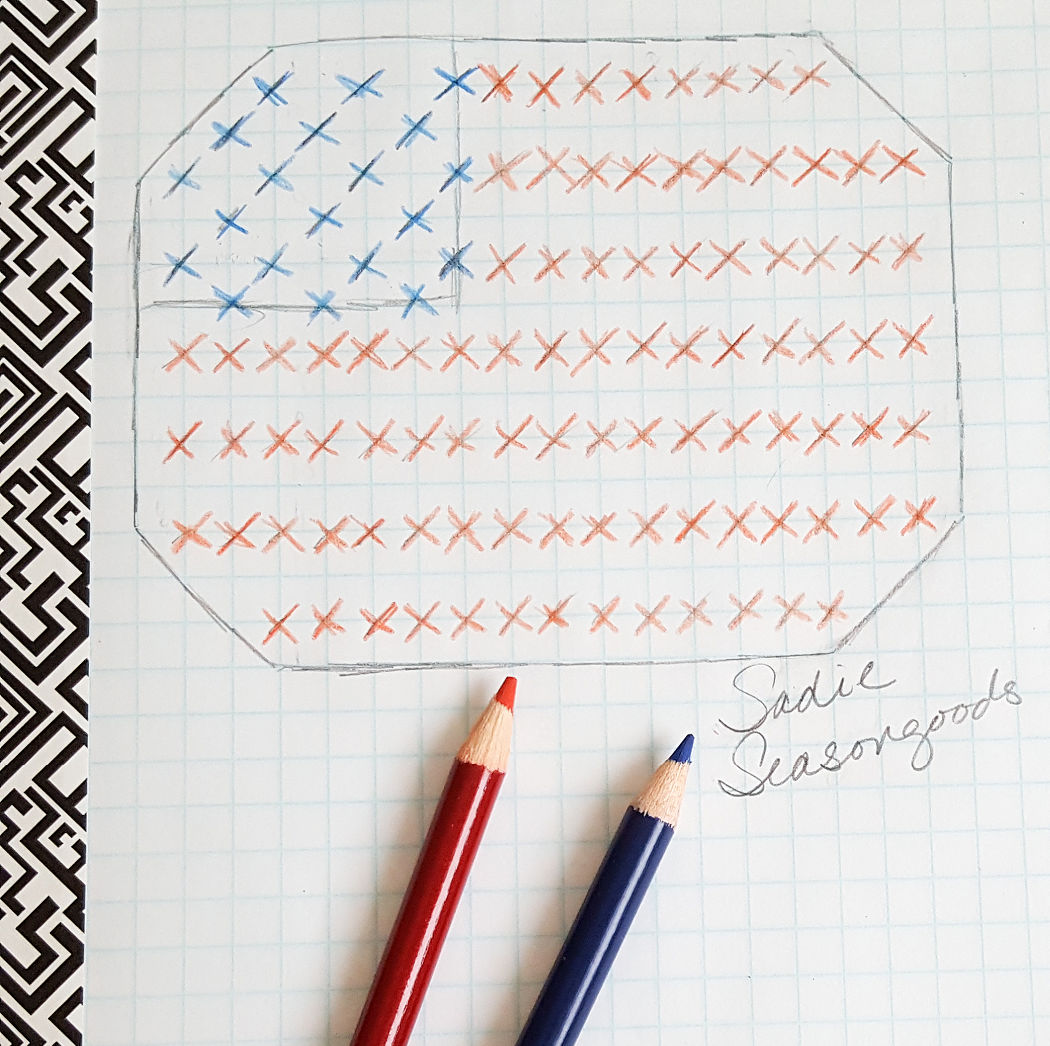
I already had red and blue yarn, so I went to town on the cane webbing to bring my American flag cross stitch to life. I used a little painter’s tape on the end of my yarn to make it easier to insert the yarn through the pressed cane.
First, I worked on the red stripes…
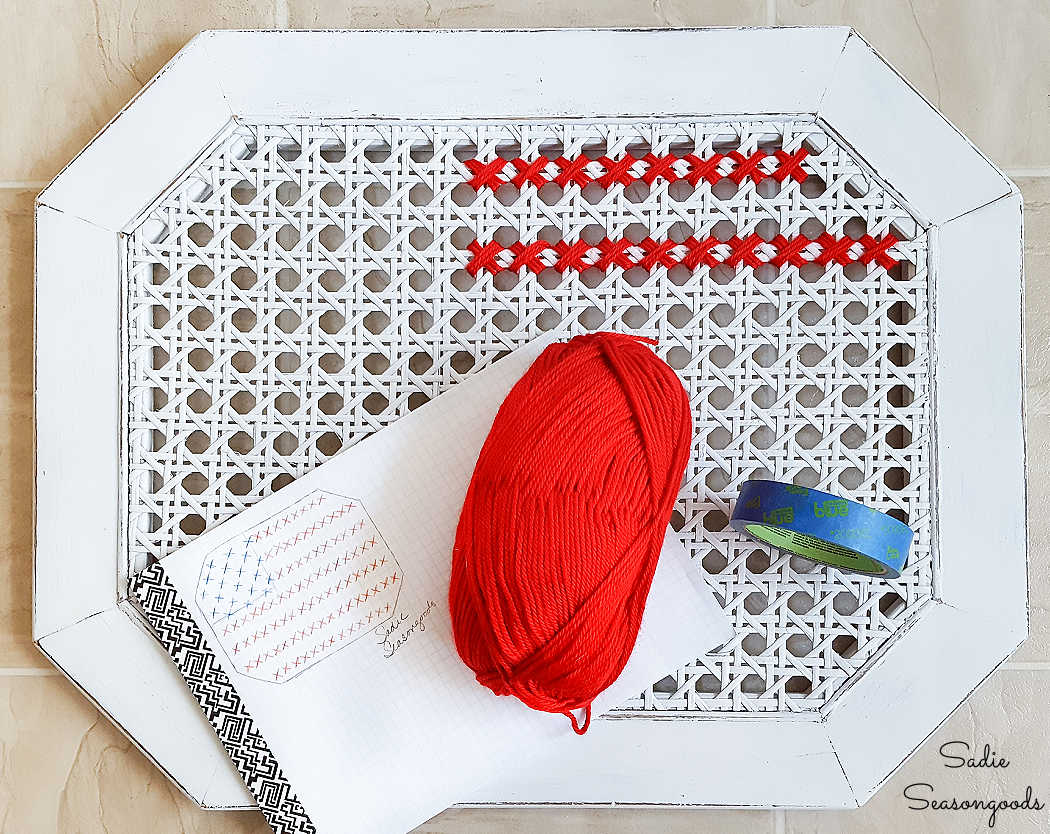
I followed my self-drawn pattern for American flag cross stitch until I was done with the red “stripes”.
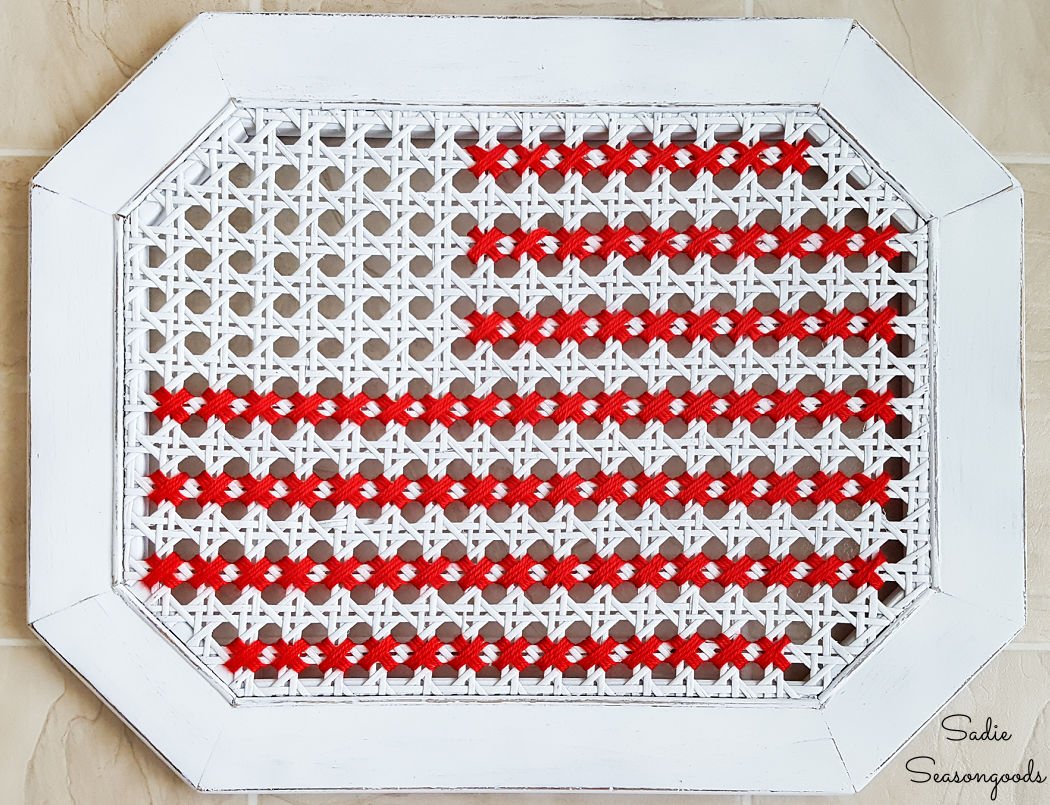
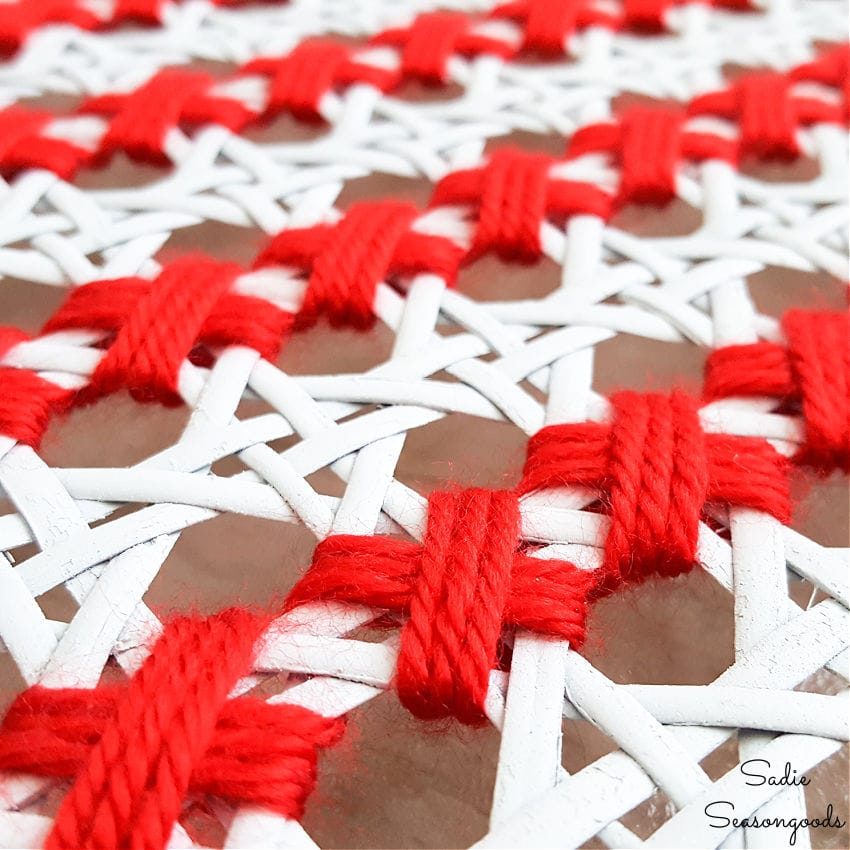
Because I used regular yarn and not thick or chunky yarn, I did a triple cross stitch across the cane webbing. Yes, that slowed down the process, but to me, it was worth it!
Lastly, I finished out my American flag cross stitch with the blue yarn to add the “stars”. Ready to see how the entire thing turned out?
American Flag Cross Stitch on a Cane Side Table
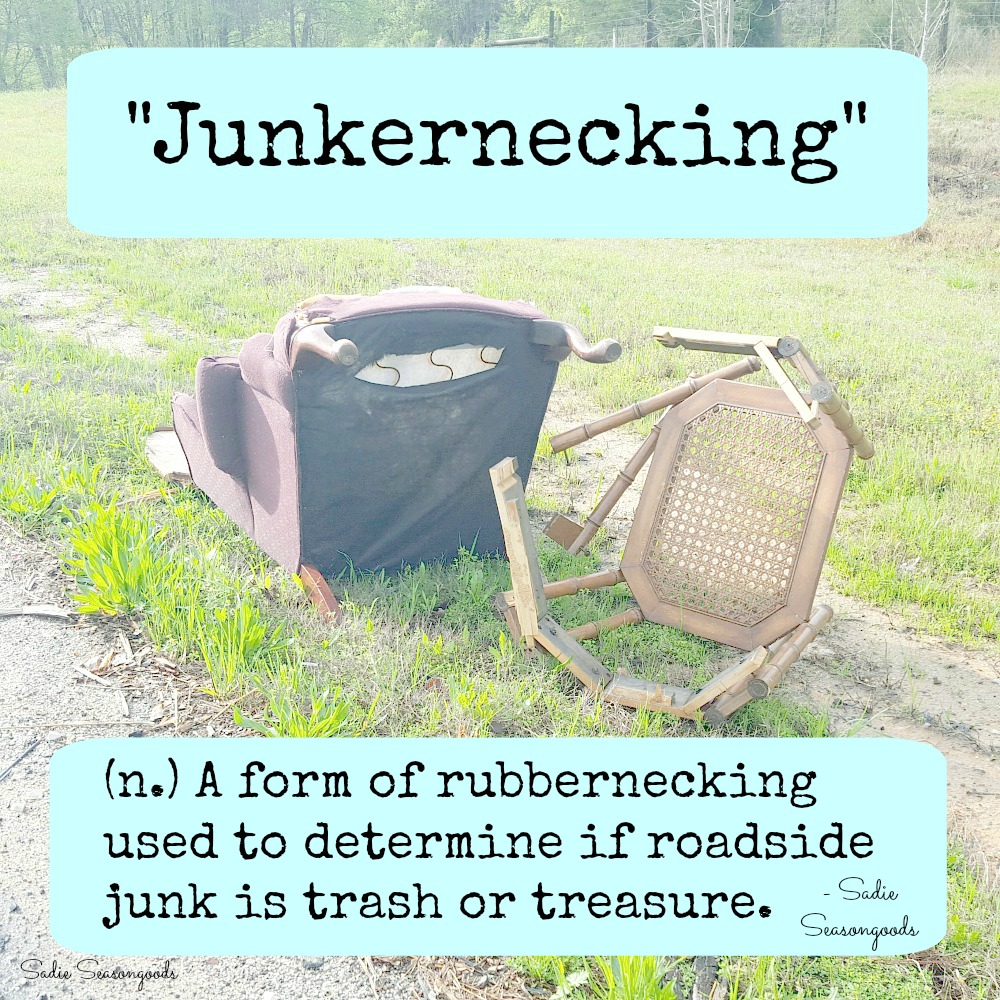
Ta-da! American flag decor with yarn cross stitch on a cane table. Literally a trash-to-treasure project that started with a roadside find.
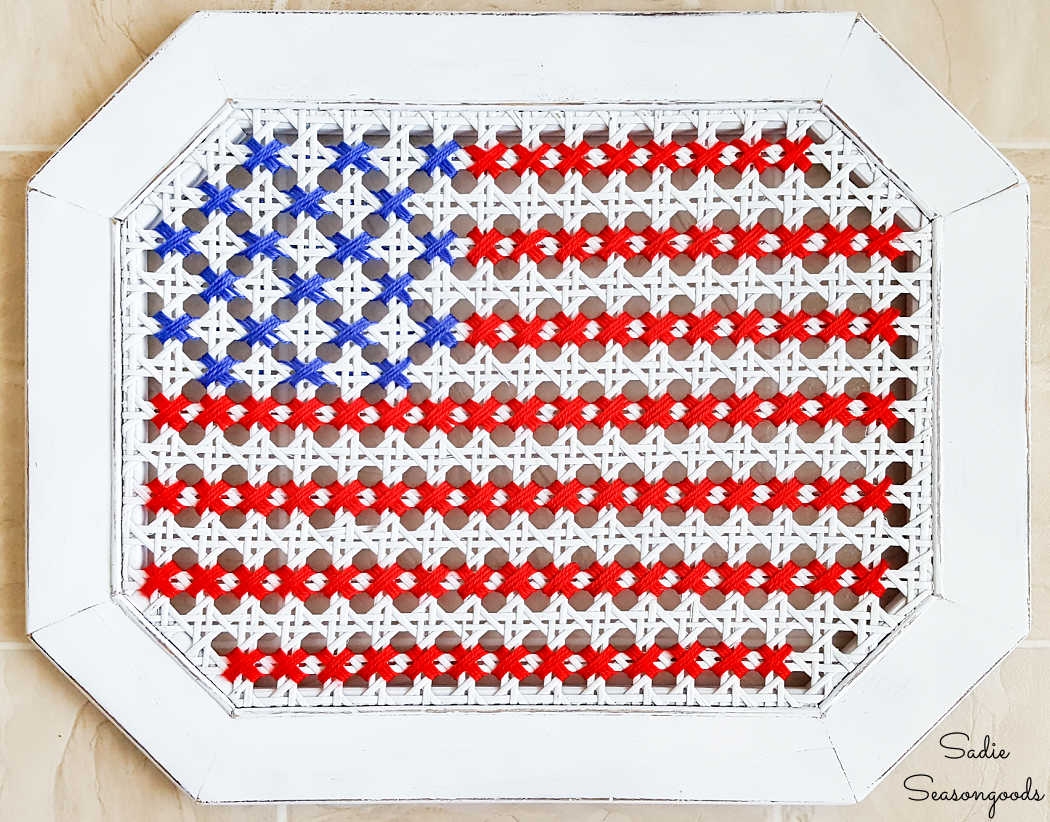
Isn’t that so cool? Hard to believe it started out as a broken table on the side of the highway – talk about being at the right place at the right time.
Now I have American flag decor that I can use for the patriotic summer holidays or really, all year long.
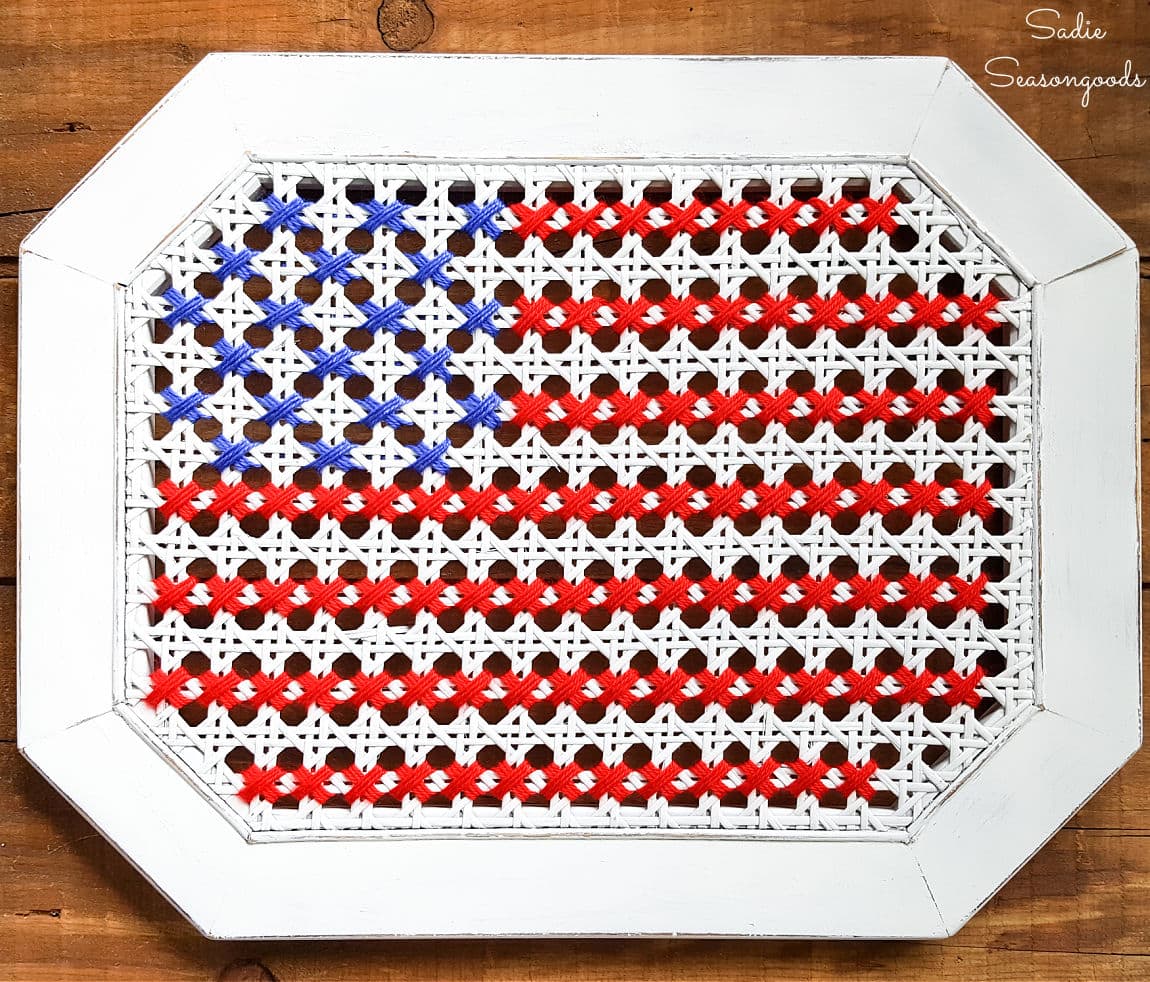
And if you’ve ever wondered where the word “junkernecking” came from, I created it as a meme to share on my Facebook page!
And if you enjoyed this upcycling idea for patriotic wall decor, then you’ll love how I repurposed this cabinet door from Habitat ReStore, too!
I’m also very excited to announce that my first book is now available! If you love working with flannel or fabric crafts in general (sewing and non-sewing), then you will LOVE “Crafting with Flannel”!
Craft on!
S
Want to be notified when I publish my next upcycling project tutorial?
Join me on Social Media:
PIN ME!
Sarah Ramberg is the owner of Sadie Seasongoods, a website that celebrates all things secondhand. From upcycling ideas and thrifted decor to vintage-centric travel itineraries, Sadie Seasongoods is a one-stop shop for anyone who loves thrifting and approachable repurposing ideas. Sarah is also the author of “Crafting with Flannel” and has been featured in numerous media outlets and magazines.






What a fabulous idea!
Thank you!!
Ok that is really creative and thinking outside the box!
Thank you so much!
What a great idea! It would have taken me forever to figure out what to do with it, but you did great with it! Where you gonna put it?
Good question!!! I don’t know yet, LOL.
Love this idea and a perfect repurpose of a roadside find!
Thank you, Sharon!
Thank you for sharing at Vintage Charm this week.
Awesome!
Thank you!
How fun! I haven’t done cross-stitch in decades, let alone on a piece of roadside “treasure”! Visiting from Vintage Charm.
Thank you so much!
Oh Sarah I love it!! It is so darling and what a fun way to give that old table new life. Yay for saving furniture!! 🙂 Now I need to hunt up an old table or something – doing a cross-stitch flag is genius!!
Thank you, darlin’!!!
So clever, and fortunate that it has just the right number of rows!
Crafting kismet, I tell ya!
I love it! I’ve been wanting to try over sized cross stitch too, I’m on the hunt for a cane piece to use!
Tania
Thank you so much!
Very, very nice. I love how you recreated the old table and make a piece of artwork. And you are so right a flag is just right for this time of year.
Yes indeed!
Awesome job! I love what you created from what most would toss away.
Thanks, Paula!
What a creative and adorable repurpose for this piece!
Awww, thank you so much, Angie!!
Cute idea Sarah! You amaze me every week 🙂 Thanks for sharing at Snickerdoodle Sunday! Pinned to share.
Thanks, Laurie!
Omgosh, this is so adorable! I can’t believe you saw this on the road and came up with such an amazing project. Thanks for sharing at Merry Monday this week!
Thank you so much, Marie!
That is such a wonderfully creative idea, I wish I had your brain power. I wouldn’t thought of that! lol Thanks for joining the DI & DI Link Party, love seeing your posts!
I wouldn’t have seen this coming! How clever! Thanks for sharing with us at the Throwback Thursday Link party!
Mollie
Very creative! I am so amazed of your continued creativity! I will try to see more possibilities in those roadside finds in the future. I have pinned this one to my Fourth of July board. Thank you so much for sharing over at the Celebrate Your Story! link party.
Sarah, this is such a cool repurpose!! How nice that you were able to salvage part of the chair! It looks great as a flag!
This is such a creative idea! I love it!
I CAN ONLY SAY THAT I AM SO PROUD OF YOUR INGENUITY AND CREATIVITY!!!!!!!!!!!!!!!!!!! GOD BLESS OUR COUNTRY AND FOLKS LIKE YOU!!
Thank you for being a good citizen and rescuing that table!
This is awesome. Great job.
Thank you, Missy!!
Wow – what a great idea!! I always see those chair bottoms thrown, and now I can make them into something amazing!! Love it!!
Thanks, Jamie!
I just ADORE this…trash to treasure are my favs!! I’ve chosen your post as one of this week’s Friday Favorites, swing by and say hi!! http://leroylime.blogspot.com/2016/05/friday-favorites-week-322-4th-of-july.html
Awesome, thank you so very much!
Awesome! I totally love it, fun cane chair.
I pinned it. Thanks for sharing.
FABBY
Thank you, Fabby!
It’s like this was just waiting for you to transform it 🙂 And what a perfect decoration for Memorial Day & July 4th.
Thanks so much, Erlene!!
This is incredible! You did a fabulous job of bringing that roadside rubble to life. Thanks for linking your project up with us at the Creative Circle <3
Oh gosh…what a cute idea! 🙂 Love it!
I’d love for you to share it with my Recipe and Crafts Facebook Group: https://www.facebook.com/groups/pluckyrecipescraftstips/
Thanks for joining Cooking and Crafting with J & J!
Thanks, Jess!
So beautiful! Just in time for Memorial day too!
Thanks for linking up with Welcome Home Wednesdays! Live every Wednesday at 7AM EST.
liz @ j for joiner
Thanks, Liz!!
This is so awesome & such a creative cross stitch project! Thanks for linking up with Creative Spark last week; your project was our most-clicked! Hope you’ll come by this week and link up again 🙂
Thank you so much!
Had to pin this!! You come up with some of the best ideas! Thanks for sharing on the Pleasures of the NW’s DIY party!
Thank you so, so much, Helen!
This is a cool project, love the way it turned out. Thanks for joining the Family Joy link party!
Thanks so much, Samantha!
That is so creative. Thanks for sharing at http://www.fabifabu.com/2017/06/11/inspiration-galore-party-37/
Thank you!!
And you even sketched it out, my shero!!! I thought of you yesterday while at the thrift store. I picked up an old wooden bread box. It was $4 and in very good shape. I kept thinking, “what would Sarah do with this?” I’m kicking myself now because I put it back. I knew I wouldn’t repaint it nor do I have room to store it. Darn it!
Thank you, Sandra!! I bought an old bread box, too, but I’ll be giving it to my mother-in-law for their cabin. LOL- it’s fun to thrift & junk knowing you can fulfill your treasure-hunting desires and hand off to other people, LOL!
Most original idea I’ve seen in blog land in a long time. Adorable
Thank you so very much, Gail!
Great project… such a good idea and it looks wonderful! 🙂
Thank you so much!
Wow- that is really thinking outside the box- brilliant!
Thanks, Liz!
A very clever repurpose!! Love it!!
How cool! I would have never thought about using cane as an oversized cross stitch grid.
Thanks so much!!
WOW! Just goes to show you’re only limited by your imagination! Super work!!!
What a cute idea, I am not quite that cutesy, but it would look good painted a color to match your decor, finish off the back and use it as a centerpiece for a table or even put it on a patio table, maybe a lazy susan put on the back for turntable condiments
So many potential ideas, right?? Thankfully, there are lots of cutesy people out there as my flag sold within minutes of my post going live! 🙂
Love this idea of stitching the flag on cane!!
How do you secure the thread when you begin and end a row?
Thank you 🙂
Thanks, Amanda! I just did my best to weave the tail back under the stitches- nothing fancy!