When you find a wonderfully old, heavy cutting board at the thrift store, it’s hard to pass it up. But what if it’s SO well-loved that it borders on “gross”? Well, that’s what happened to me recently at Habitat ReStore. And I knew that cleaning this old cutting board would require some effort.
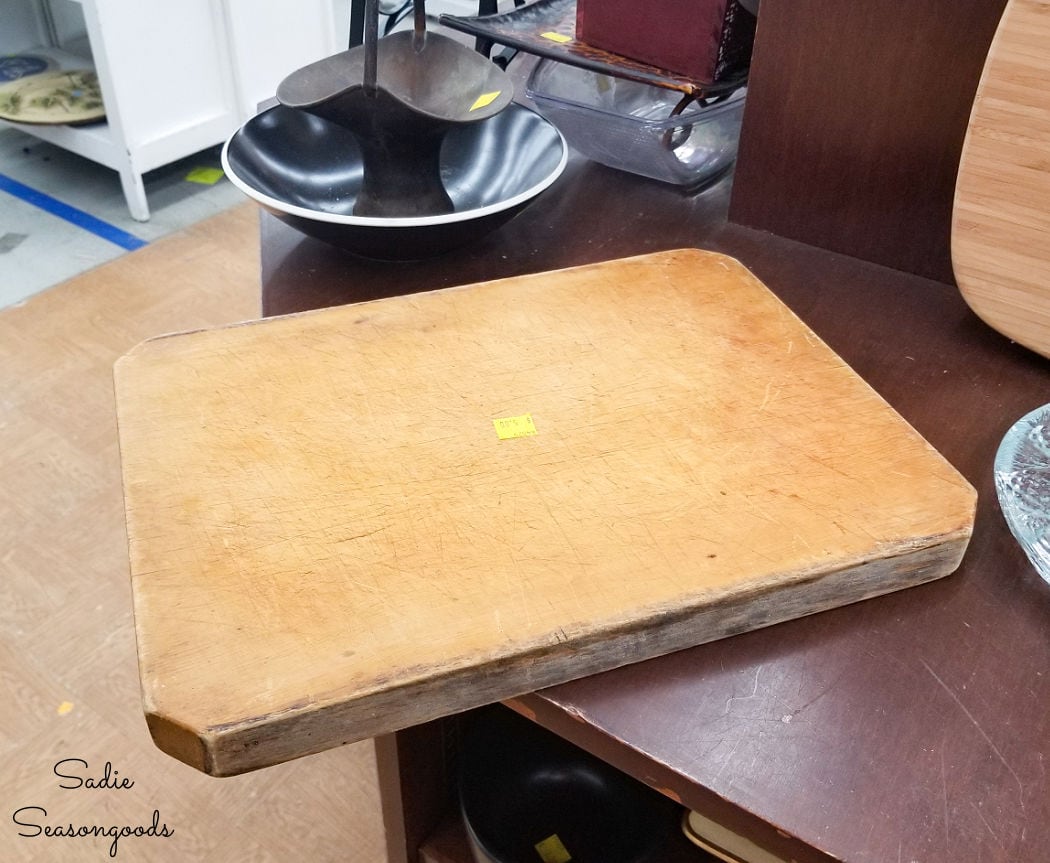
Image credit: Sadie Seasongoods.
See what I mean, though? Such a great cutting board- thick and solid with those wonderfully cut corners.
But it just felt grimy to the touch. Like it was thick with the residue of preparing previous meals.
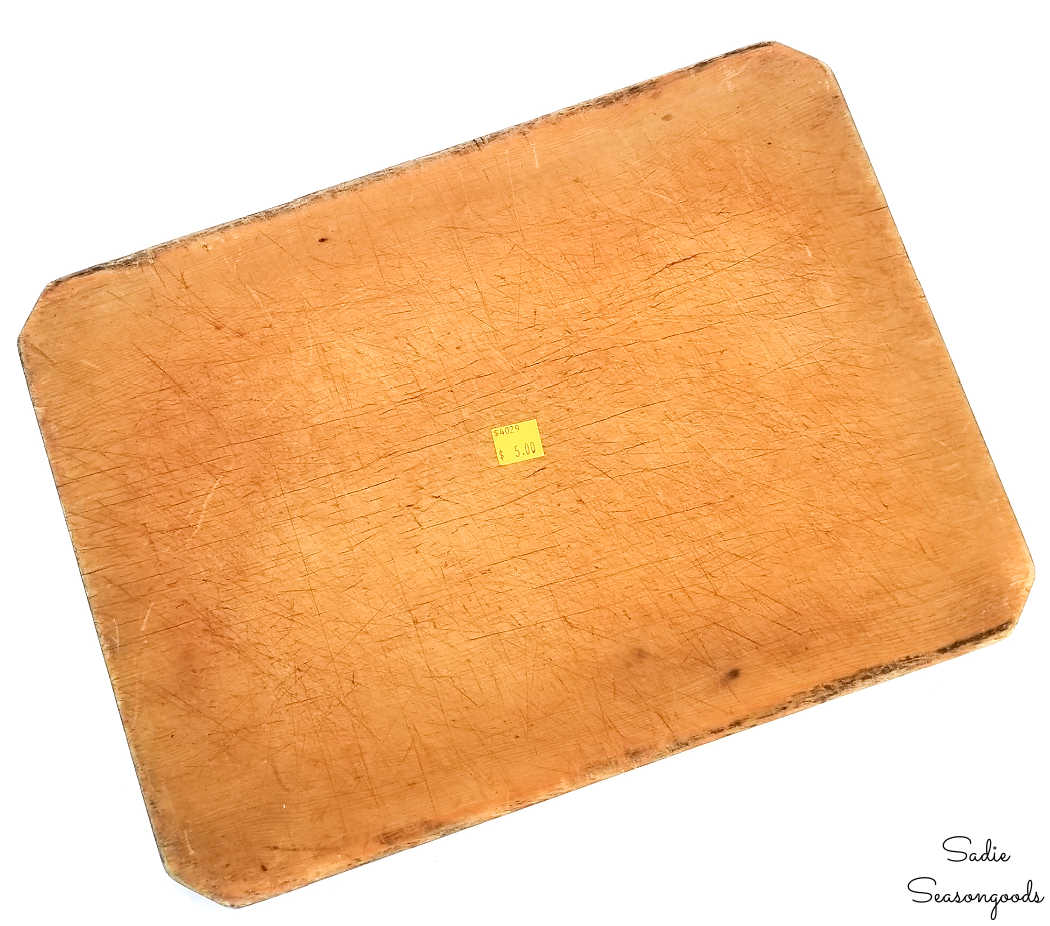
Image credit: Sadie Seasongoods.
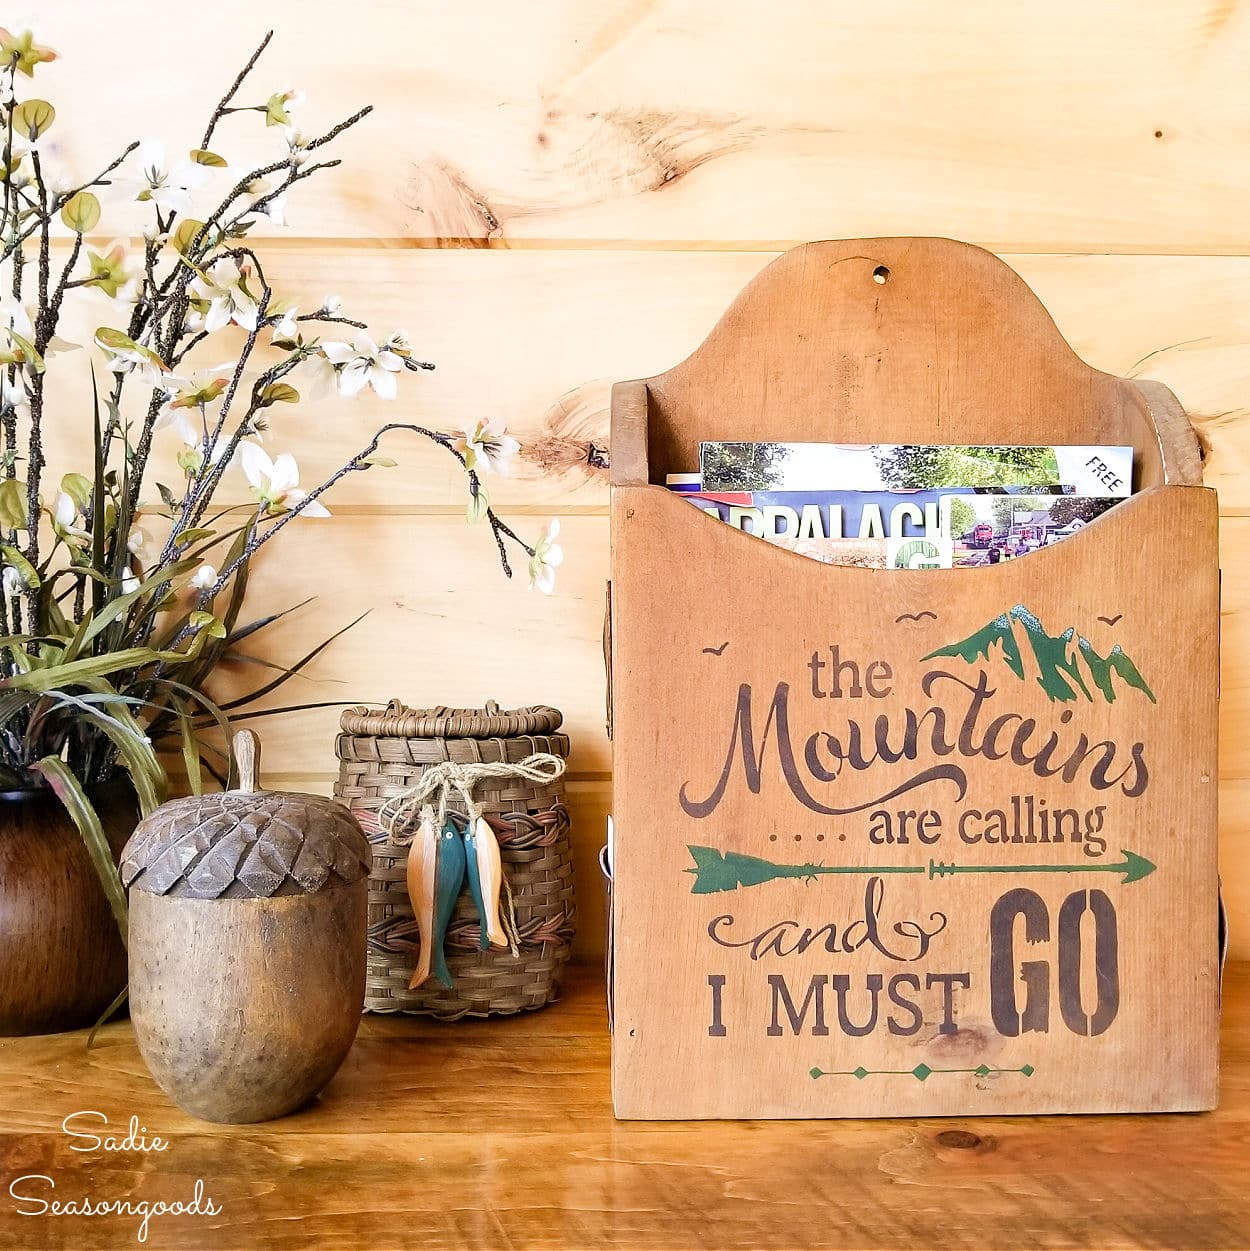
I wanted to make a cabin for my in-laws’ mountain cabin, which used to be available for rent. You may recall some of the other projects I’ve made for it, such as this brochure holder!
Anyway, I decided to focus on cleaning this board to make a rustic sign for them. It just seemed perfect for that!
This post contains affiliate links for your crafting convenience. As an Amazon Affiliate, I earn from qualifying purchases. All blue, bold, and underlined text is a clickable link, either to a product or to a related post.
Cleaning an Old Cutting Board
Under normal circumstances, I’d just do some sanding on a cutting board before upcycling it. But I knew that wouldn’t be enough for this fellow.
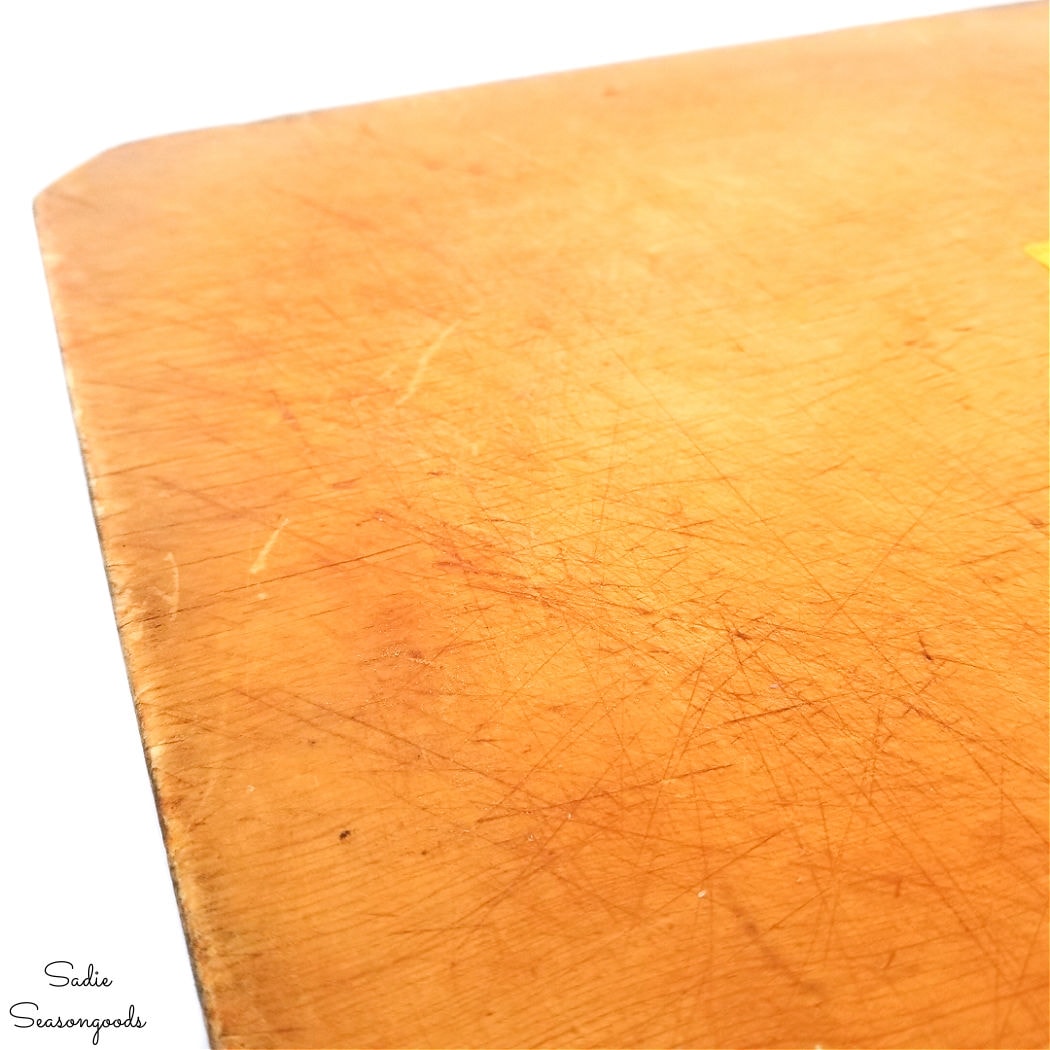
Image credit: Sadie Seasongoods.
First, I started with some basic kitchen supplies: baking soda and a lemon.
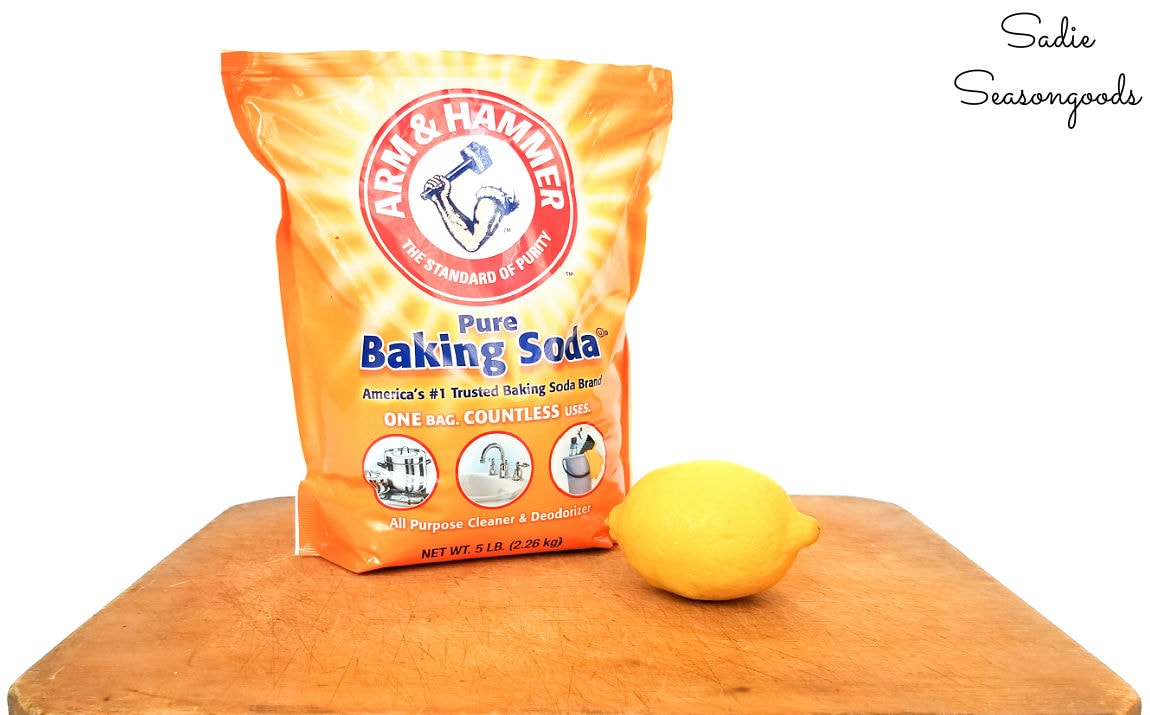
Image credit: Sadie Seasongoods.
Pairing up these two would help degrease the board. So, I sprinkled some baking soda over the board and cut the lemon in half.
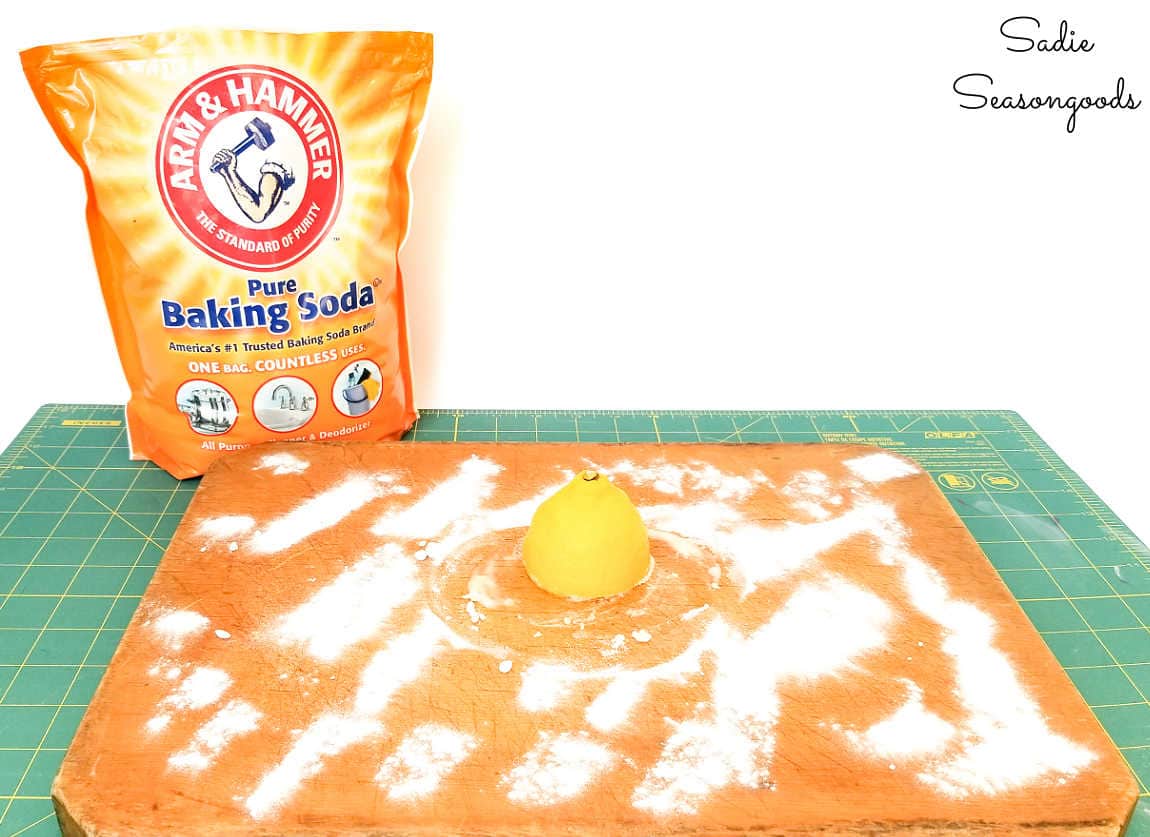
Image credit: Sadie Seasongoods.
Then, I worked the baking soda into the wood with the lemon half. Think of the lemon half as a sponge and the baking soda as soap.
I did this on both sides, as well as the edges. The baking soda and lemon juice reacted to form a clumpy paste, which I simply kept swirling and rubbing against the wood grain.
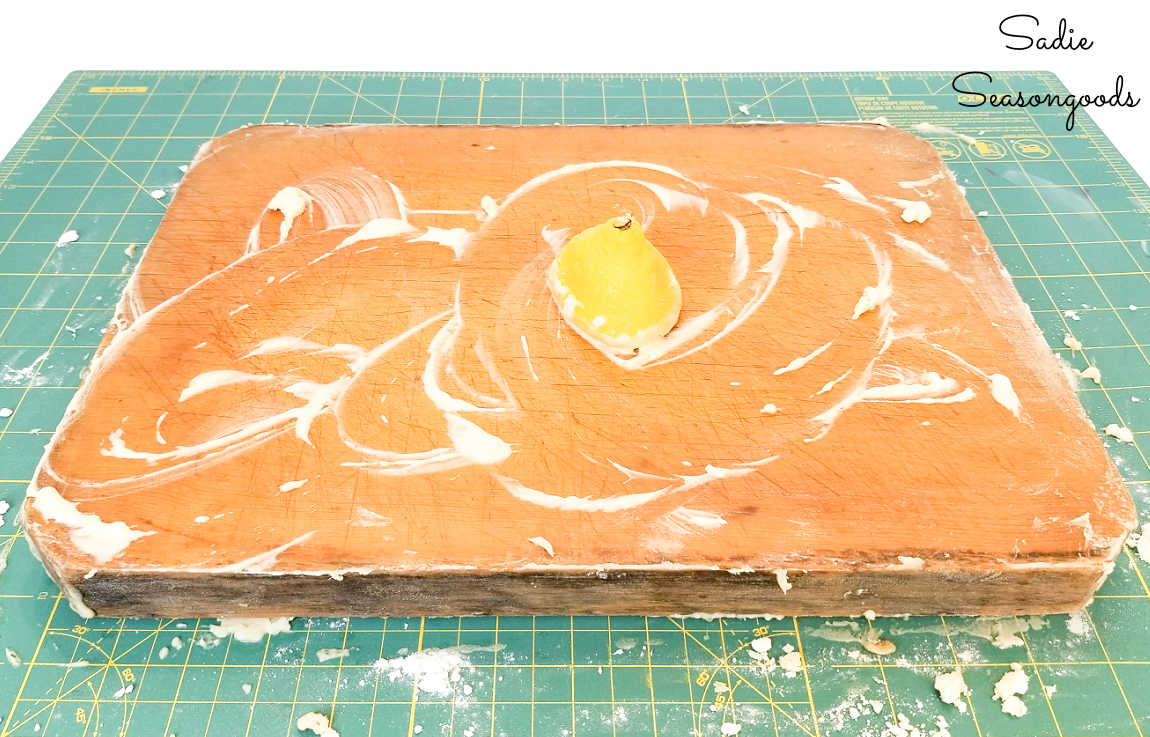
Image credit: Sadie Seasongoods.
I worked the baking soda into the grain of the wood as hard as I could. It was a messy job, but I could see that it was already making a huge improvement.
After that, I rinsed off the board in my sink and scoured it further with dish soap and a copper scrubber.
Making a Cabin Sign
Once the board had dried, it was appreciably lighter in both weight and color!
I decided to sand it slightly (with 120-grit disks) just to have a smoother working surface. But check out how pale it was compared to how it started!
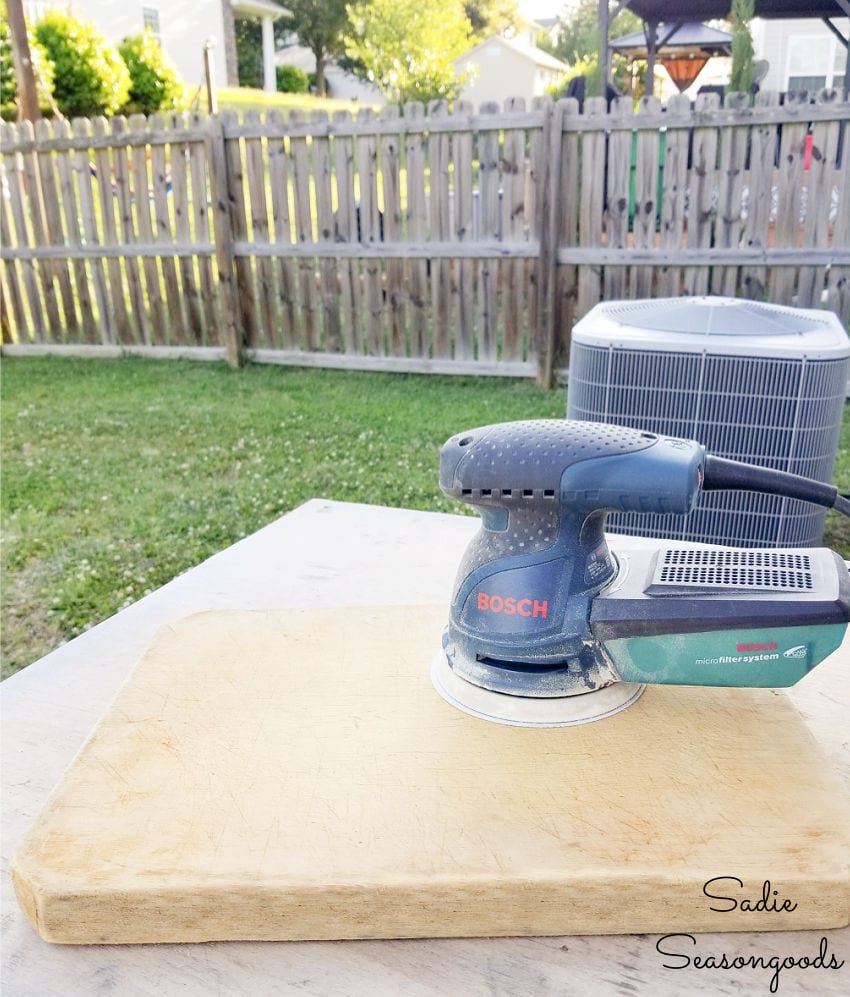
Image credit: Sadie Seasongoods.
When I was satisfied with the smoothness after sanding, I gathered materials to re-stain the board. I wanted a deep, rich color for my cabin sign.
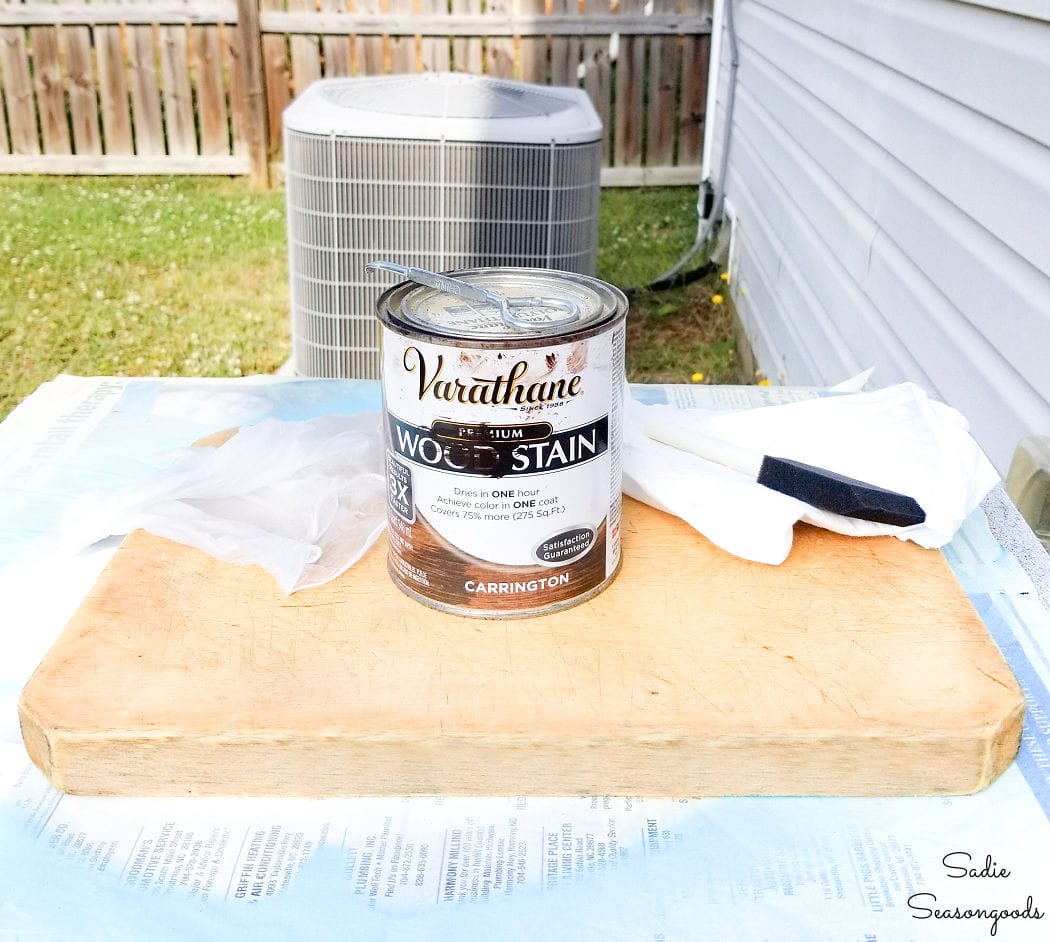
Image credit: Sadie Seasongoods.
When I was happy with the wood stain, I grabbed a stencil from one of my favorite online stencil stores. I also grabbed some white paint, stencil brushes, painter’s tape, and a clean cloth.
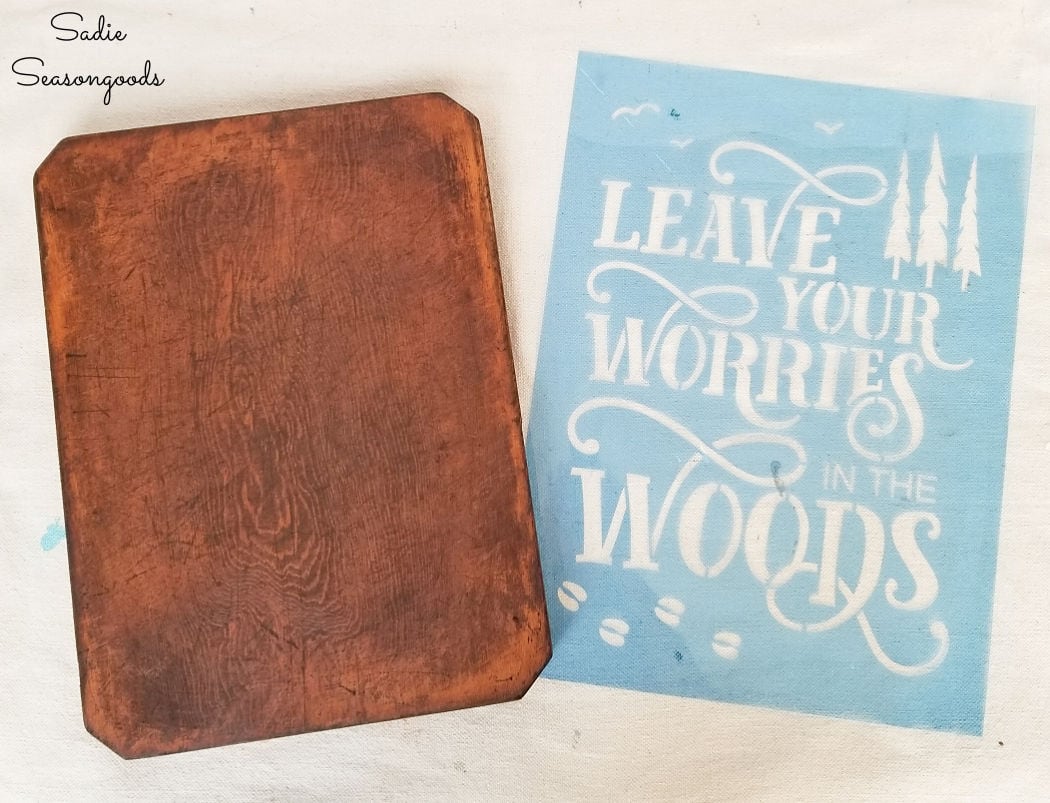
Image credit: Sadie Seasongoods.
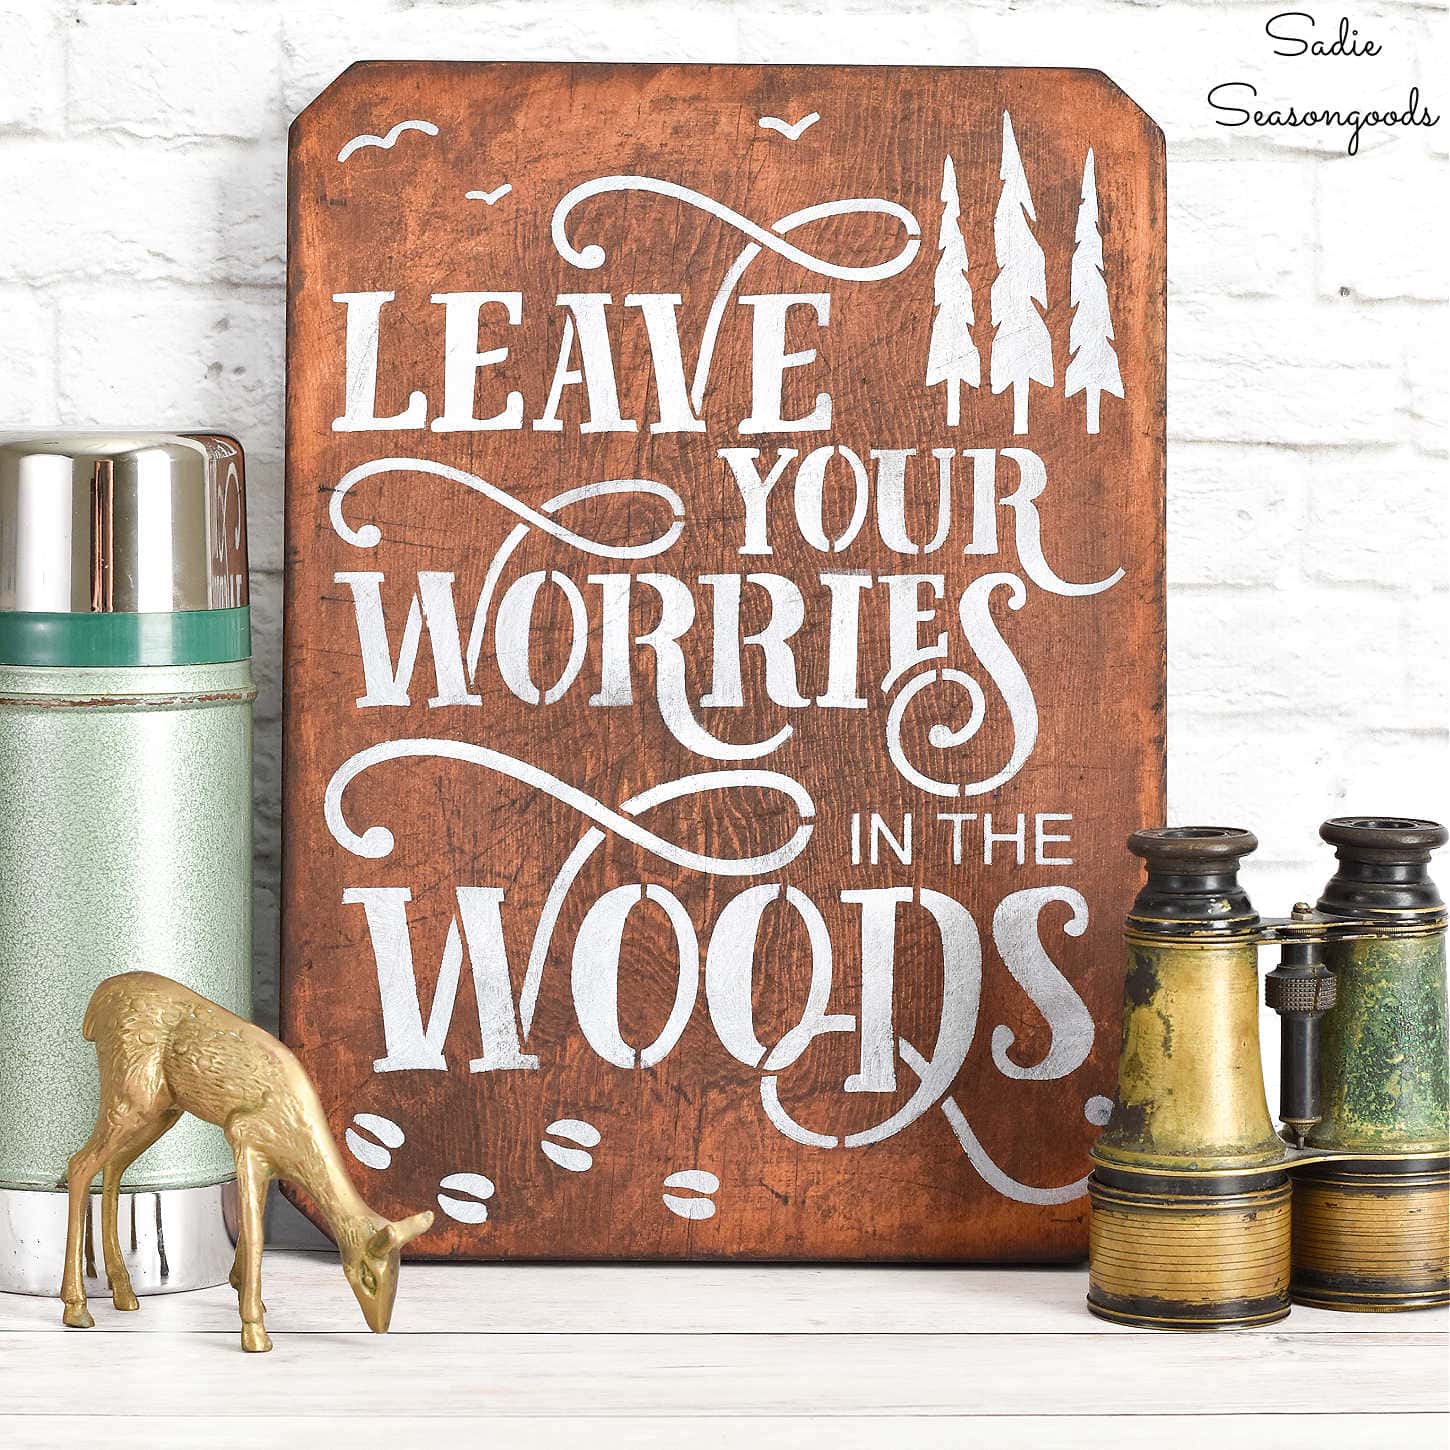
After swirling on the paint over the stencil, I had a delightful cabin sign on the old cutting board!
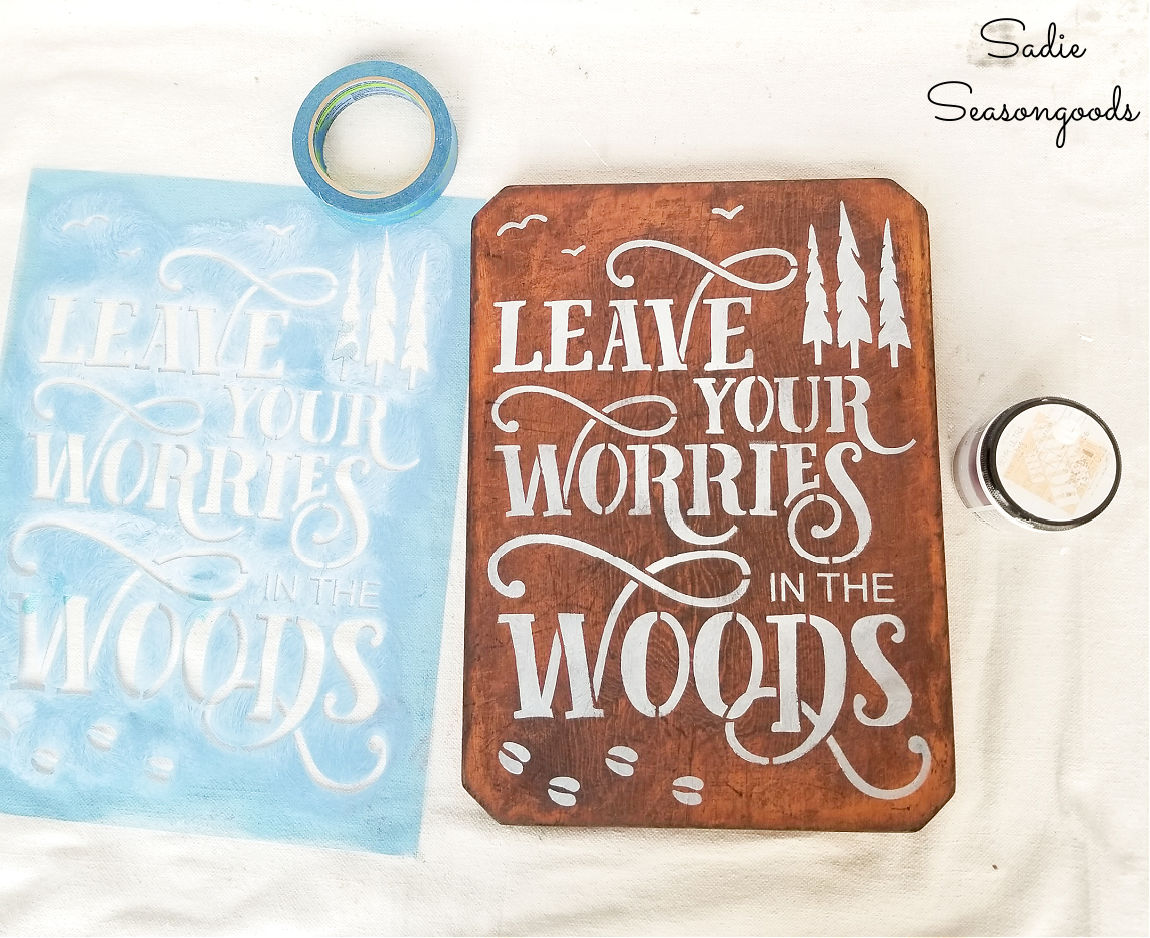
Image credit: Sadie Seasongoods.
From there, I simply brushed some fine sandpaper (320-grit) over the stenciling to give it a more weathered look. And that was it!
Cleaning an Old Cutting Board to Make a Cabin Sign
I just LOVE how it turned out. Cleaning the board required some effort on my part, but I think it was worth it in the end.
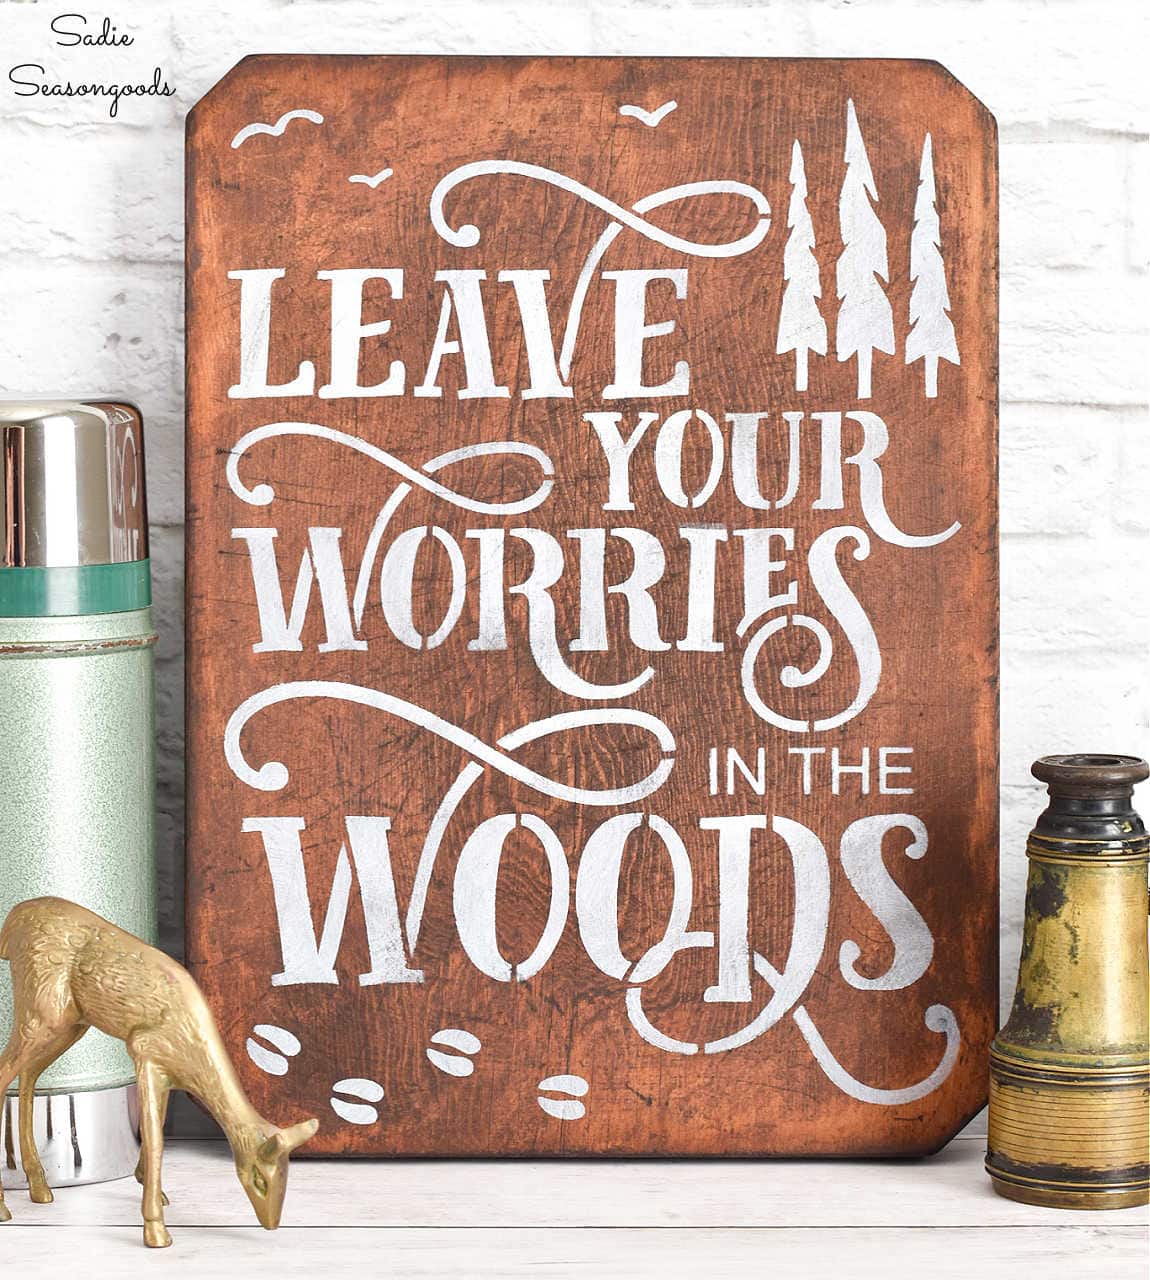
Image credit: Sadie Seasongoods.
Such a great saying, too. Makes me want to go on a leisurely walk in a shady, bird-filled forest!
I hope you enjoyed the evolution of this cleaning this old cutting board to make a cabin sign. Even though they’ve opted to sell the cabin, I’ll still make a few cabin-inspired projects from time to time!
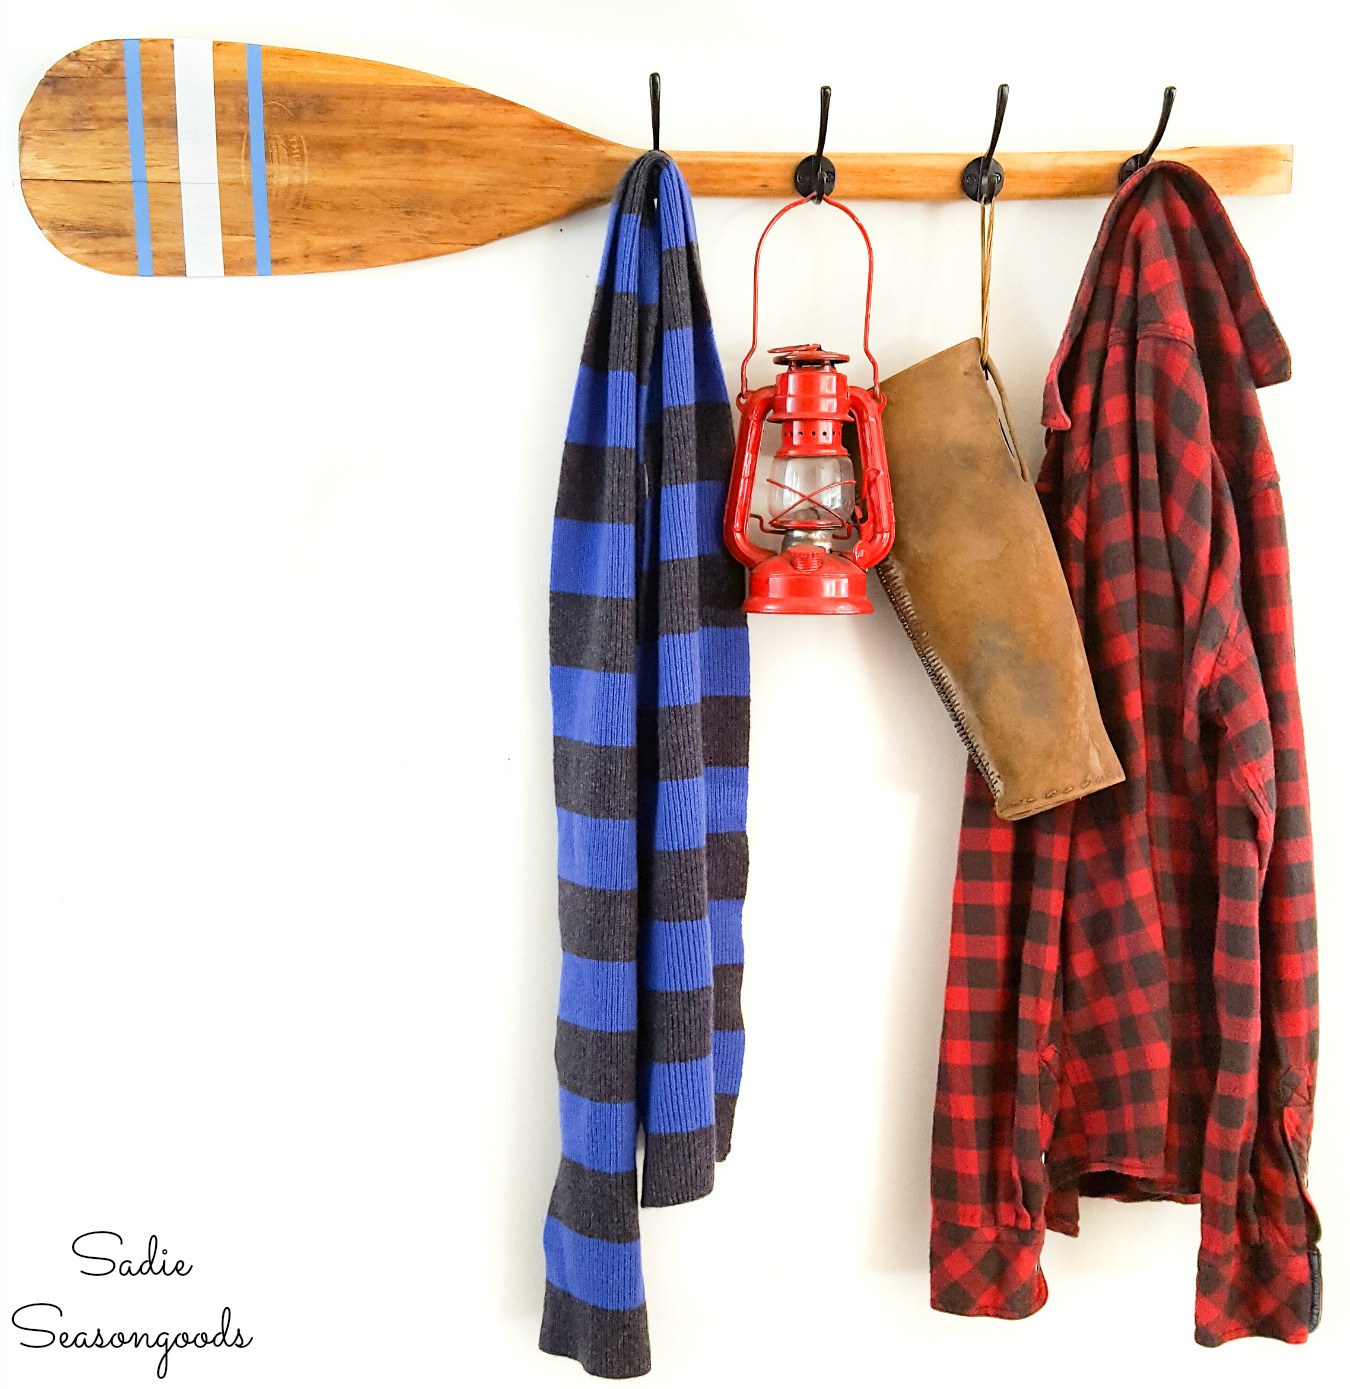
And if you ever opted to stay there, you undoubtedly recognized a few projects of mine! Like this beat up paddle that I rescued and repurposed as a coat rack.
Craft on!
S
Want to be notified when I publish my next upcycling project tutorial?
Join me on Social Media:
PIN ME!
Image credit: Sadie Seasongoods.
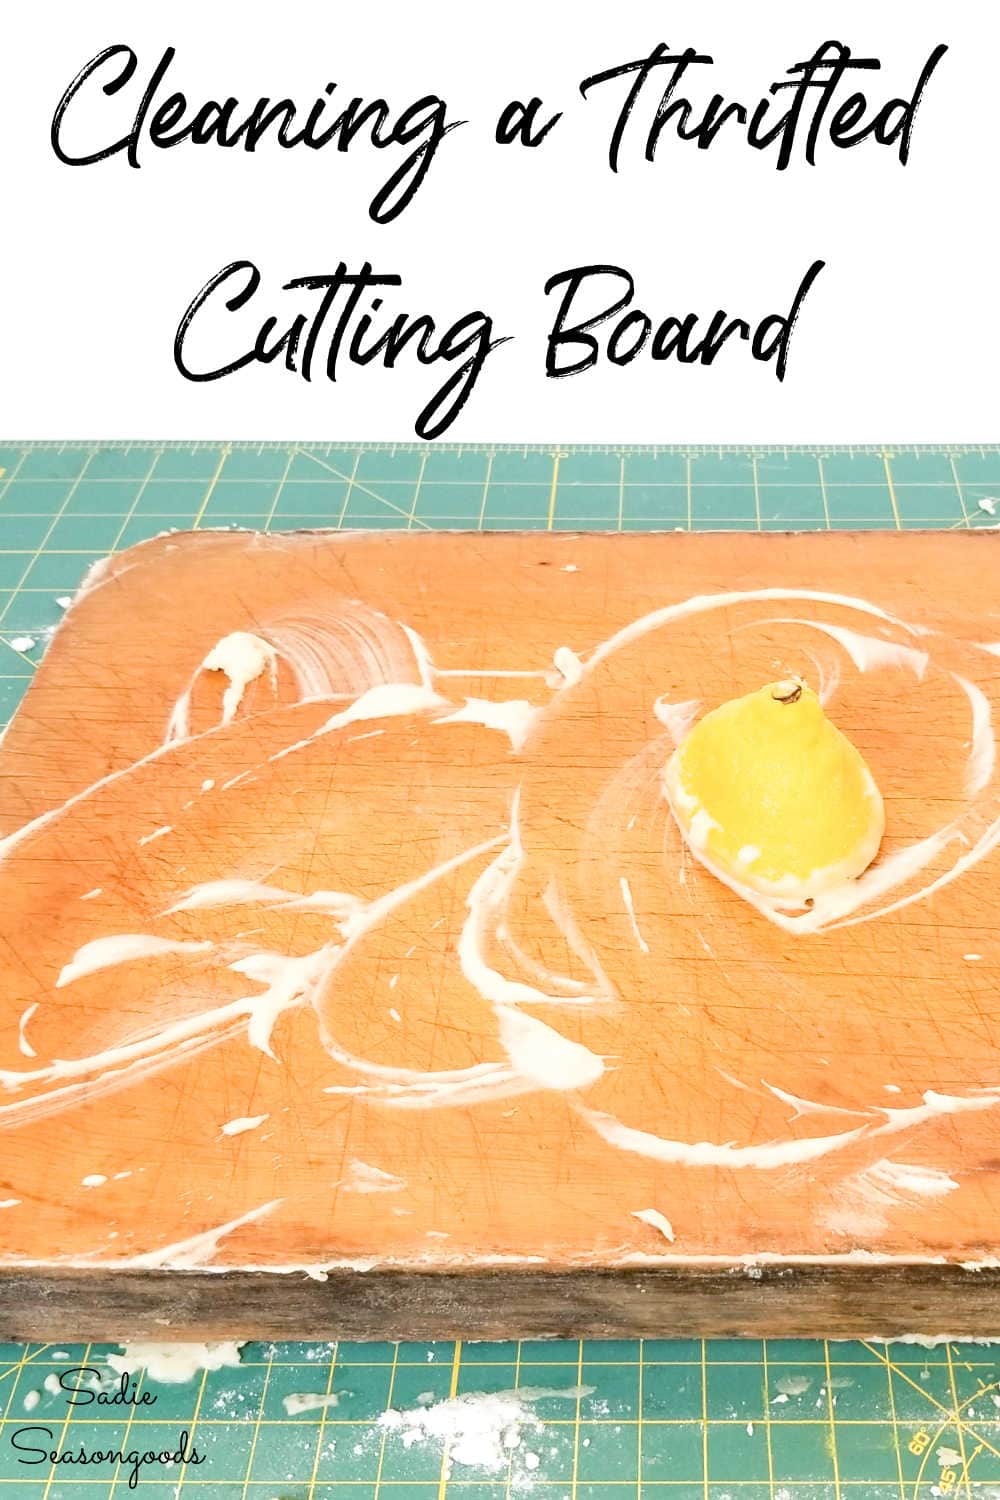
Image credit: Sadie Seasongoods.
Sarah Ramberg is the owner of Sadie Seasongoods, a website that celebrates all things secondhand. From upcycling ideas and thrifted decor to vintage-centric travel itineraries, Sadie Seasongoods is a one-stop shop for anyone who loves thrifting and approachable repurposing ideas. Sarah is also the author of “Crafting with Flannel” and has been featured in numerous media outlets and magazines.


I adore this board sign!! The cabin looks like a wonderfully restful place to visit. Is there something wrong with your Facebook page? I can’t seem to get to it.
Thanks, Susie- no, my page is just fine and others are interacting with it!
Great job! I love it!
Thank you so much!
Brilliant ideas as always. I look forward to seeing your projects every week. Thank you 🙂
You are very kind, thank you!!
Thanks for this tip! I’ve run into cutting boards like this before and have always passed them up… now I know how to clean them! Yay!
Woohoo, time to go thrifting now! Haha.
What a lot of work; but I am so glad you shared the baking soda/lemon tip. I bet your sink drain enjoyed the refresh as you rinsed the board off, too! I think it would be worth lining up several boards at a time to stencil on; you did a great job! And I love to go thrifting when it is hot outside. My house doesnt have a/c but my car does. Nice ride, directly into a/c store; works for me!