I find pieces of Monkey Pod Wood at thrift stores from time to time, but I recently found a couple of them that sparked an idea. Both were scratched up, and with their short little handles, I quickly envisioned them as painted wood pumpkins.
First I found this one. Maybe it’s an apple shape?
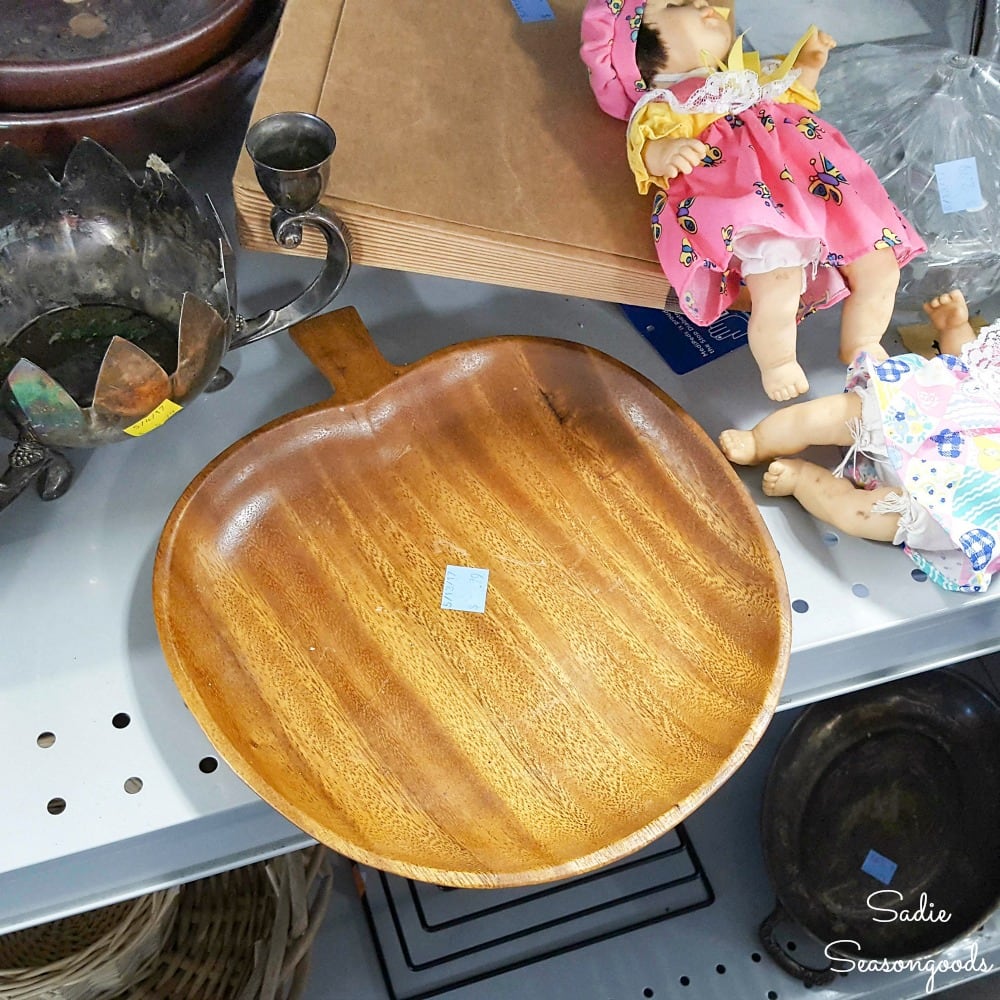
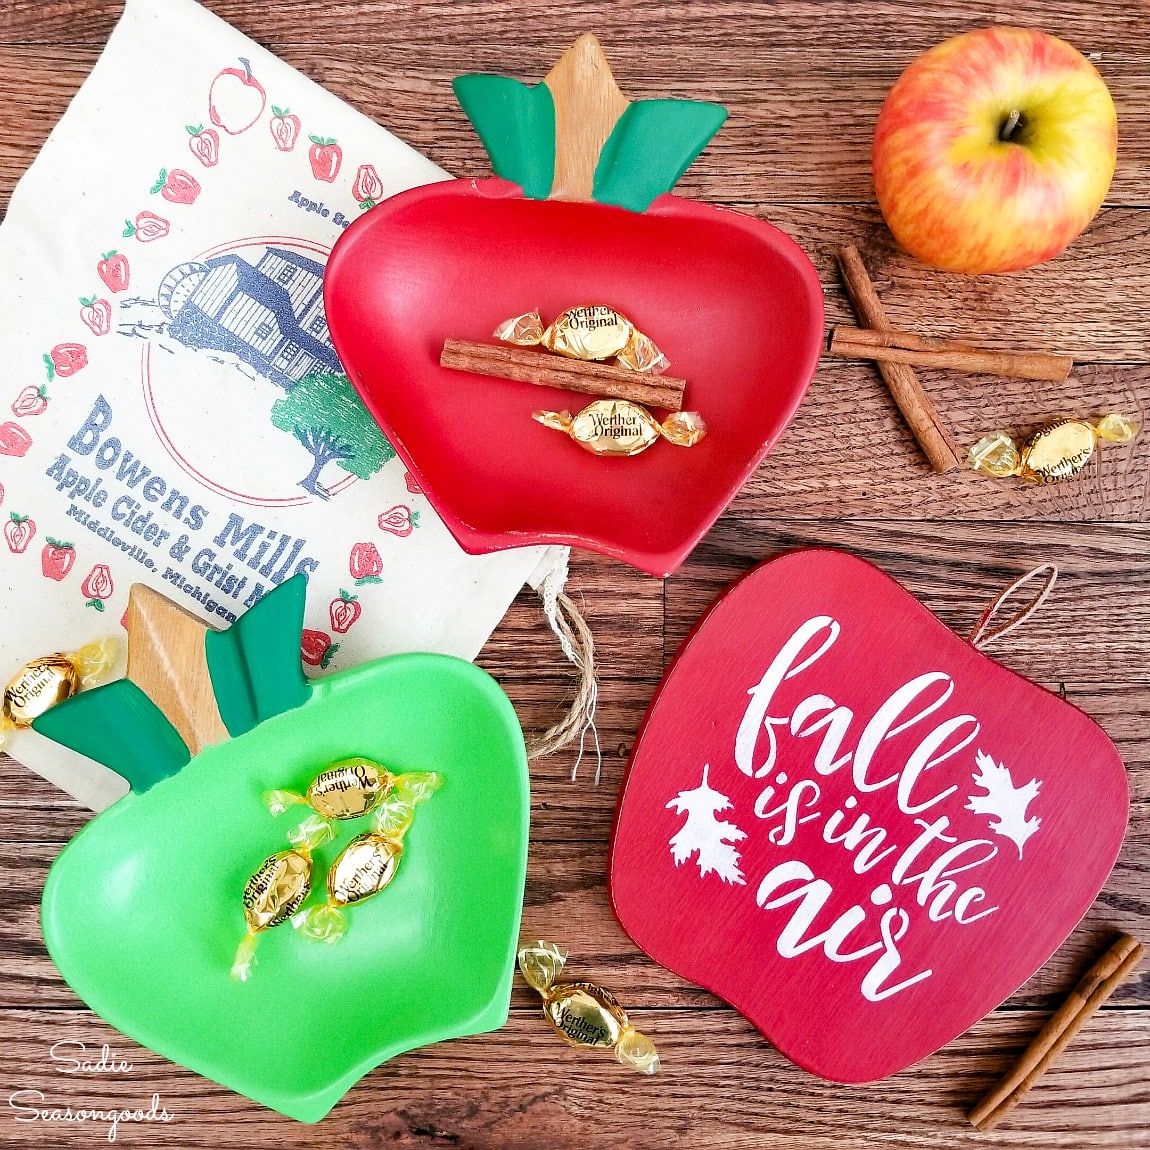
…But I’d already upcycled some monkey pod bowls as apples!
So, let’s just assume that first one I found was a pumpkin. Anyway, then I found this one, which was in far worse shape.
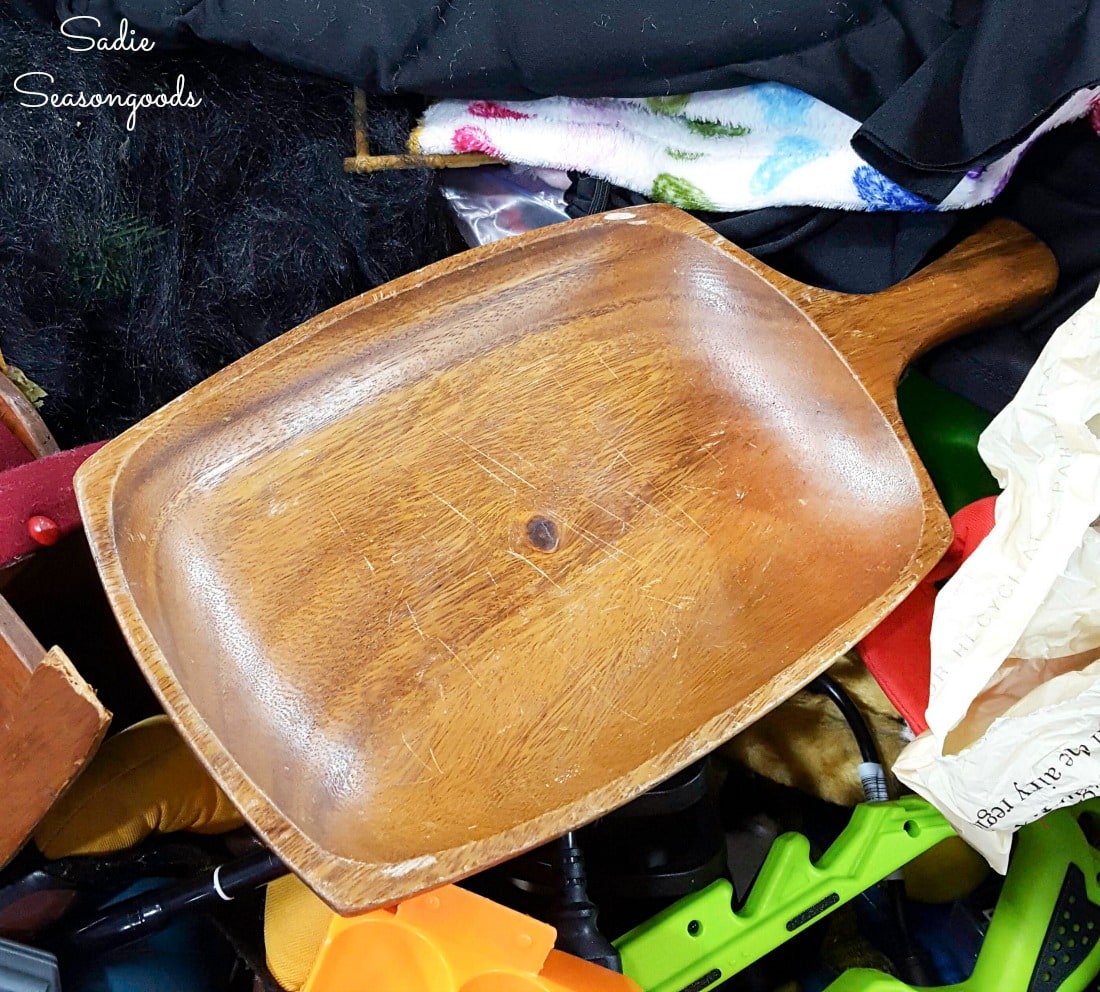
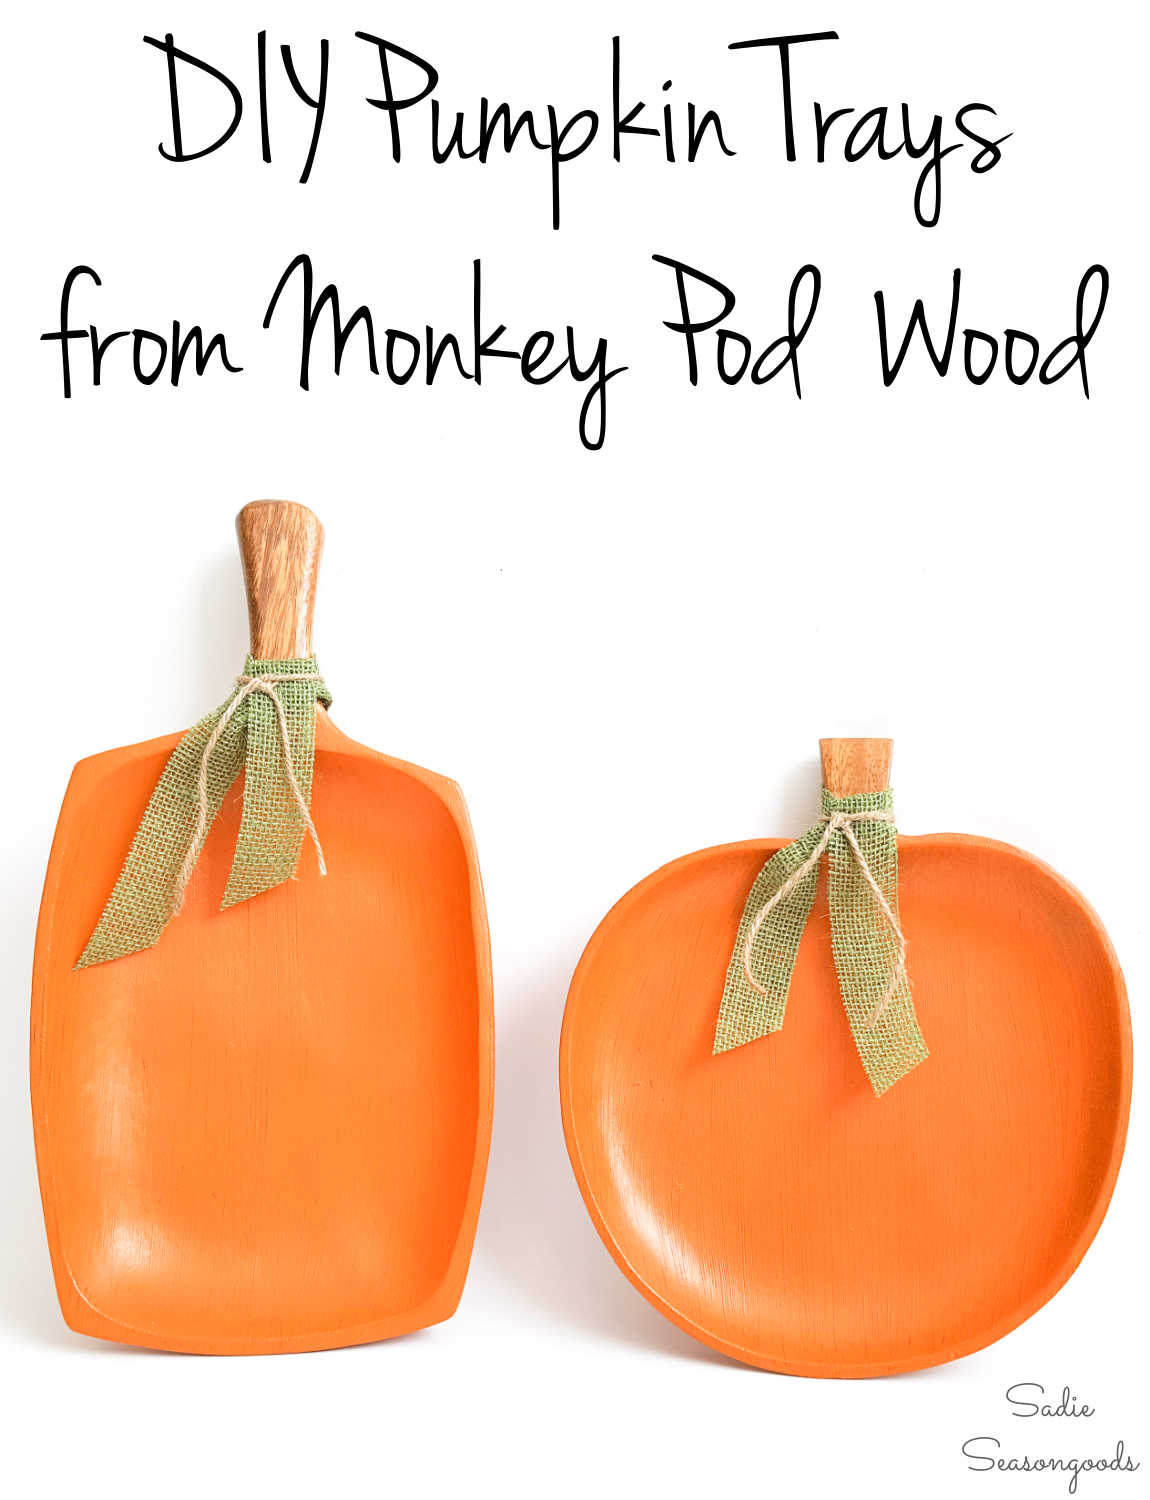
All I needed to do was give them a little upcycling TLC. Which included paint paint, wax, and some embellishments for their “stems”.
This post contains affiliate links for your crafting convenience. As an Amazon Affiliate, I earn from qualifying purchases. All blue, bold, and underlined text is a clickable link, either to a product or to a related post.
Upcycling the Monkey Pod Wood Bowls
First, I grabbed some orange chalk paint. This brand comes in small bottles, perfect for non-furniture upcyclers like me!
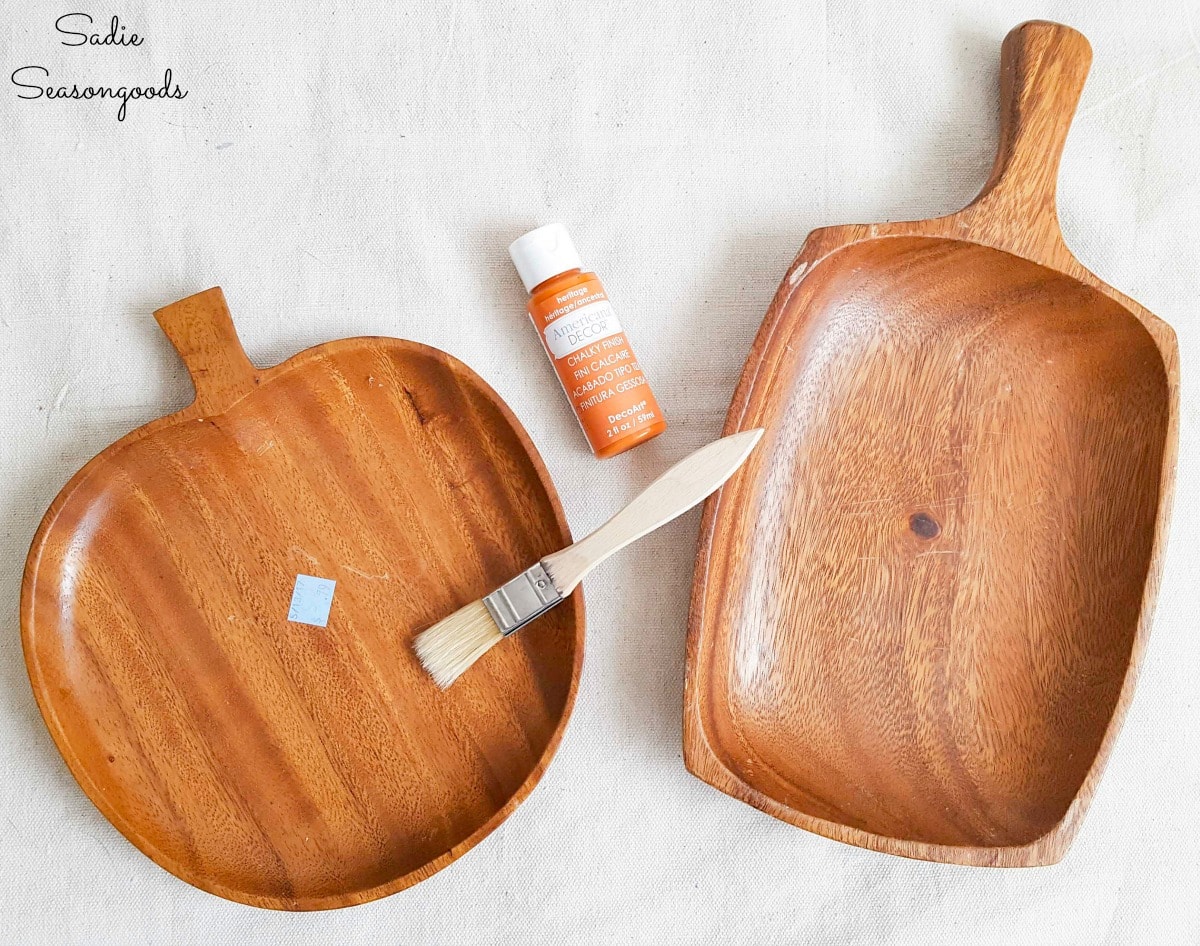
The best part about this makeover? No fancy techniques required. Just an old fashioned paint job with a cheap-o craft paint brush.
And I purposefully left the handles (or “stems”) naked and unpainted.
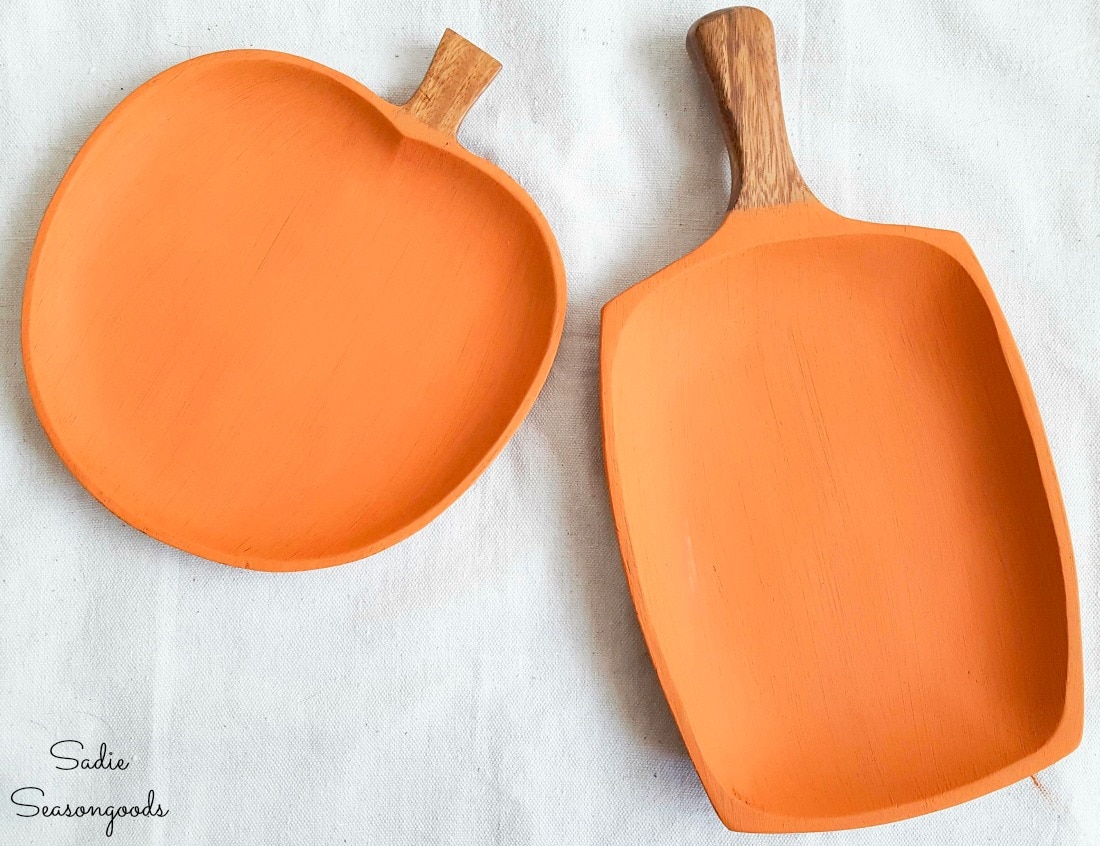
Once the orange chalk paint was dry, I sanded the painted surfaces lightly with high-grit sandpaper. After wiping away the sanded chalk dust, I then buffed on some wood wax to seal and protect the chalk paint finish.
I use Annie Sloan soft wax (which I LOVE), but there are other less expensive options available.
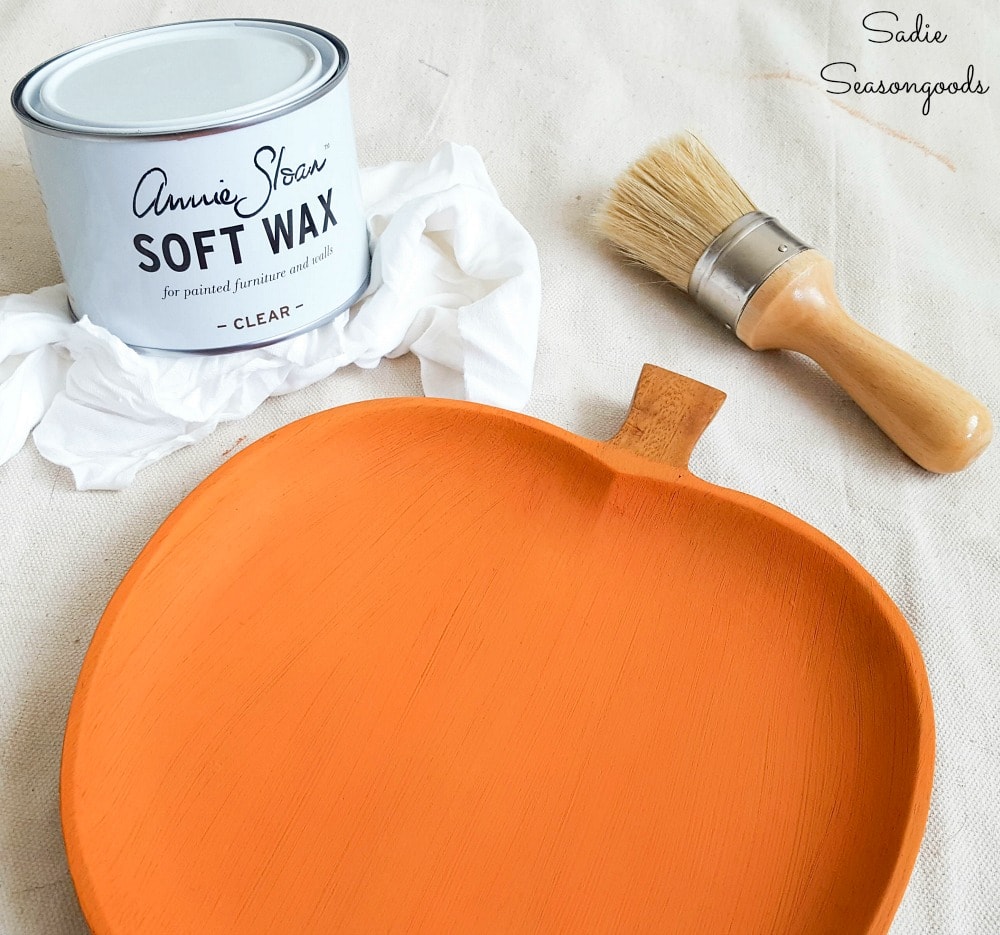
I used a large round brush to swirl the wood wax on the monkey pod wood. Then, I used a clean, lint-free cloth to buff until the finish was no longer tacky to the touch.
Now they were nice and satiny smooth with just a hint of shine! My painted wood pumpkins were coming together nicely.
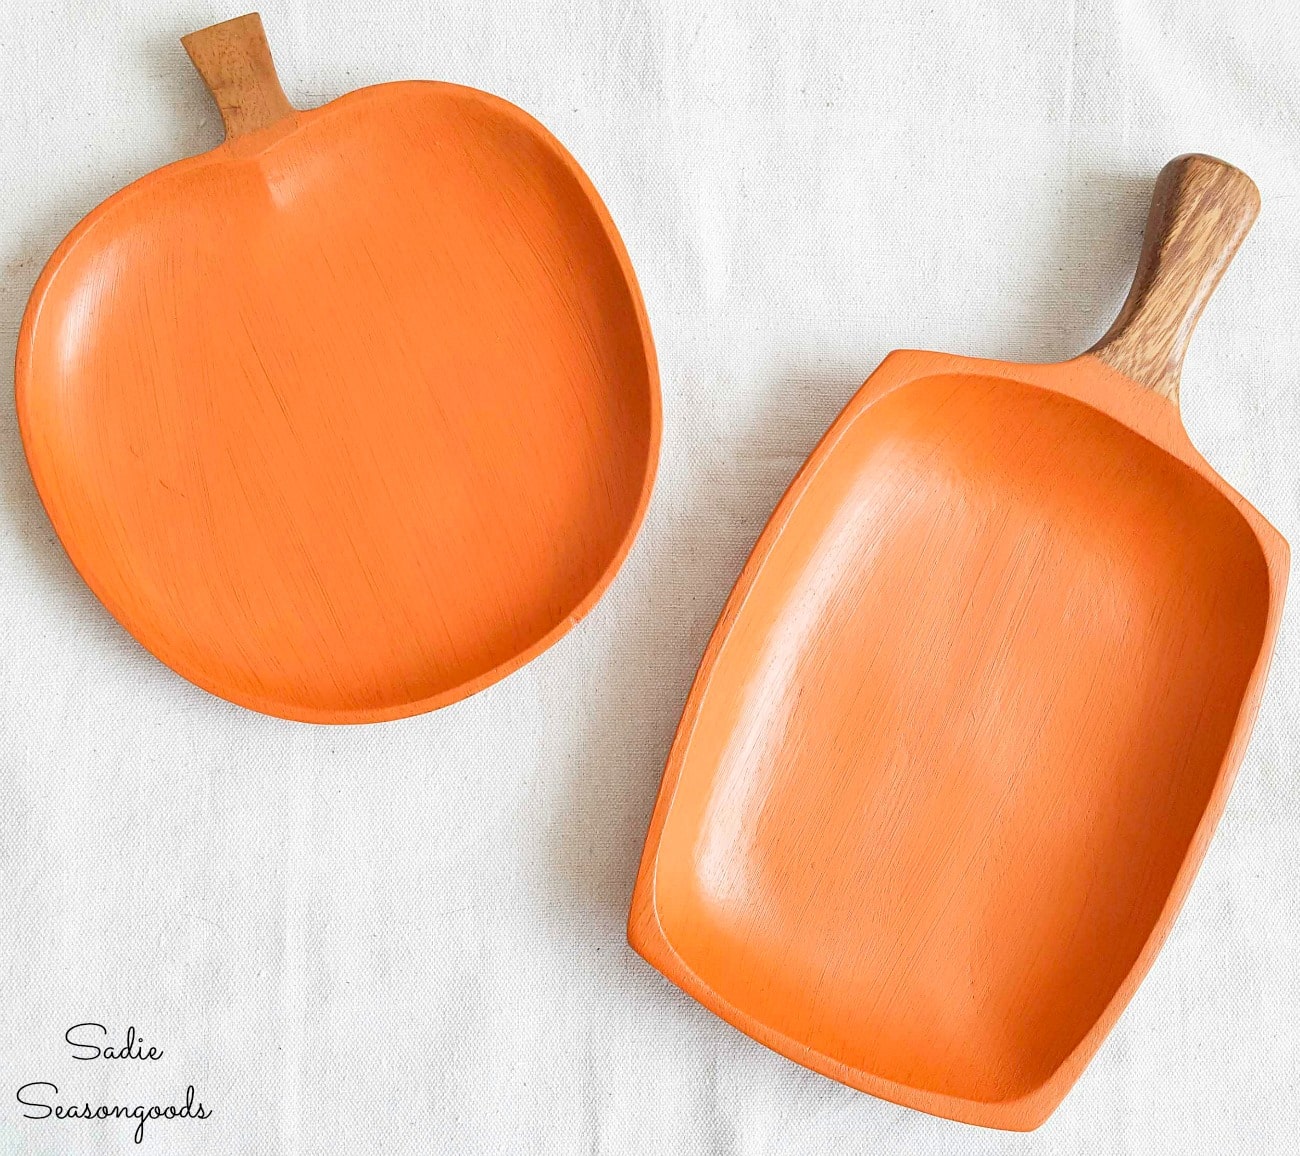
Seriously, y’all…from start to finish, this project took me just a couple of hours to do! The orange chalk paint dried in a hot second, and while the wood wax takes several days to FULLY harden, it goes on and buffs off really quickly.
So, this is a great last minute fall project if you happen to find some monkey pod wood in pumpkin-esque shapes!
Anyway, I felt like my painted wooden pumpkins needed a little more embellishment.
To add a touch of rustic greenery, I gathered up some wide burlap ribbon in a pea green (similar to this one) and some jute twine.
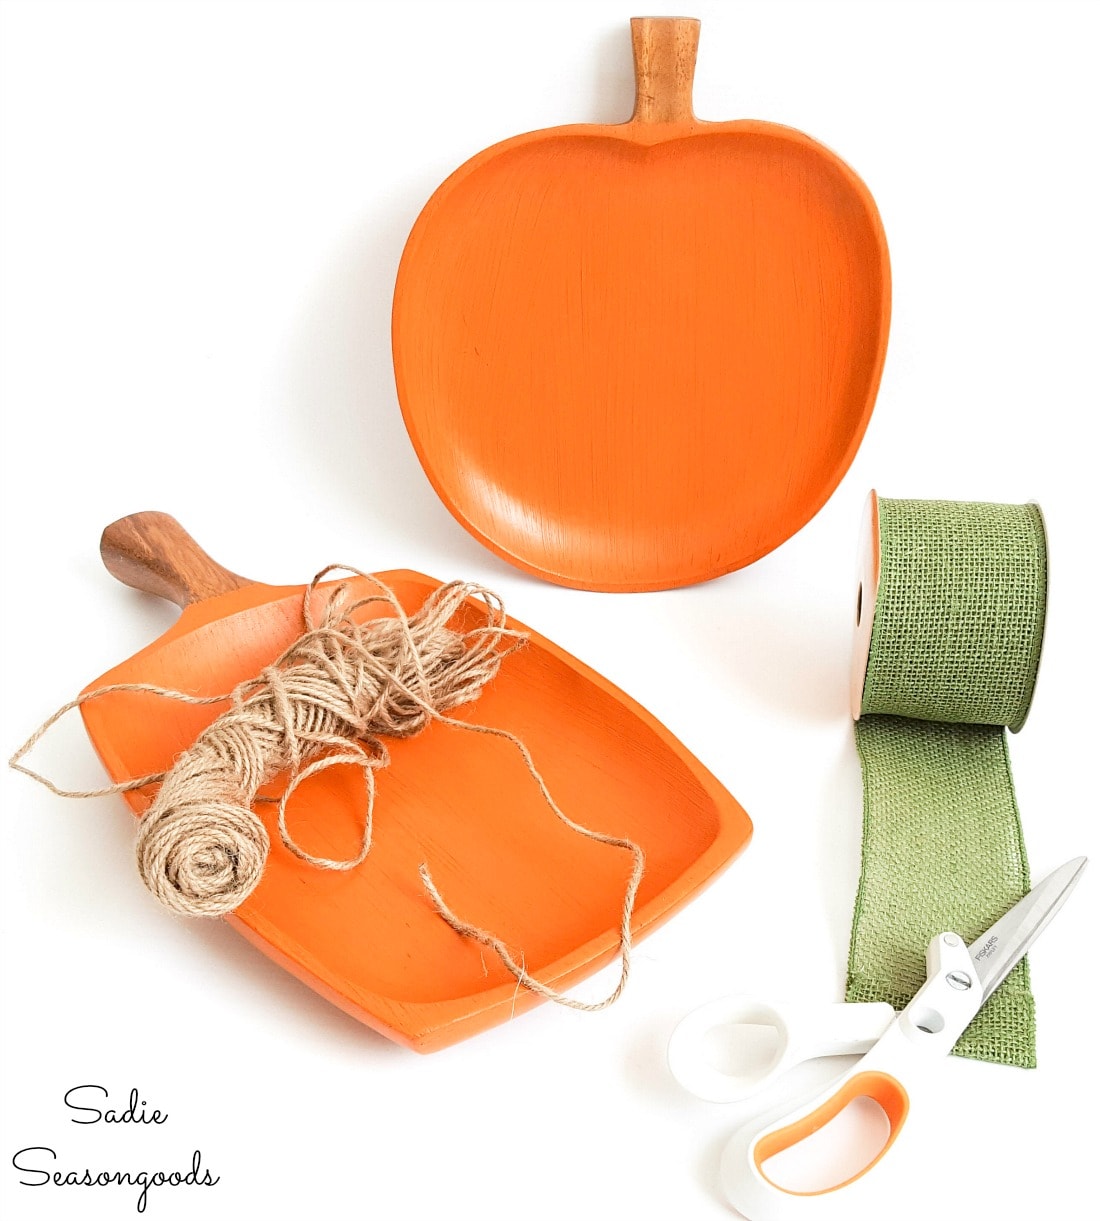
The burlap ribbon was wired, but I didn’t need that aspect. So, I snipped out a long piece between the wires (using my favorite mixed media scissors), and tied it around the handles of the monkey wood.
Finally, I layered on a knotted piece of jute twine over the burlap ribbon. Ready to see my painted wood pumpkins in all their glory?
Painted Wood Pumpkins for Rustic Fall Decor
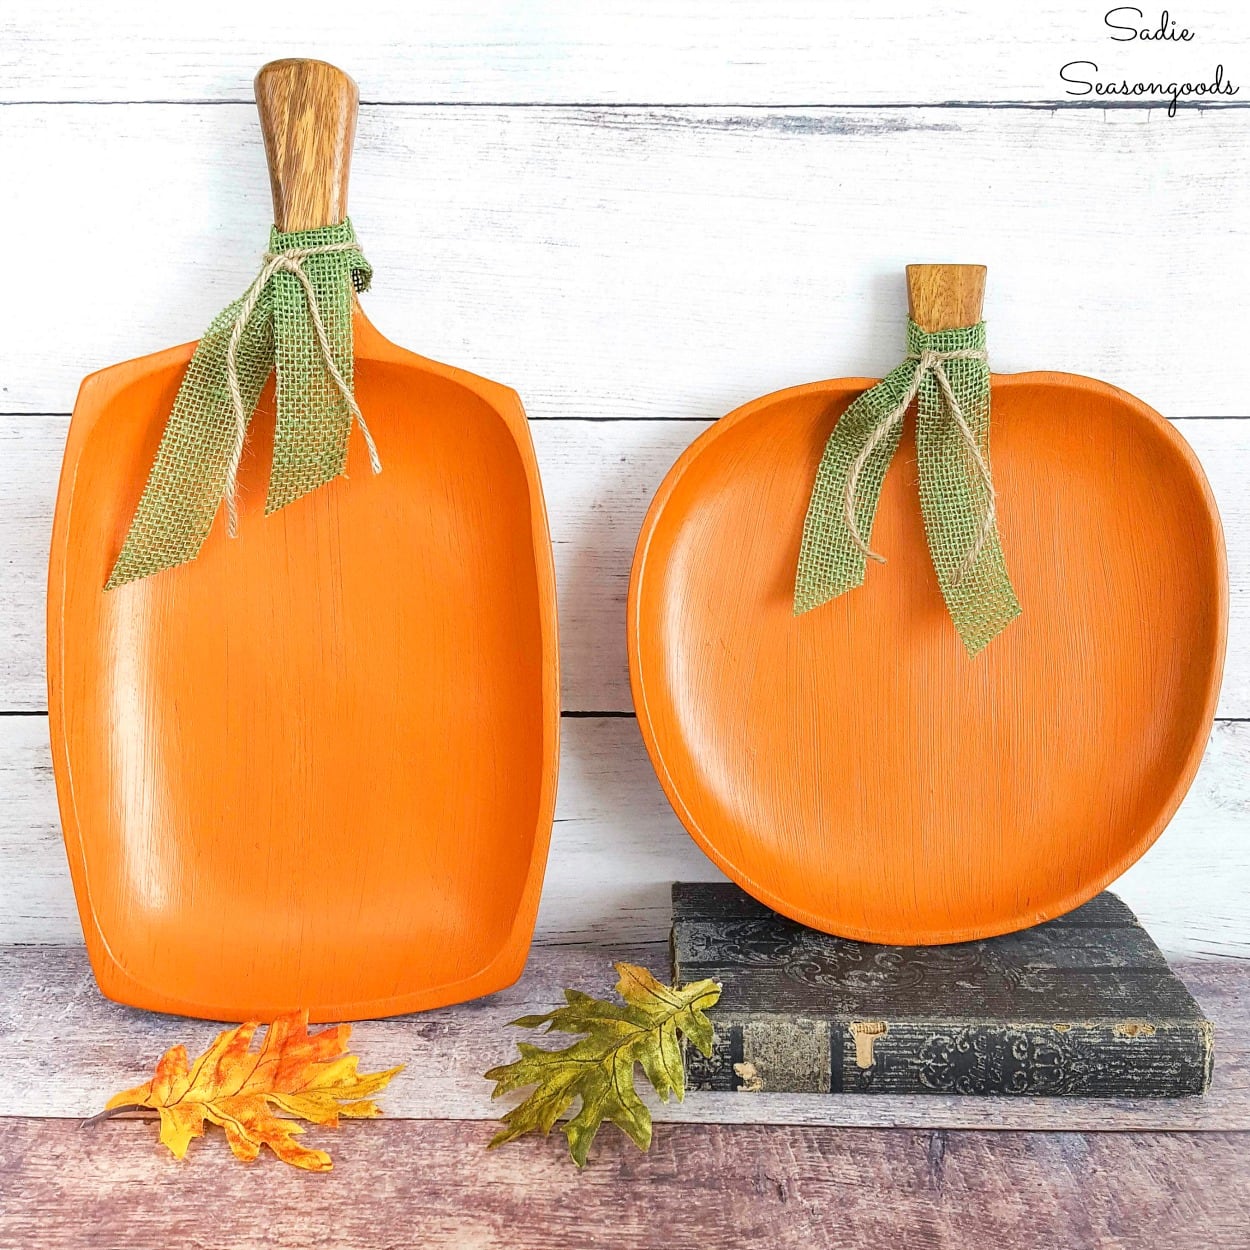
You know what? I love them!
I mean, I have special affection in my heart for any project that is this easy to do. But these wooden pumpkins are as cute as can be.
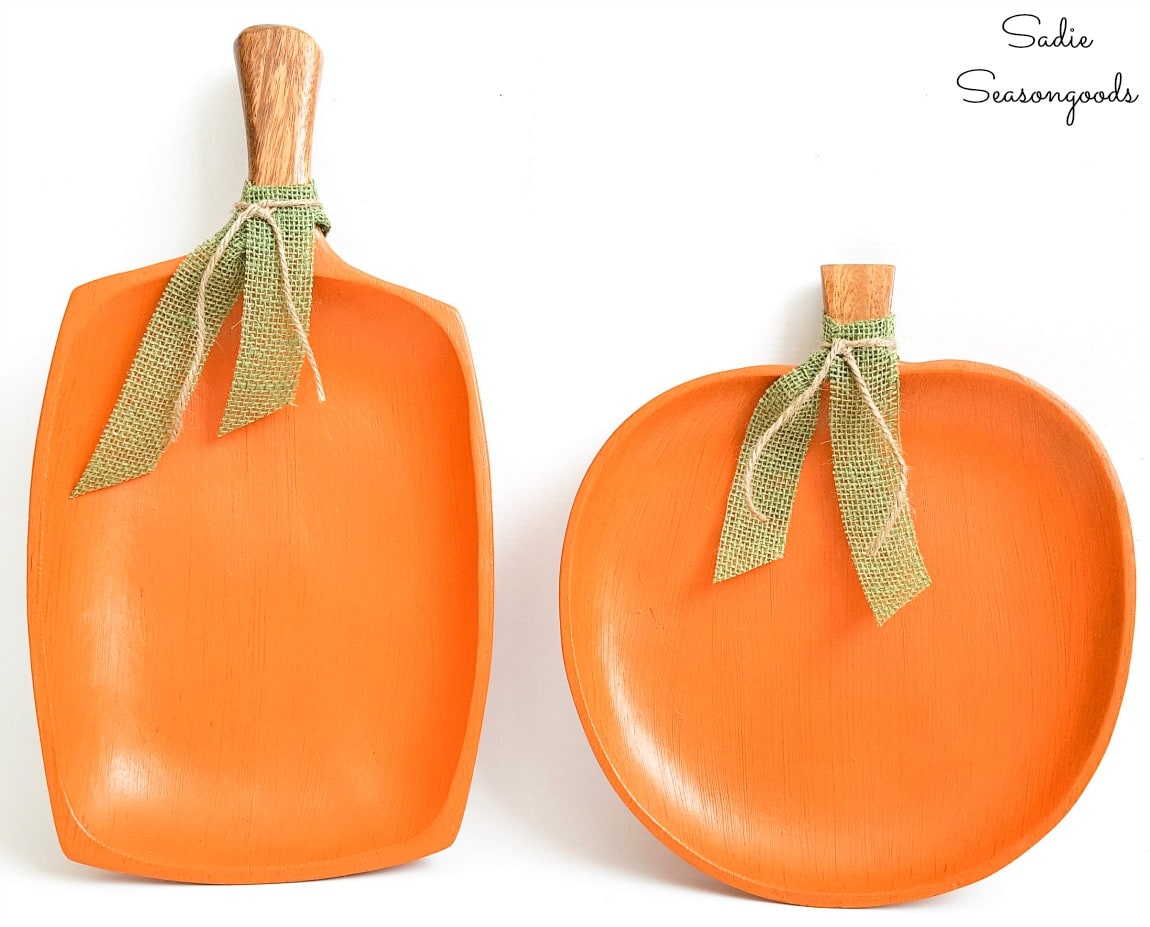
I didn’t glue the “greenery” to the handles (or should I say “stems”?), but I did use a drop of hot glue here and there to get the jute to lay more nicely over the ribbon at the knot.
I can use them as rustic fall decor, or as serving trays for wrapped Halloween candy, etc.
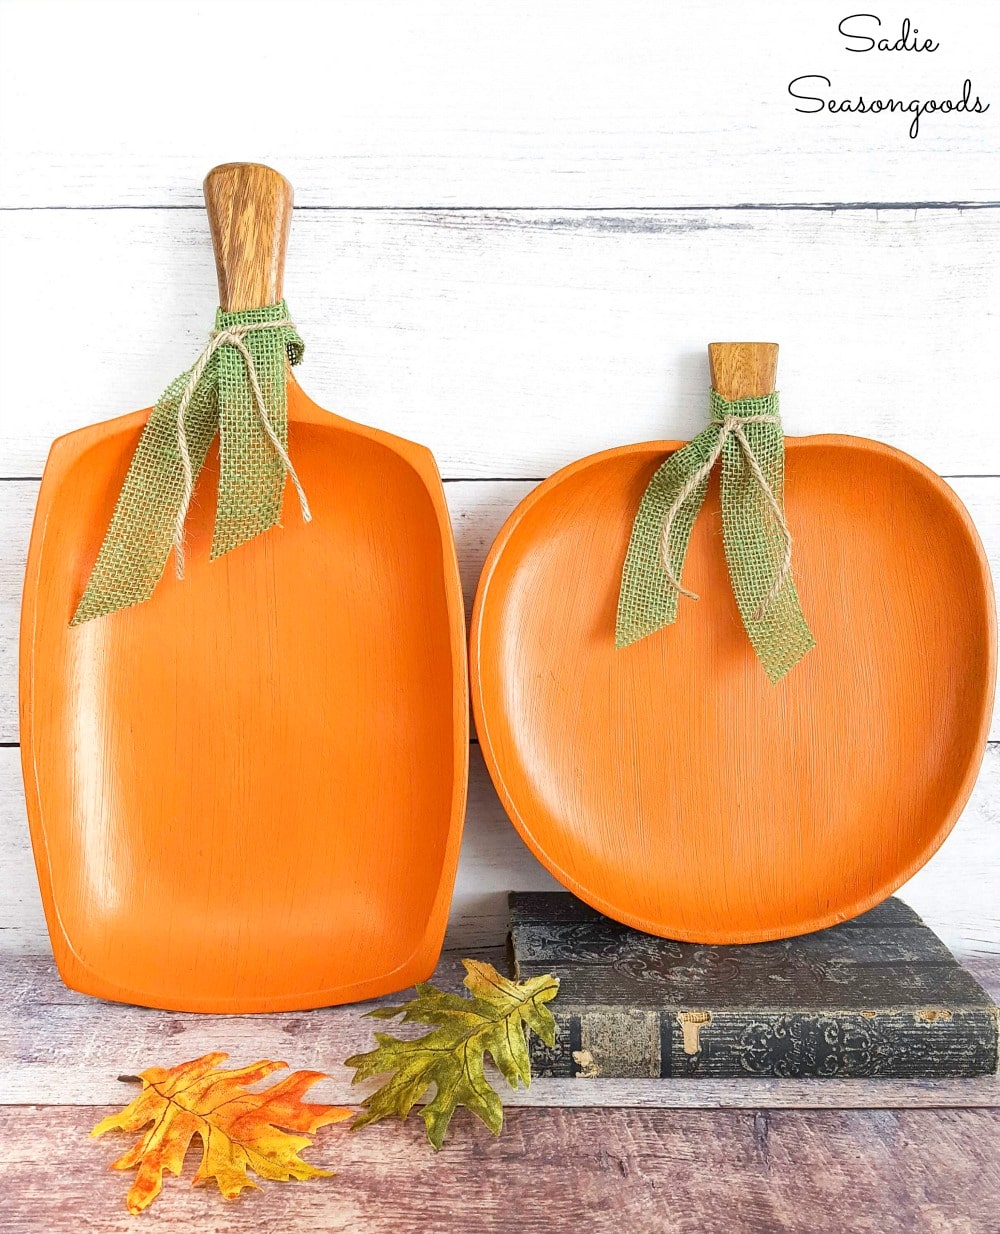
These painted wooden pumpkins would also look nice as part of a Fall Mantel, too. Either way, I’ll never pass up any monkey wood that kind of resembles a pumpkin shape ever again!
I just love creating pumpkins at this time of year, and anything goes! I even created a couple of pumpkin projects in my book, “Crafting with Flannel”!
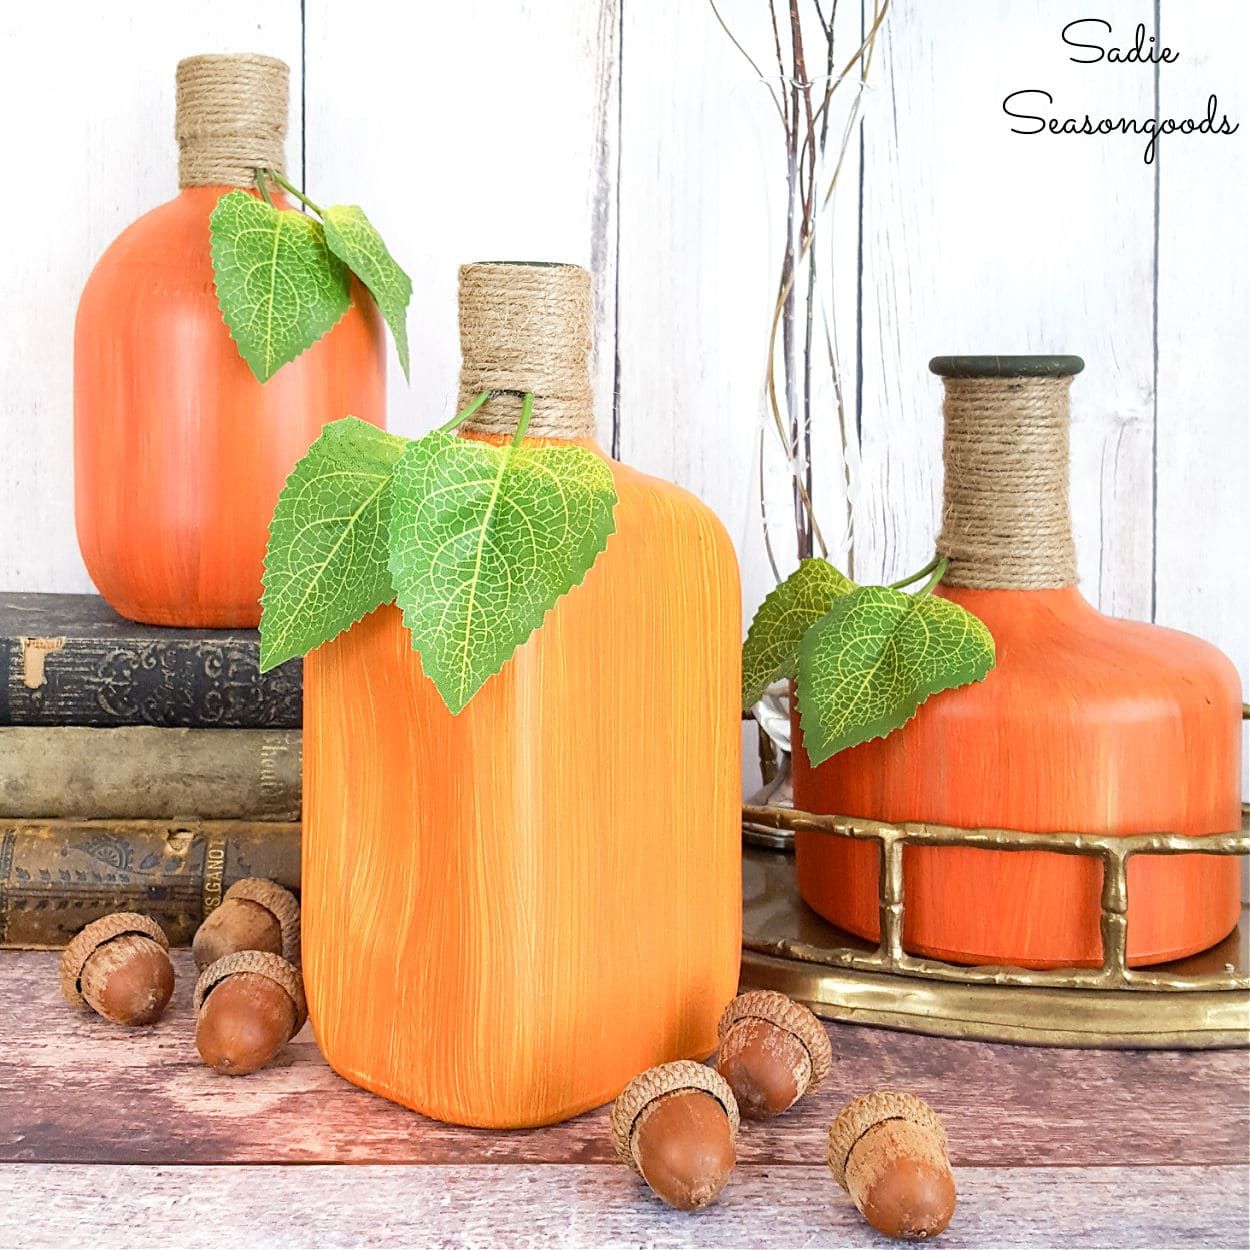
And if you enjoyed this upcycling idea for painted wooden pumpkins, then you may also enjoy these painted gourds from glass liquor bottles, as well!
Craft on!
S
Want to be notified when I publish my next upcycling project tutorial?
Join me on Social Media:
PIN ME!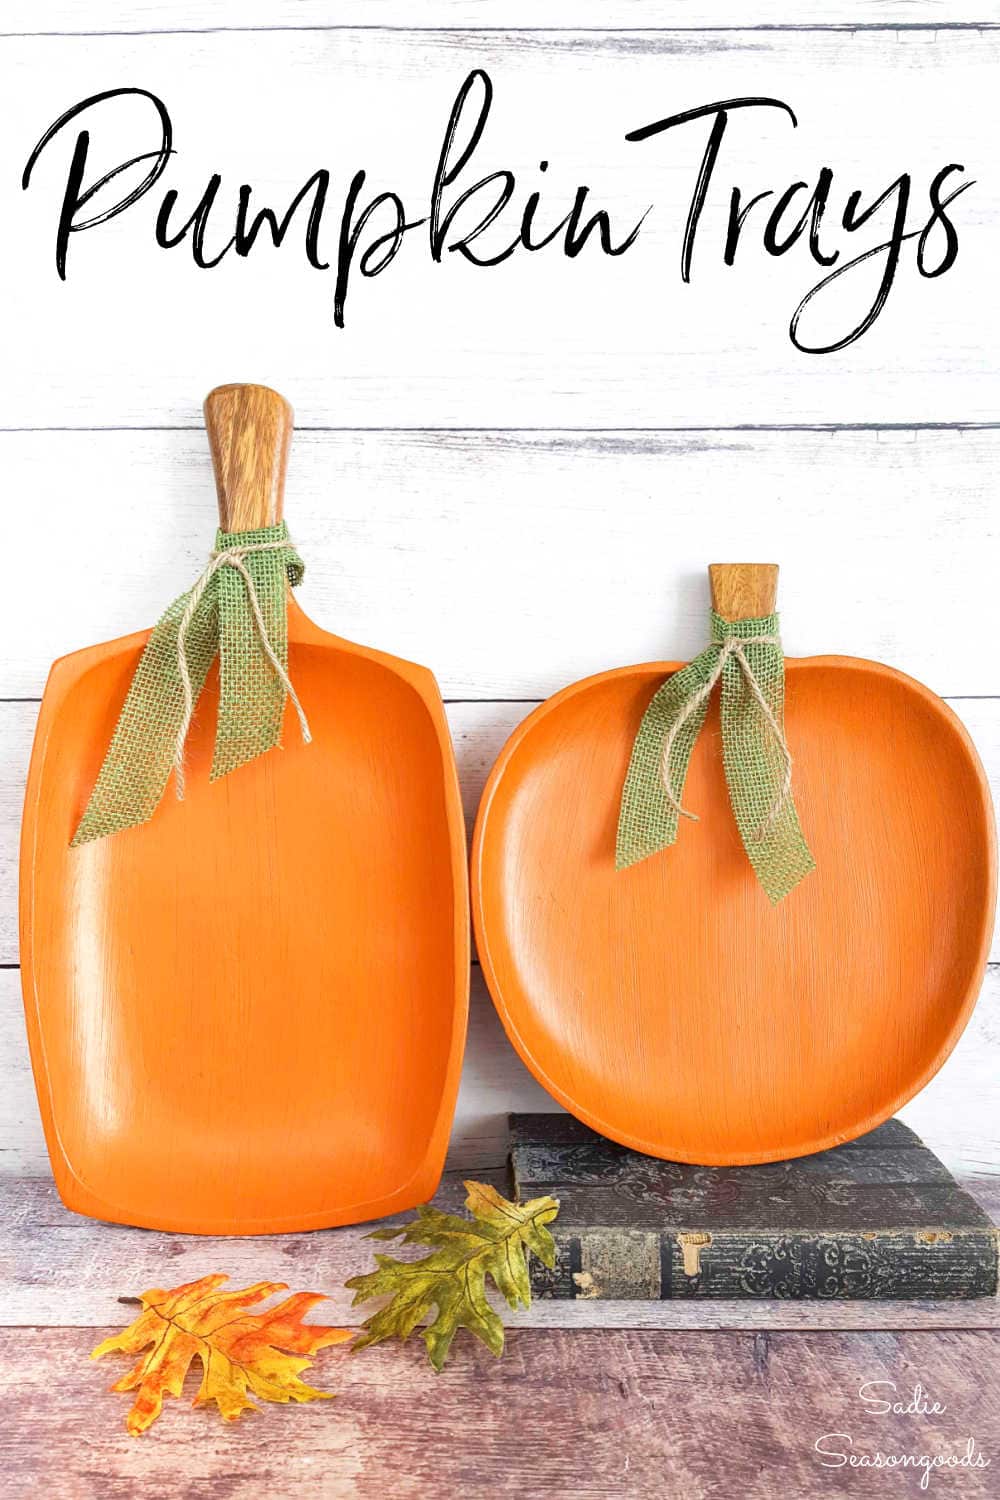
Sarah Ramberg is the owner of Sadie Seasongoods, a website that celebrates all things secondhand. From upcycling ideas and thrifted decor to vintage-centric travel itineraries, Sadie Seasongoods is a one-stop shop for anyone who loves thrifting and approachable repurposing ideas. Sarah is also the author of “Crafting with Flannel” and has been featured in numerous media outlets and magazines.





Those are adorable! Pinned & sharing.
Thank you, Florence!
Great Job, love these!
Thanks, Chas!!
So stinkin’ cute. 🙂
Thank you, Jen!
So cute and simple.
Exactly, Leanne- thank you so much!
Those turned out sooo cute! And would be so easy to make. Thanks for sharing!
Thank you so much, Linda!
I see those trays all the time in the thrift stores…I thought apple too but love them as pumpkins! Very cute!
Thank you!!
I think you enjoy adding to my list of stuff to look for while thrifting!!!! Meanwhile, I am working on my third batch of your beach glass painted candle holders! I would love to see the round pumpkin one painted a nice scarlet red or lime green for apples, too! So cute for a country kitchen! So cute, as usual!
Thanks so much, Kathy!
Love these Pumpkins!
Thank you, Peggie!
Sure would love to go to that show, but we’re down here in totally non-Fall Texas. I like the pumpkins though. I curious why you are calling them “monkey pods.” I haven’t heard that term before.
Monkey pod is the type of tree/wood that is used! If you Google it, there’s more info on it. 🙂 And shhh…I have some tickets for some of the Texas shows coming up! 🙂
Was it you who had the Vintage Market Days: Columbia? If so, who won?
Love your pumpkins. I’m going to start looking at those monkey pod trays a little differently!
I see that there are still 3 days to go…keeping my fingers crossed.
No worries! 🙂 Rafflecopter (the company that makes the widget I use for all my giveaways) will draw the winner’s name on Thursday morning!
Thanks!! I definitely didn’t see a pumpkin in the apple tray until I found the second, taller one.
What an ingenious idea. Love tgem
Thank you so very much!!
Oh these are so perfect, they were made to be pumpkins!!
It’s hard NOT to see them that way now, right?? 😉 Thank you, Katrin!
Only you would see pumpkins when spotting these trays at the thrift store, Sarah! Very clever and oh so stink’n cute! Pinned and sharing
Thank you, my friend!
Really cute!
Thank you, Cindy!
Turning these guys into pumpkins is such a wonderful idea. So cute!
Thanks, Sharon!
Thank you for sharing your sweet pumpkins at Snickerdoodle.
So cute and easy – genius!?
Thank you so very much, Nancy!
adorable!
b
Thank you so very much!!
These are so cute! I am not very crafty, but love things like this. Your directions were very simple and I think I could do this!
Thank you, Merry!! You could definitely do this!
These are so cute! Such a great idea.
Thank you so very much, Kayla!
I’ve never seen trays like this but I will be on the lookout. Hopefully when I find them they won’t end up in the pile with my cut up plaid blazer. Thank you for sharing with us this week at Celebrate Your Story and we hope you will join us again next week.
Your very own Sadie pile, hahaha! 😉
Those are adorable! I love remaking things into something new. 🙂
Thank you so very much!
Love these pumpkin trays! Good thing you remembered you had the first one – the pair look great together 🙂
LOL, right?? Thank you so much!
Well that is just brilliant! What a great, quick upcycle.
Thank you so much, Julie!
This is a fun way to re-purpose these. Thanks for sharing.
Thank you so much!
Super cute, Sarah! Thanks for sharing @Vintage Charm!
Thank you so much!
So very clever. You have a great eye for repurposing items. Thanks for sharing this with us at the Waste Not Wednesday Link Party.
Thank you so very much!!
THIS LOOKS VERY PRETTY DEFINITELY GONNA TRY IT
These are adorable! Now I have something else to look for at the flea market!!
Thank you so much, Angie!
I absolutely love this project, especially the creative use of a thrift store find. I’m glad you found the second tray because I think they do best as a pair. Thanks for sharing!
Thanks so much!
Hey! I absolutely love these. Do you think they would be food safe this way? I’m thinking about using them as appetizer serving trays for Thanksgiving.
Hey there- they are not meant to come in direct contact with food, which I had mentioned in the Etsy listings. I would think that wrapped food (like candy or muffins in papers) would be ok, but for anything else, I would definitely use paper doilies or parchment paper underneath!
What an ‘eye’ you have!!! Awesome.
Thank you so much, Nancy!