Not too long ago, I had a REALLY fortuitous thrifting trip- as I drove home, I realized I had found materials for nine different projects. NINE! Maybe the thrifts were all freshly replenished, or maybe I was wearing a most impressive thinking cap, but either way, it was an adventure for the record books. And one of my finds happened to be this wire spice rack that I wanted to upcycle into farmhouse storage bins for our home office.
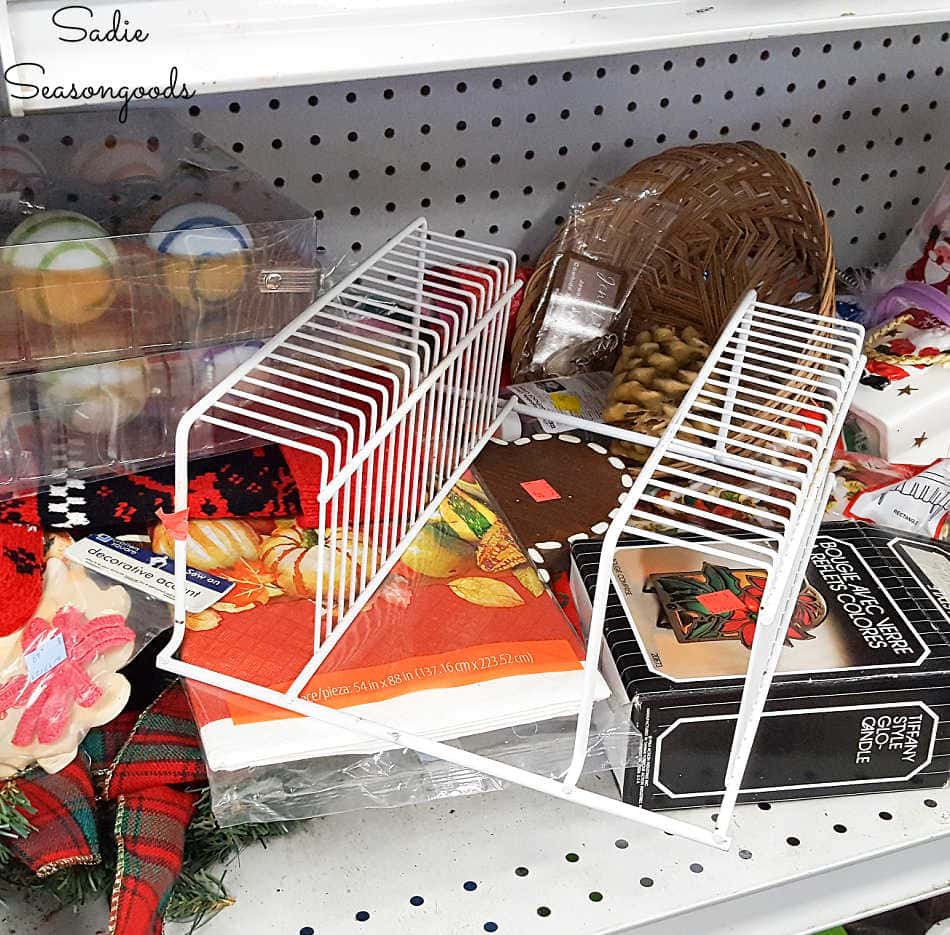
Ok, maybe it’s not a spice rack, but because it was “backless”, I assumed it was meant for a kitchen cupboard.
Either way, though, that gave me license to create a backing from my stash of reclaimed wood planks! And I knew exactly which piece I’d use…
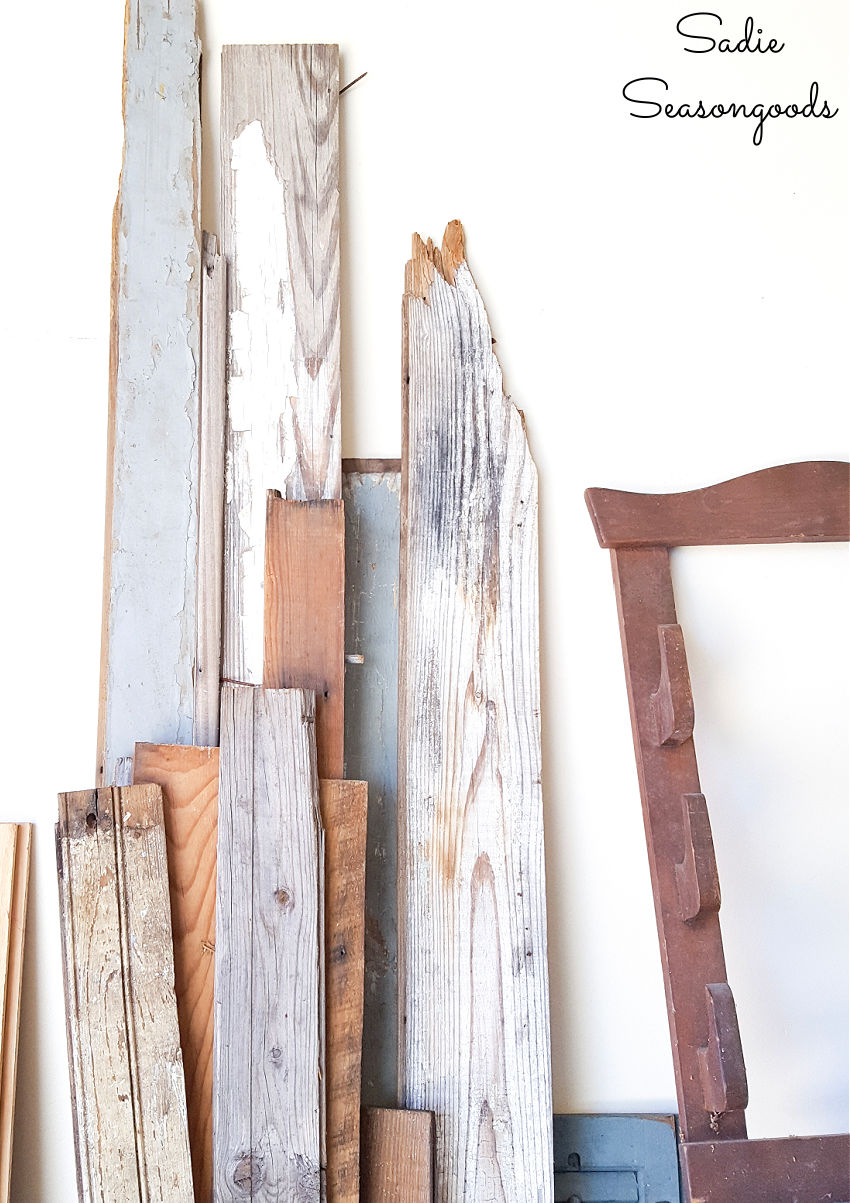
Now that I had everything I needed to create some storage for our home office, I could get to work!
This post contains affiliate links for your crafting convenience. As an Amazon Affiliate, I earn from qualifying purchases. All blue, bold, and underlined text is a clickable link, either to a product or to a related post.
Building with Reclaimed Wood Planks
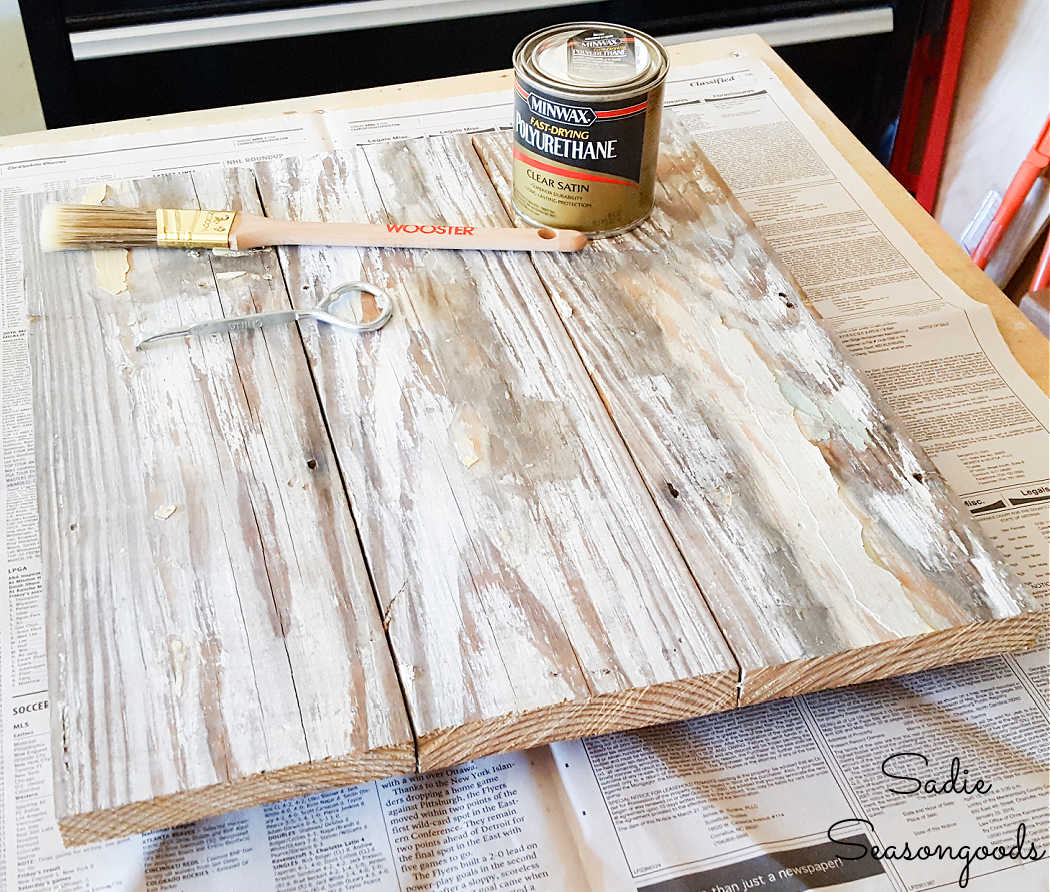
First, I needed to determine how large the backing (from my barn wood) should be. So, I spread out some newspaper, placed the wire spice rack on it, and cut out a rectangle.
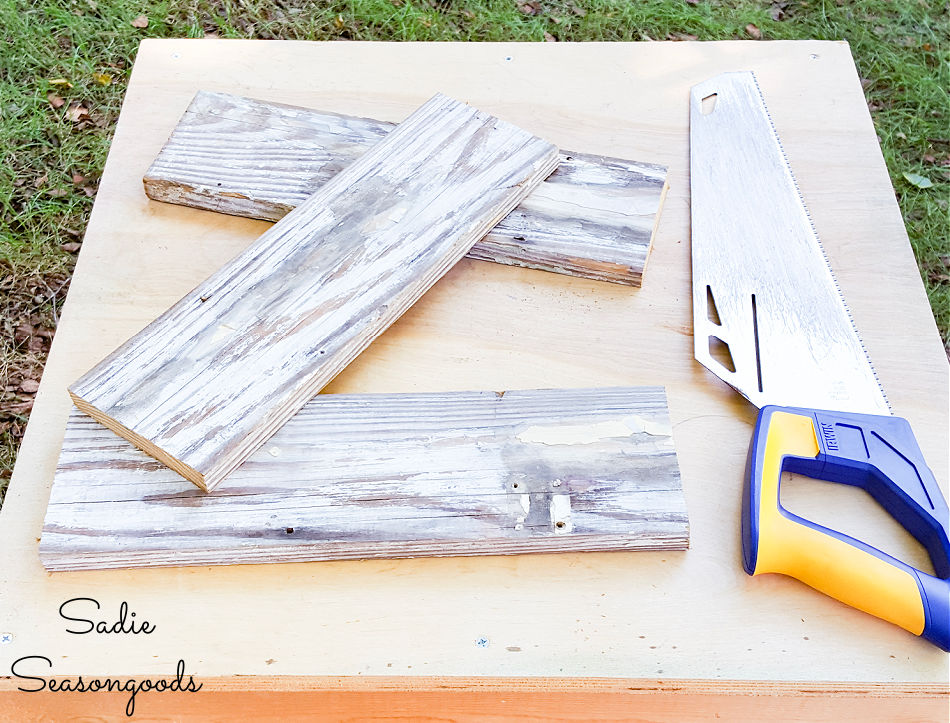
Now that I had a template to use, I prepared the barn wood. I used a wire brush to remove the excess paint chips and pliers to remove any rusty nails. Based on my newspaper template, I divided the measurements in three, measured the barn wood, and sawed off three equal length pieces.
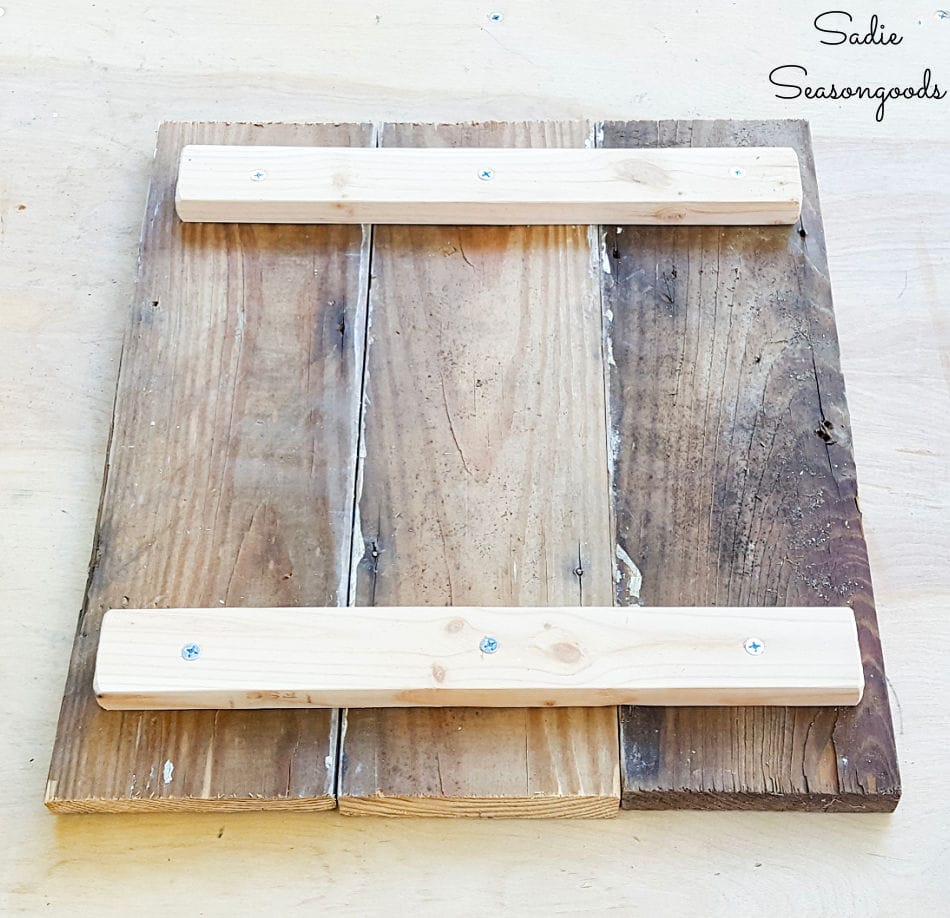
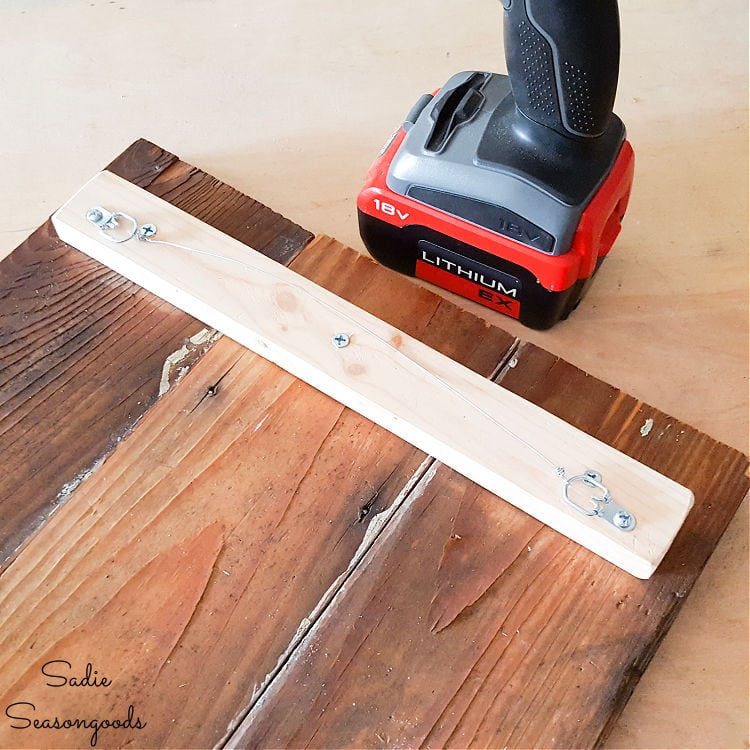
Next, I scavenged our garage for a small piece of scrap wood to use as cross-connectors. And because I didn’t want to see shiny new screws from the weathered/painted side, we drilled in screws through the connectors on the back.
Of course, I first made sure that the screws weren’t too long to pierce through the front of the barn wood!
Then, I sealed the chippy paint side with a basic polyurethane as my topcoat.
Lastly, I added a pair of D-rings and picture hanging wire to one of the cross connectors before setting the wood backing aside.
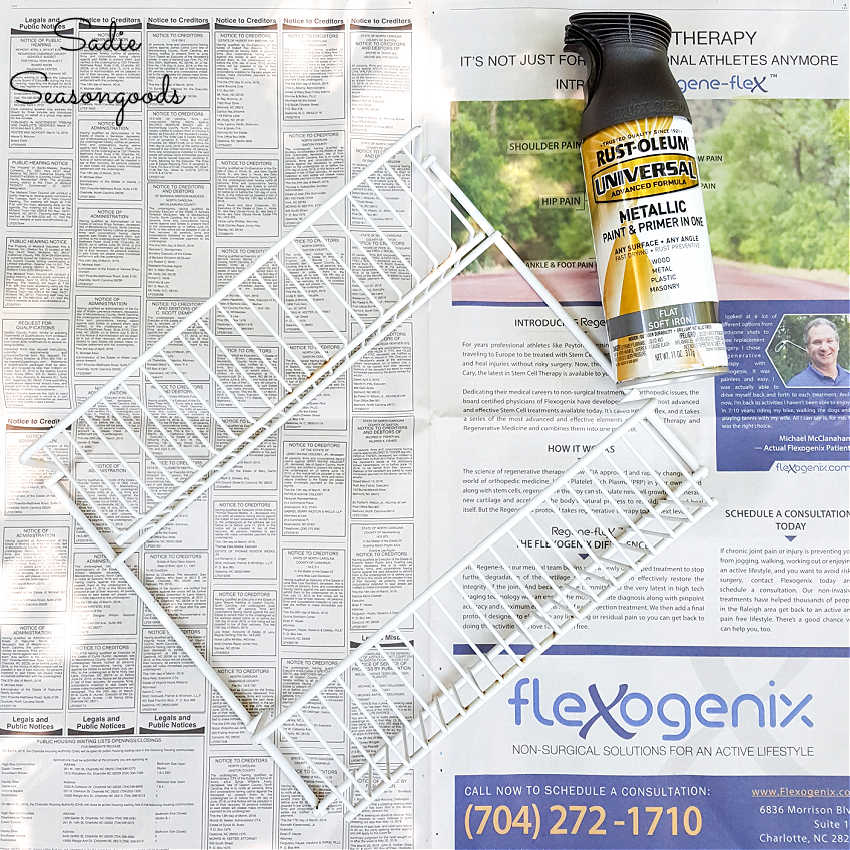
Now I could turn my attention to the wire spice rack that would become the farmhouse storage bins!
Adding the Rack as Farmhouse Storage Bins
I selected a flat colored metallic paint for this part of my project- a color I hadn’t played around with before.
To hang the wire spice rack on the reclaimed wood, I just needed two small cup hooks.
But, I only had them in brassy gold (which would NOT do)! So, I painted them with the same paint as the wire rack.
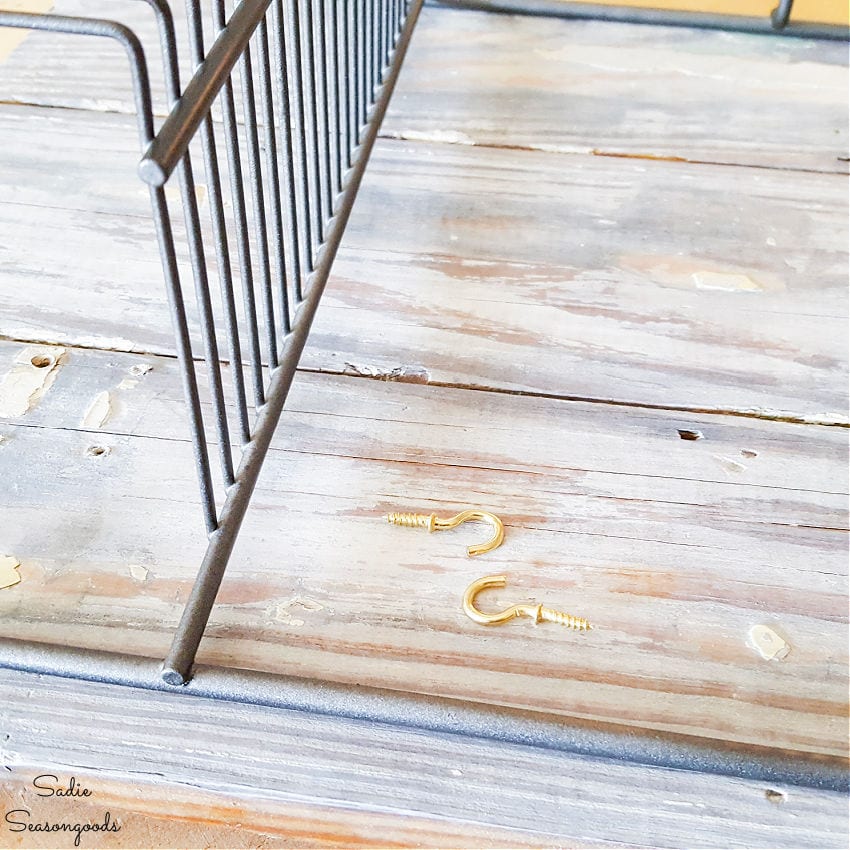
Once the cup hooks were dry, I inserted them into the reclaimed wood and hung the spice rack from them.
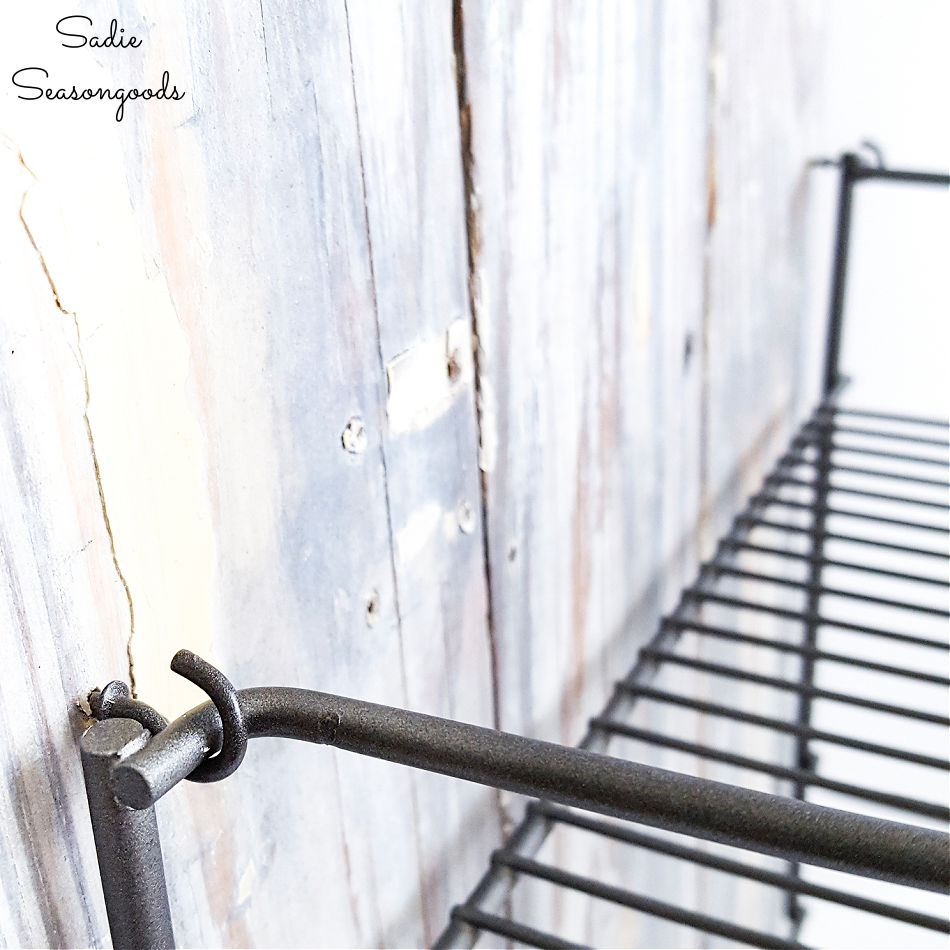
And just like that, my farmhouse storage bins or storage baskets were all done! Ready to be hung up in our rustic home office.
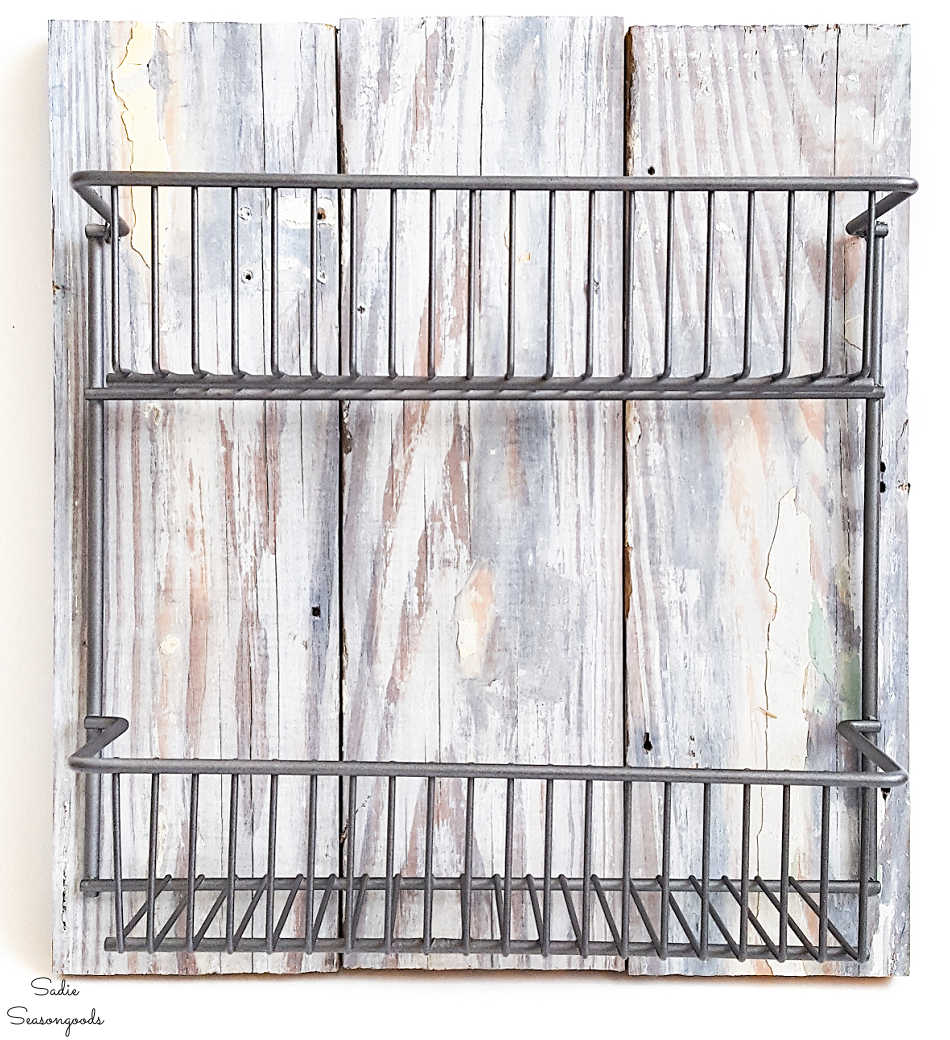
Farmhouse Storage Bins from a Wire Spice Rack
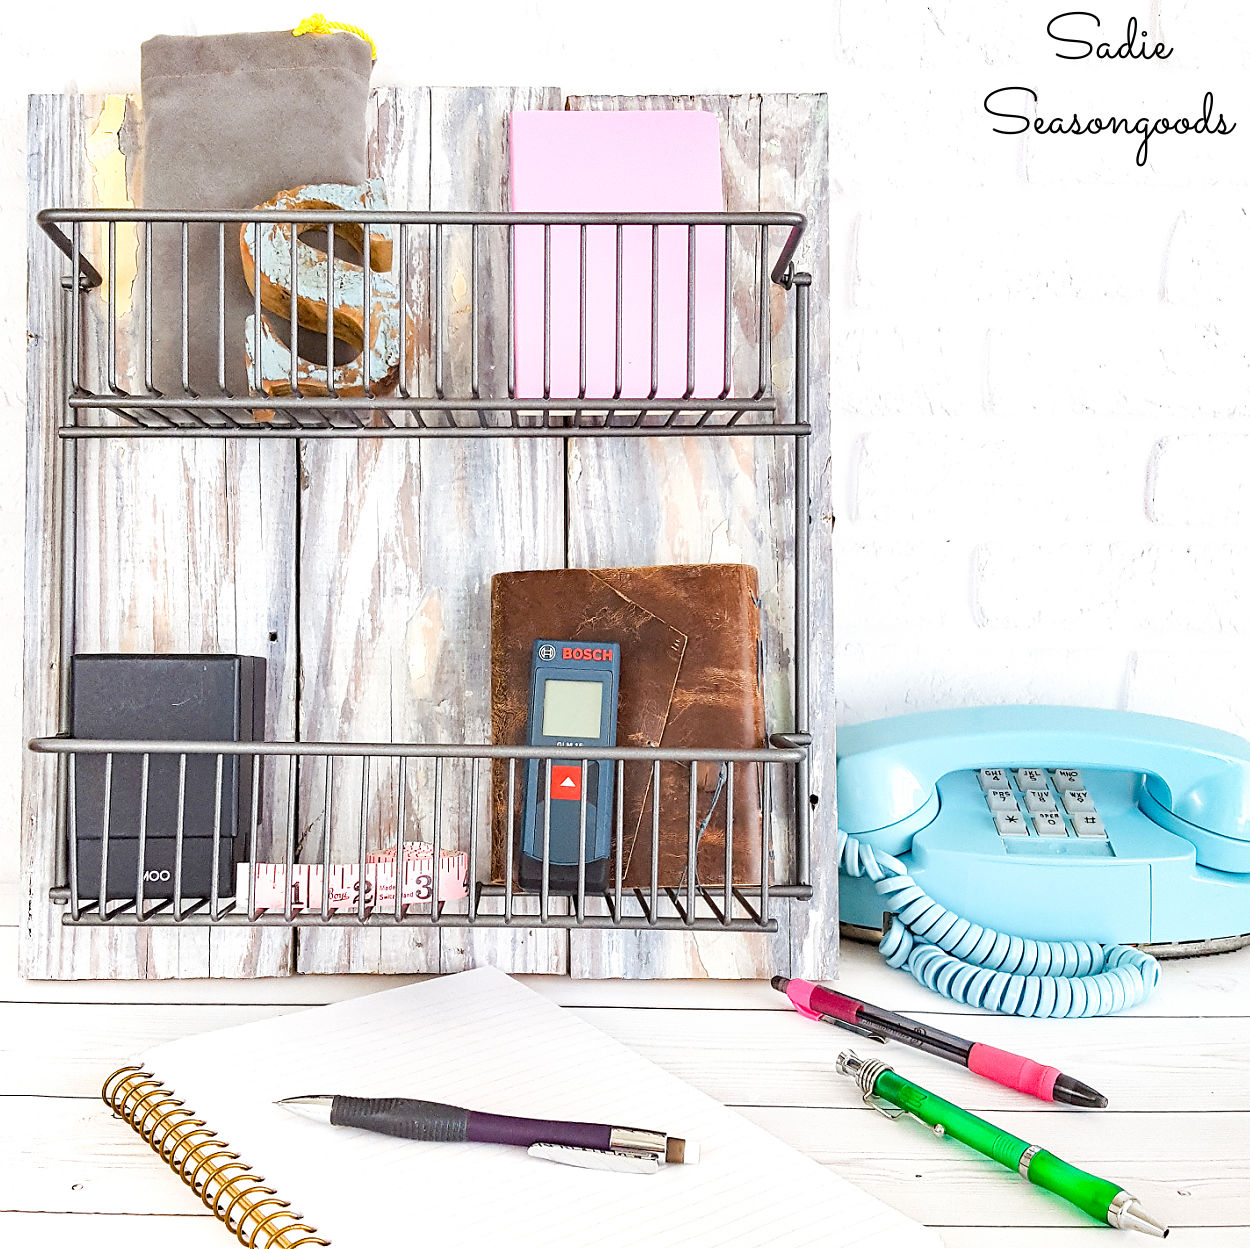
How great is that? Such a fun makeover for a fairly plain/basic piece. And it works perfectly in our home office that has an industrial farmhouse design to it.
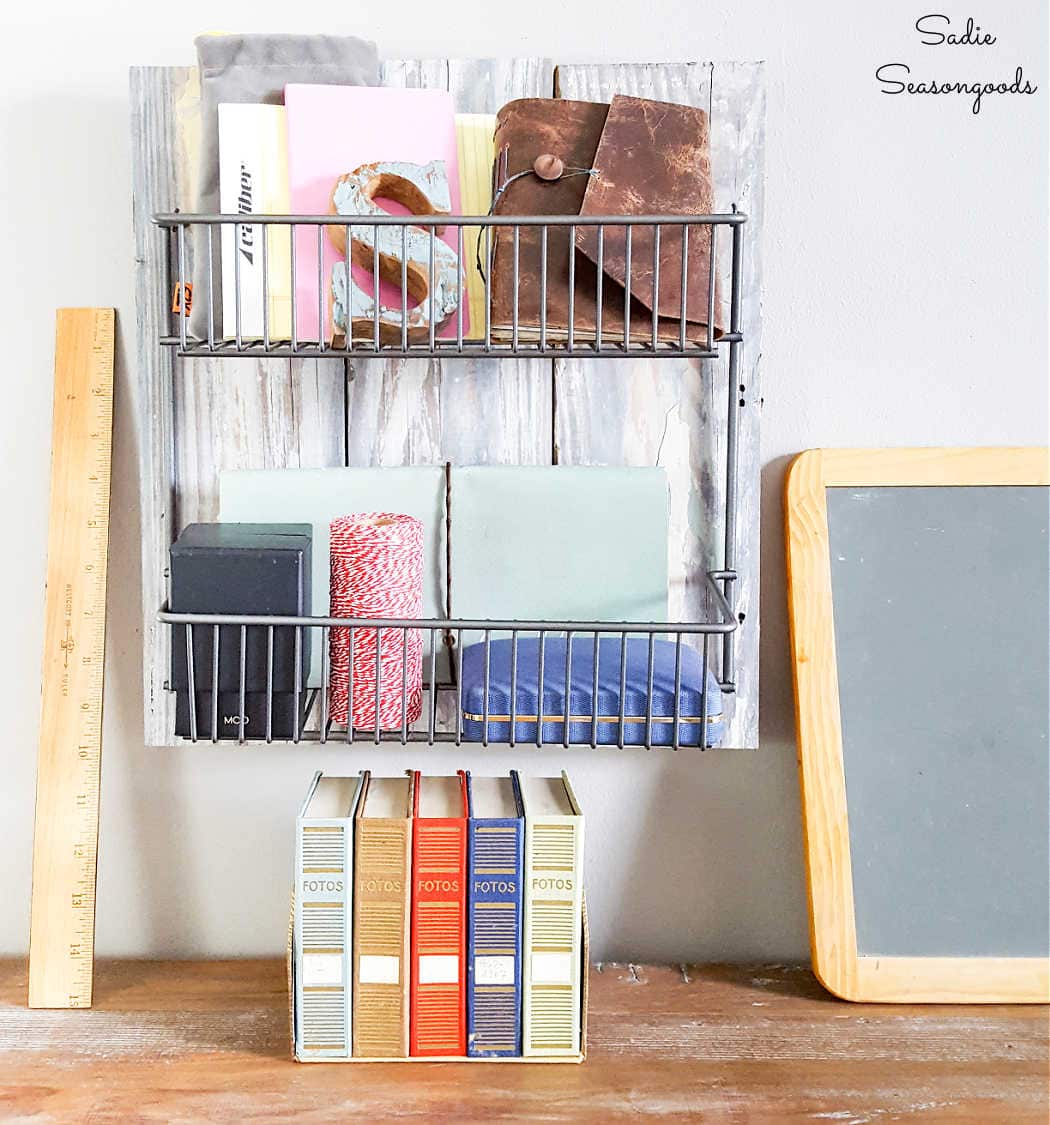
I love that the wire spice rack doesn’t even LOOK like one of those inside-the-cabinet-door shelves anymore.
I’m also excited to announce that my first book is now available! If you enjoy upcycling clothing and simple sewing projects, then you will love my book on flannel crafts!
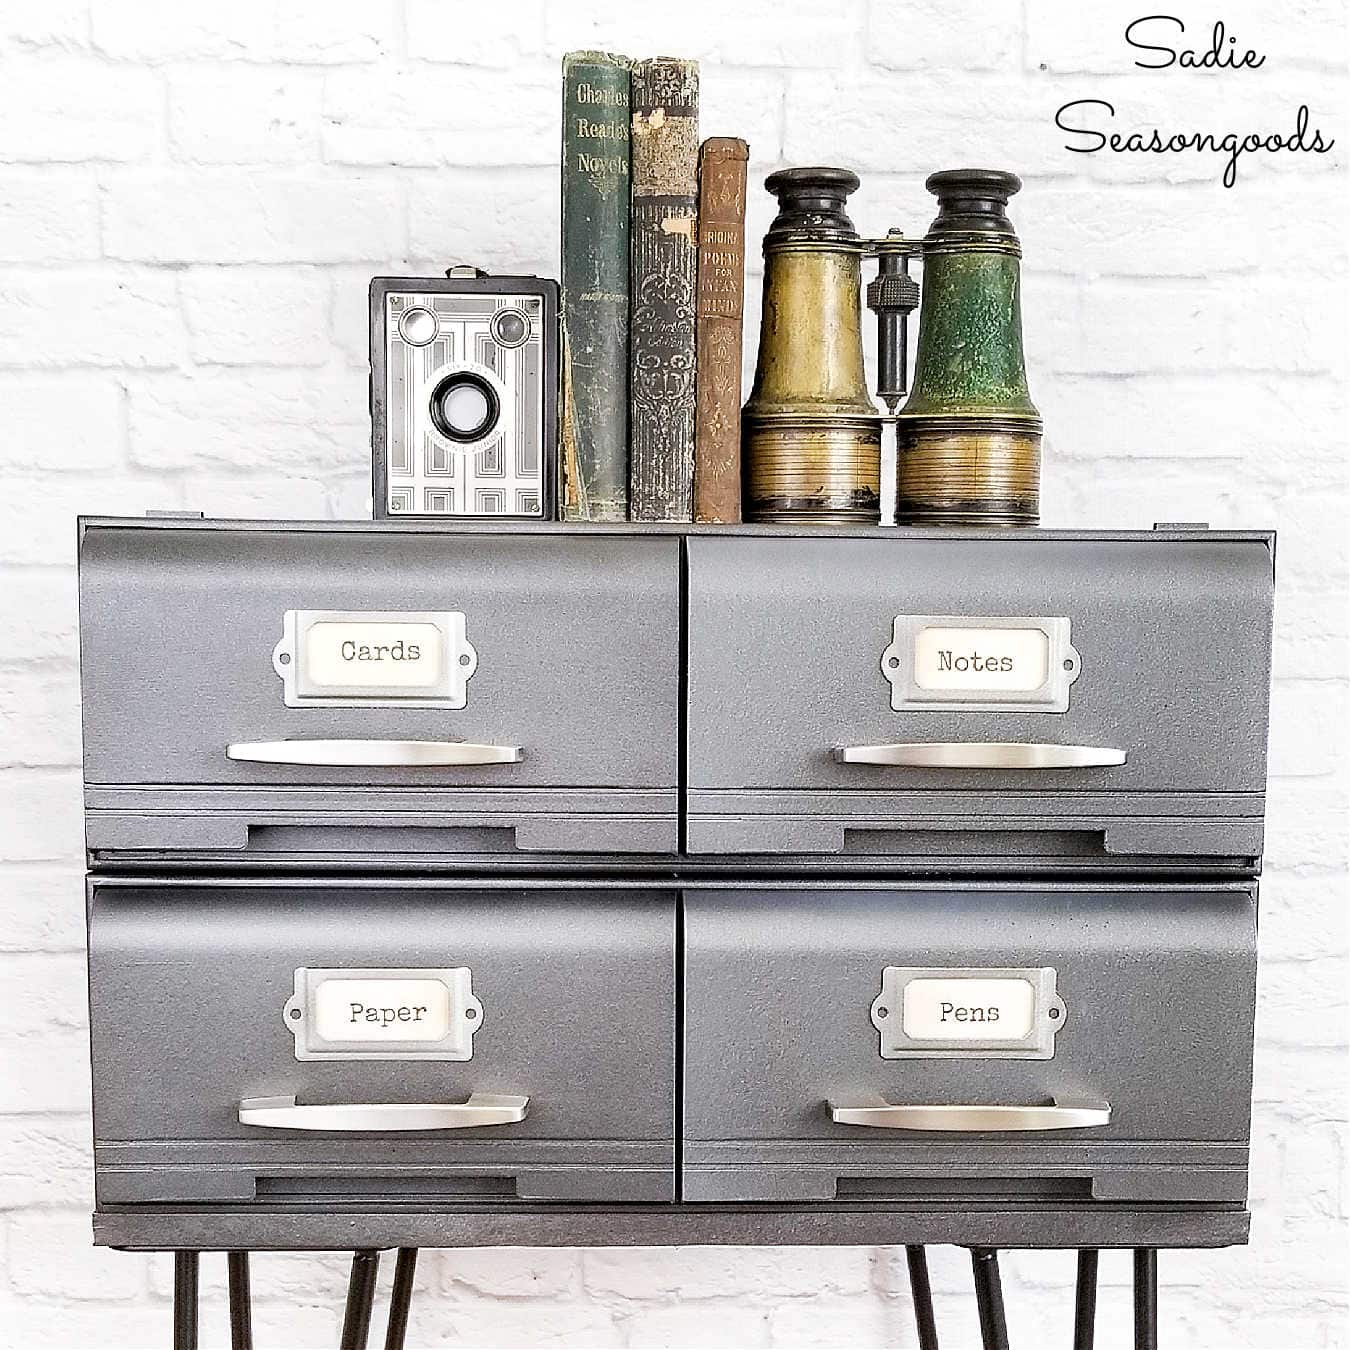
If you enjoyed this upcycling idea for storage that has the look of industrial farmhouse decor, then you’ll love what I did with some old VHS storage drawers!
Craft on!
S
Want to be notified when I publish my next upcycling project tutorial?
Join me on Social Media:
PIN ME!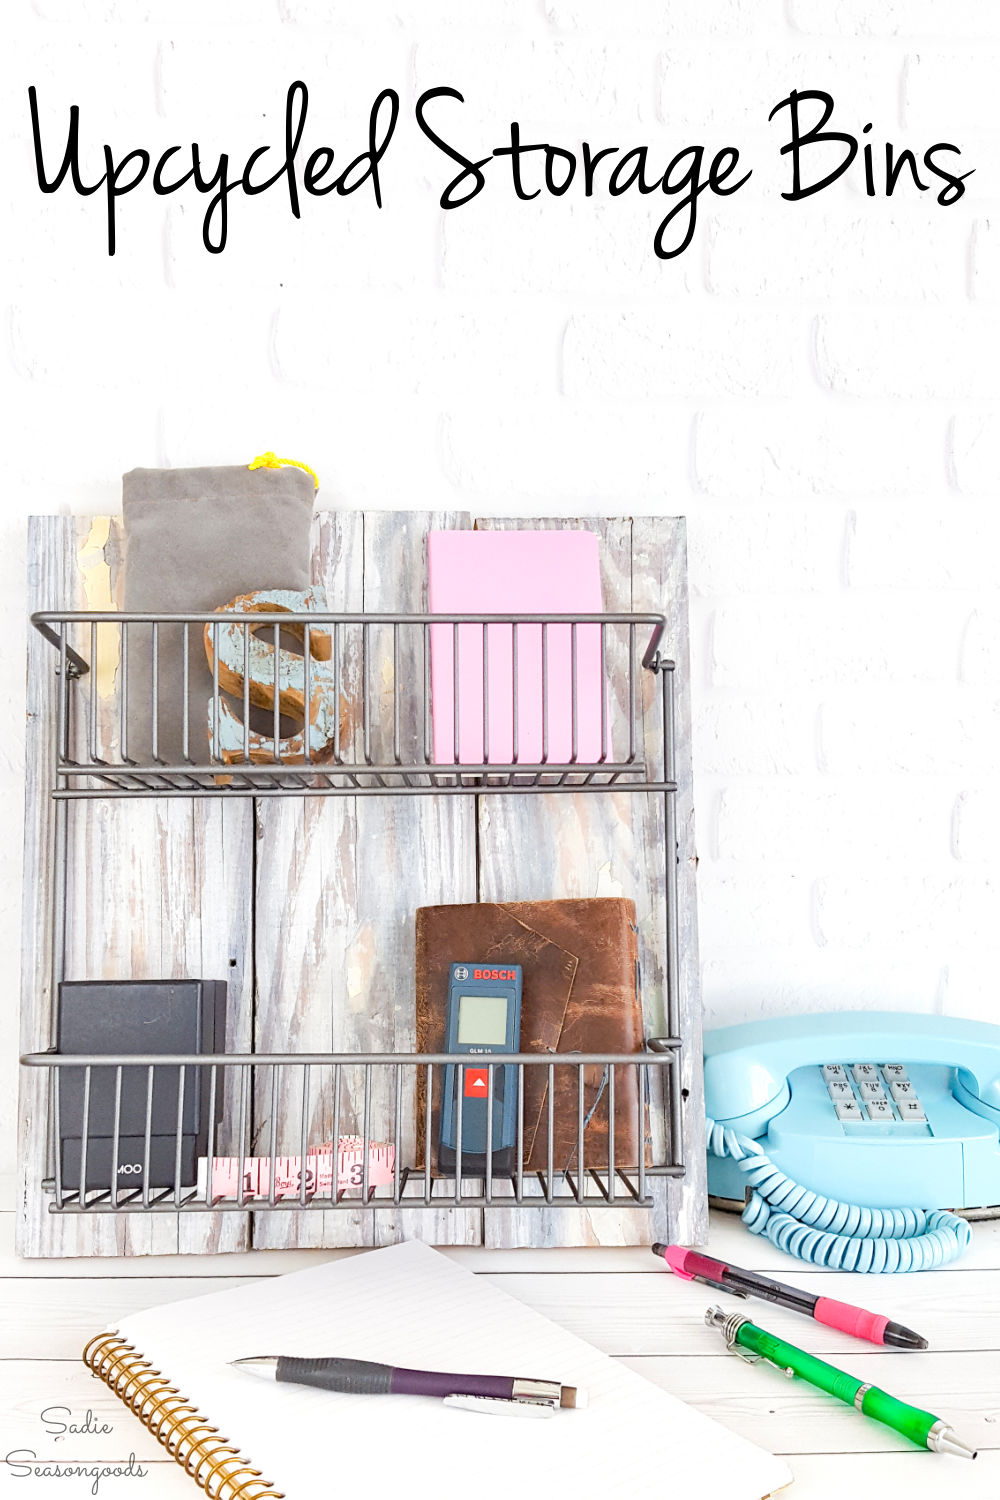
Sarah Ramberg is the owner of Sadie Seasongoods, a website that celebrates all things secondhand. From upcycling ideas and thrifted decor to vintage-centric travel itineraries, Sadie Seasongoods is a one-stop shop for anyone who loves thrifting and approachable repurposing ideas. Sarah is also the author of “Crafting with Flannel” and has been featured in numerous media outlets and magazines.







Love it! Those planks are the perfect backdrop! I love your princess phone, too.
He’s a favorite photo accessory! A thrift store find in Blue Ridge, Georgia!
Well, this is a very timely tutorial…I have two wire shelves I’ve used in the past for my craft paint, etc but the white finish on them is snooze worthy. I took them down when I refreshed the laundry room and they’ve been languishing ever since. I haven’t wanted to get rid of them as they are perfect storage pieces – now I know how to give them some pizzazz! Weathered old wood and spray paint! Now why didn’t I think of that? Love how yours look.
? Cecilia
Perfect!!! Thank you, Cecilia!
That is soo cute! Love it on the weathered wood! I think I’ve seen those same type of shelves at the thrifts & just kept right on walking…ha! This would sell in a booth, but I know you’re finding the perfect use for it at home!
Thank you, Florence!!!
Great idea! Love it! This would come in so handy. Very clever how you connect the wire basket to the wood with cup hooks, so simple. I will have to remember this for a project I will be starting soon.
And OH HOW I STRUGGLED to figure out how to hang the basket…seriously, that was the biggest heartache of this project, LOL! When the solution was right there, staring at me from my craft room (I have LOTS of cuphooks on hand)… 😉
Very cute, practical, and fairly straightforward! Thank you – looks like something I could tackle!
Totally, Cathy- it is definitely straightforward and anyone with a drill can do it, I promise!
You always amaze me, this is brilliant!
It’s so funny- I was worried that people would have the opposite reaction (like, this project is too basic/simple!) so I appreciate that, Katrin!!
Very crafty!
Thank you, Gina!
Another great idea! You always seem to have an ability to see what something can become!
Thank you, Rose- I definitely try! 🙂
Did you pre-drill the holes on the little horizontal boards? A lot of the time, I found that if I don’t pre drill, the wood splits.
Not in this case- just started very slow and steady. But yes, pilot holes are usually the way to go!
Smarty pants (as my mom used to call me) this is so cool and it is a copy in the making, I have some shelves, not like yours, but will do, love this.
Thank you so very much, Ellen!
Great idea.
Marilyn
Thanks so much!
What a good idea for storage.
Marion
Thank you, Marion!
Love the rustic farmhouse vibe you gave this simple wire spice rack – nice save! Pinned
Thanks, Marie!
Love this idea! Change the patina of the metal, and use up some scrap wood! Great idea!
Thank you so much!
Awesome job, Sarah! Love the wood and metal combo for sure 🙂 I’m constantly working on trying to make my office/craft space more efficient. Need to keep an eye out for one of these!
Thanks, Angie!
Great idea! Thanks for sharing @ Vintage Charm!
Thanks so much, Cecilia!
Ahhhhh yes please. We bought some of those spice wire thingyies for our cupboards only to find that they were too wide to fit the space and they’re been lying in our garage ever since gathering dust just like my brain apparently 😉 Thanks for the idea Sarah
No problem! It’s not the most “ooh-ahh” worthy project, but it comes in handy (and is a really easy build!)! 🙂
What a great DIY! It would be great for an office, mudroom or kitchen! I’m stopping by from the B.F.F. 🙂
Thanks, Laura!
I can think of about 5 places in my house I need one of these! Great project!
Thank you, Courtney!!
Hi Sarah! I just wanted to let you know that your project just became my featured pick from the Sweet Inspiration Link Party 🙂 You’ll be featured this Friday on the blog! Hope you stop by 🙂
Thank you so much, Jelica!! I’ll be there with my latest and greatest. 🙂
OMG!!! This is such a clever idea!!!! Love the wooden backdrop! Thank you for sharing at Sweet Inspiration Link Party 🙂
http://www.artdecorationcrafting.gr
Thanks, Christina!
Great repurpose. Thank you for sharing at Snickerdoodle
Thank you, Sharon!
Very nice! Love you stack of wood too 😛 Pinned!
I’m slowly but surely working through it- thank you so much!
I have two of those ugly white racks in my garage and I did not know what to do with them. Thank you for your inspiration!! Your racks are absolutely fantastic!!
Thank you, Marci!
Okay, my eyes are getting worse and worse, and i know you aren’t supposed to see them, but can you give me a hint as to where the cup hooks are on the “ta-da” photo, please?
That’s the secret- they’re hard to see in the final photo, LOL! As you saw in my tutorial, they’re painted to match and blend in perfectly.
Simple is better!!!! More people will see value. Great job!