On one of my typical thrifting adventures, I spied this mini chest of drawers near the cash register at the thrift shop. I didn’t really fancy the painted fruit “still life” that covered it, but I WAS curious about the wood underneath the paint. The idea of a “makeunder” floated through my mind as I envisioned a vintage library card catalog as the end result.
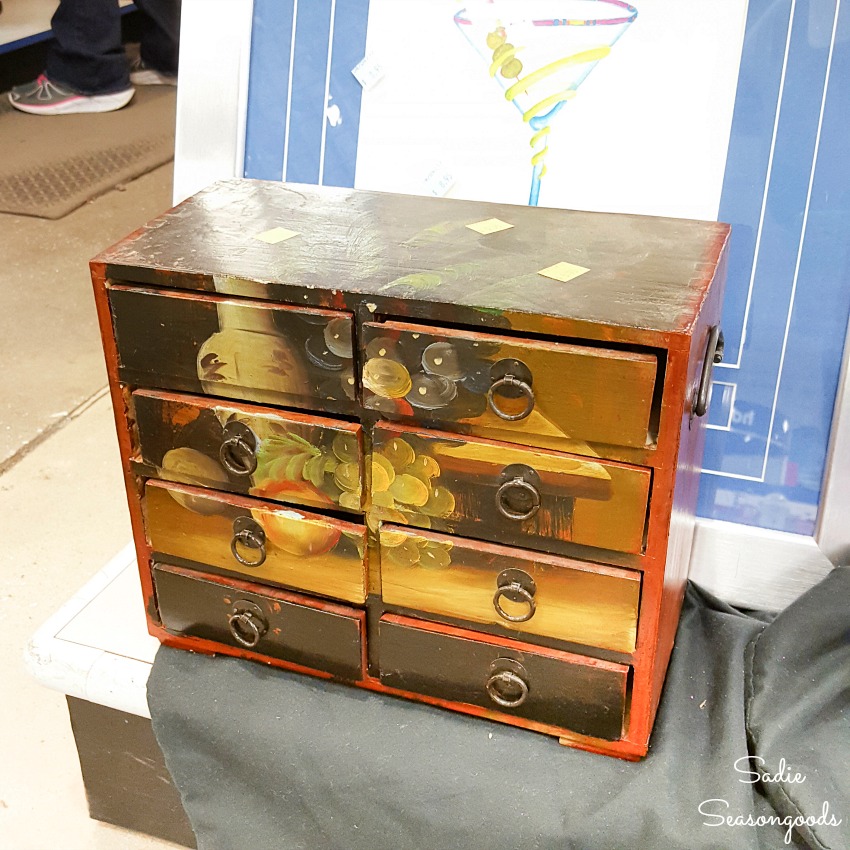
And don’t you worry- it wasn’t a quality paint job. The original TJ Maxx price tag was still on the bottom! So, no guilt whatsoever.
I plopped in my cart as an impulse purchase because for $5.99, it was worth testing out my theory.
My plan was to remove the painted finish, stain the wood underneath, and replace the existing hardware with finger pulls like an old library card catalog.
This post contains affiliate links for your crafting convenience. As an Amazon Affiliate, I earn from qualifying purchases. All blue, bold, and underlined text is a clickable link, either to a product or to a related post.
Refinishing a Mini Chest of Drawers
After buying the mini chest of drawers, I set up shop in our garage to start refinishing it.
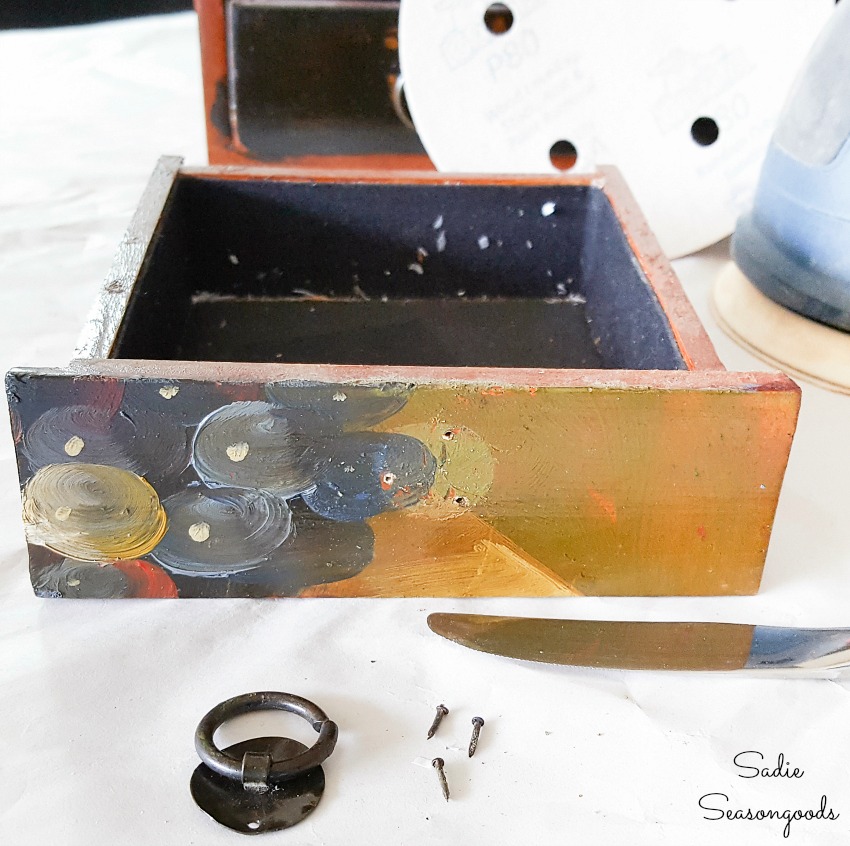
First, I pried off the original hardware since they didn’t exactly look like the kind of hardware on an antique card catalog.
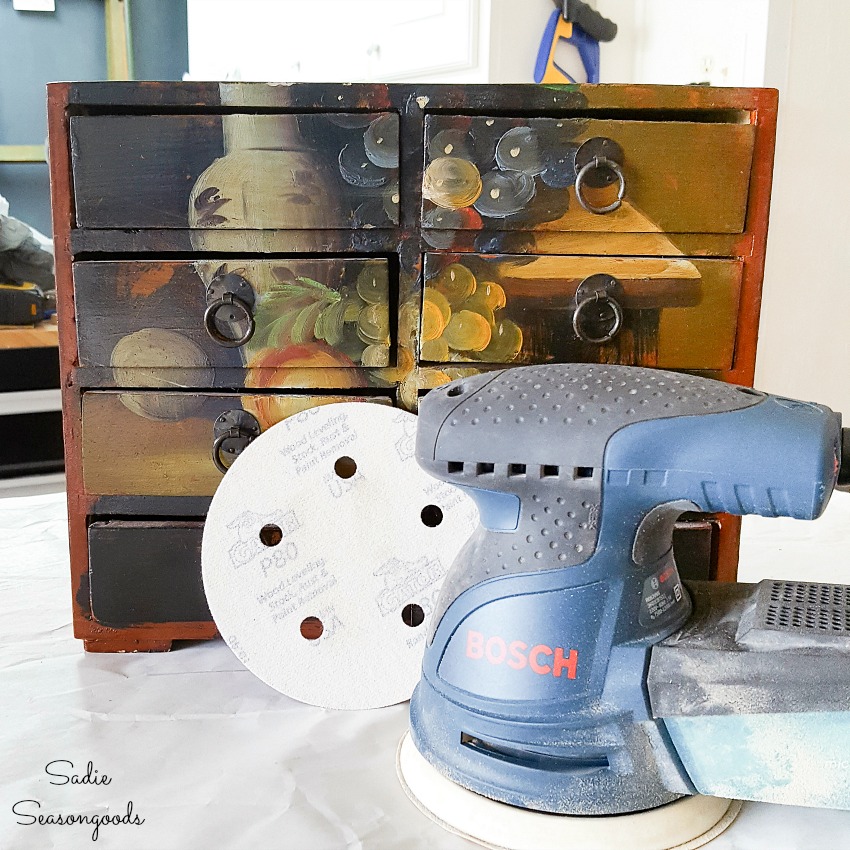
Next, I grabbed my Bosch orbital sander and an 80-grit sanding disc. The existing paint came off pretty easily, which was a relief!
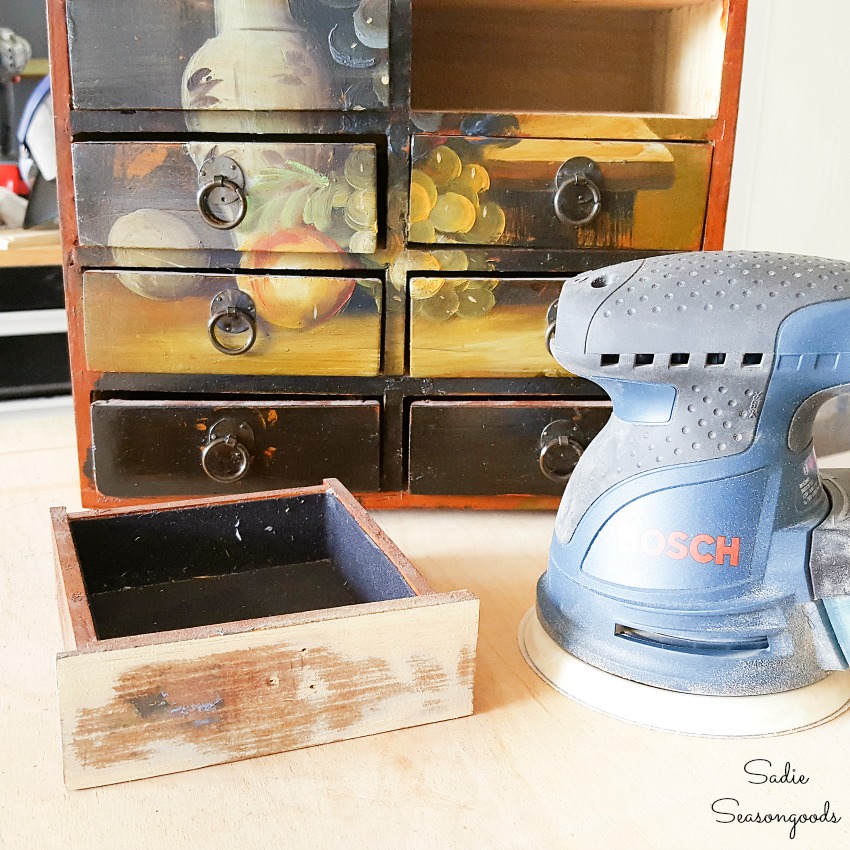
It didn’t take too long before I had revealed the clean, pale wood underneath all that paint. I thought for SURE this would take me a couple of days to finish, but I zipped right along.
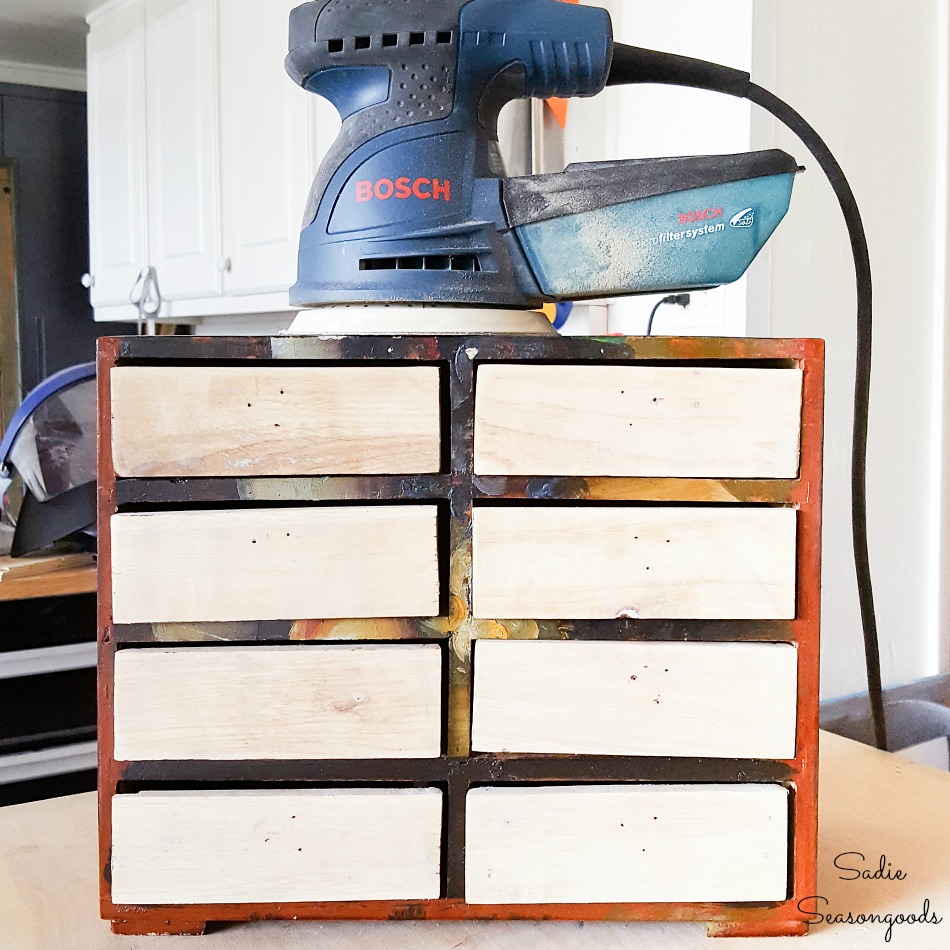
Truthfully, though, I didn’t focus on the sides of the mini drawers. Instead, I spent my time on the surfaces that would be visible when everything was closed.
I planned to use my DIY card catalog as both storage and home decor.
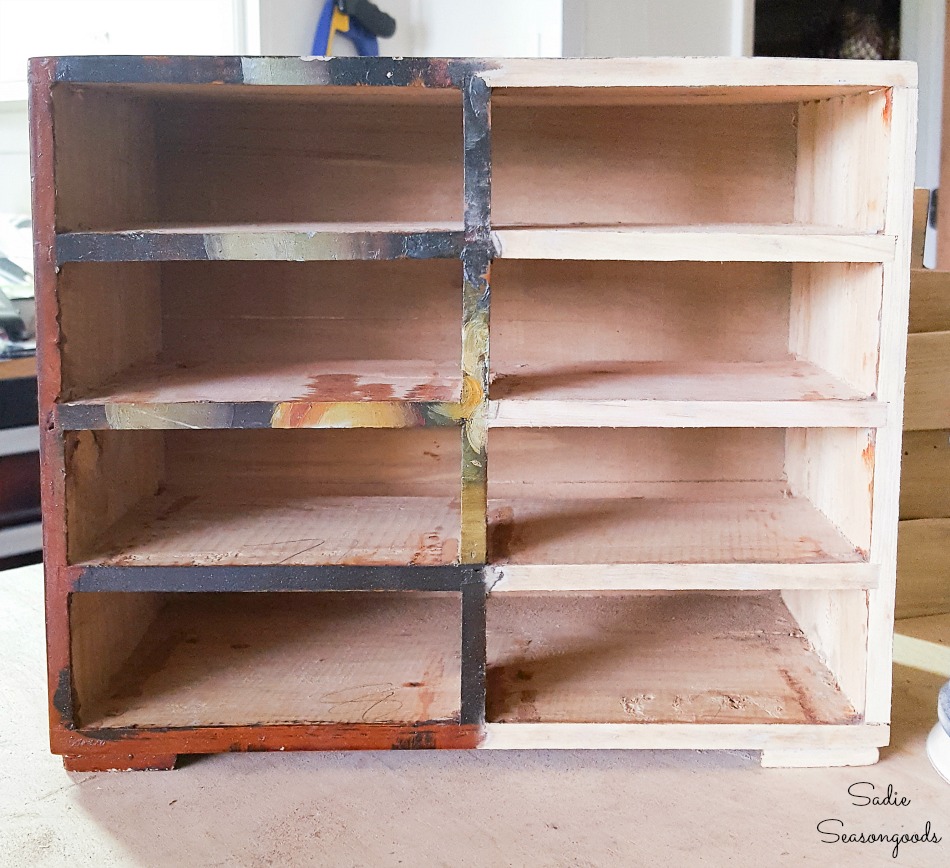
After all was said and done, I had a smooth, clean set of small storage drawers to work with!
The wood even had a decent grain to it and the chest had dovetail joints. I thought I spied those under the original paint job!
Next, I brought the mini chest of drawers outside in order to stain it. I decided that Honey wood stain (by Minwax) would give me the look of a vintage card catalog.
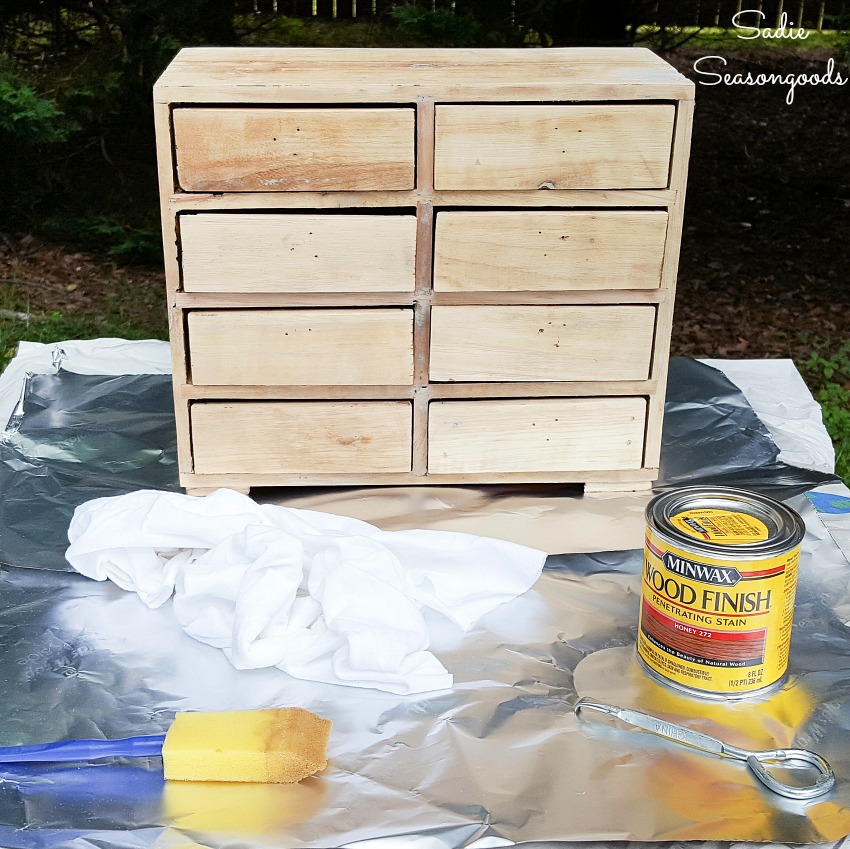
Perfecting the Look of a Vintage Library Card Catalog
Two coats of Honey wood stain later and the small wooden chest had been COMPLETELY transformed!
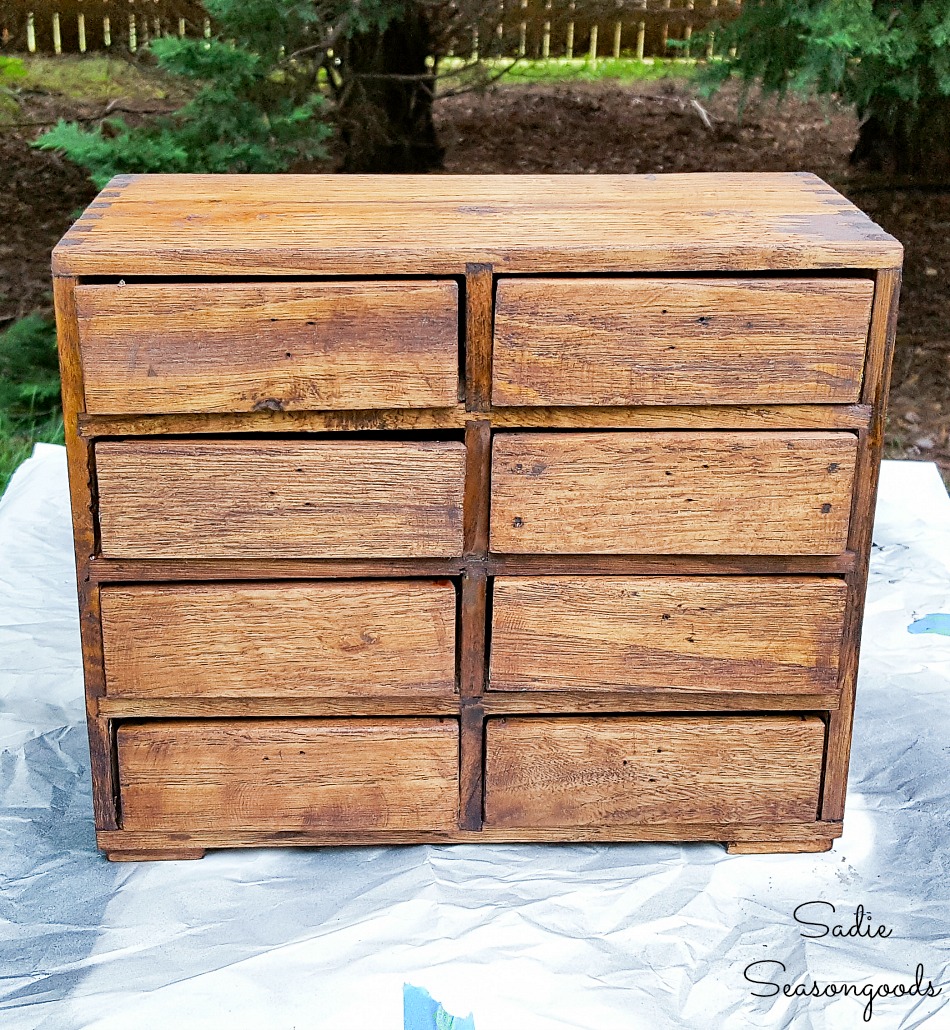
After the honey wood stain had cured over night, I sealed it with a satin topcoat.
Next, I needed to add the hardware to my vintage card catalog. I bought these small card catalog drawer pulls that would fit the mini drawers perfectly.
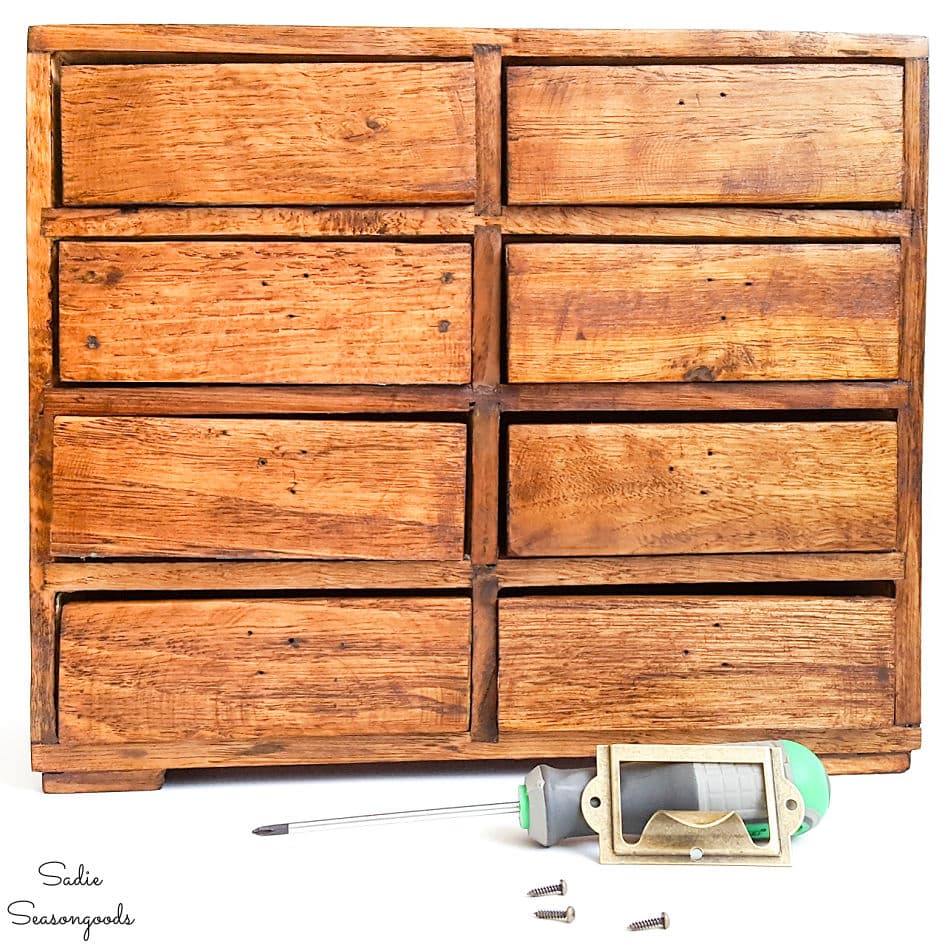
Can. You. Handle. This?
I mean…if I didn’t do all the work myself, I might be in disbelief. But I know for a fact that I danced around my garage on a Friday night, with my Bosch orbital sander in one hand and a La Croix in the other, removing the paint.
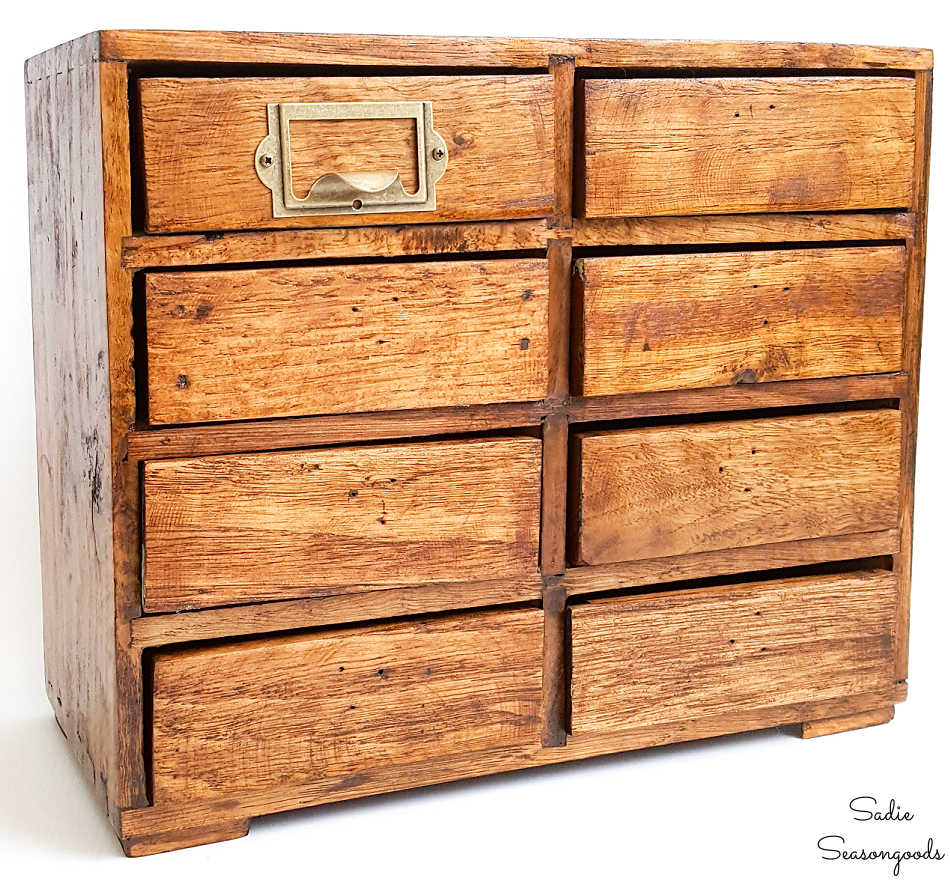
I couldn’t believe how much it was starting to look like an antique card catalog! So, I continued to add the finger pulls to each drawer until they were all done.
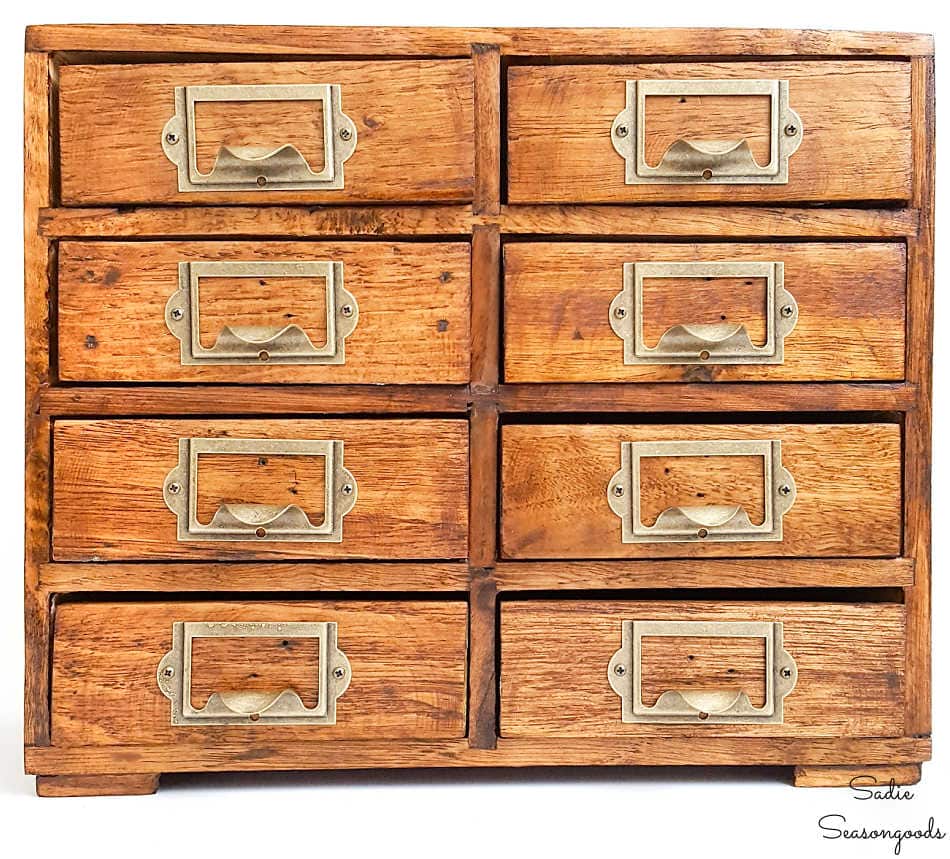
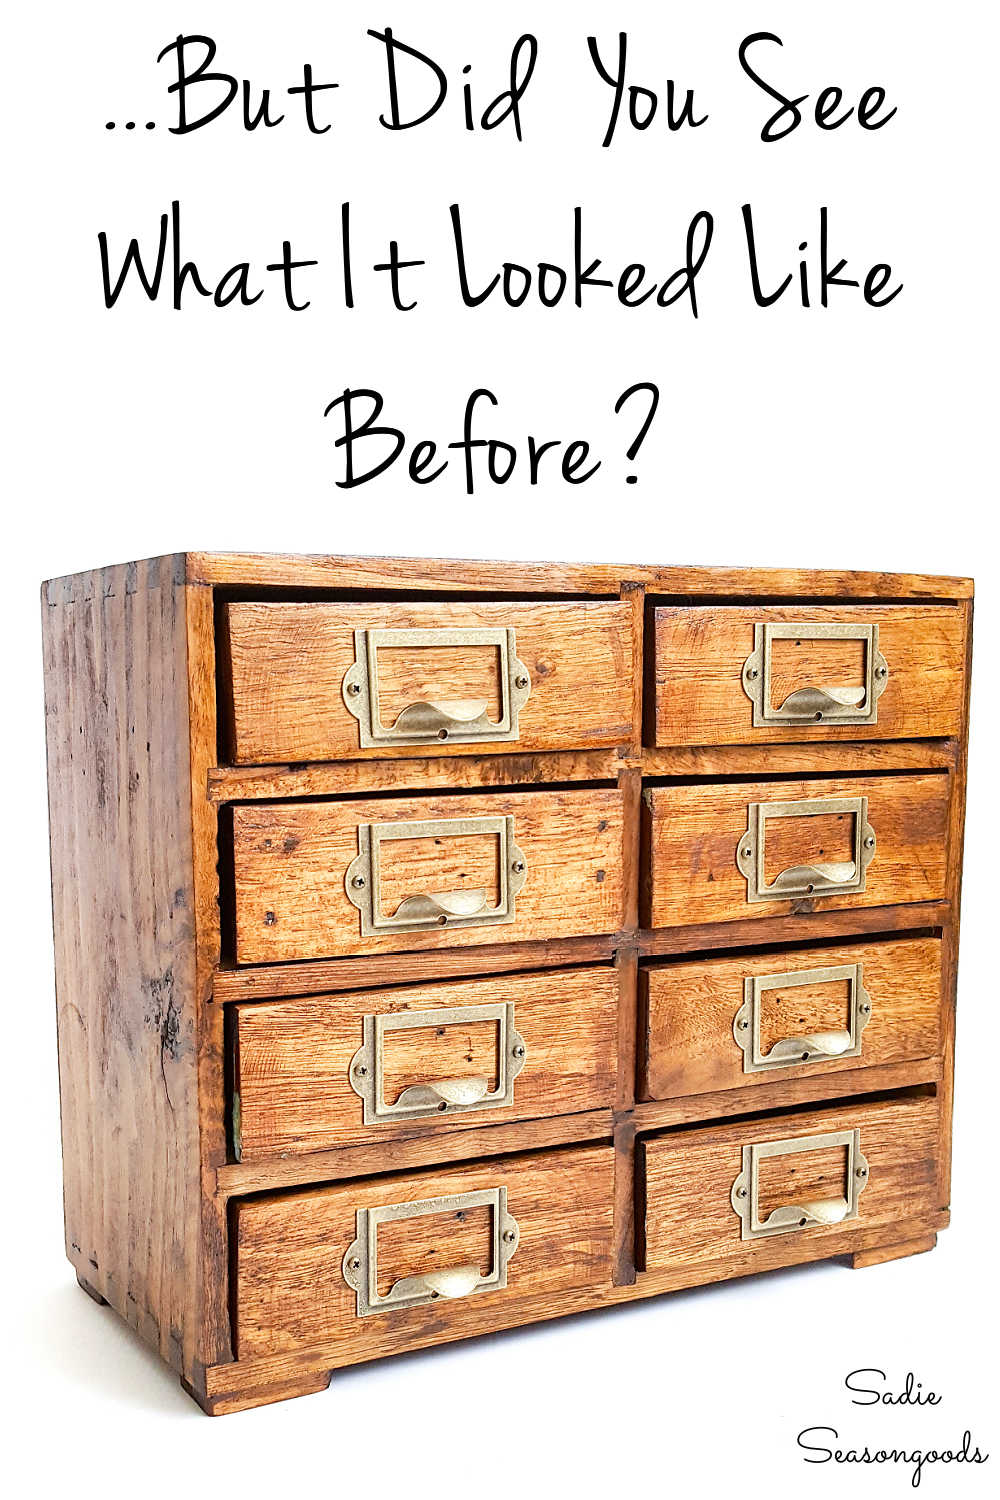
Would you ever have guessed that this was originally covered up by that paint job?
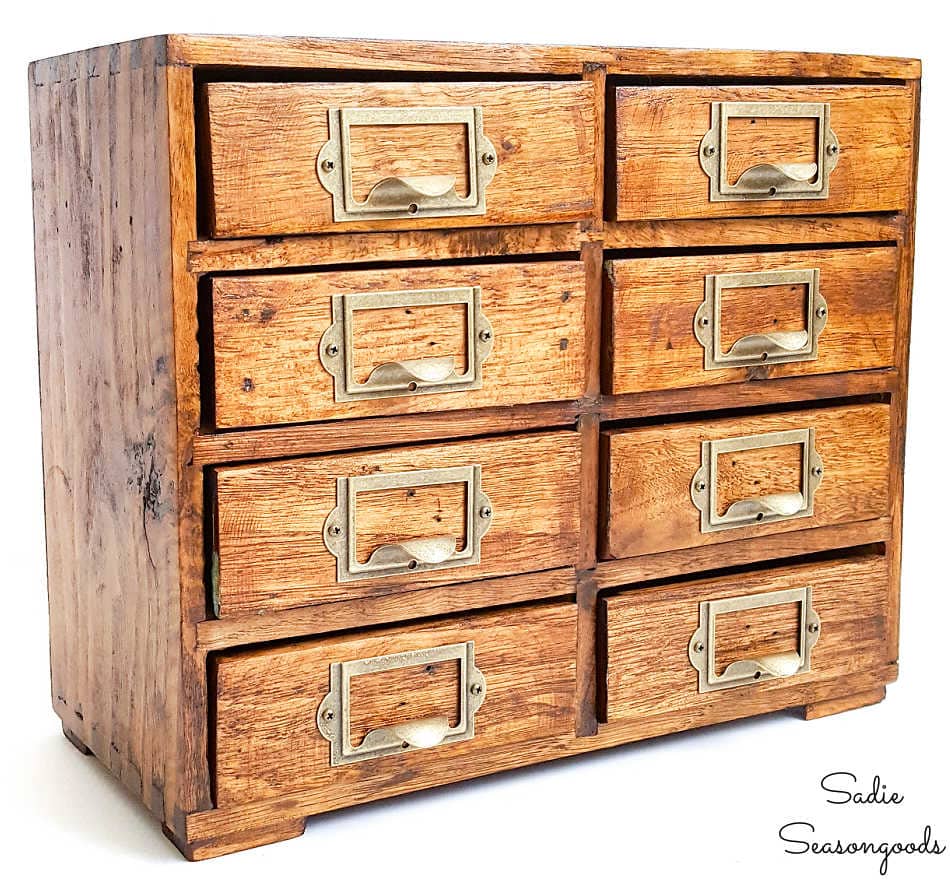
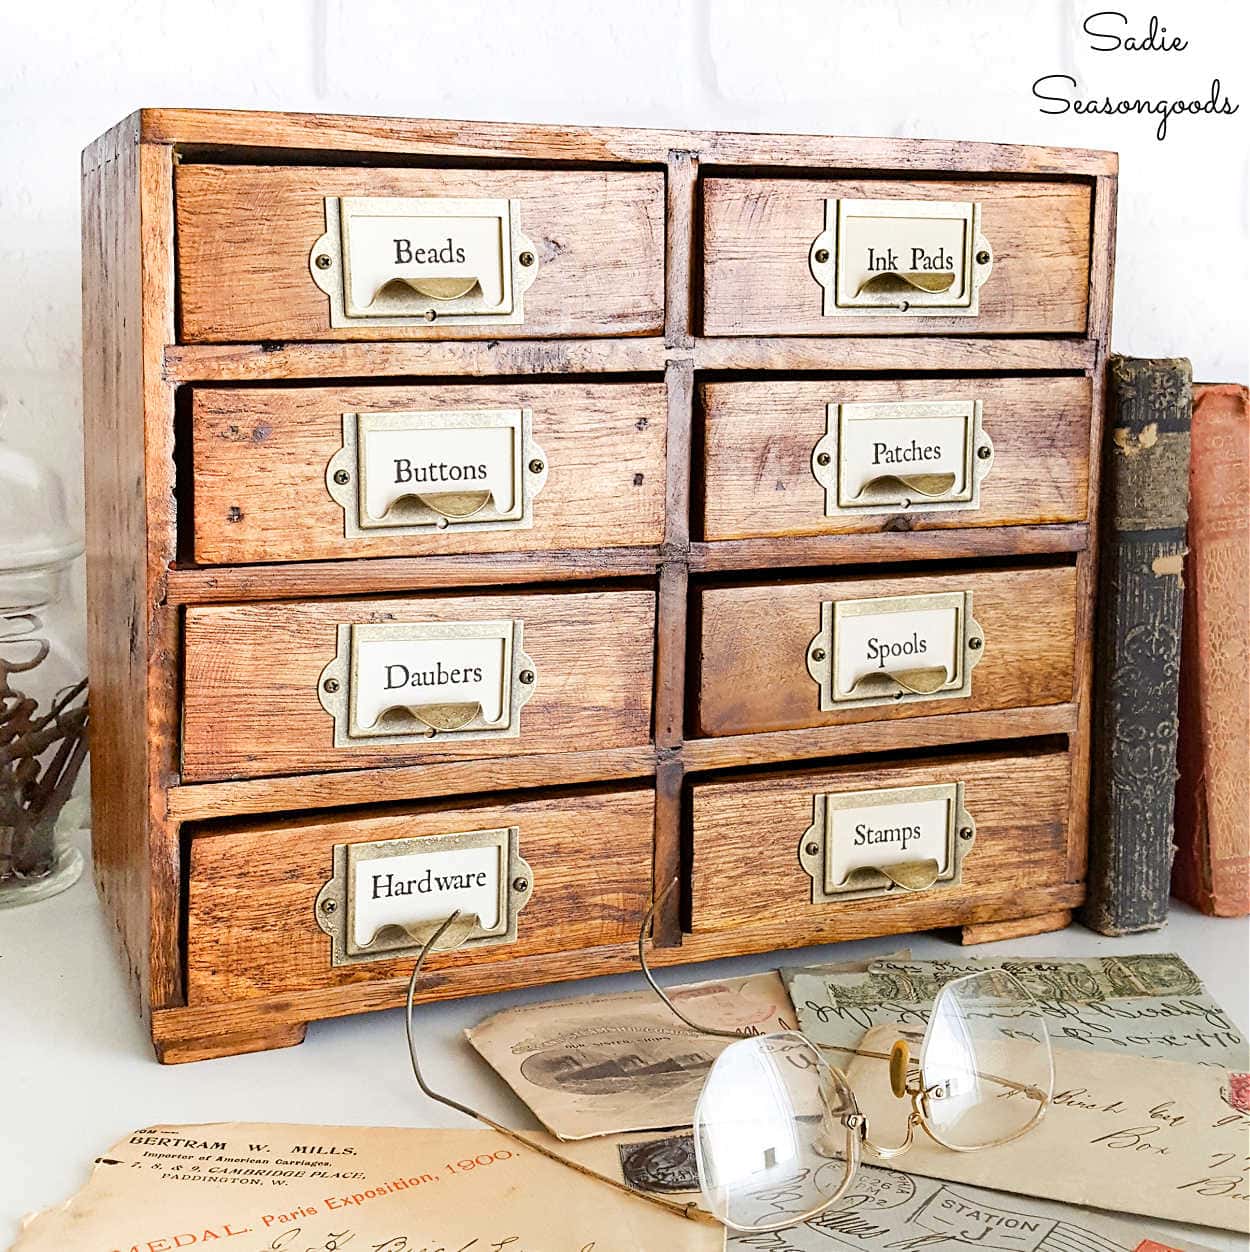
I just needed to add one more thing. Then, my tabletop version of a vintage library card catalog would be complete!
Tabletop Version of a Vintage Library Card Catalog
Labels! I just needed to add little labels to the finger pulls to correspond with the craft supplies that would be stored inside.
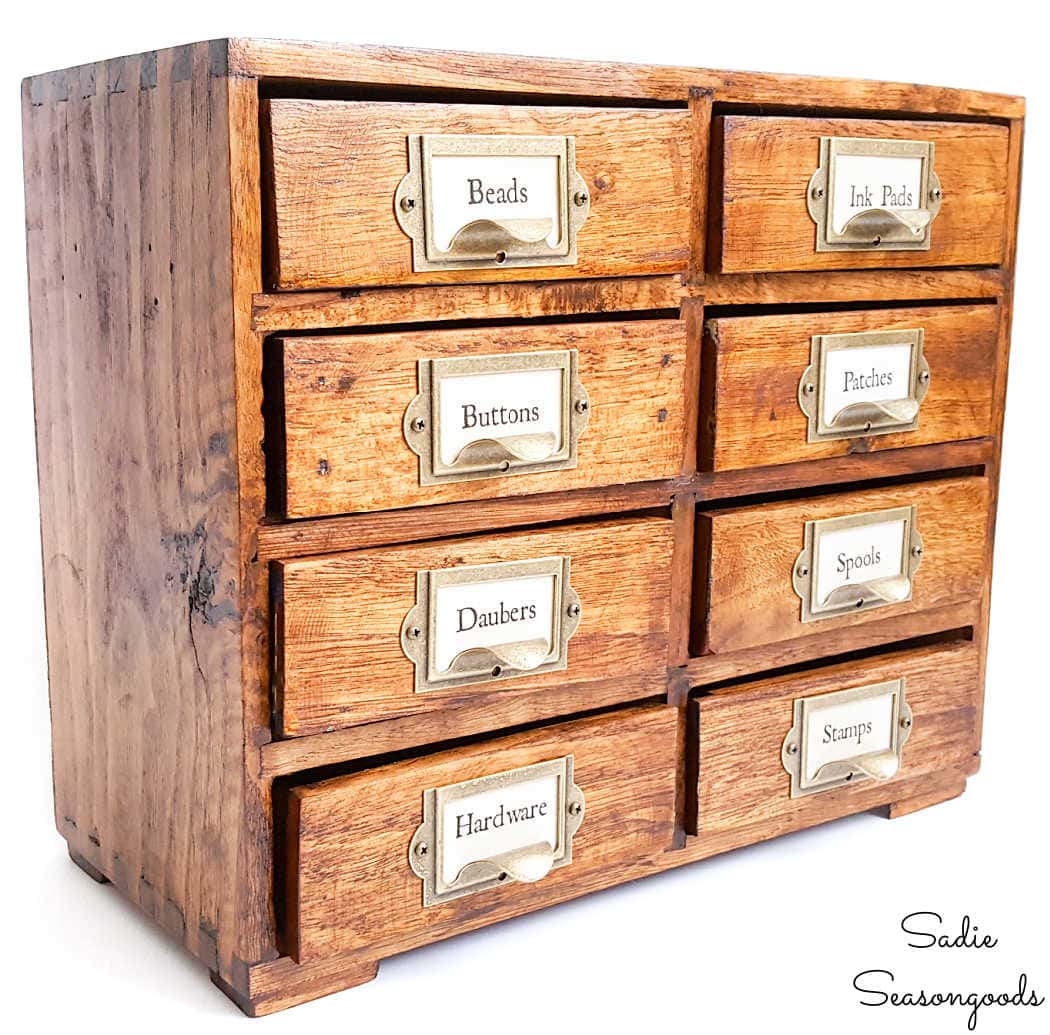
See those dovetail joints that I was talking about? And the gorgeous wood grain!
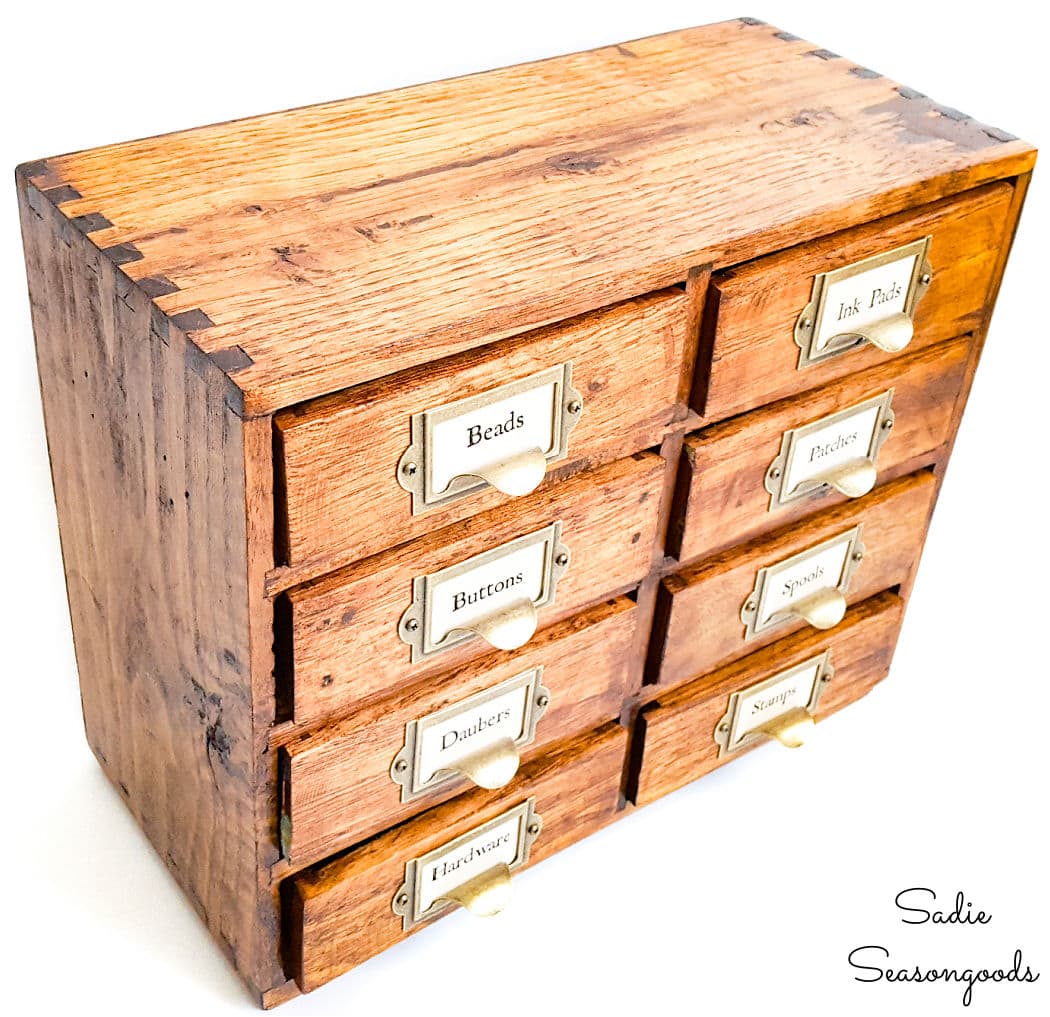
Even though I was really excited about upcycling this mini chest of drawers, even I couldn’t predict how gorgeous it could become. Every time I look for a card catalog for sale, it’s out of my price range or is a modern reproduction.
But now I finally have my OWN by upcycling a $5.99 Goodwill find!
Did it take a bit of labor to create this DIY card catalog? YES. But you can’t put a price on this kind of result and the satisfaction of a project working out this well.
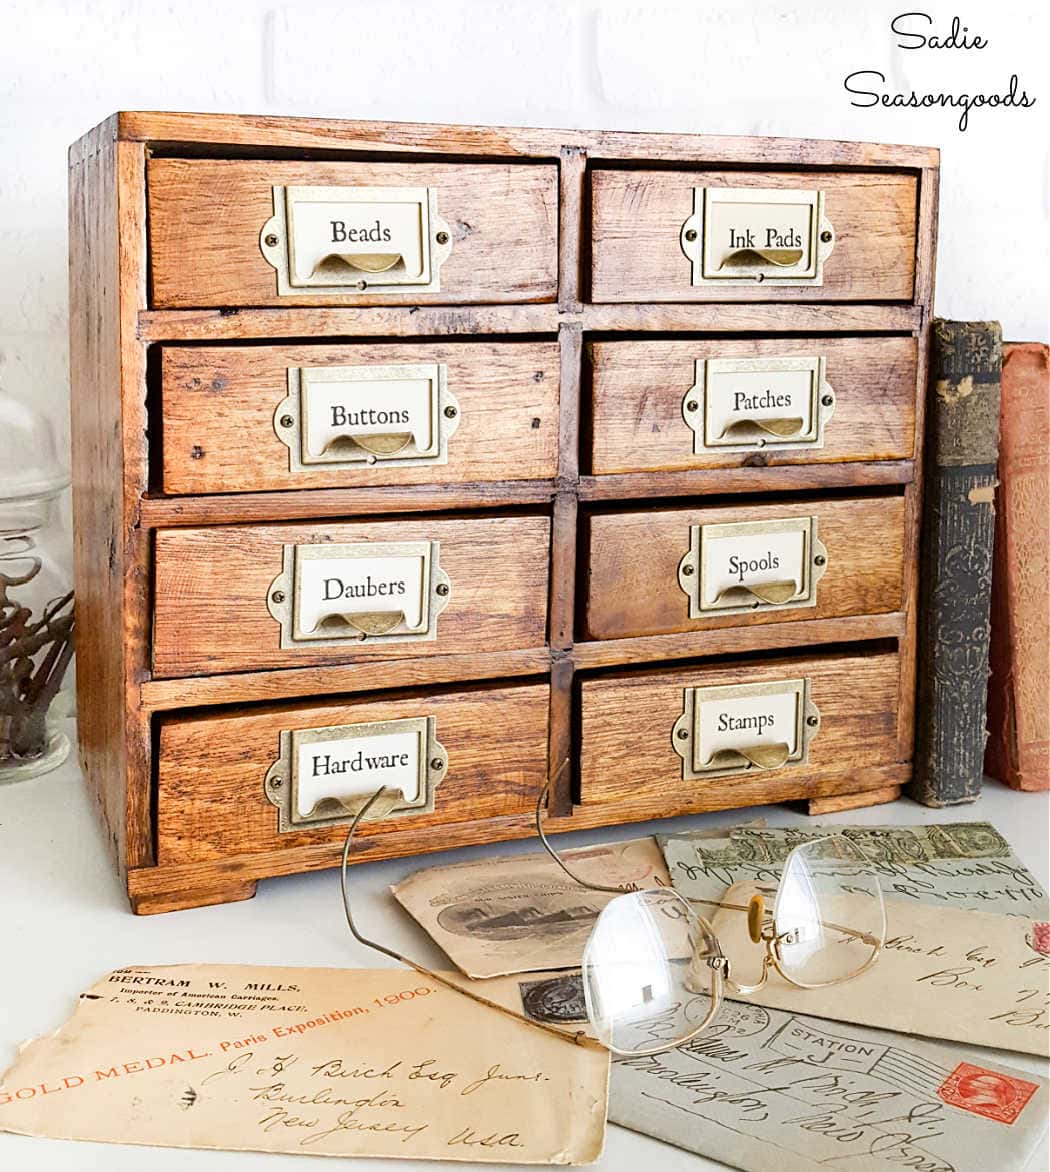
And I can finally say I have a vintage card catalog, even if it’s a DIY version. When you can’t afford (or don’t WANT to pay for) the genuine thing, upcycling something from the thrift store can really scratch that itch.
And yes, you can bet your bottom dollar that if I see another mini chest of drawers on the thrift store shelves, I’ll be doing this again!
One can never have too many small storage drawers, especially when they double as vintage home decor!
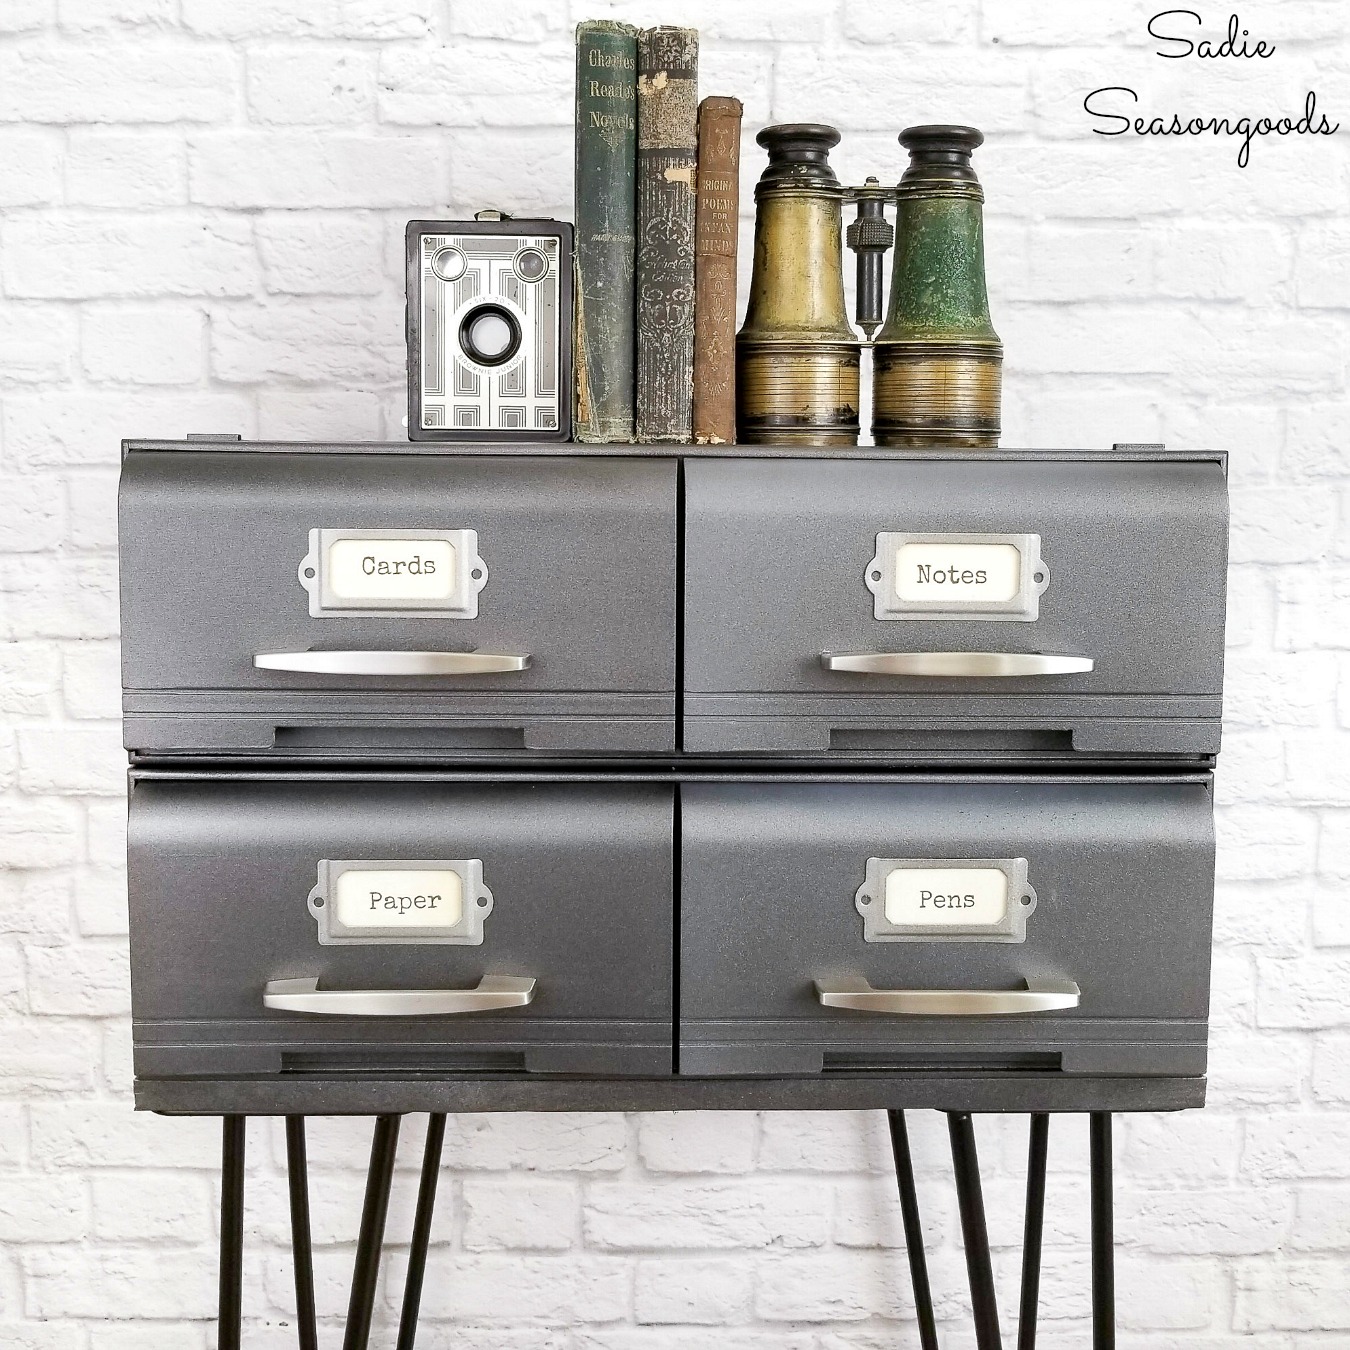
If you enjoyed this thrift store makeover, then you’ll absolutely LOVE this industrial table I made by upcycling another thrift store find!
Craft on!
S
Want to be notified when I publish my next upcycling project tutorial?
Join me on Social Media:
PIN ME!
Sarah Ramberg is the owner of Sadie Seasongoods, a website that celebrates all things secondhand. From upcycling ideas and thrifted decor to vintage-centric travel itineraries, Sadie Seasongoods is a one-stop shop for anyone who loves thrifting and approachable repurposing ideas. Sarah is also the author of “Crafting with Flannel” and has been featured in numerous media outlets and magazines.


Personally, I like those chintzy drawer pulls, but I really like what you’ve used in the final piece. I love boxes, especially boxes with drawers. I love this make under!
Thank you so much!
Oh Sarah, this little cabinet is a stunning makeover! You really did this little cabinet a favor and made her beautiful. I know it was a lot of work. The new pulls with labels are perfect. 🙂 Thank you for all the details. She really does look authentically vintage. Enjoy and create on!
Thank you so much, Christina! It was definitely one of those projects that *I* loved the makeunder, but I was worried that folks would be upset that I removed the grapes painting, LOL. You just never know…but I’m so glad you agree with me that it’s a huge improvement! 😀
Oh wow how cute! You did a great job on the makeunder! I would love to have a mini card catalog, but their to expensive for me too. It looks so much better now, than with the fruit on it. What were they thinking! LOL
Three words: Made in China. LOL- but I agree, why bother covering with a still life when there is such pretty wood grain underneath??
Absolutely love your new old library drawers!! Great job.
Thank you!!
Loved this! I will be on the look out for these myself!
Thanks, Kimberley!!! I’m totally going to be looking for another one, LOL!
Turned out great!…I was surprised to see that there was real wood under there.
Right?? It was the most pleasant of surprises!!
Beautiful result…but I must admit I liked that still life way too much…
Perfection!!! This is my new favorite project on your blog!
Ohhhh, thank you so much!!! For a second I thought you might say that you had donated this…cuz we both know that has happened before! 😉
Absolutely love this!! Great work!
Thank you so very much!
OMG! Adorable! I’m on the lookout for something similar now!! Too cute.
Thank you, Cathy!!
These drawers look amazing, fantastic make under!
Thanks, Claire!!
oh yeaaa is right, this turned out awesome love it i am jealous xx
Thank you!!
Awesome job!
Thank you, Shay!
WOW!! I love it. Great job, it is so much better like this. Wanna sell it? jk
Hahaha, I thought about it!!! But actually, I’ve decided to give to a dear friend of mine who can use the mini drawers for her jewelry business!
Wow, Sarah, this looks so good! What a great makeUNDER and gives this box such character. Love the new function you’ve assigned to it too. My craft/sewing room could use one of these.
Thank you, Marie!! I wasn’t sure if I’d get pushback for removing the “painting” or not…but so far, so good (for the most part!) LOL
Absolutely adore it!
Thank you so very much, Cecilia!
Love it!
Thank you, Edith!
Your makeunder is gorgeous! If it was such a nice wooden box, why did they cover it up that way??? My problem is, being close to a hoarder, that I would fill those tiny drawers up TOO quickly with my bits and bobs! Glad you could see the “good bones” of the box–if I did it, it would probably be cardboard underneath! Awesome job and a great tutorial, too.
Thank you so very much, Kathy!
Who knew that gorgeous piece was under that cheesy paintjob!! This looks amazing! XO
Thank you so much!!!
Wow, wow, wowzers what a transformation! I can’t believe there was wood, and not mdf under that fruity mess. What a beautiful transformation!!!
Exactly! I wouldn’t have been surprised had it been MDF…and would have tried this anyway. But it’s SO much better than I could have hoped. 😀
I would have never guessed there could be dovetail drawers and nice wood graining underneath a TJ Maxx piece! Love how this turned out!
Right??? A TJ Maxx piece that became a Goodwill piece that became my card catalog- a long road but worth every mile!
Ah man Sarah that’s just adorable and brilliant. She looks perfect now
Thank you, Michelle! She’s no stacked suitcase dresser, but she’ll do for now. 😉 😉 😉
Oh my gosh… as a librarian who also can’t afford an actual card catalog, I love this SO much. Will definitely be keeping an eye out for one! Beautiful job!
Thank you so very much, Jamie!! I feel your pain!
N-I-c-e! I thought “Makeunder”? What in the world? Well, now I know! Bye-bye not so special still life and hello cute card catalog! Hm, I think I may have a little box that needs a makeunder!
Hahaha, thank you so much, Cecilia!!
Oh my goodness Sarah, you uncovered some gorgeous wood, she is a beauty! You have a great eye I love your brilliant transformation!!
Thank you so much, Julie!!
Now, I know a new word: “makeunder”. I love what you did with this little chest. It looks like a great piece to use in a craft room.
Thanks, Carol!!
Wow. What an amazing makeover. You really took something that was pretty icky and turned it into something so spectacular. Great Job!
Thank you so very much!
I have a little 2 drawer wooden box I should totally do this to! It isn’t nice wood like this but, I think I could still pull off the look. I think 😉 Thank you so much for sharing with us at Funtastic Friday! Pinned & sharing
Thanks, Angie!!
This turned out beautiful, Sarah! I pinned it & will share on FB! 🙂
Thank you so very much!!!
That is so awesome – so much better than the original! Thanks for sharing on the Pleasures of the NW’s DIY party!
Thank you, Helen!
This project is an OMG gorgeous project. I love it, love it, and ya, love it!!!
Thank you so very much, Ivory!
This is darling!!!
Thank you so very much!
Keep dancing Sarah because once again you nailed it! I have lots of doo-dads waiting on something like this. Thank you for sharing with us this week at Celebrate Your Story, and I hope your week is going great.
Awww, thank you, Sandra!! :*
Sarah yet another incredible makeover. You are so talented. Thank you so much for sharing!
Thank you so very much, Sharon!
You already know how much I love these library card drawers! Now I’m happy to tell you that you’re featured this week at the This is How We Roll Link Party.
Thanks so much- I just linked up my latest! 🙂
This is awesome! It looks like the perfect size to sit on a desk and hold all the most used goodies. Will be perfect for your friend to use in her jewelry making 🙂 Pinned for inspiration. I hope I come across one of these!
Alexandra
EyeLoveKnots.blogspot.com
Thank you!!
Thank you so much for sharing this at the Farmhouse Friday link party! Pinned and shared! 🙂
This is so adorable! Who knew? Oh right, you did!
I’ve looked and may have missed it, but where did you get the new label/drawer pulls. I need those!
No worries at all- the bold blue text in all my posts are links! And this affiliate link will take you to the exact pulls I bought: http://amzn.to/2rqitvy 🙂
I want to go thrifting with you! What a great find! And your transformation? So awesome!! Enjoy all that extra storage ! 😀
Thanks, Cynthia!
I love this Sarah! I would love to have this in my home. I’ll be featuring your beautiful card catalogue at this week’s link party. xx
Thank you so very much, Kate!
I’m clapping my hands, cause I’m happy and I know it!!! Sooooo doing this! Thanks a bunch!
Hahaha, I love it- thank you, Minnie!!
That is one awesome makeunder!! I love it!! I think your blog is my new obsession!! You are very talented!!
Thank you so very much!! I can’t tell you what it means to me to hear that!!
Just amazing. I so enjoy all of your makeovers.
Thank you, Mary, so very much! It always means the world to hear that.
Wow! What a transformation!
Thank you, Kim!!
Aaah-mazing!!
Thanks, Michelle!!
I have this exact same jewelry box, I always thought it slightly cheesy, but it was my Mom’s so I have kept it and used it for my jewelry. Being a furniture up-cycler it is funny that I happened across your pin! I love the idea of the card catalogue and will have to try it :). Better than the painted fruit.
That’s too funny, Kitty!! It’s amazing how pretty the wood is underneath that painting!
I would never have guessed!
Holy Cow is right!!! I’ve seen that same piece in the thrift store and I’m jumping on it next time! That is an amazing make-under and I love it so much!!!
Do it! There’s a gem waiting under that paint…mine had the original TJ Maxx pricetag on the very bottom so they were definitely mass produced!
I would have never seen the finished project if I had looked at those drawers in a thrift store… Thank you for opening my eyes and seeing the possibilities.
You are so very welcome!
Love this and gotta have one! So, where do we get those little pulls on the front for the labels ? Hobby Lobby ?
No, I really don’t shop at Hobby Lobby, actually- I included a link to in my posts to the exact pulls I used! 🙂
Have the same piece. I am going to try this
That’s awesome! Did you get it at TJ Maxx? The one I found at Goodwill had a TJ Maxx pricetag on the bottom.
OMG I absolutely love this, may I ask where you got the card catalog drawer pulls, they are past perfect! You are so creative, great work! 🙂
Thank you, Anita! See the bold blue text when I discuss them? That’s an affiliate link to the exact ones I used so that you can buy them, too. I link to as many products as I can- look for those bold blue links (sometimes underlined, sometimes not).
Ok thanks, I sure will go look right now! As I always say, you are the BEST! 🙂
I so would love doing this but I would use it as a jewelry box and label the drawers with “hoops” “drops” “dangles” etc. Conventional J boxes have too small compartments! Thanks for all your ideas!!!
Love, love, love it! The drawer pulls are perfect but how did you type on those little cards. I found a card catalogue at an auction but don’t know how to “label” it! So nice of you to give it to your friend, but she’ll need no cards for her jewelry.
Oh, I typed those up on the computer using a typewriter font on paper (from the craft store) that looked aged!