The “wood” section at thrift stores is ALWAYS filled with potential projects, isn’t it? I know exactly where this section is in all of my favorite shops, and make a beeline as soon as I walk through the door. And on this particular day (several years ago), a cute little key cabinet caught my eye.
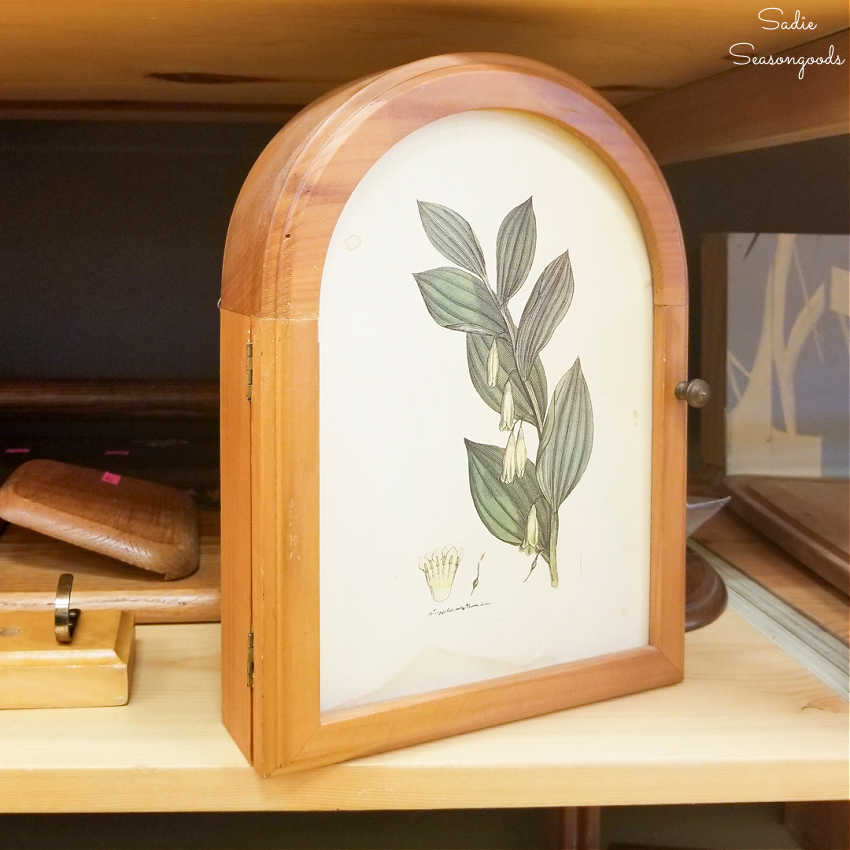
Image credit: Sadie Seasongoods.
Actually, though, I didn’t realize it was a key hook cabinet at first. But there it was, standing up on the shelf like this with that little doorknob begging to be pulled.
Which, of course, I did.
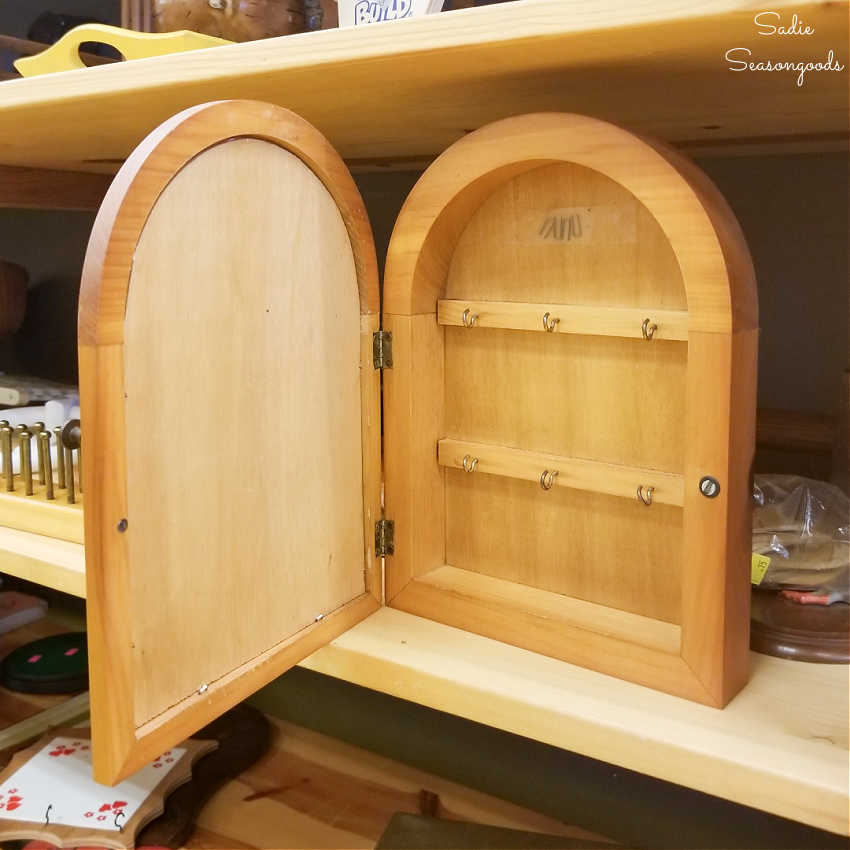
Image credit: Sadie Seasongoods.
It was obviously a key cabinet, which completely charmed me. And while it wasn’t exactly ugly in its natural state, the botanical print on the door was stained and warped.
So, I decided it was ripe for a makeover and placed it in my cart.
This post was originally published in February 2018, but has been updated and republished.
This post also contains affiliate links for your crafting convenience. As an Amazon Affiliate, I earn from qualifying purchases. All blue, bold, and underlined text is a clickable link, either to a product or to a related post.
Key Cabinet Makeover Follies
When I tell you this project gave me fits, I’m not pulling your leg. I attempted two different makeover ideas before settling on the third and final one.
Allow me to tell you how it all unfolded.
First, I took the key cabinet apart so that it could be painted.
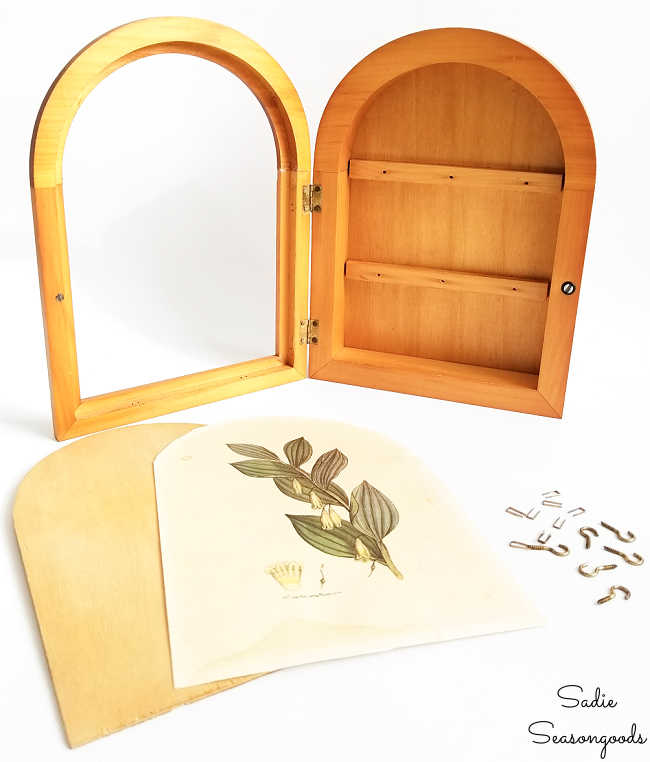
Image credit: Sadie Seasongoods.
To brighten it up, I selected a nice aqua-esque shade of sky blue paint.
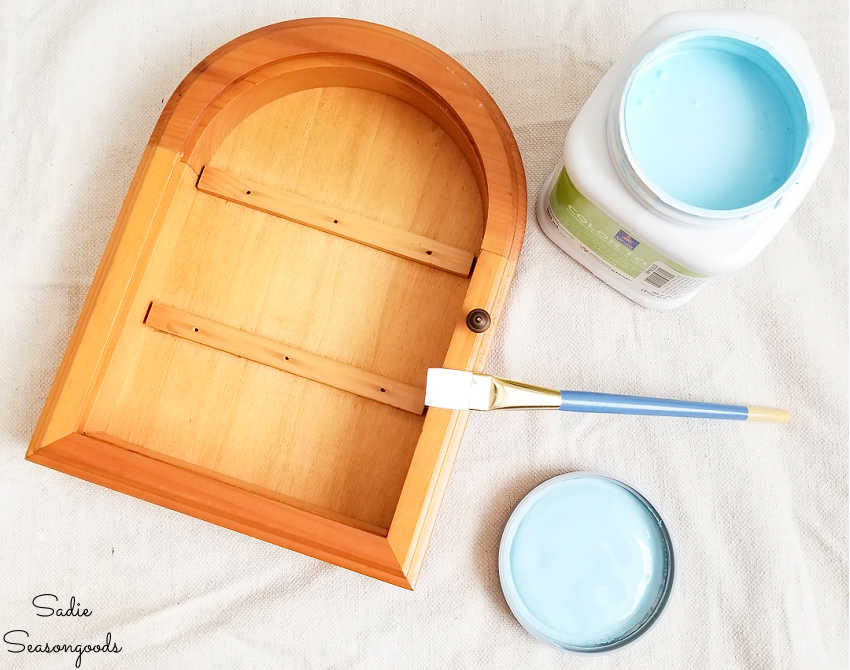
Image credit: Sadie Seasongoods.
Now, this is where the follies began. My first plan was to replace the front of the cabinet with some window screen that I intended on cross-stitching. But my eyes couldn’t handle the dainty cross-stitch.
THEN I decided to paint the wood panel (which had been behind the botanical print) white and decoupage a floral napkin on it. But I only had one napkin and it ripped and tore and looked TERRIBLE.
Finally, I moved towards a third, less cottage-y option: decorative metal sheets.
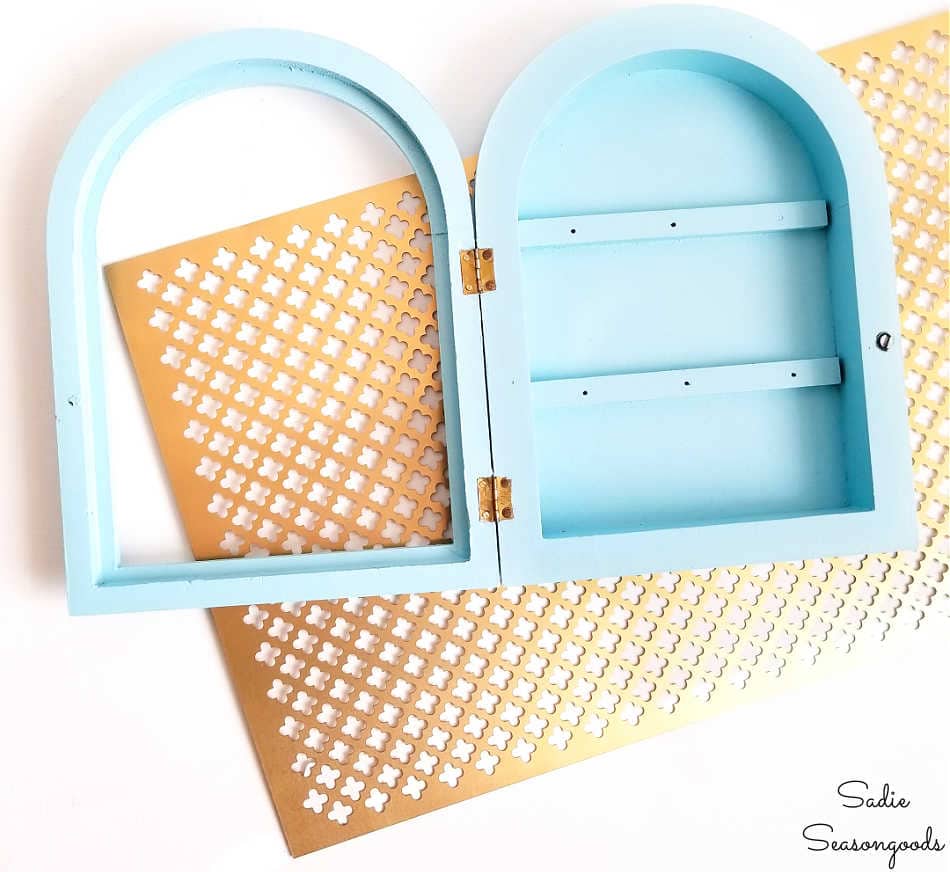
Image credit: Sadie Seasongoods.
I selected a gold aluminum sheet with a cloverleaf pattern, reminiscent of the divider in a Catholic confessional booth.
Next, I traced the arched wooden panel on the decorative tin sheet and cut it out with tin snips. From there, I simply used super glue along the edges to hold it in place.
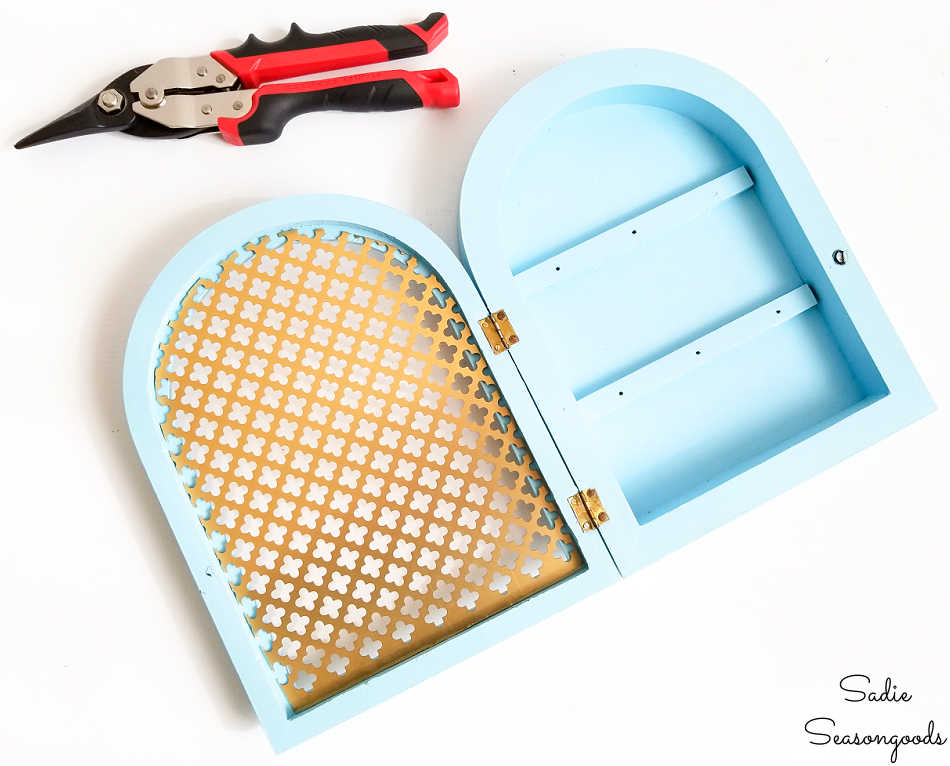
Image credit: Sadie Seasongoods.
And let me tell you- cutting tin is NOT easy. Maybe I have extraordinarily weak hands (which is possible), but I found this step to be quite difficult.
Anyway, last but not least, I replaced the key hooks inside the key cabinet. And despite all the hurdles I stumbled over to get here, the makeover was FINALLY complete!
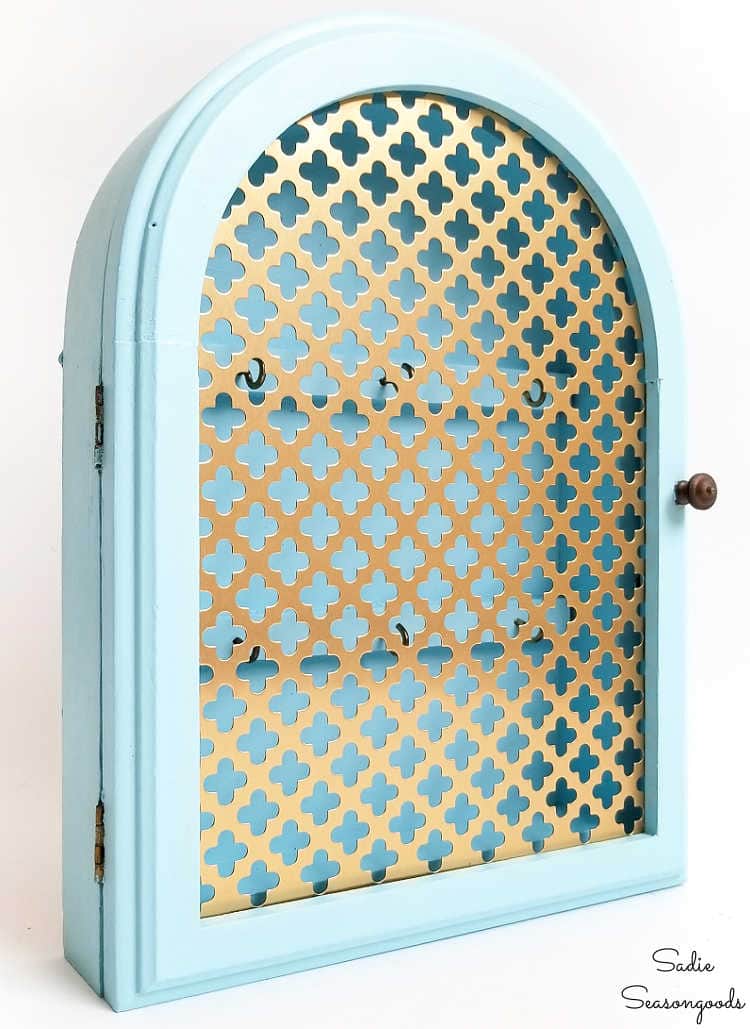
Image credit: Sadie Seasongoods.
Key Cabinet Makeover with Decorative Metal Sheets
Even though my first two ideas didn’t work out, I was quite pleased with the end result. Maybe not as “pretty” as I’d originally imagined, but the gold tin sheet looked smashing against the aqua paint.
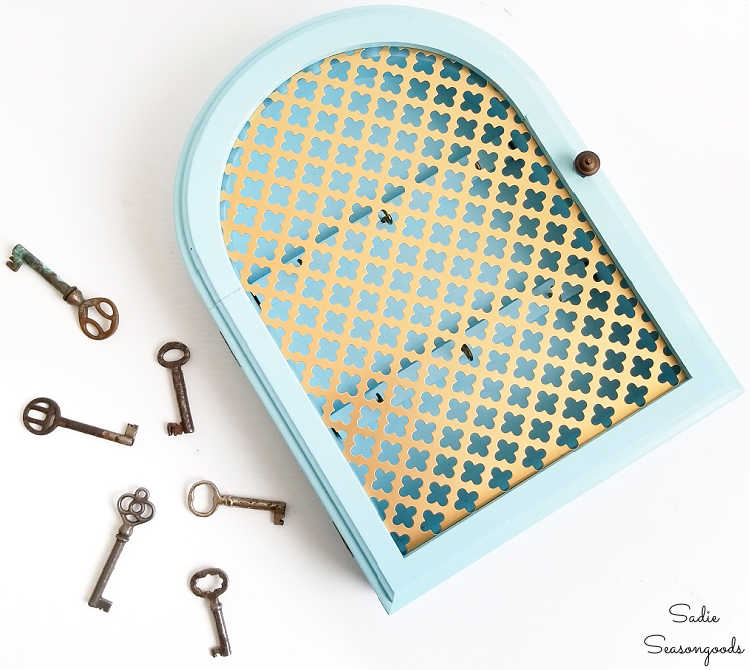
Image credit: Sadie Seasongoods.
Of course, I’ve always loved this variation of a blue and yellow color combo!
And while I used a few favorite antique keys for my photos, the key cabinet will eventually hold spare keys for friends and family, etc. Plus, it’ll look lovely while it works hard at storing those keys safely in our home!
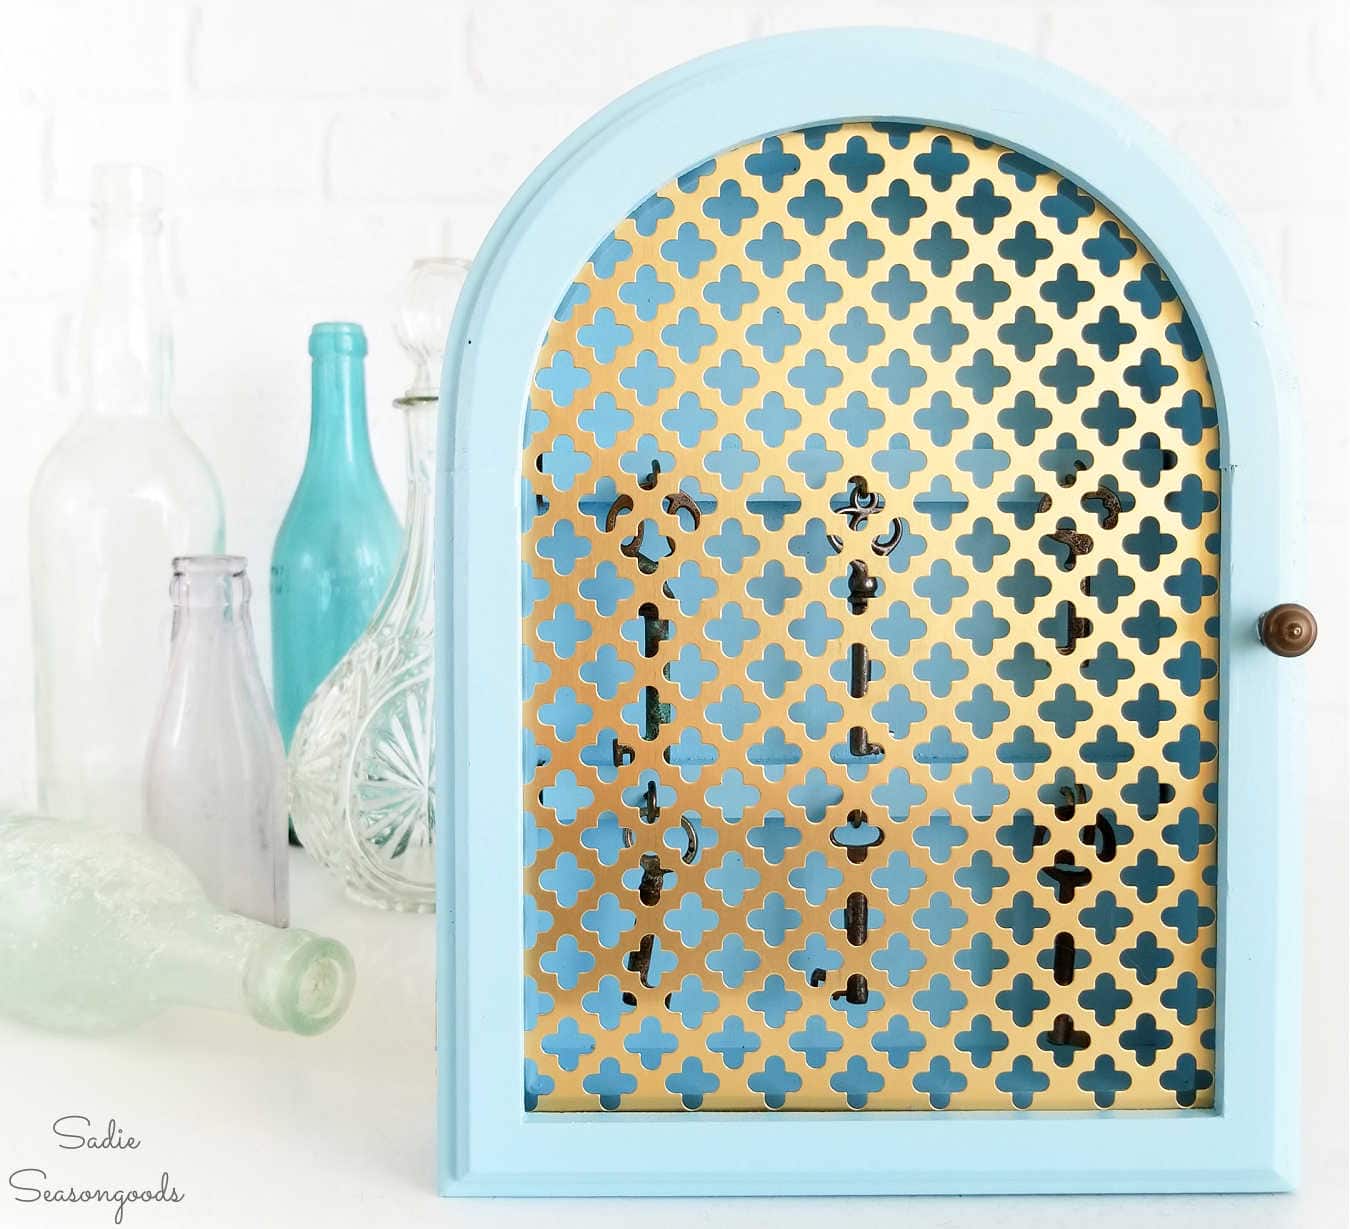
Image credit: Sadie Seasongoods.
Bonus alert! When this project was originally published in February 2018, it was on a Thrift Store Decor Team day. So I wanted to include links to all my friends’ projects from that day, as well.
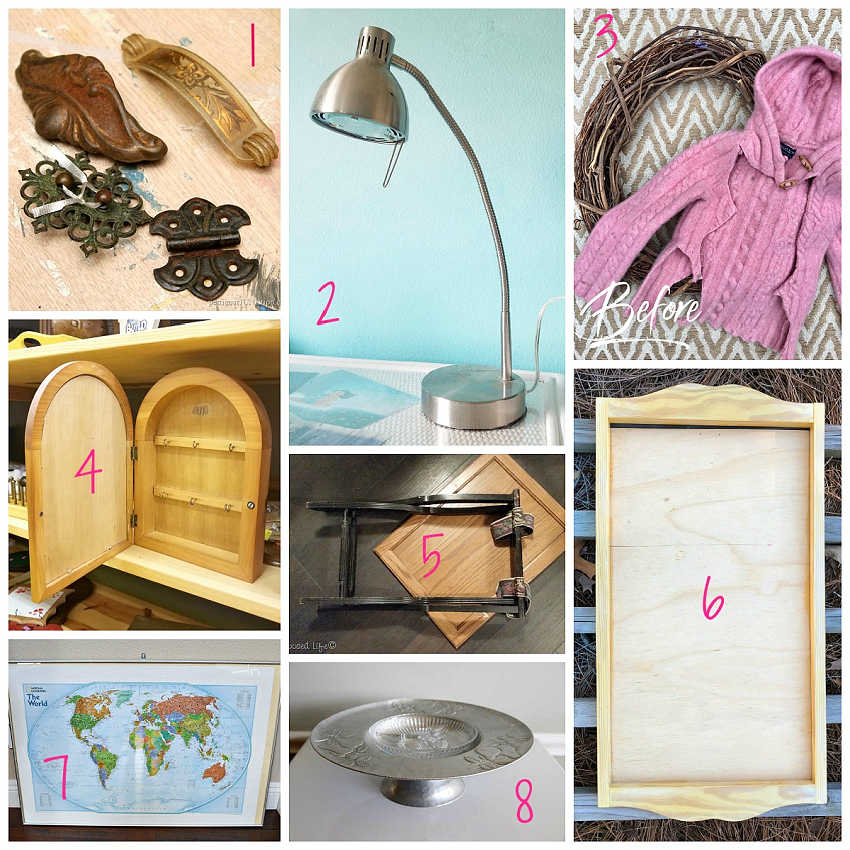
1. Upcycled Hardware Magnets – Petticoat Junktion
2. DIY Desk Lamp Makeover – Domestically Speaking
3. Peony and Grapevine Wreath – Our Southern Home
4. Key Hook Cabinet – Sadie Seasongoods (that’s me!)
5. Luggage Rack Side Table – My Repurposed Life
6. Perpetual Calendar Message Board – Refresh Restyle
7. World Map Makeover – My Uncommon Slice of Suburbia
8. Boho Succulent Garden – House of Hawthornes
I hope you enjoyed this simple makeover on a key cabinet from the thrift store. It may not have ended the way I originally envisioned, but sometimes, a creative pivot (or 2!) is just part of the process. And it’s so much more fulfilling than just giving up entirely simply because the original plan didn’t work out.
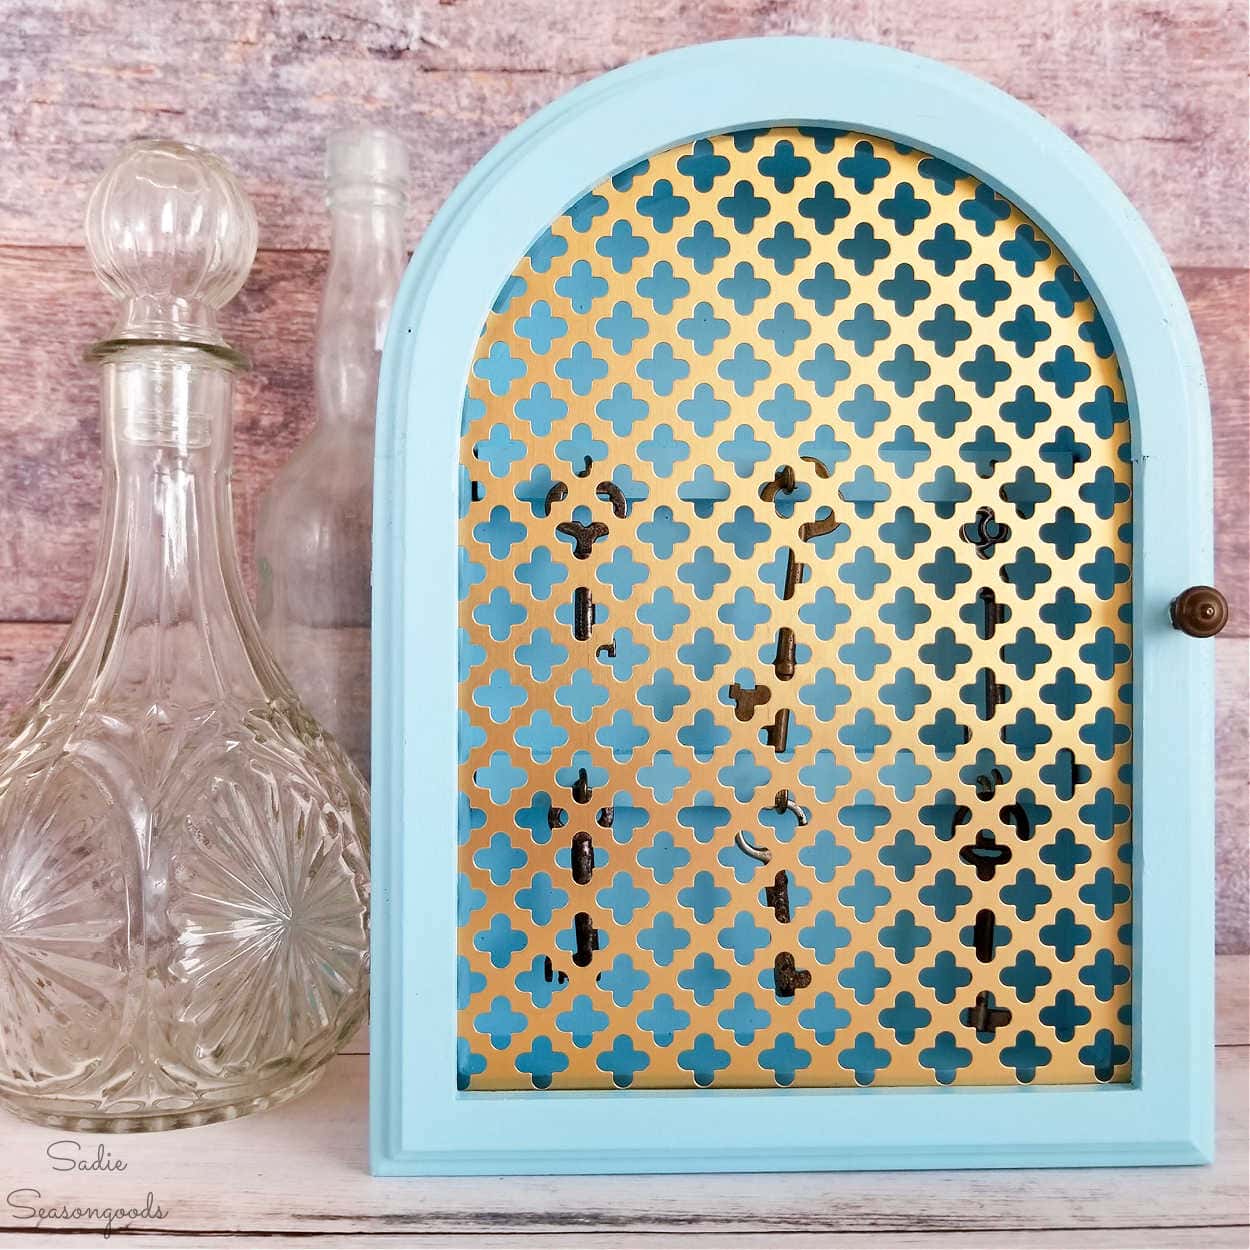
Image credit: Sadie Seasongoods.
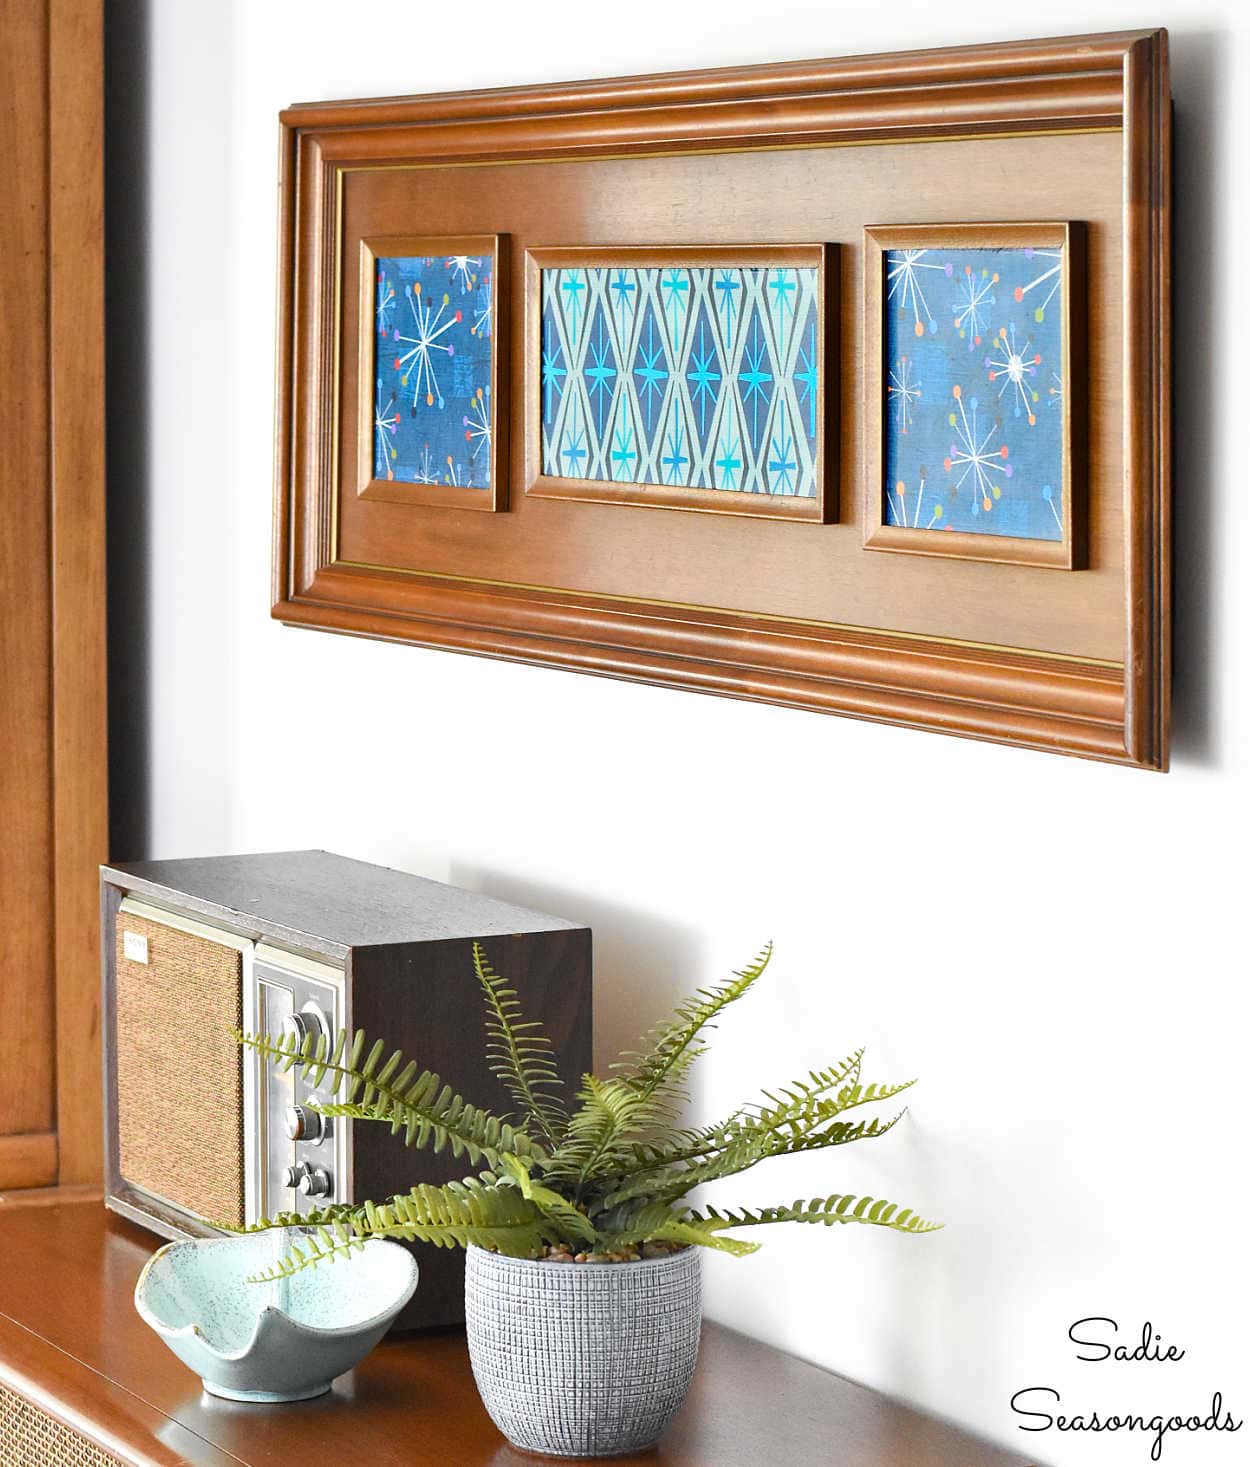
If you enjoyed this thrift store makeover and related to the idea of a mid-project pivot, then you may appreciate this one, as well. I had different plans for this mid-century modern frame…until I opened up the back!
Craft on!
S
Want to be notified when I publish my next upcycling project tutorial?
Join me on Social Media:
PIN ME!
Image credit: Sadie Seasongoods.
Sarah Ramberg is the owner of Sadie Seasongoods, a website that celebrates all things secondhand. From upcycling ideas and thrifted decor to vintage-centric travel itineraries, Sadie Seasongoods is a one-stop shop for anyone who loves thrifting and approachable repurposing ideas. Sarah is also the author of “Crafting with Flannel” and has been featured in numerous media outlets and magazines.






Have a question or like what you see? Please let me know!