Several years ago, I went to a Country Living Fair near Nashville, TN and fell in love with a wooden bucket. It was cute and had perfectly chippy turquoise paint – but it also had a $245 price tag. Obviously I walked away (bitterly) and vowed to recreate it one day. And irony of ironies, that day has arrived! I was recently in Nashville, TN and found this ice bucket while thrifting.
First, here is the original inspiration for $245:
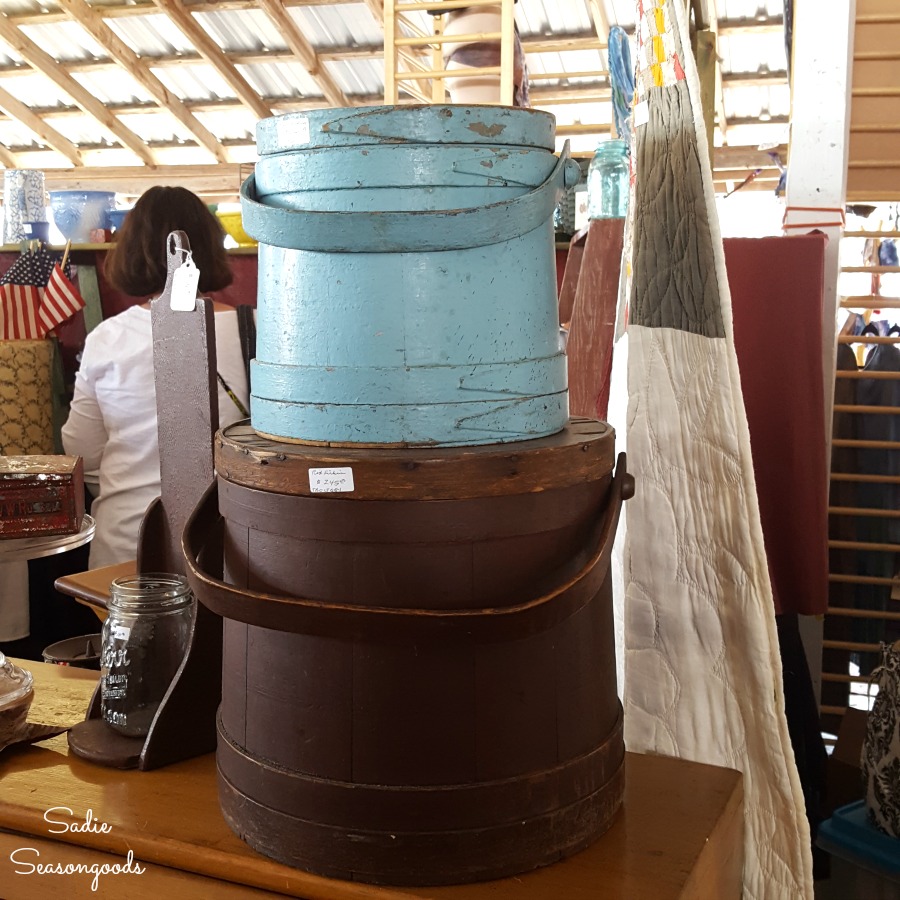
Image credit: Sadie Seasongoods.
Incidentally, I didn’t realize these were firkins because I had never heard that term before!
Anyway, I carried that image of an aqua painted firkin bucket with me for many years. Then, there I was…back in Nashville, TN at a thrift store. And I spotted this ice bucket that was an awfully close match to the original.
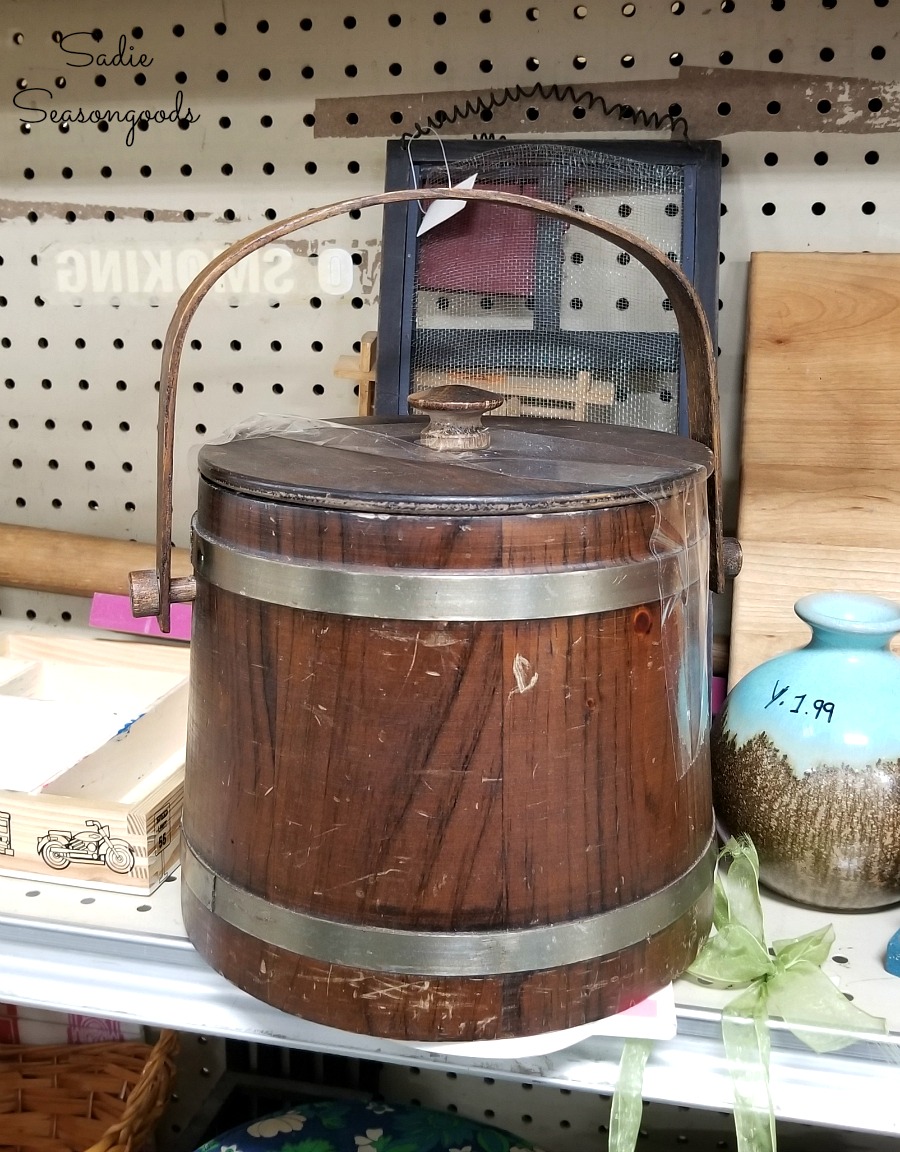
Image credit: Sadie Seasongoods.
But, I mean – can you IMAGINE paying $245 for a wooden bucket? Even one as cute as that?
I’m happy to report that I paid $4.99 for mine!
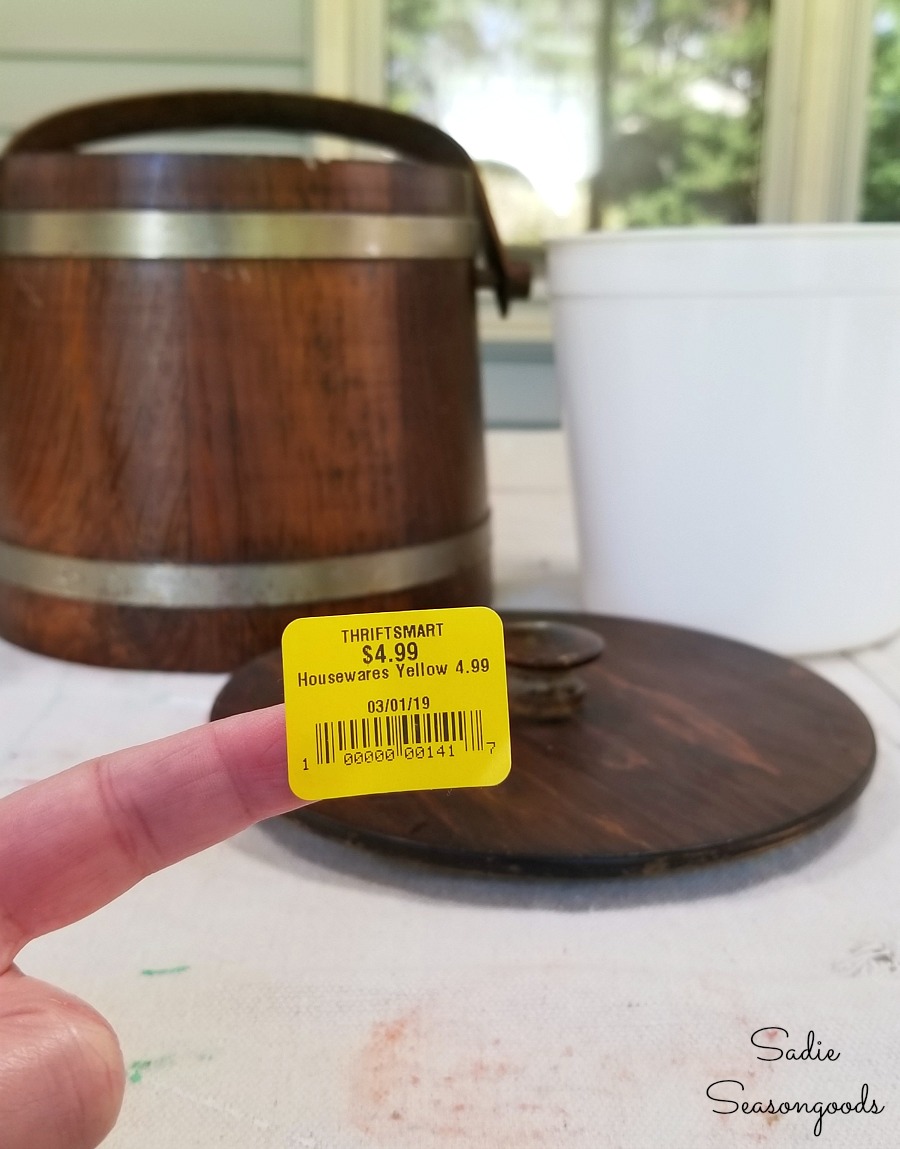
Image credit: Sadie Seasongoods.
So, let’s do this – let’s see if I can recreate the look of that firkin that I originally found at the Country Living Fair in Nashville, TN.
This post contains affiliate links for your crafting convenience. As an Amazon Affiliate, I earn from qualifying purchases. All blue, bold, and underlined text is a clickable link, either to a product or to a related post.
Upcycling a Vintage Ice Bucket
Using the pricey version as I my guide, I planned to paint my ice bucket turquoise.
But I also wanted to preserve the rusty metal bands that wrapped around it. I didn’t have the right width painter’s tape, so I used petroleum jelly instead.
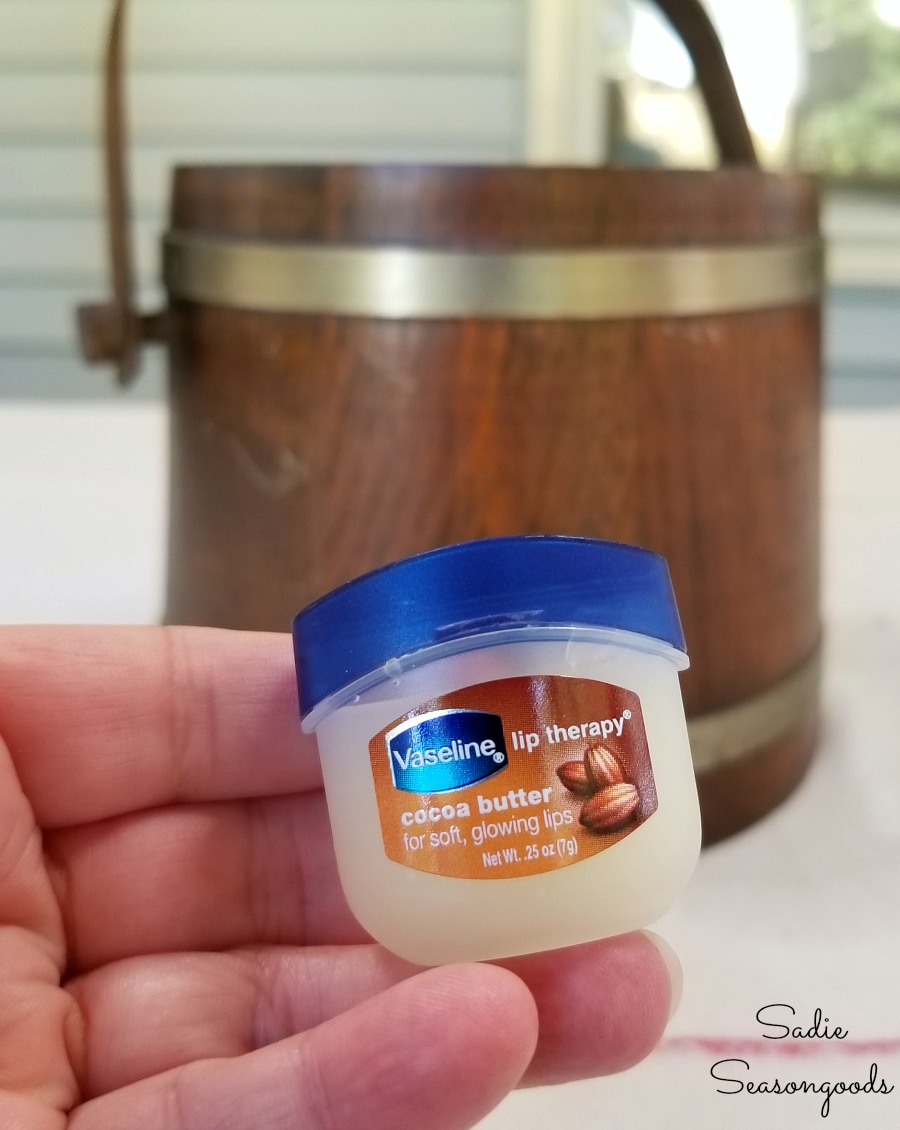
Image credit: Sadie Seasongoods.
Why? Because any paint that ends up on top of the jelly will wipe right off and not stick to the ice bucket at all! And yes, all I had on hand was the lip balm version but it still has the same base ingredients.
Using my finger, I smeared some petroleum jelly on the metal bands. As I smeared it on, some ended up on the actual ice bucket, too, but that was fine.
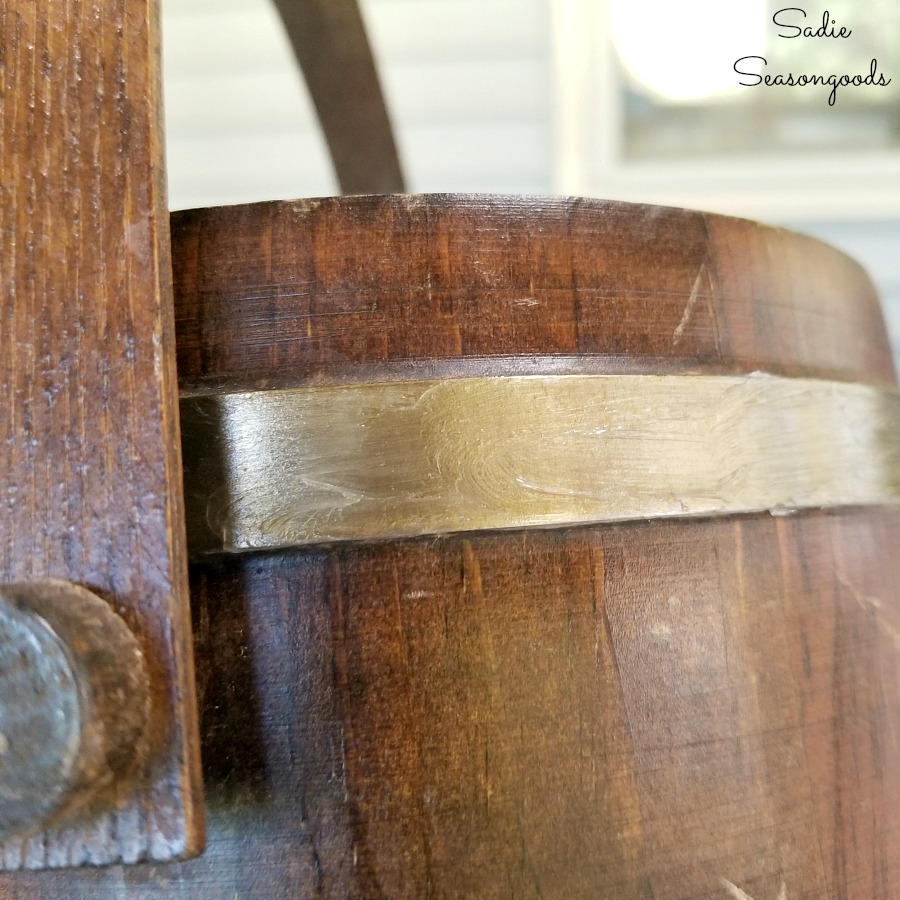
Image credit: Sadie Seasongoods.
Then, I went through my collection of paint samples and found a turquoise that was a pretty decent match to the color of the Firkin at the Country Living Fair.
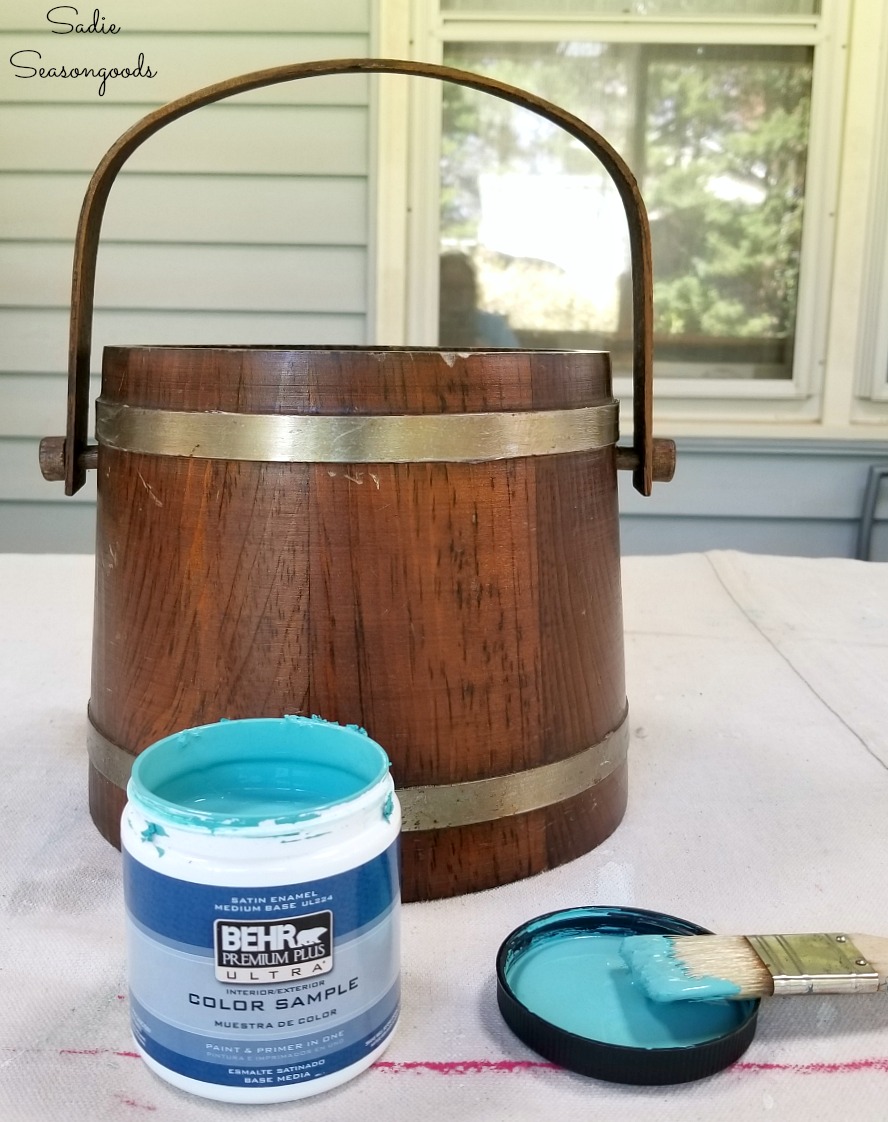
Image credit: Sadie Seasongoods.
I painted the entire exterior, including the handle, but saved some time by skipping the interior and the bottom.
And while I still tried to avoid painting over the metal (habit), I didn’t worry when paint brushed over the bands because of the petroleum jelly.
A Vintage Ice Bucket turned Vintage Farmhouse Decor
Either way, my flower bucket was coming together nicely!
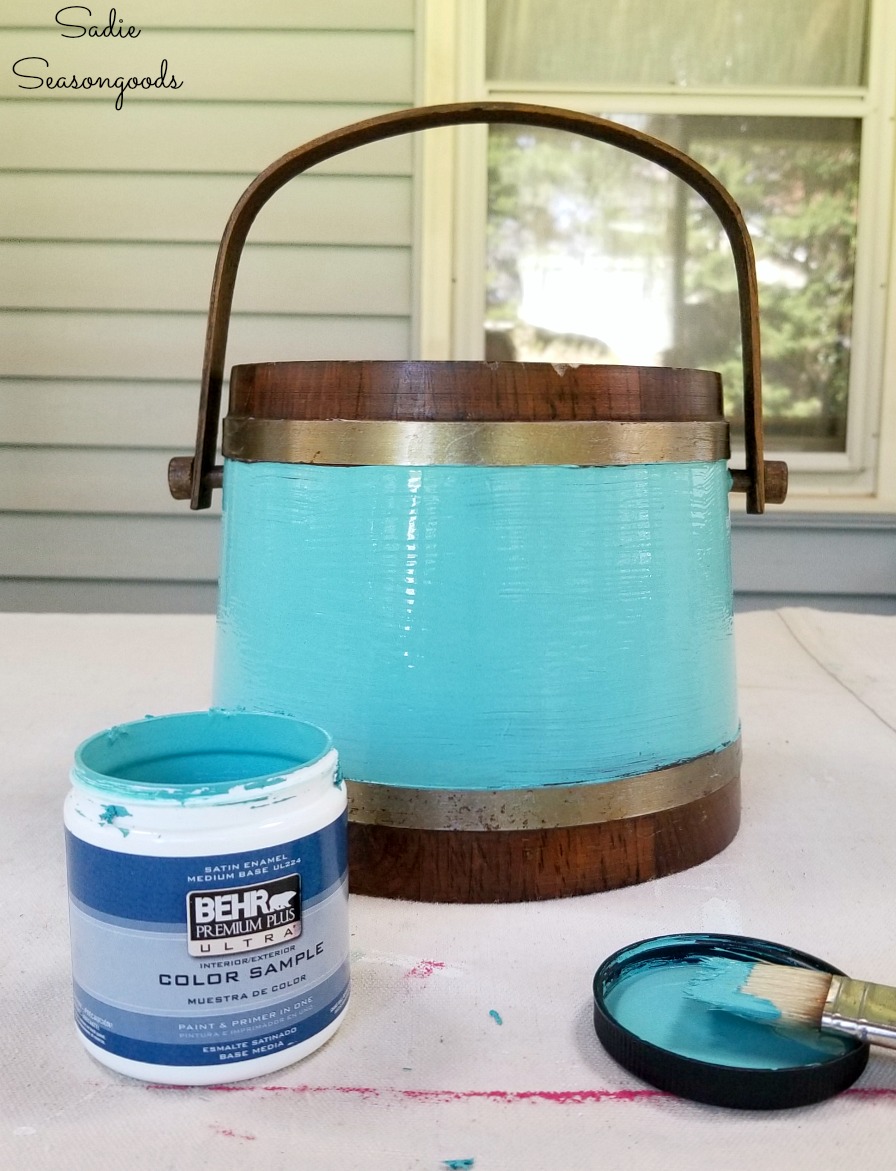
Image credit: Sadie Seasongoods.
Of course, I could have stopped there. But I had already found a farmhouse stencil to add the finishing touch!
The best part is, I can stencil one side of the flower bucket and leave the other side alone. So I will have the best of both worlds!
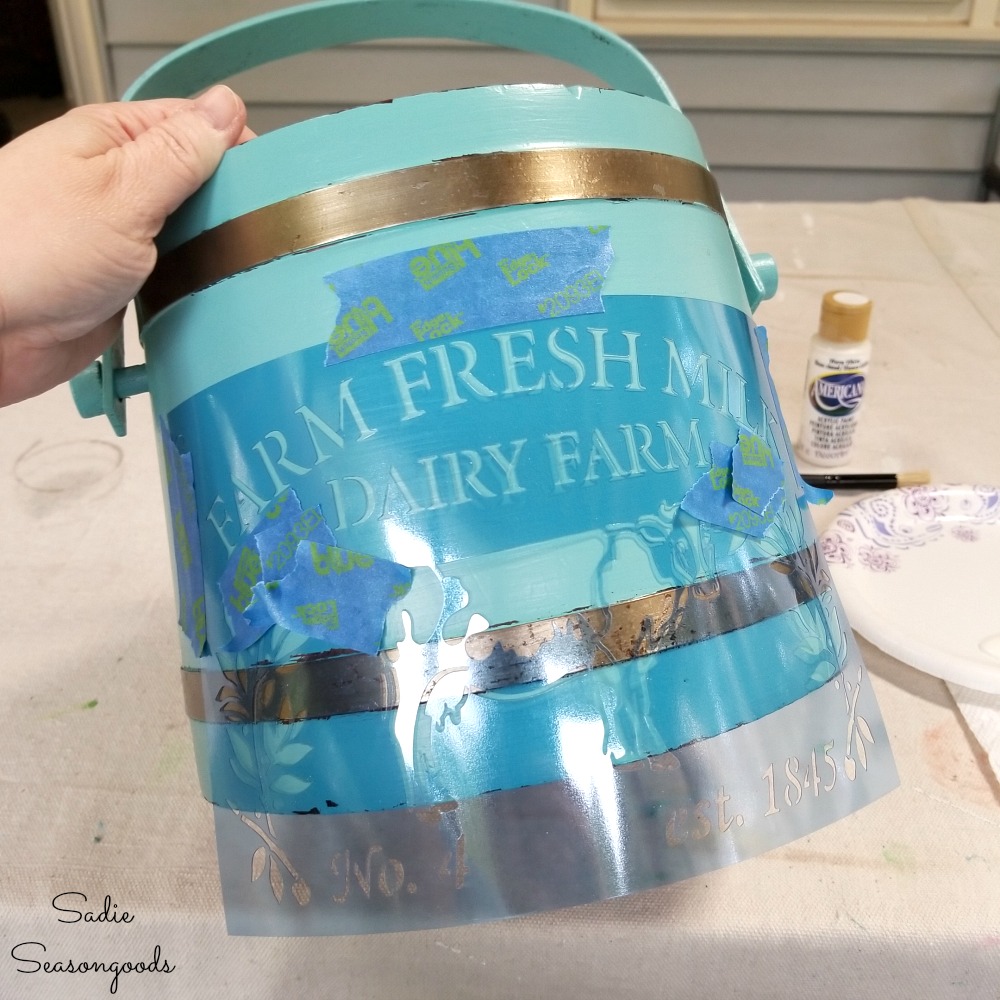
Image credit: Sadie Seasongoods.
Using warm white craft paint and stencil brushes from this online store, I isolated the dairy farm words to add to the wooden ice bucket.
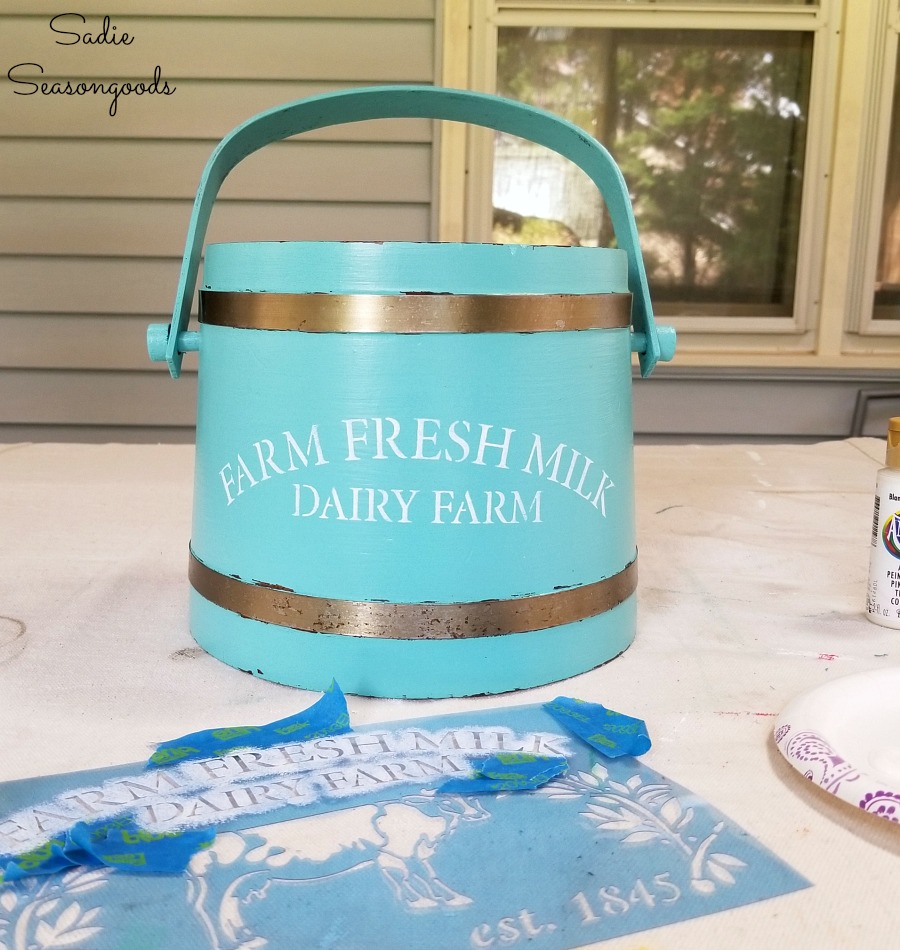
Image credit: Sadie Seasongoods.
When everything was dry, I buffed on some clear wax over the paint and stenciling.
And that was it! The transformation was complete.
Vintage Farmhouse Decor from a Wooden Ice Bucket
And there you have it! My $4.99 upcycled version of a Firkin that I can use as a flower bucket or just vintage home decor.
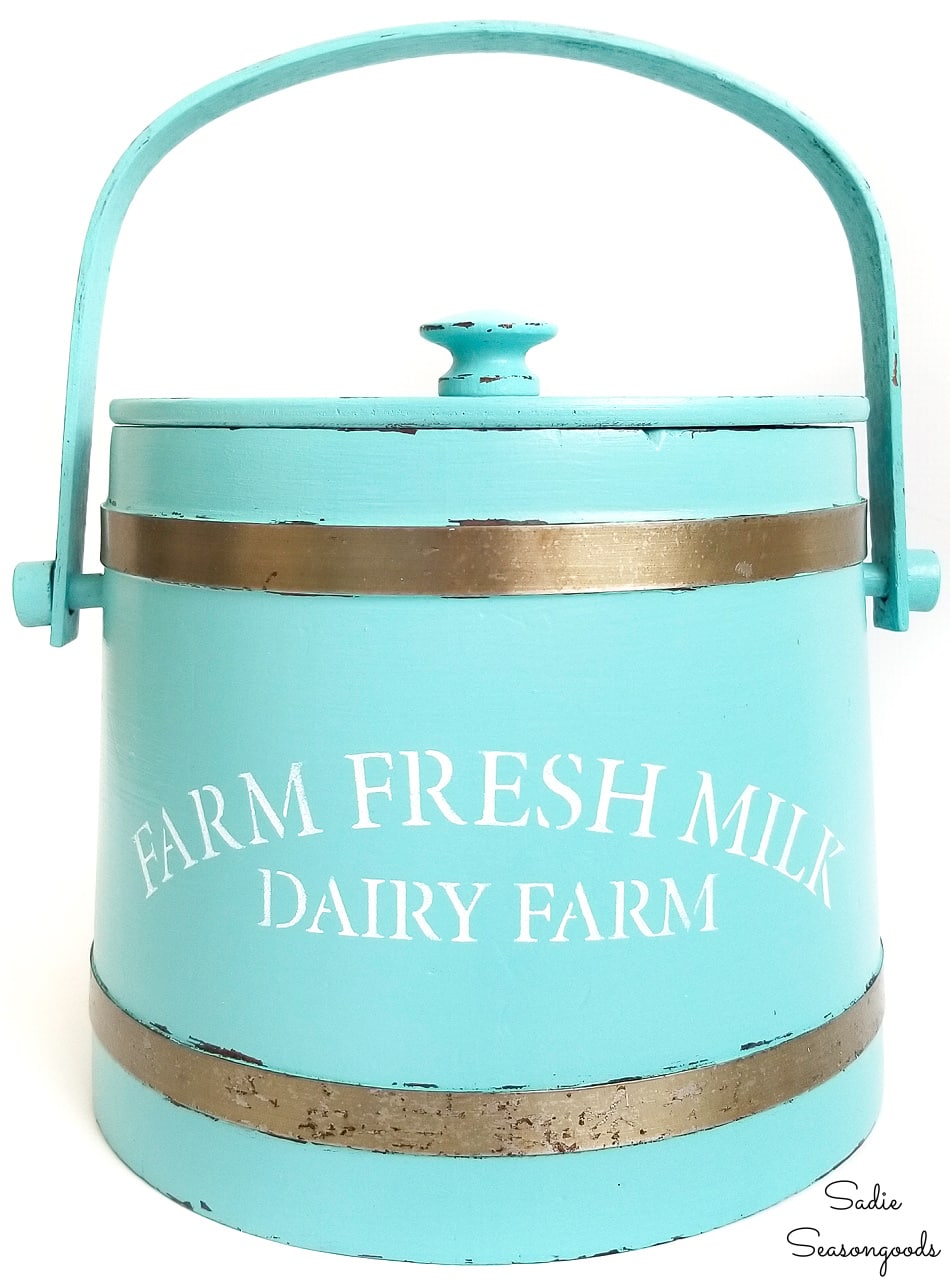
Image credit: Sadie Seasongoods.
The plastic liner that came with the ice bucket makes it really easy to use this as a vase or flower bucket. And how fabulous do pink peonies (or any flowers) look against the aqua paint?
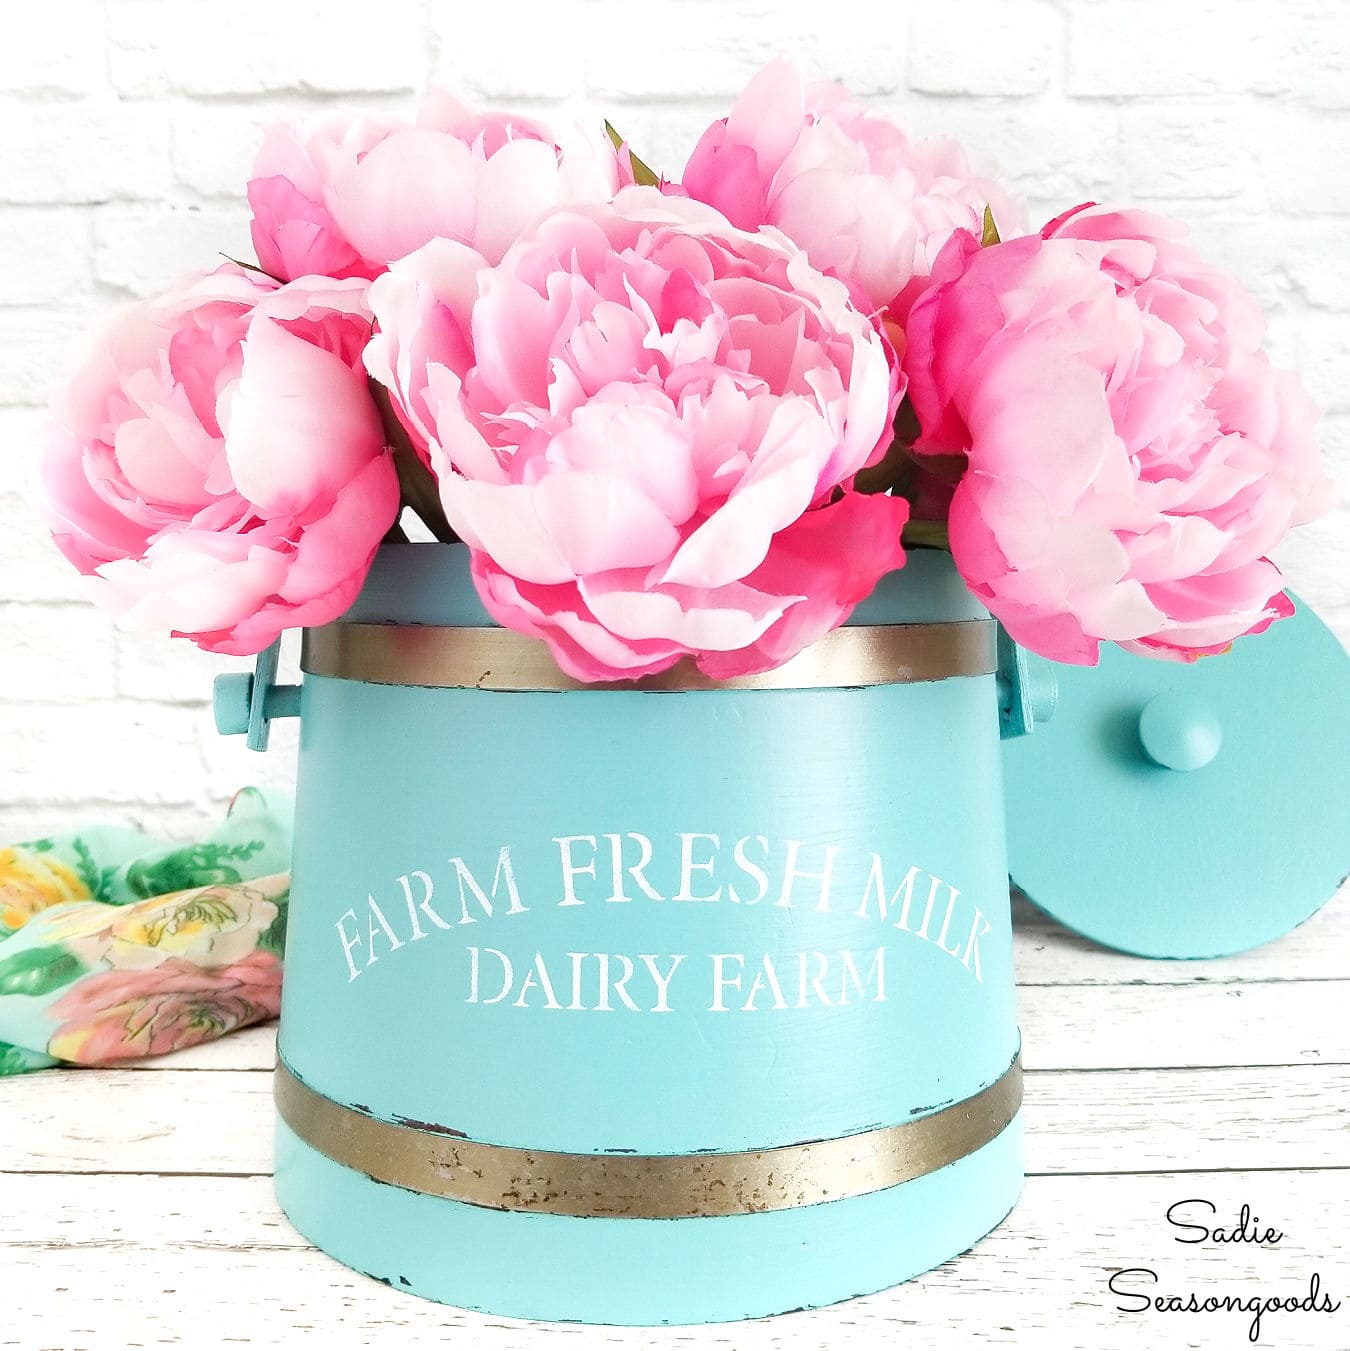
Image credit: Sadie Seasongoods.
*****
Guess what day it is? It’s Thrift Store Decor Team day, which means the best upcycling bloggers in all the land are posting new projects today. Just click on the links underneath this collage to see their “after” versions!
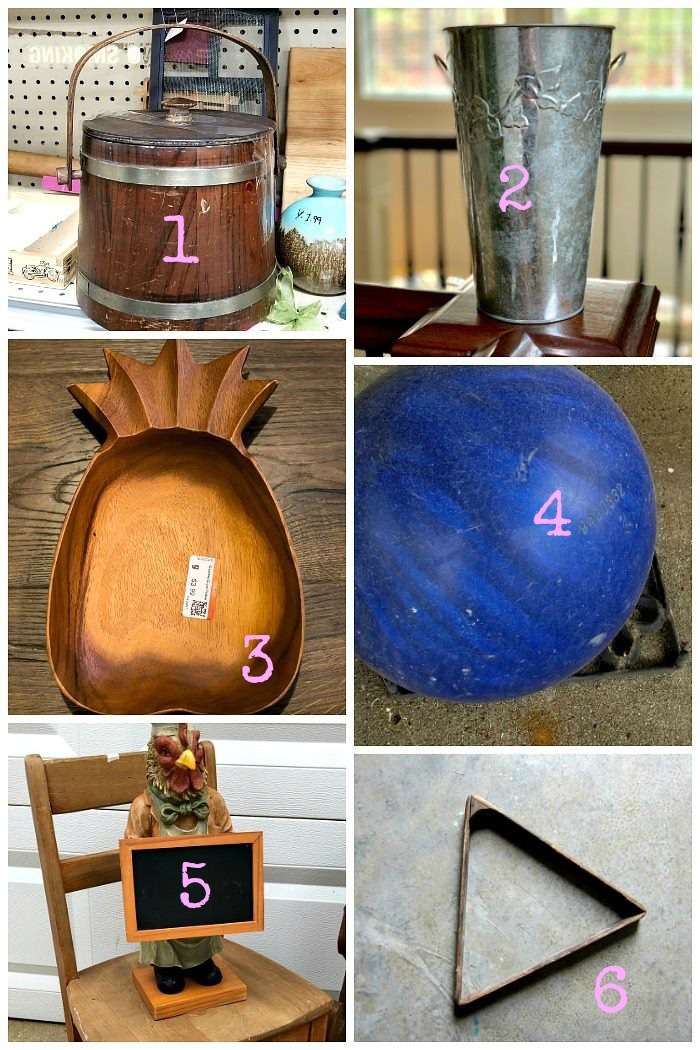
1. Ice Bucket To Farmhouse Vase – Sadie Seasongoods
2. Galvanized Metal Vase Makeover– Our Southern Home
3. Life Is Sweet Wood Pineapple – Domestically Speaking
4. DIY Gazing Ball – My Repurposed Life
5. Rooster Kitchen Chalkboard – Refresh Restyle
6. Hanging Succulent Display– Petticoat Junktion
*****
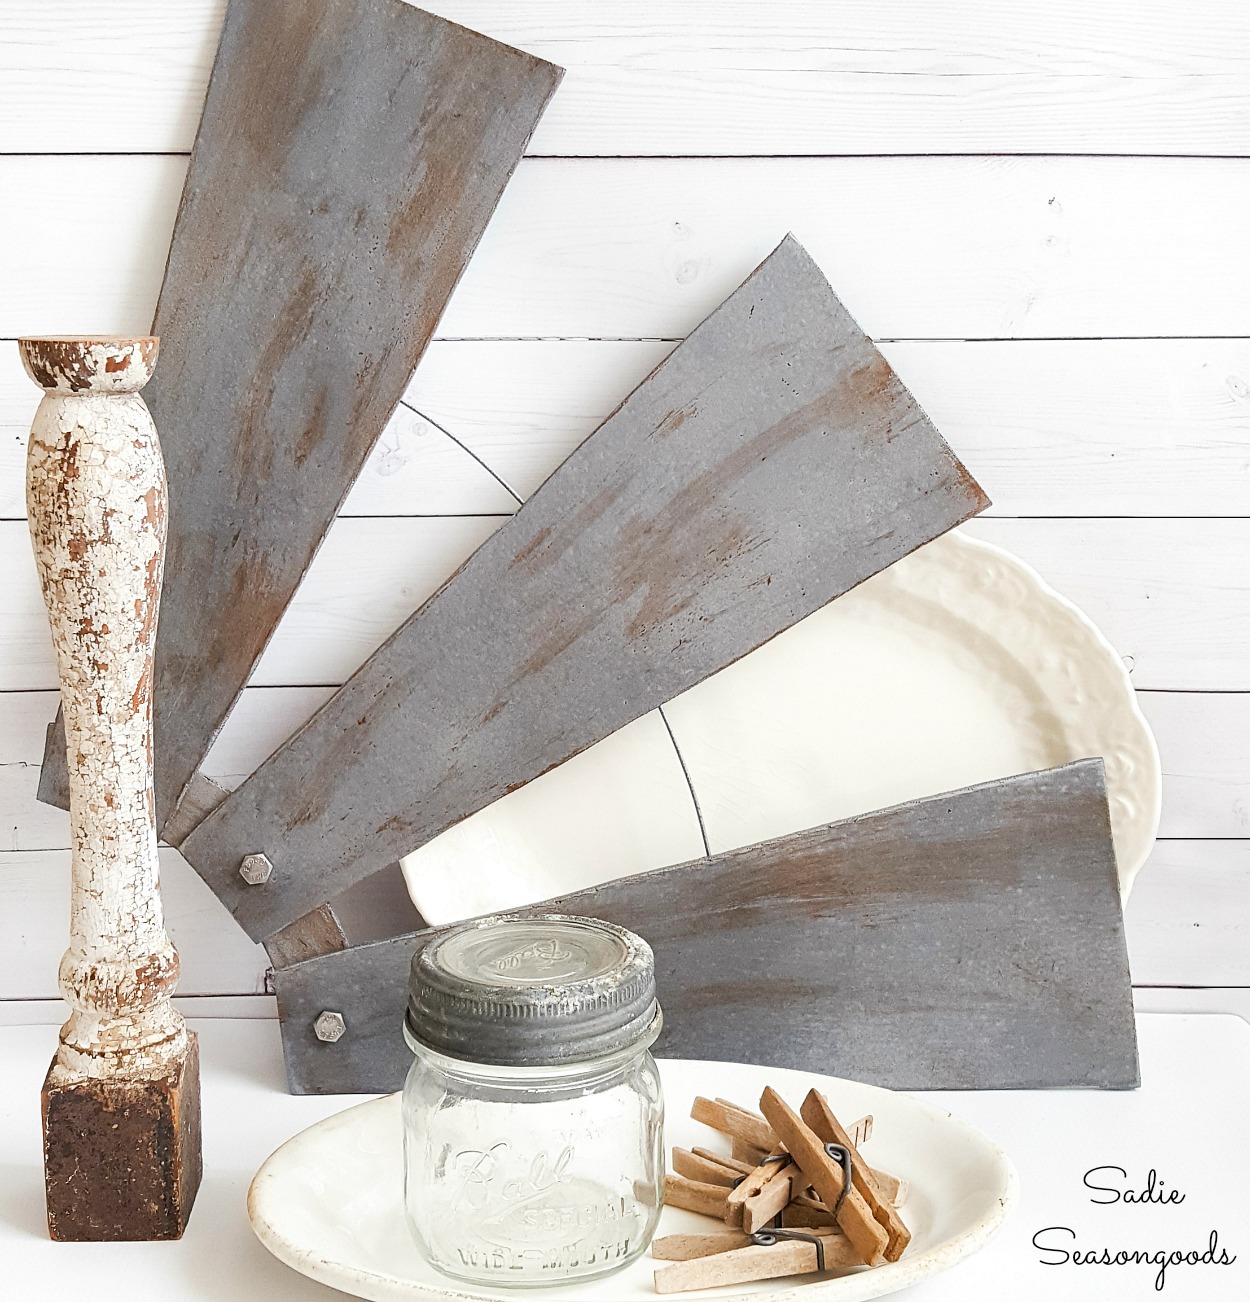
If you enjoyed this ice cream bucket project, then you might also be interested in my windmill wall decor idea with fan blades, too!
Craft on!
S
Want to be notified when I publish my next upcycling project tutorial?
Join me on Social Media:
PIN ME!
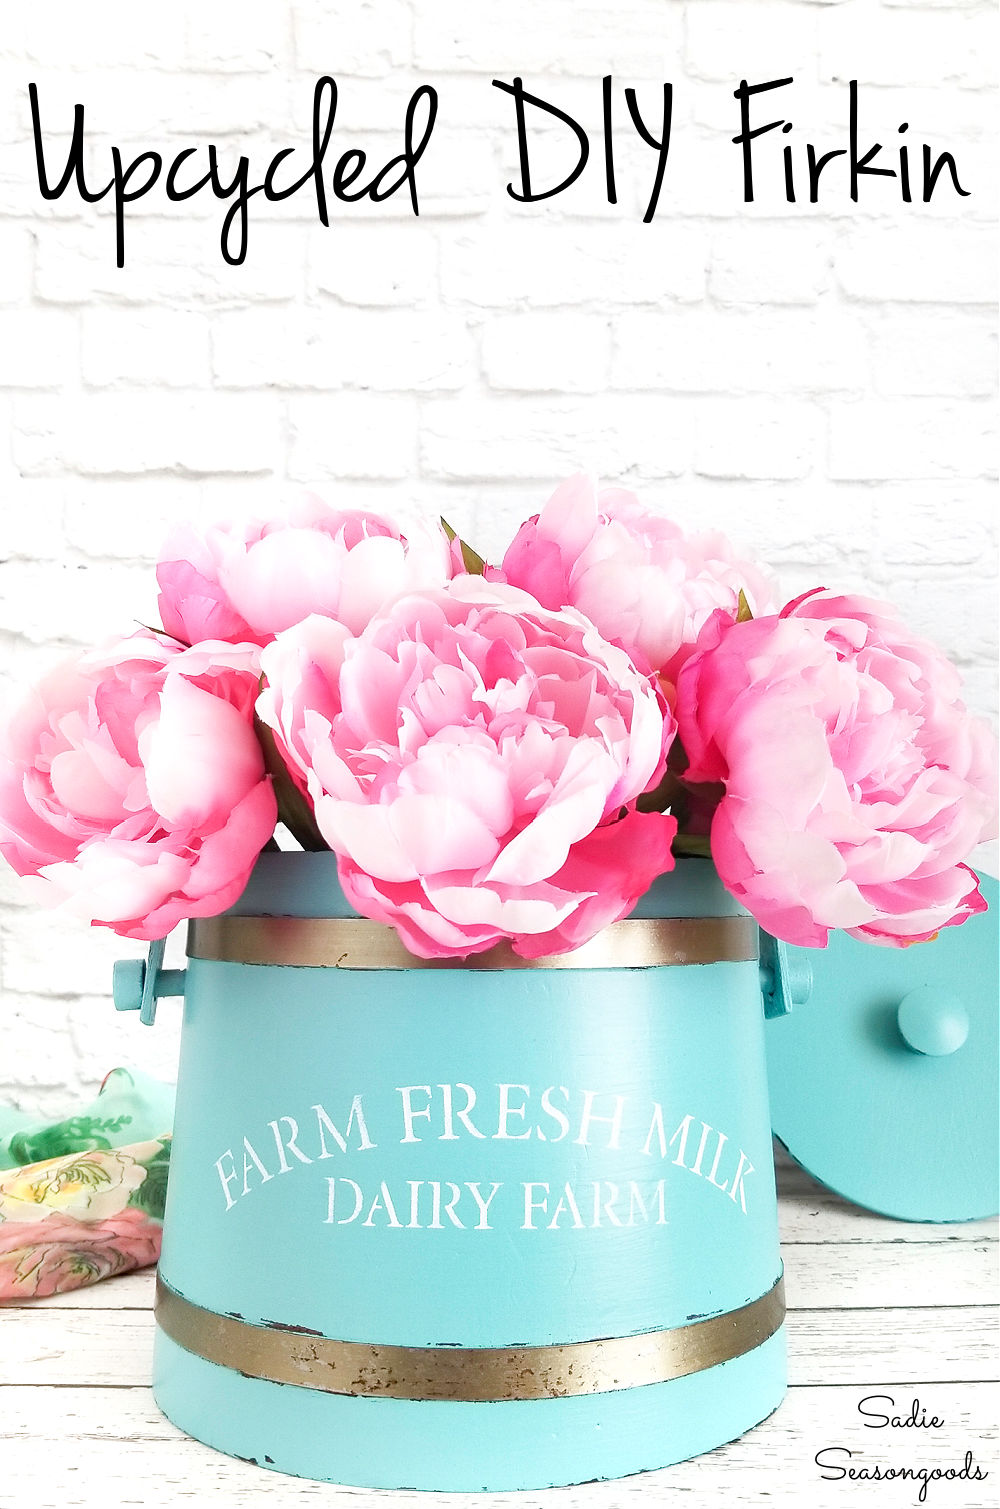
Image credit: Sadie Seasongoods.
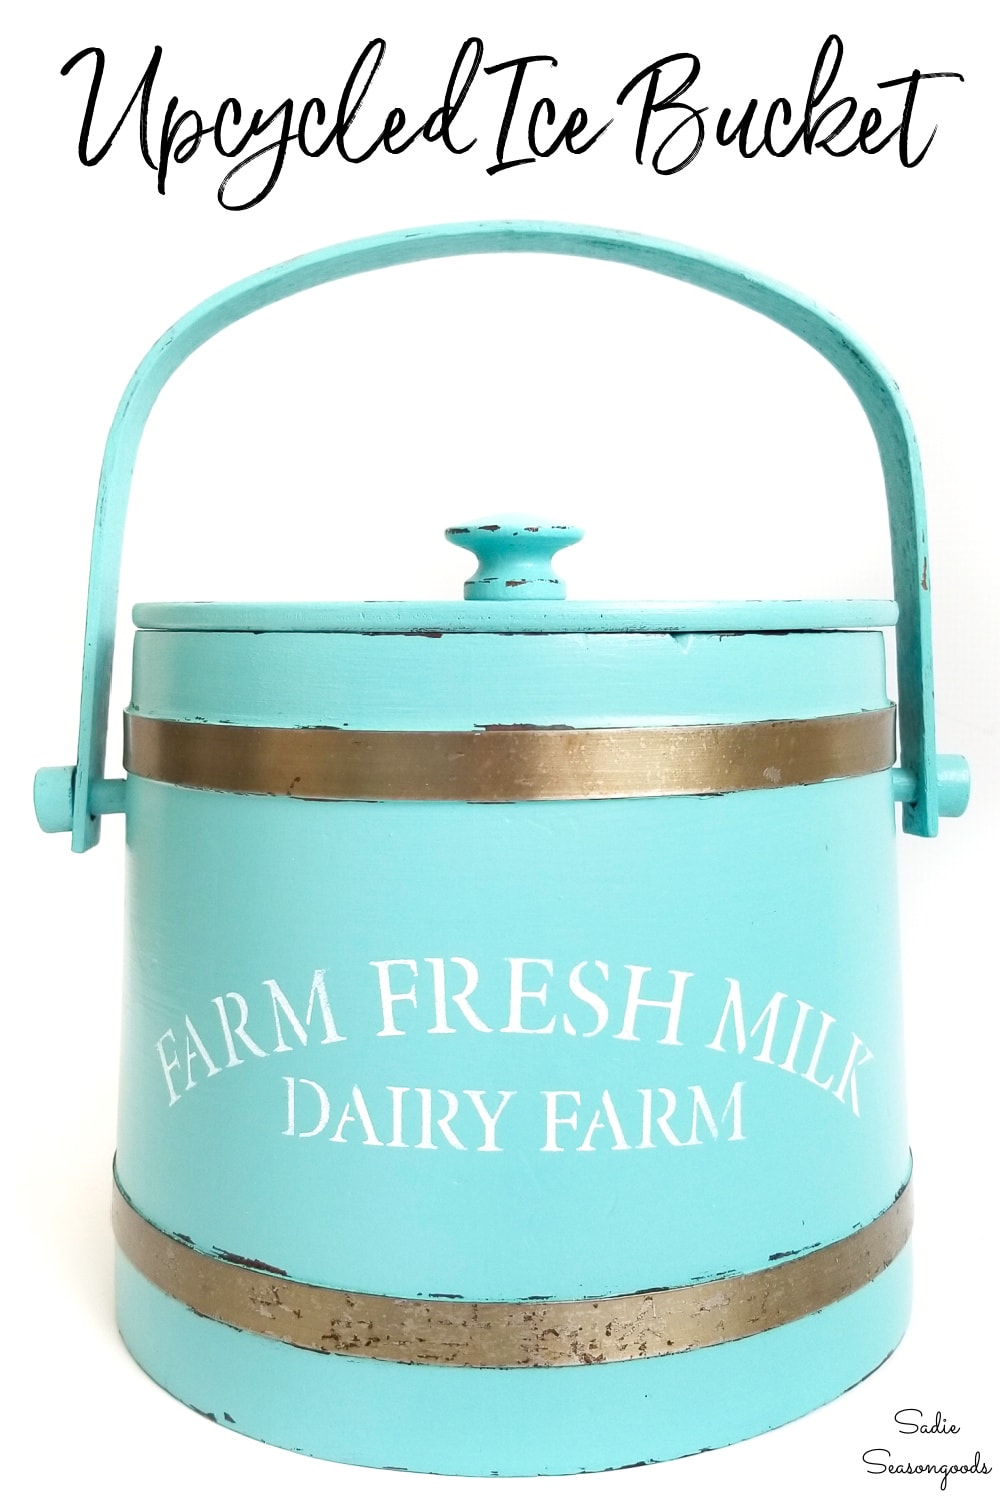
Image credit: Sadie Seasongoods.
Sarah Ramberg is the owner of Sadie Seasongoods, a website that celebrates all things secondhand. From upcycling ideas and thrifted decor to vintage-centric travel itineraries, Sadie Seasongoods is a one-stop shop for anyone who loves thrifting and approachable repurposing ideas. Sarah is also the author of “Crafting with Flannel” and has been featured in numerous media outlets and magazines.









Love this!! Looks great!! I painted the inside of some milk bottles that i have white because I wanted to show off the lettering on them and they came out pretty good! so I thanks you for the inspiration because i loved your post on painting bottles in pastel colors….
Thanks again!!
Hugs,
Debbie
Yay!!! I love hearing that, Debbie!
I love how this turned out! Much better option than the inspiration. The inspiration is lovely, but not for $245! LOL!
Isn’t that insane??
You’ve inspired me. On the hunt for a bucket. Love that color!
I bet there’s a bucket waiting for you at your favorite junk shop!!
Very cute and for a lot less than $495.00 Great upcycle.
What a gorgeous creation! I love the color, the stencil and leaving the metal bands, as is! Well done girl!
Thank you so much, Kaycee!
Super cute and these are easy to find, thanks for sharing! Love it
Thanks, Lisa!
What a great find! I love that blue paint with those pink flowers!
I love that combo, too!! Thank you so much, Maryann!
So Pretty!
Thank you so much, Robyn!
woohoo Sarah! This makeover is awesome! I love the new look of your vintage ice bucket. I love peonies! They smell soooo good. Mine have barely budded. No blooms yet.
pinned!
Thanks, Gail!!
Somewhere in my garage I have 2 wooden buckets. My goal for this spring is to find them so that I, too, will have an aqua paint bucket. Yours look so wonderful. It could not have turned out any better. Good job!
Janet
Thank you so much, Janet!
Oh my goodness! Love it!!
Thank you!! :*
Well this is awesome! There once was a time when I wouldn’t dream of upcycling an ice bucket (I know, really??), but I’m so over that! The ice bucket you started out with had definitely seen better days, and you gave it a whole new life. I love what you did with it! And thanks for the Vaseline tip. That seemed to work great!
Thank you so much, Sheila!!
Hi Sadie,
I am way over that color but the bucket is marvelous! How come you didn’t prime the bucket first? You did a great job on the stencil, both on choice and color. Keep up the good work.
Thanks, Mary! Because the ice bucket was scratched up, I felt like the latex would adhere just fine – and I was right! Just a judgment call on my part, but I should have probably mentioned that in the post. Thank you for asking!
Wow! Amazing what you were able to do this that old bucket! Love the colour.
I need to find me an old wooden ice bucket! 😉 I *do* have a Princess House one that would look lovely with some peonies or roses! See, you are inspiring! We’d love to have you link up at Homestyle Gathering!
Thank you, Julie!
Wow what a difference! You did a terrific job on it. I can’t believe that price they wanted, and yours is much prettier and for only 4.99. ?
Thanks, Linda!