A Hudson’s Bay Point Blanket with its iconic stripes was a mainstay in my childhood home. And while I don’t have that blanket anymore, I had a burning desire to recreate that same look. Upcycling thrift store pieces seemed like the easiest way to do so. Namely, I wondered if I could paint some plain white dishes with Hudson’s Bay stripes.
I have a history of adding those iconic stripes on other things, as well…
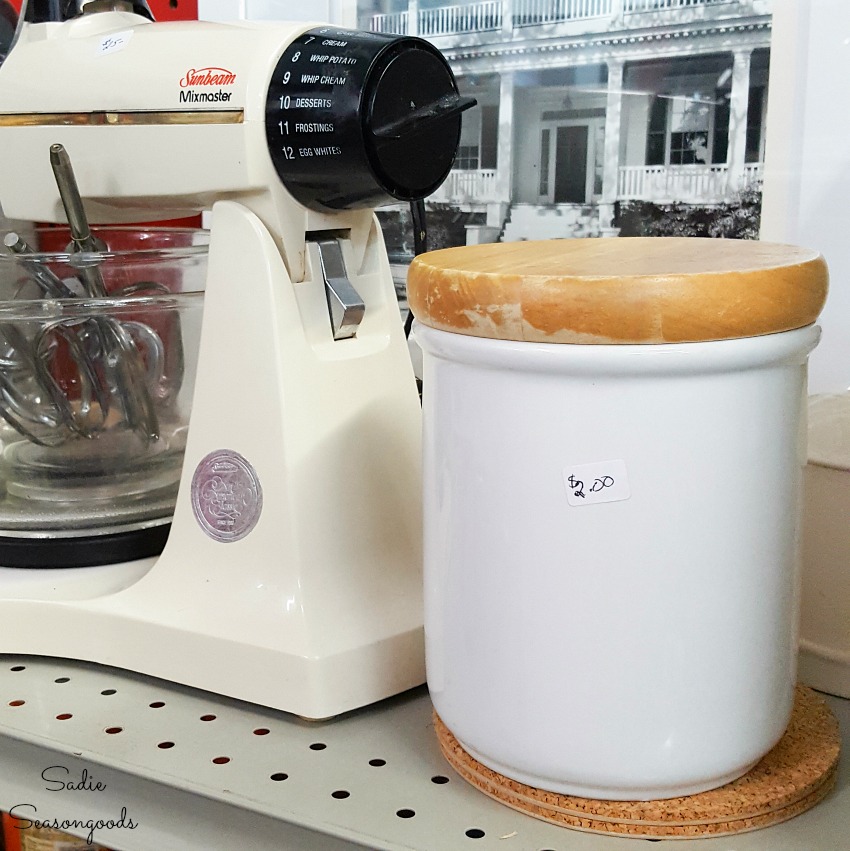
Anyway, I went out thrifting in search of the perfect pieces to transform into DIY cabin decor. First, I found a white ceramic canister that was begging for a makeover.
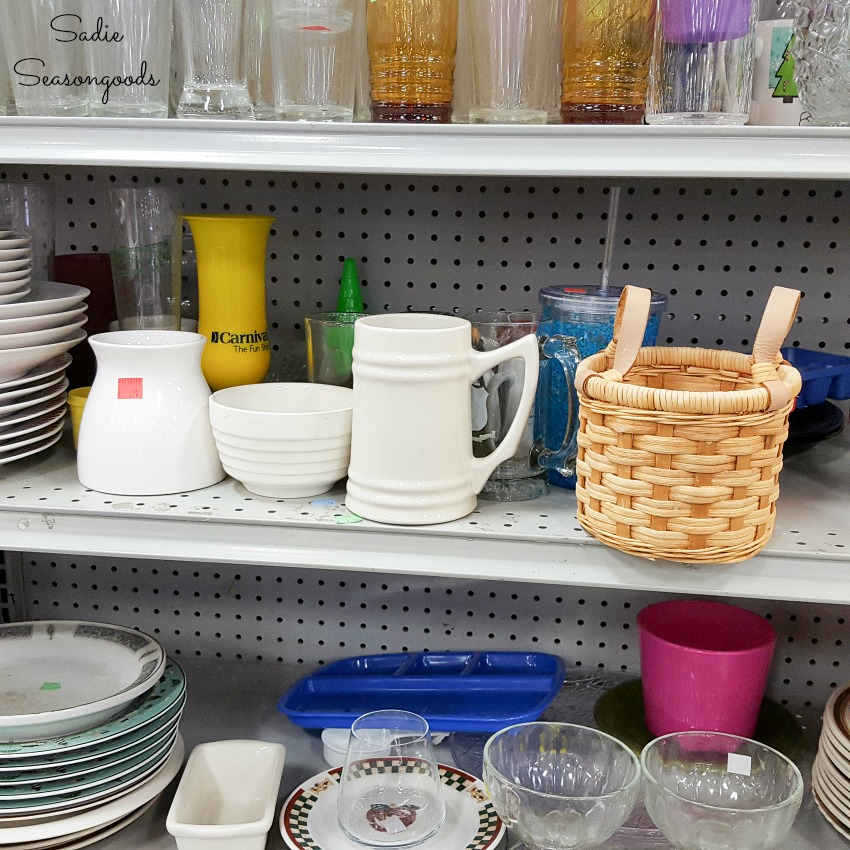
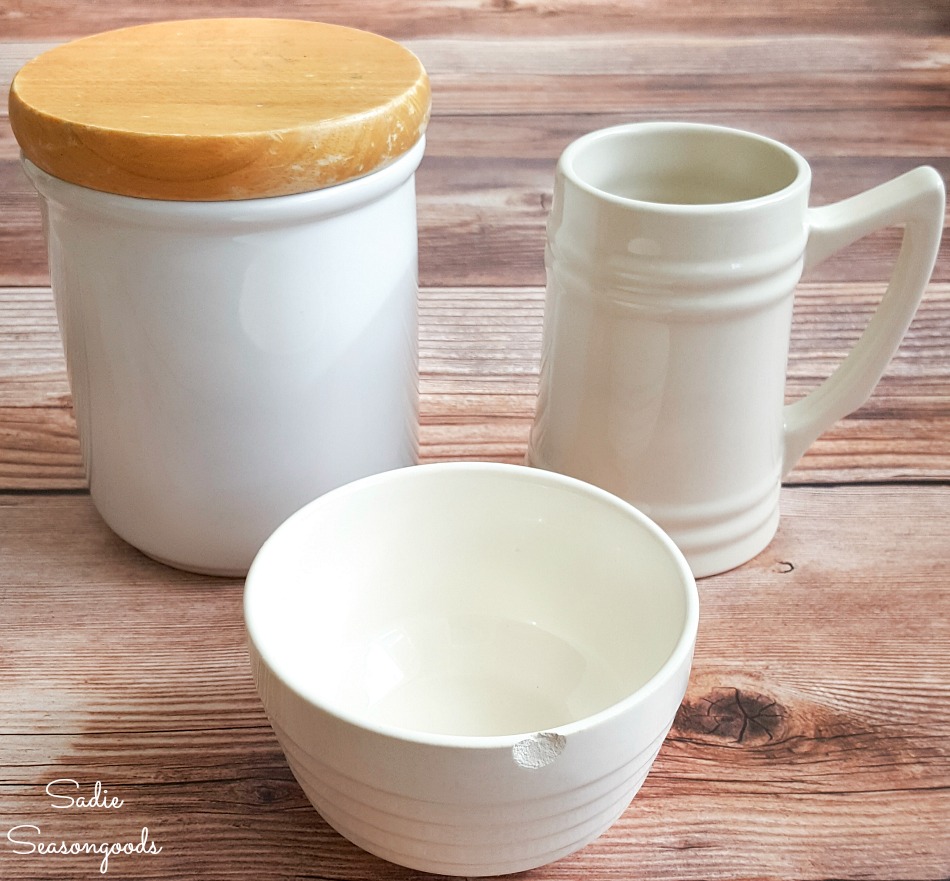
And shortly thereafter, I found a beer mug and chipped bowl to try out my upcycling idea on.
My plan was to paint them with colorful stripes evocative of a Hudson’s Bay Point Blanket! I had never painted on ceramics before, so I was excited to give it a try.
This post contains affiliate links for your crafting convenience. As an Amazon Affiliate, I earn from qualifying purchases. All blue, bold, and underlined text is a clickable link, either to a product or to a related post.
Recreating the Hudson’s Bay Stripes
To get inspired, I dragged out my beloved market bag that Hawks and Doves created with a damaged Hudson’s Bay blanket.
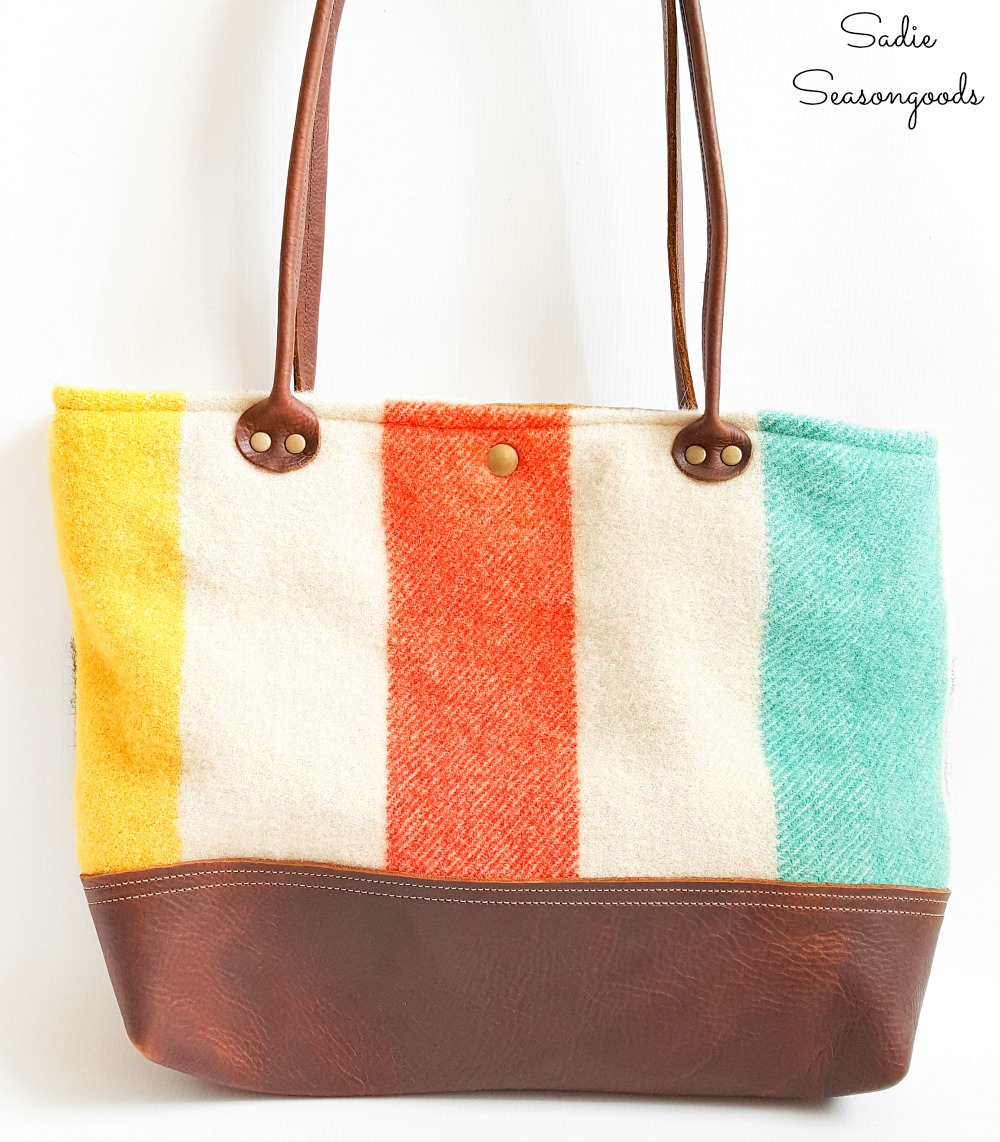
First, I color matched craft paint using my tote bag as a guide in red, yellow, green, and a deep blue.
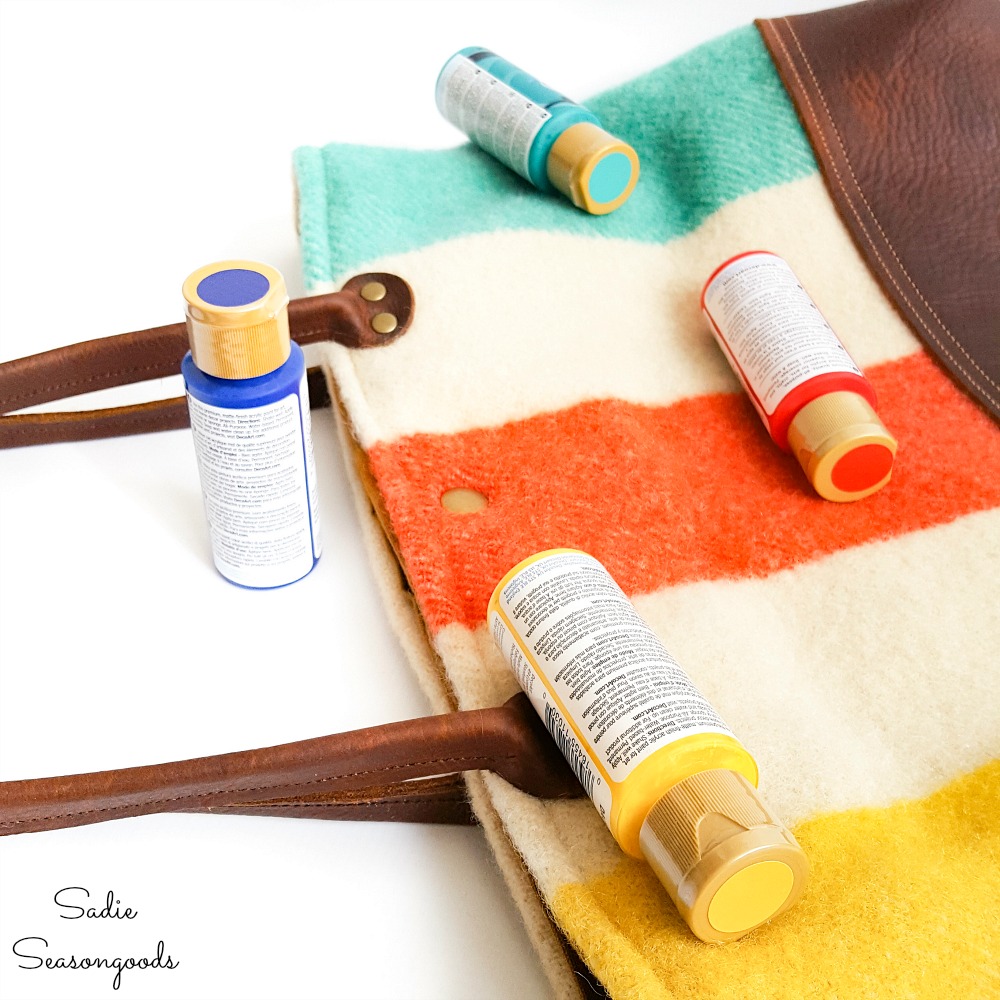
I’ve gotten some flack from people who disapproved of color-matching from my market bag because the colors are faded / vintage. But that’s just the way the cookie crumbles!
Next, I used my rotary cutter set to create thin strips of painter’s tape, which I wrapped around the ceramics. These would act as stencils for painting on the Hudson’s Bay stripes.
I pressed the tape down as much as possible to keep the paint from bleeding under.
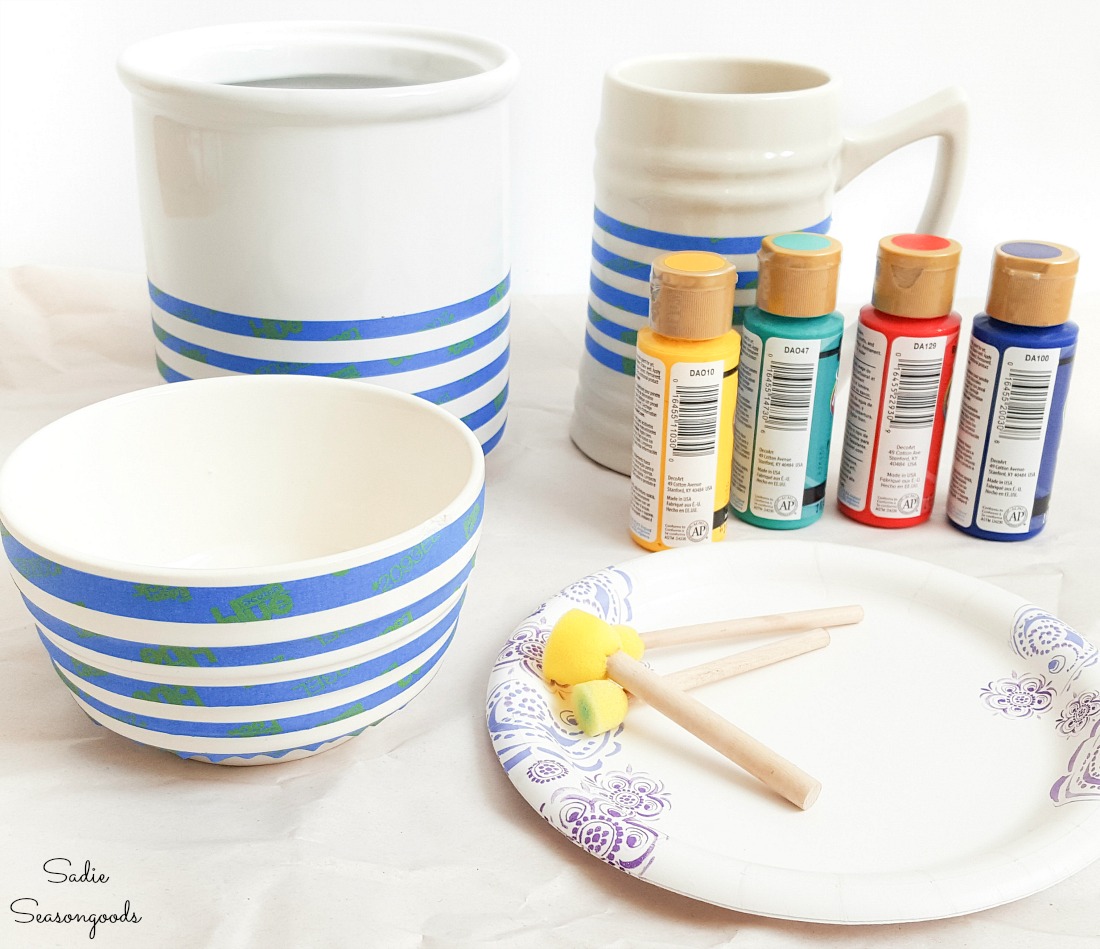
When I was satisfied with the tape placement, I carefully stippled paint in between strips of tape, creating the quintessential Hudson Bay stripes of a Point Blanket!
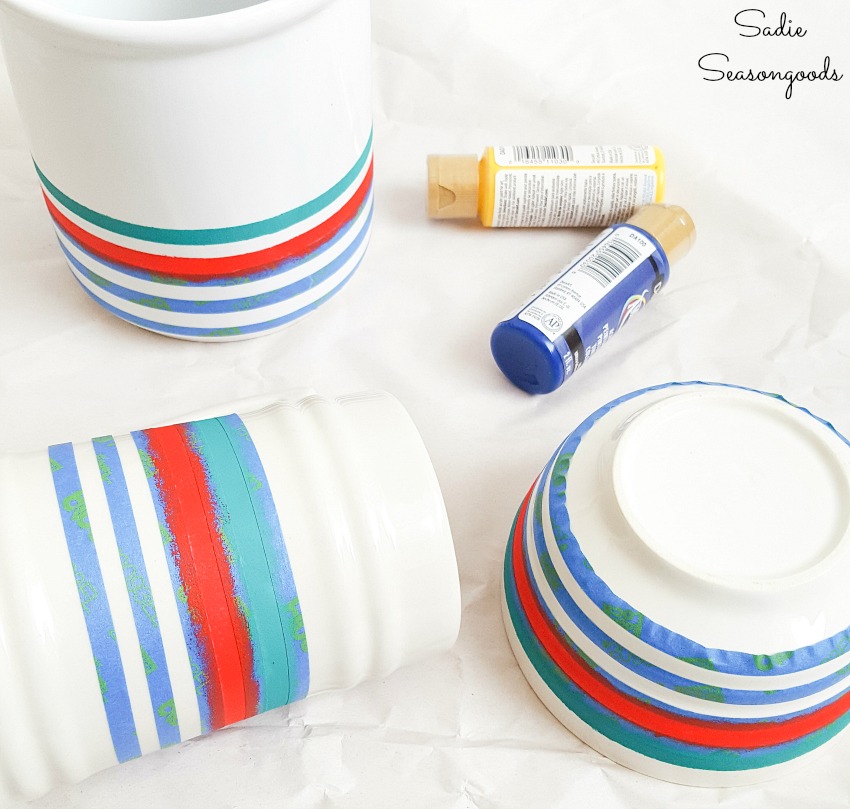
After the stripes dried, I gingerly removed the tape.
Even though I have no intention of ever running one of Hudson’s Bay dishes through the dishwasher, I decided to “cure” the paint job in the oven.
I set all three pieces in an oven-safe dish inside a cold oven. I pre-heated the oven to 300°F, and when the oven reached temperature, I set the timer for 30 minutes.
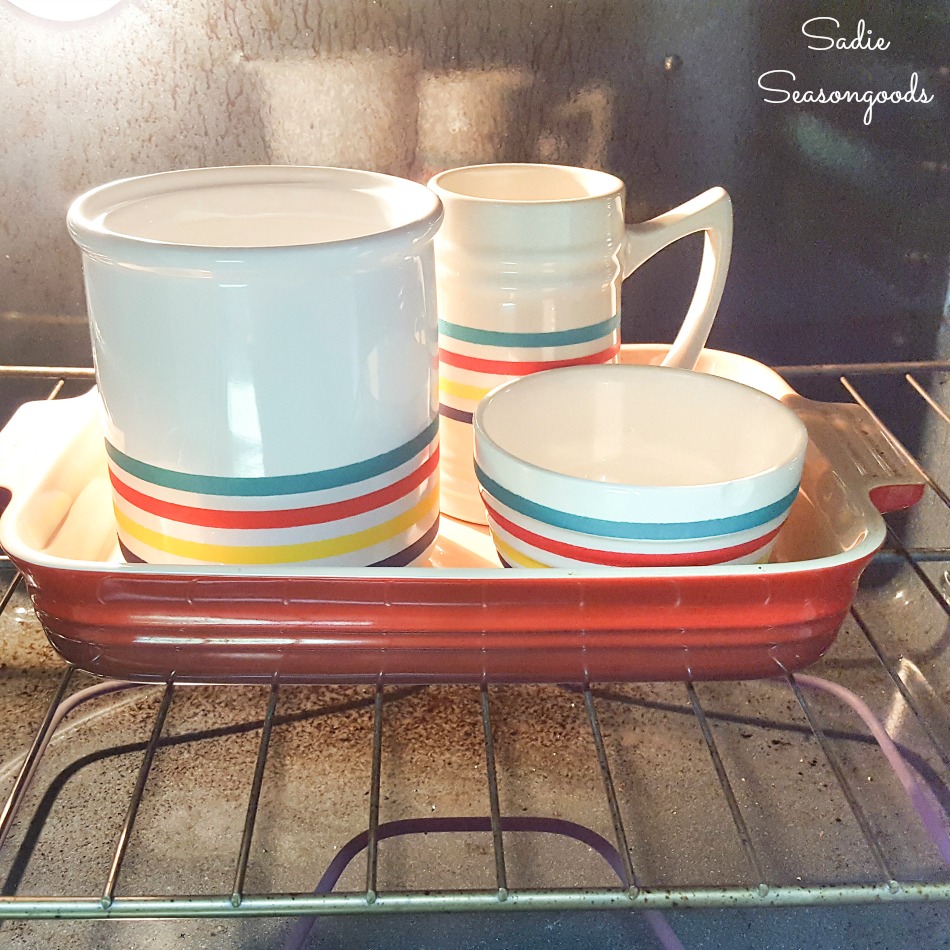
After 30 minutes, I turned the oven off and left everything inside to cool down naturally. Once everything was room temperature again, I removed everything from the oven.
For further insurance, I gave each dish a light spray of clear sealant.
Painting Hudson’s Bay Stripes on Plain White Dishes
And that was it! My dishes sported perfect Hudson’s Bay stripes now and I couldn’t be more pleased!
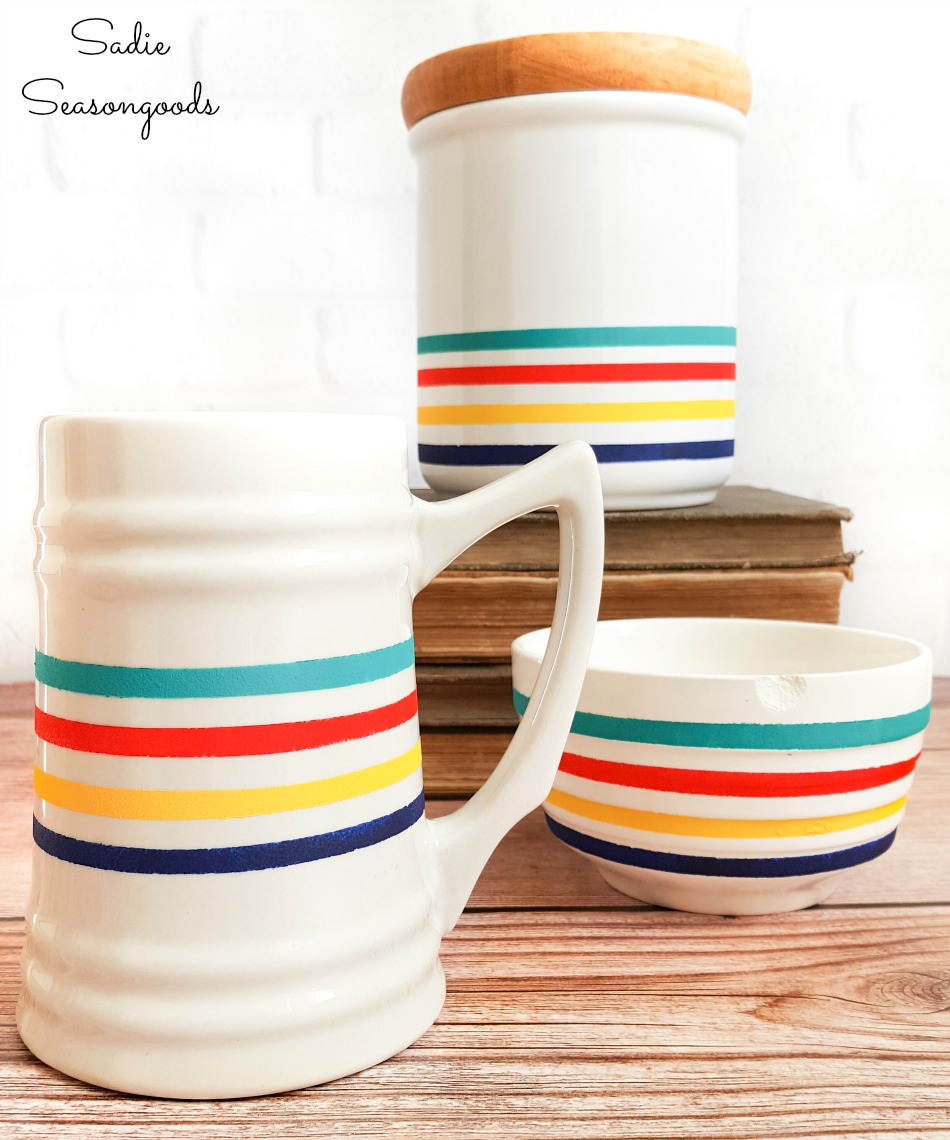
Aren’t they fantastic? I just adore how they turned out, even though the paint job isn’t 100% perfect.
I can fill them with pine cones or branches…or just leave them empty. And for the canister, I sanded down the top and conditioned it to give it a clean, fresh surface (the original shellac had started to chip away).
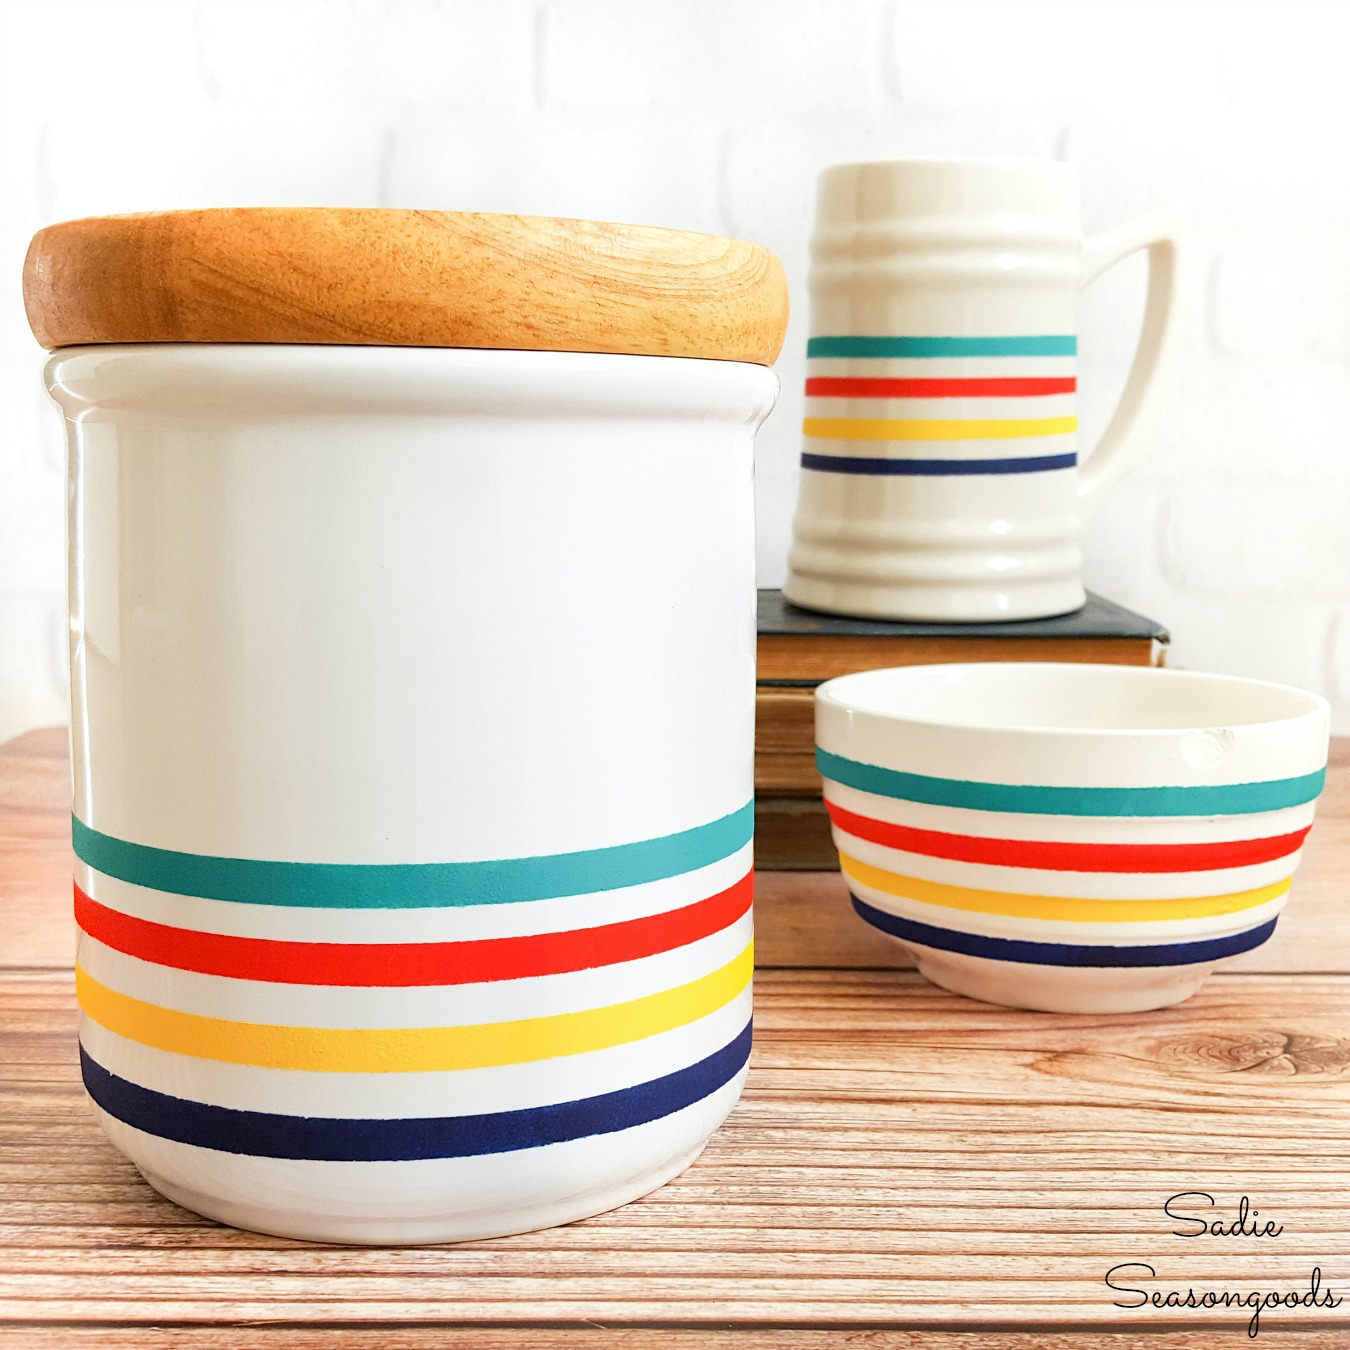
These are a nice change of pace from my go-to flannels and plaids for DIY cabin decor. And such a fun way to jazz up plain housewares from the thrift store.
If you are familiar with Hudson’s Bay stripes, be honest: what do YOU think about the colors I used?
I think these DIY cabin decor dishes could be used throughout the year. They’re such a fun way to add a little lodge decor or log cabin decor to your home without spending a fortune.
If you enjoyed this upcycling idea for DIY cabin decor, then you may also be interested in these decorative books I made with thrift store shirts, too!
Craft on!
S
Want to be notified when I publish my next upcycling project tutorial?
Join me on Social Media:
PIN ME!
Sarah Ramberg is the owner of Sadie Seasongoods, a website that celebrates all things secondhand. From upcycling ideas and thrifted decor to vintage-centric travel itineraries, Sadie Seasongoods is a one-stop shop for anyone who loves thrifting and approachable repurposing ideas. Sarah is also the author of “Crafting with Flannel” and has been featured in numerous media outlets and magazines.







Yes, please! ♥ Fantastic job, as is your norm, Sarah.
Thank you so much, Rita!
Those are amazing. As I am Canadian I always have a fondness for Hudsons Bay stripes. Brings me back to my childhood. Great job.
Thank you so much, Becky!
Very creative, now you have a lovely set of items!
Thanks, Carole!
So cute! Can you do that with just regular acrylic craft paint, or does it need to be something special? Fun!
I did it with regular acrylic, but there are special ceramic paint that would be more scratch resistant!
Oh my goodness, these turned out great! Love them. 🙂
Thank you, Jennie!
Your excitement and creativity gives me enthusiasm! Love your blog, Sarah. You come up with great, original ideas.
Thank you so very much!
This Canuck says these are fabulous! You ALWAYS come up with the greatest ideas, Sarah.
Thank you so much, Marie!
I appreciate the tip on curing the paint in the oven!
Thanks, Nancy!
Hello Sadie. Can the protective spray be added before or after curing? Great project ideas! Thank you!
Kind regards! Lynn
After- happy crafting, Lynn!
You have such an eye. Those three pieces are perfect together!
Thank you so much!
Nice jôb, and love the bright colors.
Thank you, Ivory!
These look so sharp! I would love to try this out on some white bathroom accessories.
Thanks, Vanessa!
Love , love, love these! I have wanted one of those blankets for years but they are so expensive. This is a nice compromise:) xoKathleen
Exactly! Thank you so much, Kathleen!
That is a great idea. Those are darling.
Thanks for sharing at Funtastic Friday!
Thank you so much!
Oh I love the Bay! We used to live in Canada and I remember those stripes! Such a fun addition to your thrifted jars!!
So cool, Katrin!! Thank you so much!
They look great, I love a splash of colour like this.
Thanks, Julie!
Those are beautifully done….I don’t see any evidence of “not being perfect.” Very bright and pretty!
Your creativity has no limits. Love the stripes on a white background. Thanks for sharing at http://www.fabifabu.com/2017/02/19/inspiration-galore-project-party-22/
Thank you so much, Fabiola!
Yesterday I find a vintage fabric sample book, at Goodwill. And the first think that came to my mind was, What Sadie will do with this? The fabrics are adorable with lots of flowers and stripes. Hum let’s see what my inspiration will be. Thanks Sadie
I just LOVE the way those stripes look! I always love colorful things, but sometimes the color can be overwhelming. Those little stipes add just the right amount of color. I also love that you used thrifted items instead of buying new! Pinning! 🙂 Lisa
Thank you so much, Lisa! That’s what my entire blog is dedicated to- repurposing thrifted and vintage items, and never buying new. 🙂
Hi Sadie! I found your post through the Family Joy Blog Link-up and just love what you did with your thrift store finds! I love thrifting and am so glad to have found your blog! 🙂 Pinning this one!
Thank you, Christina!
So cute and so fun!!
Those are lovely! Thanks for sharing this!
Thank you, Angela!
LOVE the colors! 🙂
I would love for you to share this with my Facebook Group for recipes, crafts, tips, and tricks: https://www.facebook.com/groups/pluckyrecipescraftstips/
Thanks for joining Cooking and Crafting with J & J!
What a lovely idea Sarah and those Hudson Bay stripes sure do jazz up the boring white ceramic canisters an dishes beautifully.
Thank you, Michelle!
Can your creativity be purchased in bottle form? I’ll take 5 please. This iconic look is magnificent!
I’ve featured you this weekend on DIY Salvaged Junk 367. Thanks for linking up!
MUAH! Thank you so much!! You know I’ll be there with my latest tonight! 🙂
These look spanking brand new! You’re so good at this and I’d love to have a tiny bit of your creativity. I was in the craft store today looking for copper paint and I felt like a fish out of water. Maybe I should stick to baking! Thank you for sharing with us this week at Celebrate Your Story, have a great weekend.
Thank you so very much, Sandra!
These are beautiful. What a great idea and you did a lovely job with these jars. Thank you for sharing at Dishing it and Digging it link party.
Thanks, Vanessa!
Beautiful job of representing the iconic Hudson Bay blanket stripes. . Thank you for sharing at the Snickerdoodle Create~Bake~Make link party!
This project turned out great!I love the simple stripes. Pinned and sharing. Thank you for joining us at Family Joy Blog Link-Up Party. I hope you will join our next party starting Sunday at noon EST.
Thank you, Cristina! I linked up my latest. 🙂
They are beautiful and I love the colors! Greetings from warm Chicago! 🙂
Thanks, Lillian!! It’s hard for me to imagine a warm February day in Chicago…after spending my first 18 Februaries up there!! 😉
This winter has been SO mild! We got two days of snow storms and then it quickly went up to 50 degrees. Besides a few 20-30 degree days, it’s been super mild. It’s incredible!
You are so creative, and it’s so obvious what you’re referring to, even in the unexpected form of porcelain! What a clever idea!!
Thank you, sweet friend. Miss you!
Really beautiful results! Thank fir inspiration.
Thanks so much, Dee!
As a European I have no clue what Hudson’s Bay is, but I love the idea of matching different pieces gathered from thrift store by applying same pattern. I can easily imagine using this idea to create a tea set etc.. Btw, I love stripes almost as much as polka dots 🙂 Great inspiration.
Wwhat a fun project!! Thanks for the tip about the oven!! Question.. if one was going to put it in the dishwasher, is there a special kind of sealer I should use?? and would I need to put it in the oven again?? Thanks
There are lots of waterproof sealants on the market- in home improvement and hardware stores- that you could try. I can’t guarantee that’ll work because I’ll be handwashing (or, even just gently wiping them down/dusting), as necessary. There are also ceramic-specific paints that are a lot more expensive but should bond to the ceramic more permanently than the basic craft paint I used.
I am a Hudson Bay fan and have been collecting blankets – your idea with the ceramics is EPIC!! Thank you so much for your obvious talent and for sharing!!! I can’t wait to try it out – and I have MS so I am not a very good do it yourself person but I will try this – so we will see lol Thanks for the inspiration.
You are so very welcome, Toni! I really do love the blankets- and have yet to find one in my secondhand shopping adventures. But it’s definitely on my bucket list of things to find…but faking it with these decor items is a LOT cheaper. I’m so happy you found my tutorial- happy crafting!
Girl! I have a Hudson Bay Point Blanket that belonged to my Grandma. I am 70 years young and I am going to find some “white ware” at the thrift and do this ASAP!! This is BRILLIANT! Thank You.
Keep up the great work.
Maggie
Yay!!!! I love that Maggie! And I was actually thinking of doing a companion project this fall in the same colors…because so many of us LOVE point blankets.
love it colours are on point
Thank you, Mandy!!
I Have always loved the HBC colours. Would you mind sharing what brand/type of paint you used and the actual colour names ?
Do the links no longer work, Elizabeth? I can go through my paint stash and figure it out, but please let me know if the links in the text (blue, bold, should be underlined) aren’t working for you.
Hi Sarah! I’ve never come across your blog before, but I’m so glad I did! I’m a thrifter from way back, and I love repurposing thrifted items for my own life… it truly brings me joy 🙂 While I’m staying at home, along with most people right now, I’m dreaming of our annual family reunion camping trip on the Oregon coast this summer… fingers crossed! I’m a quilter, and thought it would be fun to make a quilt resembling a Hudson Bay point blanket to take camping. My google search brought me here 🙂 Your Hudson Bay inspired designs are so much fun! I love the tip to cut the painters tape with a rotary cutter. I’m off to explore your blog! Take care and thanks for the inspiration! ~ Angela
Thank you so very much, Angela- and welcome! I think a Hudson’s Bay quilt would be positively DIVINE!!!
I loved this idea so much that I did it on a big basket. Now I’m on the prowl for other items to “Hudson Bay-ize”! You can see my basket here: https://www.facebook.com/photo.php?fbid=227030295891328&set=pb.100057530766528.-2207520000..&type=3
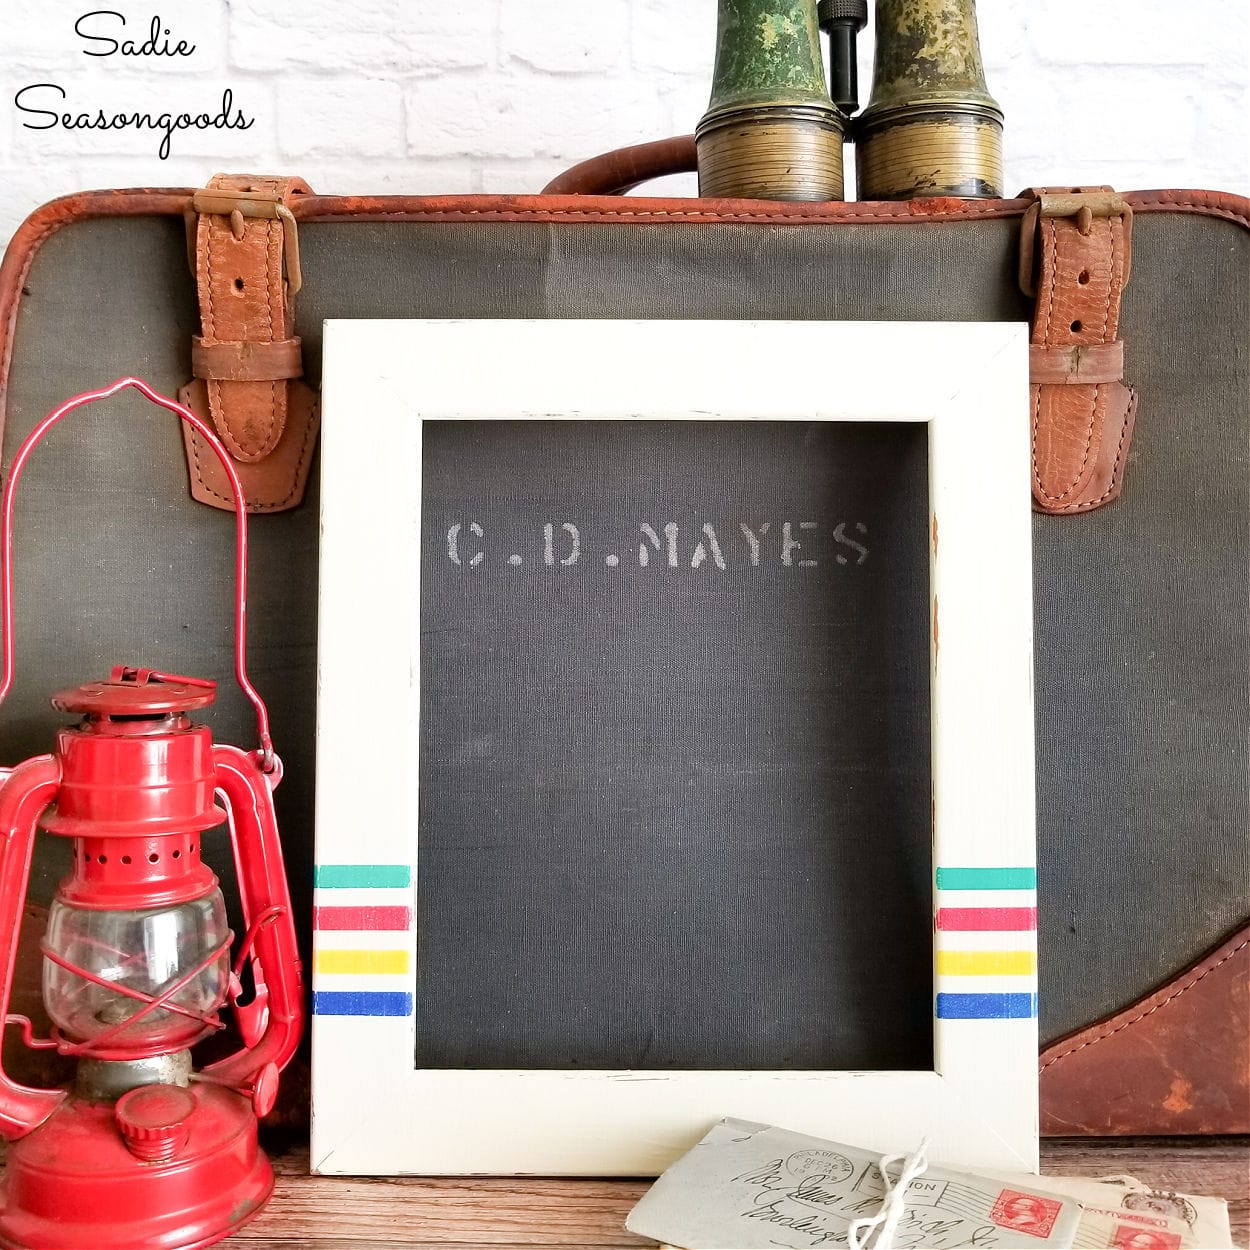
Love it, Amy!! I know, I’ve “Hudson Bayized” a couple of things so far for my blog (these dishes and some picture frames) and I’m 100% sure I’m not done yet, LOL. I’ve also made felt ornaments that look like mini blankets!
I have been trying to colour match these for some time.. surprisingly it hasn’t been easy.. I love what you’ve done, I love the vintage’ness in the colours.
So fun !!!
Thanks so much for sharing
Thank you so much, Carolyn! Yes, toting my bag to the craft store to color match was a LOT easier than lugging a full blanket, that’s for sure!
I love, love, love the colors you used. Great idea to cut the tape so thin! I was wondering how you did it so cleanly.
pinning!
gail
Thanks, Gail!! And thank you for the FB share, too!!!