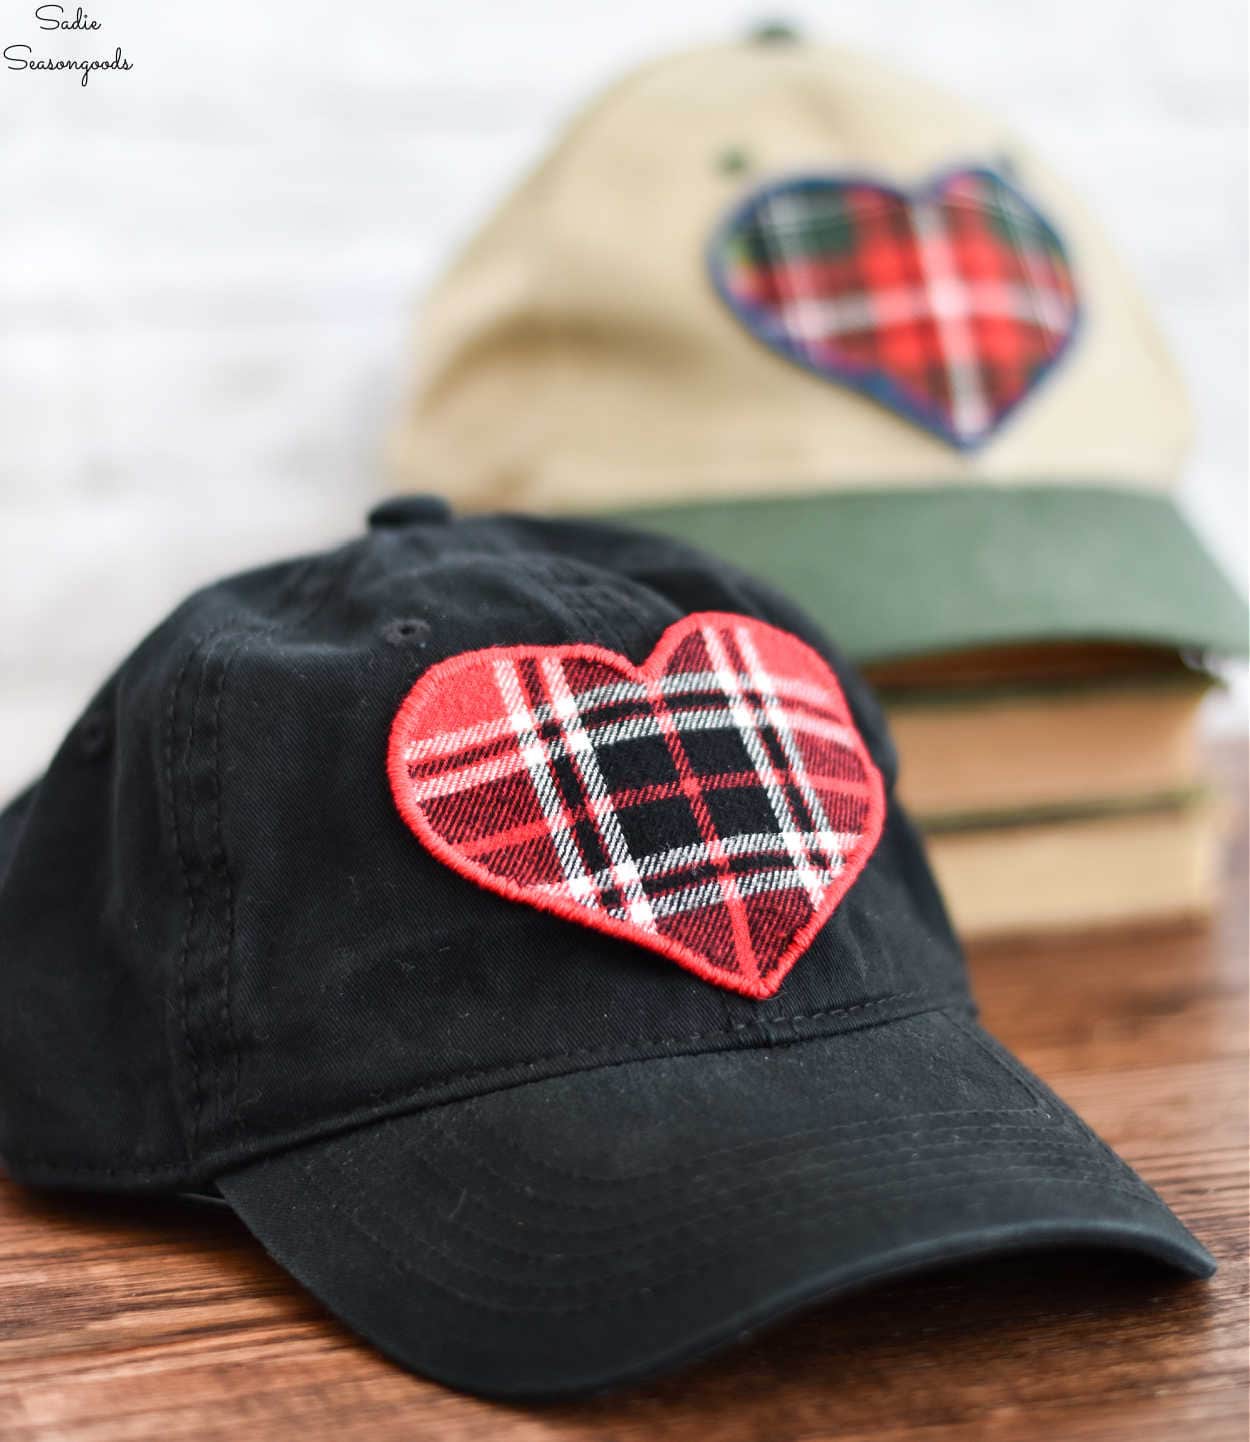
It’s no secret that when it comes to accessorizing, I’m a big fan of patches. I’ve used vintage patches on a number of projects, most notably hats, shirts, and bags. But I’ve also made a fabric patch or two from a very likely culprit, which brings me to the reason for today’s blog post.
One of the vintage patch hats that I’ve made…
Image credit: Sadie Seasongoods.
The likely culprit? A flannel shirt, of course- I made fabric patches from flannels as a project in my book! And while I don’t plan on putting many of my book tutorials on my website, I’ve decided to add a couple here and there. Especially the ones where I wasn’t able to include all the step-by-step photos within the book itself.
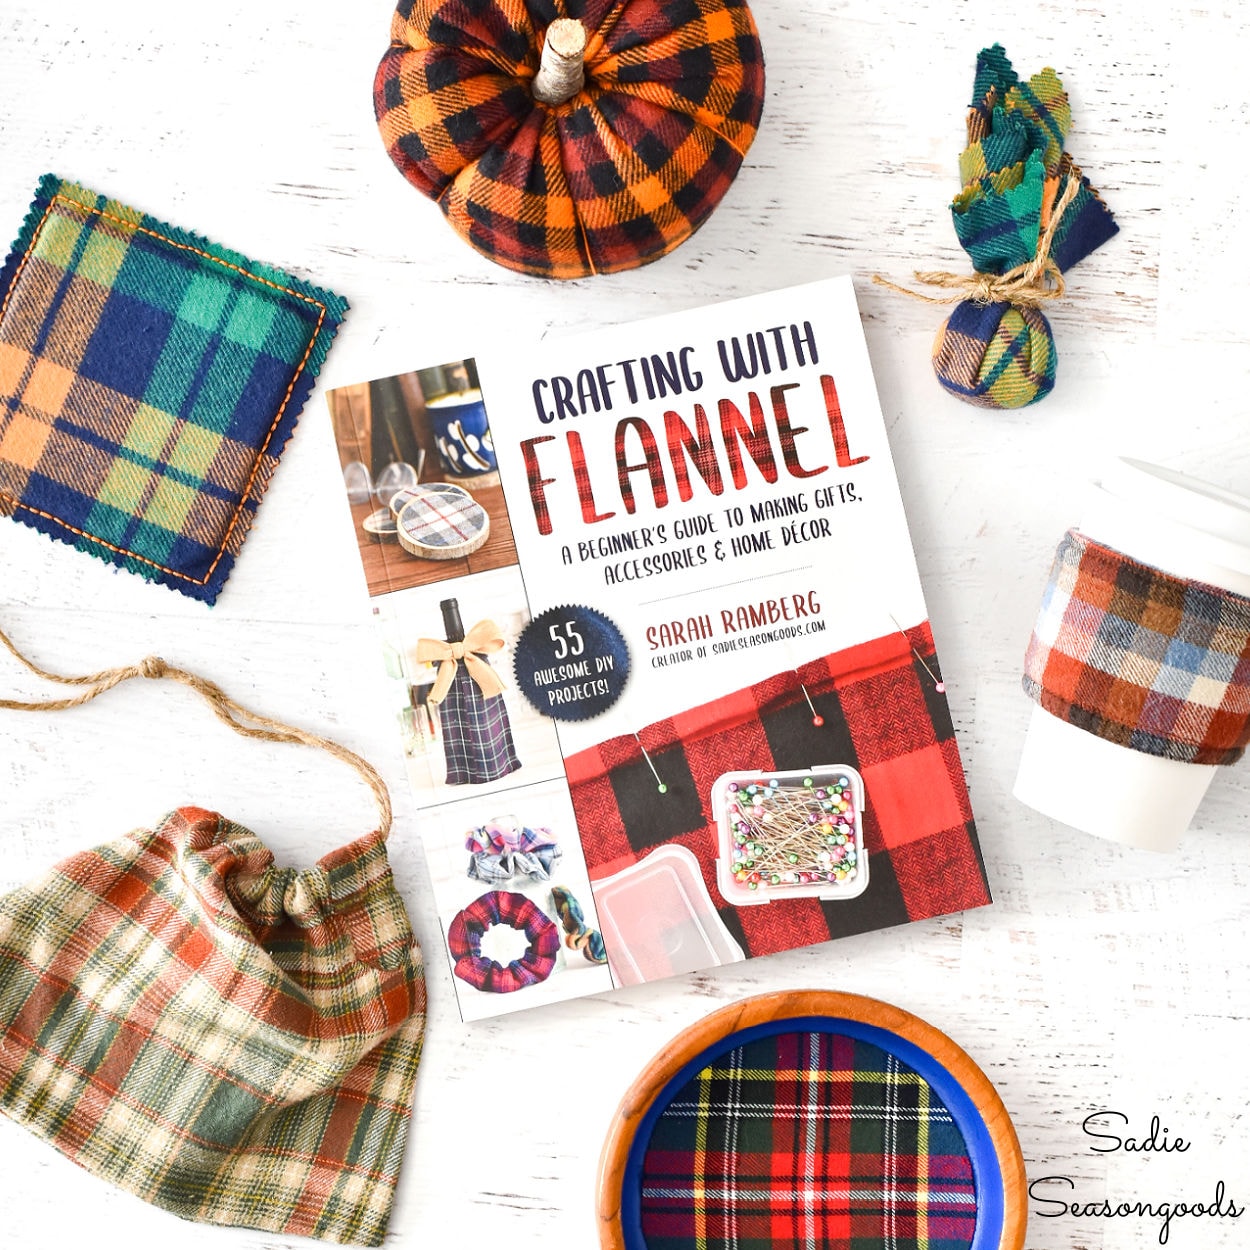
Image credit: Sadie Seasongoods.
Not only do I simply have all these excess photos in my files, but this technique could be used with all sorts of fabric. And in a time period where handicrafts like making a fabric patch might be the only thing that keeps us sane, well…the time to put it on my website has definitely come!
This post contains affiliate links for your crafting convenience. As an Amazon Affiliate, I earn from qualifying purchases. All blue, bold, and underlined text is a clickable link, either to a product or to a related post. This project and tutorial originally appeared in “Crafting with Flannel” by Sarah Ramberg.
Creating the Fabric Patches
First things first, it’s important to note that these fabric patches are not the iron-on kind. The tutorial could be adapted to incorporate Heat N’ Bond or some other kind of adhesive backing. But these are stitch- or glue-on patches.
Which means that I gathered the following materials: A flannel shirt to craft with; the hat my fabric patch will go on; fusible interfacing; and paper, pen, and scissors.
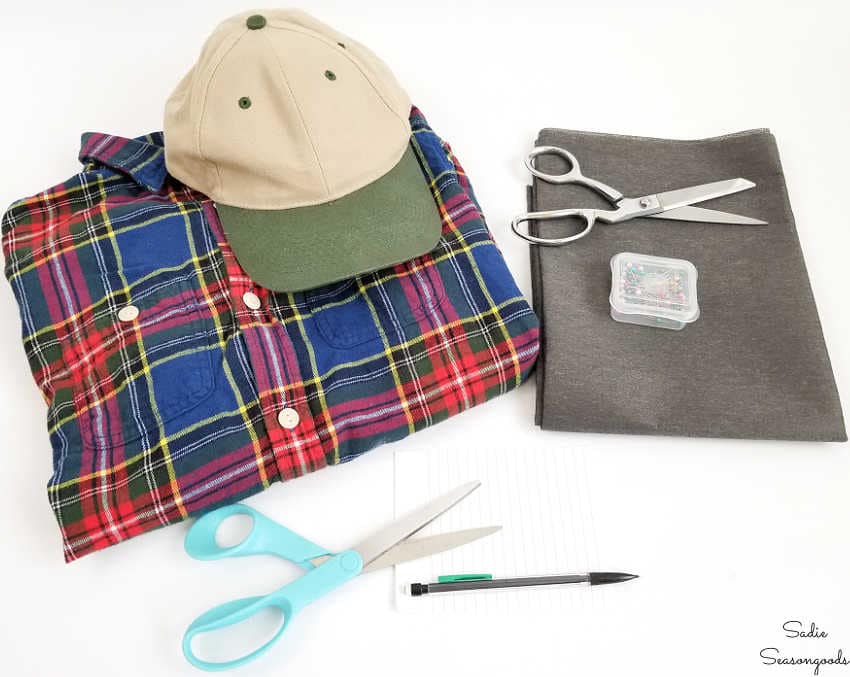
Image credit: Sadie Seasongoods.
Oh, and straight pins, too. And embroidery floss and needle- but I’ll get to those later on.
Since a heart shape was easy to cut out with my scrap paper, I cut one out that fit nicely on the front of my ball cap. Next, I cut out a square of flannel fabric and a square of the fusible interfacing, as well. When cutting out the piece of flannel, I made sure that the pattern I wanted to incorporate in my patch was at the very center of my square.
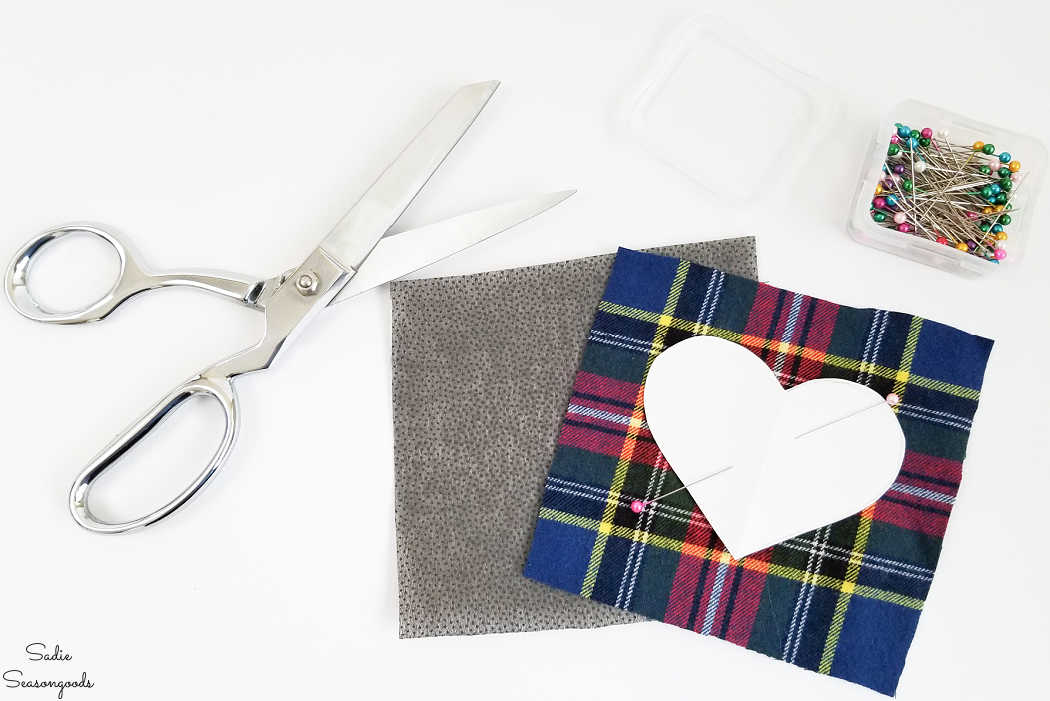
Image credit: Sadie Seasongoods.
Then, I set aside my paper pattern, layered the flannel fabric over the interfacing, and fused them together with my iron. (Wrong side of fabric facing the tactile adhesive dots of the interfacing.) From there, I pinned the paper heart to the center of the flannel pattern, lining everything up as perfectly as I could.
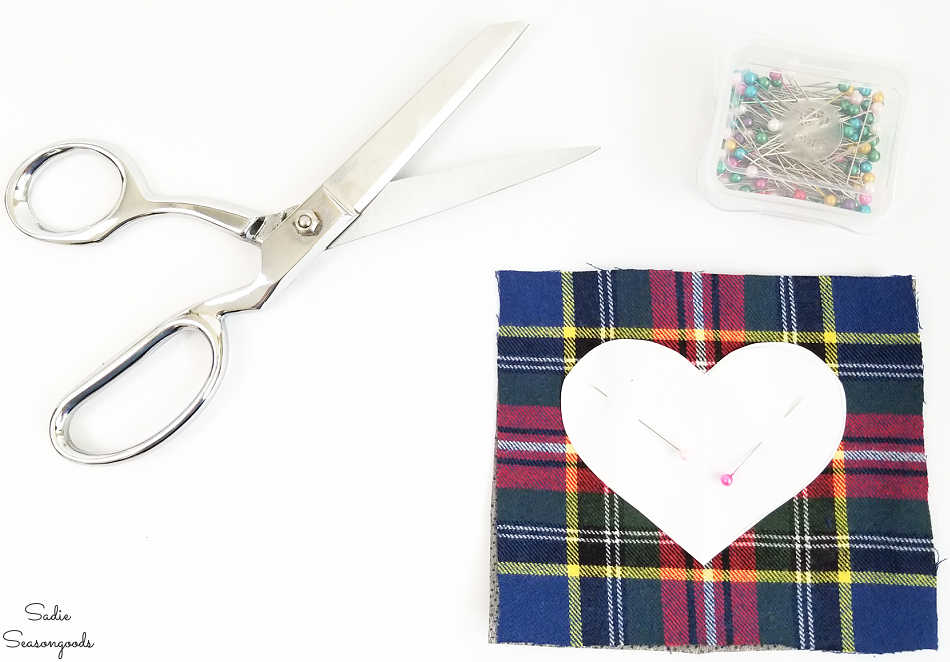
Image credit: Sadie Seasongoods.
Why use the flexible, fusible interfacing? Not only does it help stop the cut flannel edges from fraying, but it’ll give my fabric patch a little body. Otherwise, the patch might dimple or lose its shape when attached to the ball cap.
Using my fabric scissors, I then cut out the heart patch from the flannel/interfacing. Of course, I wasn’t quite done with my DIY patch, but it was looking awfully cute for my hat.
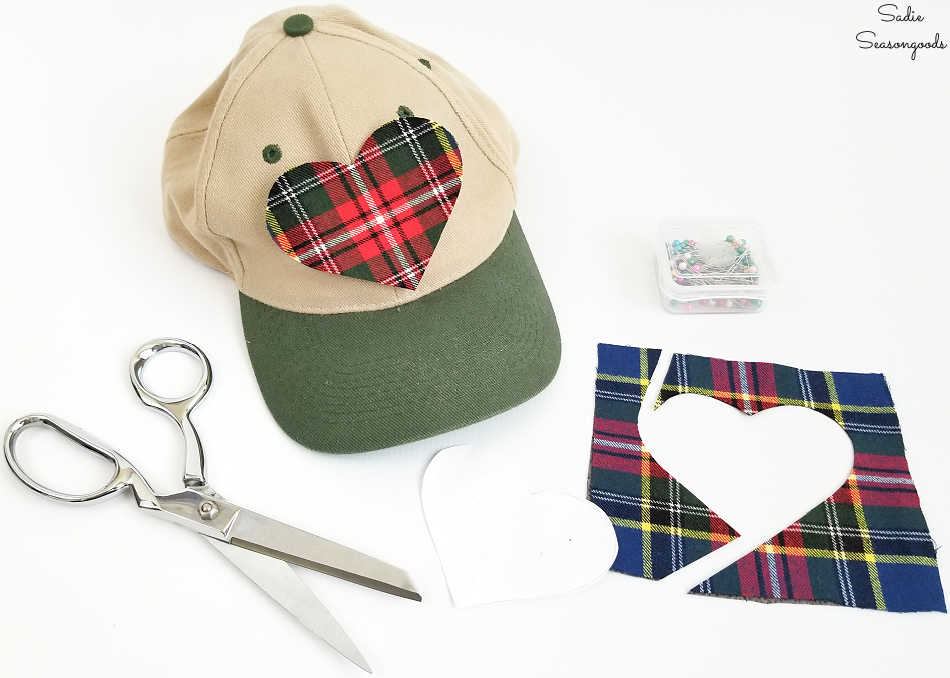
Image credit: Sadie Seasongoods.
But like all patches, my version still needed a border of some sort. Remember how I mentioned we’d eventually need some embroidery floss? Well…
Adding a Border for a Fabric Patch
Admittedly, my version of a DIY fabric patch includes everything done by hand. But in reality, most patch borders are created on a sewing machine using a specialty foot attachment. But since not everyone has a sewing machine, we’re doing it the electricity-free way. Using embroidery floss in a contrasting, but complimentary color to my flannel patch.

Image credit: Sadie Seasongoods.
First, I snipped off a long length of embroidery floss. Unfortunately, I don’t recall how long it was, but I overestimated on purpose because I didn’t want multiple knots underneath my fabric patch. Then, I halved the strand of floss by peeling away three individual strands from the other three like this.
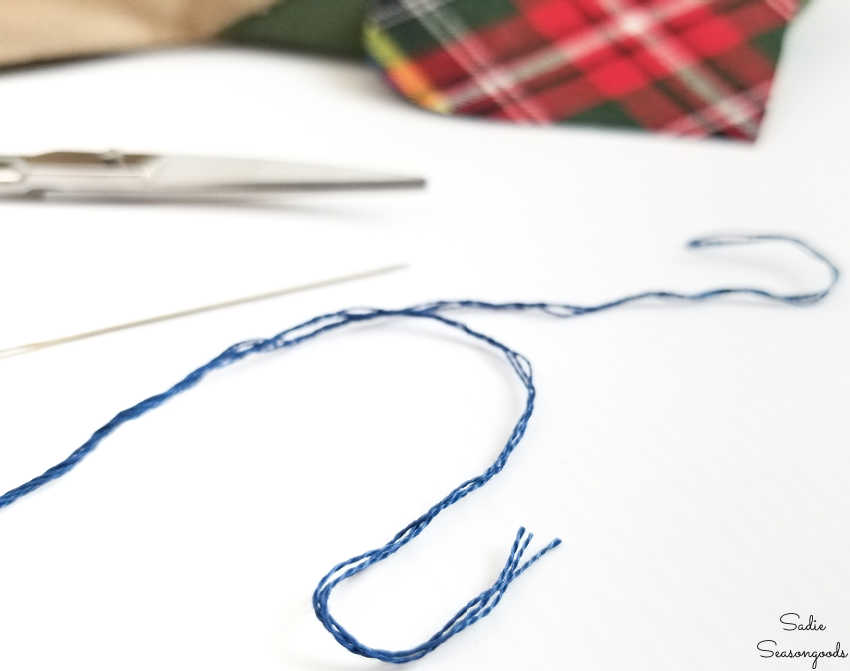
Image credit: Sadie Seasongoods.
Why split the embroidery thread? Because I planned on using the satin stitch as my border, and splitting the floss is a traditional step for this particular stitch. Split floss allows the stitch to lay flat against the fabric and not rounded if all six strands are used.
Then, I threaded the floss through a needle and began stitching around the edge of the patch. In embroidery, the satin stitch is traditionally used to fill in shapes. But in this case, I applied that technique (pushing the needle up through the back of the patch over and over again, coming in right next to the previous stitch).
Instead of filling in a shape, however, I wrapped/covered the raw edge of my patch with satin stitches. Albeit, not perfectly clean ones, mind you…but you get the drift.
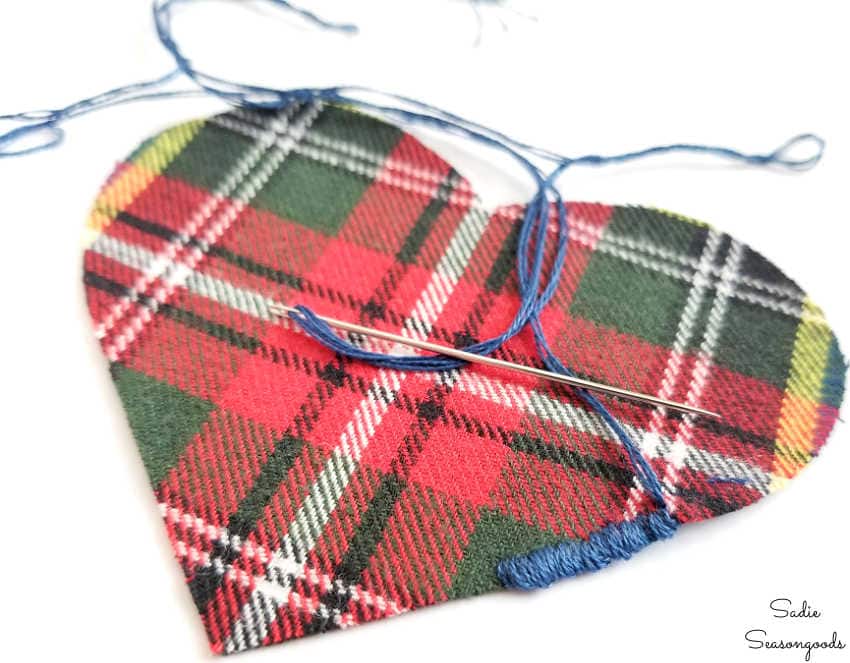
Image credit: Sadie Seasongoods.
When I was done working my way around the entire perimeter of my patch, I carefully threaded the tail through the stitches along the back before snipping off the excess. That way, there was no bulky knot on the underside of my work.
And yes, I ended up making two flannel patches, and I’d really dialed in my satin stitch technique on Patch #2.
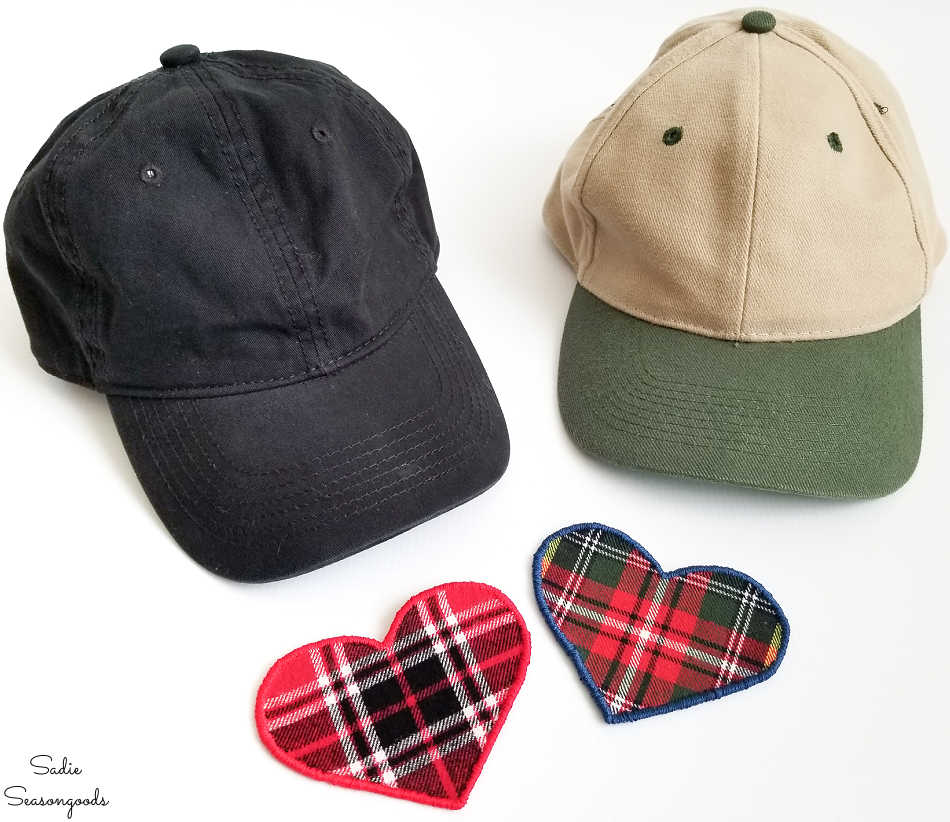
Image credit: Sadie Seasongoods.
Don’t they look great? Now I just needed to attach them to my ball caps.
How to Make a Fabric Patch
To attach the fabric patches to my hats, I had a couple of options: fabric glue, stitching, or both. I ended up using just fabric glue because I was feeling particularly lazy. But I can always go back and add stitches along the border if I choose to later on.
I’d probably even use a single strand of the same embroidery floss to do it because any stitches would blend in seamlessly.
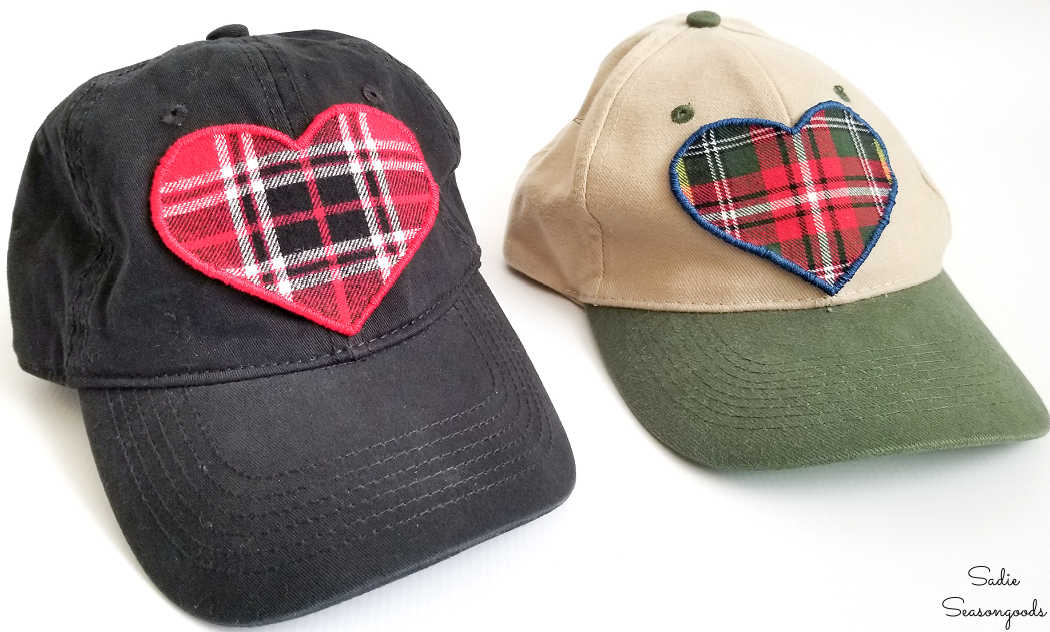
Image credit: Sadie Seasongoods.
But, either way, I hope this project inspires you to try your hand at patch-making. It’s a great scrap buster project if you’ve got oodles of fabric at your disposal- and definitely a fun way to embellish clothing and accessories. Flannel is, of course, just one of the many kinds of fabric that could be used in this simple sewing project.
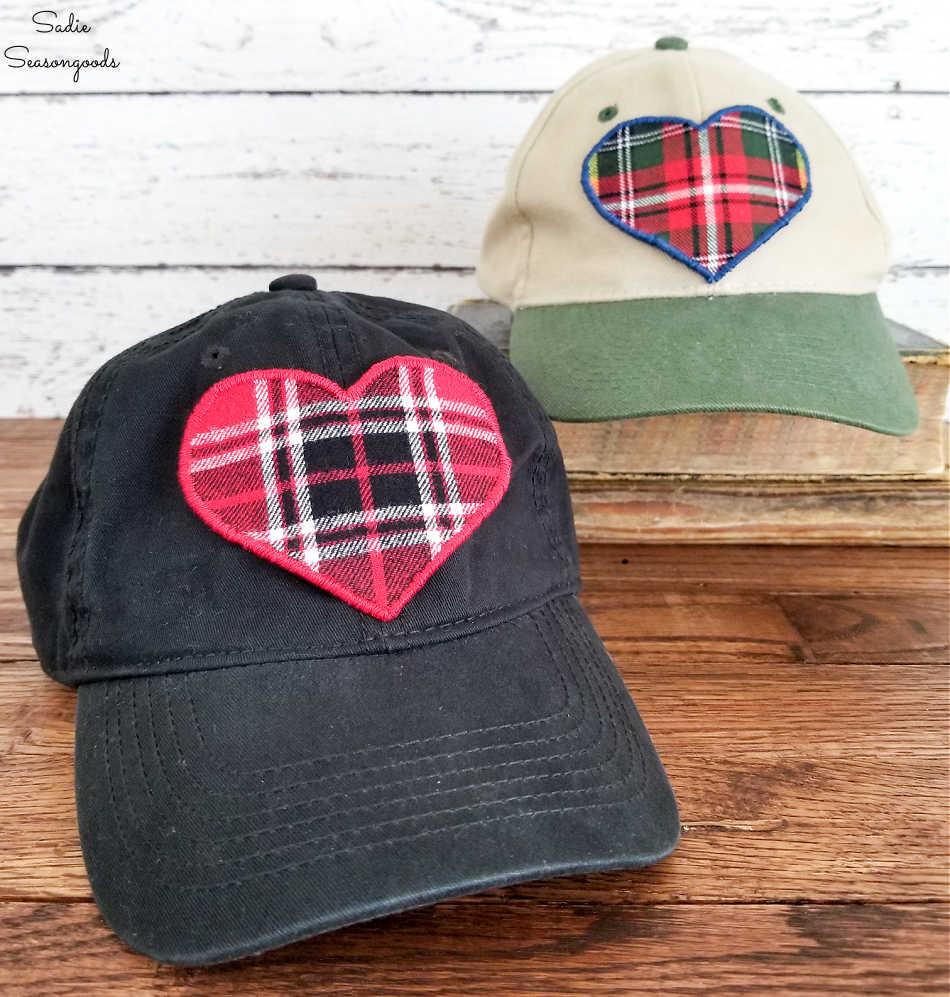
Image credit: Sadie Seasongoods.
And not just changing out the fabric, but the shape(s), too. Stars, flowers, lightning bolts, you name it!
There are still tons of different craft projects and upcycle ideas that are in my book only and will never appear on my website. So I hope you’ll still consider picking up (or downloading) a copy of it in the future.
Interested in other ways to embellishing clothing and accessories that has nothing to do with patches? Perhaps these ideas with thrifted ribbon belts might be of interest to you, as well…
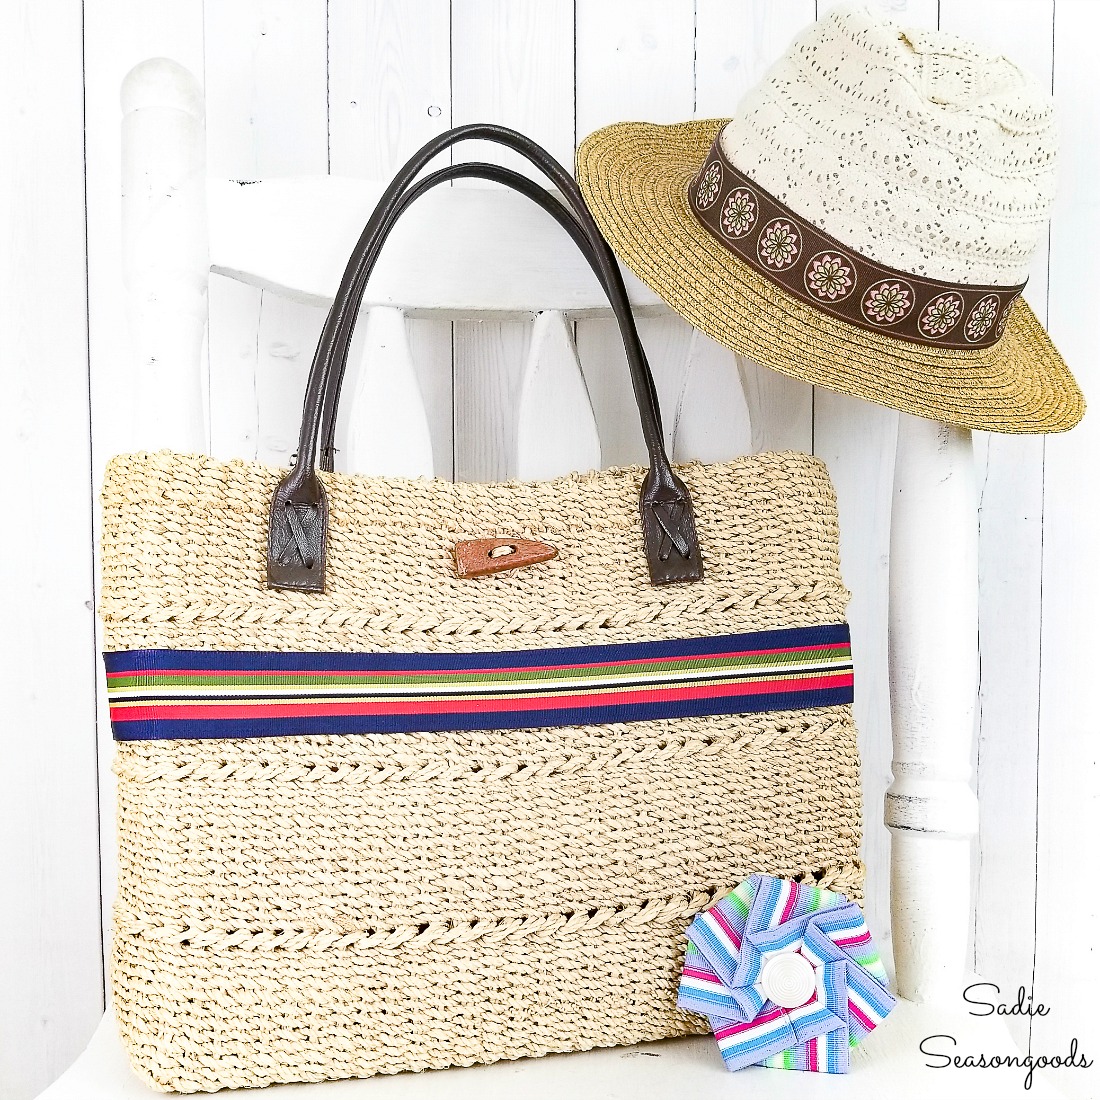
Image credit: Sadie Seasongoods.
Craft on!
S
Want to be notified when I publish my next upcycling project tutorial?
Join me on Social Media:


PIN ME!
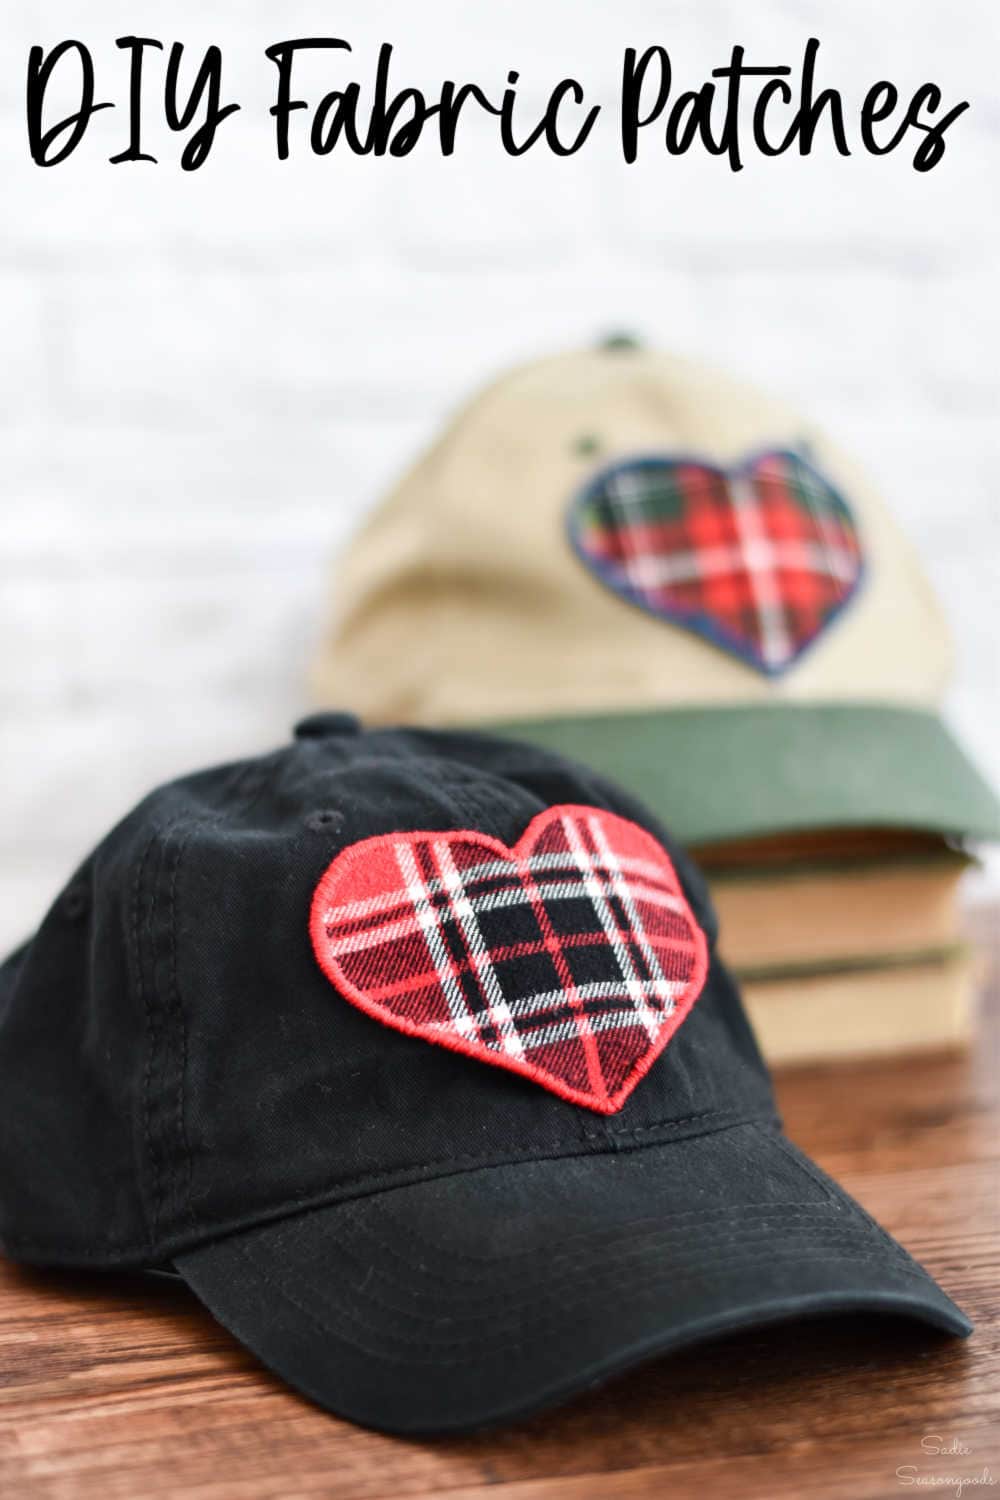
Image credit: Sadie Seasongoods.
Sarah Ramberg is the owner of Sadie Seasongoods, a website that celebrates all things secondhand. From upcycling ideas and thrifted decor to vintage-centric travel itineraries, Sadie Seasongoods is a one-stop shop for anyone who loves thrifting and approachable repurposing ideas. Sarah is also the author of “Crafting with Flannel” and has been featured in numerous media outlets and magazines.


Have a question or like what you see? Please let me know!