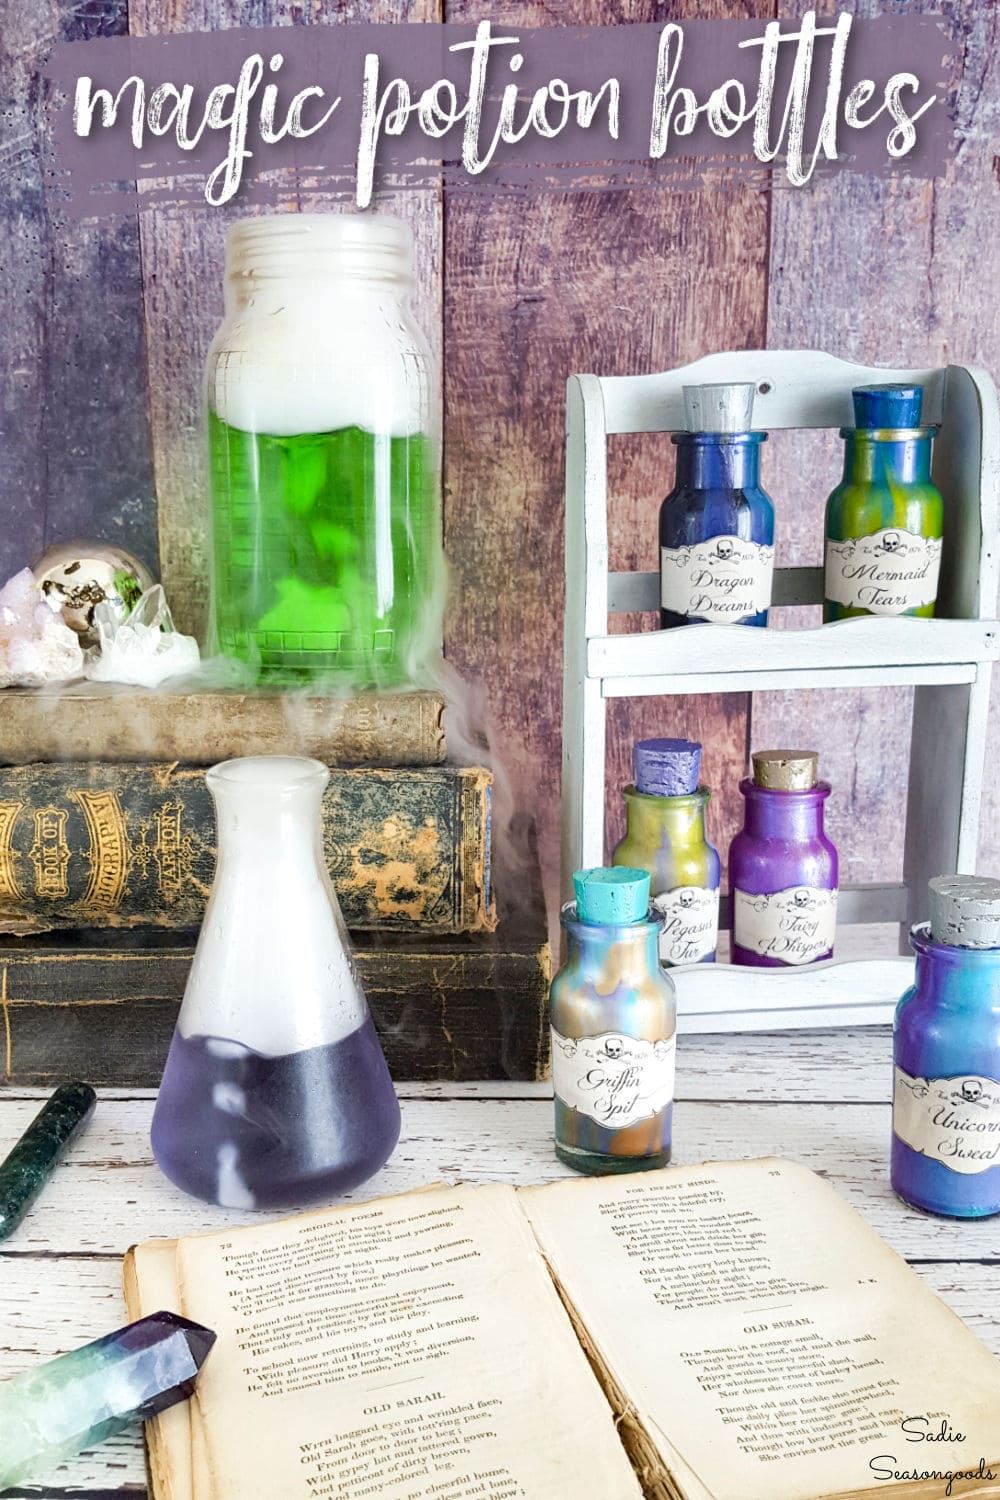
I absolutely love coming up with new upcycling ideas and repurposed projects for Halloween decor. And this time, I was inspired by the one and only Harry Potter. I had found this vintage spice rack and wanted to transform it into a set of magic potion bottles.
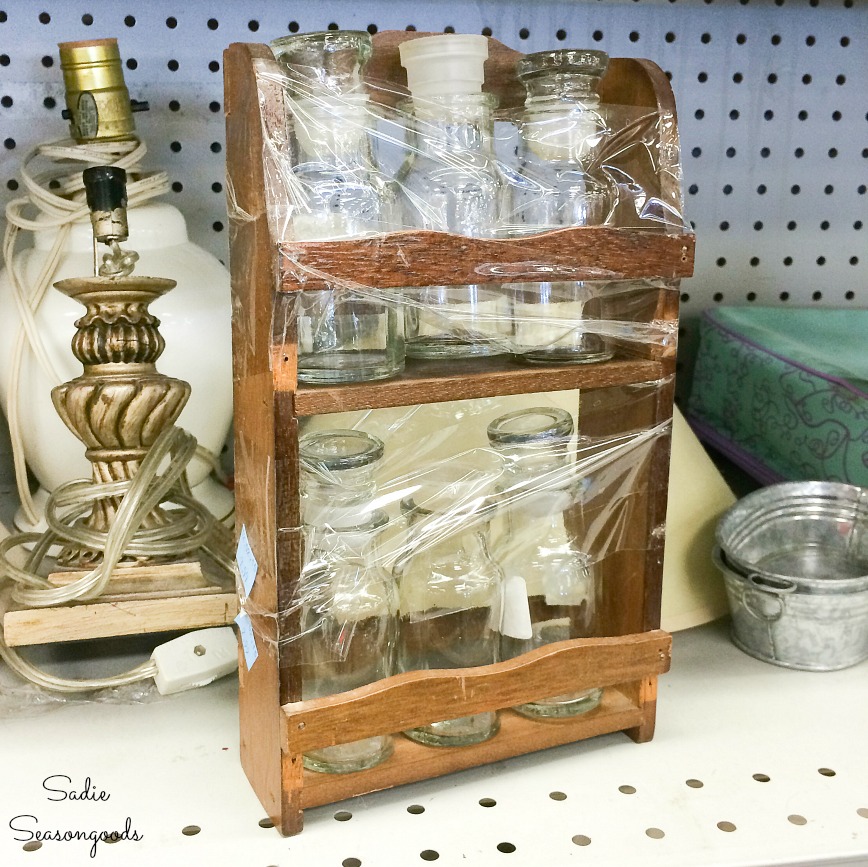
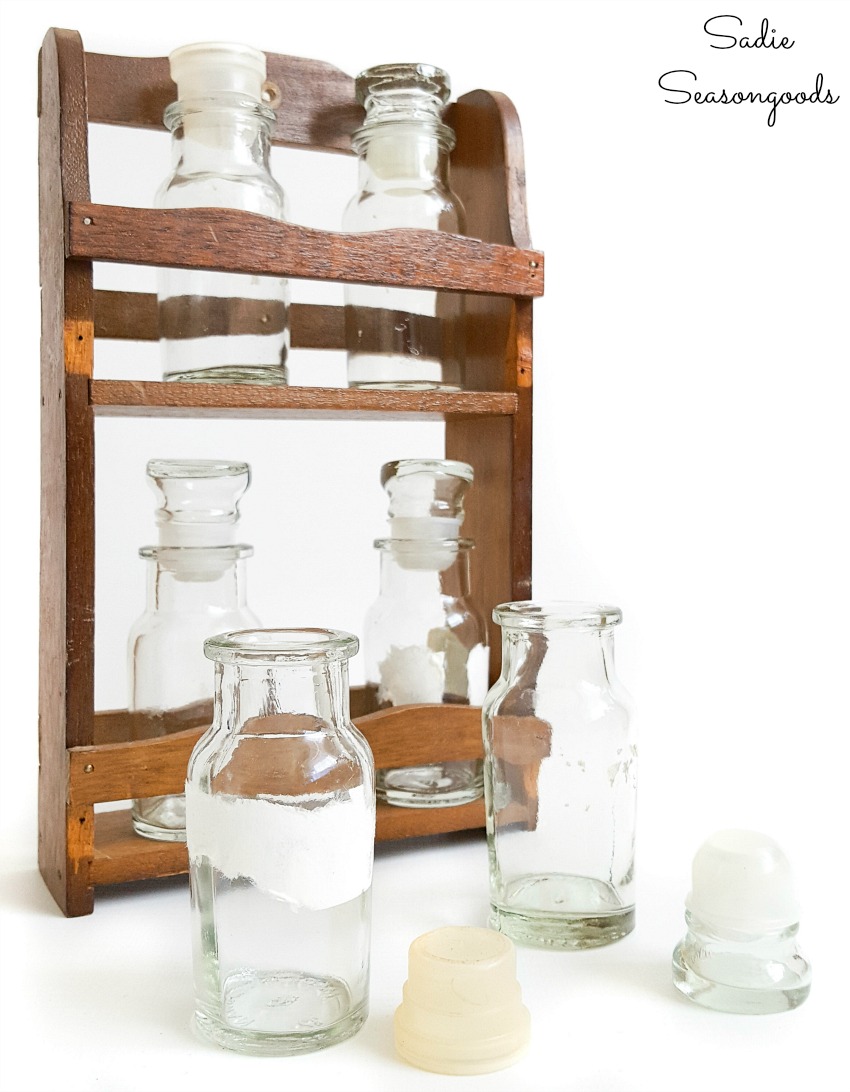
The vintage spice rack was missing two cross slats in the front, and the bottles had a motley assortment of caps (some glass, some plastic). The whole thing was also covered with ripped off labels and thrift store tape.
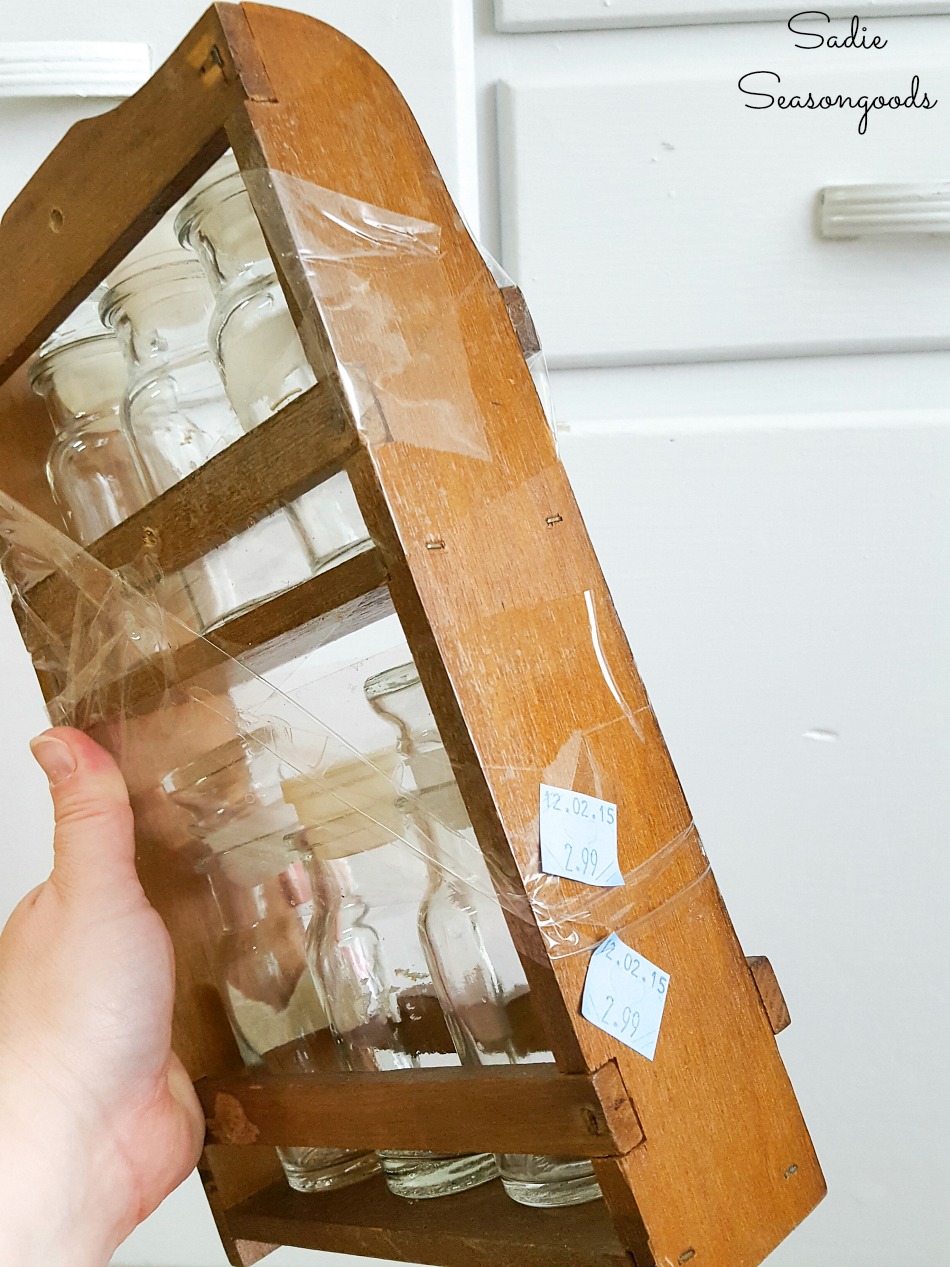
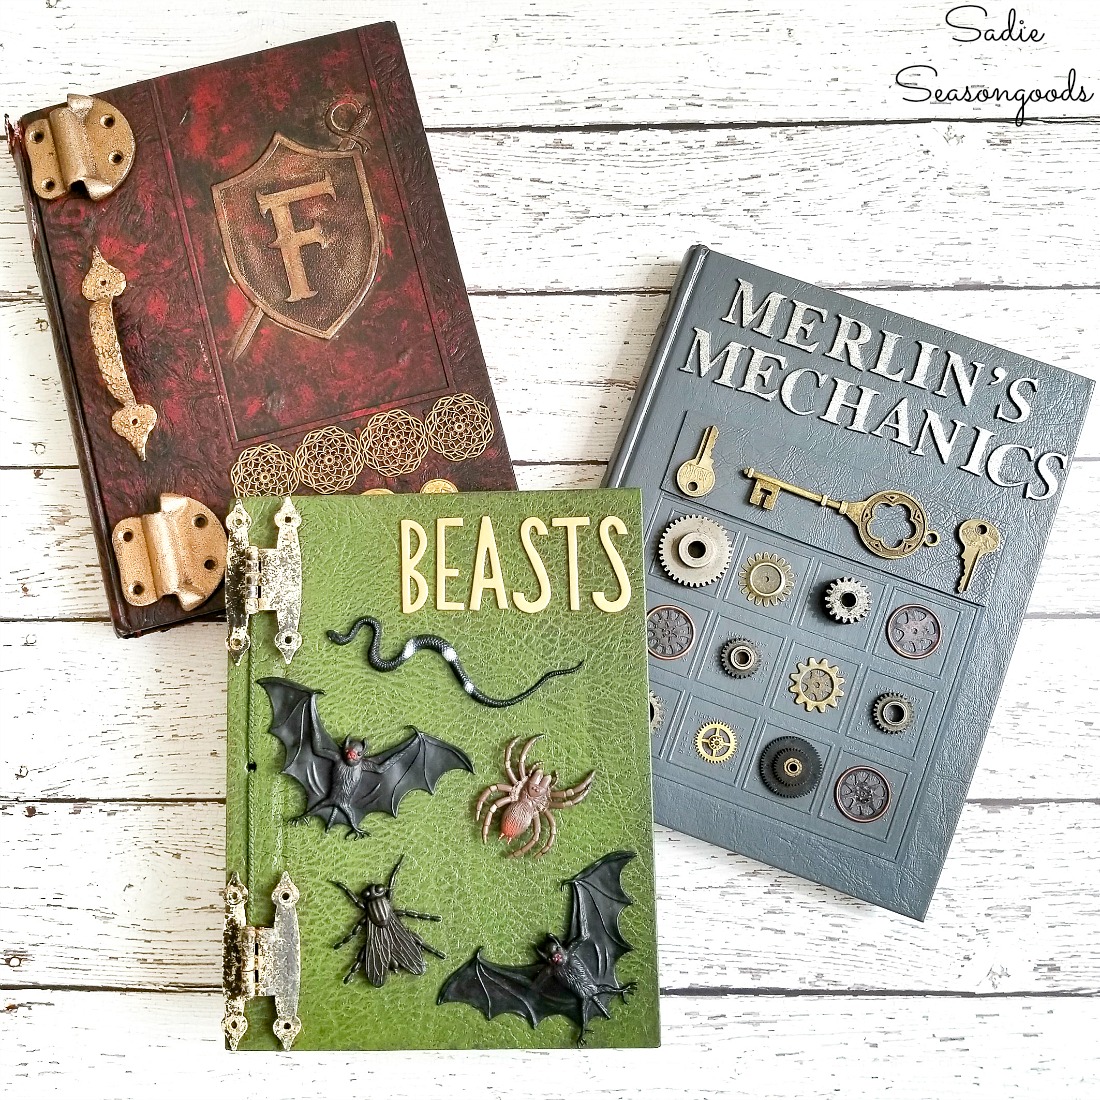
So it was a prime candidate for an easy upcycling project. And yet another Halloween project inspired by Harry Potter- remember these Halloween spell books that I made?
But instead of old books this time, I’d be using this old spice rack. In other words, DIY potion bottles, here we come!
This post contains affiliate links for your crafting convenience. As an Amazon Affiliate, I earn from qualifying purchases. All blue, bold, and underlined text is a clickable link, either to a product or to a related post.
Color Shift Paint for Magic Potion Bottles
Since I had already created spooky “poison” bottles several years ago, I was excited to go in a “Halloween magic” direction this time. The dainty bottles of the spice rack were ideal for little potion bottles.
And to do that, I needed just the right paint(s) for the job…
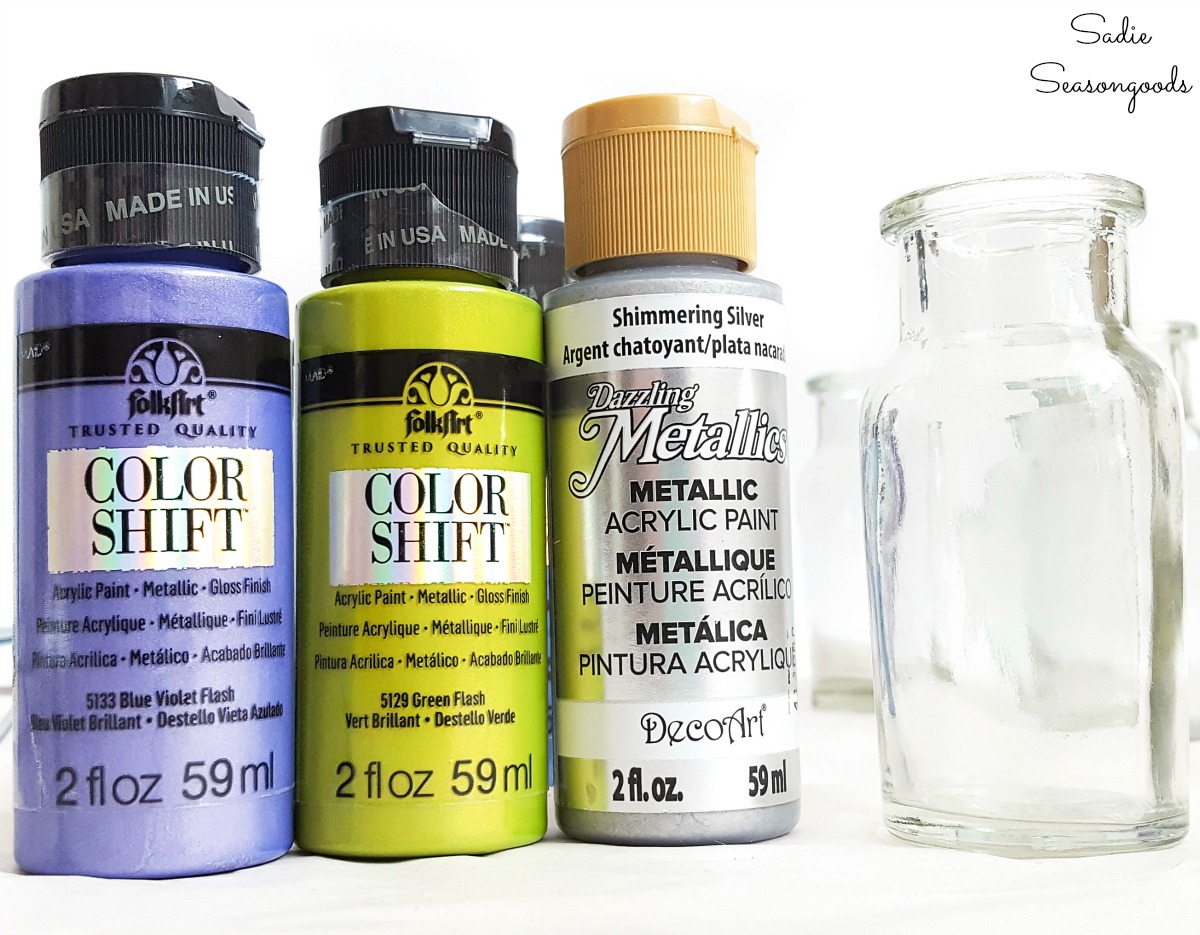
I had never worked with color changing paint or color shift paints before, but they just seemed PERFECT for DIY potion bottles. Don’t you think?
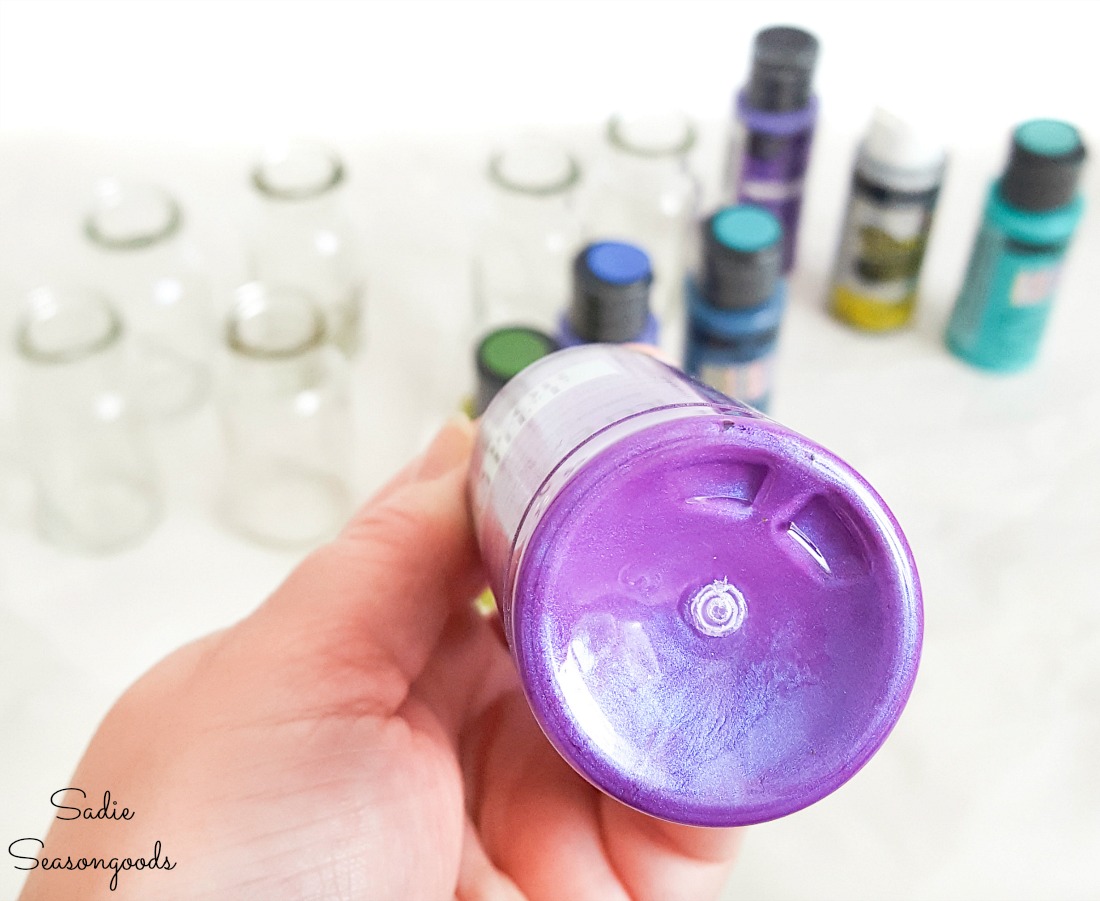
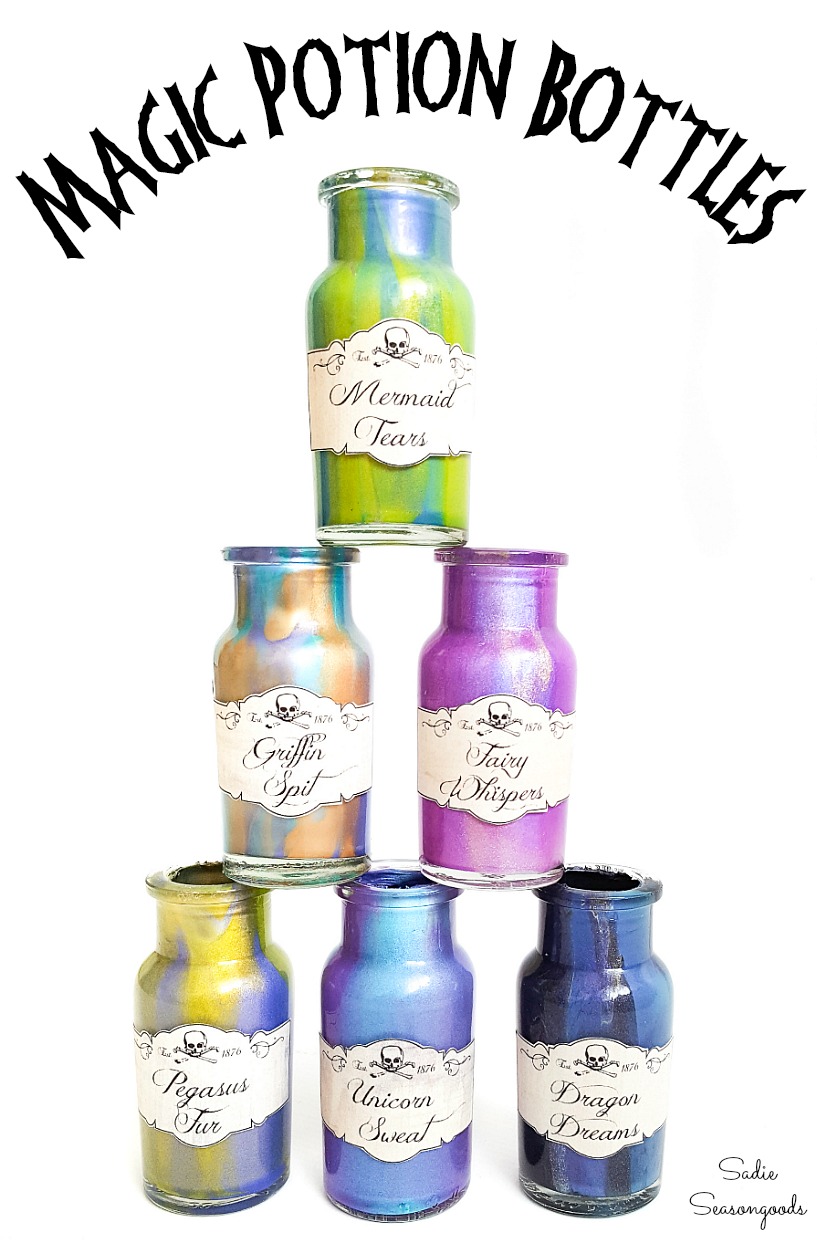
Here’s what I did. First, I gathered 2 or 3 of the color shift paints (and/or regular metallic craft paint) that were in contrasting colors.
Then, I dribbled paint randomly inside each glass spice bottle.
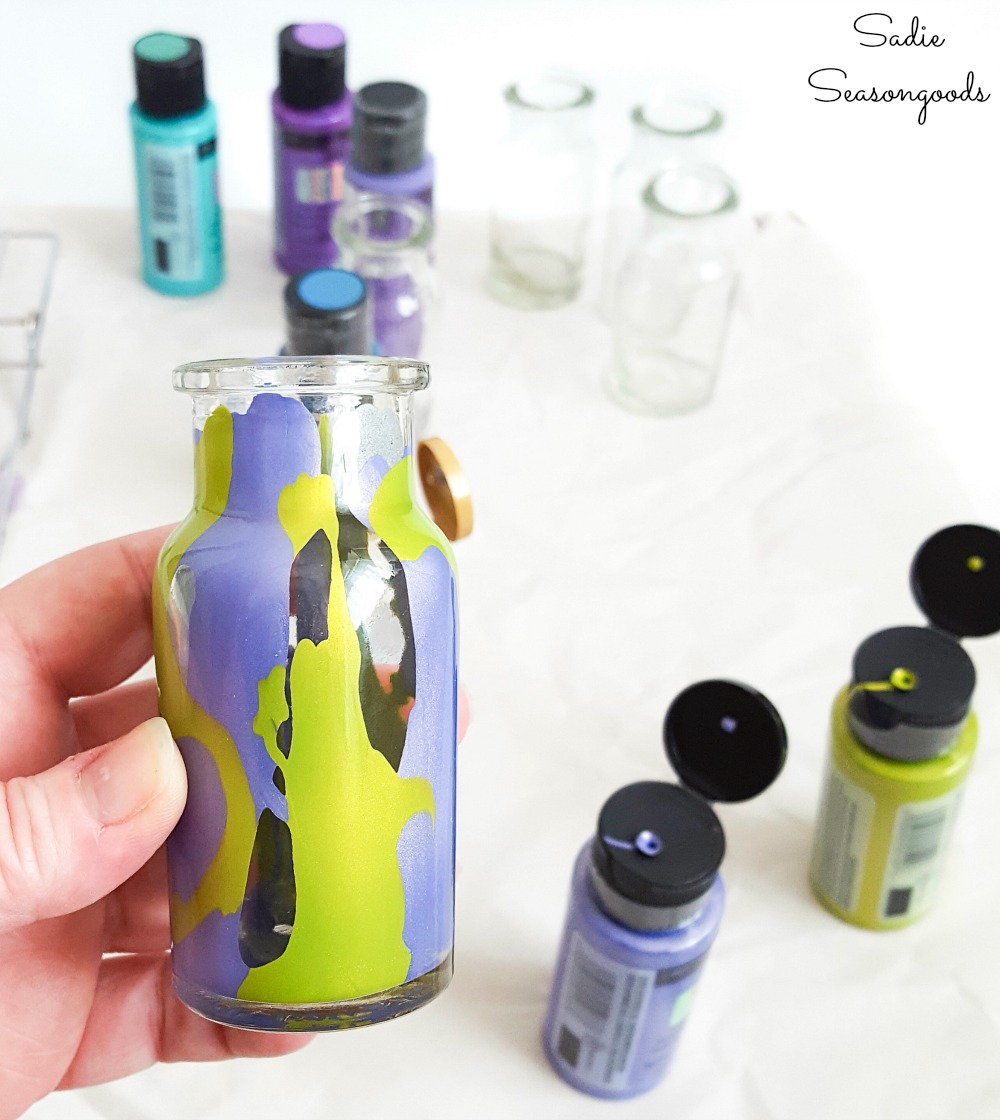
Next, I covered the opening of the bottle with a folded paper towel and shook the bottle vigorously. I also rolled it and/or rotated the bottle as I shook it. All the while, I made sure to hold the paper towel in place over the opening.
This way, I could make sure that the entire interior was covered in paint AND to also ensure some asymmetrical mixing and swirling of the colors occurred.
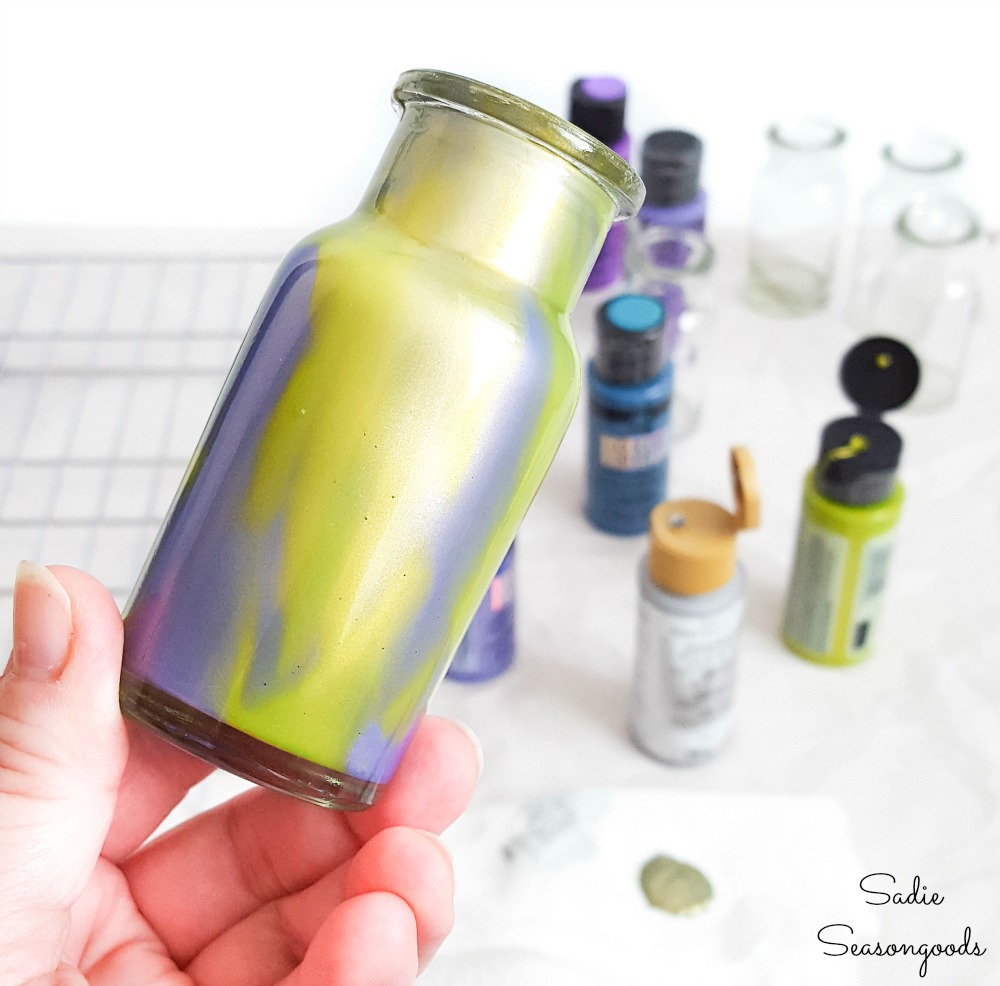
There, doesn’t that look magical and Harry Potter-ish?
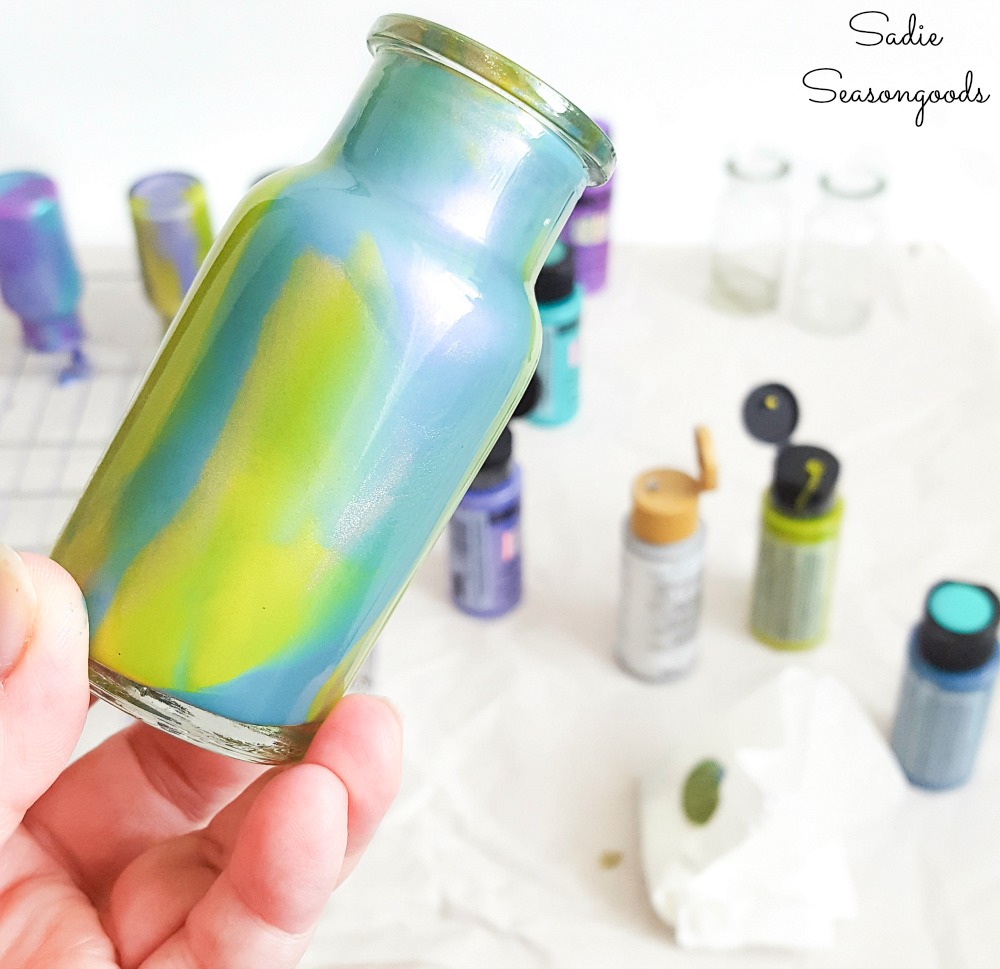
That’s when I started to REALLY get excited about these Halloween potion bottles!
Adding the Potion Bottle Labels
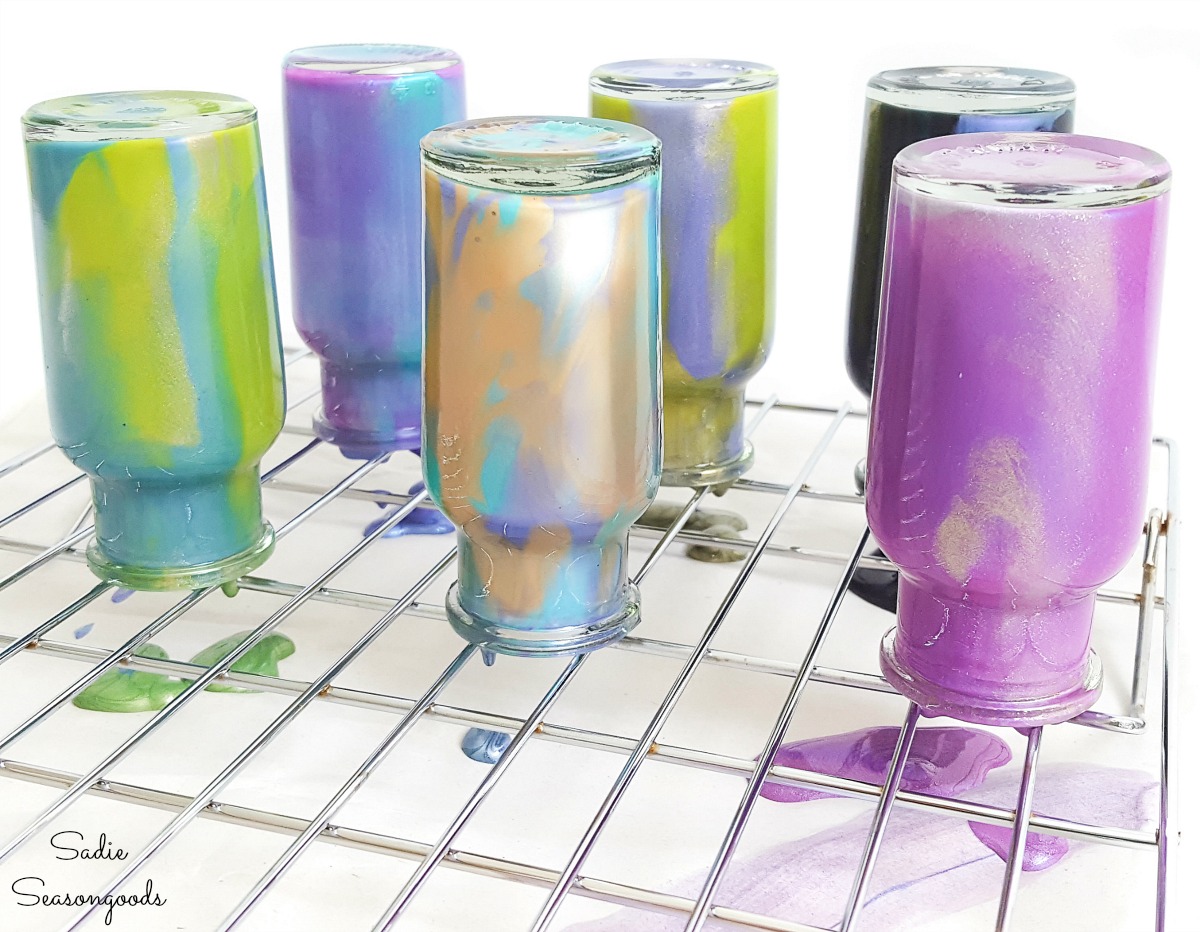
When all of the magic potion bottles had been swirled and whirled, I turned them upside-down on a baking rack to allow excess paint to drain out.
And no worries about that baking rack- acrylic craft paint peels right off when it’s dry and I can run it through my dishwasher to sanitize!
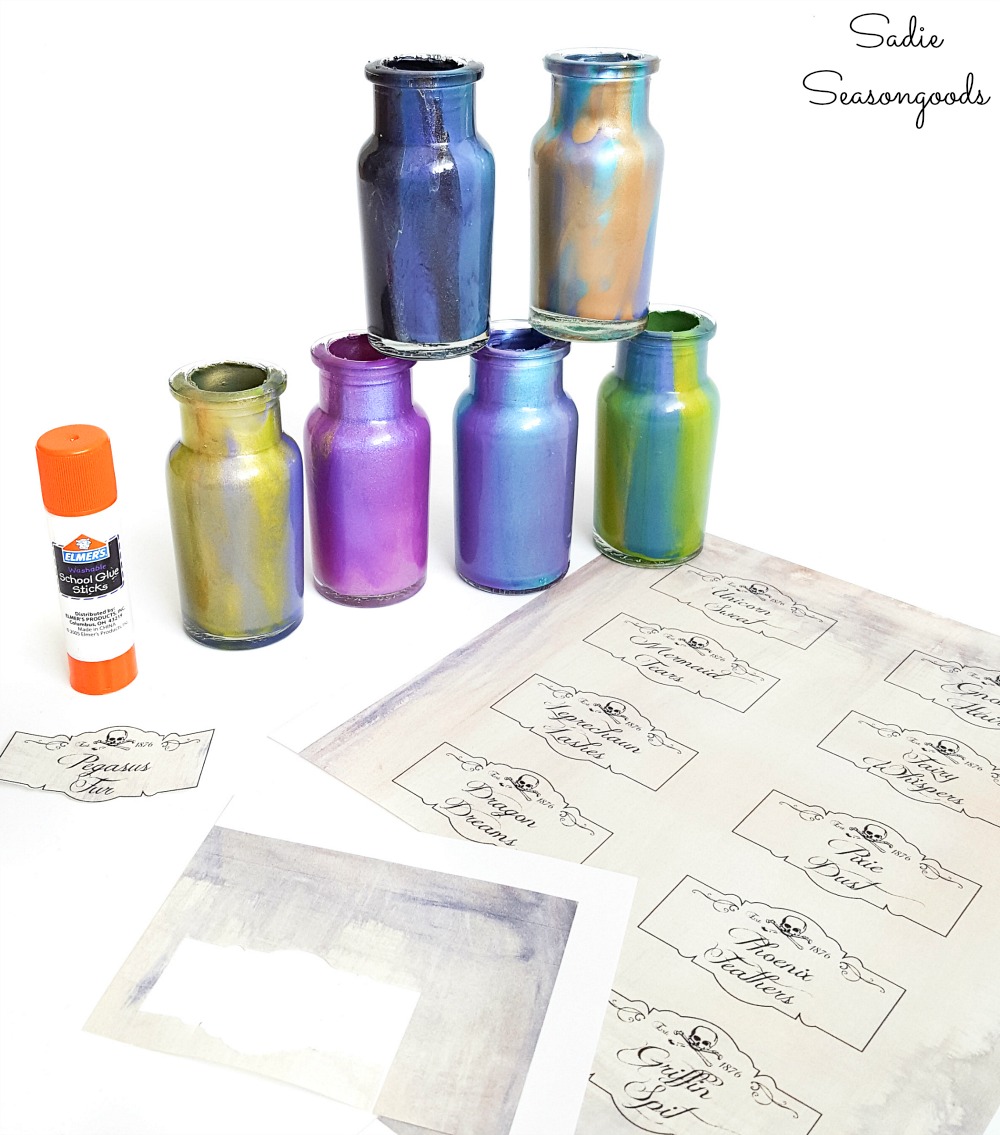
Next, I added some potion bottle labels. I created some fun versions, cut them out, and glued them to Harry Potter bottles.
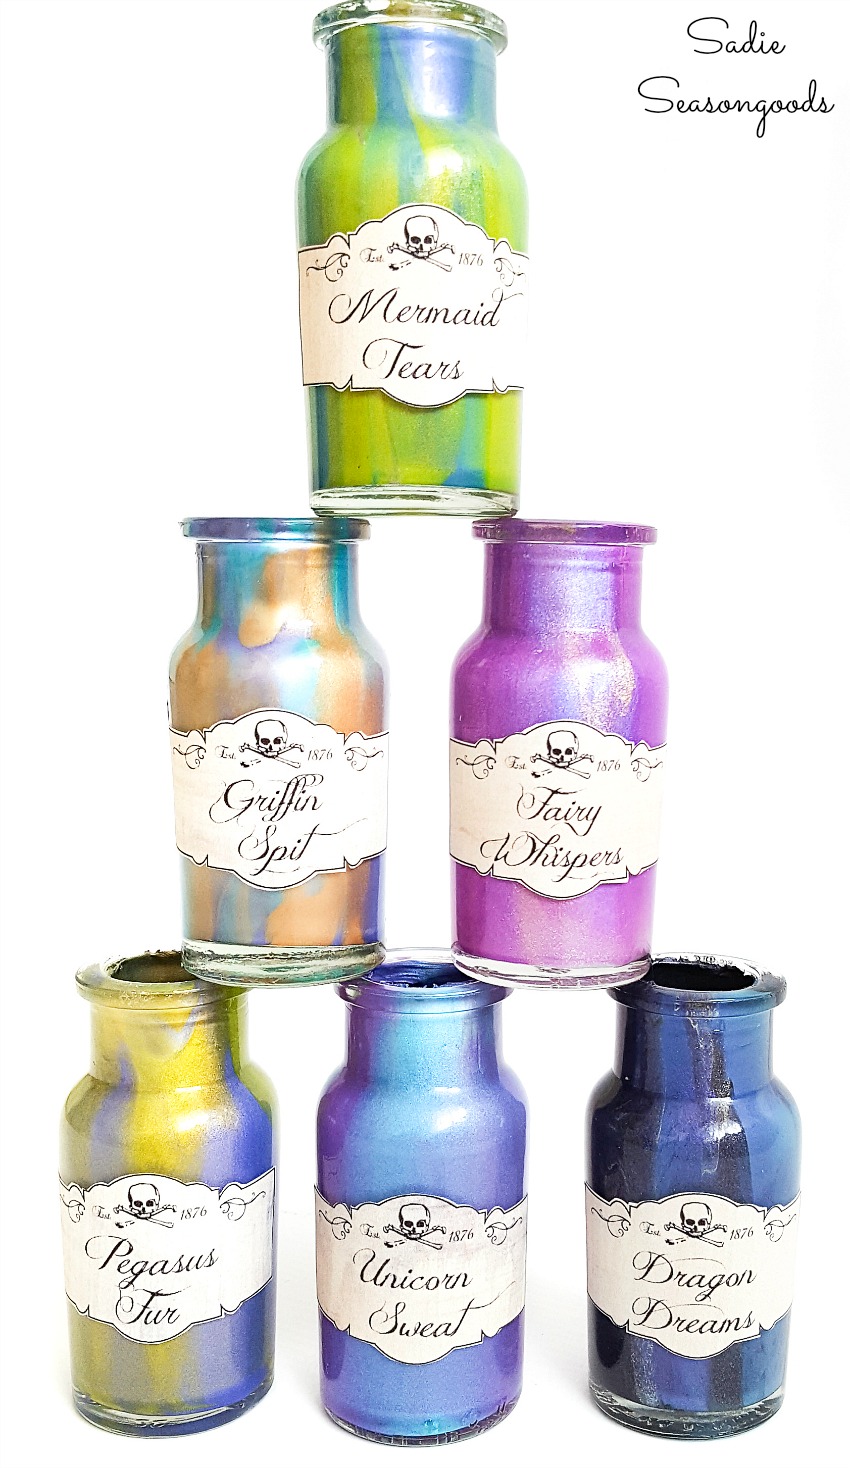
And just like that, I had a set of Halloween potion bottles that were perfect for Harry Potter Halloween decorations. The color shift paint had worked brilliantly and the potion bottle labels were the icing on the cake.
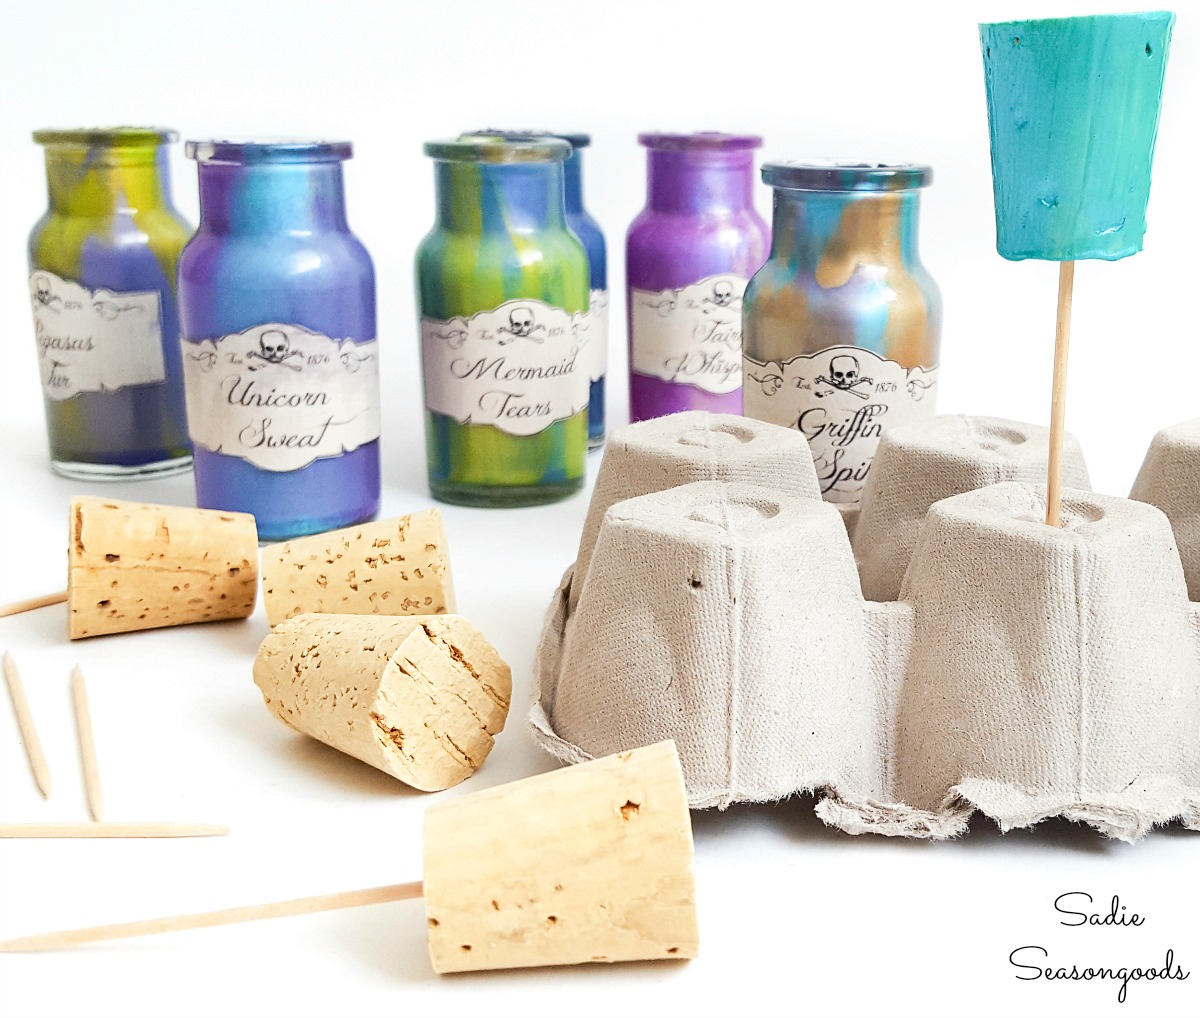
Next, I needed to cap the potion bottles. To give them a more uniform appearance, I swapped out the original mismatched tops for cork stoppers.
I used the same color shift paints on the cork stoppers, as well.
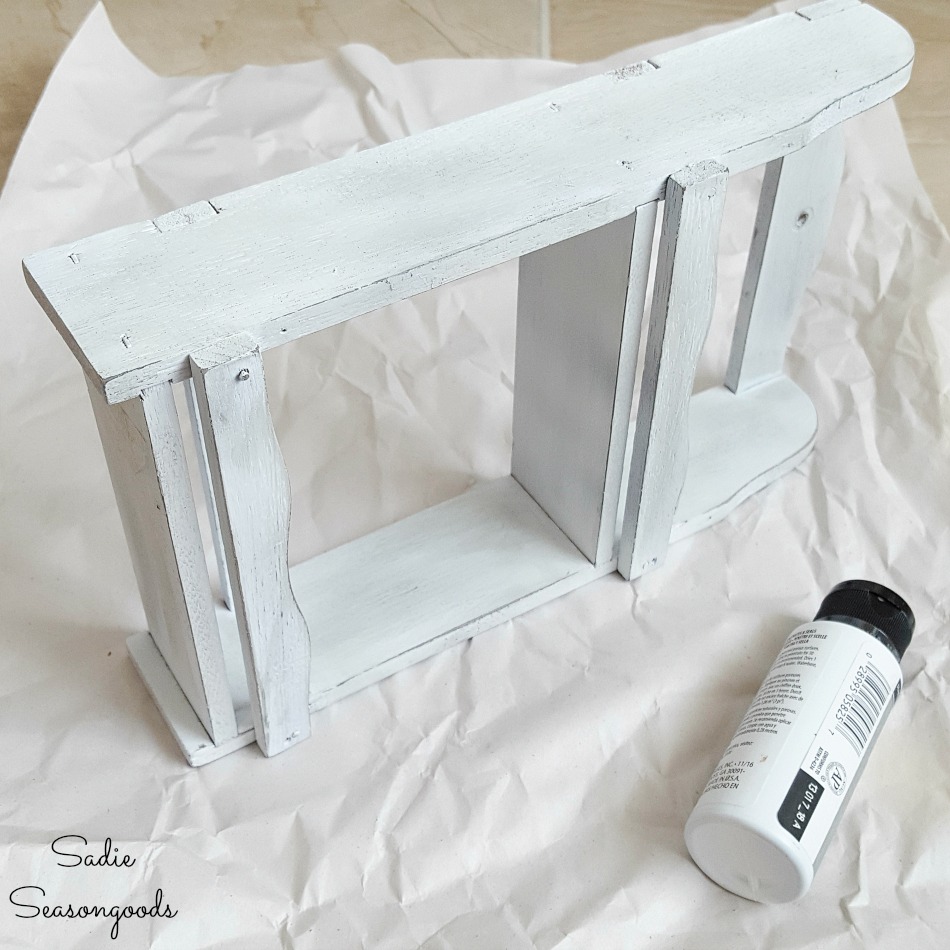
And for the rack itself, first, I pried off the two front slats and moved them lower. I simply re-hammered them in with the nails that came off with them.
Finally, I spray painted the whole thing white, lightly distressed it, and finished it off with a stormy-colored pickling wash.
Ready to see my DIY potion bottles all together?
Magic Potion Bottles for Halloween
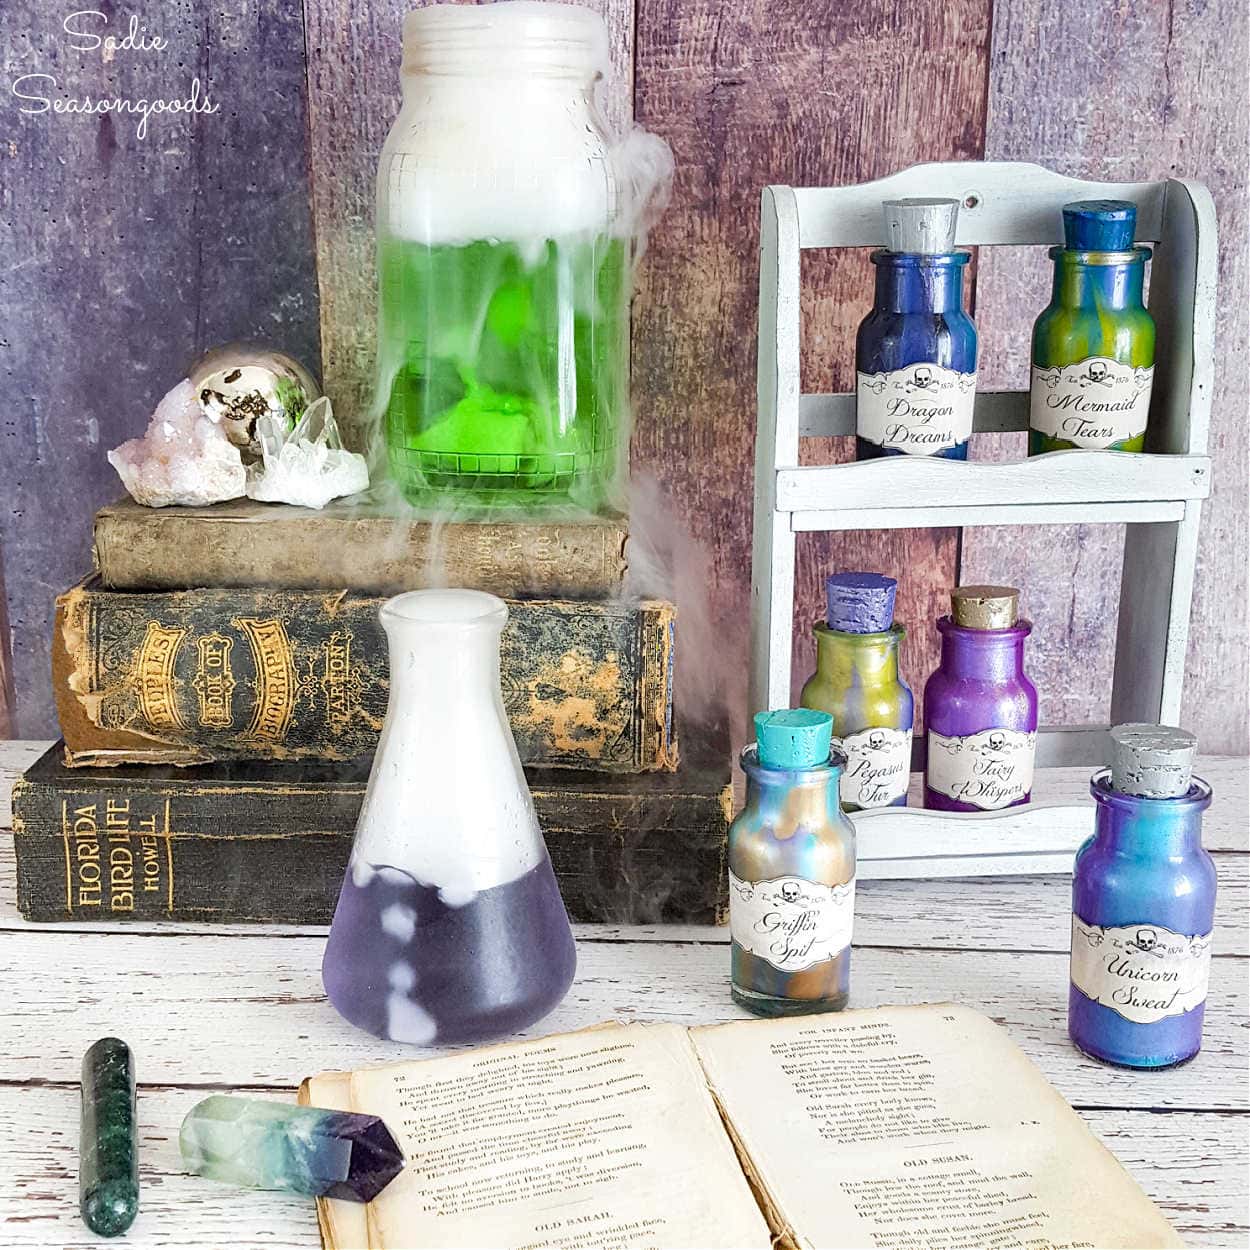
The vintage spice rack had been completely transformed into a set of magic potion bottles. Aren’t they fabulous and fun? Not spooky or creepy at all as Halloween decor.
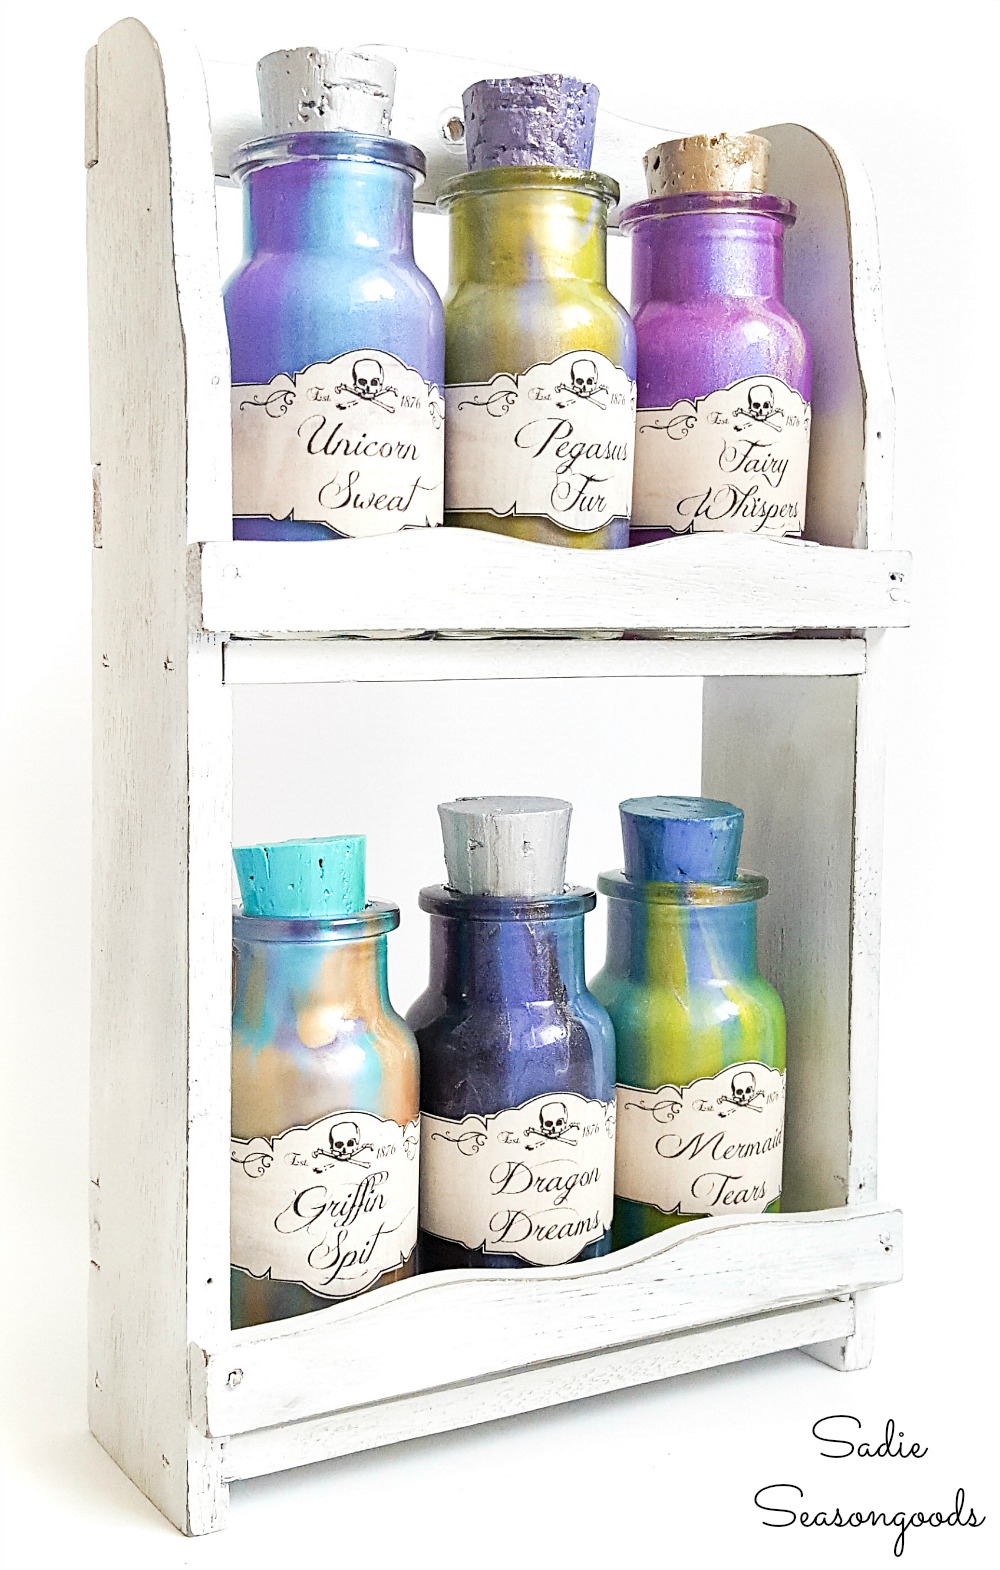
Whether you love Harry Potter, or Merlin, or Gandalf, or some other mythical, magical character, these would fit right in to that fantastical style. You could even use these DIY potion bottles for a Halloween Mad Scientist theme, too.
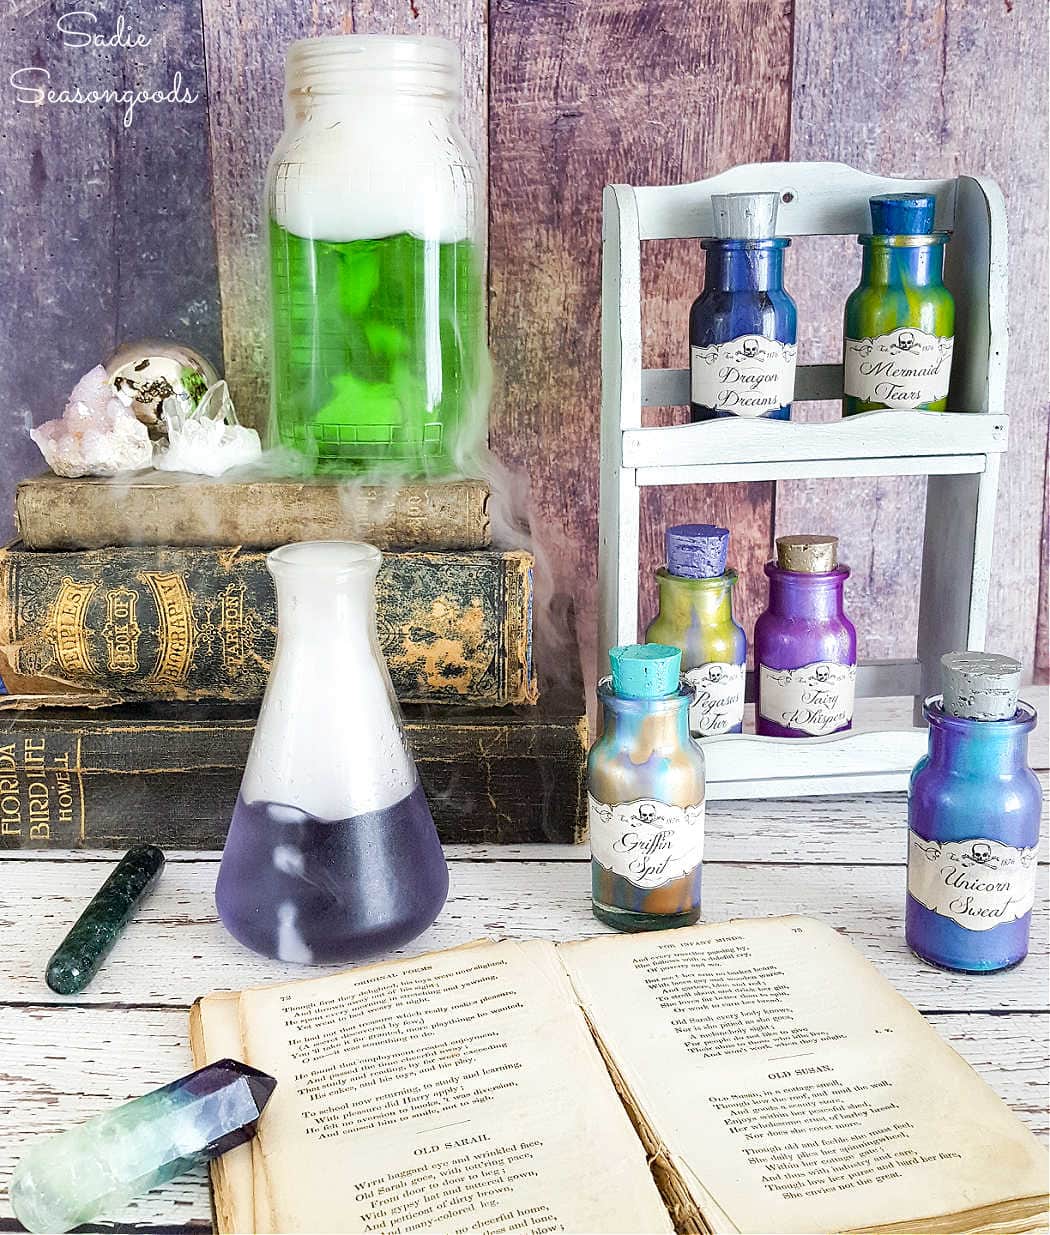
This is one of those projects that is truly fun to make. You simply don’t know how your potion bottles will come out, which is part of the fun!
And if you enjoyed this upcycling idea, then you’ll love these spooky silhouettes that I made from other thrift store finds!
Craft on!
S
Want to be notified when I publish my next upcycling project tutorial?
Join me on Social Media:
PIN ME!
Sarah Ramberg is the owner of Sadie Seasongoods, a website that celebrates all things secondhand. From upcycling ideas and thrifted decor to vintage-centric travel itineraries, Sadie Seasongoods is a one-stop shop for anyone who loves thrifting and approachable repurposing ideas. Sarah is also the author of “Crafting with Flannel” and has been featured in numerous media outlets and magazines.






looks terrific and wish I still had my old spice rack!! ditched it 10+ yeas ago!!
Thank you!!!
Nice project! Love the labels!!!
Thank you!
So fun! The ingredient names are great too.
Thanks, Jen!! I tried to keep this project as whimsical and non-scary as possible, following suit with the ingredient names. 🙂
Hey, Sadie, those bottles are awesome. Thanks for sharing. Love the paints, I have never seen those before! I have to look more closely at the paint section at Michaels.. my grandchildren will love them. Thanks again….. Nanny
Thank you so much!
That is just adorable!!! I’ll never look at a thrift store spice set the same way again! I love it! So tell us how you got the smoky effect in that beaker thing and the other jar??
Thank you, Florence!! And it’s dry ice!! I bought some from the grocery store specifically for these photos. 🙂
too fun ! luv your projects. always something unique and wonderful!
Thank you so very much!
Hi Sarah, I love your Halloween projects. Making bottles for my daughter. Got a red corked one that I glued spider web to the underside of the lid so when you open it, the “mist” comes, too! Suspended a tiny resin bat (friendly looking, darn) by fish line from the lid for Bat Wings. Thick and thin black pipe cleaners cut up for spider legs! Im just having TOO MUCH FUN! I like your paint; I wasted glue and a whole vial of glitter on one bottle for lousy results.
Thanks, Kathy!
Ohh, Ohh, I just printed your labels; my printer is almost out of colored ink and I got funky fading colors and stripes!!!! I’ve got floral petal shaped rhinestones for mermaid tears, eyelash yarn for leprechaun lashes (kids’ names are O’Malley, just perfect!), and cat hair for the gnomes! It’ll be great!! Has Cottonball donated any fur to your projects? He could donate Pegasus fur; my cats aren’t white!
These are soooooo cute! Love the colors!
Theresa
Thanks, Theresa!
Oh these are just so fun! I love the colors all swirled in those bottles, and the rack’s finish is just perfect! These are great decorations for Harry Potter themed birthday parties, baby showers, and classrooms too!
So very true, Kaycee!
Awesomeness Sarah!!! Those colors are really magikal. What did your pet Unicorn think? I’m sure he approves too.
Thank you!!! And I made him laugh til’ he cried so I could collect his tears, of course. 😉
So cute! Thanks for sharing @ Vintage Charm!
I was trying to find color shift projects!!! These are stunning! So doing this. Thanks for the free printables, gives me a chance to use all that sticker paper ha ha not that I’m hoarder or anything ( eye roll here) but these bottles gave me some wicked (pardon the pun) inspiration for another idea! Thanks!!!!
Thank you so much, Jess!
LOL- I love it. Thanks, Jess!
Your potion bottles are adorable and perfect on the spice rack. Thank you for sharing at Snickerdoodle.
Thanks, Sharon!
Wouldn’t this be so fun with kids? Fun project.
Thanks for linking up to Waste Not Wednesday!!!
Thanks, friend!!
How do the colors “shift”? I assume that means they change colors? I had a t-shirt that changed colors according to your body temp. Do these work the same way? tfs
It’s something in the pigments, almost like a hologram. Definitely not heat-related. Think of it like an opal – if you hold it one way, you see a certain color. Turn your hand slightly and the color changes.