When I was a little kid, a local restaurant would “wrap” the artwork on their walls to look like Christmas presents. I always loved seeing the large “gifts” hanging on the wall during the holiday season. So much so that I decided to recreate that look myself, by upcycling some picture frames to look like Christmas presents.
So, I hit up some thrift stores to find what I needed. I’ll admit, I’m pretty lucky in the thrifting department- there’s a Goodwill just a couple of miles from my home, and it’s a REALLY good store.
Case in point- their linens department. Several racks of nicely organized linens, and for this project I headed straight for the section of placemats, napkins, and hand towels. As expected, plenty of Christmas options!
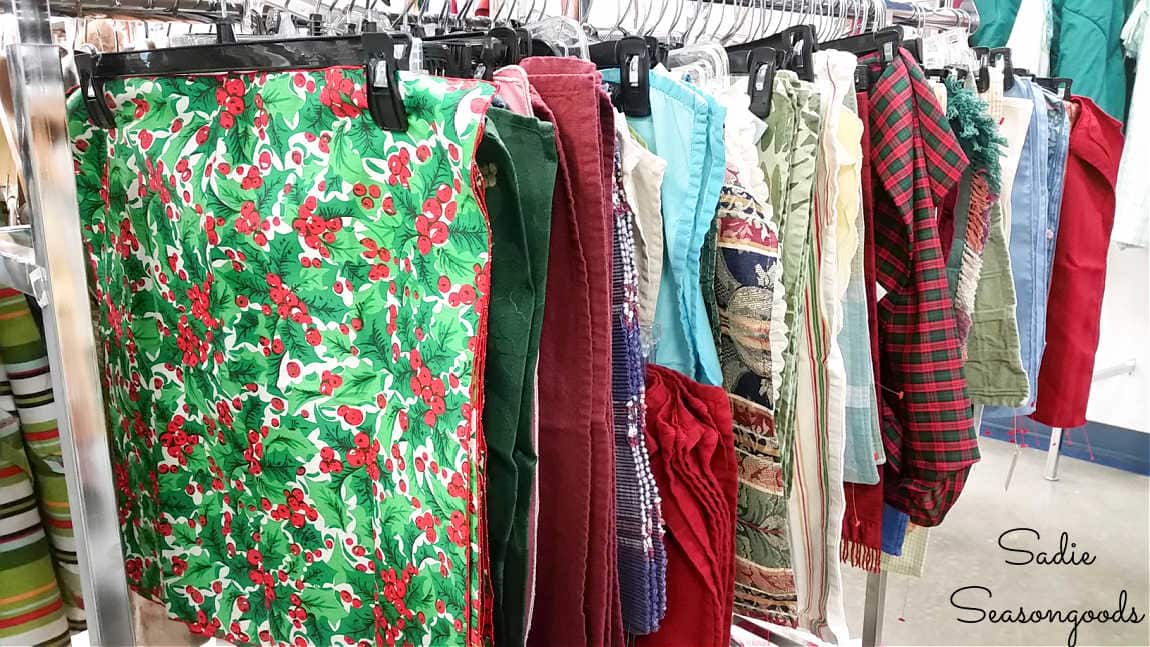
Image credit: Sadie Seasongoods.
Next, I went to the picture frame section. Usually, I can find a handful of frames that are just the wood frame, which is all I needed for this project. In particular, I looked for frames that were made of wide, flat (or flat-ish) wood.
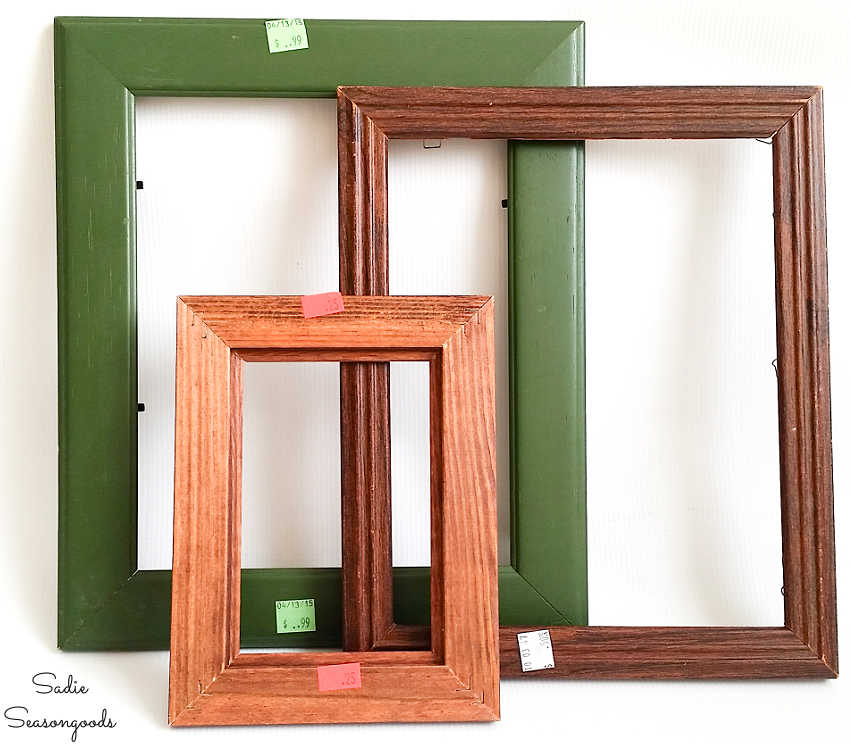
Image credit: Sadie Seasongoods.
If you can’t find empty frames, have no worries. You could certainly buy full frames and either save the glass and cardboard for another project, or put them in your recycling bins!
Once I had everything I needed from the thrift store, it was time to upcycle my thrift store finds. And they would look JUST LIKE wrapped presents!
This post contains affiliate links for your crafting convenience. As an Amazon Associate, I earn from qualifying purchases. All blue, bold, and underlined text is a clickable link, either to a product or to a related post.
Upcycling Picture Frames into Christmas Mantel Decor
After washing and ironing my linens, I got to work.
First, I opened up the one of the Christmas napkins and laid the wooden frame on top of it. Whichever side of the linen you want to show as your gift, place that side down on the floor with the frame laying on top of the “bad” side.
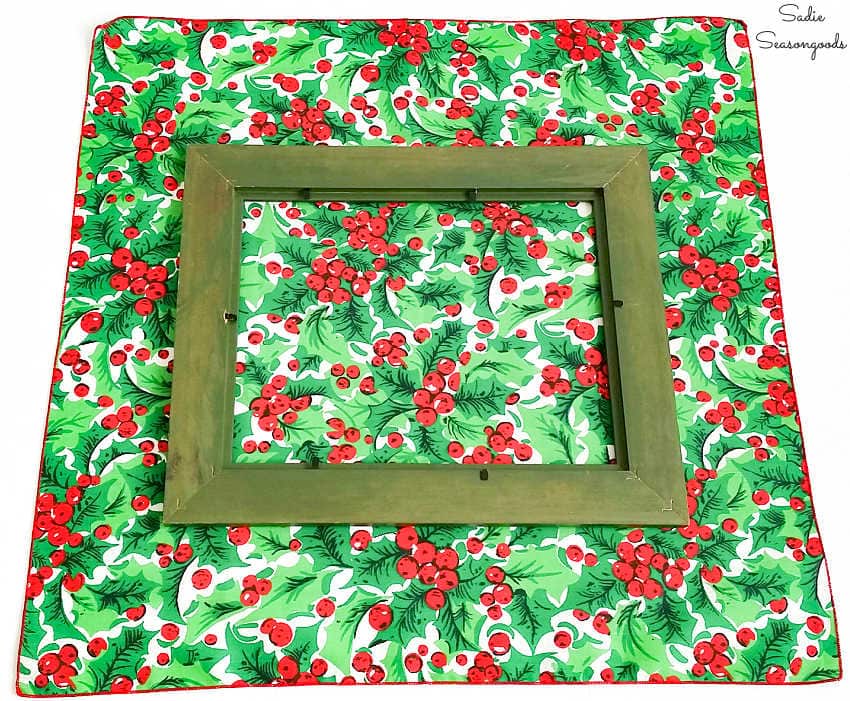
Image credit: Sadie Seasongoods.
With my staple gun, I carefully (and safely!) stapled the Christmas fabric to the back of the frame along two sides, pulling it tight as I went along.
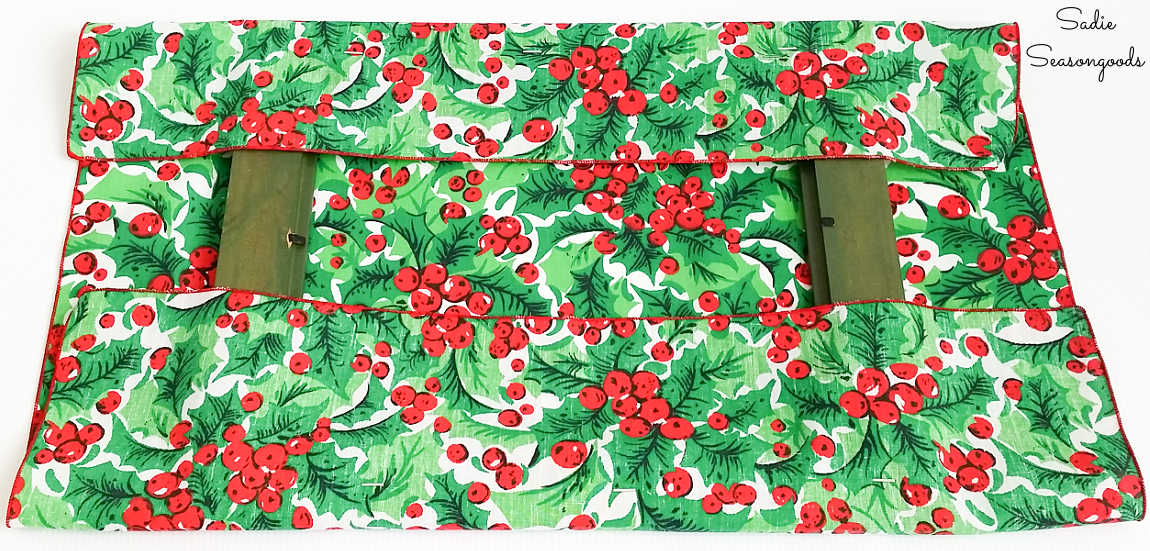
Image credit: Sadie Seasongoods.
Here’s a close up of my staple gun handiwork…
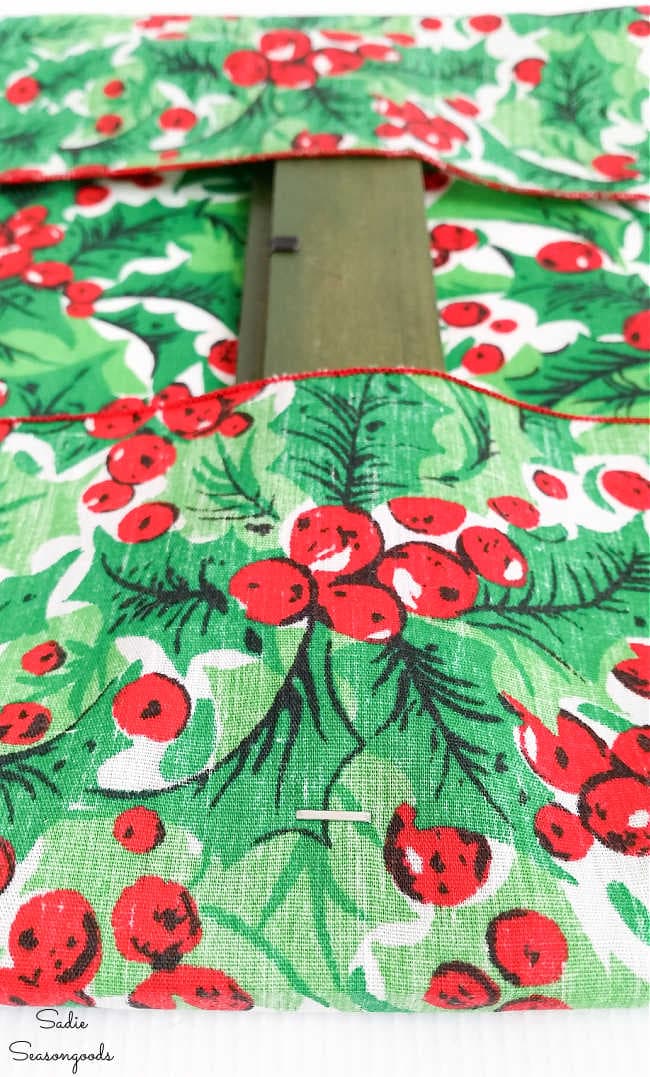
Image credit: Sadie Seasongoods.
I did the same thing along the other two sides, carefully folding in the corners so that the fabric didn’t bunch up.
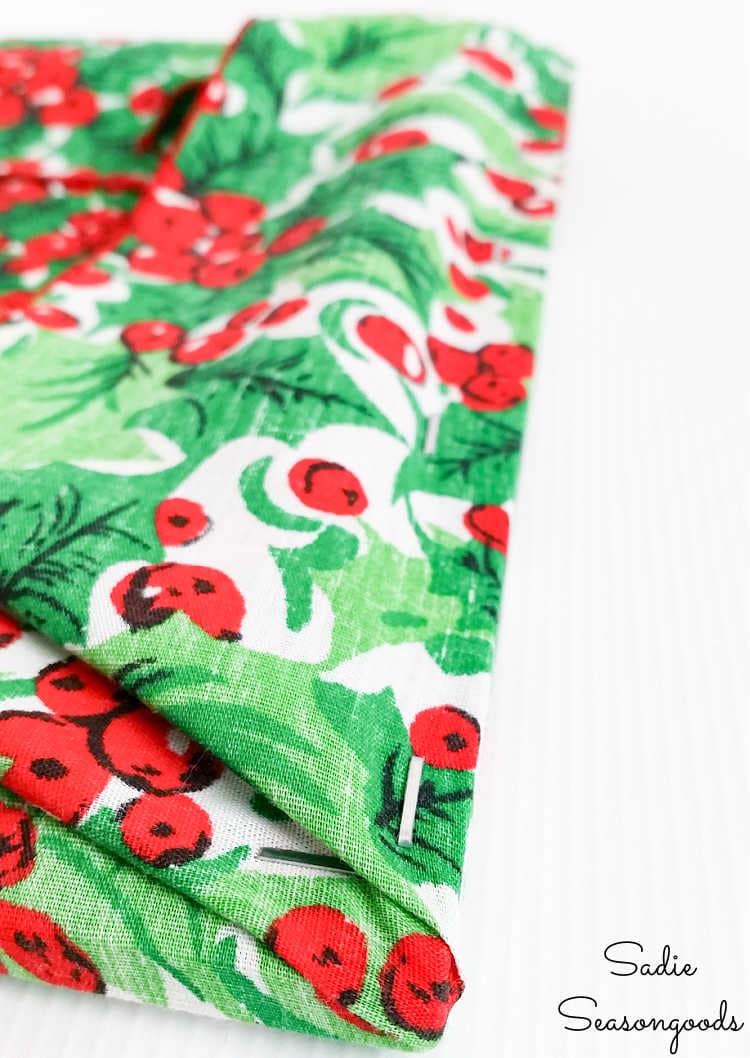
Image credit: Sadie Seasongoods.
When all was said and done, I’d wrapped the entire wooden frame in the Christmas placemat.
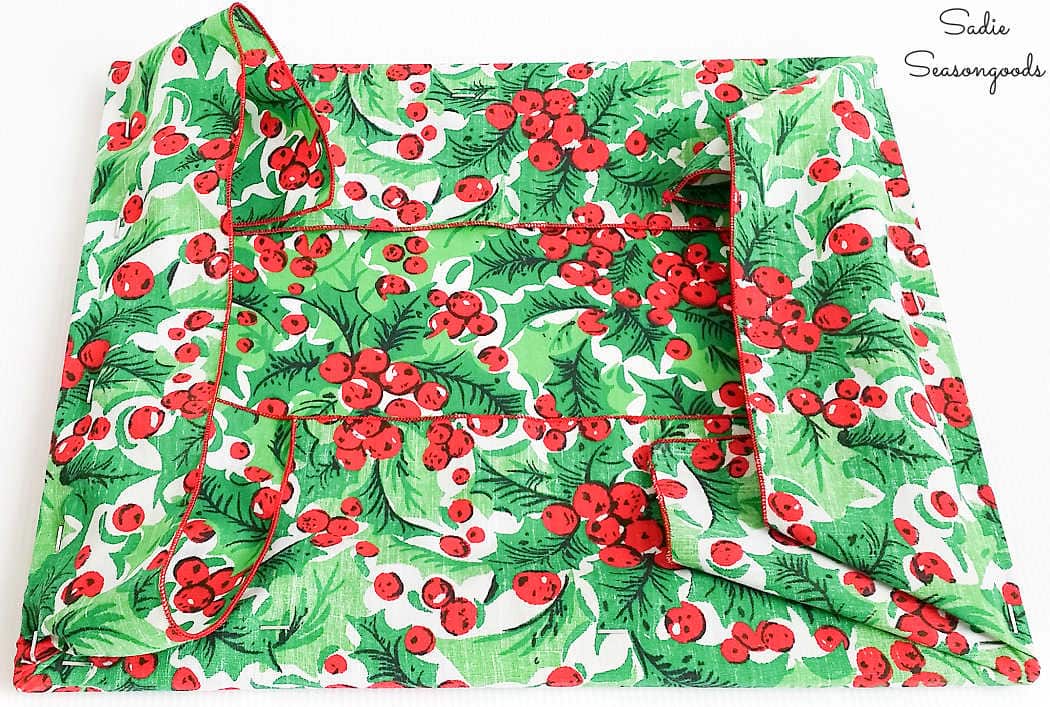
Image credit: Sadie Seasongoods.
After I was done stapling napkin over the frame, I trimmed off the excess fabric with fabric scissors.
Decorative Christmas Presents from Picture Frames
Once I’d trimmed off the excess fabric, I flipped the frame over and was greeted by a nice, smooth surface. Perfect a few more gift-like embellishments!
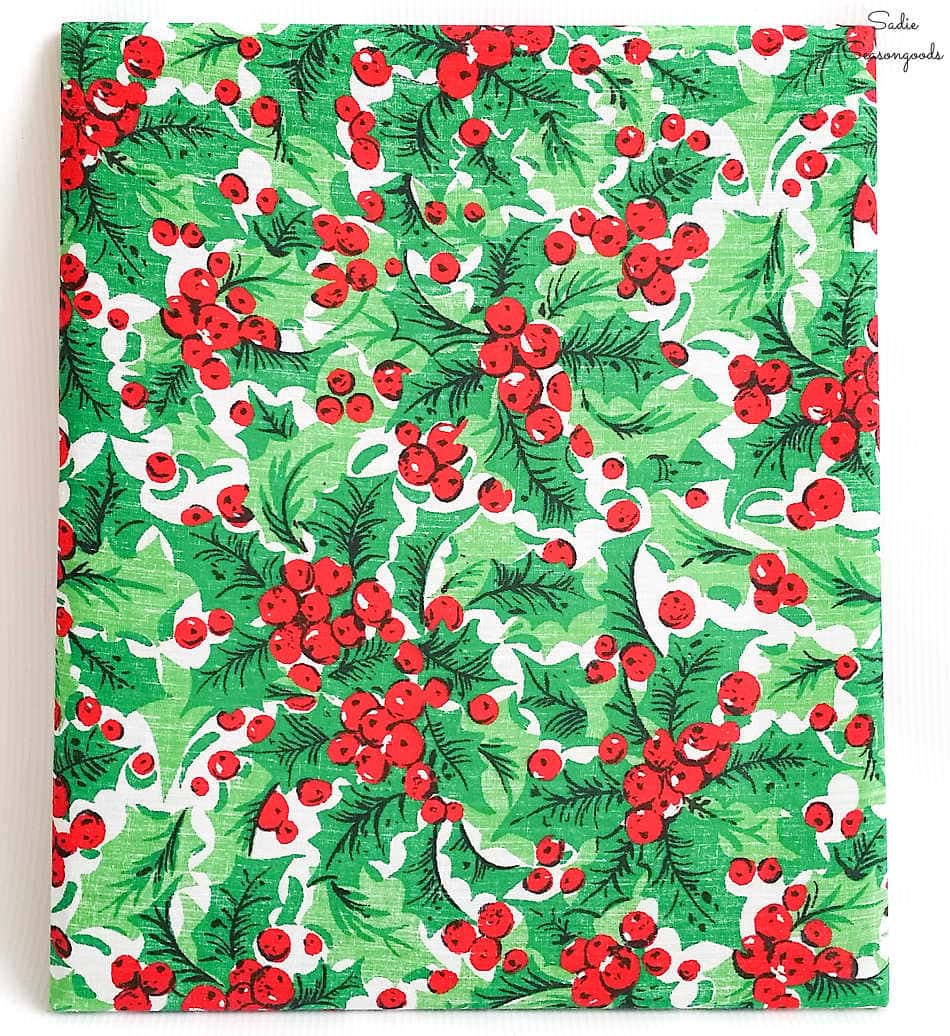
Image credit: Sadie Seasongoods.
To finish off the first of my Christmas presents, I grabbed some wired-ribbon from my gift wrap supplies. I carefully crossed my fabric-wrapped picture frame with two strips of ribbon, and secured them on the back with my staple gun.
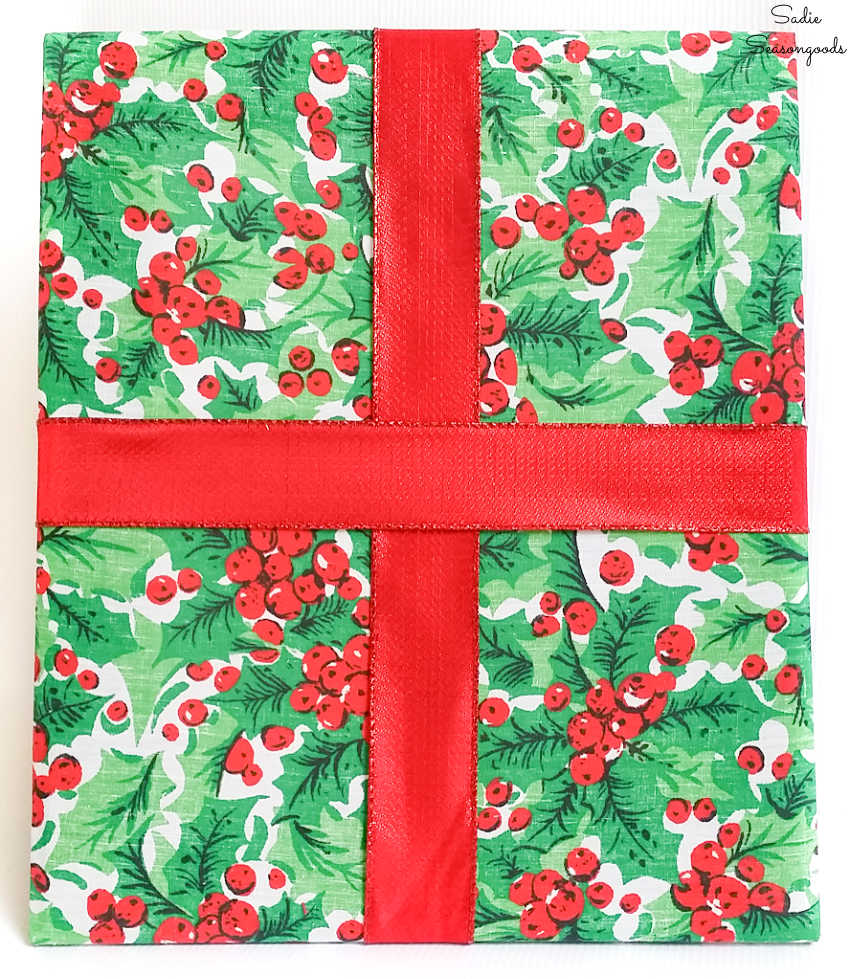
Image credit: Sadie Seasongoods.
You could probably do this with hot glue if you’re a little apprehensive of using a staple gun. Trust me, I understand that fear because they are certainly dangerous to use and require caution and care.
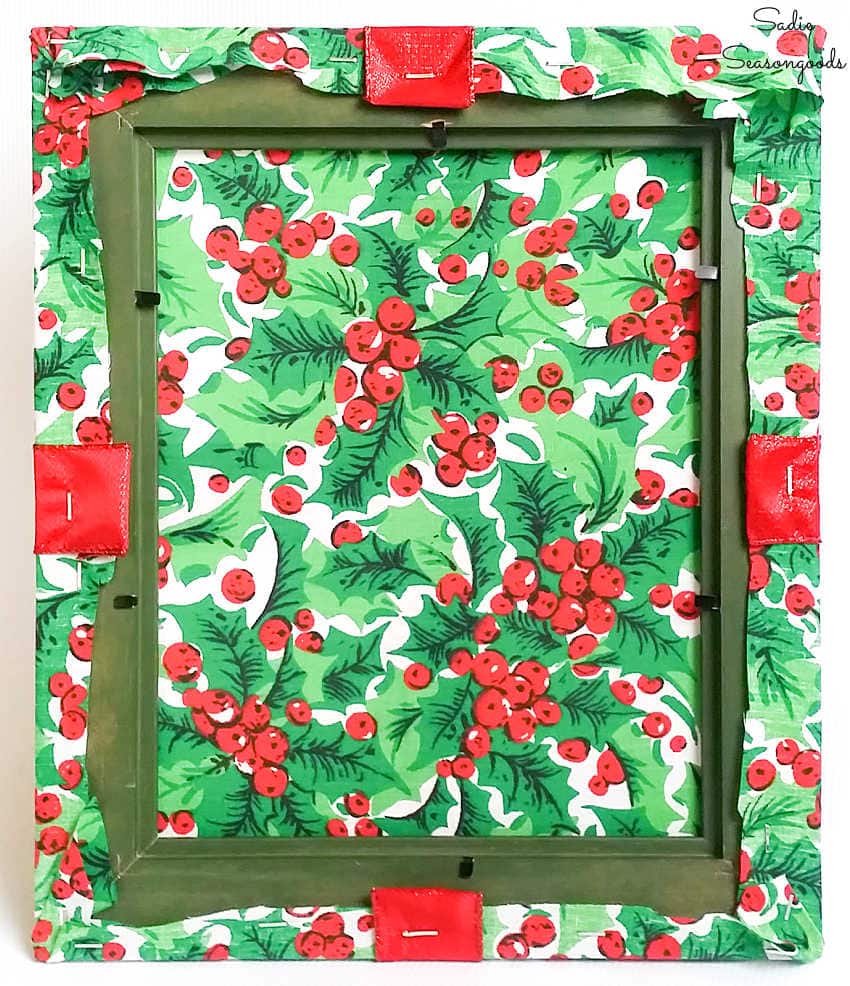
Image credit: Sadie Seasongoods.
Now you can see that all that excess fabric is gone, too. I forgot to show that to you earlier!
Lastly, I added the finishing touch- a big pom pom bow, which I hot-glued to the center of my picture frame decor.
And yes, I watched a couple of YouTube videos to learn how to make the bow!
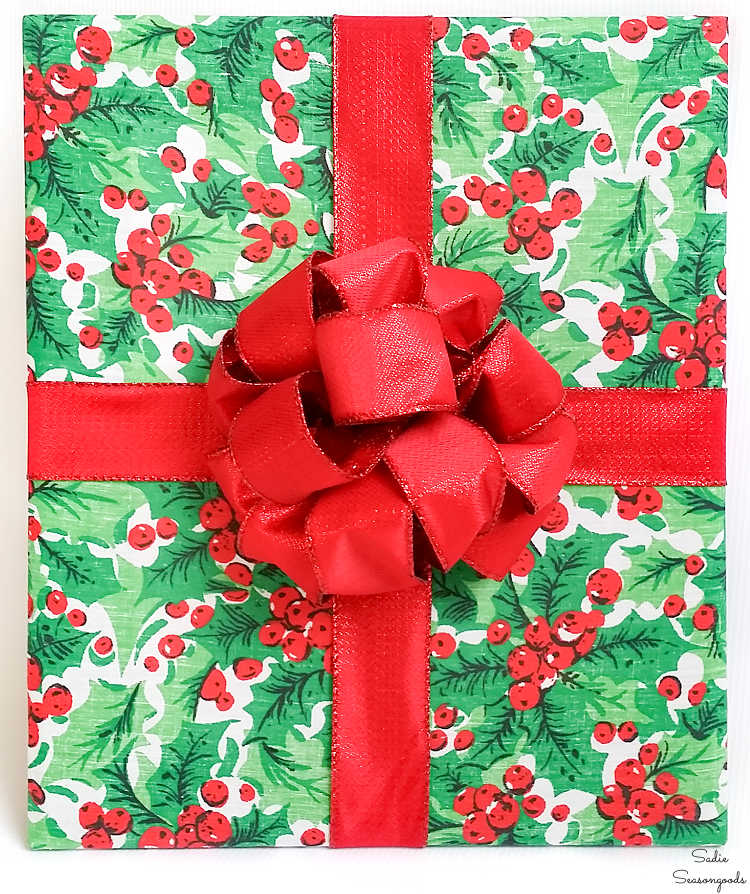
Image credit: Sadie Seasongoods.
Picture Frames that Look Like Christmas Presents
How fun is that? I made a few more of the wrapped gifts with the remaining picture frames and Christmas napkins. This way, I can lean them up on the fireplace mantel as the center of my display.
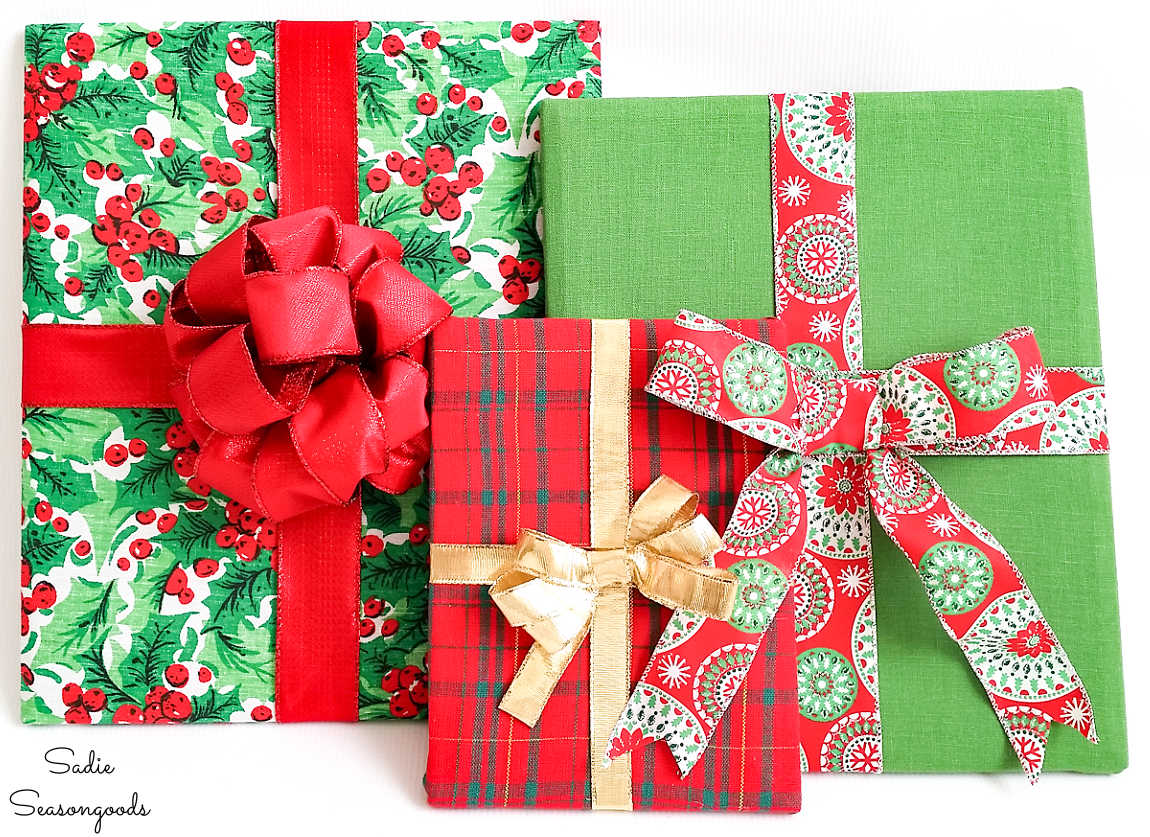
Image credit: Sadie Seasongoods.
And bonus- I can use them year after year, if I want. Simple to make, these are truly cheap Christmas decorations that don’t look cheap at all!
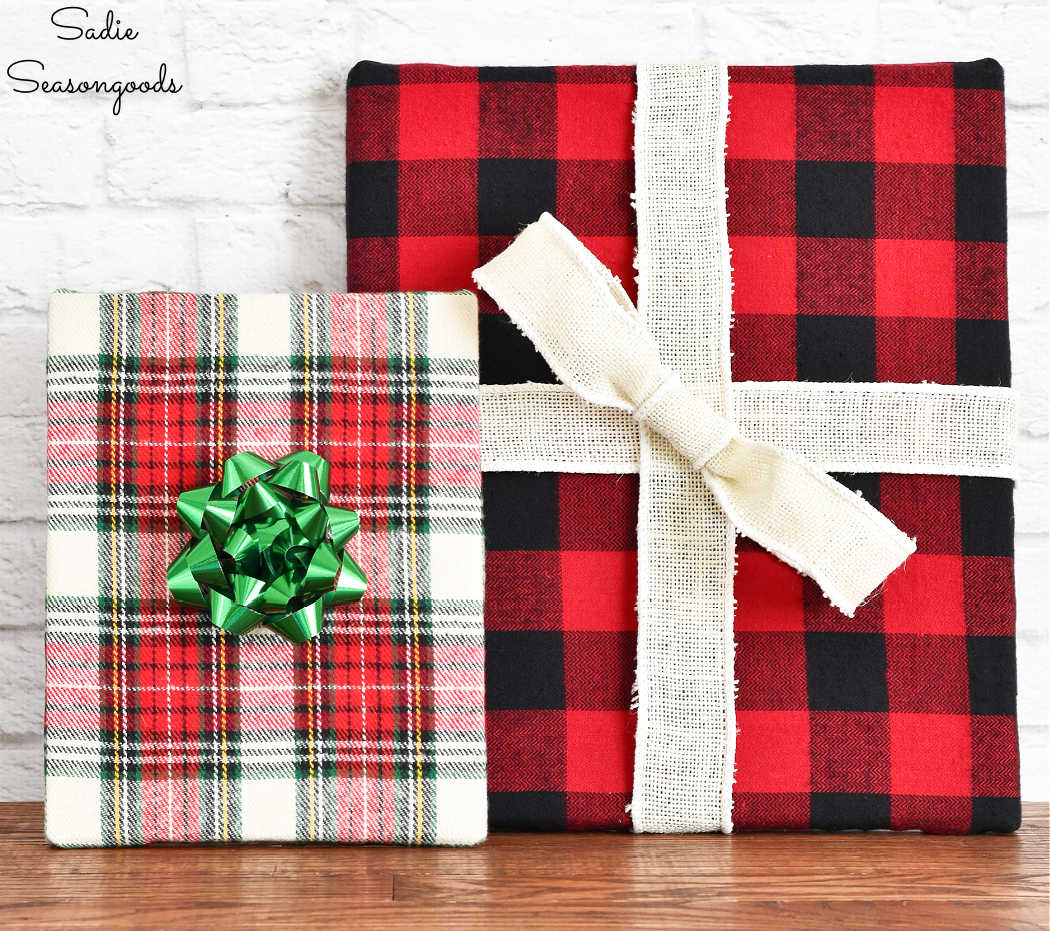
I loved this simple idea so much that I even made a flannel version in my book, “Crafting with Flannel”!
Proof that just about any kind of fabric will work for this upcycling idea!
Interested in some additional Christmas craft ideas that are upcycled and repurposed using thrift store finds? Then, please check out this collection of projects before you go!
Craft on!
S
Want to be notified when I publish my next upcycling project tutorial?
Join me on Social Media:
PIN ME!
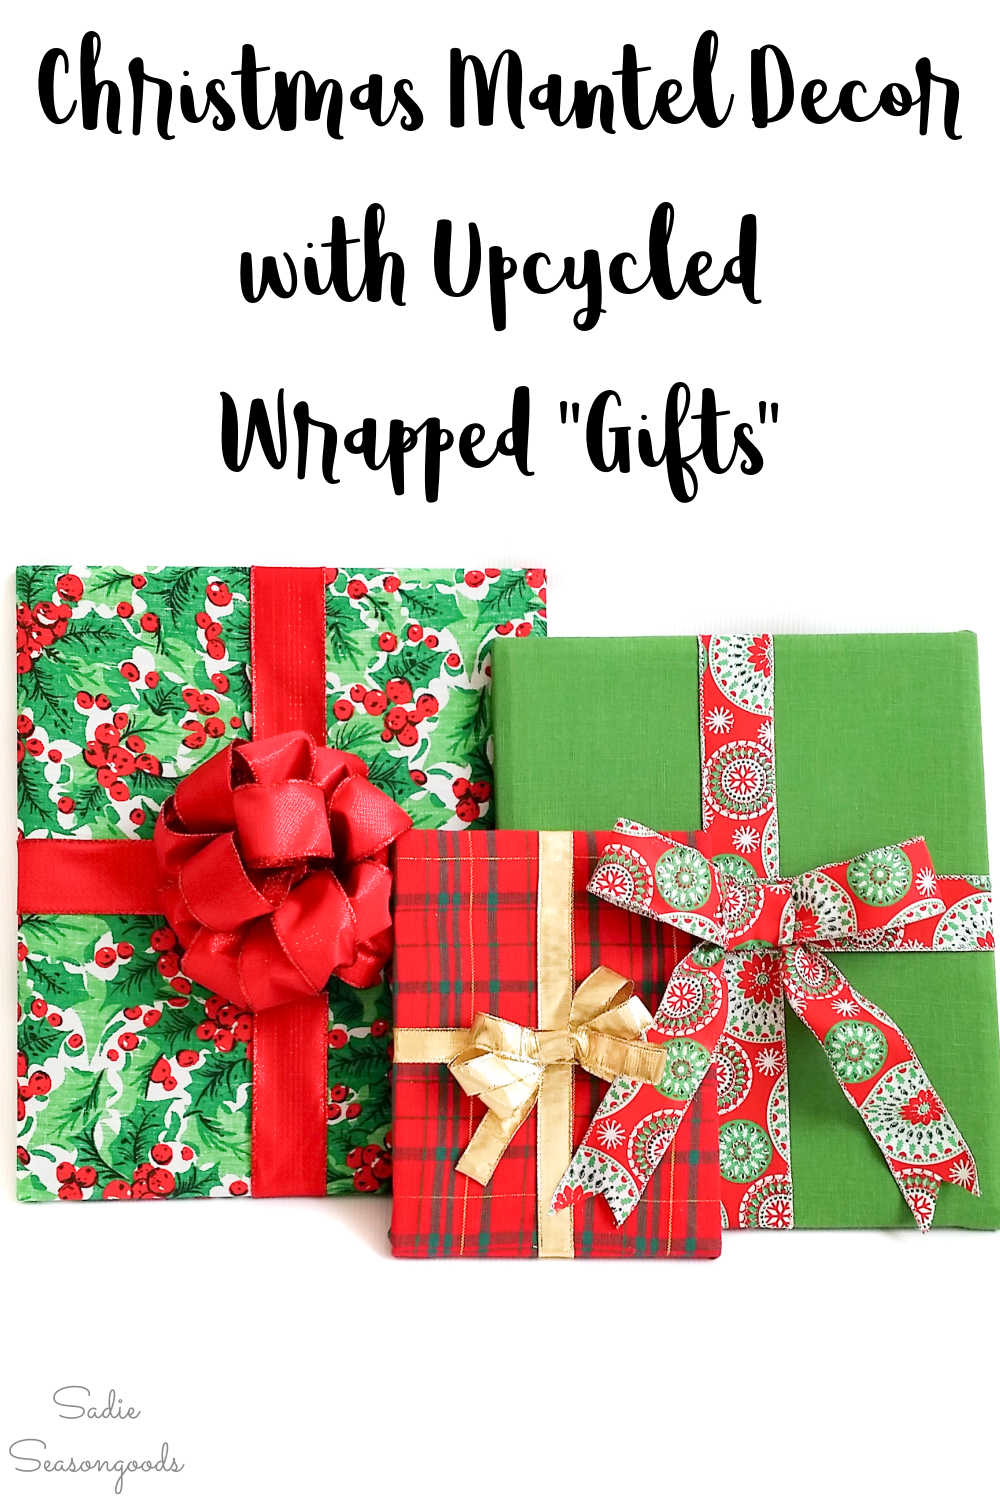
Image credit: Sadie Seasongoods.
Sarah Ramberg is the owner of Sadie Seasongoods, a website that celebrates all things secondhand. From upcycling ideas and thrifted decor to vintage-centric travel itineraries, Sadie Seasongoods is a one-stop shop for anyone who loves thrifting and approachable repurposing ideas. Sarah is also the author of “Crafting with Flannel” and has been featured in numerous media outlets and magazines.


Sarah, these “gifts” are amazing!! I like the variety of prints you chose; they look fantastic!! I only have about a billion frames I can do this with, but I’ll need to pick up some Christmas fabric. 🙂 Btw, great job on the bow!!
Thank you so much, Keri!!!
Super cute! Love the plaid one! Lucky you to have a Goodwill so close! They would get so tired of seeing me! ha! 🙂 ~Rhonda
They know me pretty well, Rhonda!! 😉
this is a super cute idea for the holidays! love all of these 🙂
Thanks, Tianna!
40?! I refuse to believe that! (However, the 40’s are a fabulous decade! A really great phase of life. I hope you are looking forward to it.)
Thank you, Nan- I definitely am!
Cool idea! These look so pretty. As we always go elsewhere to open presents, and as we make gifts so do the wrapping right before Christmas, there usually aren’t that many gifts around our house for long—this would be such a nice way to have that wrapped-present feel all month long leading up to the holiday 🙂
Thank you, Sagan!!
Great idea Sarah! Don’t worry about 40. I’ve got 5 years on you and its not so bad. Thanks for sharing with us at Throwback Thursday. See you again next week.
I am looking forward to it!! Kind of like a fresh start. 😉
This was the Most Viewed this week and will be featured on Thursday!! Thanks for sharing on My 2 favorite Things on Thursday!! Hope to see you again this week (with out any glitches) Pinned!
Oh my gosh, so cool- thank you!!
They are really cute too! Don’t forget to grab a button when you come back to visit!! Thanks!! Have a great rest of the week!
This is such an amazing idea! Thanks for sharing it. I’m Anita visiting from Pin Junkie Pin Party.
Hi, Anita- thank you so very much!
I would have never thought to use old picture frames to create these wrapped holiday “gifts”. So creative! Again, thank you for sharing at Create • Share • Inspire!
Alicia xo
This is SUCH a fantastic idea! Pinned!
Thanks for joining Cooking and Crafting with J & J!
Thank you!
Love that you used material,been doing this for years with wrapping paper,also I use my pictures from the wall,rehash and voila parents everywhere. .Easy cheap decoration,as I get a little bit crazy with xmas especially the xmas tree room…Now my friend any ideas for the MANCAVE???He is mainly a NASCAR Nut,but I manage to slip in the other sports.Great work,glad I found you.
Come back tomorrow! I’ll be posting a brand new Christmas project using sports equipment!! Your timing is impeccable. 😉
P.S. THE 408. BEST EVER YEARS,wish I could go back there! !!!
I found the 40’s to be pretty darned good, kids were growing up, hubs and I could do more. We never had that time before kids as I had 3 young kids when we got married then we had a girl,my fourth.
We were married 3 1/2 weeks when hubs went to Nam with Jolly Green squadron, helicopter rescue and recovery. Our first date was 10/18/68, got married 11/30/68 and he left on 12/26/68 for Nam. Our 48th. anniversary is coming up end of this month.
Loving your “gifts”, such a great,smart, thrifty idea. I look for empty or even full frames when I go to any thrift store, never know what I might need. Same with any kind of linens. Picked up 3 Christmas plaid napkins at local thrift store last week. Now if can find them when I need them,lol.
Put things away then forget where, duh.
Great post, always enjoy your posts Sarah.
Have awesome week