Now, I realize that a few things may occur to you upon seeing this project. Those of you who know me might be confused because I don’t normally create politically-charged projects. And on top of that, nothing in sight was upcycled from a thrift store find. But I couldn’t help myself upon ordering this garden flag: it was simply too pretty to put outside, so I turned it into a boho wall hanging instead.
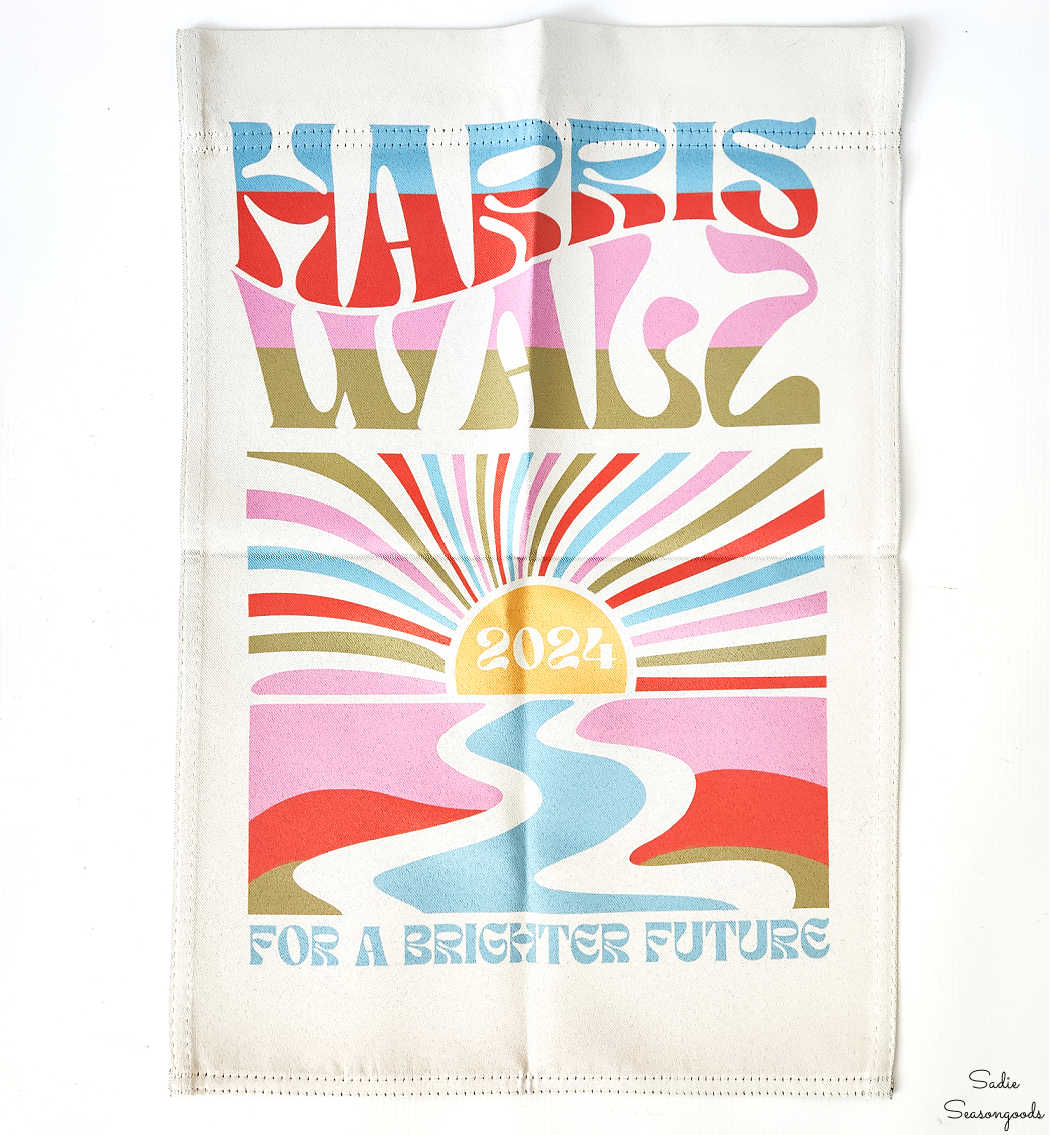
Image credit: Sadie Seasongoods.
Yes, it is a Harris Walz flag, which is who I’m supporting in this election. But the truth of the matter is that this project could be made with any garden flag (or similar) that you decide to keep indoors. And, of course, you could do this for a different candidate!
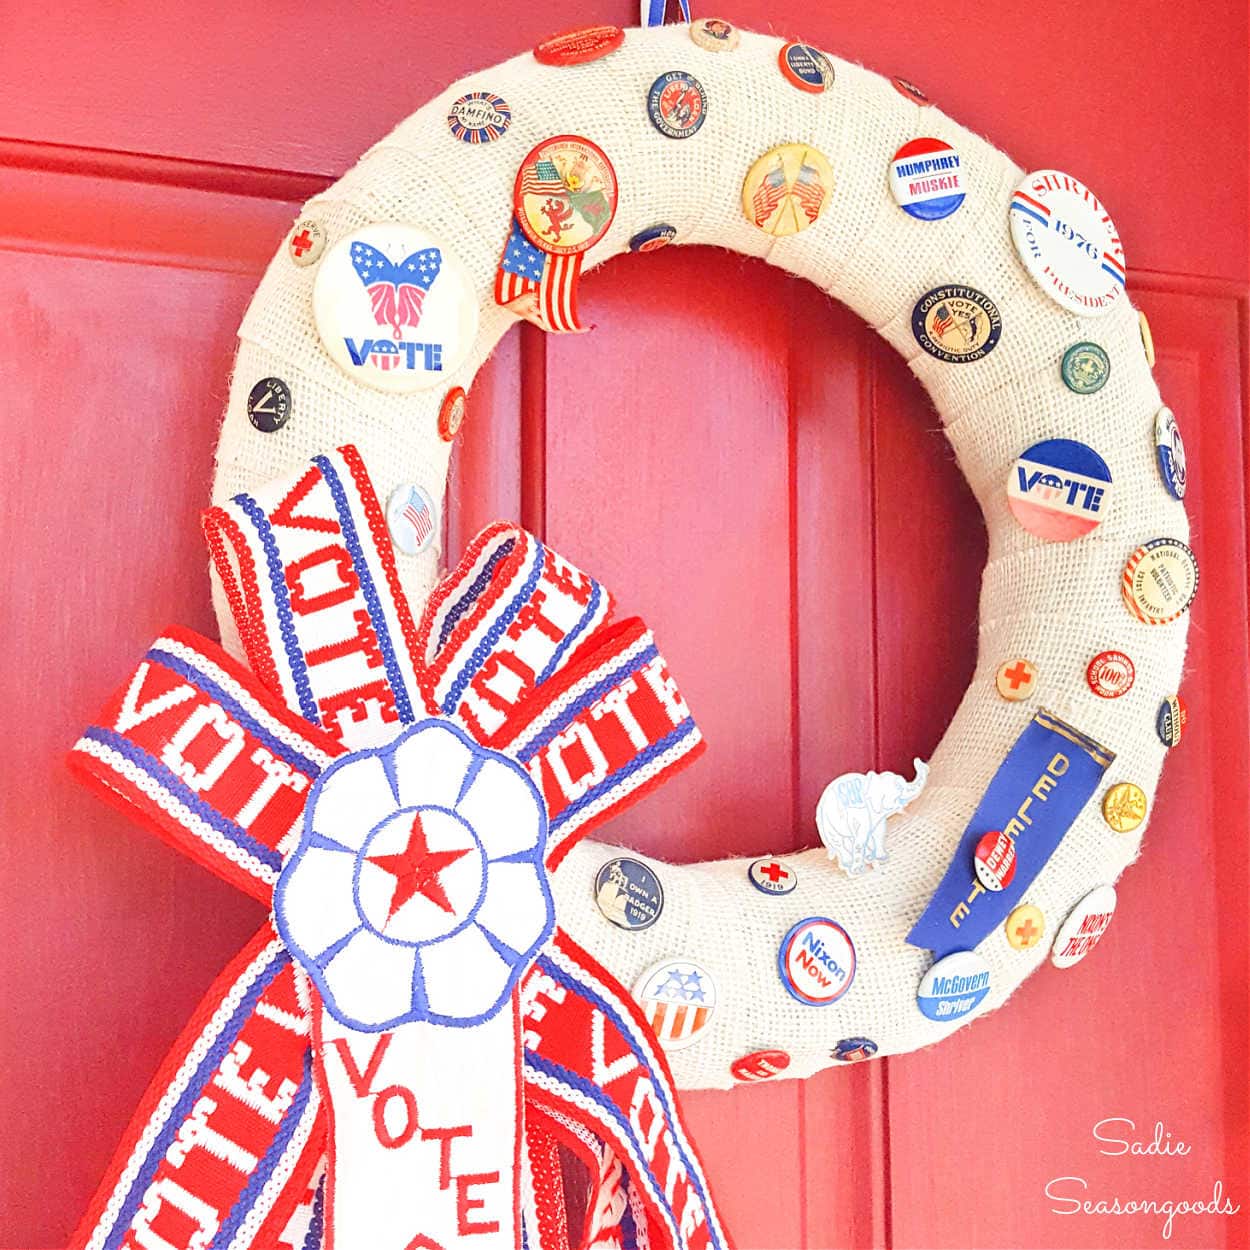
While I don’t typically wade into political waters here on my website, I do have a history of stressing the importance of voting. I even created a “Rock the Vote” inspired wreath with vintage campaign buttons– using past candidates from both major parties.
I still love how that ribbon rosette turned out and kept it long after I took this wreath down. And I’ve even worn it as a corsage on different election days in the past.
But let’s get right to this super easy craft project for a boho wall hanging from a garden flag!
This post contains affiliate links for your crafting convenience. As an Amazon Affiliate, I earn from qualifying purchases. All blue, bold, and underlined text is a clickable link, either to a product or to a related post.
Garden Flag as Keepsake Wall Decor
When I tell you this craft project is super simple, I’m not kidding at all! All I used was the Harris Walz garden flag (from this Etsy shop); some colorful twine; and a wooden dowel.
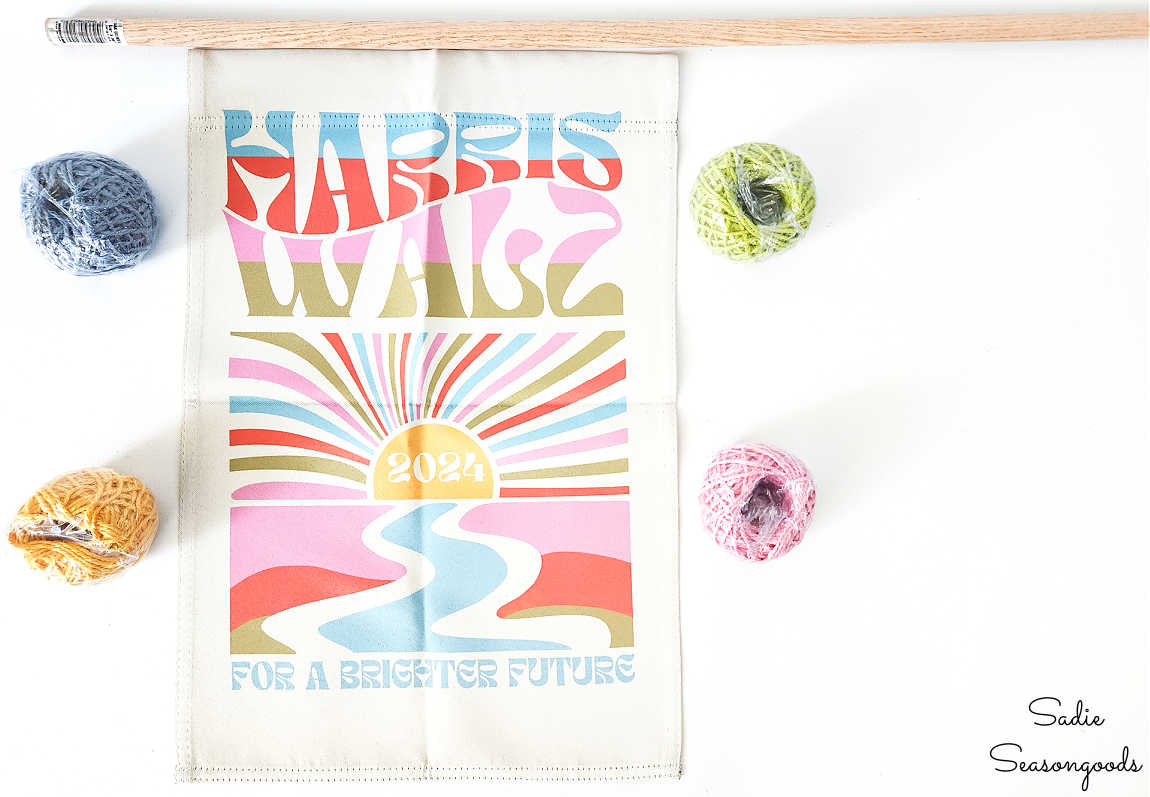
Image credit: Sadie Seasongoods.
I’d actually bought the twine for a springtime project that never came to fruition. How satisfying to find another project to use it on!
First, we cut the dowel down to size for the garden flag, leaving about two inches of length on either side. I quickly sanded the cut edge a bit, too, just to remove the splinters.
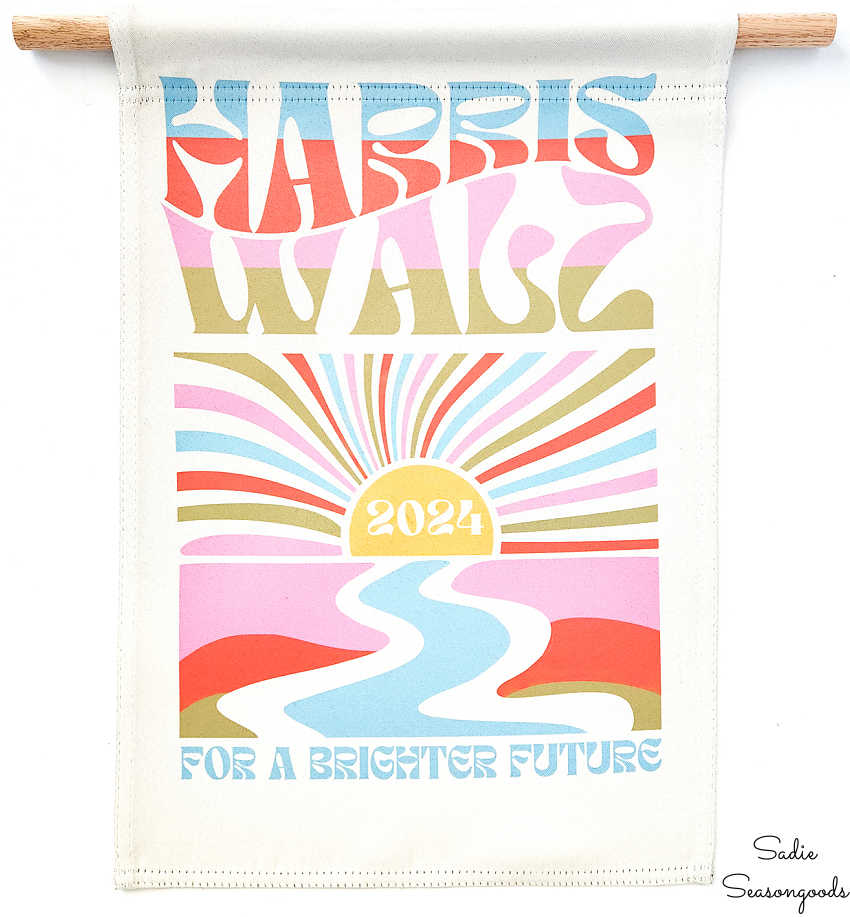
Image credit: Sadie Seasongoods.
I thought about painting the dowel, but opted to leave it natural. I paid a little more for an oak dowel (versus a pine dowel) and I really liked the natural grain look.
Then, I cut a length of blue twine to make a hanging string for my boho wall hanging. I double-knotted the twine on either side of the garden flag and snipped off the excess.
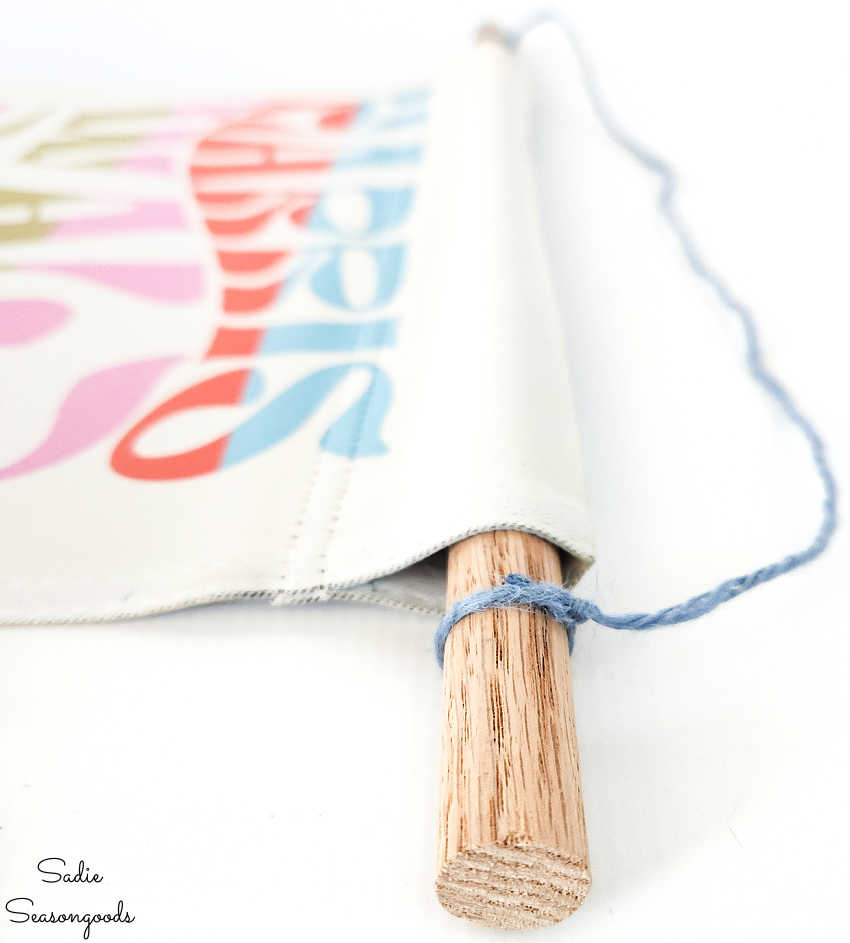
Image credit: Sadie Seasongoods.
While I could have stopped there, I had all that colorful twine to spare! So, I grabbed a few other colors for a little extra pizazz for my wall hanging.
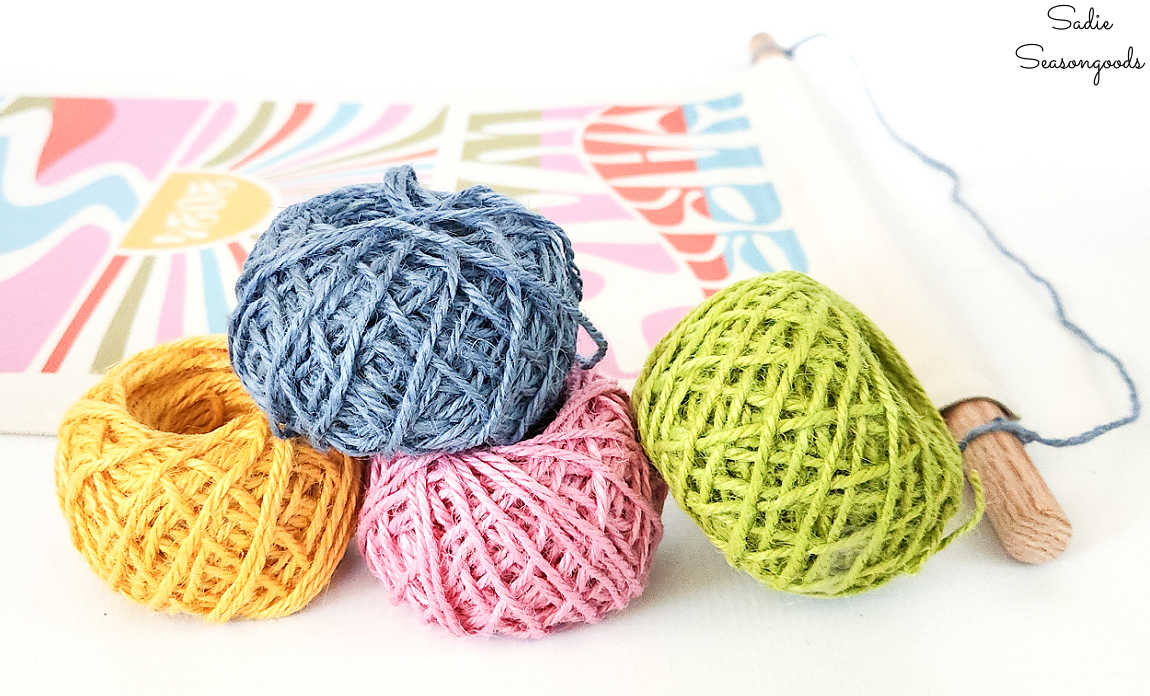
Image credit: Sadie Seasongoods.
Making Tassels for a Boho Wall Hanging
With the boho vibe in mind and all these balls of twine burning a hole in my crafting pocket, I thought: Tassels! Big tassels on either side of the garden flag would be perfect for my project.
First, I somewhat-arbitrarily snipped off 12 strands (roughly 14 inches long each) from four different balls of twine.
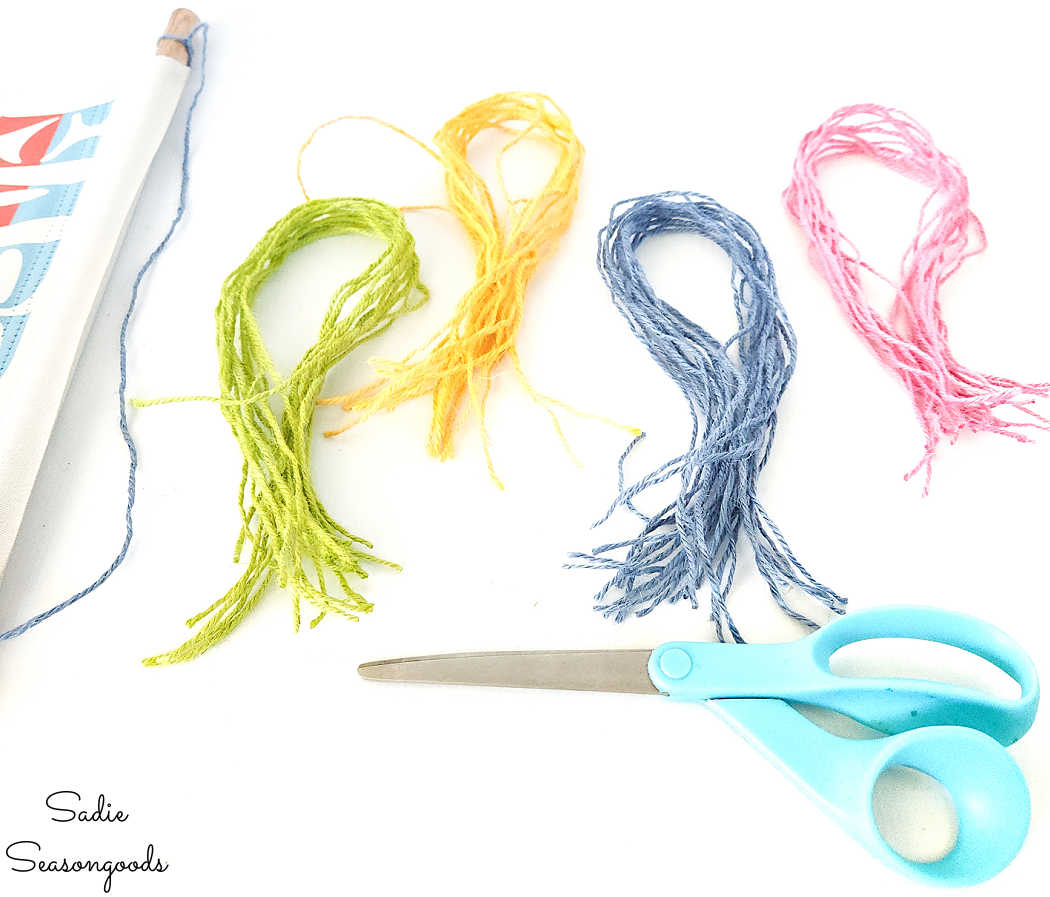
Image credit: Sadie Seasongoods.
Admittedly, these twine colors weren’t perfect matches to the colors in the Harris Walz garden flag. But they were close enough to use with this project. And that was good enough for me!
Next, I gathered an equal number of strands into two piles, grabbing one strand at a time from the different color piles. This way, I ensured a more equal distribution of colors within my boho tassels.
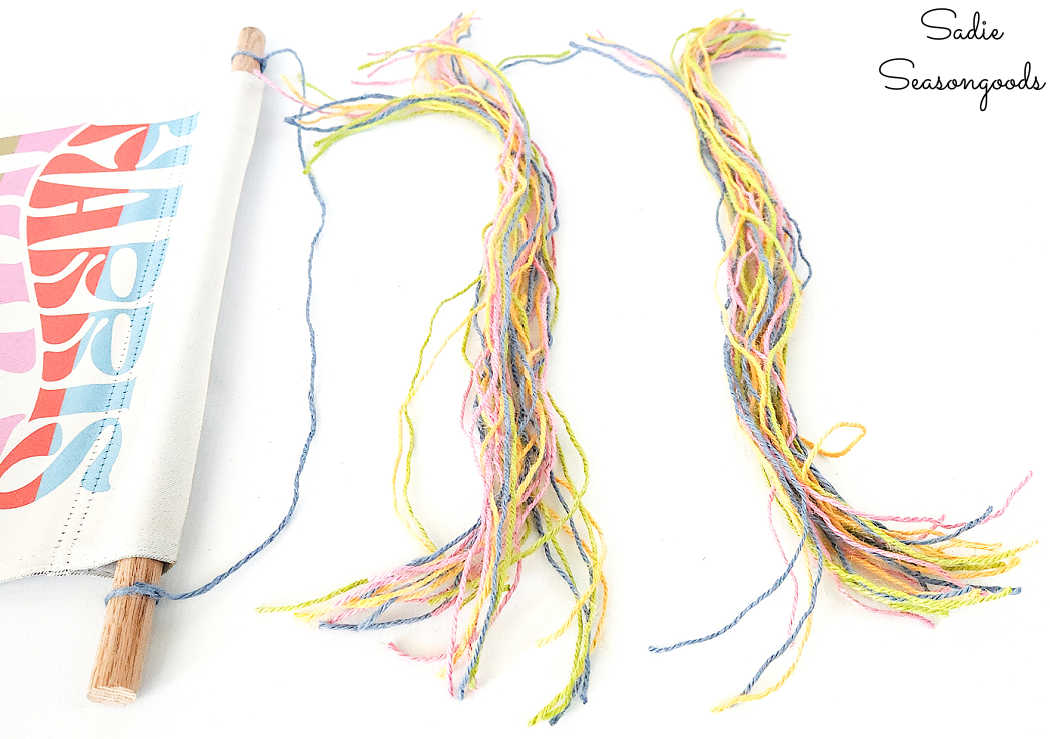
Image credit: Sadie Seasongoods.
Then, I wrapped the strands over each end of the dowel and secured them with blue twine. I didn’t measure anything and it was likely not a perfect system, but it seemed to do the trick.
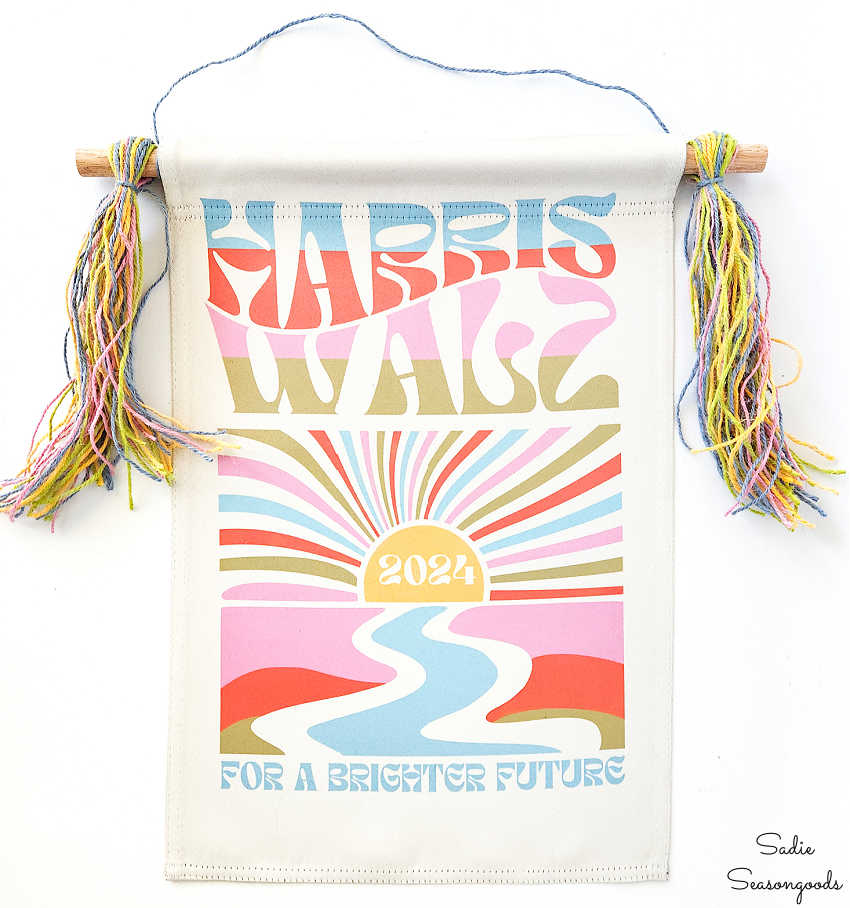
Image credit: Sadie Seasongoods.
Next, I used a slicker brush (new, not used on our kitties) on the tassels to brush them out a bit.
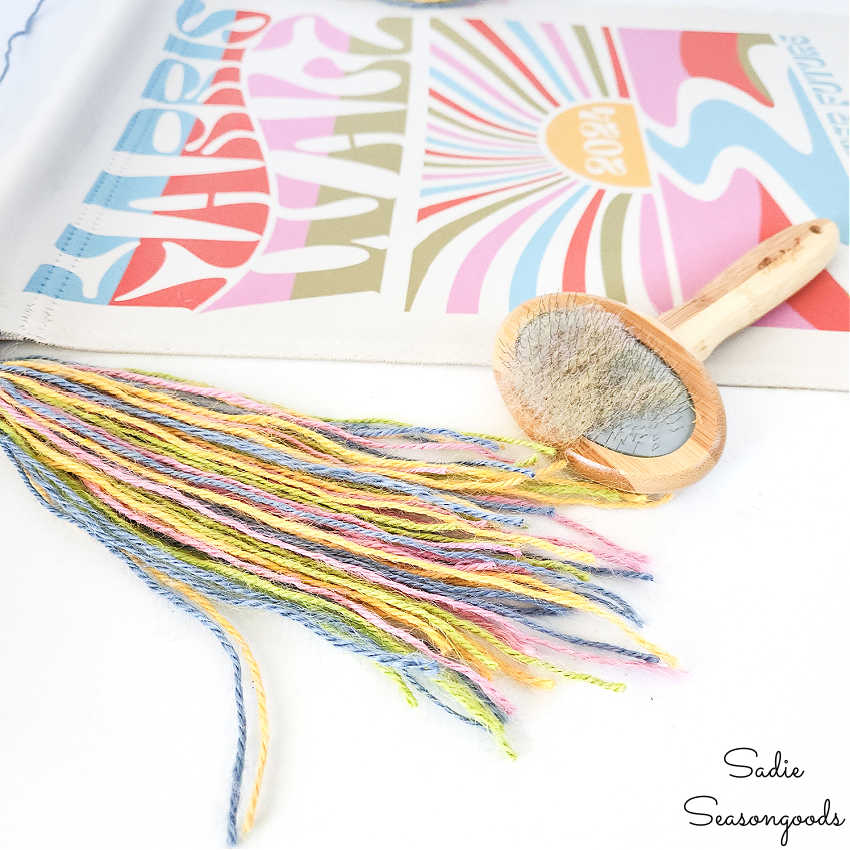
Image credit: Sadie Seasongoods.
Twine doesn’t completely unravel like macramé cord does when brushed. But the brushing made the colorful tassels look fuller and took some of the kinks out of the twine strands.
Lastly, I trimmed the tassels and my boho wall hanging was done! Not too shabby for something that was supposed to hang in a garden bed, eh?
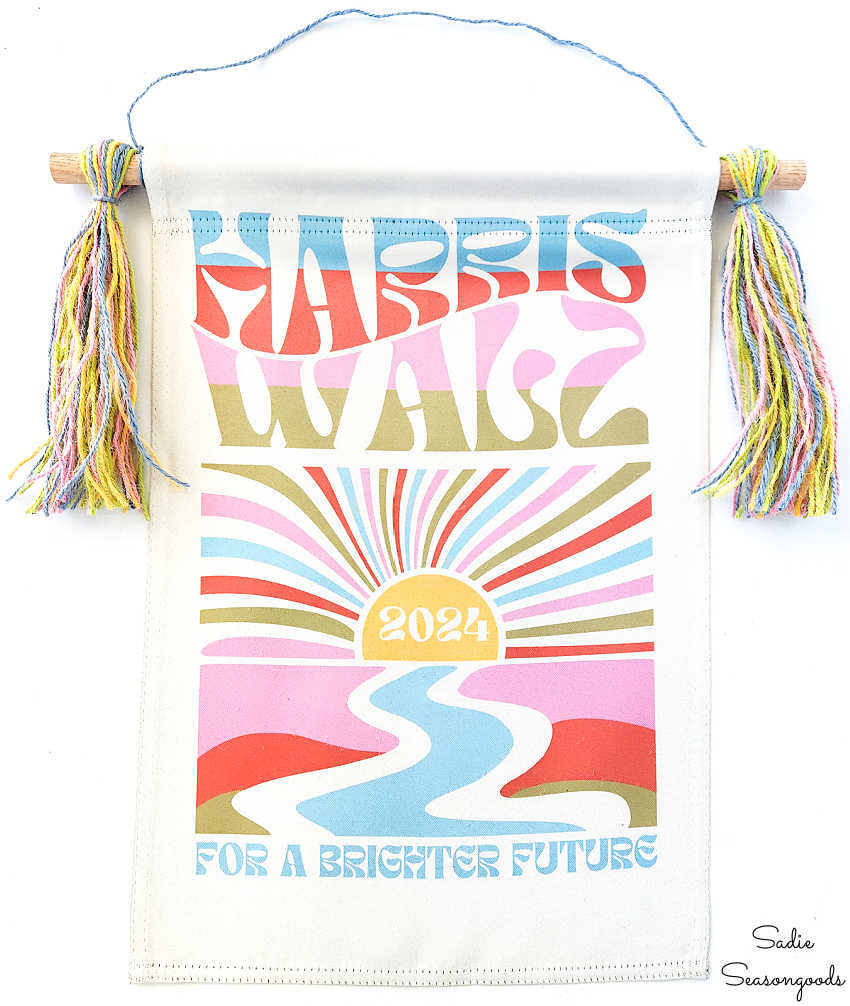
Image credit: Sadie Seasongoods
Boho Wall Hanging from a Garden Flag
And that was all there was to it. Not exactly upcycling in the sense that I define upcycling, but it sure was nice to put some of that colorful twine to use.
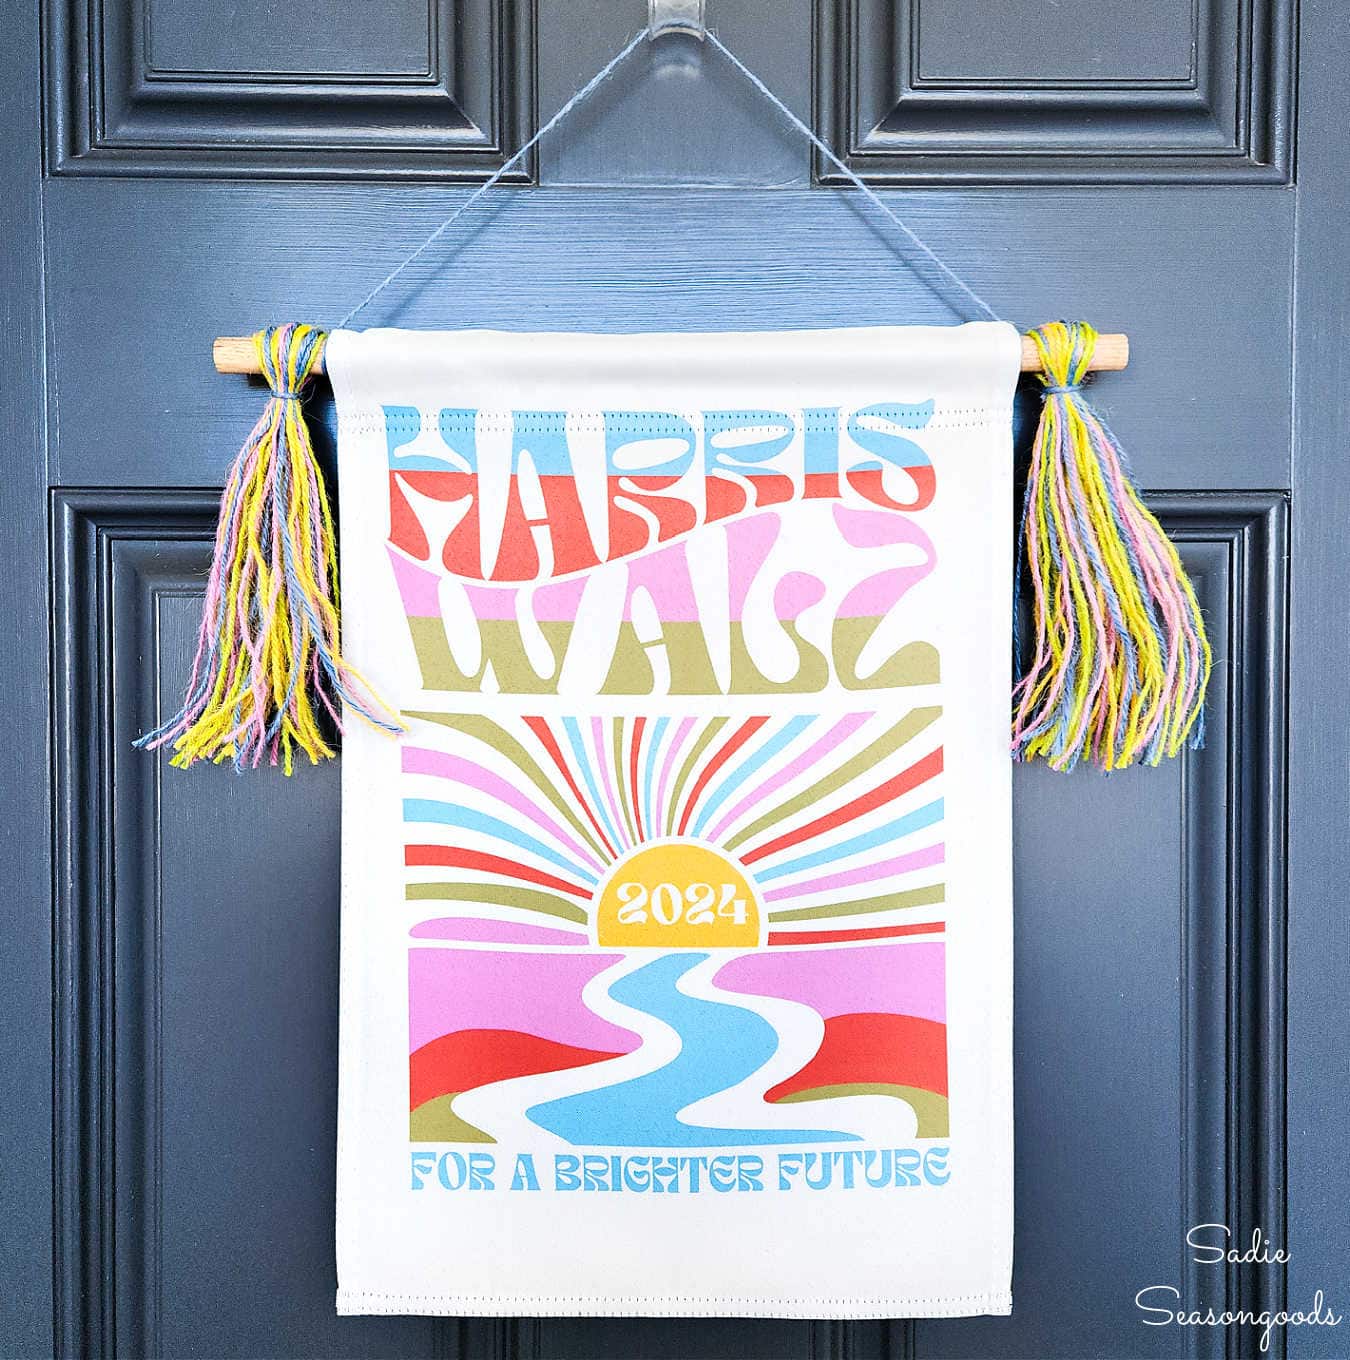
Image credit: Sadie Seasongoods.
And while half of you will likely hate this due to my candidates of choice, I hope some find it inspiring for pretty flags or even scarves! Because this was a flag, it already had a slot for the dowel. But you could totally do this with a scarf by simply folding over the edge and straight stitching across it.
Thank you for spending a little time with me today and I hope you all plan on voting in the election!
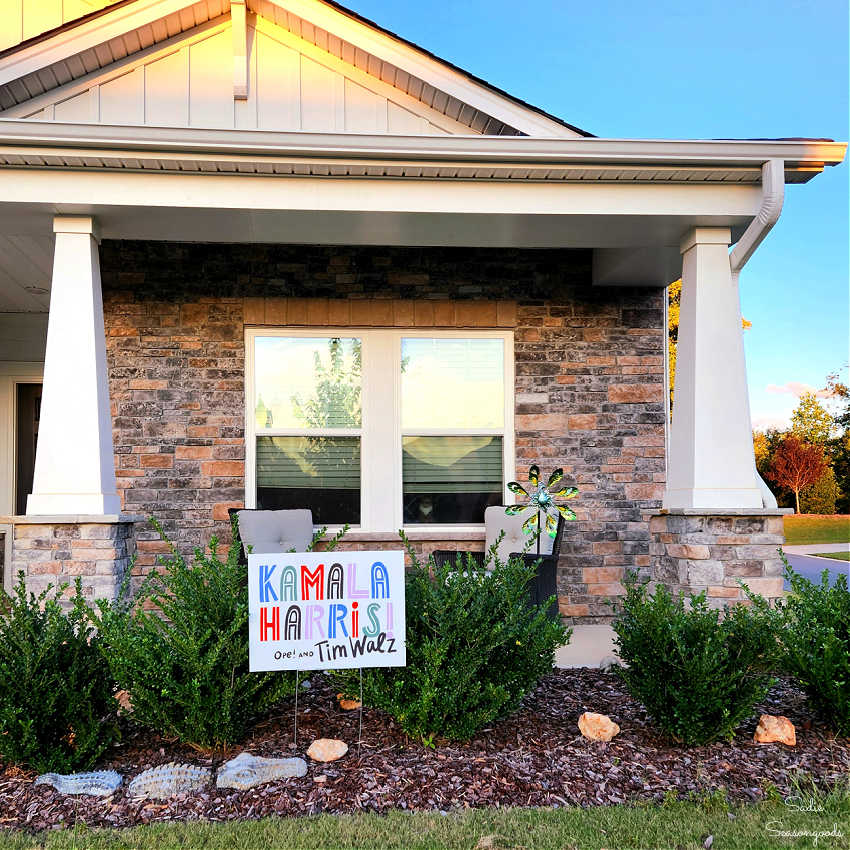
Image credit: Sadie Seasongoods.
Craft on!
S
Want to be notified when I publish my next upcycling project tutorial?
Join me on Social Media:
PIN ME!
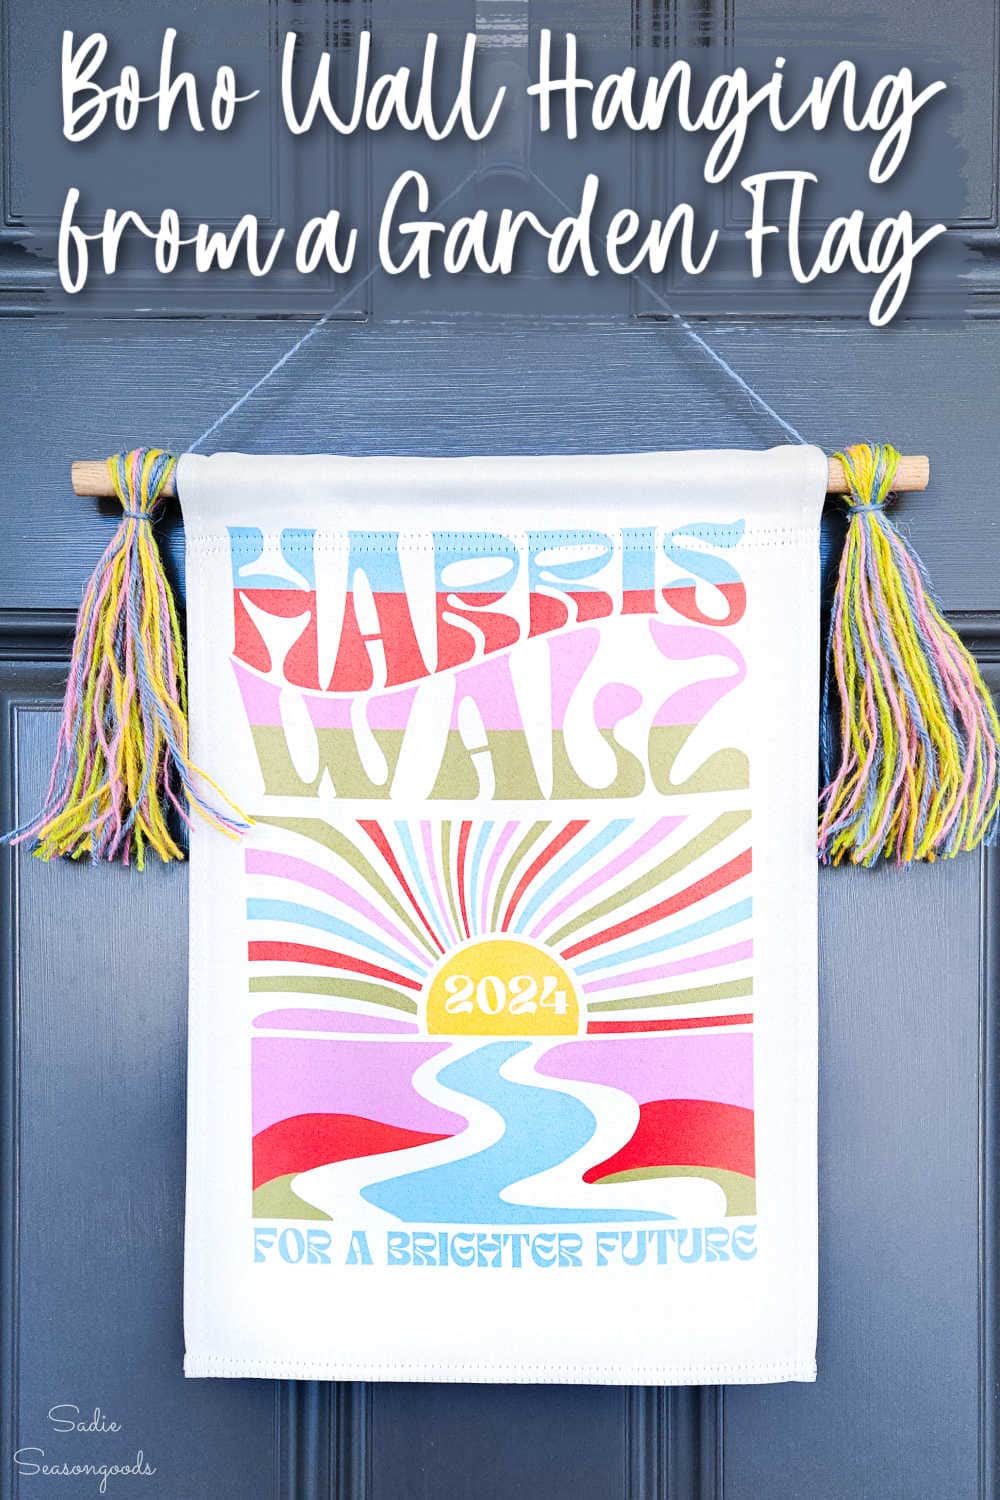
Image credit: Sadie Seasongoods.
Sarah Ramberg is the owner of Sadie Seasongoods, a website that celebrates all things secondhand. From upcycling ideas and thrifted decor to vintage-centric travel itineraries, Sadie Seasongoods is a one-stop shop for anyone who loves thrifting and approachable repurposing ideas. Sarah is also the author of “Crafting with Flannel” and has been featured in numerous media outlets and magazines.


Have a question or like what you see? Please let me know!