Not too long ago, I found a wonderful treasure at a Habitat ReStore: a framed Navajo sandpainting. It was such a special and unusual find, but the sandy texture sparked a most peculiar idea. Could I create something beachy with a similar texture? Some framed coastal wall art, perhaps…
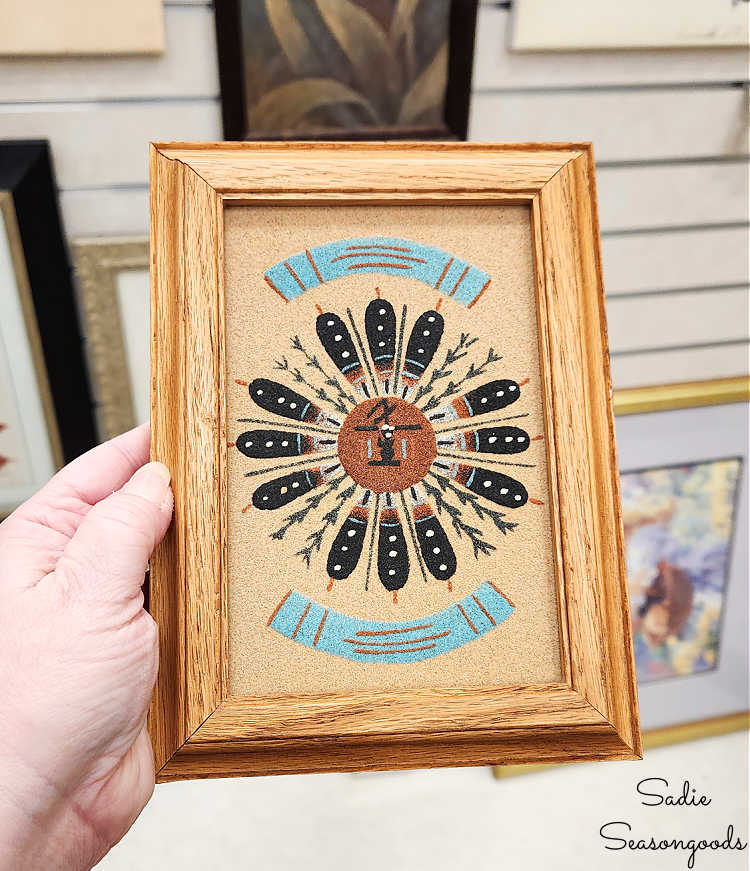
Image credit: Sadie Seasongoods.
Creating something southwestern seemed problematic to me, because the Navajo art was SO special and I never want to appropriate anyone’s culture like that. But a sandy texture could easily have beachy, coastal applications for sure.
That’s when I had my lightbulb moment: I could (probably) use sandpaper sheets as the “canvas”. IF one could stencil on sandpaper, of course…
So, I headed back to my thrift stores in search of the perfect frame for my coastal wall art. A frame that would fit a standard 9″x11″ sandpaper sheet.
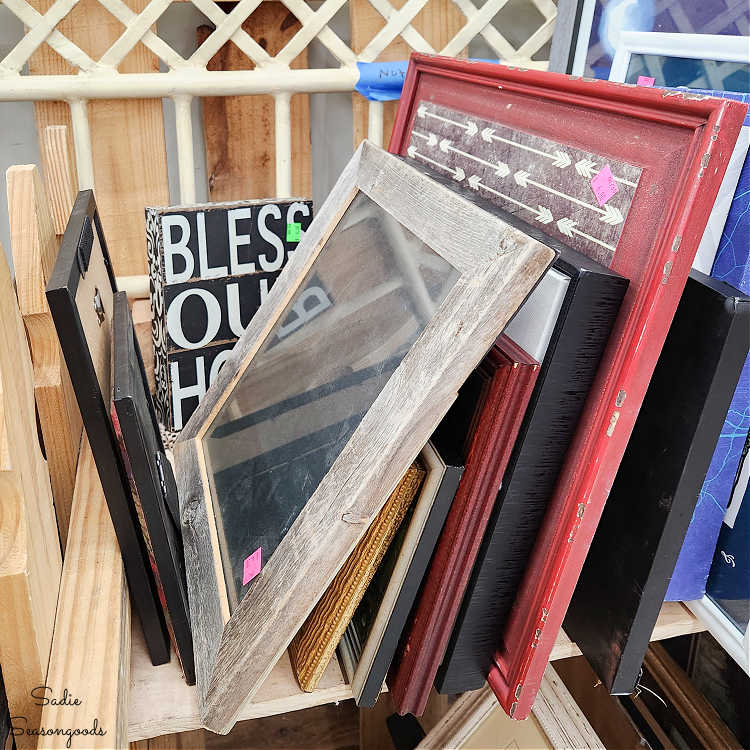
Image credit: Sadie Seasongoods.
This one made of gray, weathered wood seemed perfect. So I snapped it up and headed home to test out my theory.
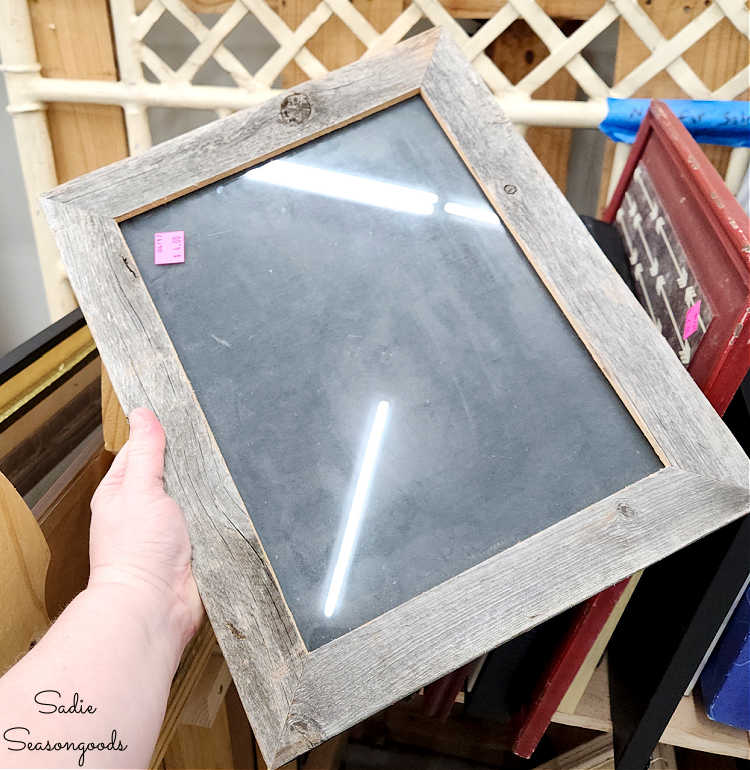
Image credit: Sadie Seasongoods.
This post contains affiliate links for your crafting convenience. As an Amazon Affiliate, I earn from qualifying purchases. All blue, bold, and underlined text is a clickable link, either to a product or to a related post.
Stenciling on Sandpaper
To test out my theory, I purchased a box with different levels of coarseness. And, of course, I wanted traditional-looking sandpaper in gold/tan to replicate the look of beach sand.
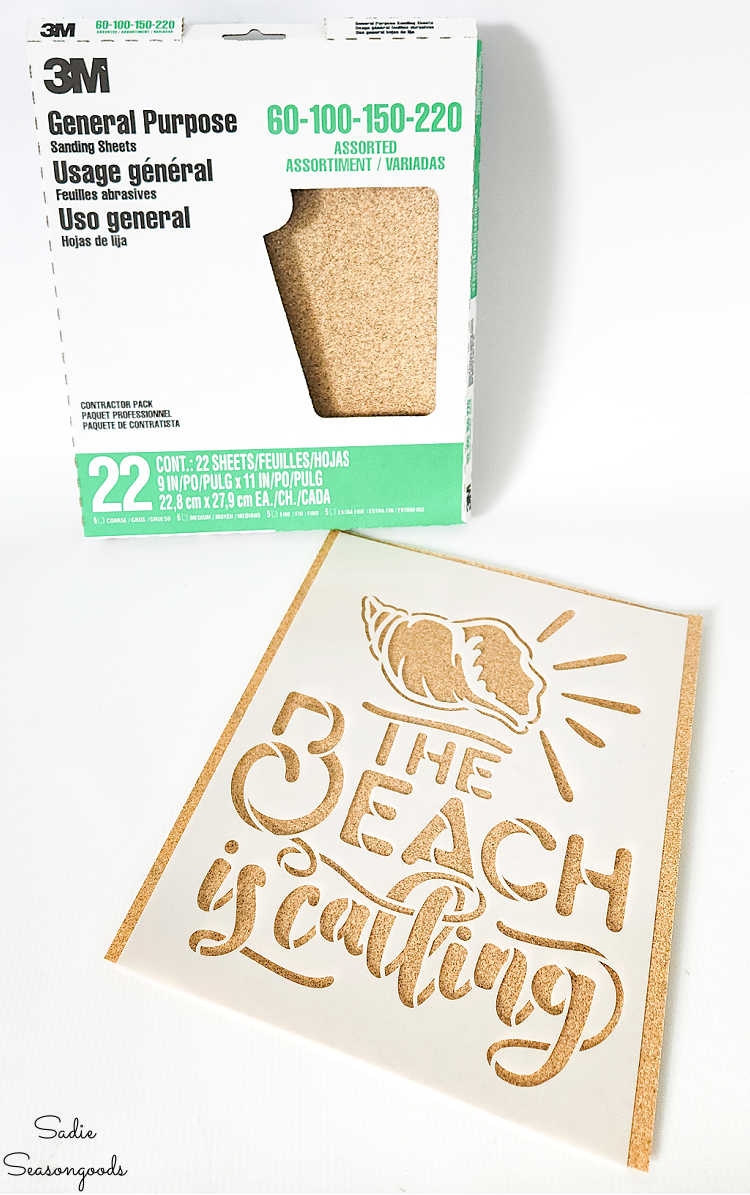
Image credit: Sadie Seasongoods.
I also purchased this stencil from Stencil Revolution for my project, as well.
For the purposes of experimentation, I tested two grit levels of sandpaper sheets with a smaller stencil: 150 and 100. In the end, both of them turned out well, but I liked the look of 100-grit better.
So, I trimmed the sandpaper sheet to size (using the frame glass as a template) and clipped my stencil to it. Then, I gathered my other supplies: paints, stencil brushes, a glass plate (to squeeze paint onto), and a paper towel for paint removal.
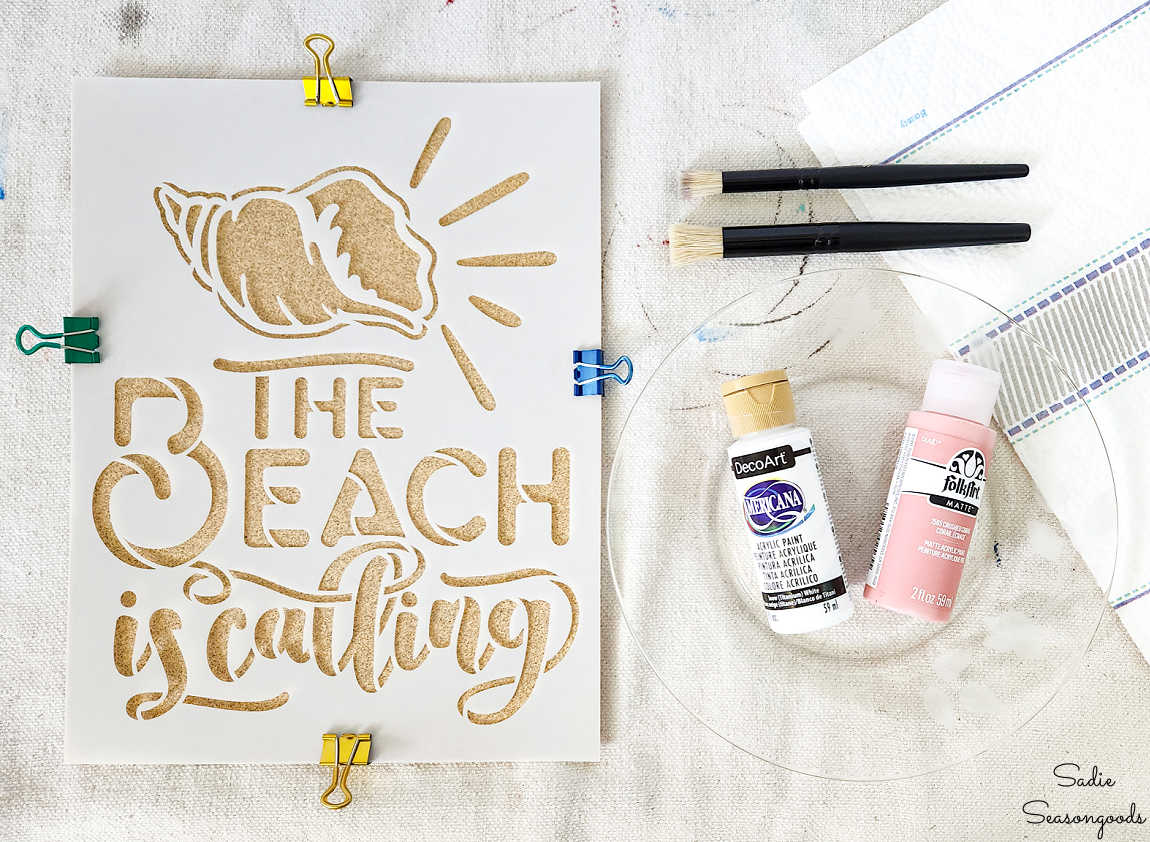
Image credit: Sadie Seasongoods.
Next, I did my stenciling thing- but swirling instead of stippling. I tested both techniques during my experimentation and swirling was far superior.
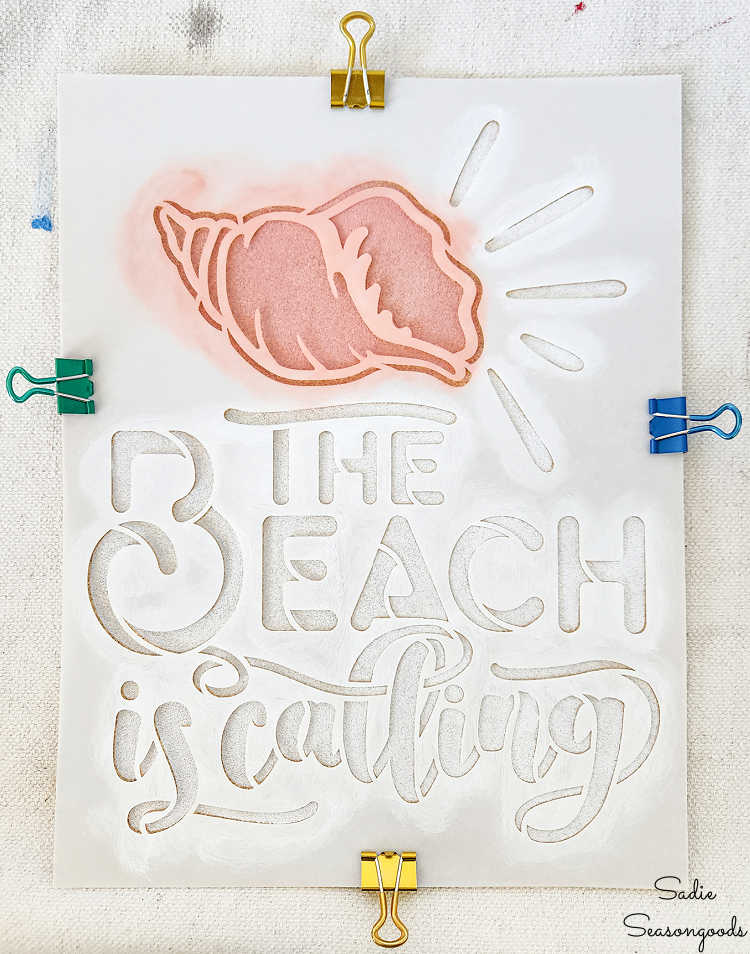
Image credit: Sadie Seasongoods.
I also made sure to use as little paint as necessary. Because coarse sandpaper is not a perfectly flat surface, excess paint bleeds through more easily.
Then, I removed the clips to see the result and was thrilled with how it looked!
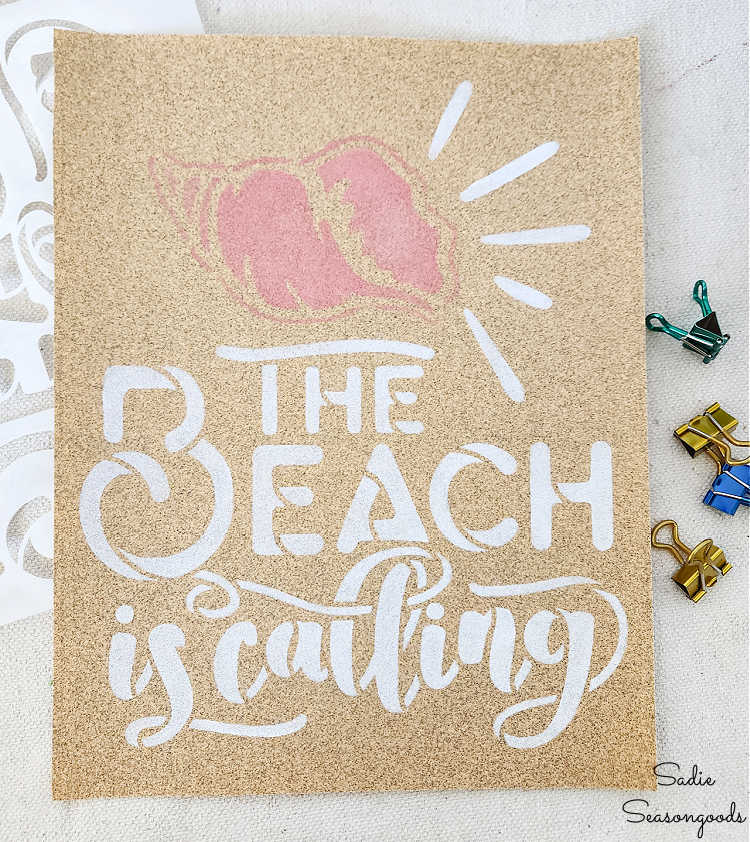
Image credit: Sadie Seasongoods.
Painting a Frame for Framed Coastal Wall Art
Next, I set aside the stenciled sandpaper for the time being and turned my attention to the frame. Now, as much as I liked the weathered grey wood, I wanted a little more coastal color.
So, I decided to dry-brush some teal chalk paint on the frame just to add a hint of blue.
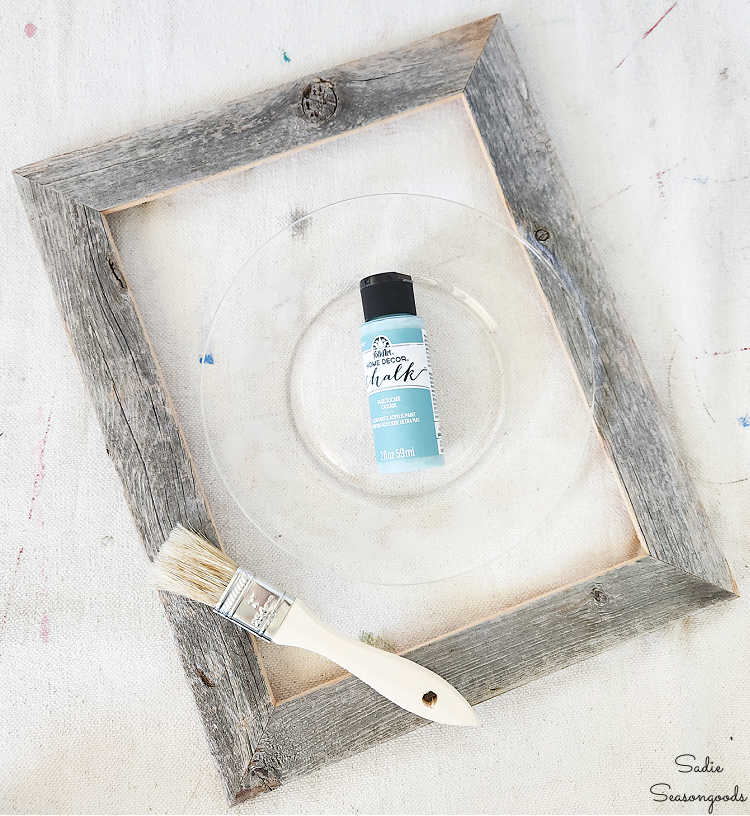
Image credit: Sadie Seasongoods.
Not a lot of color- truly just a kiss of coastal blue. After touching a bit of blue to the wood, I stopped once I was happy with the result.
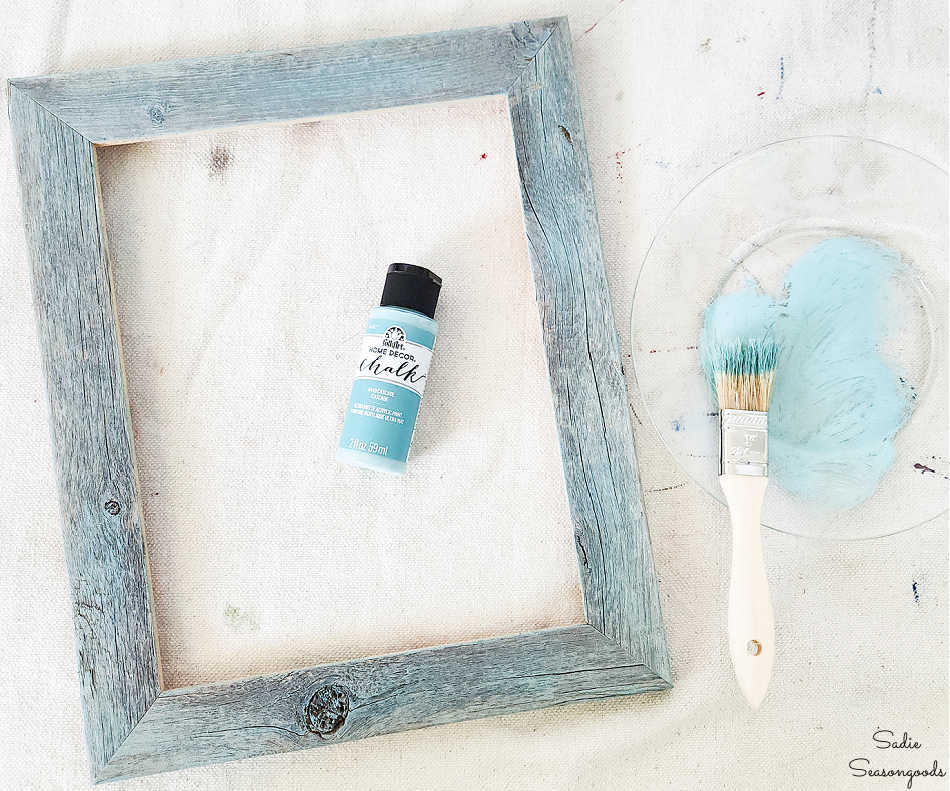
Image credit: Sadie Seasongoods.
Next, back to the sandpaper for a moment! Because I wasn’t going to use the frame glass in my framed coastal wall art project, I wanted to give the stenciled sandpaper a quick seal. A light coat of matte topcoat was perfect.
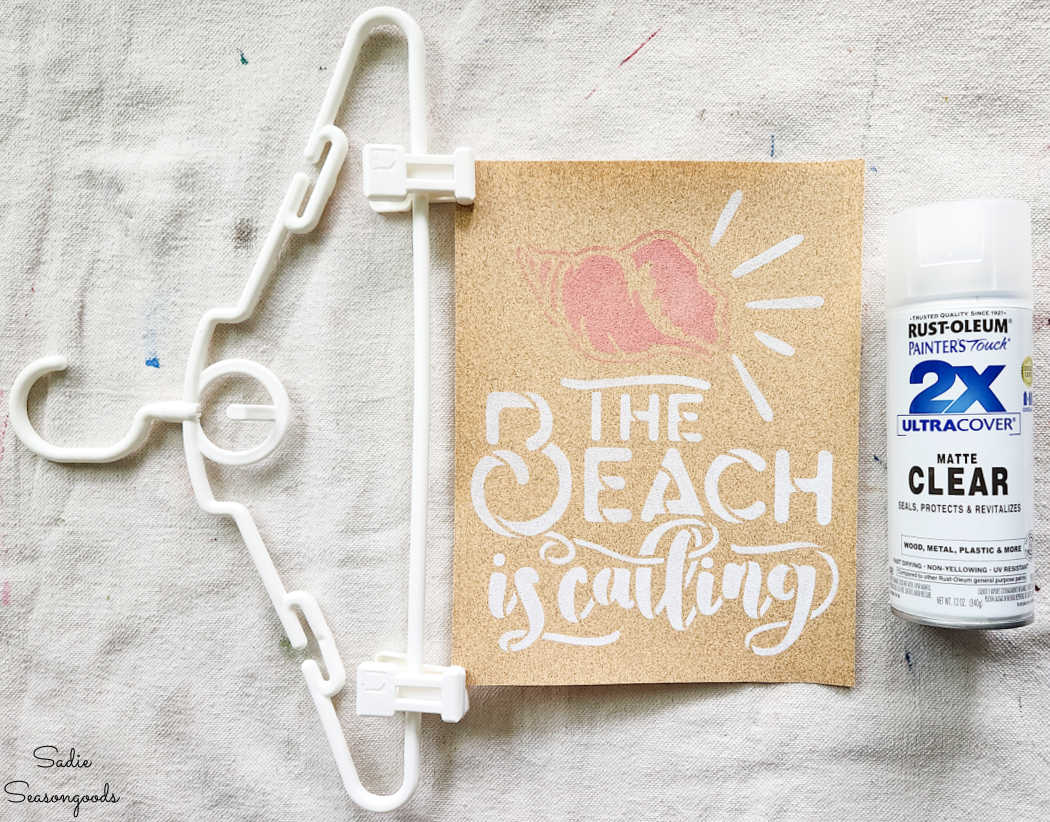
Image credit: Sadie Seasongoods.
I clipped it in a “craft hanger” while spraying it, then hung it up on our porch to dry.
And that was it! All components of my framed coastal wall art were done. Once the topcoat had dried completely, I reassembled everything and this was how it looked.
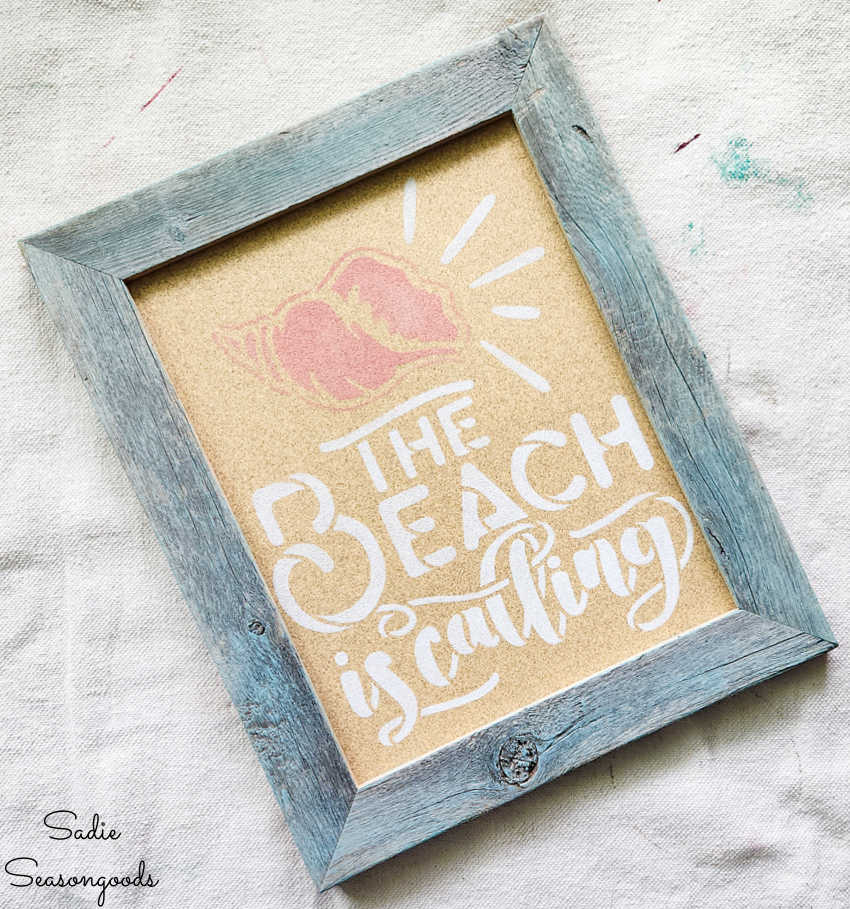
Image credit: Sadie Seasongoods.
Framed Coastal Wall Art on Sandpaper
How cool is that?? I never would have thought to stencil on sandpaper had I not been so bewitched by the Navajo sandpainting. But it worked out remarkably well.
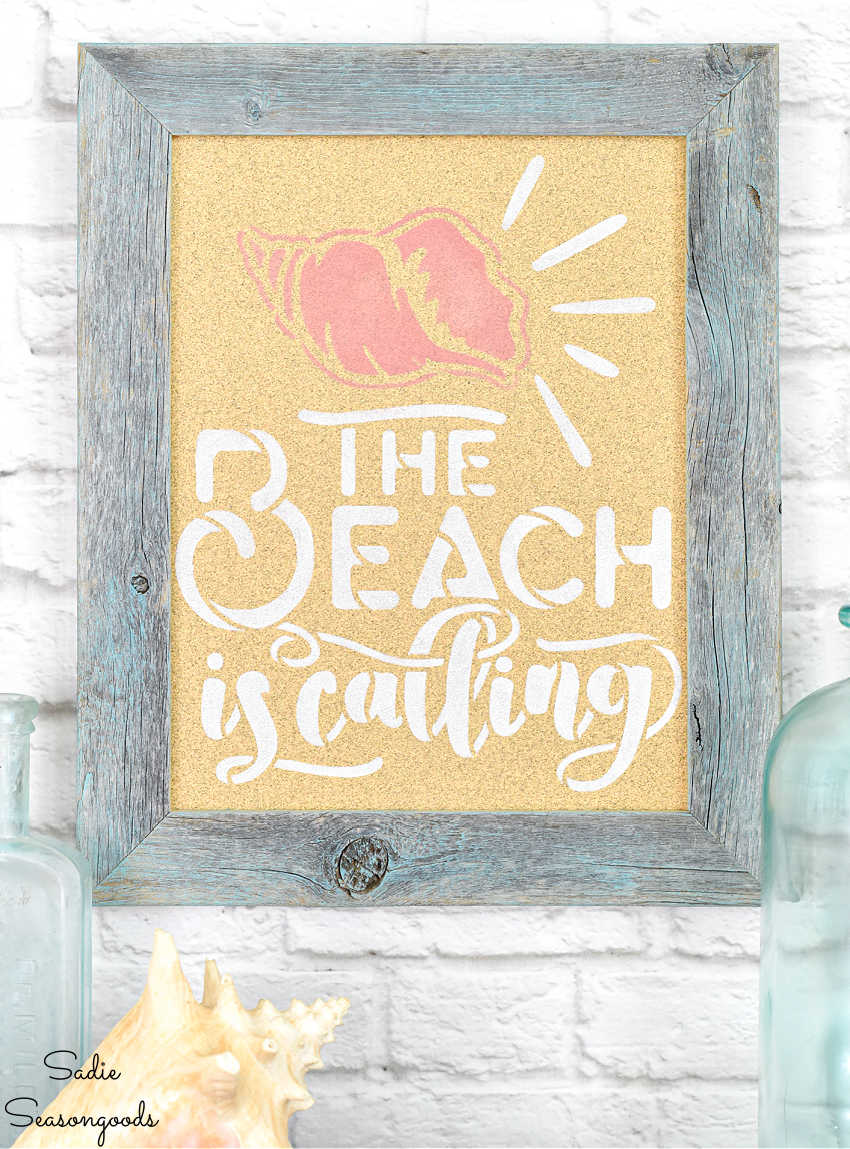
Image credit: Sadie Seasongoods.
The nice thing about having that whole box of sandpaper sheets is that I can do more experiments. Different grits, darker paint colors, etc. But for now, I couldn’t be happier with my (experimental) framed coastal wall art.
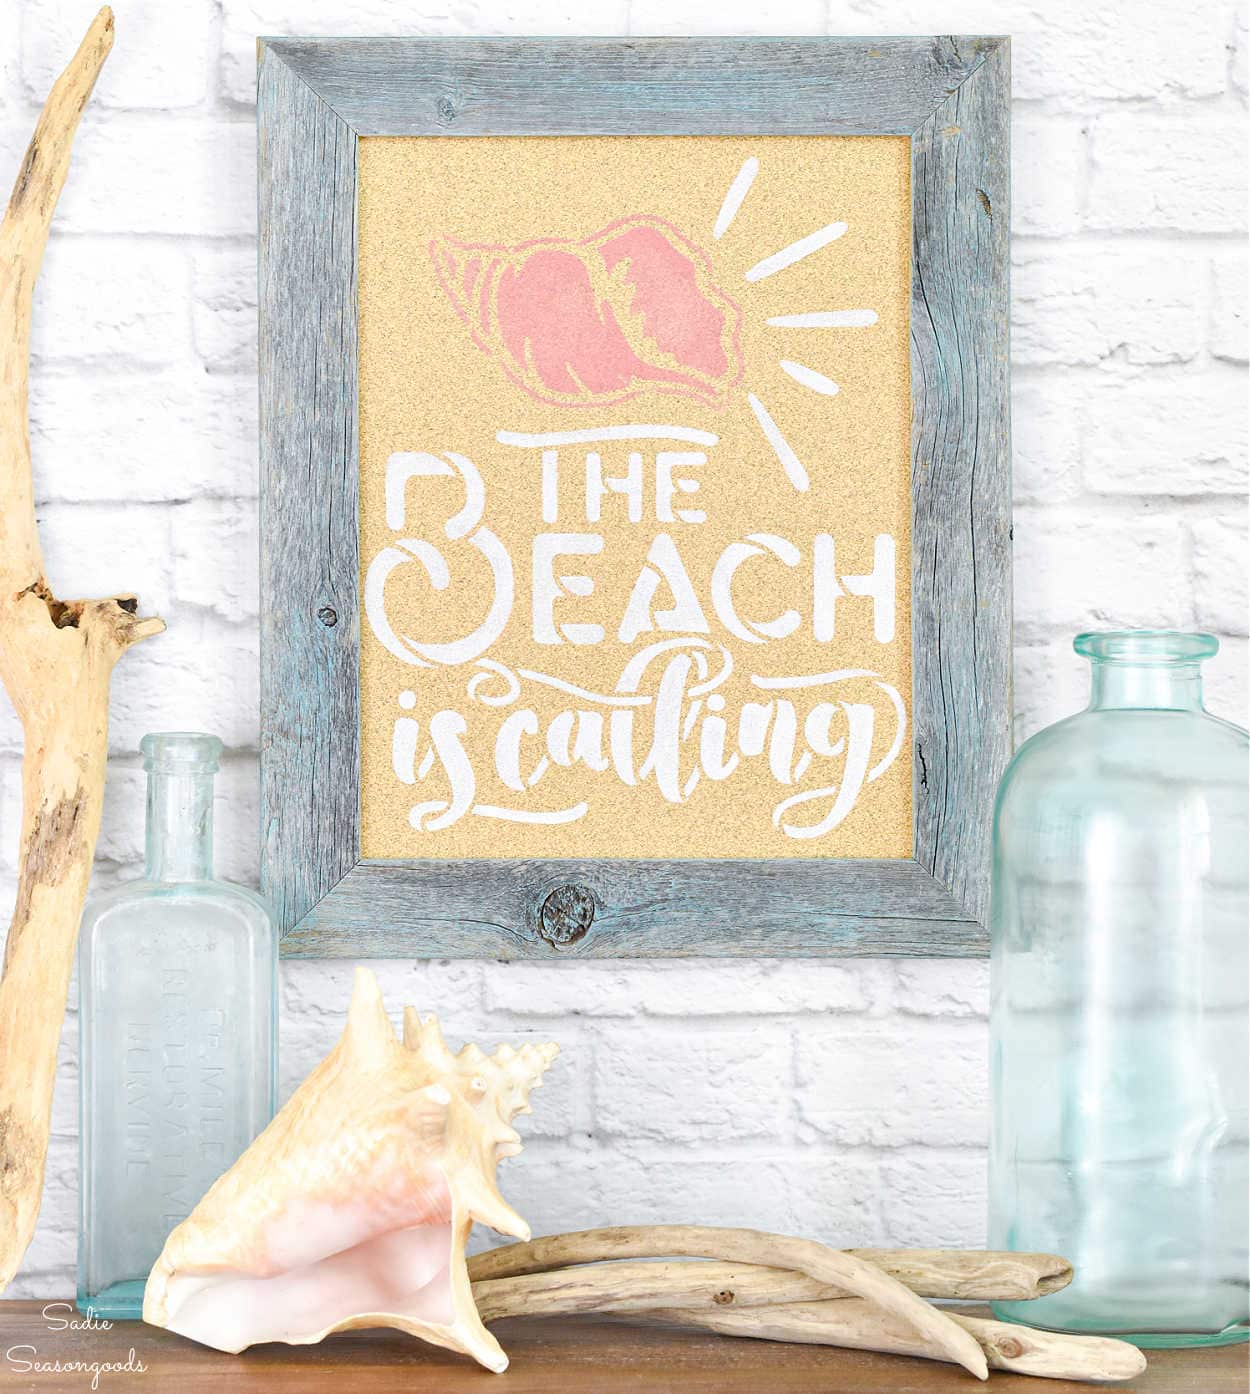
Image credit: Sadie Seasongoods.
I just LOVE how it looks like darker beach sand. Maybe not the white sugar sand of certain Gulf Coast and Caribbean beaches, but definitely like darker beach sand.
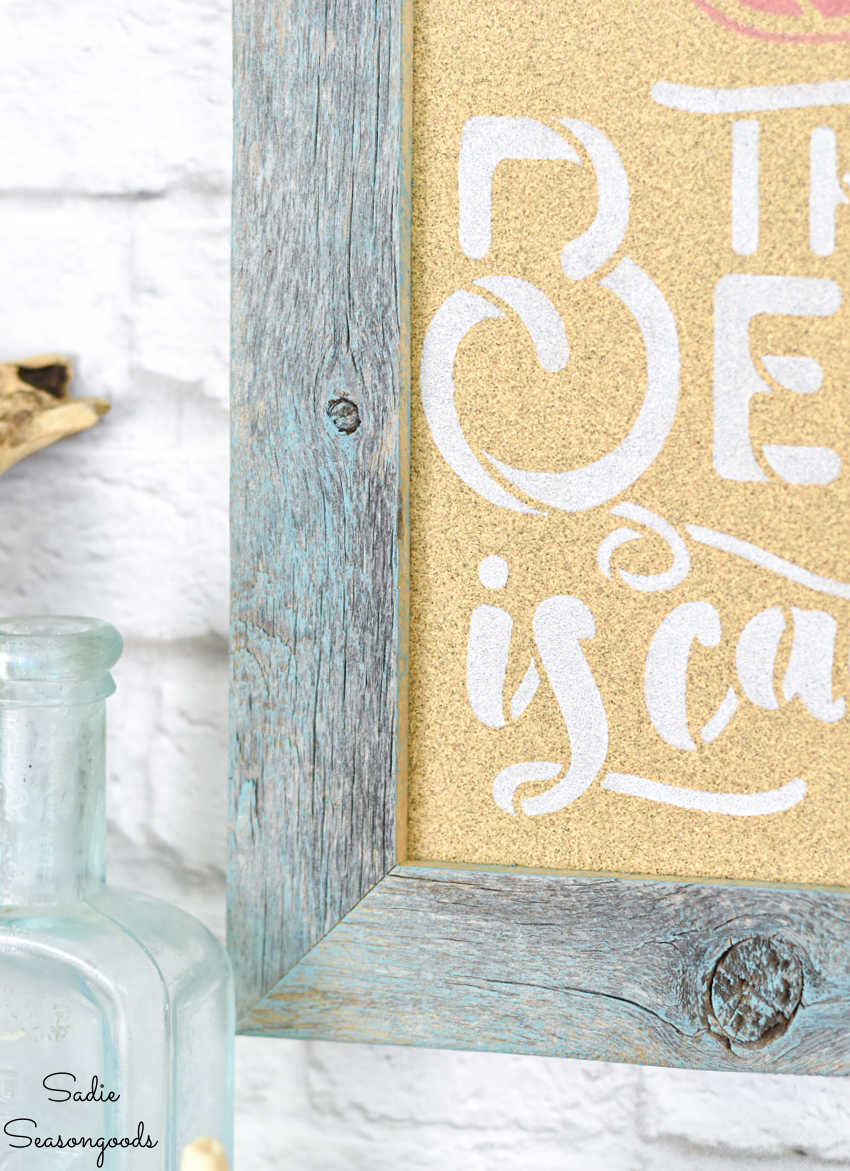
Image credit: Sadie Seasongoods.
Plus, today is the second Wednesday of the month, which means it’s Thrift Store Decor Day! I hope you’ll check out the upcycling projects my bloggy gal pals have been up to, too.
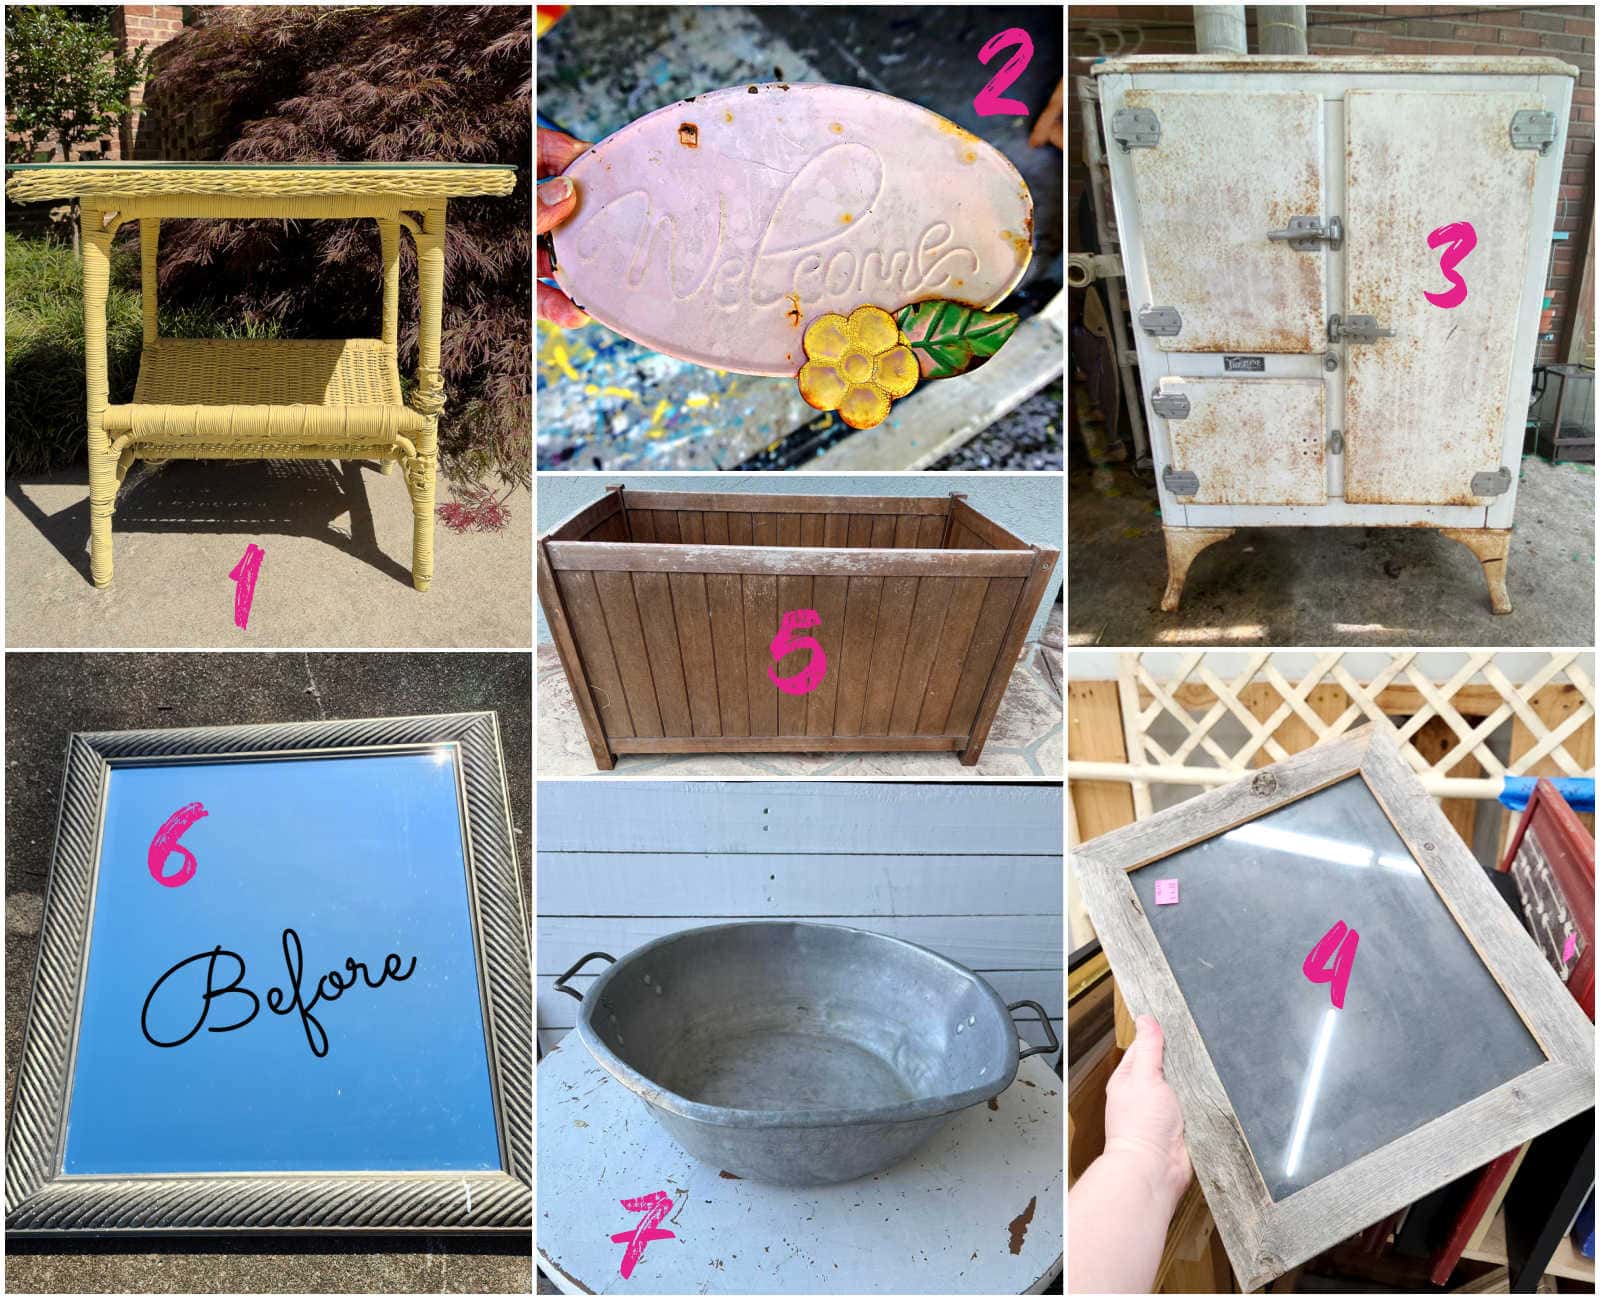
1. Wicker Table Makeover – Our Southern Home
2. Welcome Wreath – Petticoat Junktion
3. Antique Ice Box Refresh – Shop on Blu
4. Framed Coastal Wall Art on…Sandpaper! – Sadie Seasongoods
5. Turn a Storage Bin into a Planter – My Uncommon Slice of Suburbia
6. Old Mirror: New Look – My Repurposed Life
7. Vintage Aluminum Wash Basin Hanging Planter – Organized Clutter
Anyway, think you’ll try out stenciling on sandpaper? It’s such an unexpected surface to stencil on, but works perfectly for coastal-themed projects. If you try it, let me know how it works out for you.
Craft on!
S
Want to be notified when I publish my next upcycling project tutorial?
Join me on Social Media:
PIN ME!
Image credit: Sadie Seasongoods.
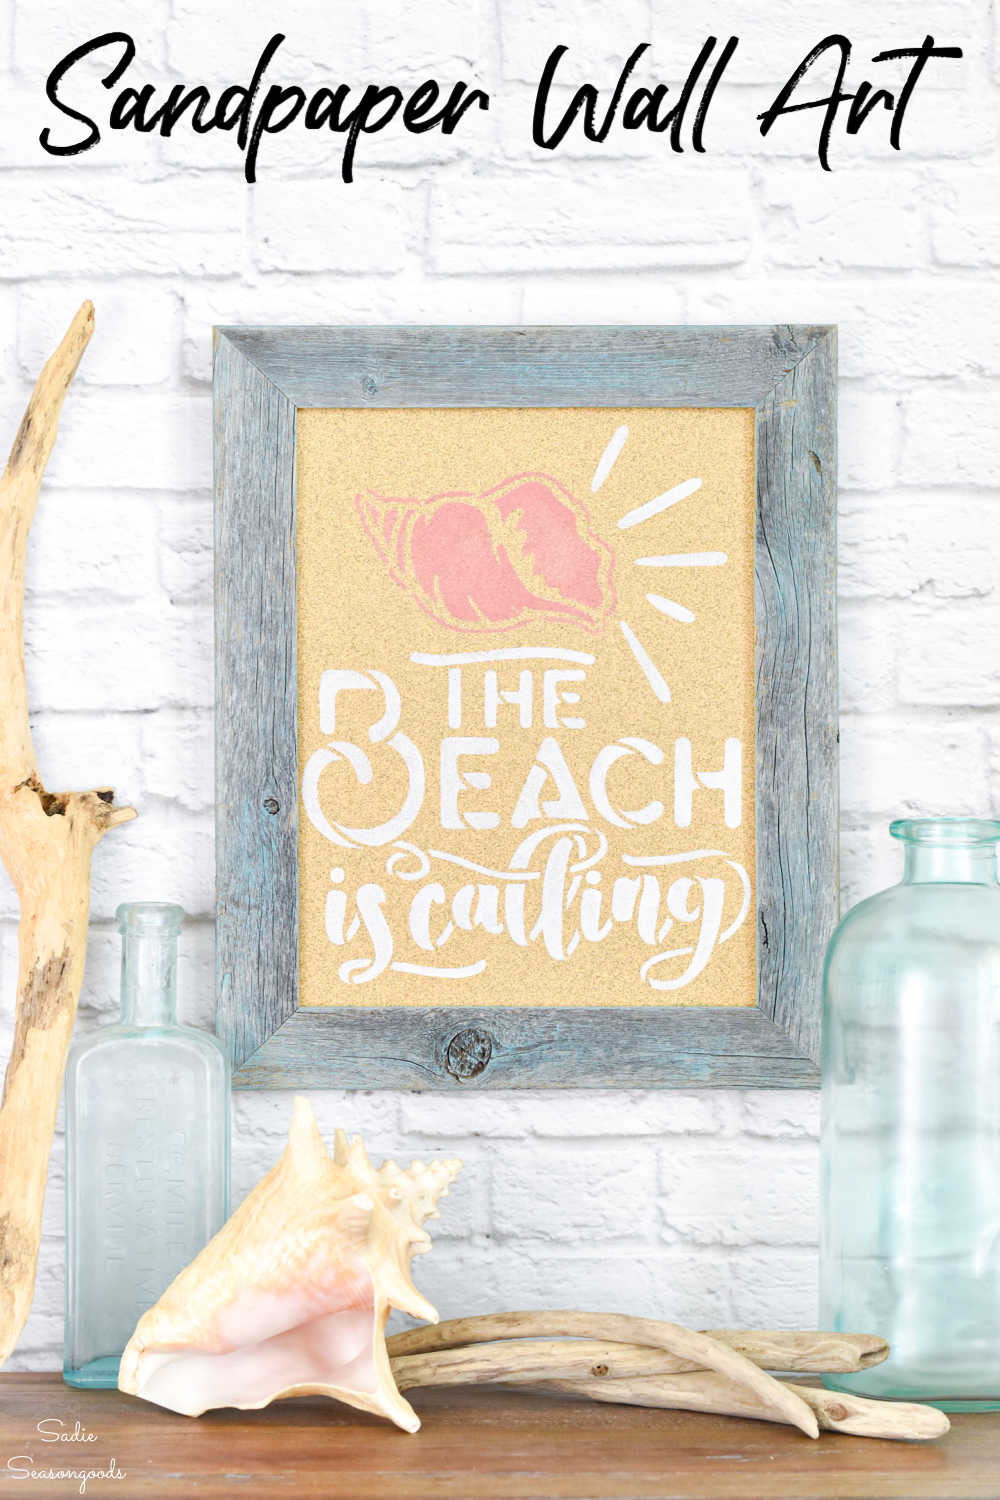
Image credit: Sadie Seasongoods.
Sarah Ramberg is the owner of Sadie Seasongoods, a website that celebrates all things secondhand. From upcycling ideas and thrifted decor to vintage-centric travel itineraries, Sadie Seasongoods is a one-stop shop for anyone who loves thrifting and approachable repurposing ideas. Sarah is also the author of “Crafting with Flannel” and has been featured in numerous media outlets and magazines.





So clever! 🙂
Sheila
Thank you, Sheila!
Love it! The sandpaper looks like beach sand for sure.
Thank you so very much, Carlene!
What a great idea! You get the look of sand without the mess of sand! I just love it! Very clever!
You nailed it, Janet! Same look, same feel, no mess!
This is absolutely genius! The sand texture for coastal decor, just wow! At first I was thinking…good luck stenciling on that but the 100 grit is pretty fine. How refreshing! Pinned!
Thanks so very much, Suzanne!
This is seriously genius! I mean it is called SAND paper, yet I never thought of it that way. I love how this turned out!
Haha, right??? Thank you so much, Kristin!