After recently sharing a Halloween project from the Sadie Archives, I reached back in and found a Christmas project to share! This project with a flocked wreath never made it onto the blog, despite finishing it nearly 10 years ago. And you know what? The time has finally come.
Ok, so the flocked wreath. It was an Etsy find that was fairly inexpensive because it was definitely showing its age.
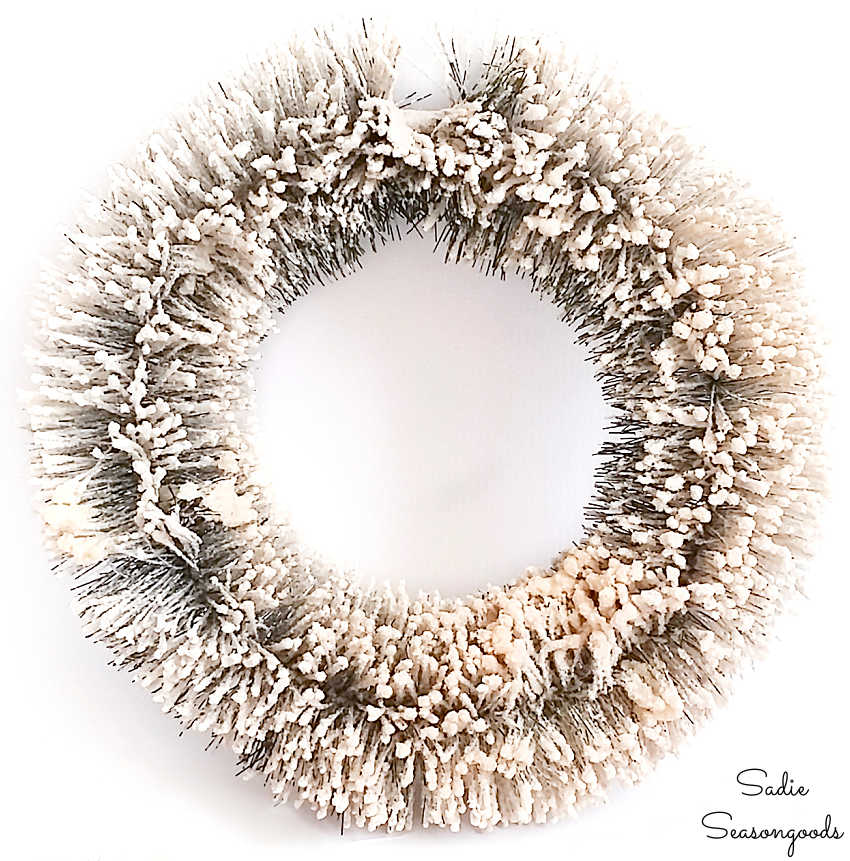
Image credit: Sadie Seasongoods.
The flocking has started to clump up in areas, and gaps had appeared in the bristles. So, it wasn’t looking full, fluffy, and uniform all the way around- the way a bottlebrush wreath is supposed to look.
Which made it an excellent upcycling candidate!
I decided to paw through my collection of vintage ornaments to see which ones could be dedicated to the wreath-decorating cause.
And yes, my love of vintage Christmas ornaments is very well-documented.
I had plenty of “unexciting” ornaments that were on the medium-small side- they’d be perfect for this! I decided to pair up my flocked wreath those specific vintage ornaments into a fun and festive bottlebrush wreath for my front door. So, let’s get right to it!
This post contains affiliate links for your crafting convenience. As an Amazon Associate, I earn from qualifying purchases. All blue, bold, and underlined text is a clickable link, either to a product or to a related post.
Upcycling a Vintage Flocked Wreath
When it came to deciding which vintage ornaments to use, I knew I needed to leave the special and/or perfect ones alone. They weren’t for crafts, after all; they were tree-worthy or display-worthy just as they were.
But I had plenty of smaller ornaments that were blemished and imperfect. Especially the ones that I had gotten in this amazing thrift store find: a Queen-sized comforter bag filled with vintage Christmas goodies. For five whole dollars.
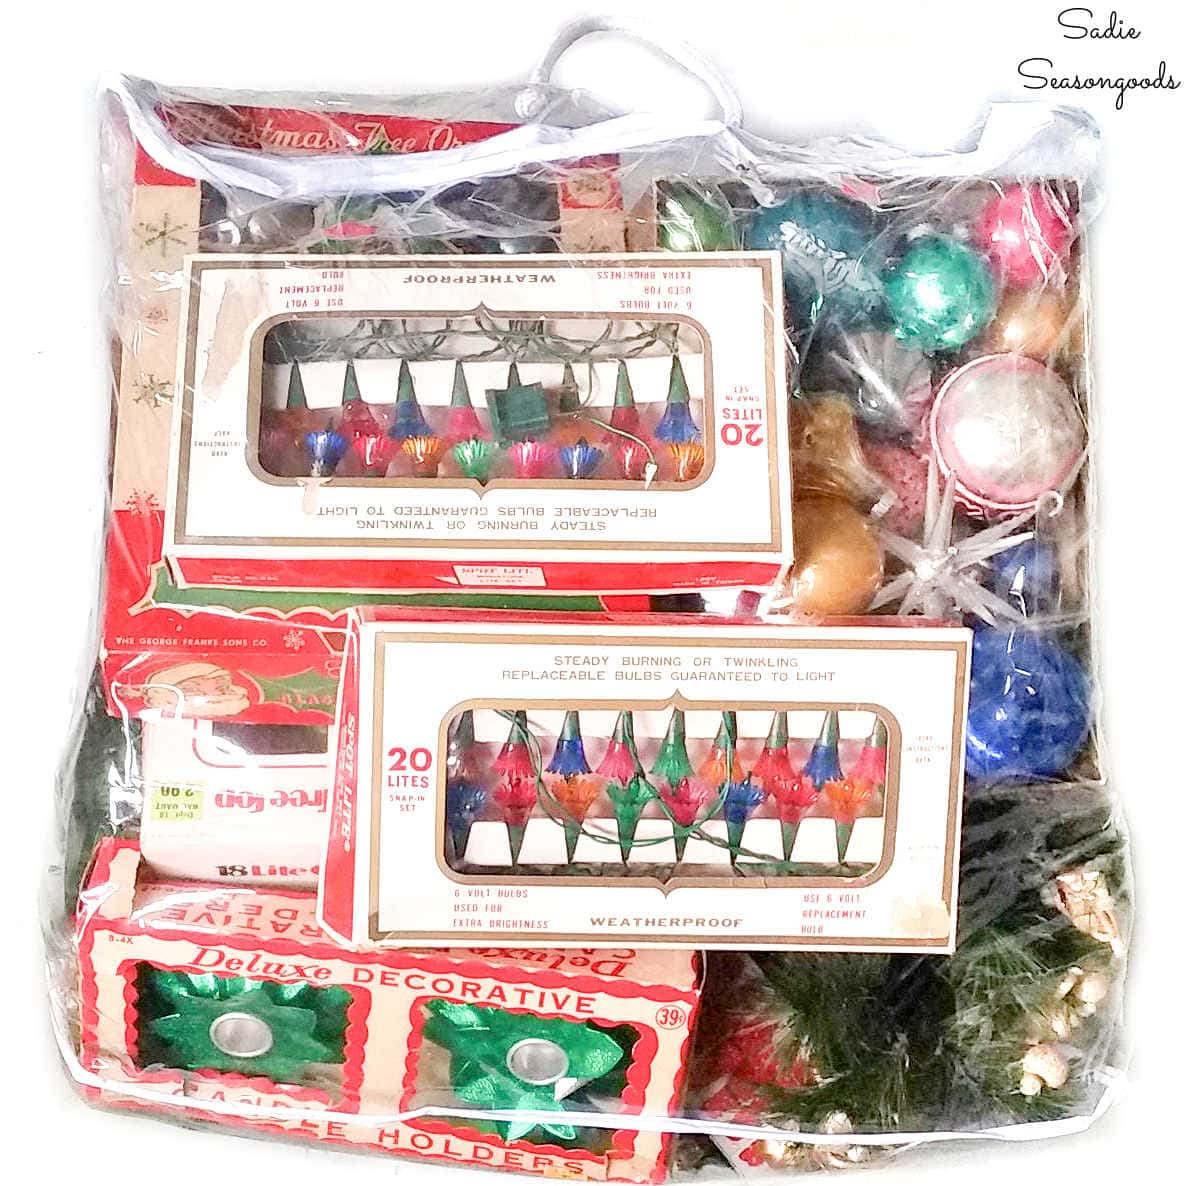
Image credit: Sadie Seasongoods.
And I had other thrifted boxes of ornaments. Not necessarily filled with broken ones, but ornaments that sported discoloration, scratches, and other blemishes from use over the years.
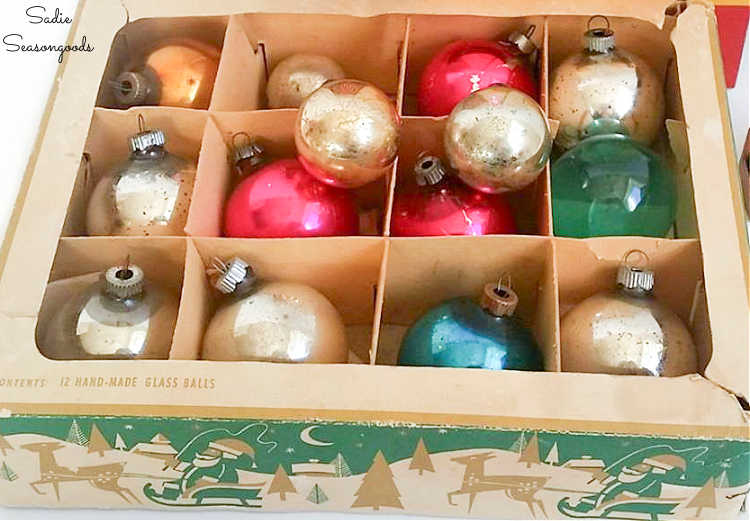
Image credit: Sadie Seasongoods.
Then, it was time to attach them to the flocked wreath. I focused on areas of the wreath that had “fluffy voids”, if that makes sense. Areas that looked flat or sparse.
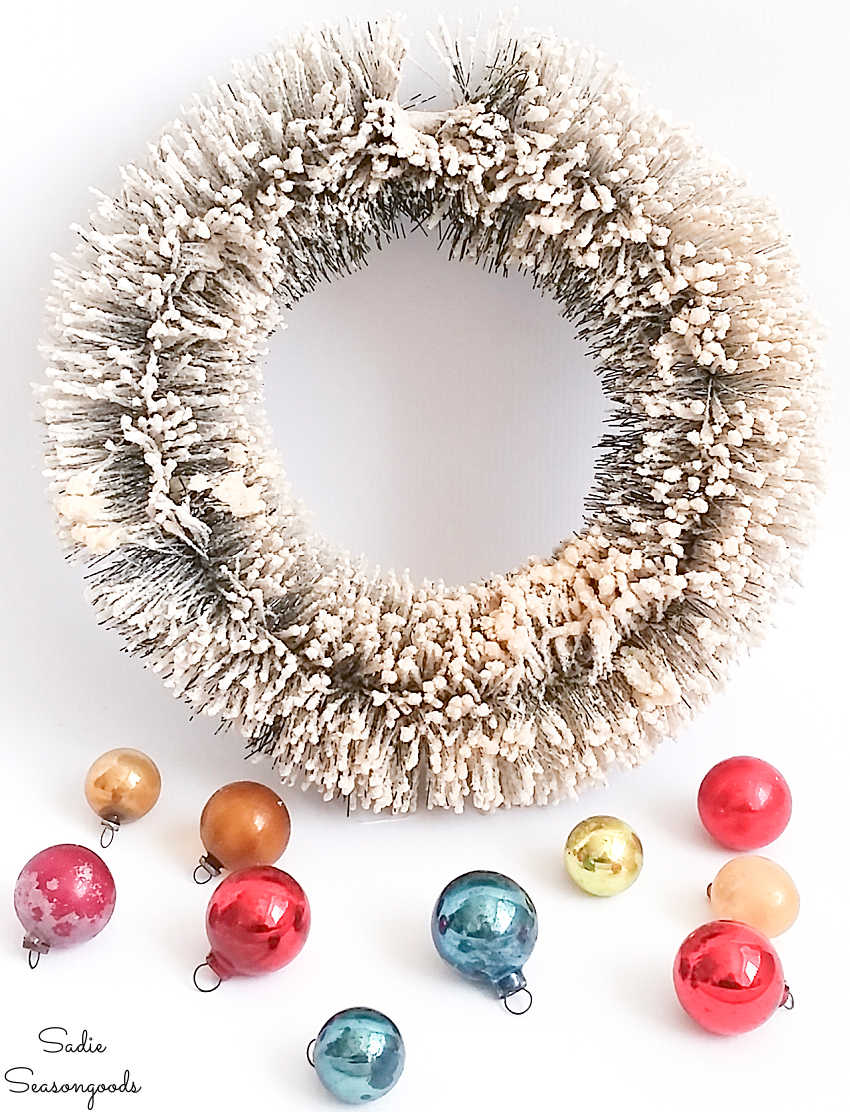
Image credit: Sadie Seasongoods.
Next, I removed the ornament caps and carefully hot-glued the vintage ornaments around the front and sides of the flocked wreath. Not the back since I wanted it to be uniform for resting against the front door.
But anyway, I tried to fill in the gaps and flatter areas to make the wreath look full and fluffy again.
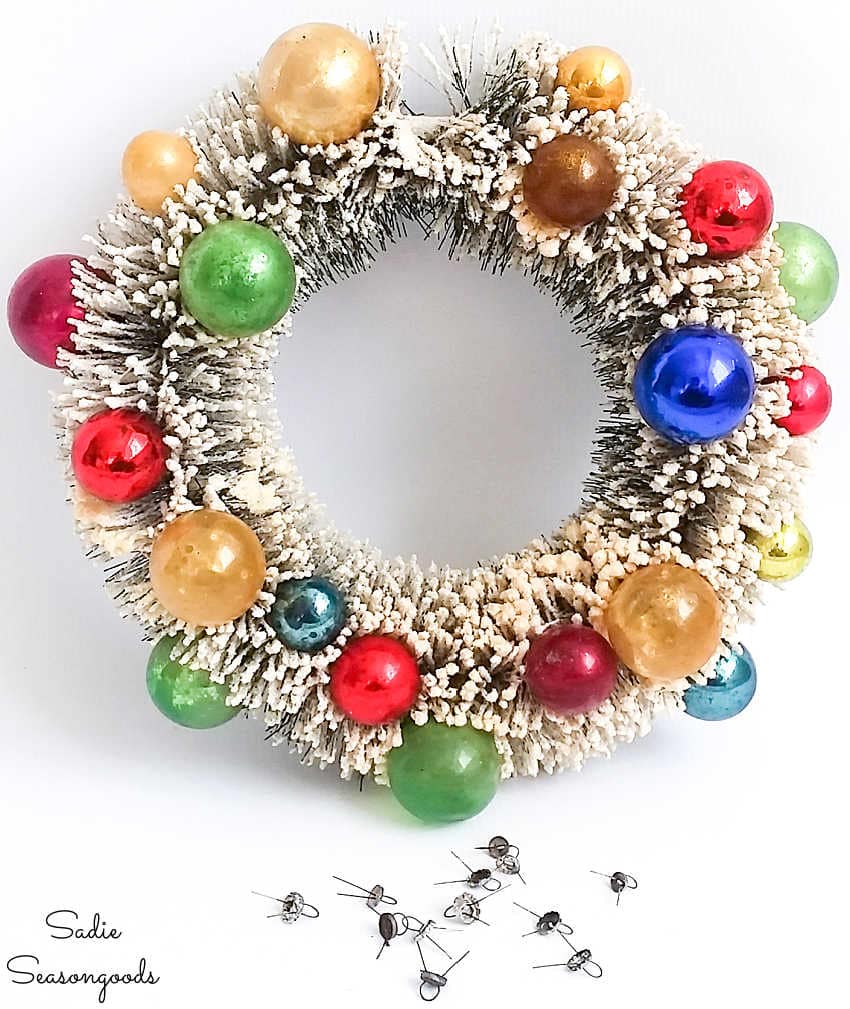
Image credit: Sadie Seasongoods.
And yes, I saved all those ornament caps (and the caps any time an ornament breaks). They can come in really handy when making other upcycled ornaments, such as these bobbin spindles.
And as cute as my bottlebrush wreath was now, it still needed something else to make it pop.
A Candle for a Vintage Christmas Wreath
Since candles inside wreaths were a common thing once-upon-a-time, I decided to recreate that same look. In a DIY-upcycled, completely-fake-candle sort of way, of course.
For the flame, I decided that a Christmas bulb would be the perfect thing. Luckily, I had these pretty pastel bulbs on hand, found at an estate sale months earlier.
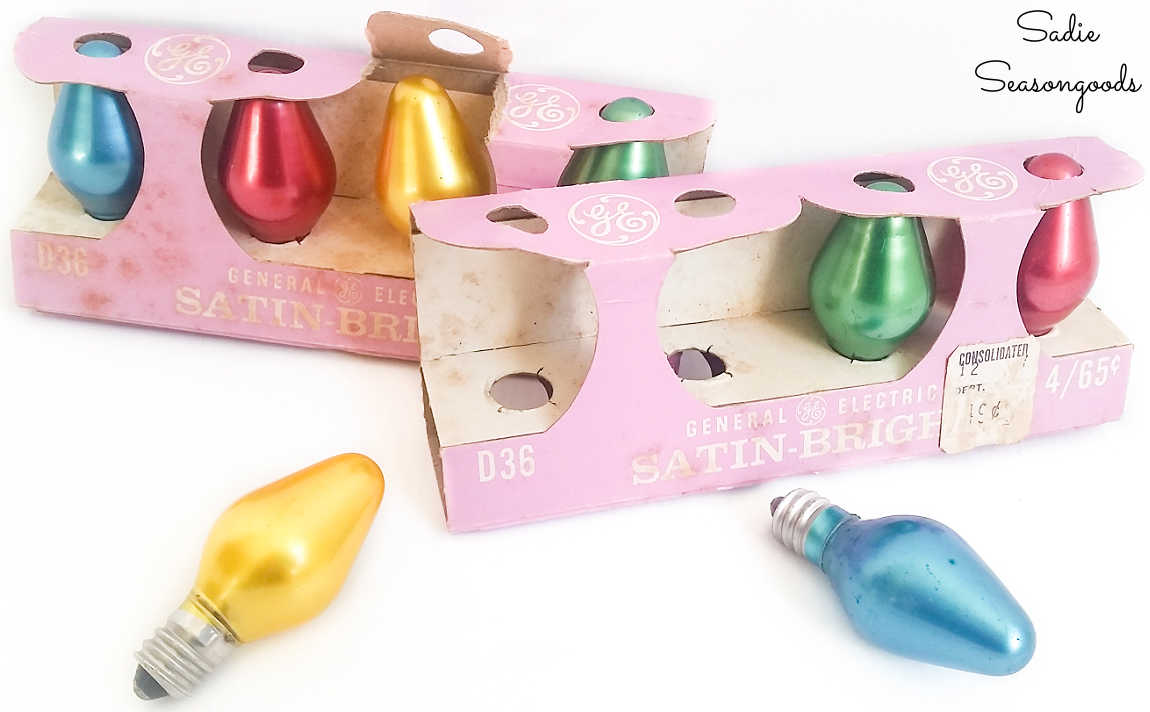
Image credit: Sadie Seasongoods.
As for the candle itself? Well, I needed a small tube in which the Christmas bulb could sit. After playing around with a few things, I found the perfect solution in my makeup drawer- of all places!
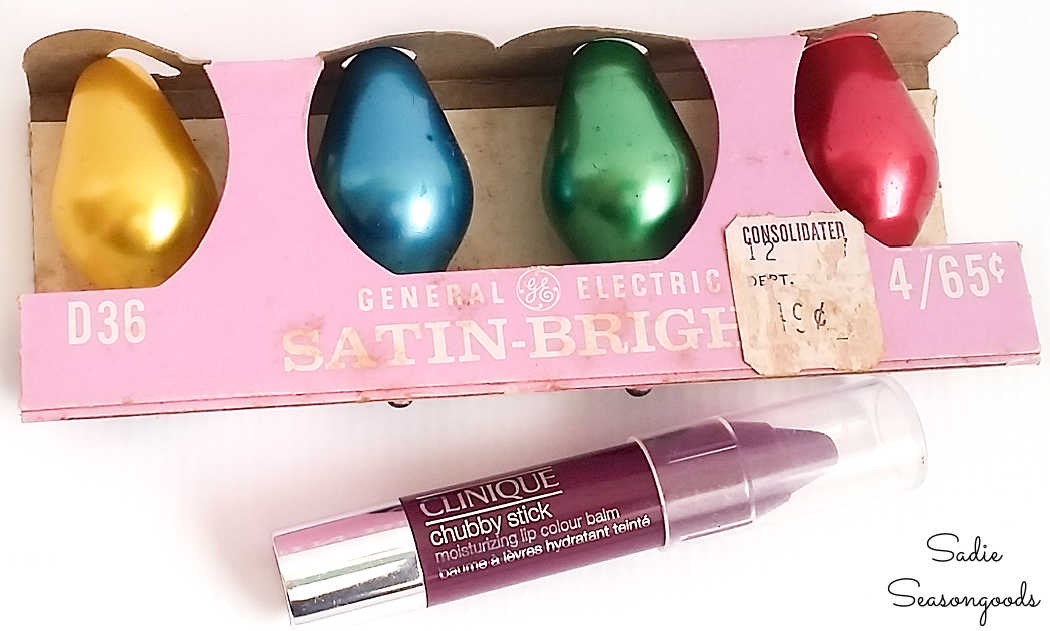
Image credit: Sadie Seasongoods.
The clear cap from a lip crayon that came in a Clinique freebie gift bag! It was the perfect size and shape. The lip crayon color looked horrendous on me, but for whatever reason, I’d kept it anyway. Thank goodness I did!
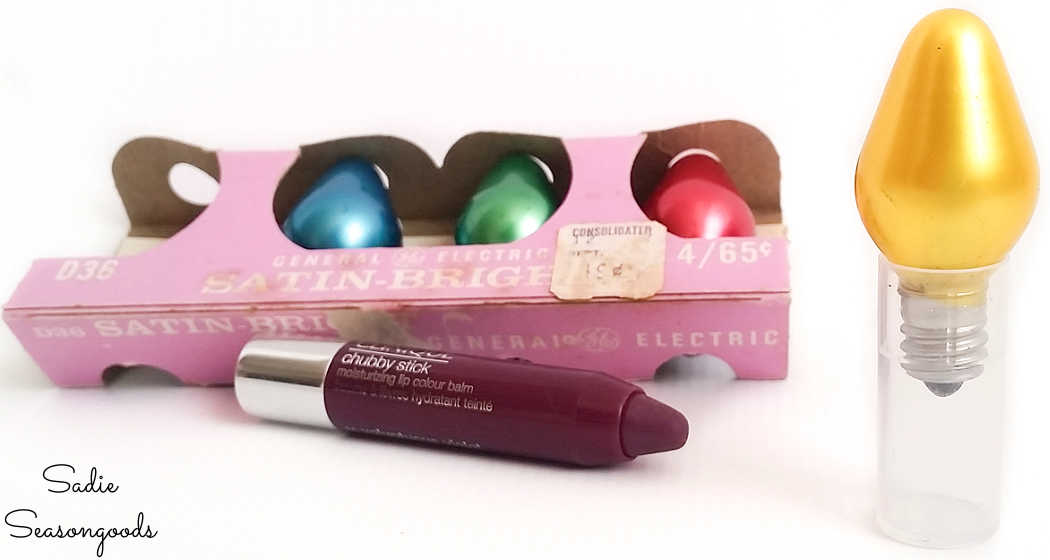
Image credit: Sadie Seasongoods.
How perfectly upcycled is that?
Anyway, I then painted the clear lip crayon cap in some off-white paint. After that, I simply hot-glued it in the bottom center of the flocked wreath.
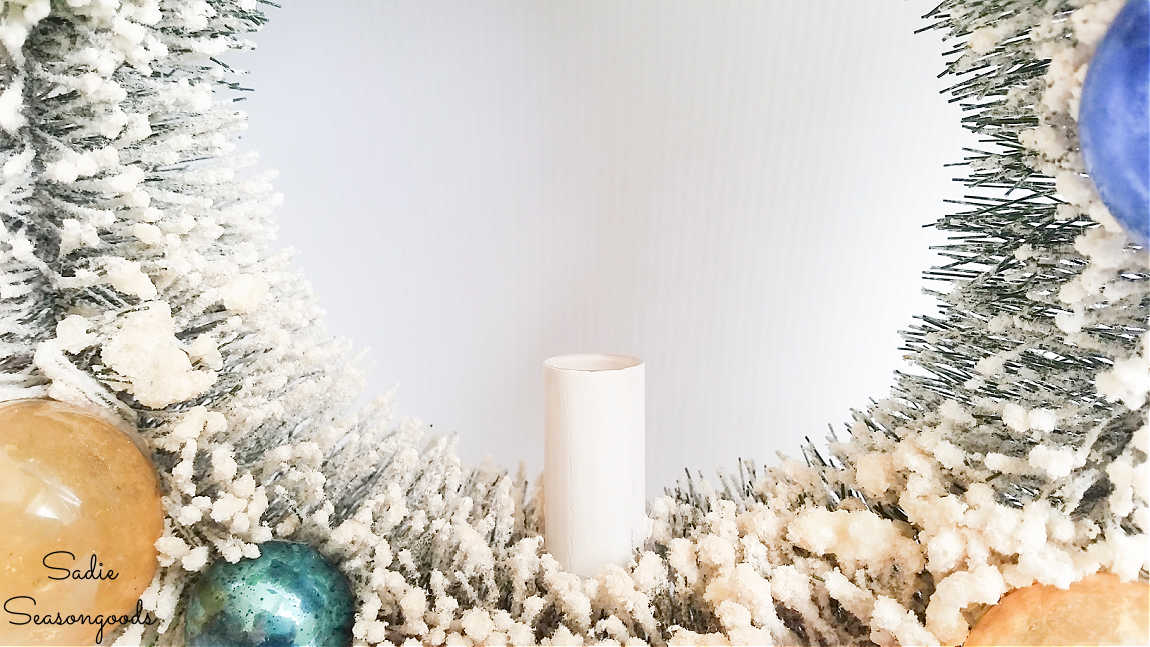
Image credit: Sadie Seasongoods.
Decorating a Flocked Wreath with Vintage Ornaments
Lastly, I hot-glued the bulb inside the fake “candle” and looped some wide Christmas ribbon around the top.
I opted for wider ribbon to cover up the significant gap in the flocked wreath. So, it served two purposes- hiding the gap and hanging the wreath!
Then, I hung it up on our red door. Doesn’t it look festively delightful?
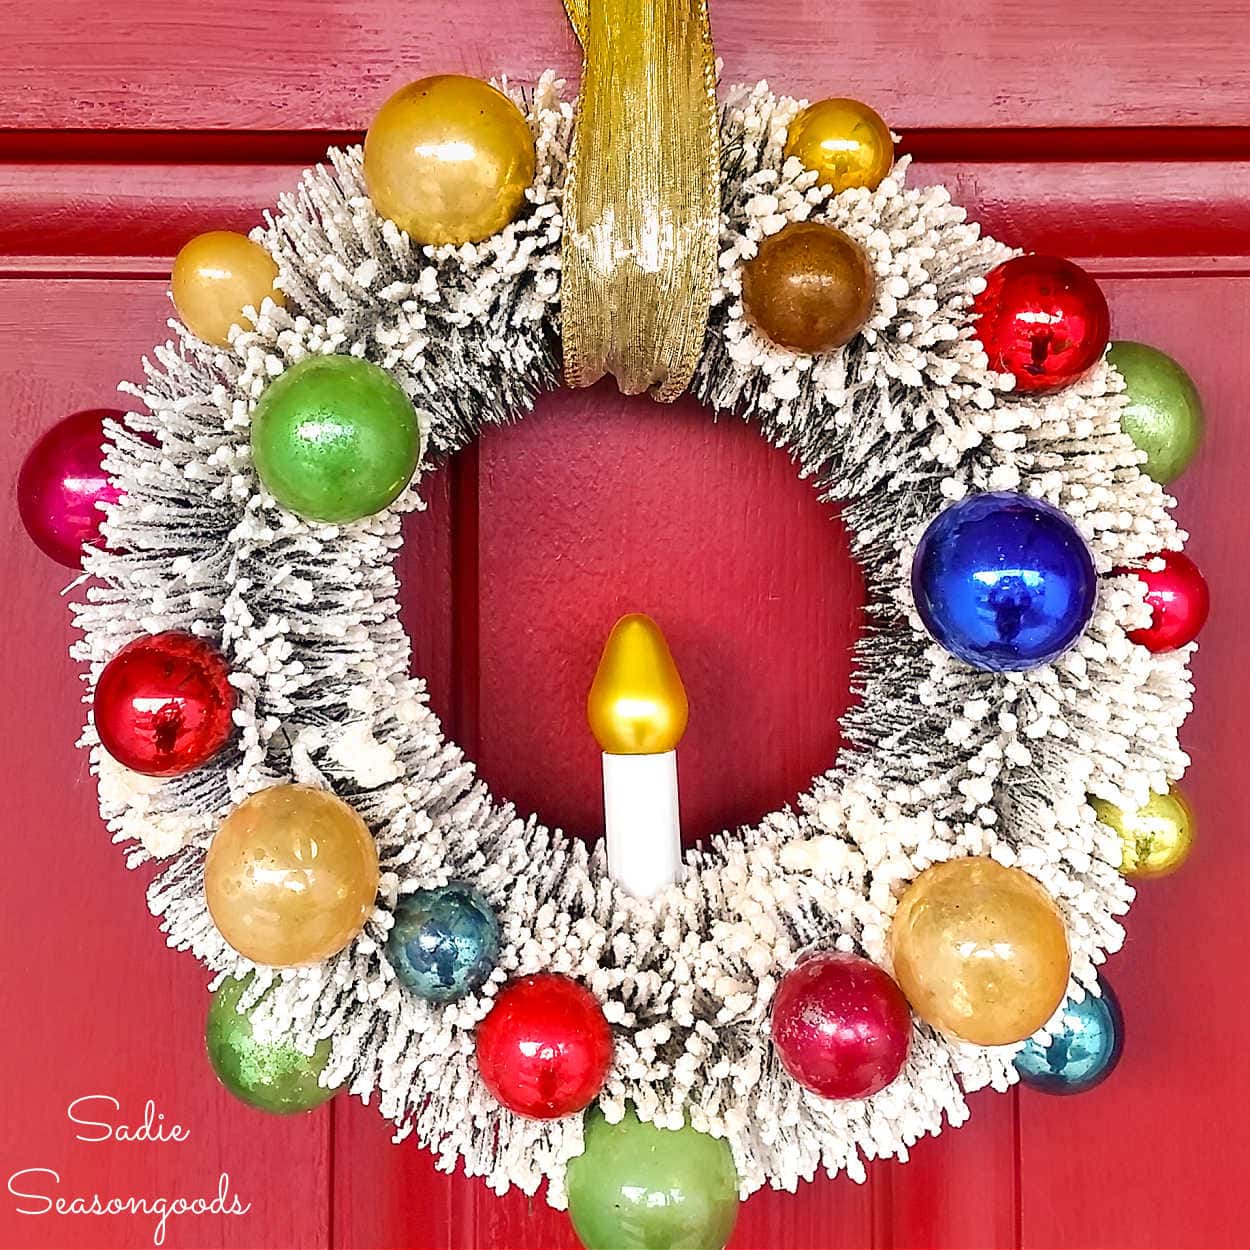
Image credit: Sadie Seasongoods.
That red door was really something else when it came to Christmas wreaths, eh? I love our current house now, but I do miss that bright red door sometimes.
Thank you for indulging me in sharing yet another archived project! I don’t know why I never published it back in 2014 when I made it; I just ran out of time and slowly forgot about it…until now!
Interested in some more upcycled Christmas wreath inspiration? Then please feel free to peruse this collection before you go!
Craft on!
S
Want to be notified when I publish my next upcycling project tutorial?
Join me on Social Media:
PIN ME!
Image credit: Sadie Seasongoods.
Sarah Ramberg is the owner of Sadie Seasongoods, a website that celebrates all things secondhand. From upcycling ideas and thrifted decor to vintage-centric travel itineraries, Sadie Seasongoods is a one-stop shop for anyone who loves thrifting and approachable repurposing ideas. Sarah is also the author of “Crafting with Flannel” and has been featured in numerous media outlets and magazines.













I made a similar one quite a few years back, but my wreath was one from my childhood that has a candle that can be plugged in. The wreath itself wasn’t much to look at, so I used a lot of vintage balls, also from my childhood. Hmmm, I haven’t used it in a few years. I think I need to pull it out again.
I think so, too!
I really like today’s wreath. The ornament placement is so perfect. The best part, for me, is that I recently saved the tops to some spent lipsticks to craft with. I had no idea what I might do with them…but now I know Thanks for sharing your creativity.
You are so very welcome!