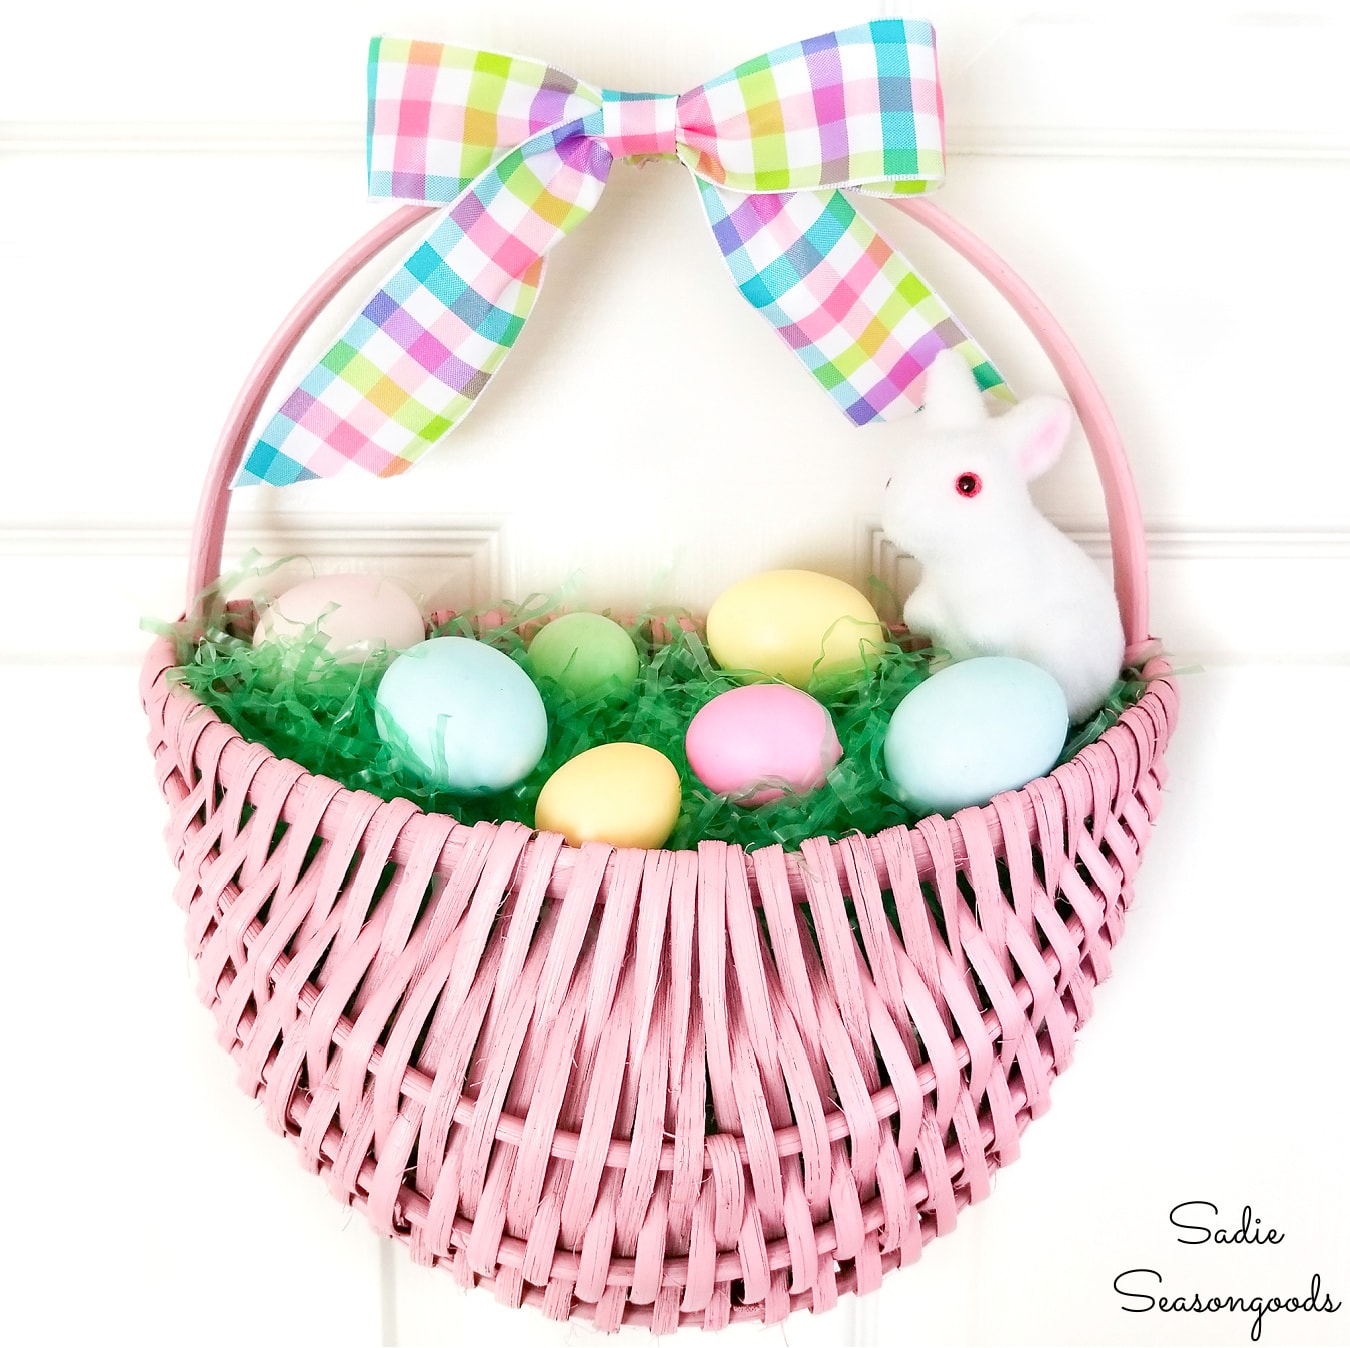

If you’ve been following my blog for a while, then you are all-too-familiar with my Junkin’ Journey series. In that series, I travel to towns across the South in search of wonderful treasures and shops to explore. On my most recent adventure to Durham, North Carolina, I found this hanging door basket at a quaint little thrift shop. And right away, I knew it was meant for Easter door decorations. Specifically as an Easter basket wreath!

Image credit: Sadie Seasongoods.
And yes. I *have* already upcycled an Easter Basket before…
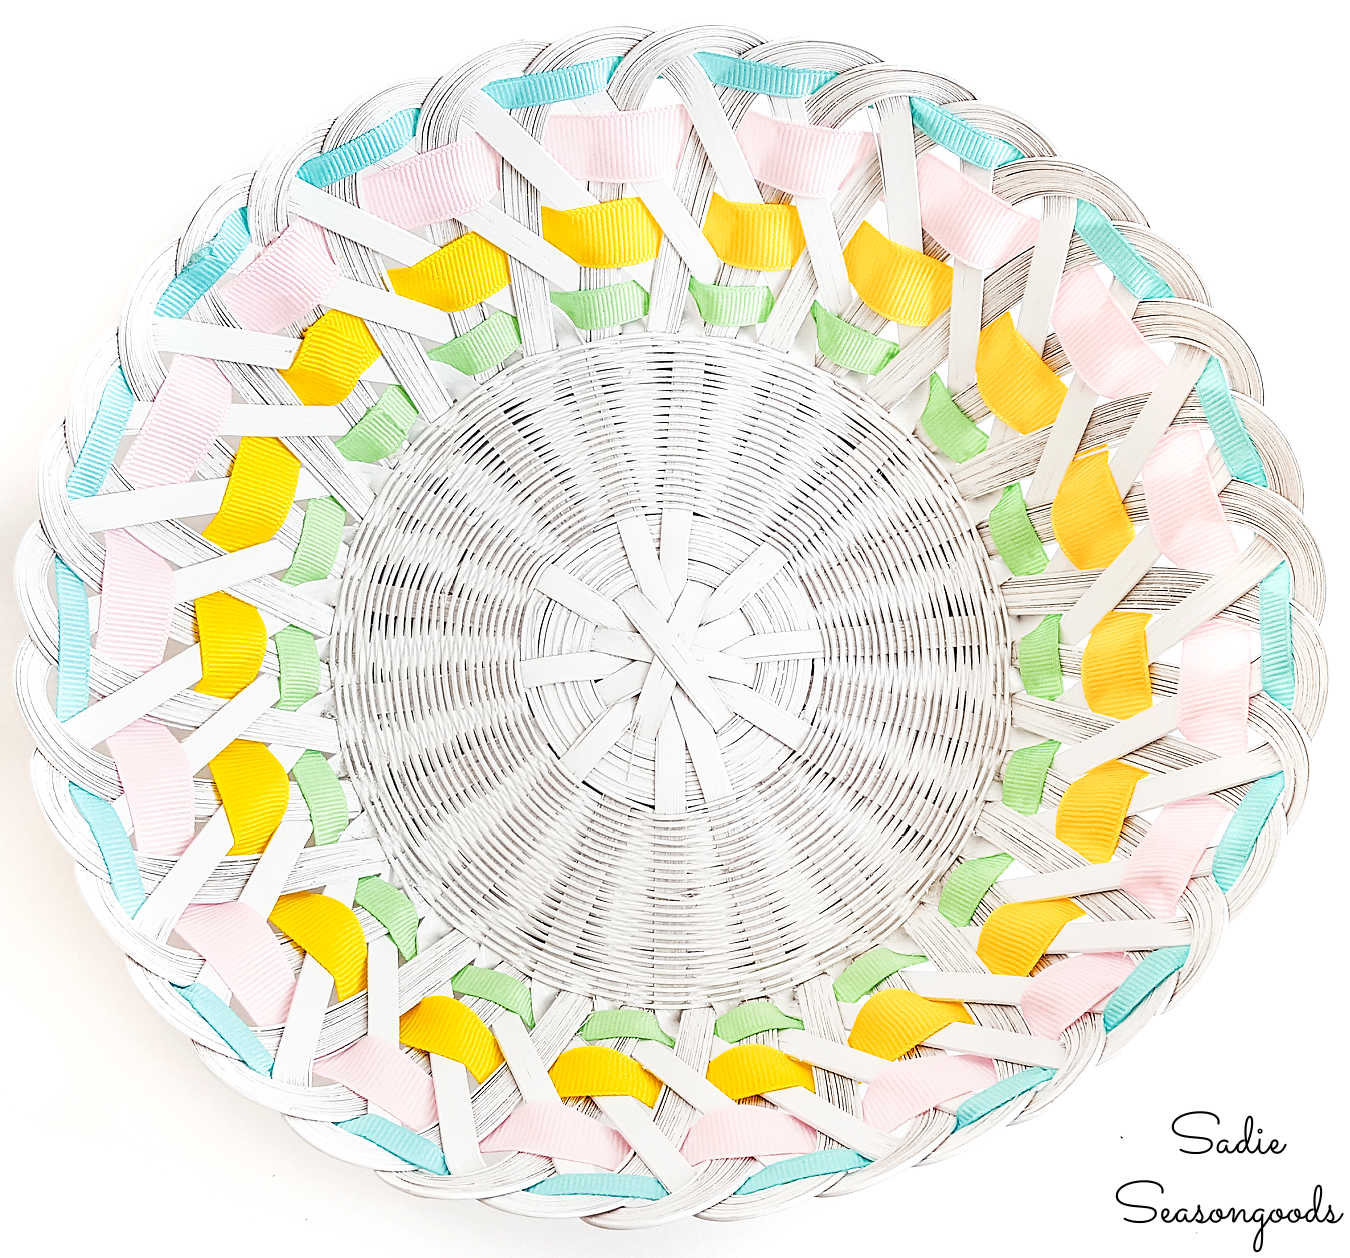
Image credit: Sadie Seasongoods.
But, between the flat back for hanging and the quintessential Easter basket shape of this one, I couldn’t shake the idea. All I needed was some paint and a few seasonal elements to spruce it up!
This post contains affiliate links for your crafting convenience. As an Amazon Affiliate, I earn from qualifying purchases. All blue, bold, and underlined text is a clickable link, either to a product or to a related post.
Upcycling a Hanging Door Basket as an Easter Basket Wreath
The first order of business was to give it a pastel, Easter-y makeover with some spray paint. I’ve always found that spray painting wicker is the most effective way to transform a basket.
It should be noted, however, that I used a swatch of painter’s tape to cover the maker’s signature and date on the back of the hanging door basket. That way, it wouldn’t be covered by the paint!

Image credit: Sadie Seasongoods.
After the paint dried, I gathered some blocks of flower foam to insert inside the hanging door basket.

Image credit: Sadie Seasongoods.
I used a butter knife to shape the flower foam in order to fit inside the flat back basket.

Image credit: Sadie Seasongoods.
On top of the foam, I stuffed in handfuls of Easter grass, filling in the gaps and fully covering the foam. Then, I gathered some other Easter basket embellishments for my Easter door decorations!

Image credit: Sadie Seasongoods.
Finishing an Easter Basket Wreath
Of course I wanted to add Easter eggs to the grass, but I needed to secure them. This would be a wreath, after all, and I couldn’t have eggs bouncing out every time the door opened or closed.
So, along with the eggs, I assembled my heavy-duty crafting scissors, some short bamboo skewers, and my hot glue gun.
With my crafting scissors, I cut down the skewers and hot glued them to the eggs- basically turning them into “picks” like you see at the craft stores!

Image credit: Sadie Seasongoods.
Then, I pushed my “picks” into the foam underneath the grass, holding the eggs in place!
NOW the flower foam step makes sense, right?

Image credit: Sadie Seasongoods.
Next, I made a wreath bow with some Easter ribbon and fixed it to the top of the hanging door basket. I thought that would be the last step…
But it still needed something else!

Image credit: Sadie Seasongoods.
A flocked bunny was the perfect finishing touch for my Easter door decorations! No Easter crafts are complete without a bunny, right?

Image credit: Sadie Seasongoods.
Just as I had done with the eggs before, I attached a bamboo skewer to the flocked bunny, turning him into an Easter pick that could be pushed into the floral foam.
Easter Door Decorations with a Hanging Door Basket
And that was it! My Easter basket wreath was complete and ready to hang on the door.
The flocked bunny was exactly what it needed, right?

Image credit: Sadie Seasongoods.
A flat back basket is seriously meant to be upcycled into an Easter wreath. It’s the perfect shape and size, and can be transformed into an Easter basket so easily!

Image credit: Sadie Seasongoods.
*****
PLUS, today is Thrift Store Decor Team Day! Which means my upcycling pals have been working on thrift store re-do projects, as well!

Spring Urns – Our Southern Home
Easter Basket Wreath – Sadie Seasongoods
Gold Leaf Easter Eggs – Domestically Speaking
Banner Garland – Petticoat Junktion
Silverware Wind Chimes – House of Hawthornes
Painted Herb Pots – My Uncommon Slice of Suburbia
Cheese Cloche Butterfly Display – My Repurposed Life
Tulip Bucket Door Décor – Refresh Restyle
*****
And if you enjoyed this upcycling idea for Easter door decorations, then you’ll love this collection of upcycling ideas for Spring Decor!

Craft on!
S
Want to be notified when I publish my next upcycling project tutorial?
Join me on Social Media:


PIN ME!

Image credit: Sadie Seasongoods.

Image credit: Sadie Seasongoods.
Sarah Ramberg is the owner of Sadie Seasongoods, a website that celebrates all things secondhand. From upcycling ideas and thrifted decor to vintage-centric travel itineraries, Sadie Seasongoods is a one-stop shop for anyone who loves thrifting and approachable repurposing ideas. Sarah is also the author of “Crafting with Flannel” and has been featured in numerous media outlets and magazines.


Really cute, it is fun to repurpose something into almost new with spray paint!
Spray paint and I are definitely BFFs!! 😉
Awwwwwww…..that’s sweet!
Thank you so much, Jenni!
Love all your things❤️So Talented!!
Awww, thank you so much, Janice! I’m so sorry the commenting function gave you fits this morning.
Your bunny wreath is adorable! I hate seeing all the lonely baskets at the thrift store just sitting there waiting for someone to come along and love them!
I know!!! There’s always a gajillion of them waiting for a new lease on life.
Love this project. The bow is just right and oh so colorfull.
Thanks, Fonda!!
Totally adorable! I LOVE thrift stores!
They are my home away from home, LOL. (And thank you!)
Perfectly cute & updated now!
Thank you, Florence!
What an adorable Easter Basket! I love the pink color and plaid ribbon you chose!
Thank you so much!!
YOU ARE FANTASTIC! This is cuteness overload – I’m obsessed.
Thank you so very much!!
Cutest basket turned wreath – love that pink!!!
Thank you so much, Maryann! (And for the G+ shoutout, too!)
What a cute project, love that color, happy Spring!
Thanks, Kristin!!
I usually leave my baskets as is, but, boy, that pink sure made that basket something special! The vintage bunny made me smile! My ribbon hoard is worse than my basket hoard!
Super cute wreath! Smart turning those eggs into picks!
Thanks, Christy!
It’s adorable & so clever! I have that same basket, but it’s in blue & “tan”, handmade by my aunt, so I couldn’t bear to paint over it. Will be on lookout for a similar one to do over. thanks
Thank you so much, Mary- and I definitely understand the desire to find a different one! 🙂
Awww…that’s super cute! Love the pink basket and the fuzzy bunny.
Thanks, Erlene!
This is so adorable…and I see baskets like this at the thrift store all the time! I want to make one for my door now, too! Thank you for sharing Sarah!
Thank you so very much, Linda!
This is adorable – I spray paint a lot of things but never considered painting a basket – now my wheels ate turning!
I’ve actually never brush painted a basket- spray paint gets such good, full coverage that it can’t be beat! (unless, of course, you want a less ‘perfect’ paint job for a vintage/distressed look…)
Sarah,
Your upcycled Easter basket is sooo sweet! I love everything about it. Brilliant idea to make the picks with skewers!
pinned!
gail
Thanks, Gail!! I’ll be sharing your ‘before’ today because my people LOVE cheese cloche projects!!
I always called them ugly wall baskets, but this is far from ugly. This is adorable!!! I will be looking at these basket with a new eye now. ?
Such a cute way to dress up the door.
OMG, how cute is this project and the colours are great.
Thanks, Anita!