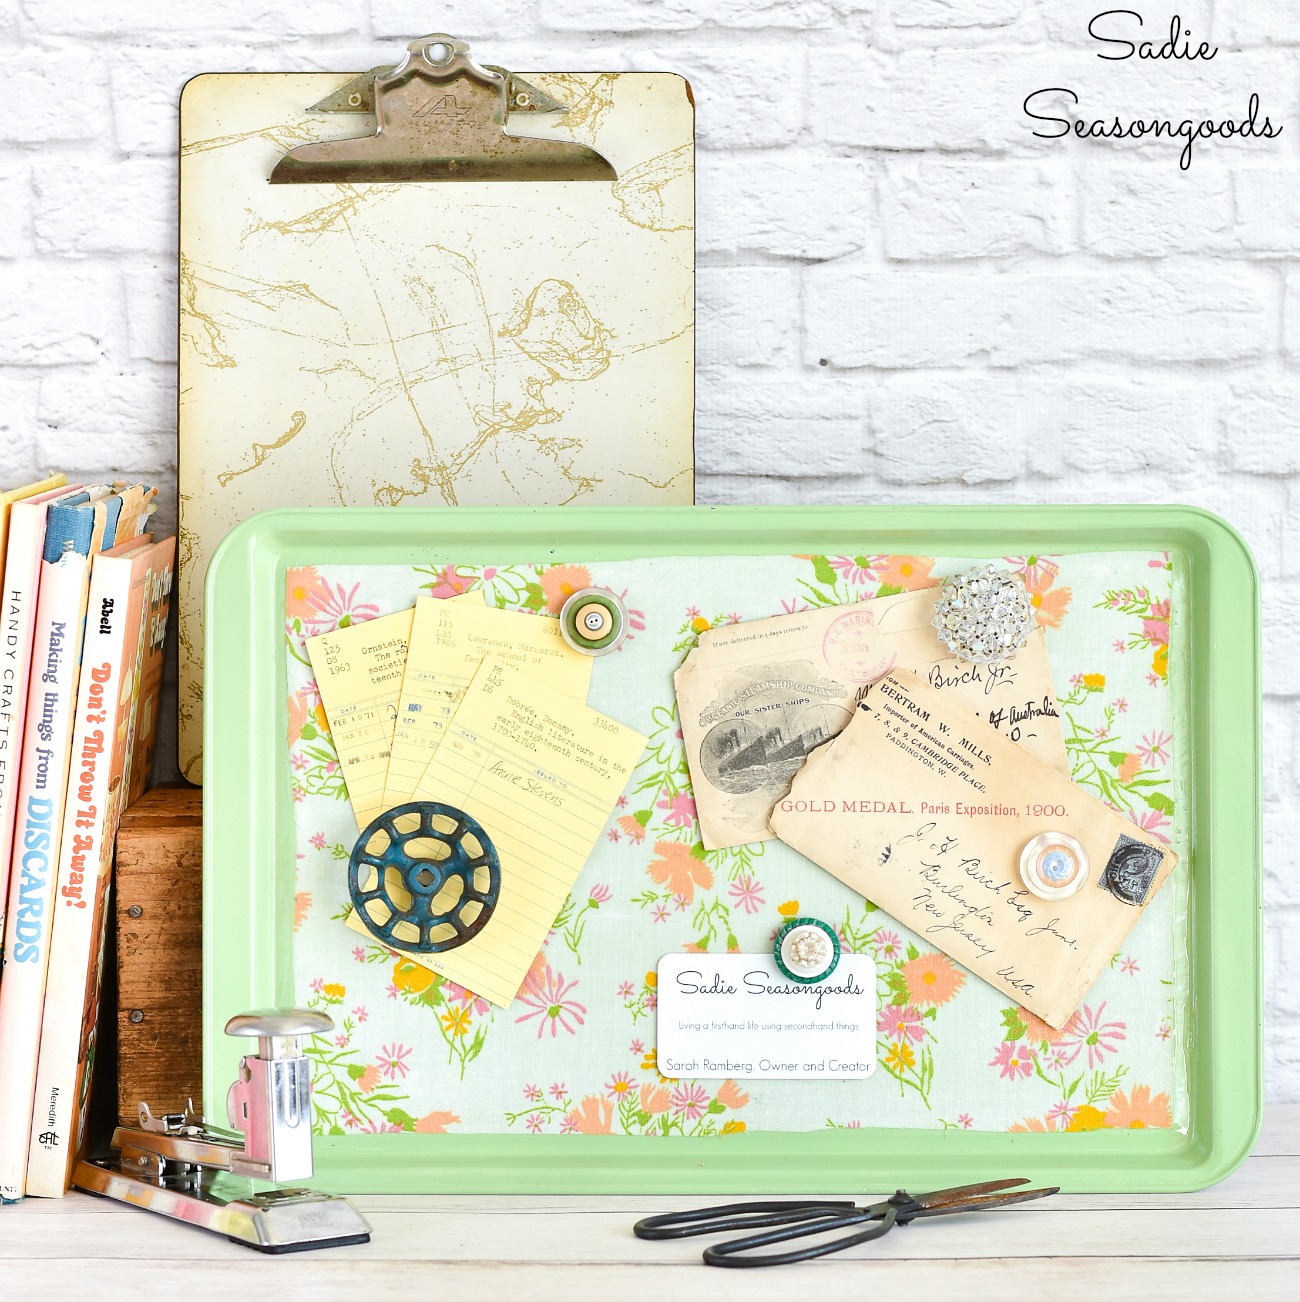
If your cookie tray starts to look old, rusty, or scratched up, they can be completely reborn into an organizer of sorts! I saw this idea first in GreenCraft magazine and wanted to recreate it right away. A magnetic memo board seemed like it would be SO handy for notes, recipes, etc.
And even though my baking pans weren’t in terrible shape, I had been eyeballing some new ones at the kitchen store.
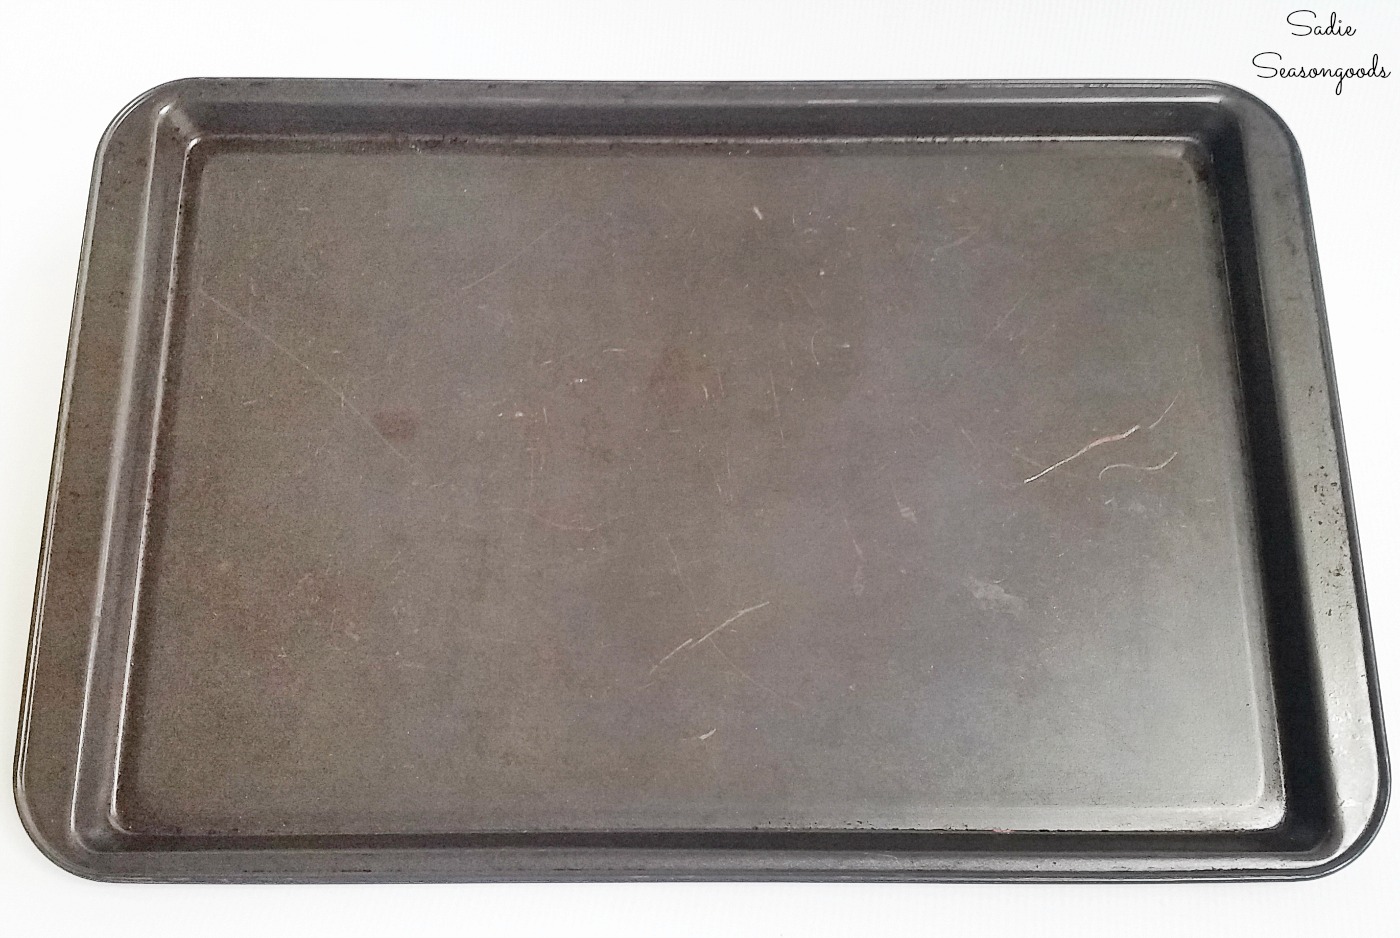
Image credit: Sadie Seasongoods.
This post contains affiliate links for your crafting convenience. As an Amazon Affiliate, I earn from qualifying purchases. All blue, bold, and underlined text is a clickable link, either to a product or to a related post.
Spray Painting Metal and Decoupaging on Metal for a Magnetic Memo Board
Similar to the magazine, I wanted to effectively hide its true identity with some paint in a pretty color. And if you’ve ever spray painted metal before, you know it’s best to first start with a metal primer first.
Using metal primer isn’t absolutely required, but it does help regular spray paint adhere to an otherwise smooth or shiny surface.
After the primer dried, I gave it two quick coats in a bright, fresh green color.
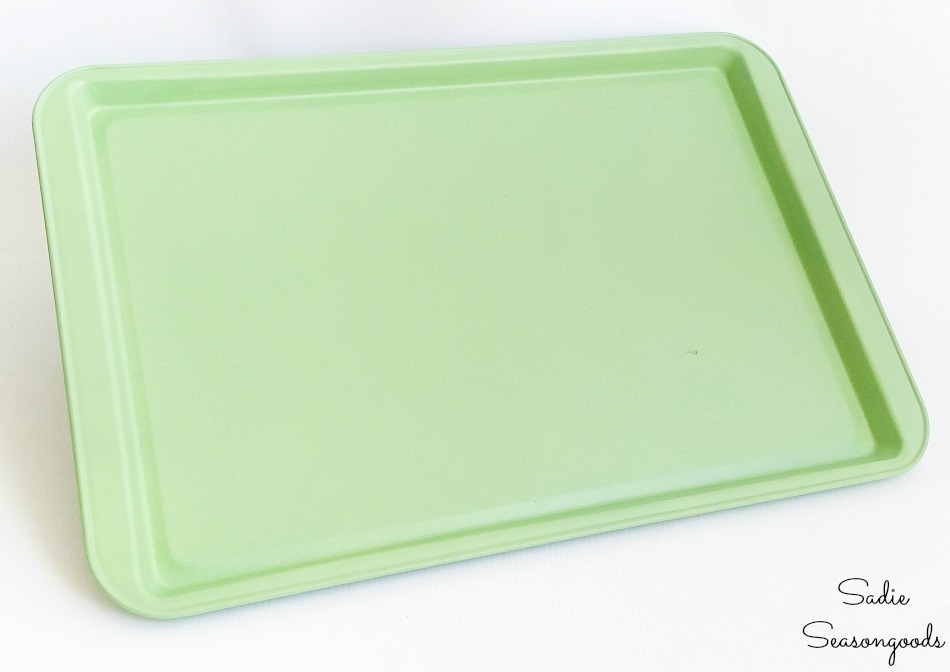
Image credit: Sadie Seasongoods.
While my inspiration in the magazine recommended to use craft paper for the next step, I wanted to upcycle something else instead. So I settled on vintage fabric from an old bed sheet to decoupage to the flat center of the cookie sheet.
Seriously, though- how cute will that be on the green tray?!
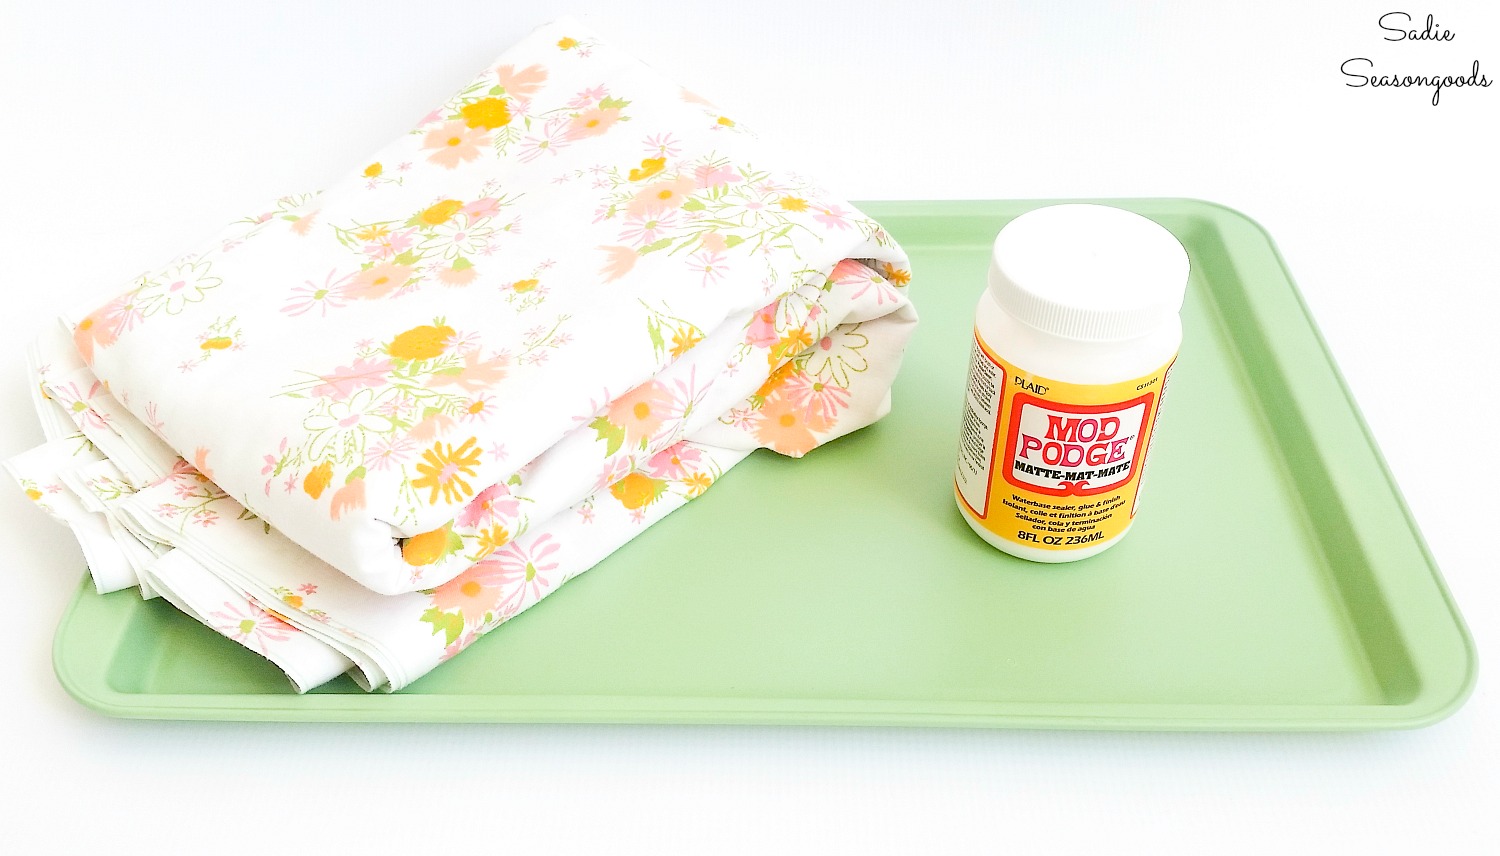
Image credit: Sadie Seasongoods.
First, I measured out how much fabric I would need before cutting it out with fabric scissors. Then, I “mod-podged” my vintage fabric to the cookie tray.
My magnetic memo board was coming along nicely!
Then, I just let it sit overnight to fully dry.
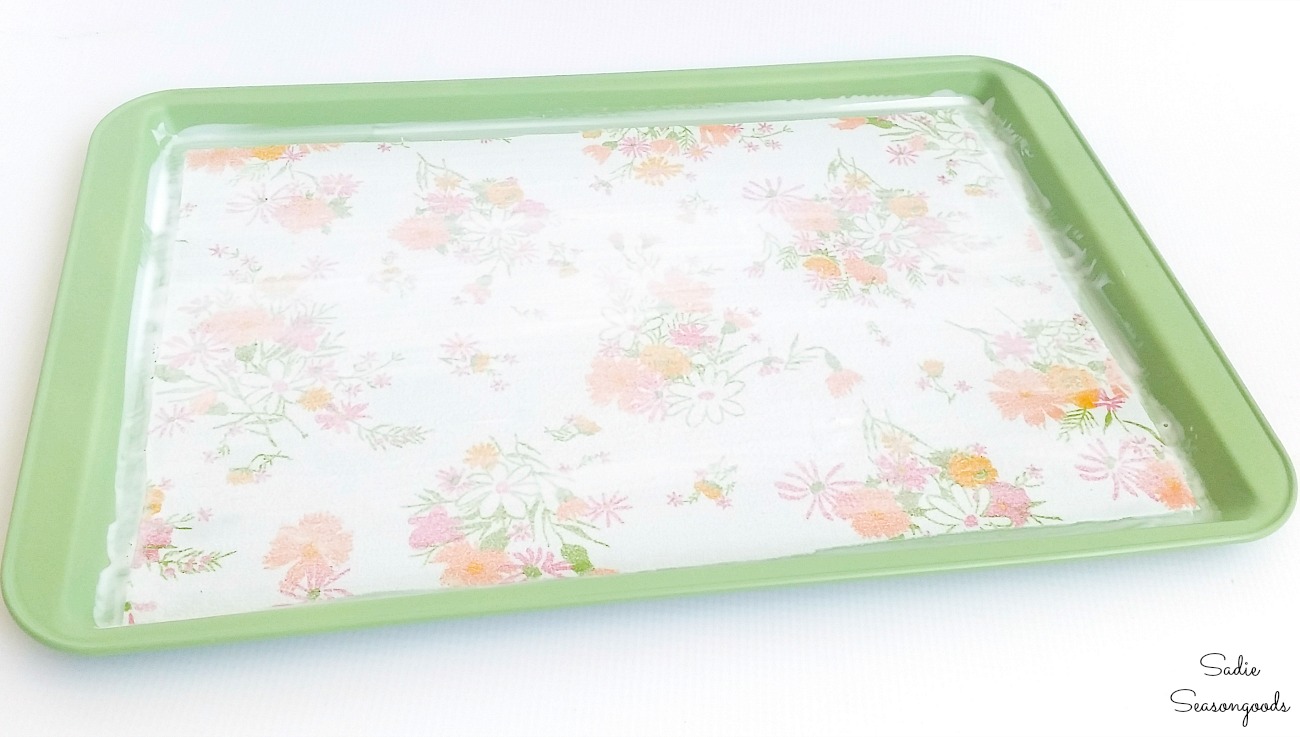
Image credit: Sadie Seasongoods.
To protect the paint finish, I sprayed a layer of glossy clear coat to the entire thing before using it as a magnetic memo board.
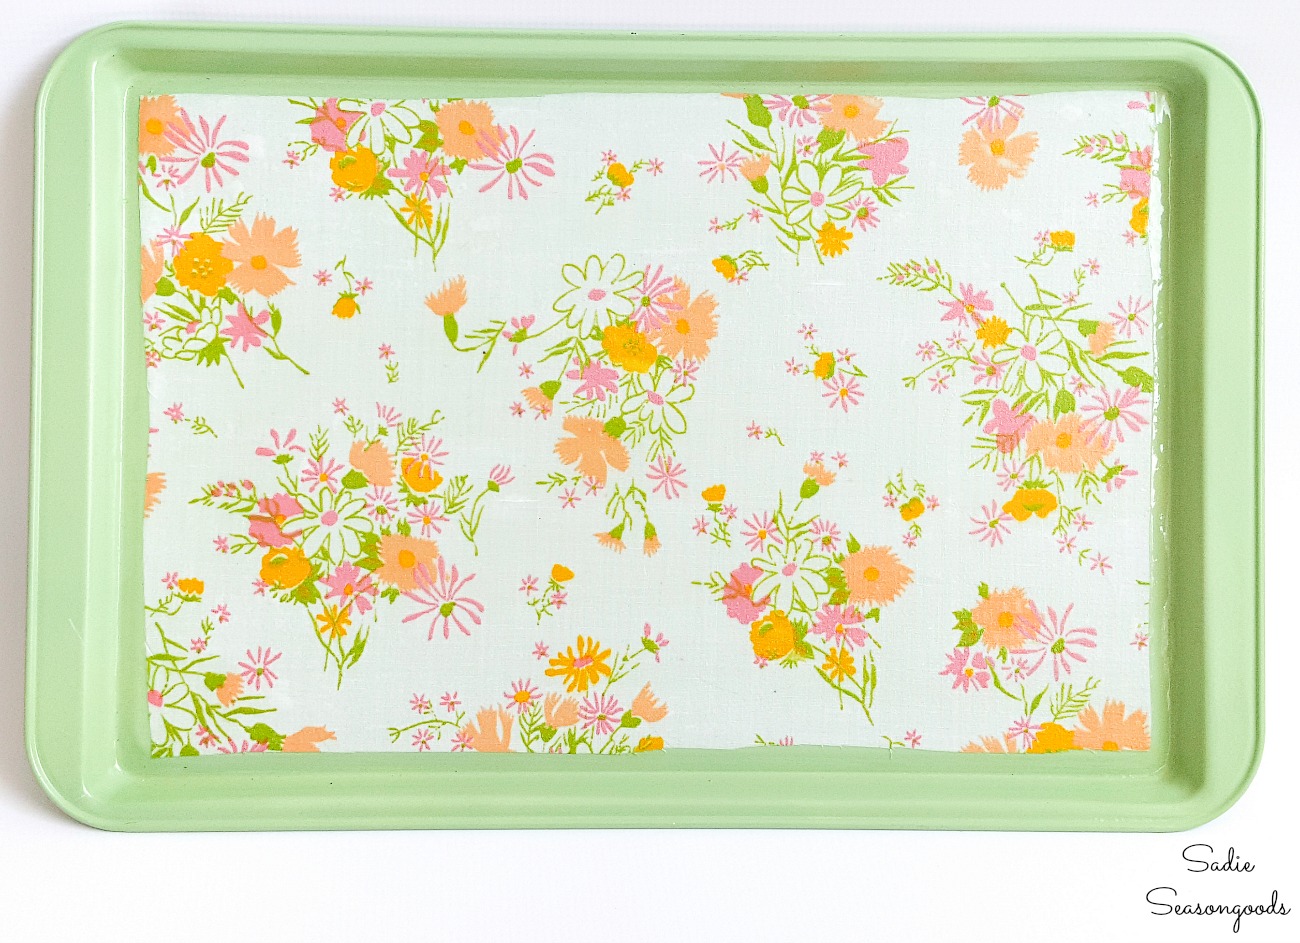
Image credit: Sadie Seasongoods.
Isn’t it just plain adorable?
Magnetic Memo Board from a Cookie Tray
I just love how this magnetic bulletin board turned out! And it was a seriously easy upcycling project to do, as well.
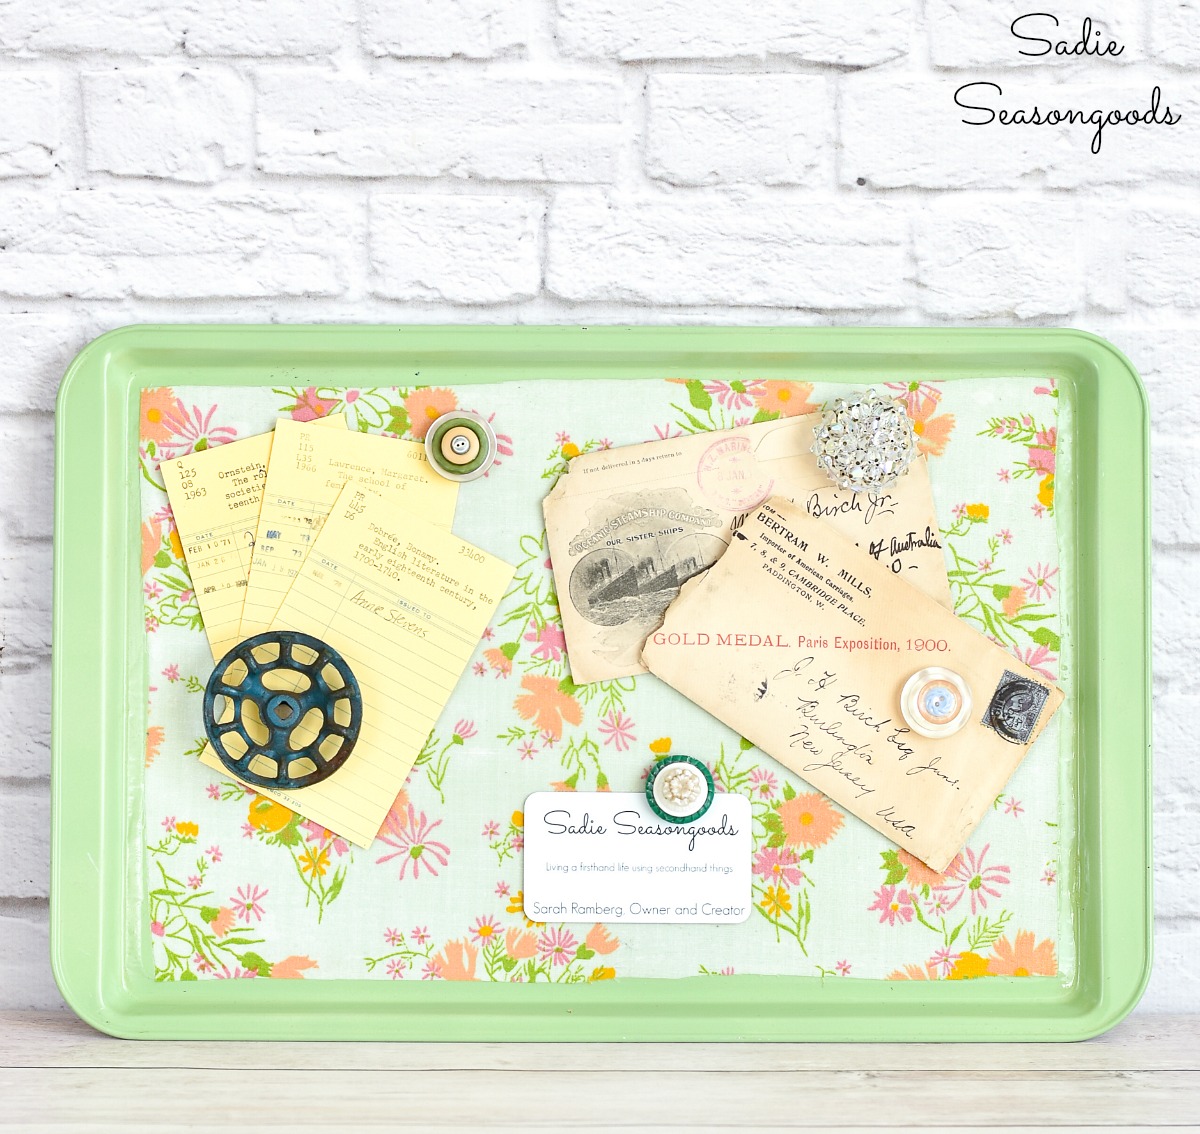
Image credit: Sadie Seasongoods.
I’m sure craft paper would be pretty on this, but you know me- I like to use what I already have! And I have A LOT of vintage fabric from old bed sheets.
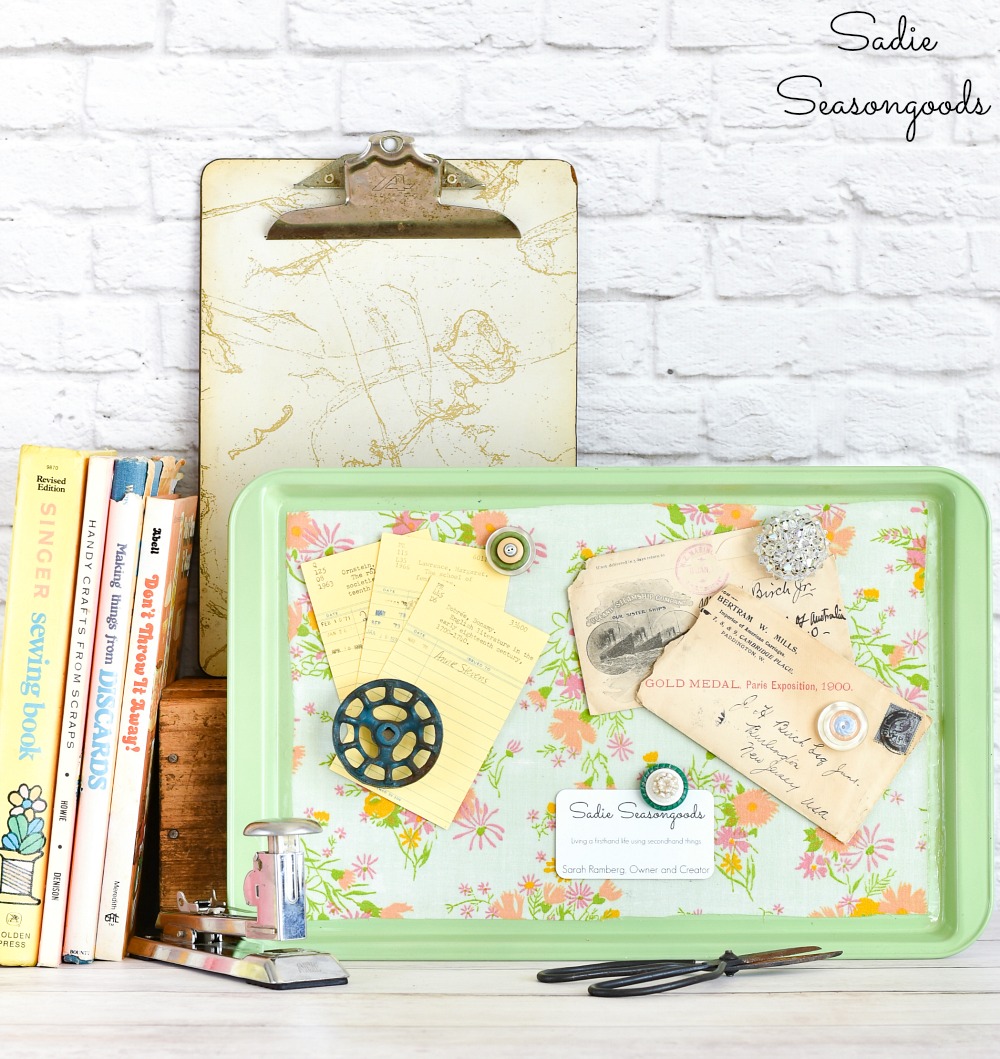
Image credit: Sadie Seasongoods.
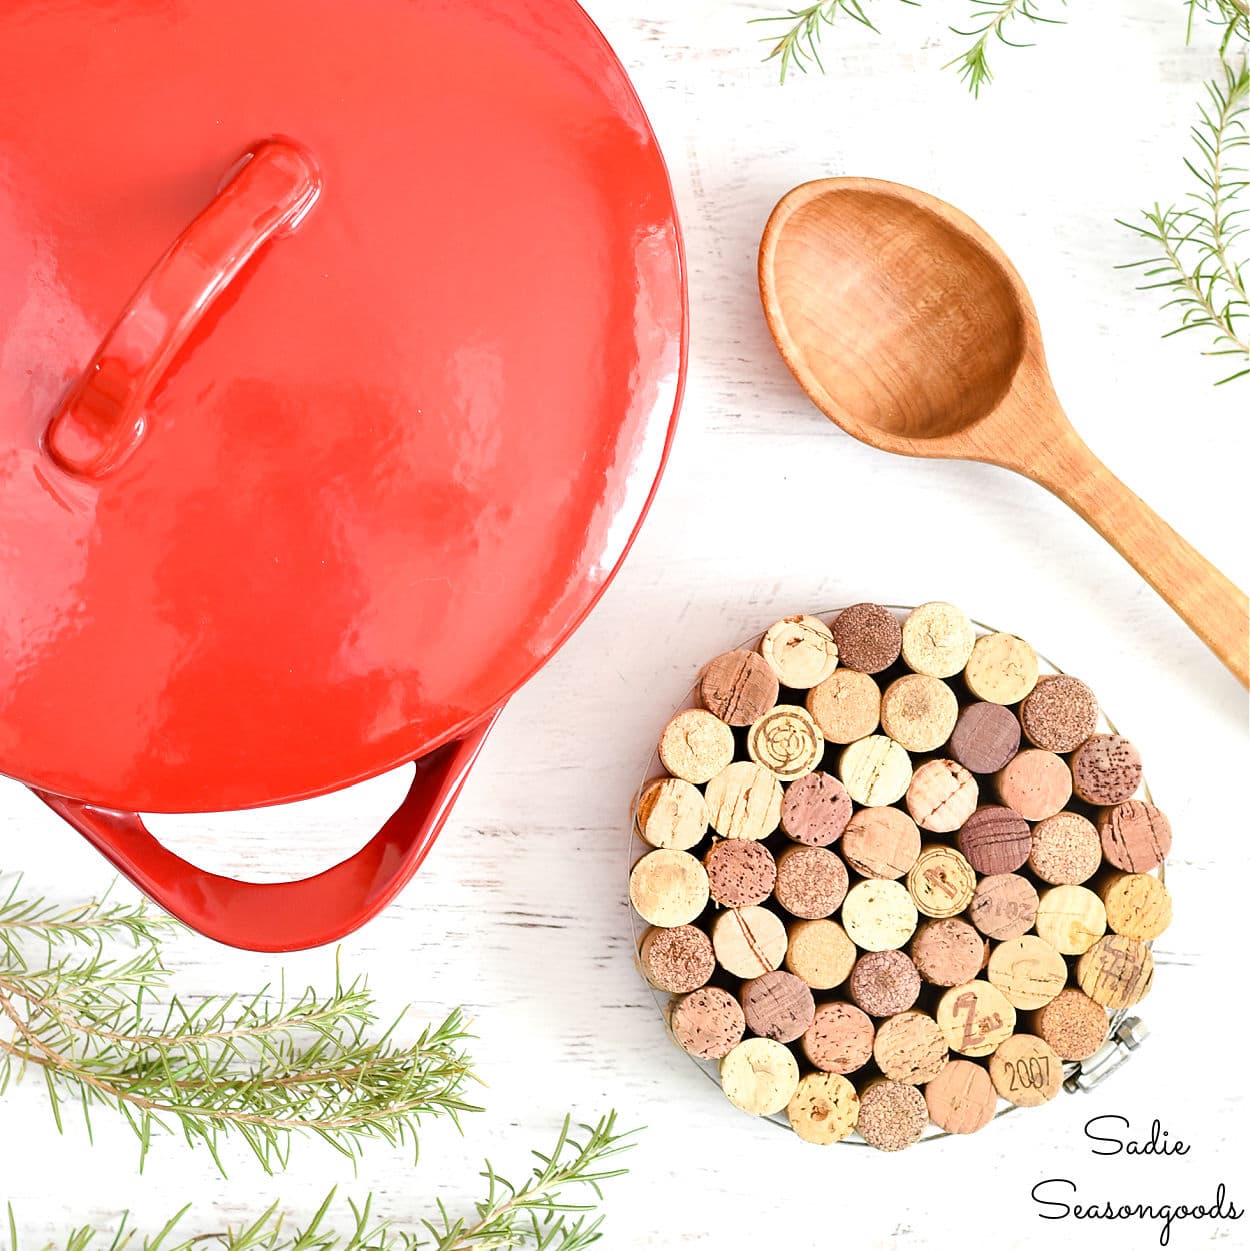
If you enjoyed this easy upcycling idea for the kitchen, then you may also be interested in this wine cork trivet!
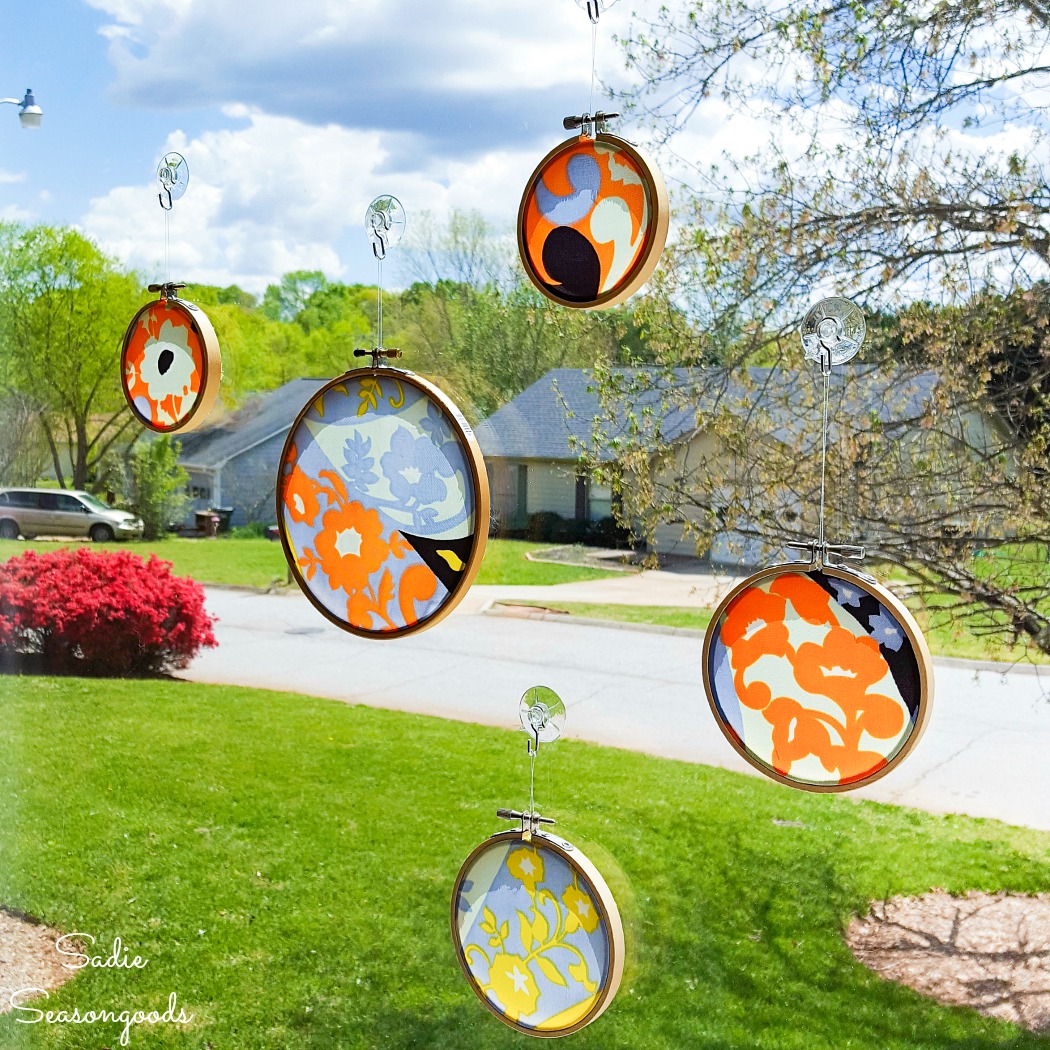
And for another upcycling idea with vintage fabric, these window suncatchers couldn’t be easier!
Craft on!
S
Want to be notified when I publish my next upcycling project tutorial?
Join me on Social Media:
PIN ME!
Image credit: Sadie Seasongoods.
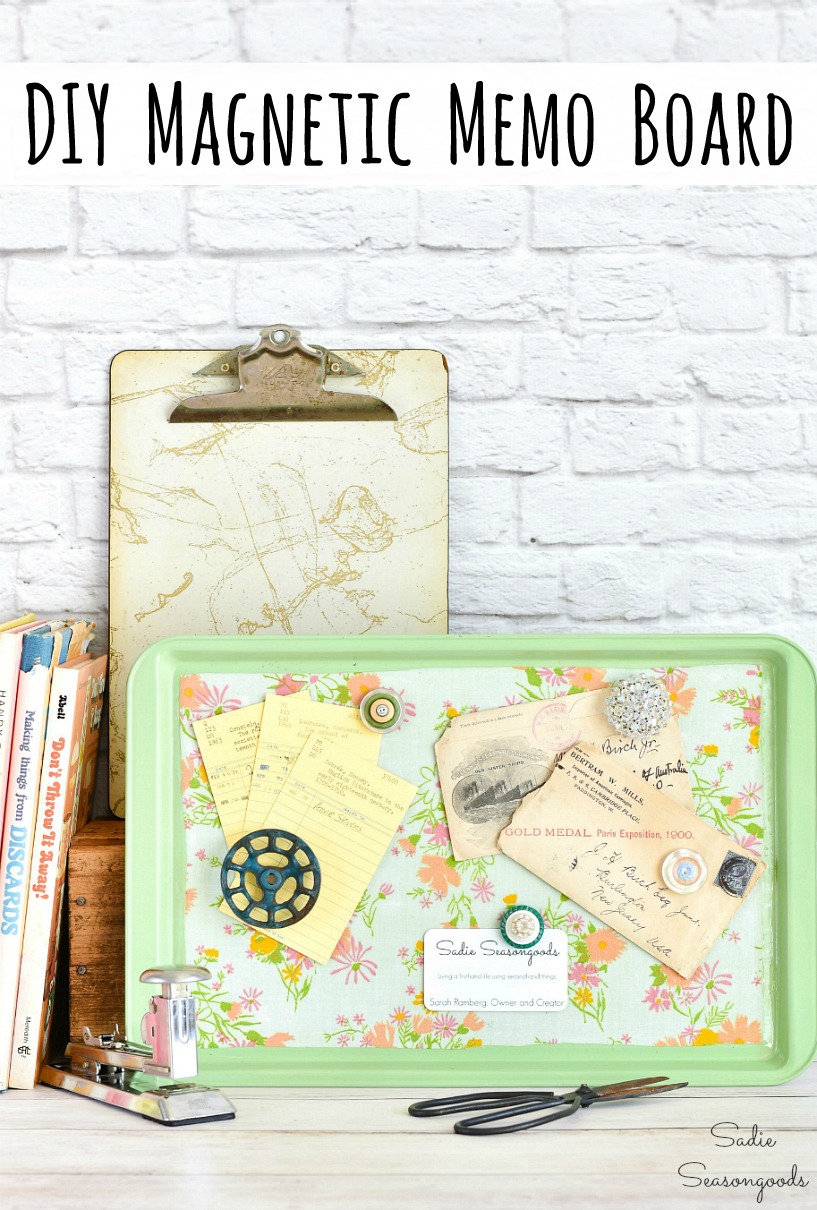
Image credit: Sadie Seasongoods.
Sarah Ramberg is the owner of Sadie Seasongoods, a website that celebrates all things secondhand. From upcycling ideas and thrifted decor to vintage-centric travel itineraries, Sadie Seasongoods is a one-stop shop for anyone who loves thrifting and approachable repurposing ideas. Sarah is also the author of “Crafting with Flannel” and has been featured in numerous media outlets and magazines.






This is cute. I am going to have to do something similar but for the kids to play with. Thanks for sharing it gave a great idea.
You’re so welcome, AmieJo!!
What did you use to hang it??
Hi, Elizabeth! I actually didn’t hang it- it’s leaning against the wall on top of my desk. But you could probably hang it pretty easily- maybe punch a couple of holes on either end (awl, then drill) and string some picture hanging wire across the back?
I think that would work! Thank You!
Fab job Sadie – love the colour
Thanks, Alice- me, too!
What a great idea! I think I’ll be making one too.
Thanks! It’s so easy and functional- hard to beat!
oh man, I had an old ugly stained up sheet that warped every time I used it and I chunked it a couple weeks ago! This would have been such a fun craft to do and put in my sewing room to help track which projects I am working on or other fun notes. I am going to keep an eye out at the yardsales or thrift store for another pan! Great craft idea and appreciate the tute!
:)!
What a decorative way to store all those little notes and business cards we all have hanging around. I love your “magnets” too!
Thank you, Jamie!! I plan on doing a blog post on the magnets later on. 🙂
I LOVE this idea and it is the perfect gift idea for my husband’s grand daughter. Thank you for sharing!!
You’re so welcome, Kim!
Turned out great! Paper would’ve needed to be pieced together to cover such a large area so fabric is the perfect solution. Thanks so much for joining the Make ir Monday party at Etcetorize! Hope to see you again next week.
Thanks so much- exactly! I don’t have easy access to larger sheets of craft paper…I suppose it could be ordered, but I don’t want that kind of hassle. 🙂
This is really cute! I didn’t realize you could use mod podge with fabric…good to know! I’m visiting from the Create Link Inspire Party…I’ll be hosting a new one starting Saturdays at 8 pm over at http://www.averystreetdesign.com called “Found & Foraged.” I’d love to see you there! xo.
Yeah- I love it with fabric!! And I’ll definitely be there!
So cute! I am in dire need of replacing my cookie sheets, now I know what to do with the old ones! I’m thinking I’ll make one for me and then do the others for Christmas gifts!
Thank you for sharing!!
Thanks so much, Brandyn!! I think you’ll love yours!
I love this, and now I REALLY want to make one! This might need to be a winter project!
I just wanted to let you know that I am featuring this post on this week’s Weekend Wind-Down party! You can see it on the blog Friday night at 6, grab a button, and link up new posts! Thanks for partying with us and giving us great content to feature. =)
Awesome!!! Thank you so much, Nicole!!! Can’t wait to see it and link up my latest makes. 🙂
Yay- one of my fav projects! Thank you for linking up tonight!!! xoxo!
Thanks, Laura!!!
I’m with Laura! So glad you stopped by our linky party! I hope you will stop by the Found & Foraged Linky Party next week too! (Saturday @ 8PM CST) Hope to see you there http://www.thebigrevealblog.com!
I love this upcycle! That has to be the prettiest cookie sheet memo board ever! Thanks for sharing at On Display Thursday!
I’ve never used Mod Podge. I might have to try this! Thank you so much for linking up at Found & Foraged! Pinned! Hope to see you again Saturday night at 8PM!
What a great idea – I love how everything turned out. I love the green spray paint on the pan! Thanks for linking up with us at Home Matters Linky party!!!!!!
hi do you hang on the wall and if so how. love this diea.
I love this idea! I have an old cookie sheet that I may have to retire soon, so hooray for not wasting it! 😛
Love this! Thanks for sharing on Show Me Saturday!
Honestly, tell me that was not an old cookie sheet you started with! lol….mine looks horrible not even sure paint would help it! LOL…..great job.
My thoughts exactly!!
What a cute idea! Thanks for sharing on Wine’d Down Wednesday
http://www.mylifeinprogress.org
OK.. silly question: I saved this blog a long time ago, i want to make my future daughter in law a set (lge and small ’cause those are the old cookie sheets I have!) I bought some pretty aqua rust-o-leum and have some fab fabric, but, here’s my dilemma? Do I sand the cooking sheets first? How smooth (clean) do these need to be? Also, did you hem the fabric or just stick it on? I am so not-crafty, but I really want to make this work! Thanks!
No worries, Amy- I’m happy to help! No need to sand the cookie sheet- I would suggest either using a paint with primer in it (A lot of Rust-o-leum products are already like that) or a primer first, then paint. As far as the fabric goes, I didn’t hem it because I wanted a perfectly flat surface- I also don’t mind a little bit of the frayed look. So I just stuck it on with Mod Podge, raw edges and all. When all that dries, add a coat of polyurethane or clear enamel- that’ll seal everything and the paint won’t scratch off.
Thank you so much… this project is on my fall list of ‘things to do’!
Just wondering how you mounted it in the back
Hi, Sarina- I actually didn’t (it just leans against the wall on my desk). But if I were to do so, I’d drill holes through the handles and string picture hanging wire through them, across the back!
Thank you
This is such a neat idea!
I would love for you to share this with my Facebook Group for recipes, crafts, tips, and tricks: https://www.facebook.com/groups/pluckyrecipescraftstips/
Thanks for joining Cooking and Crafting with J & J!
Adorable!
Thanks, Lisa!!
Absolutely adorable! Thanks for sharing at TOHOT. 🙂
Stacey
Oh no, I already threw mine out. but now that I’ve seen what you can do with one I’m going to look at the resale shop now for one. I love the colours you have chosen for your memo board!
Thank you, Kim! And yes, most definitely a resale shop should have some…and it doesn’t matter what shape it’s in. 🙂
Super cute idea! Me likey! And I might even be able to handle this one!
Yes you can- I promise!!
Now I have a reason to replace my old cookie sheet! Great idea!
We all deserve new cookie sheets right before the holidays, I say!! 😉
I love this idea. I did these this & when I get a new one I need to remember to make one. Thanks for sharing at the #InspirationSpotlight Pinned & sharing
This is such a cute idea!! I might do this in my classroom. Thanks for sharing at The Creative Circle.
It’d be a great classroom project, Angela!!
Sooo cute!!
I hope you don’t mind if I link your post to my bi-weekly Link Party “Handmade Café”. My readers will be thrilled to have your tutorial! Thank you.
http://oksanalikesit.blogspot.com/2016/08/handmade-cafe-75-features-75.html
Feel free to join our Link Party every other Saturday! You will meet the best crafters from around the world!
I could use this at home AND at work!! Thanks for sharing on the Pleasures of the NW’s DIY party-and don’t forget to leave a comment at the party – Next week’s features that also leave a comment get pinned and tweeted!
Very nice! My kind of craft…love the flower backround!
It’s so cheerful, right? Thanks, Arianne!!
I am so making this memo board. A perfect candidate for a make over is lurking around in my cabinet. Thank you for sharing at Vintage Charm.
Yay!!! I think you’ll have fun with it. 🙂
What a great way to make something ordinary extraordinary! Thanks for linking up at Welcome Home Wednesdays! You are a feature this week. Congrats!
Awesome- thank you so much, Erin!
So here is a funny story. I have this project saved in one of those boards on HT. This was in the days before I became a blogger. I used this great project for inspiration. I was fangirling over it without knowing who made it or anything. And now here we are and we are actually “friends” haha. Your project preceeded you Sarah. I will now remedy that and pin it properly from the source. Thanks for all the inspiration.
Oh my gosh, Mary, I love this story so, so much!!! And to add to your story…that was an early project of mine, done before I really knew what I was doing. And the original pictures (a) didn’t have my watermark and (b) I didn’t think to put MY OWN BUSINESS CARD on the final pic! So I’ve re-shot some of the photos…but when it was super popular, my name was nowhere to be found. Live and learn…
The universe has conspired to bring us together Sarah. Get those watermarks on there! 🙂
Very cute and functional. Gotta’ love it! Thank you.
Thank you, Lea!
I love this idea. I need one at home and at work. I think I want to make half for magnets and half with cork board for pins. And I want to hang mine, so thanks for the ideas.
You are so very welcome!
I used my mom’s old (50+ years) cookie sheet to hold magnetic spice tins. Painted it barn red & applied rooster decoupage papers from an old Anna Griffith collection.
It’s leaning against a wall in my kitchen, keeping all of those spice bottles out of the way. I love it because the cookie sheet brings back great memories of all the baking projects Mom & I undertook. So happy that I could repurpose such a great memory maker!
Here’s an idea for some of the leftover sheet,
Hairbows, they would look so cute with that floral pattern.
I made 6 of these, one for each of my grandkids to go with their rooms. I didn’t go as fancy, but they were cute. I also made personalized magnets for them. Thanks for the idea. Love them!