Being a fan of vintage doilies means I am always looking for new ways to repurpose and display them. Wall decor is a great way to give them new life and falls right in line with the granny chic decor that is super popular right now. But instead of framing them in more traditional ways, this time I decided to upcycle some vintage doilies into embroidery hoop wall art.
Because, let’s face it: Old embroidery hoops are CONSTANTLY lurking on thrift store shelves.
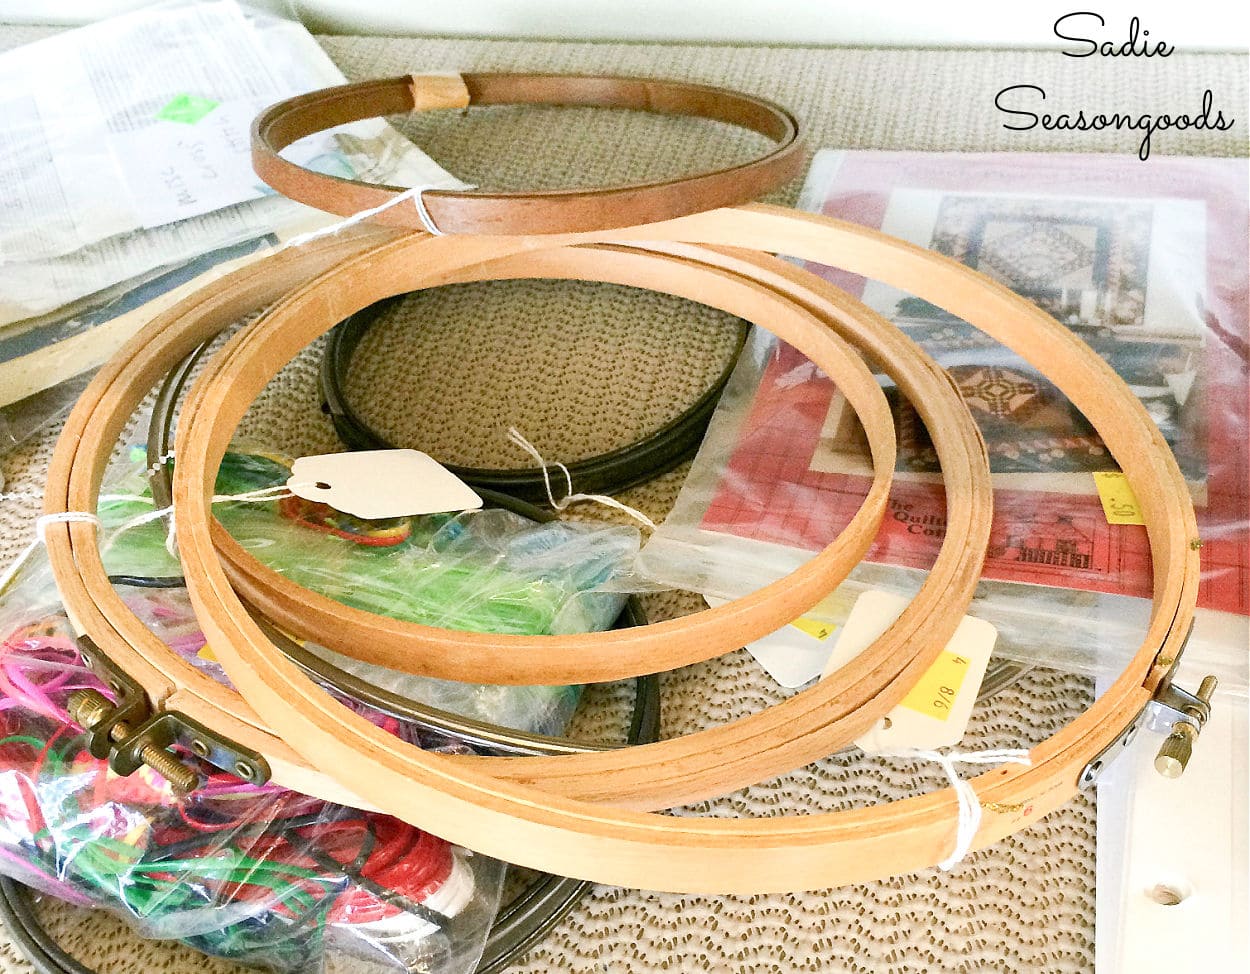
Image credit: Sadie Seasongoods.
And of course, I had plenty of vintage doilies, as well. Unlike my previous framed doily project, however, these were all thrifted and weren’t made by my grandmother.
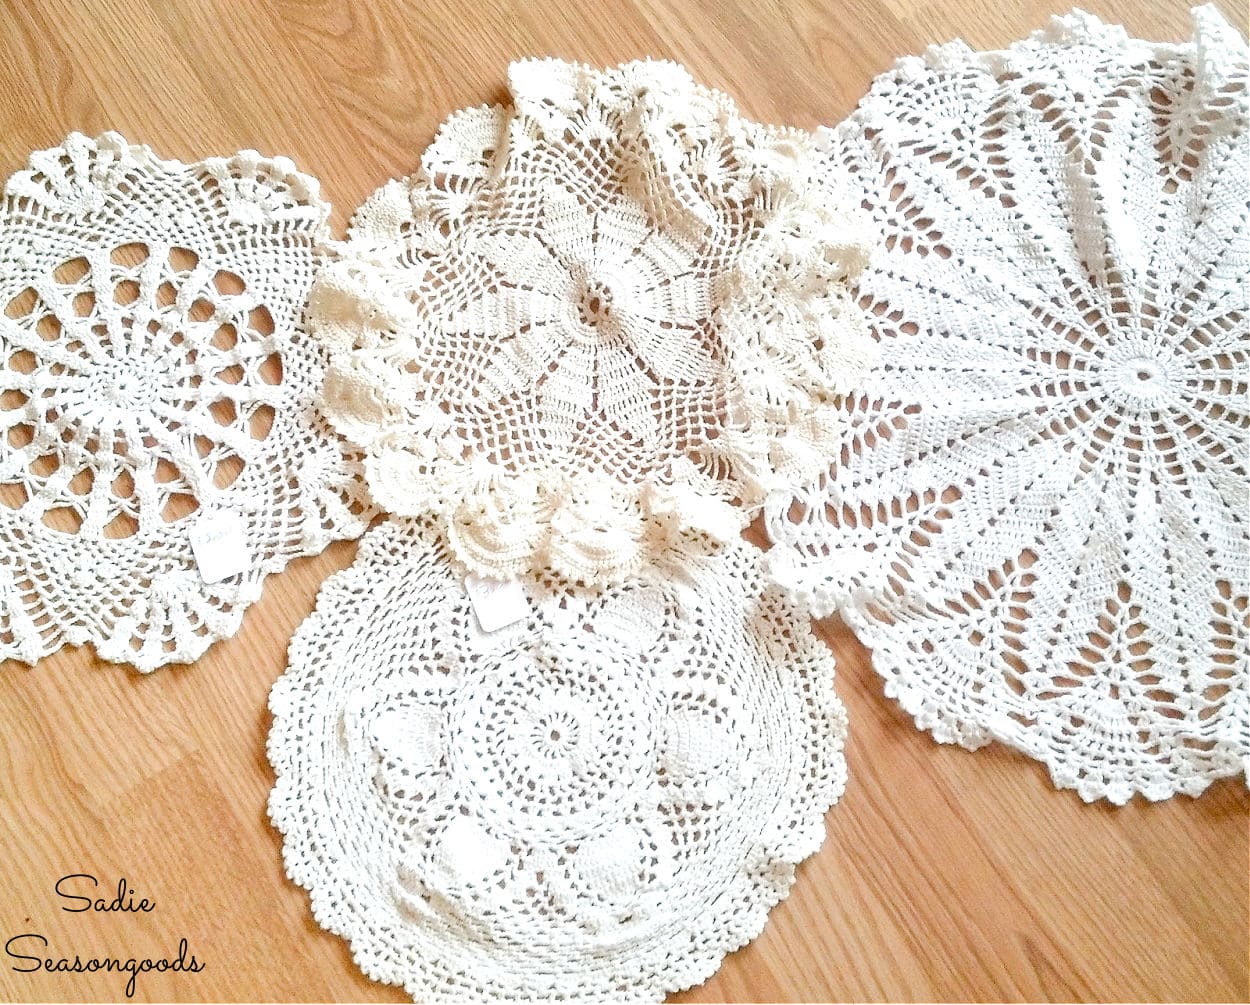
Image credit: Sadie Seasongoods.
That’s an important distinction to make here; I’ll show you why down in the tutorial.
Anyway, with vintage doilies and embroidery hoops in hand, I was ready to put them together as doily art for my walls!
This post contains affiliate links for your crafting convenience. As an Amazon Affiliate, I earn from qualifying purchases. All blue, bold, and underlined text is a clickable link, either to a product or to a related post.
Embroidery Hoop Wall Art as Granny Chic Decor
First, I washed and ironed the vintage doilies as best I could. I chose doilies that were devoid of stains and tears, saving those damaged ones for other projects.
Then, I separated the embroidery hoops. I set aside the larger, outer ring (the one with the screw) and draped a doily over the inner ring, making sure that the best side was facing up.
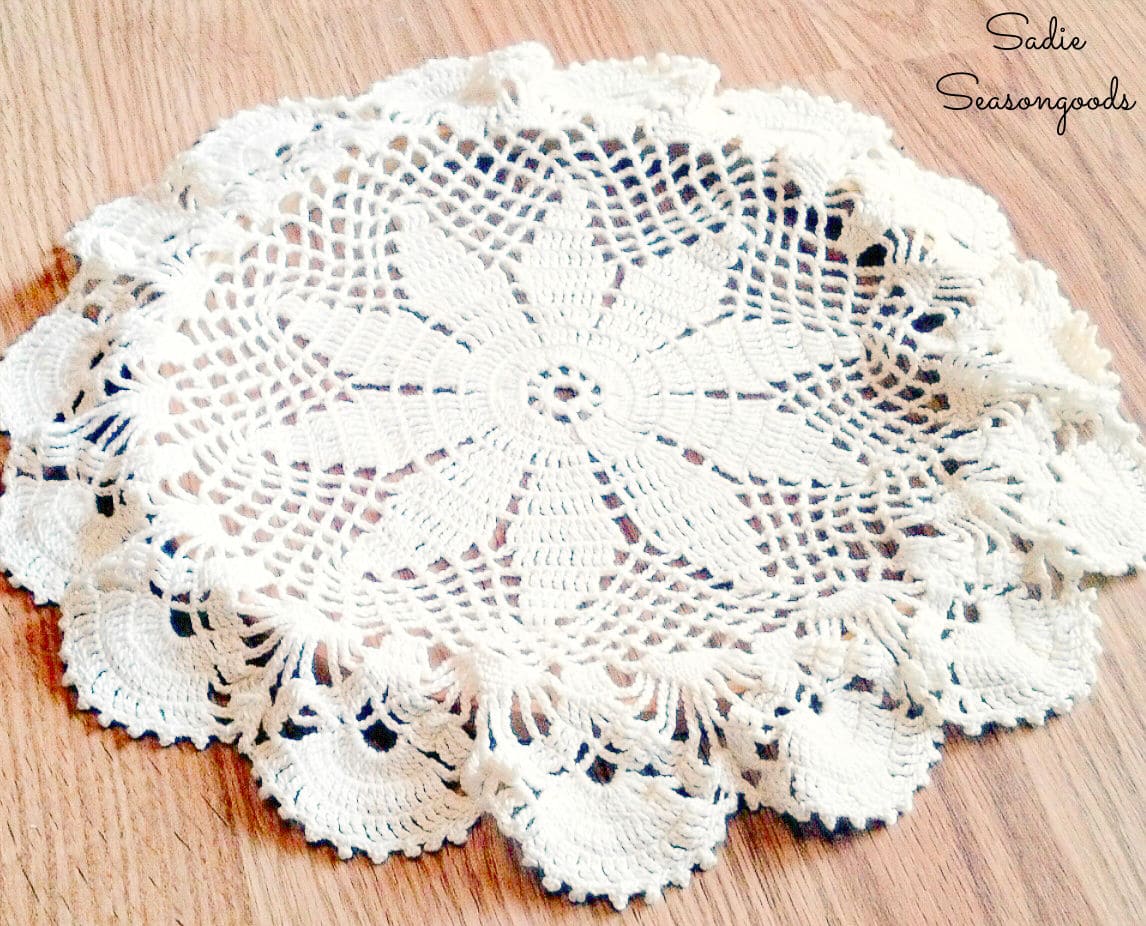
Image credit: Sadie Seasongoods.
It almost looks like doily pie crust, doesn’t it?
Then, I centered the doily as best I could and slide the outer ring over the inner ring.
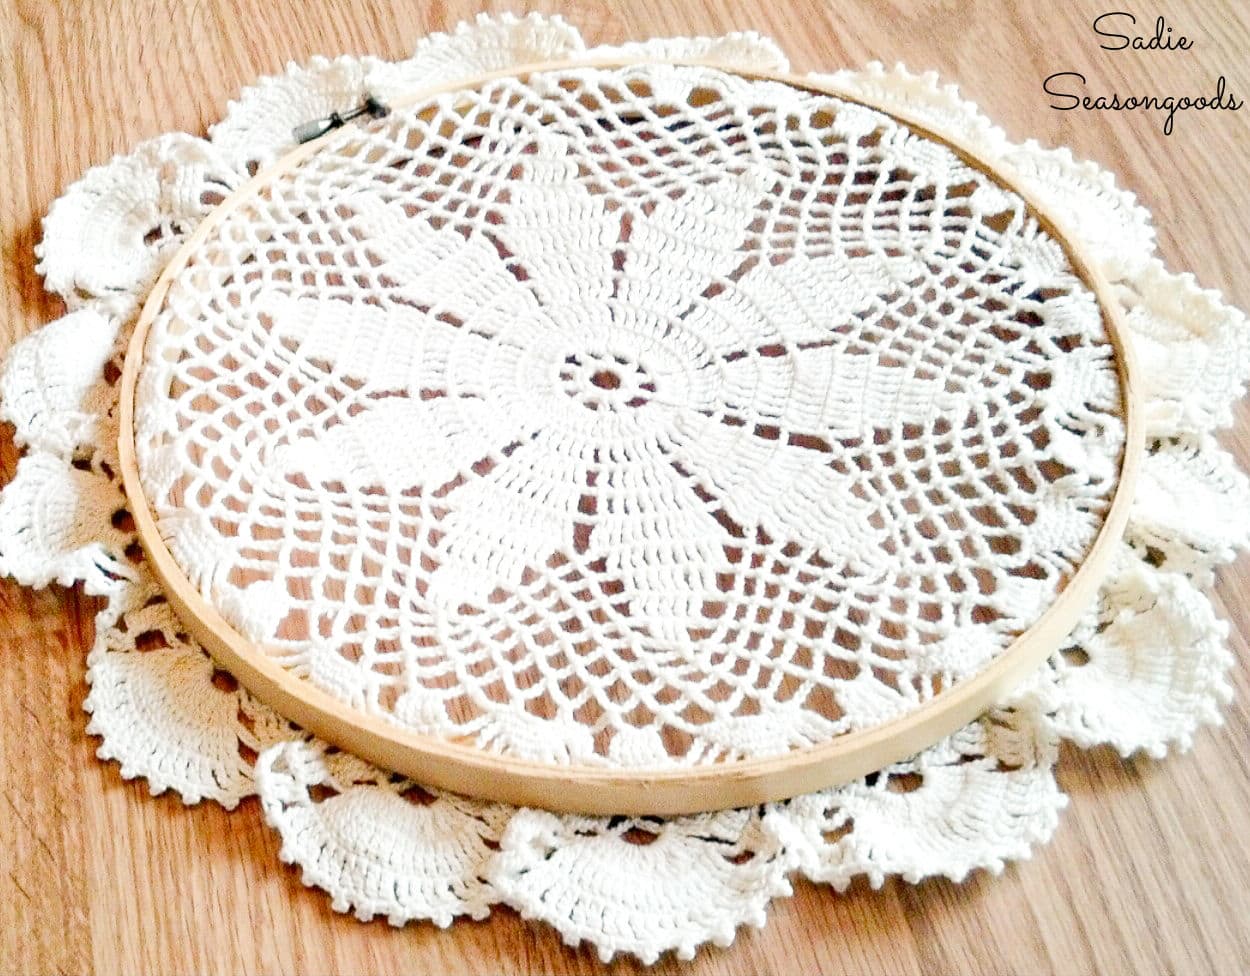
Image credit: Sadie Seasongoods.
Now, this is where it can get a little tedious or fussy. Well, maybe those are too strong of words.
But perfectionism can REALLY set in here. Once I tightened the screw a bit (not too tight, but the doily was snug), I tugged and pulled it so that it was smooth and taut across the embroidery hoop.
Smooth and taut and CENTERED. All that tugging for a perfect display can disrupt the even centeredness of your piece.
But when I was happy, I fully tightened the screw on the embroidery hoop. Even using pliers to really make sure it was secure.
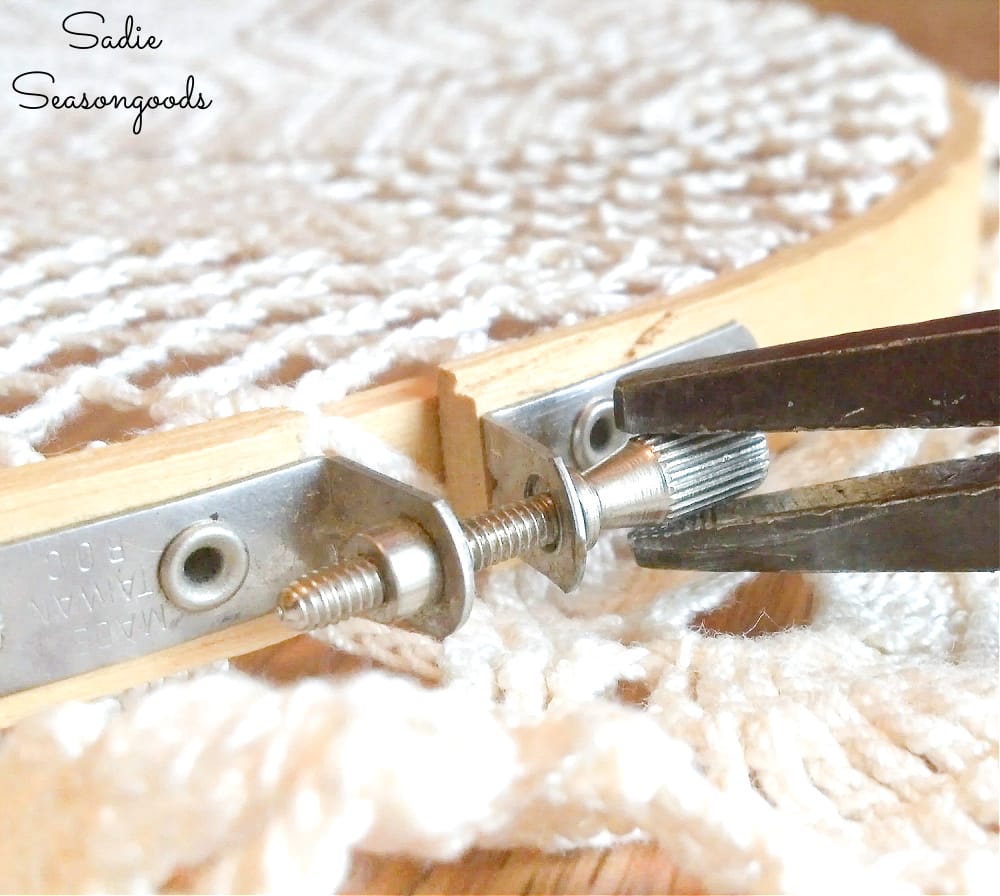
Image credit: Sadie Seasongoods.
Lastly, I turned over my embroidery hoop wall art to trim off the excess doily.
I know, I know- this is a very polarizing step. But I didn’t like the look of the doily’s edge outside of the hoop.
Remember how I said these were thrifted vintage doilies and not my grandmother’s? Hence why I could trim them with scissors.
So, I trimmed along the back of the embroidery hoop and used Fray-stop to keep the doily from fraying.
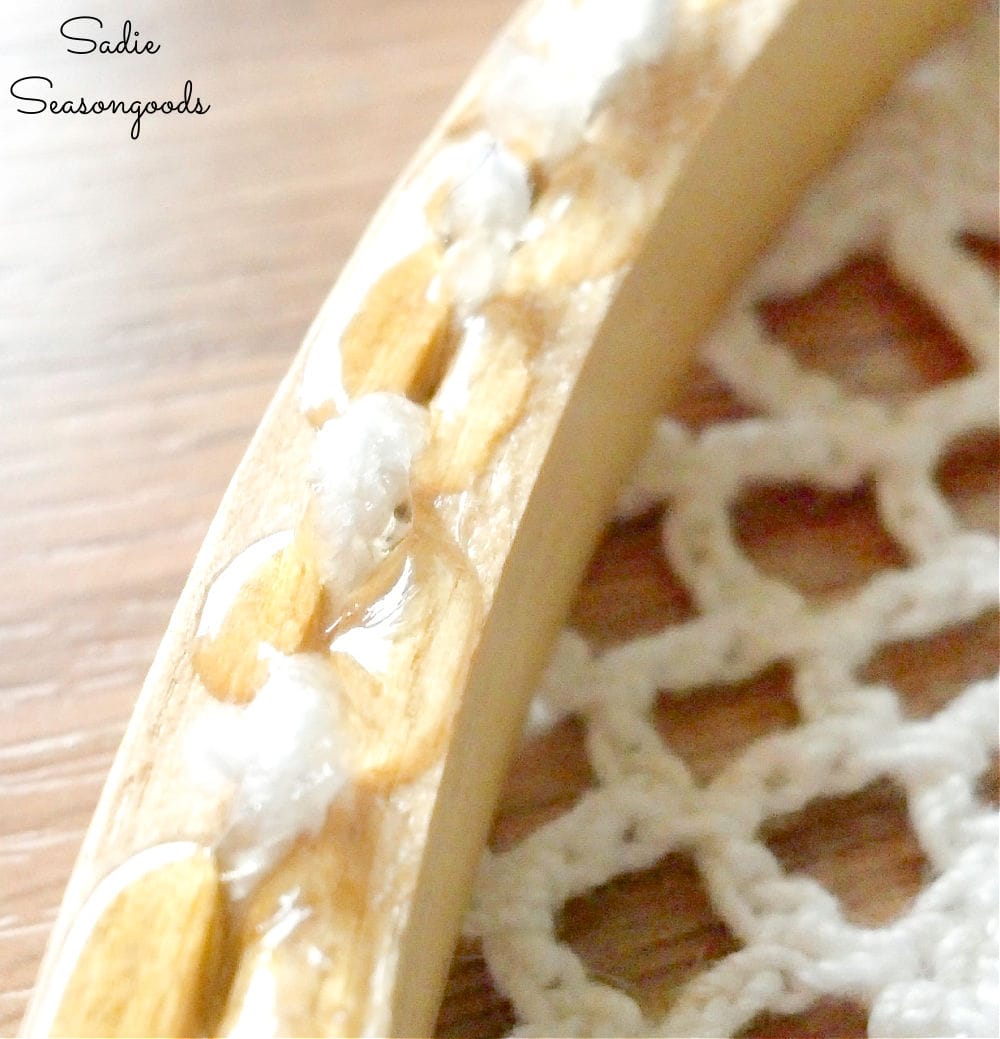
Image credit: Sadie Seasongoods.
Embroidery Hoop Wall Art with Vintage Doilies
After the glue dried (overnight), the final product…well, products, were done. I made three more while you weren’t looking. And now I had an entire set of embroidery hoop wall art with vintage doilies!
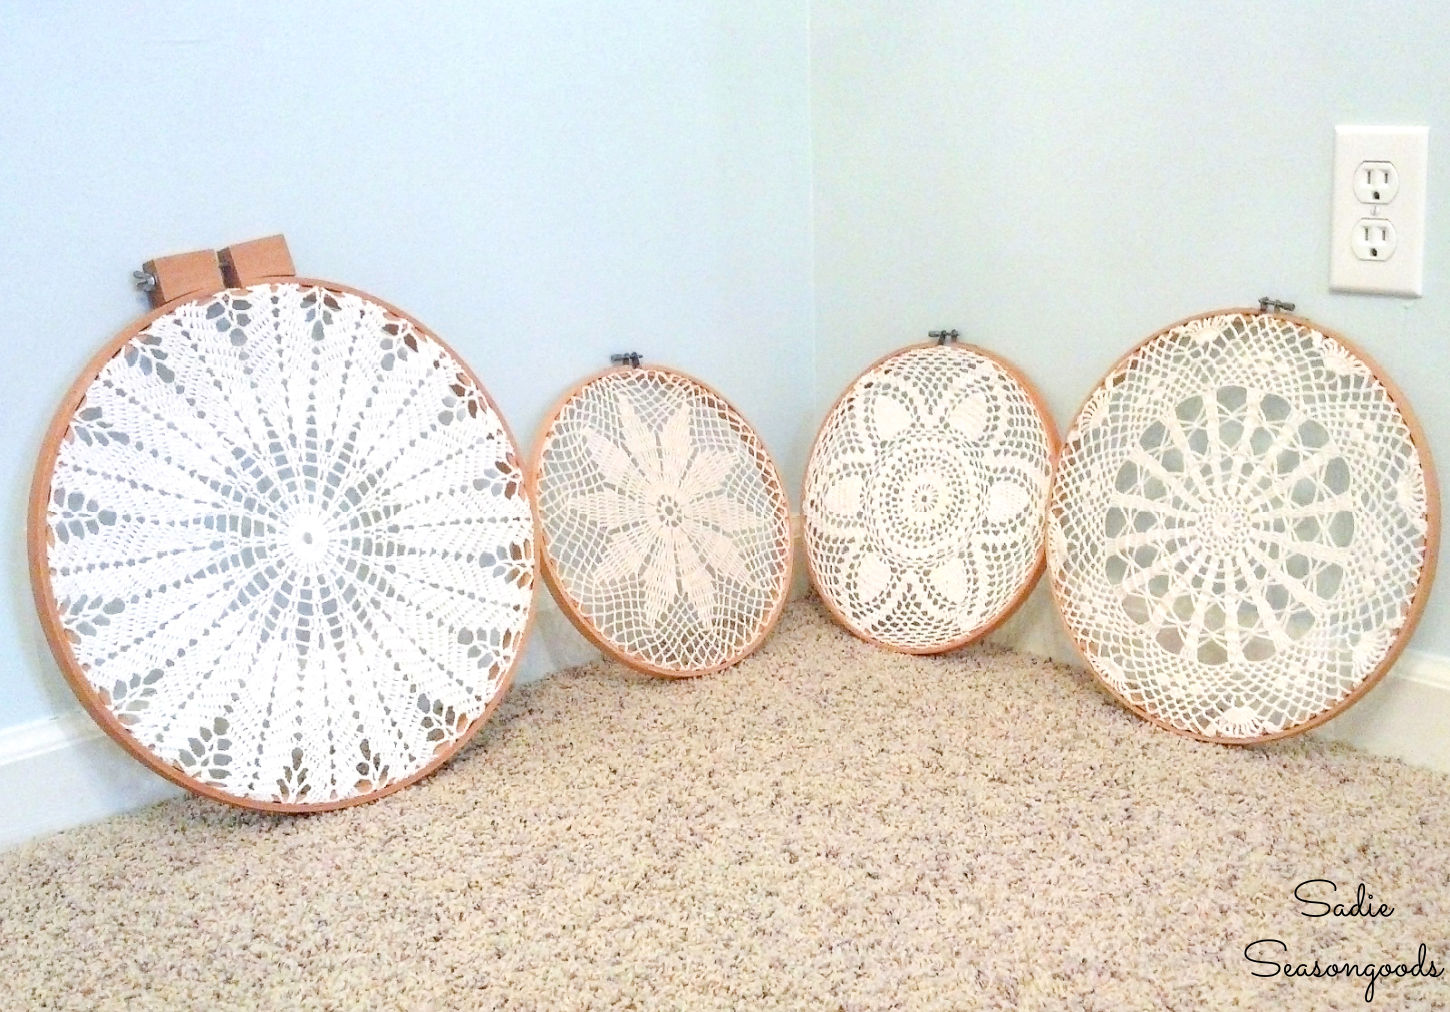
Image credit: Sadie Seasongoods.
My husband ended up liking these a lot more than he had anticipated, so instead of relegation to a corner in our bedroom, I hung them in the dining room for all to see.
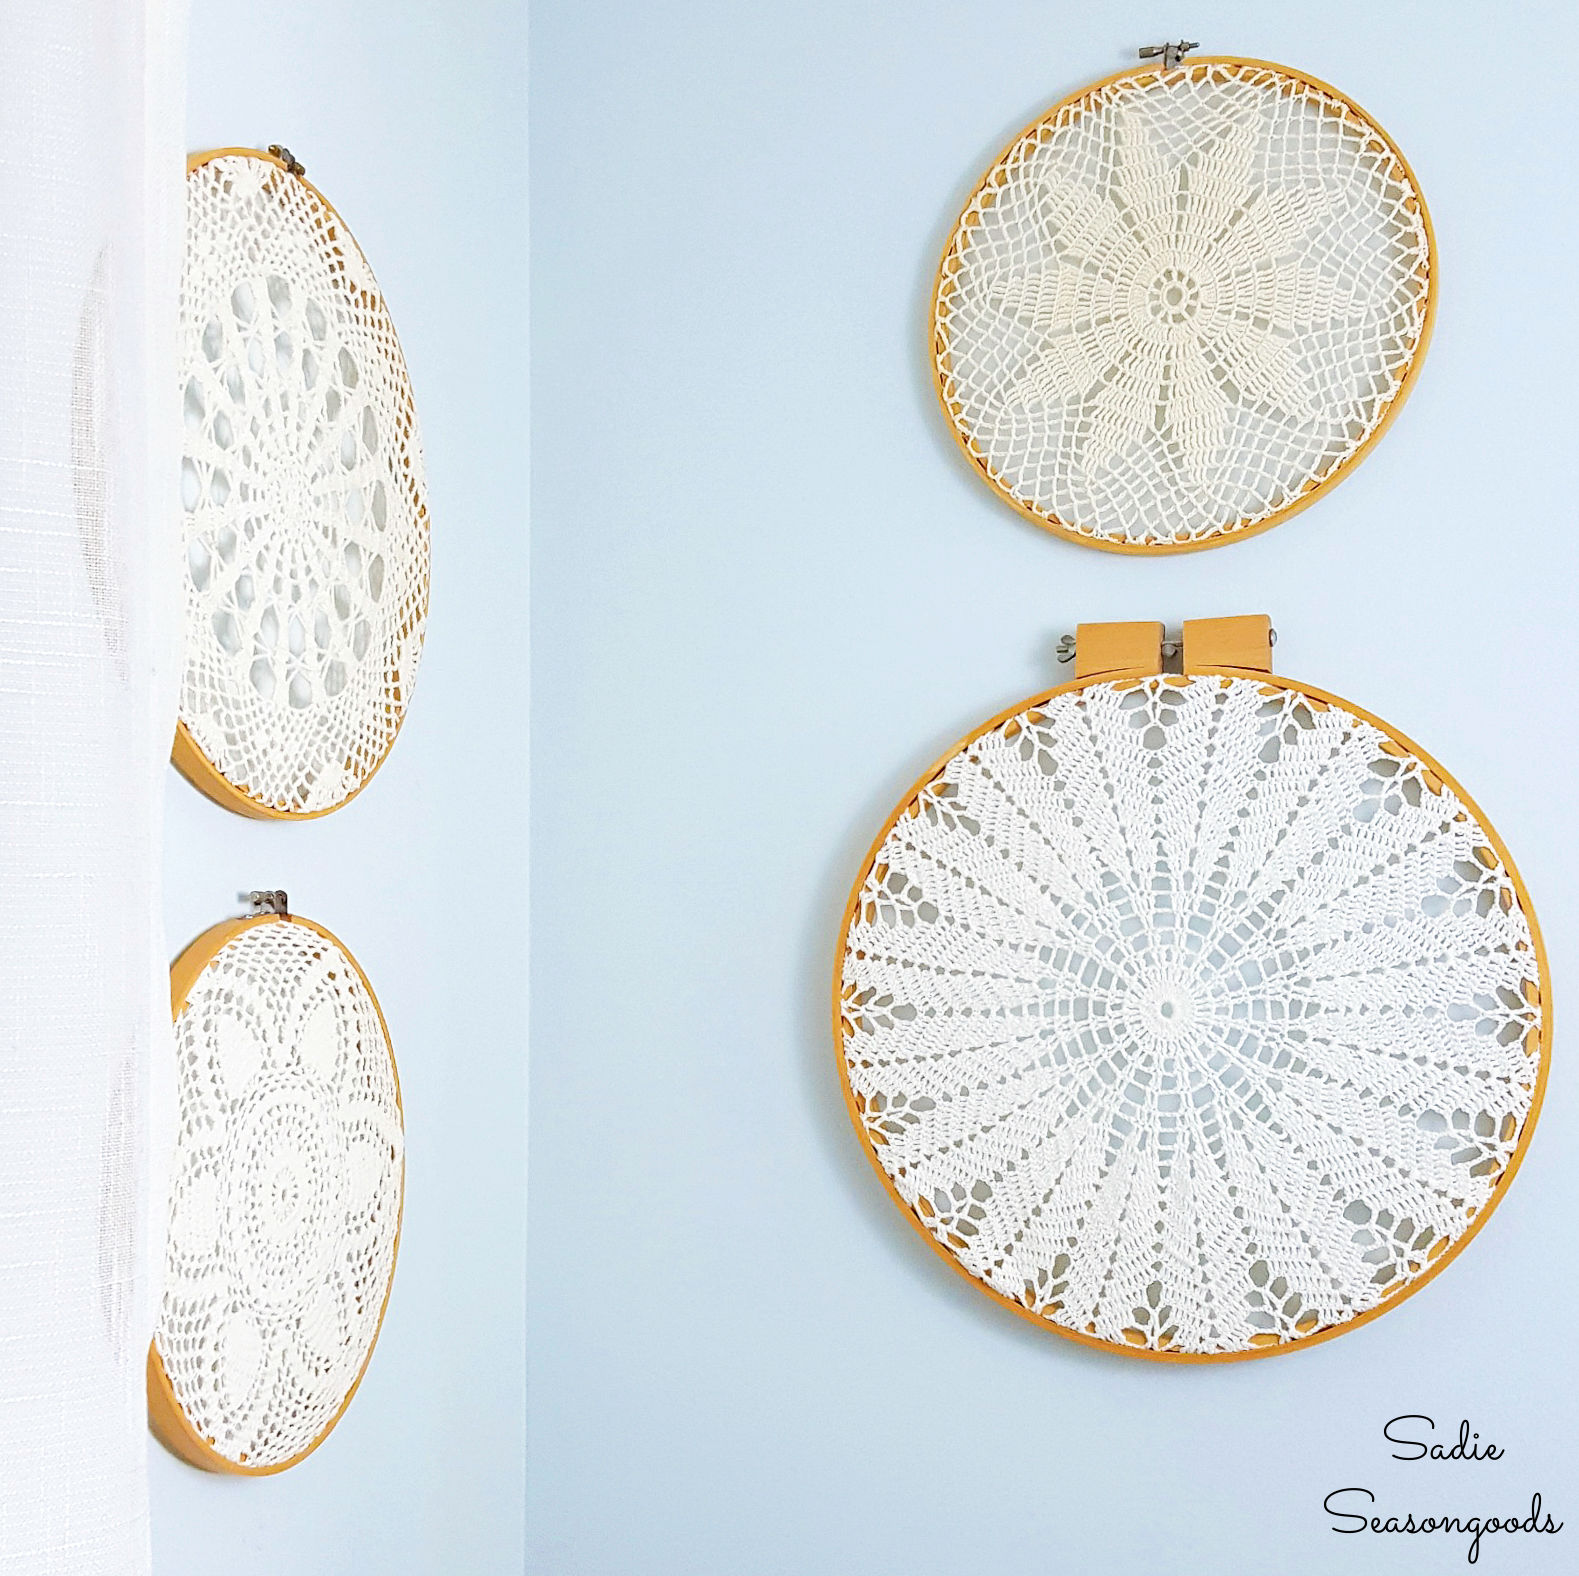
Image credit: Sadie Seasongoods.
Easy-peasy AND husband-approved…definitely a win-win.
I’m also thrilled to announce that my first book, “Crafting with Flannel”, is finally available! If you enjoy fabric crafts, both sewing and non-sewing, then you may really enjoy the flannel crafts included in my book.
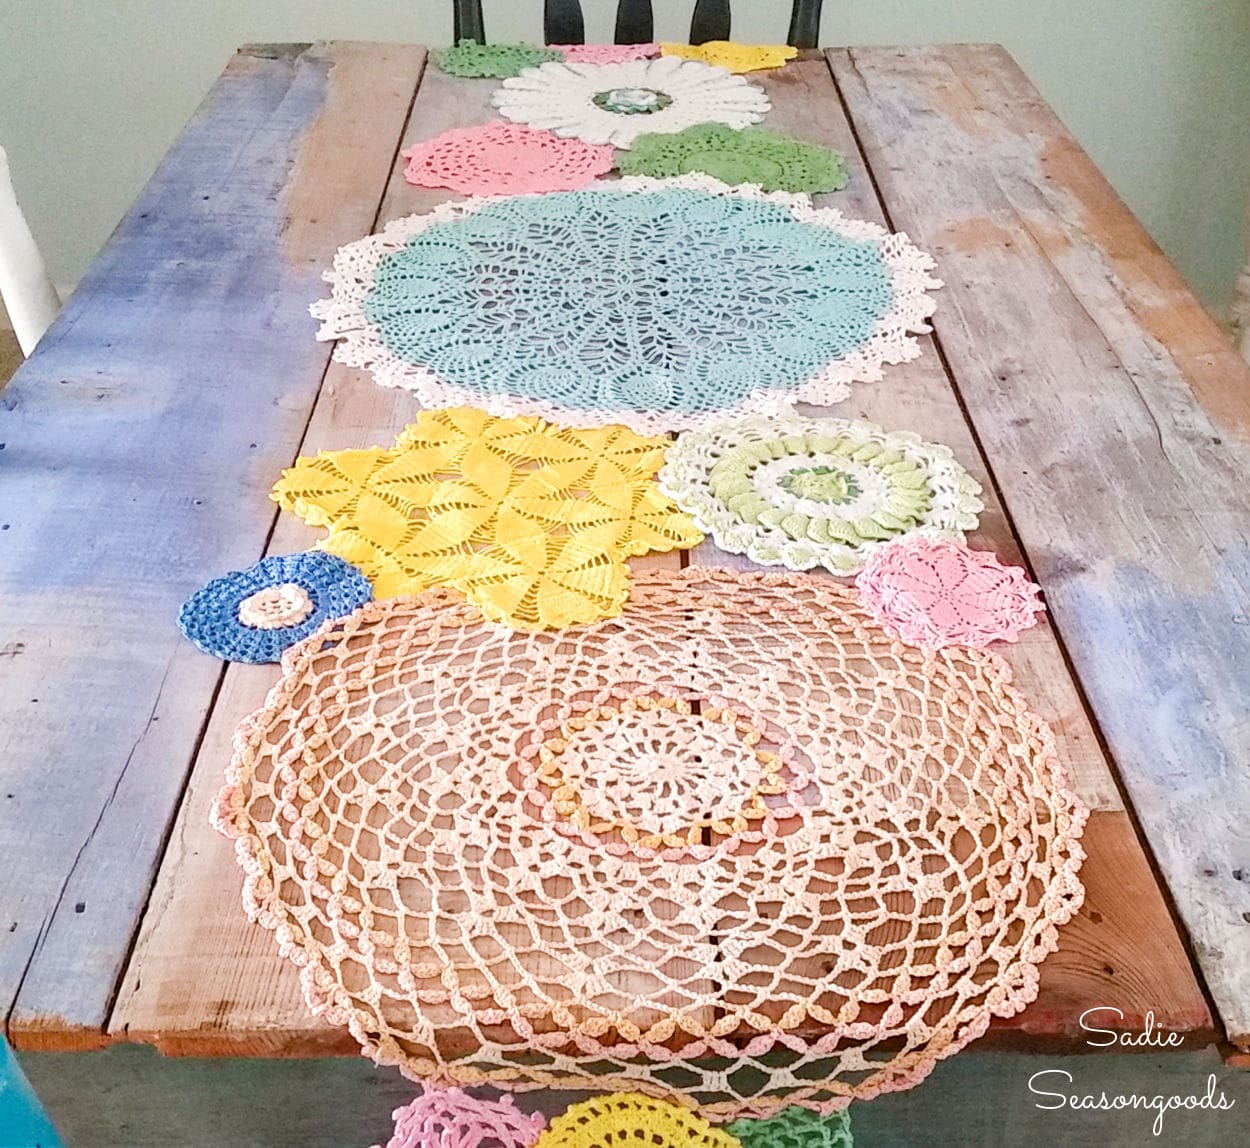
And if you enjoyed this upcycling idea for embroidery hoop wall art, then you may also be interested in this doily table runner, as well!
Craft on!
S
Want to be notified when I publish my next upcycling project tutorial?
Join me on Social Media:
PIN ME!
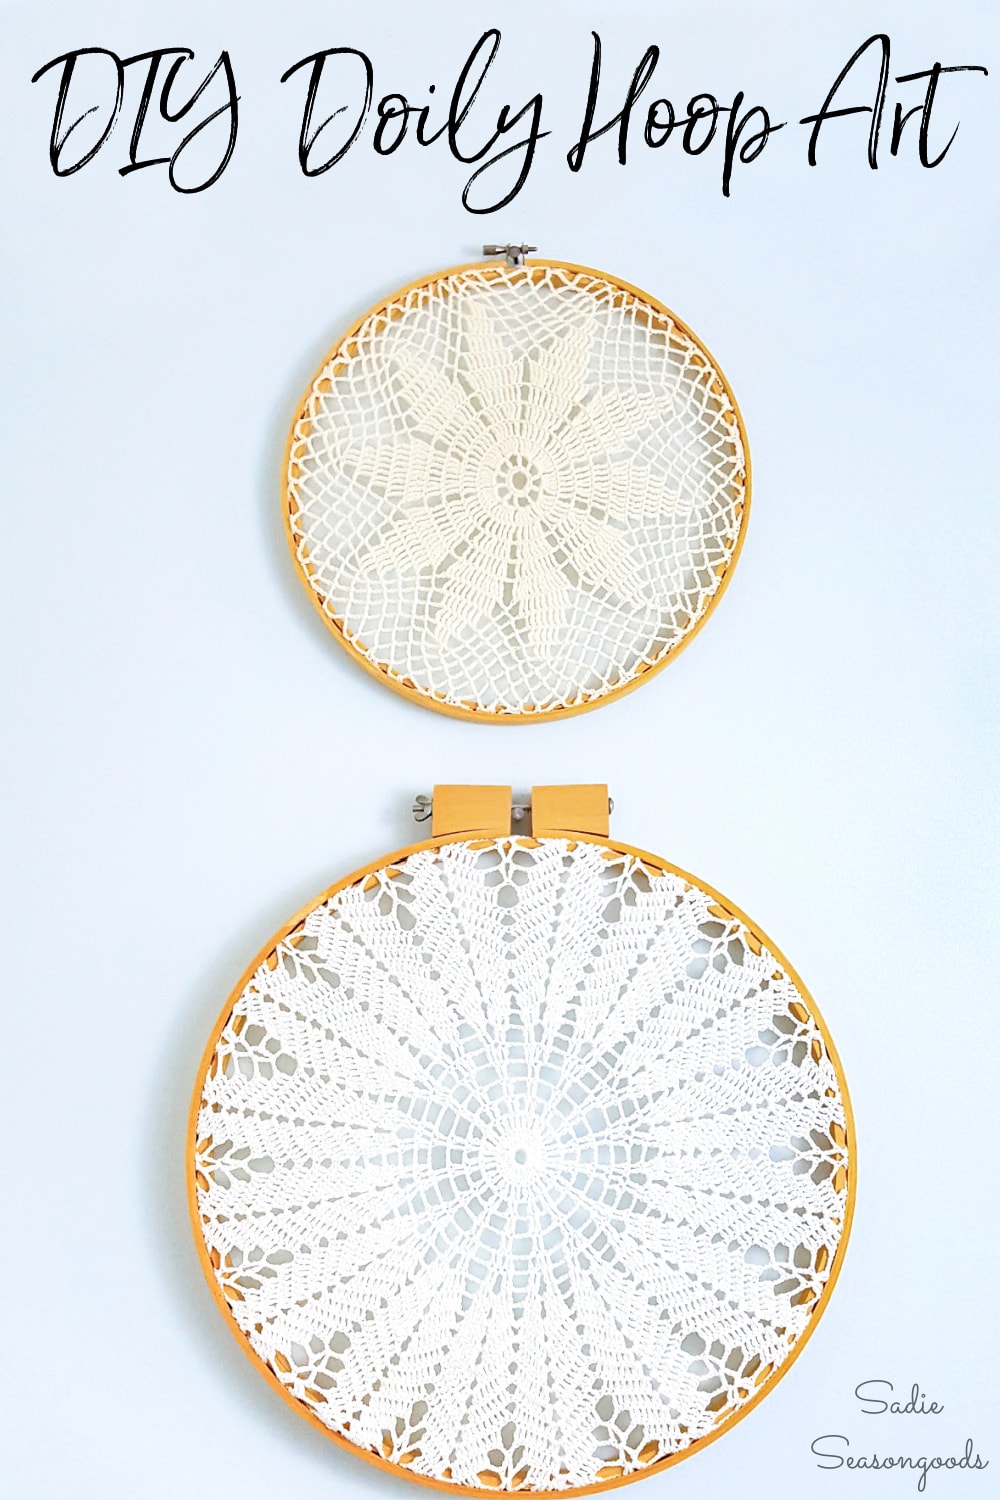
Image credit: Sadie Seasongoods.
Sarah Ramberg is the owner of Sadie Seasongoods, a website that celebrates all things secondhand. From upcycling ideas and thrifted decor to vintage-centric travel itineraries, Sadie Seasongoods is a one-stop shop for anyone who loves thrifting and approachable repurposing ideas. Sarah is also the author of “Crafting with Flannel” and has been featured in numerous media outlets and magazines.





Love this! You could dye them black or put fake spiders on them…
Its all great! Love it and thanks so much for the inspiration.
This is such a great idea, it made me cry. I have doilies my mom made and they’re just sitting in a box where I can’t see them. I’m too sentimental to throw them out or give them away. This is great, I plan on going thrifting tomorrow! Thank you.
Thank you so very much, Maggie! Your comment is so very touching. If by any chance you want a few more doily ideas for your mom’s pieces, maybe these will inspire you, too: https://www.sadieseasongoods.com/master-bedroom-evolution-and-doily-display-2/ and https://www.sadieseasongoods.com/spring-doily-table-runner/ and https://www.sadieseasongoods.com/cottage-style-spring-decor/ .
This is perfect! I inherited several doilies from my Mom ( some were prolly my Grandmother’s). I am going to make some of these for her granddaughters! Any ideas for lace table clothes! Love your ideas!
I made these doily wall decorations about 30, yes 30, years ago, in a slightly different manner. Since I had inherited a lot of doilies, chair back and arm covers from my grandmother I didn’t want to do any harm to them either and I wanted them to stay flat. I ironed them and put them in nice oak frames that had been lined in a darker color of cotton or cotton/polyester mix cloth. Some of the doilies I threaded through the lace with a very thin ribbon of the same or complementary color. Then added tiny bows along the laced ribbon, Ironed flat again, placed on top of colored material and then completely framed the whole piece back into the oak frame. Several, before completely framing, I ripped off of old cards, receiving from her, many years before, several signatures and also placed them in the bottom right hand corner of the completed artwork BEFORE the final framing. It then became totally identified historical piece. Wish I had them out so I could include a picture but they have been packed up for years so they can be passed down to grandkids and nieces. Love uses for any type of historical textures. Still have a crocheted bedspread made by my great grandmother, but it looks beautiful as is, hung over a wall mounted quilt rack. Now for great, great grandma’s wedding dress but maybe I should just keep it wrapped in its tissue papered storage box?